Your Manicure’s Secret Weapon: Pro Prep for Polish That Actually Lasts
I’ve been a nail tech for a long time, and I’ve seen it all. One minute, everyone wants razor-sharp geometric lines; the next, it’s all about soft, dreamy ombré effects. But honestly, the secret to a manicure that looks genuinely incredible has almost nothing to do with chasing trends. It’s all about the foundation.
In this article
The real magic lies in understanding the health of your nail, nailing the prep work, and being precise. A perfectly applied polish on a healthy, well-prepped nail will look gorgeous, no matter what style is currently blowing up on social media. This is the stuff we obsess over in professional salons, and it’s what makes the difference between a manicure that chips in two days and one that looks flawless for weeks.
So, let’s pull back the curtain. I’m going to walk you through the salon-level methods, explaining the ‘why’ behind every single step. We’ll cover everything from getting the perfect shape to keeping your nails strong and healthy underneath it all.
First Things First: Is Your Nail Ready for a Manicure?
Before you even think about picking a color, let’s talk about the canvas. If your nails are currently peeling, brittle, or weak, piling on polish (especially gel) can sometimes do more harm than good. Think of it like painting on a crumbling wall—it’s just not going to stick.
If this sounds like you, my advice is to spend a week or two giving your nails some TLC first. A great habit is applying a good quality cuticle oil daily. Look for one with jojoba oil, as its molecules are small enough to penetrate the nail plate. This adds flexibility and hydration. A bottle of CND SolarOil or a similar product costs around $10-$15 and is a total game-changer. For extra help, a nail strengthener can also work wonders as a temporary support system while they grow out.
The ‘Why’ Behind a Pro-Level Manicure
Okay, so what exactly are we working with? Your nail isn’t just a hard surface; it’s made of layers of a protein called keratin. The part you can see is the nail plate, which rests on the soft, nourishing nail bed. At the base of your nail, that little white crescent moon is called the lunula—it’s the visible part of your nail matrix, which is basically the factory where new nail cells are made. This is why you have to be gentle with this area; any serious damage to the matrix can lead to permanent ridges or weird growth.
And then there’s the infamous cuticle. The actual cuticle is the non-living, sticky film on your nail plate. Its job is to create a seal. The fleshy, living skin at the base of your nail is the eponychium, and this is what people mistakenly hack away at. A pro never cuts this living tissue. We only remove the true cuticle.
This is where the science comes in. We use 99% isopropyl alcohol to wipe the nail plate because it temporarily removes surface oils and moisture, which are the enemies of adhesion. A good base coat then acts like double-sided tape: one side is designed to grip the keratin of your nail, and the other is formulated for polish to stick to it. It’s a non-negotiable step to prevent staining and make your manicure last.
Your Pro-Prep Shopping List
You don’t need a ton of fancy gear, but using the right tools makes a huge difference. Here’s a quick rundown of what to get:
- A Good Nail File: For natural nails, skip the aggressive, low-grit files. You want a 240-grit board file or, even better, a glass (or crystal) file. The glass ones cost a bit more, maybe $10 to $20 for a quality one from a brand like Mont Bleu, but they last forever and actually seal the nail edge as you file.
- Cuticle Remover: This is a liquid or gel that softens and dissolves dead cuticle tissue. A classic like Blue Cross or Sally Hansen’s version is super effective and usually costs less than $5.
- Orangewood Sticks or a Metal Pusher: For gently pushing back the eponychium. A pack of orangewood sticks is cheap, or you can invest in a good metal pusher for about $15.
- Cuticle Nippers: This is where you don’t want to cheap out. A high-quality, sharp pair from a brand like Tweezerman (around $25) will cleanly nip away hangnails and dead tissue. A dull, cheap pair will just tear your skin.
- 99% Isopropyl Alcohol: You can find this at most drugstores or online. It’s far more effective for nail prep than the common 70% version.
- Lint-Free Wipes: To use with the alcohol. Regular cotton balls leave behind tiny fibers that will ruin your smooth finish. A pack is usually just a few bucks at a beauty supply store.
The Step-by-Step Guide to a Flawless Foundation
In the salon, prep work is sacred. We easily spend half the appointment time on this before a bottle of polish is even opened. For a DIY job, plan on a solid 30-45 minutes for this part alone. Don’t rush it!
Step 1: Get in Shape
Always, always, always file your nails when they are bone dry. Wet nails are swollen with water and are much more likely to tear or peel. The key technique here is to file in one direction, moving from the side of the nail toward the center. That back-and-forth sawing motion you see in movies? It creates tiny fractures in the nail’s edge that lead to splits and breaks.
By the way, if you do only one thing from this entire guide, make it this. It costs nothing and will dramatically reduce splitting over time.
Step 2: Conquer the Cuticles (Safely!)
This is where things can go wrong fast. I can’t tell you how many new clients have come to me with red, inflamed, and painful skin around their nails because they or another tech were way too aggressive with cutting. One woman had such deep cuts in her living tissue that her fingers were constantly sore, and she was prone to infection—all because someone was trying to give her that “super clean” look.
Let’s do it the right way. Apply your cuticle remover and let it sit for a minute. Then, take your orangewood stick or metal pusher and gently push back the skin at the base of your nail. You’ll see a thin, flaky film lift up off the nail plate—that’s the true cuticle, and that’s the only thing you want to remove. You can gently scrape it away with your pusher or carefully nip away any lifted bits with your sterile nippers. Remember, if it’s fleshy and pink, don’t cut it!
Step 3: The Final Cleanse
Once your nails are shaped and your cuticles are tidy, it’s time for the final prep. Soak a lint-free wipe with that 99% isopropyl alcohol and scrub the entire nail plate. Get into the sidewalls and right up near the cuticle line. This removes all the dust from filing and, more importantly, dehydrates the surface for an unbreakable bond with your base coat.
A Quick Word on Gel Polish
If you’re using gel, this prep is even more critical. Gel polish contains molecules that, when exposed to an LED or UV lamp, harden in a process called polymerization. That’s how it gets so durable.
Heads up! Under-curing is a real risk. It happens when the gel isn’t exposed to the light for long enough. This can trap un-reacted chemicals against your nail, which can lead to skin allergies over time. So, how do you know? A properly cured gel layer is hard and has a high-gloss shine. If it feels rubbery, looks dull, or dents easily, it’s under-cured. Always follow the manufacturer’s recommended cure time, which is typically 30-60 seconds per coat in an LED lamp. And yes, LED lamps are generally better—they cure faster and the bulbs last longer than older UV models.
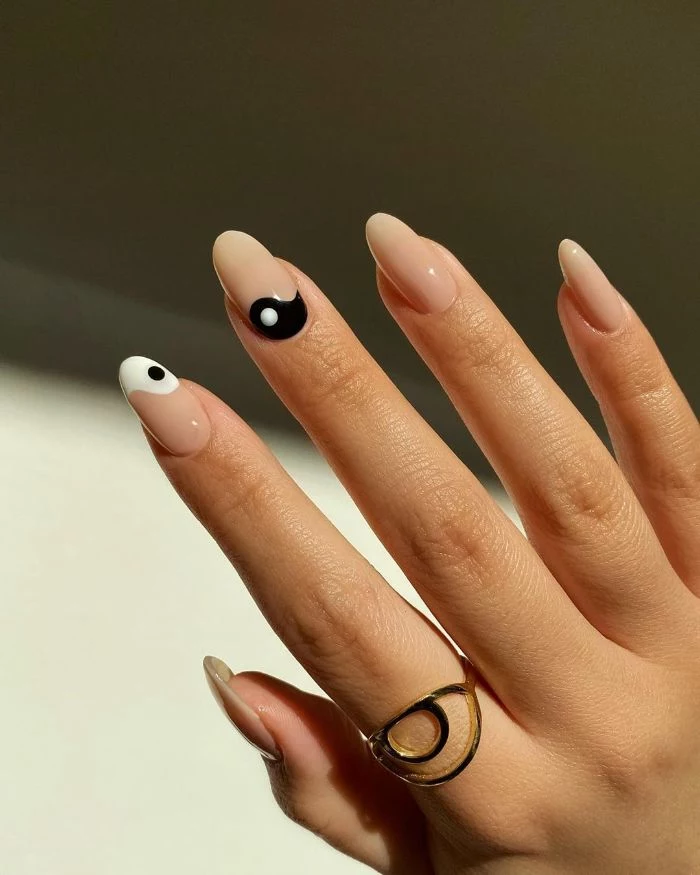
Finally! Let’s Polish (With Some Simple Art)
With a perfect foundation, even simple designs look incredibly chic. Here are a couple of classics you can master.
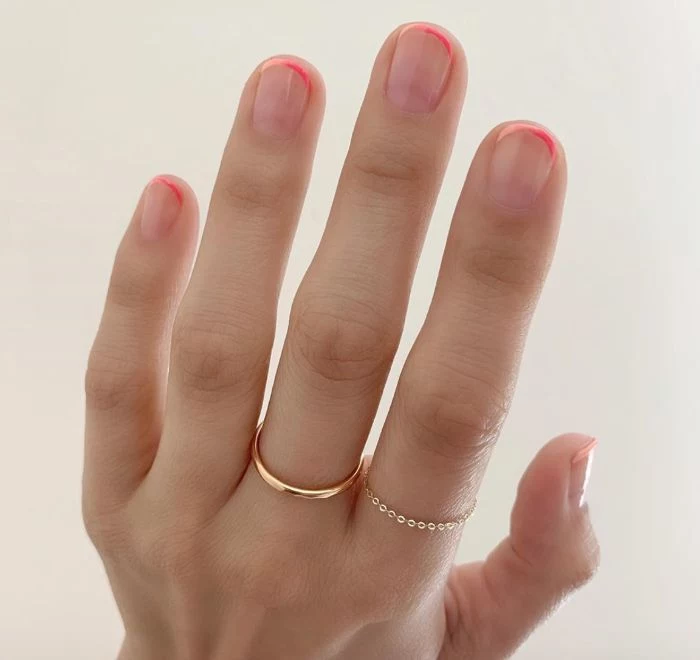
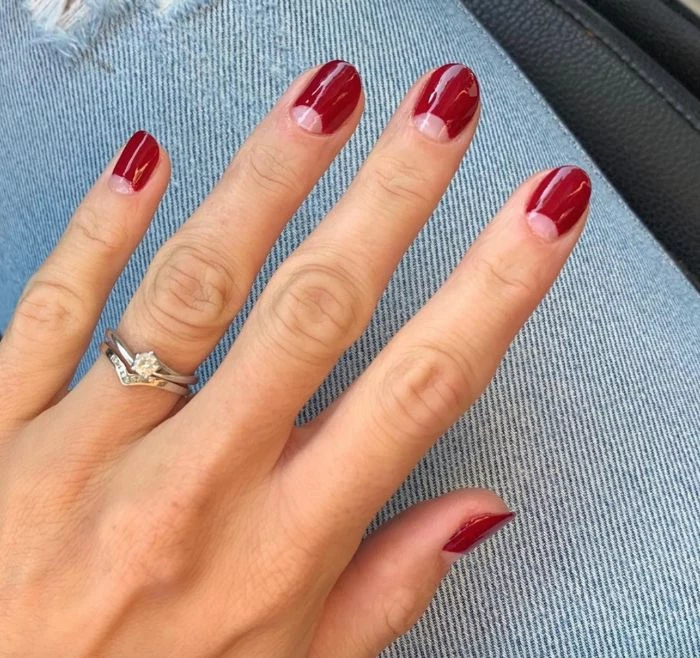
The Modern French Manicure: Forget the thick, clunky white stripes of the past. A modern French is delicate. After your base coat, apply one or two coats of a sheer neutral pink or beige. Once dry, take your white polish and wipe most of it off the brush. Use just the tip of the brush to lightly trace a very thin line along the free edge of your nail. Don’t worry if it’s not perfect—you can clean it up! Dip a small, flat brush (an old eyeliner or lip brush works great) in acetone and gently trace along the bottom of the white line to make it crisp and sharp. Finish with a top coat.
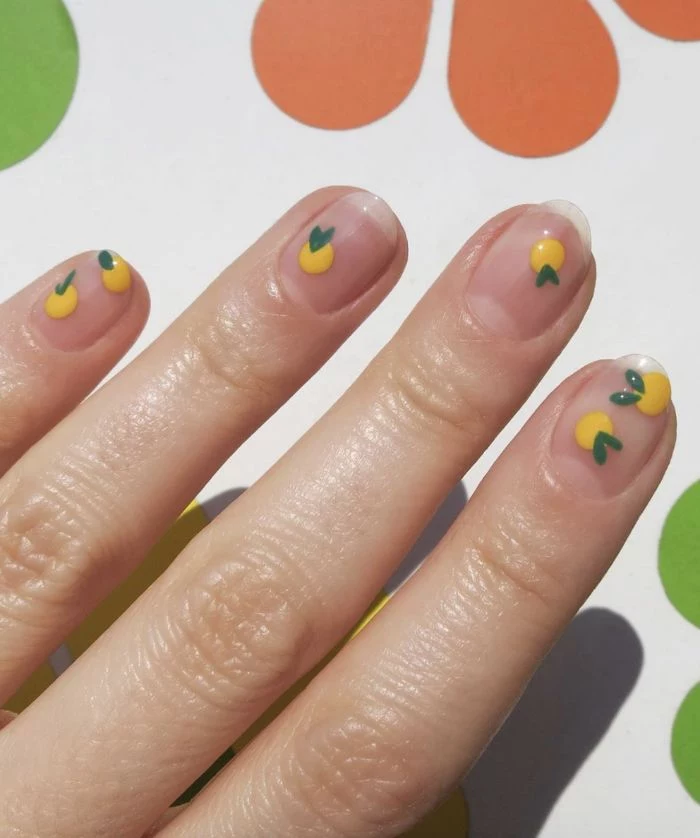
A Simple Dotting Design: This is the easiest way to look like you put in a ton of effort. After applying your base color and letting it dry completely, pour a small puddle of a contrasting polish color onto a piece of foil. You can use a dotting tool, or get creative—the end of a bobby pin, the head of a pin, or even a toothpick will work. Dip your tool into the polish and gently press it onto your nail. You can create a simple polka dot pattern or just place a single dot at the base of each nail near the cuticle for a minimalist, elegant look. Let it dry, add a top coat, and you’re done!
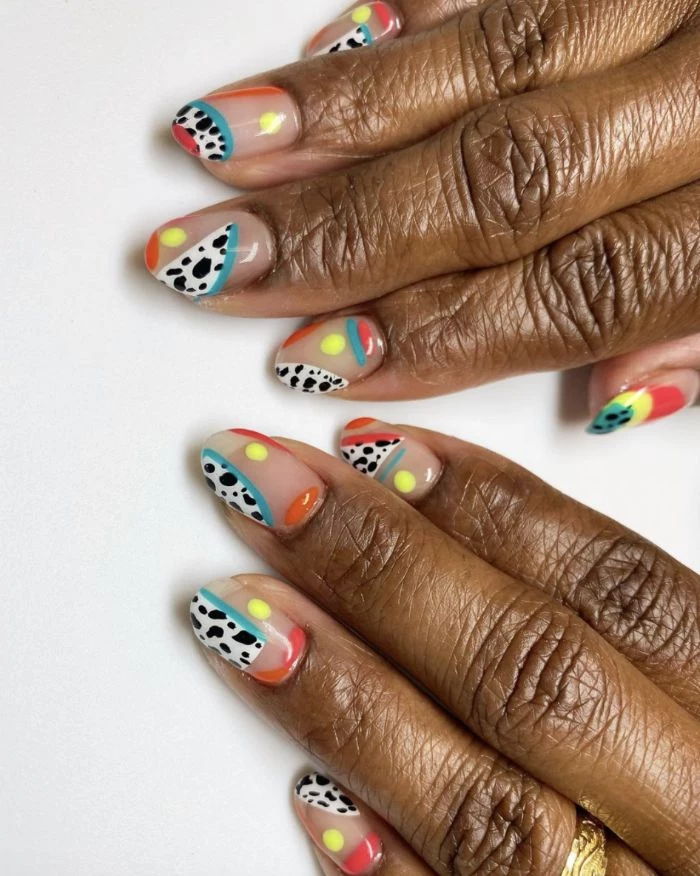
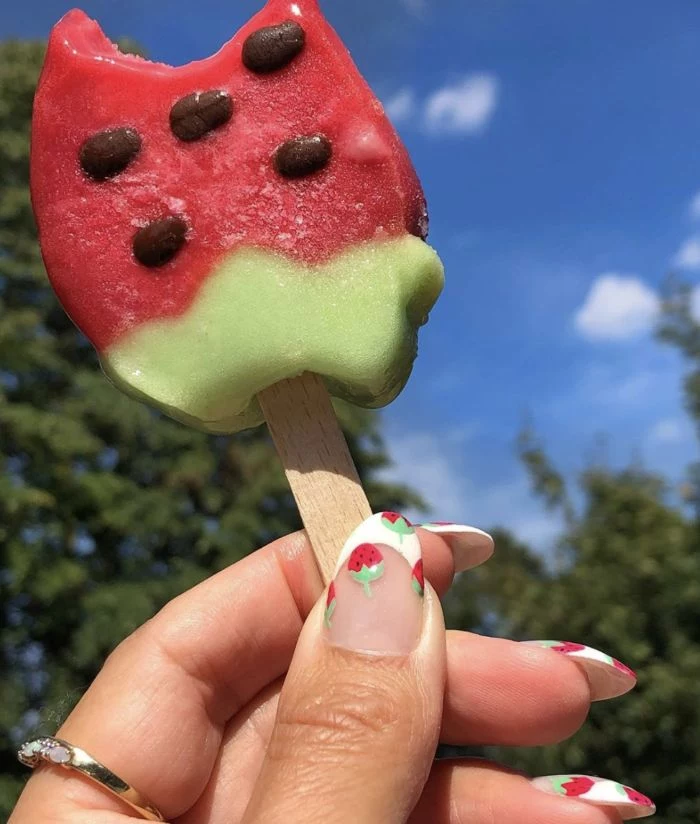
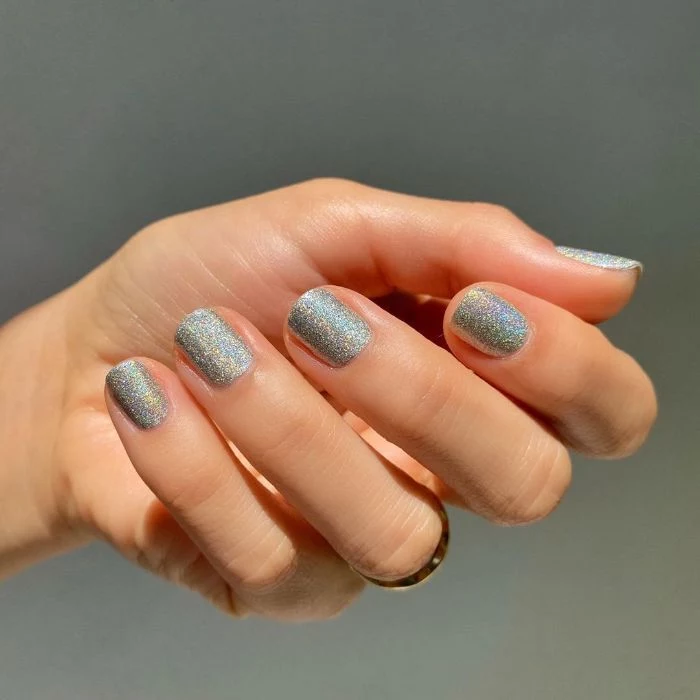
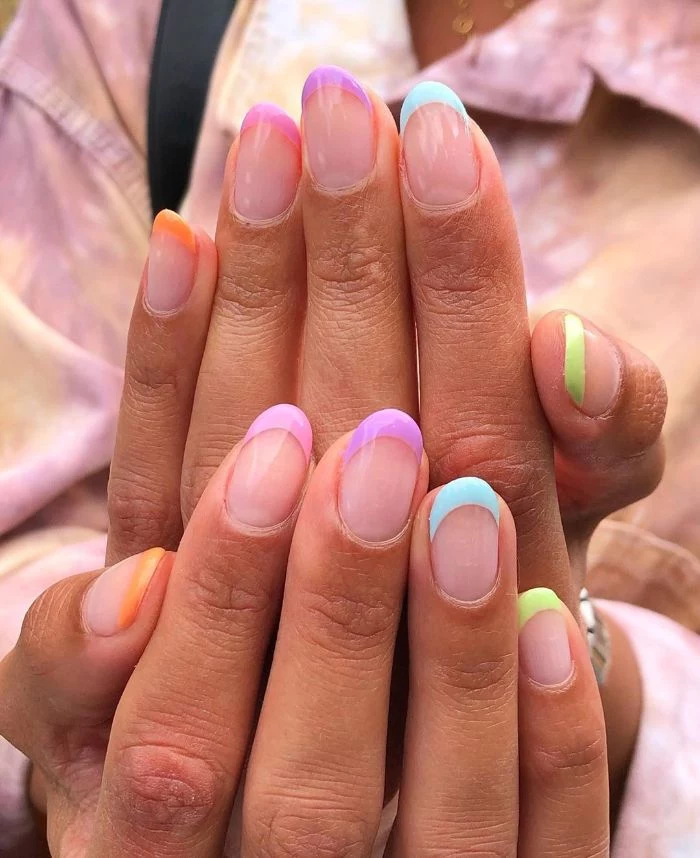
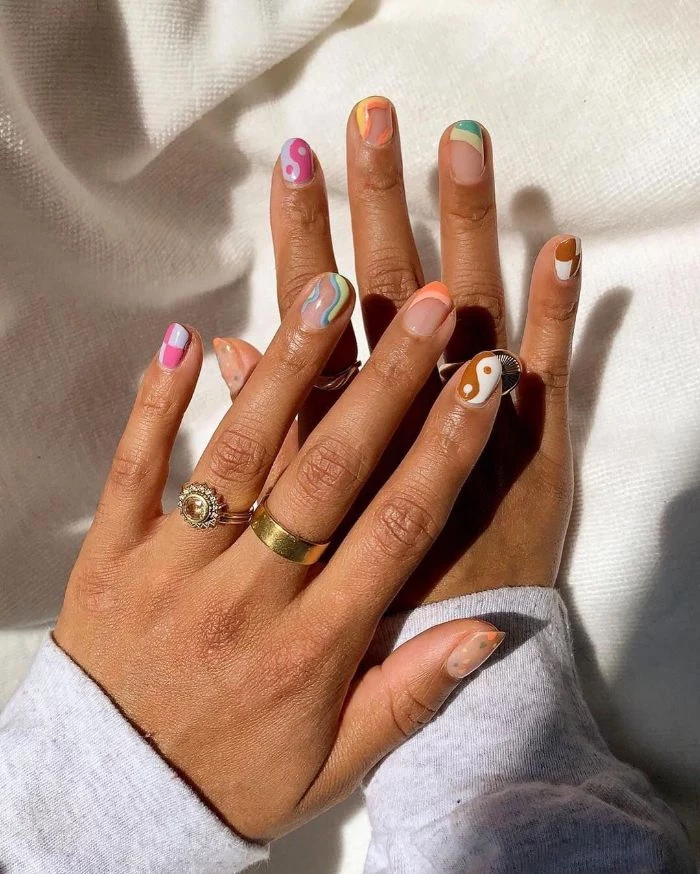
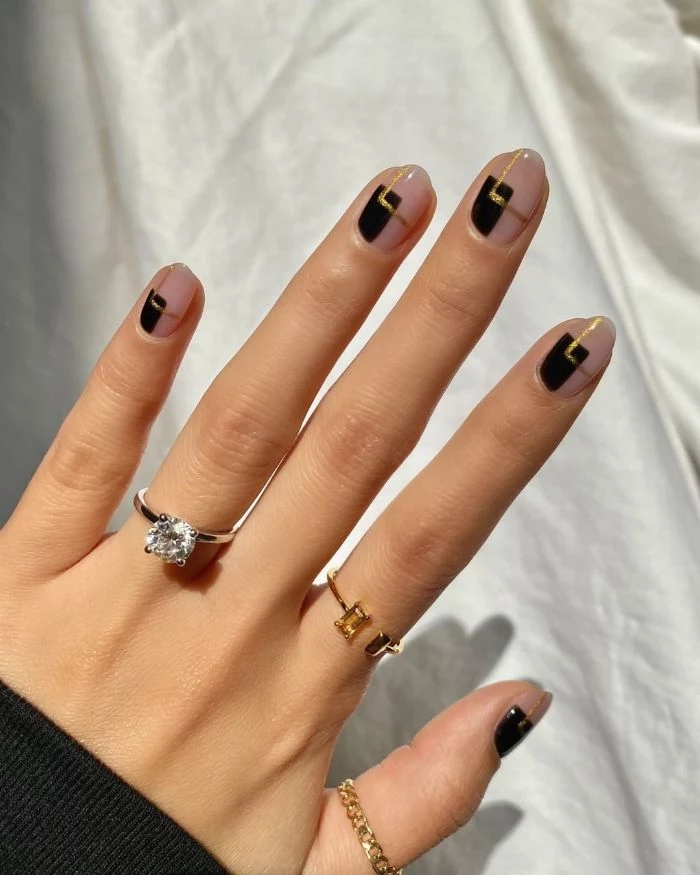
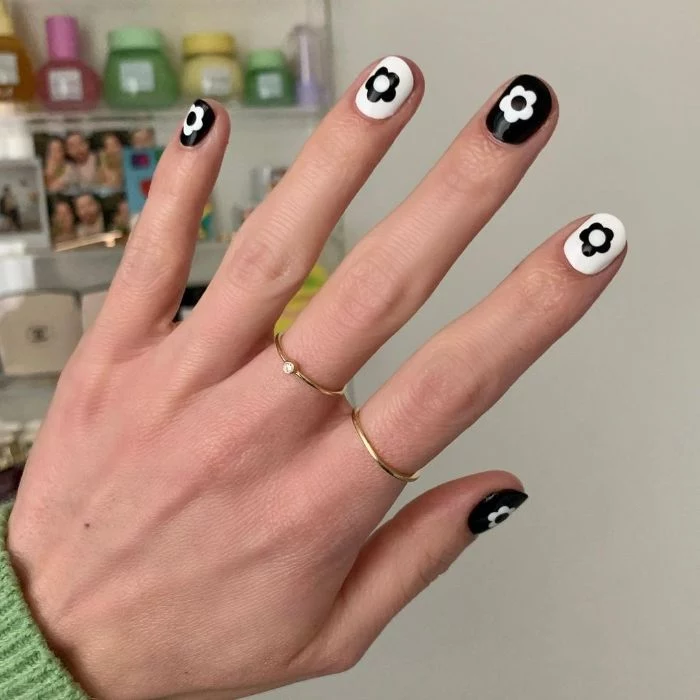
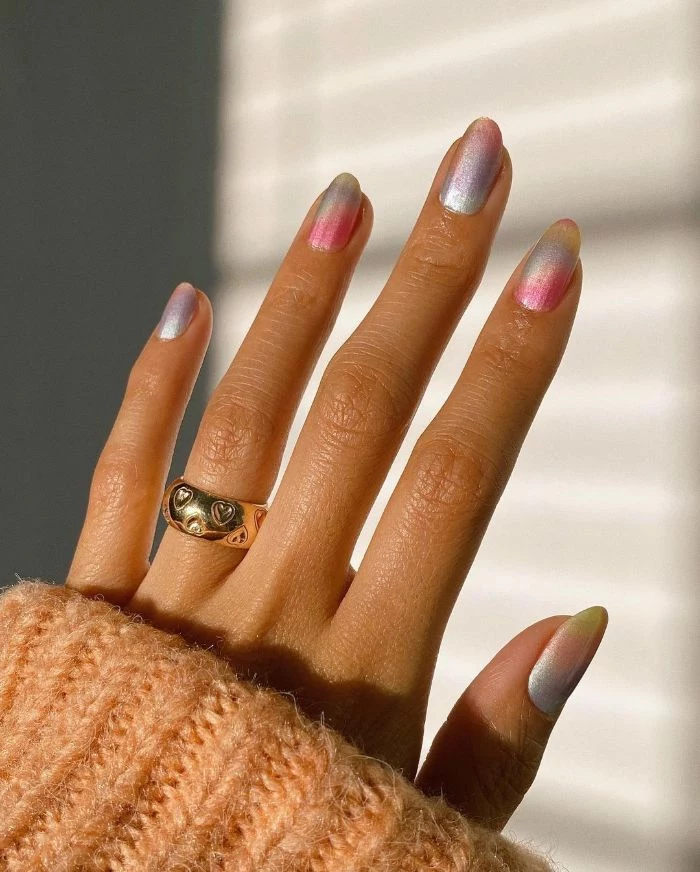
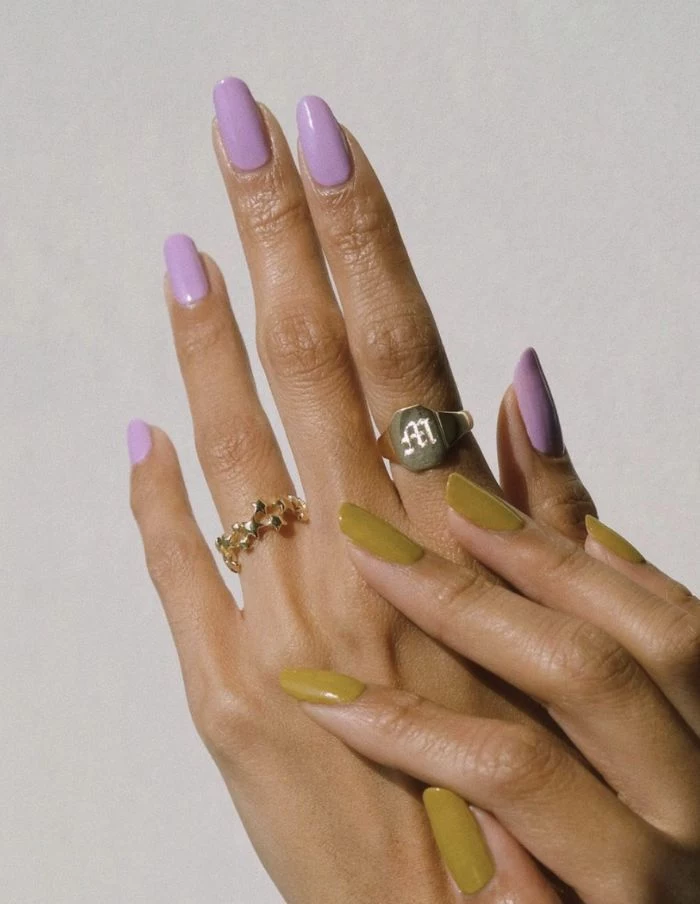
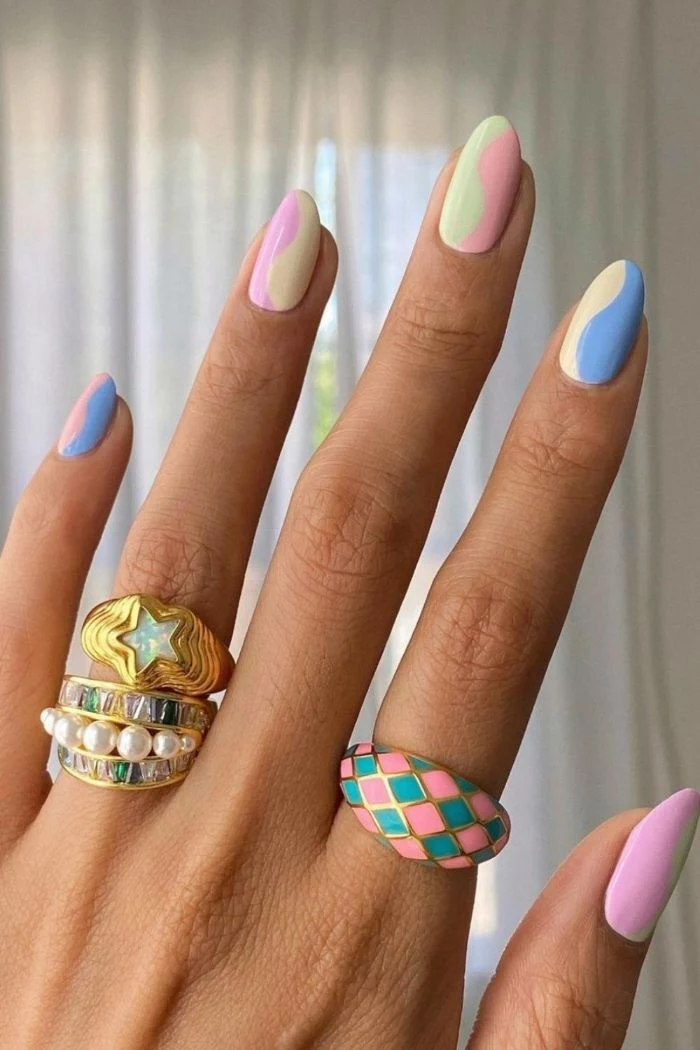
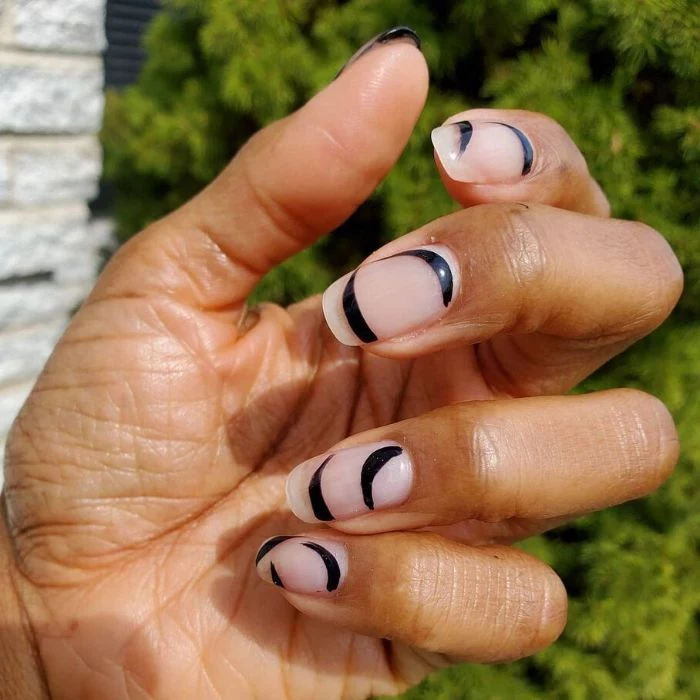
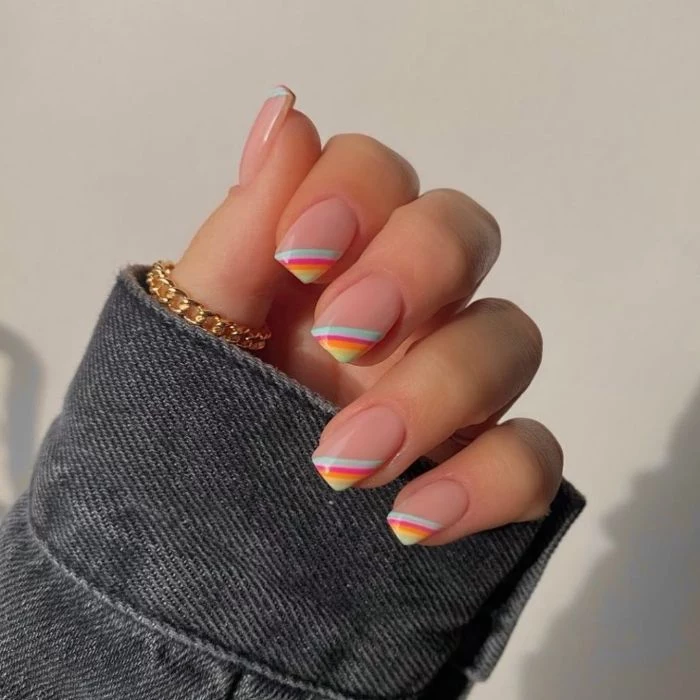
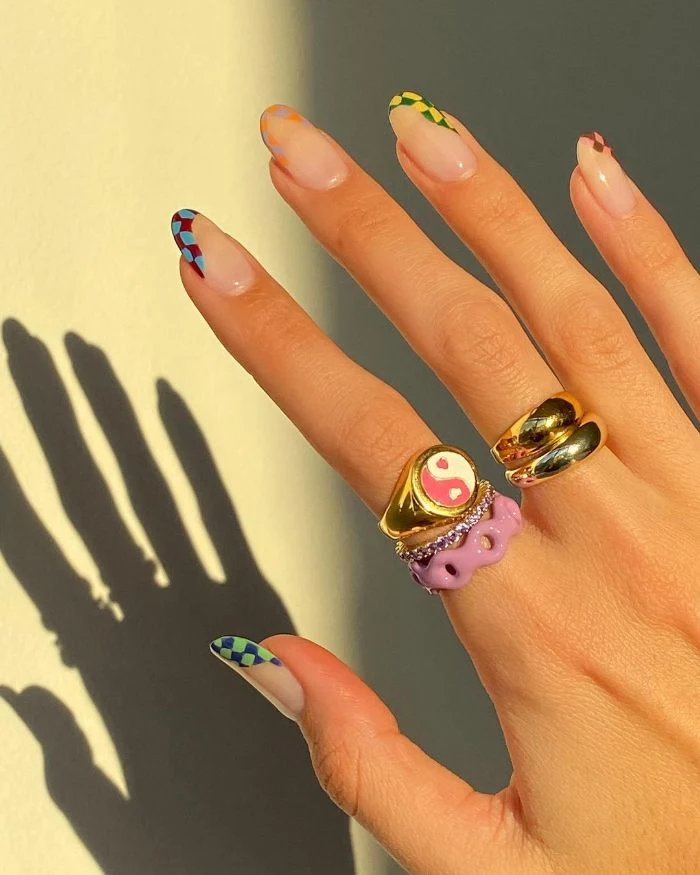
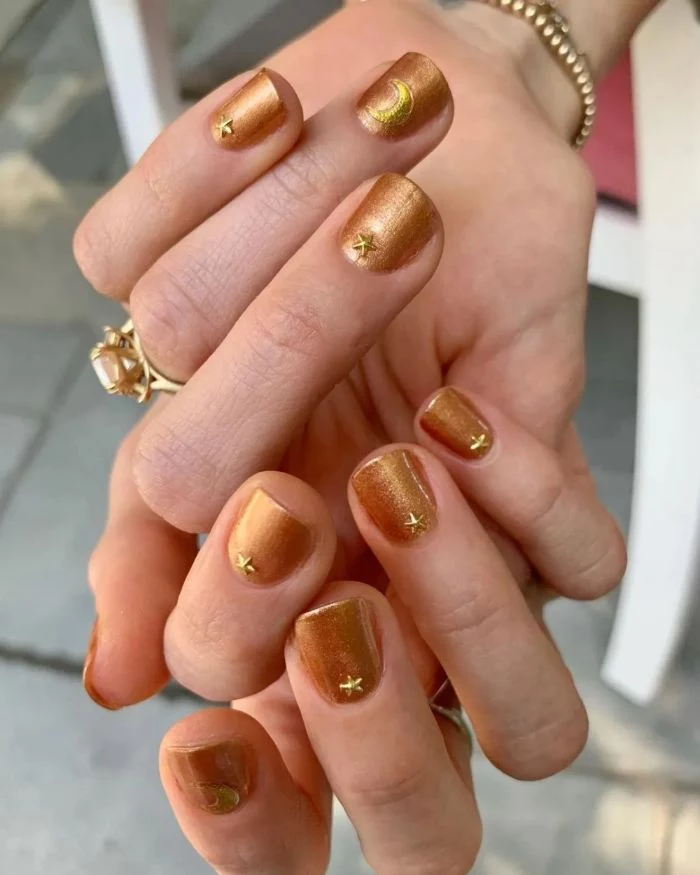
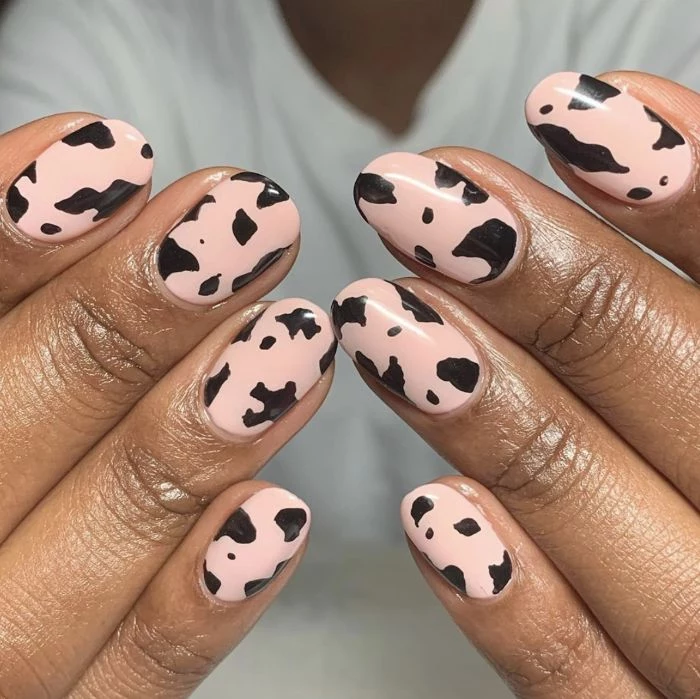
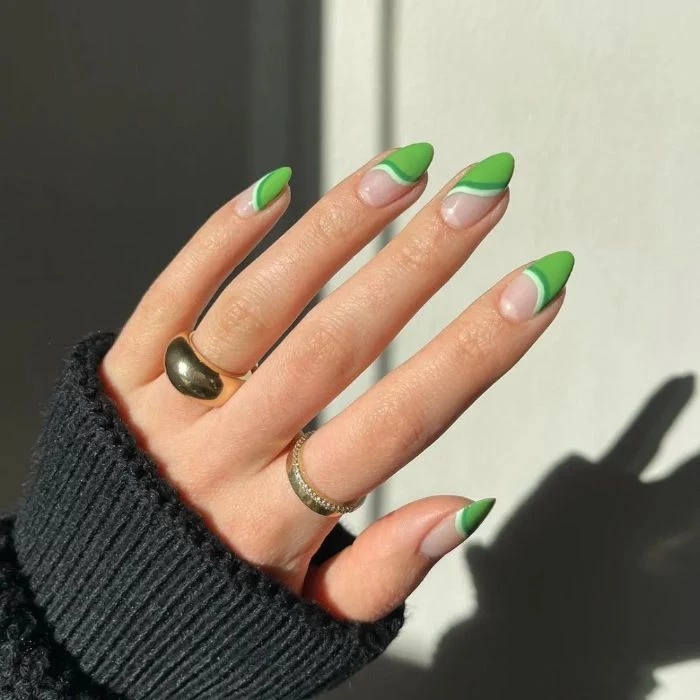
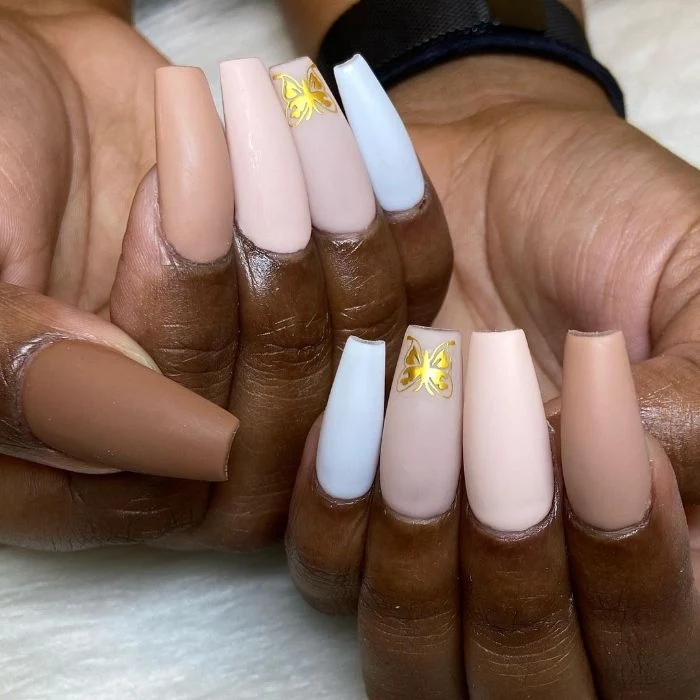
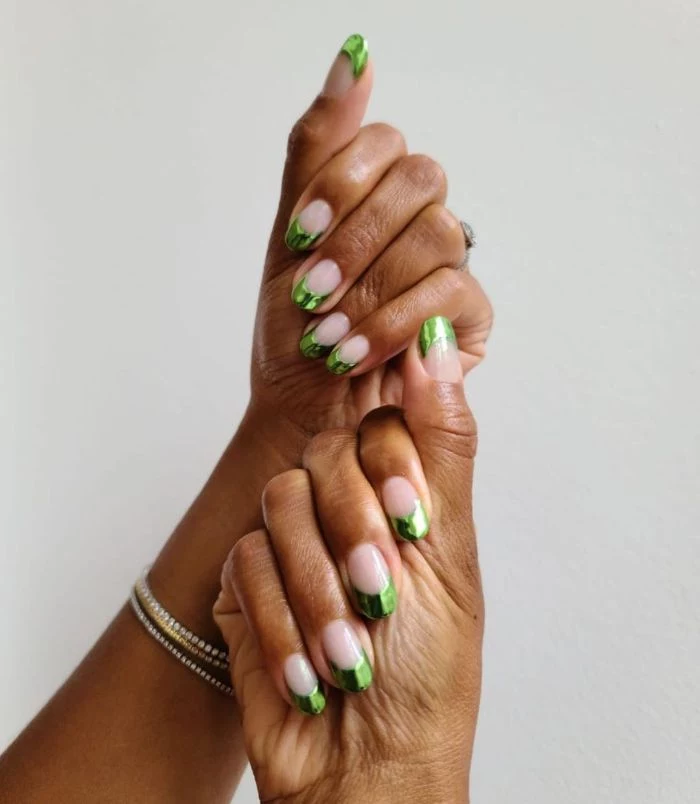
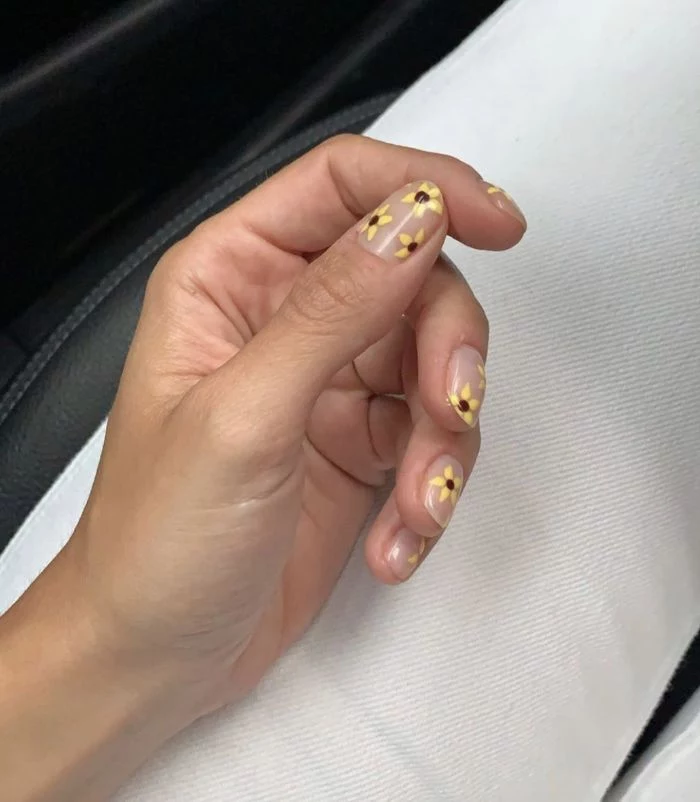
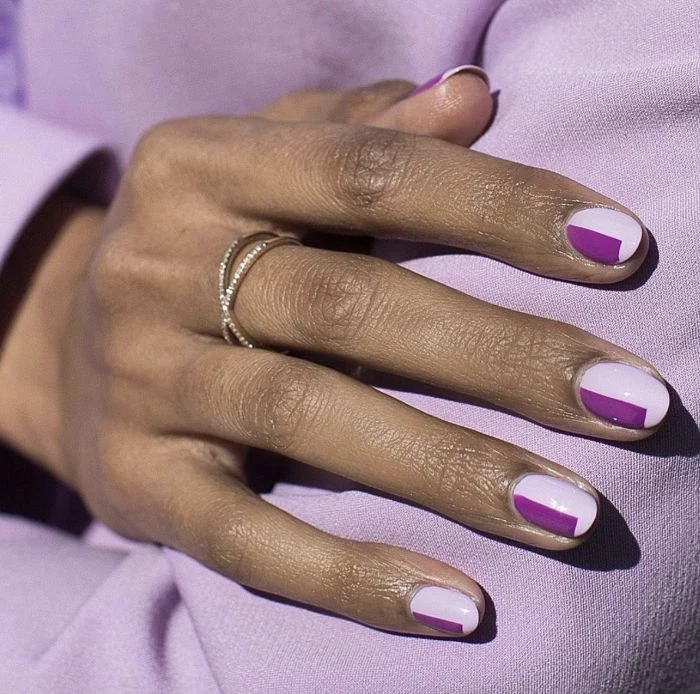
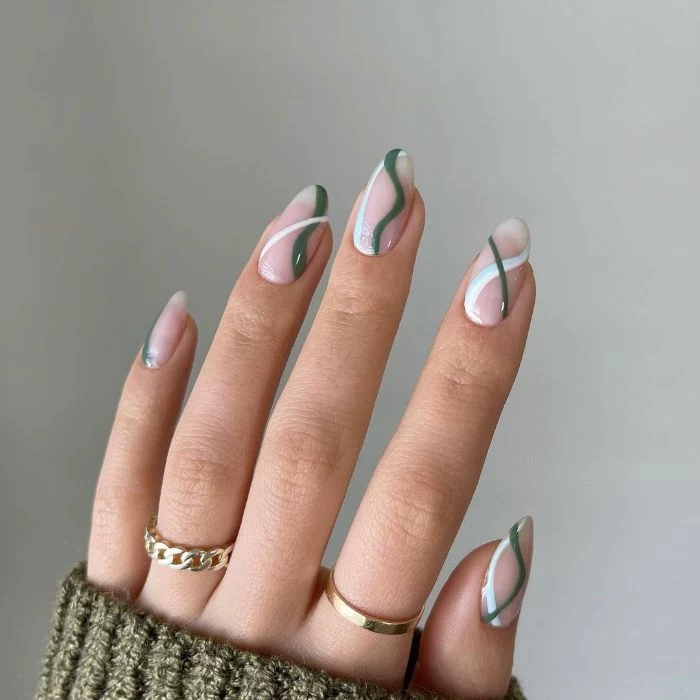
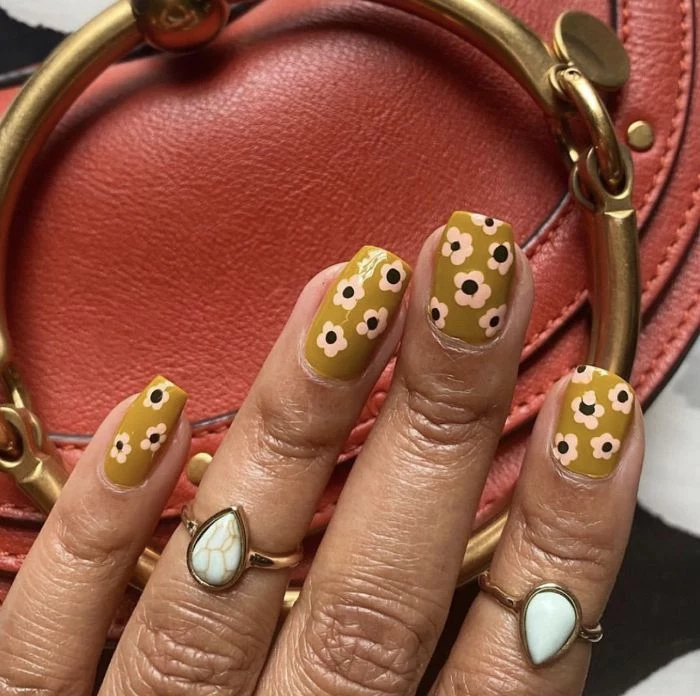
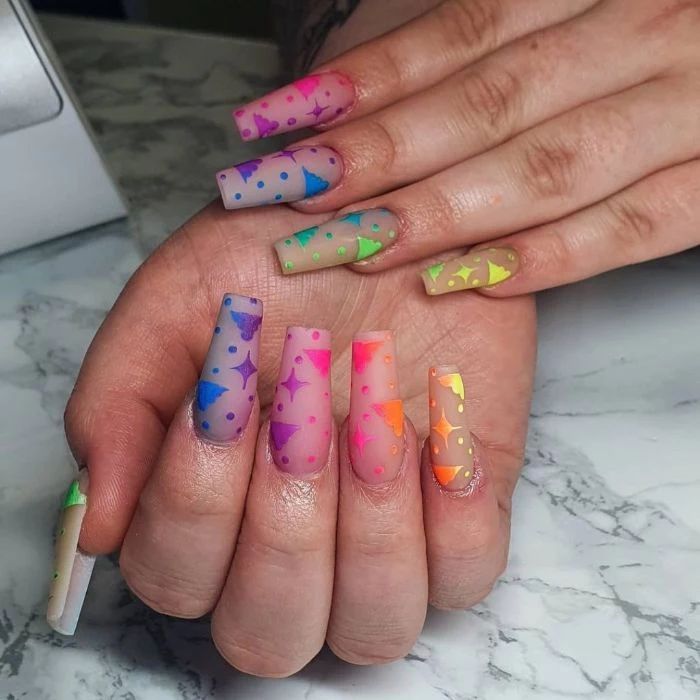
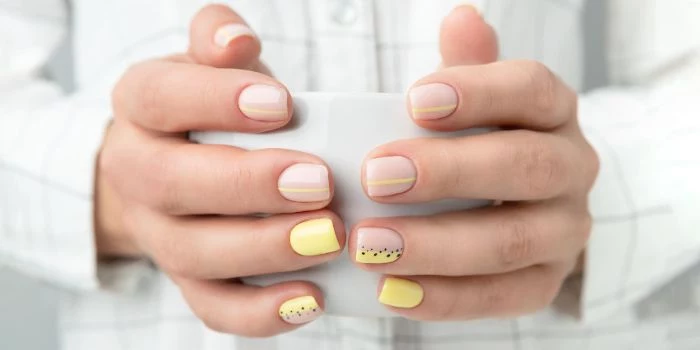
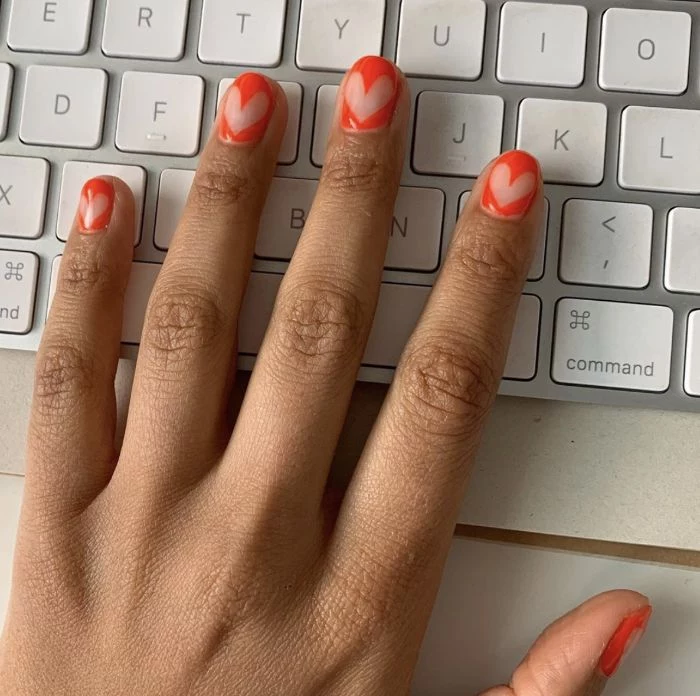
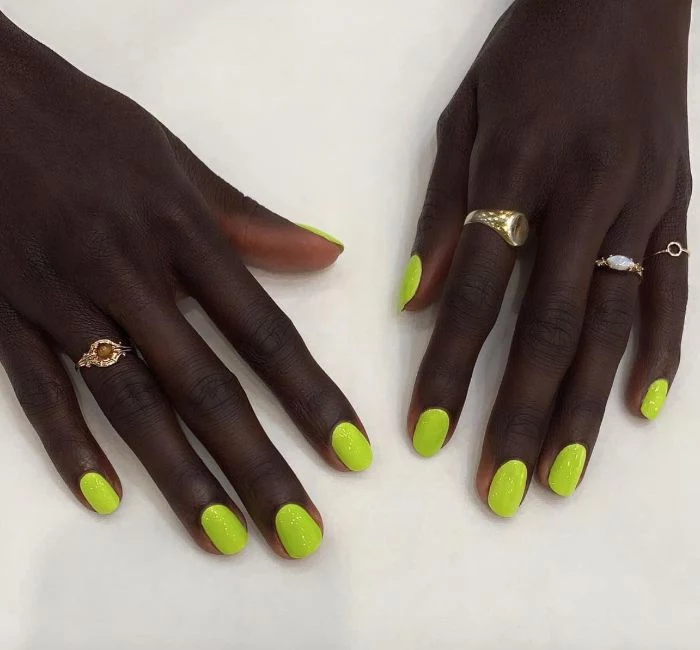
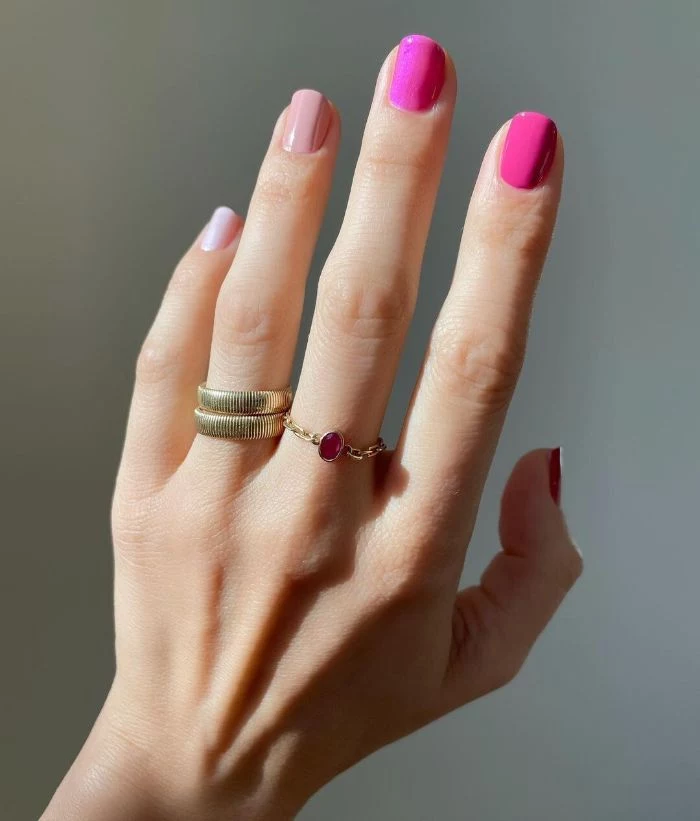
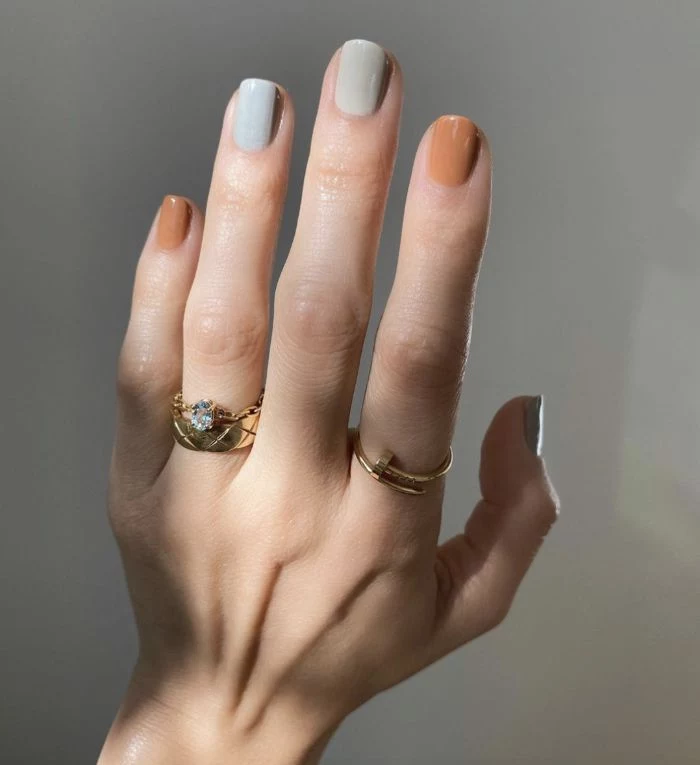
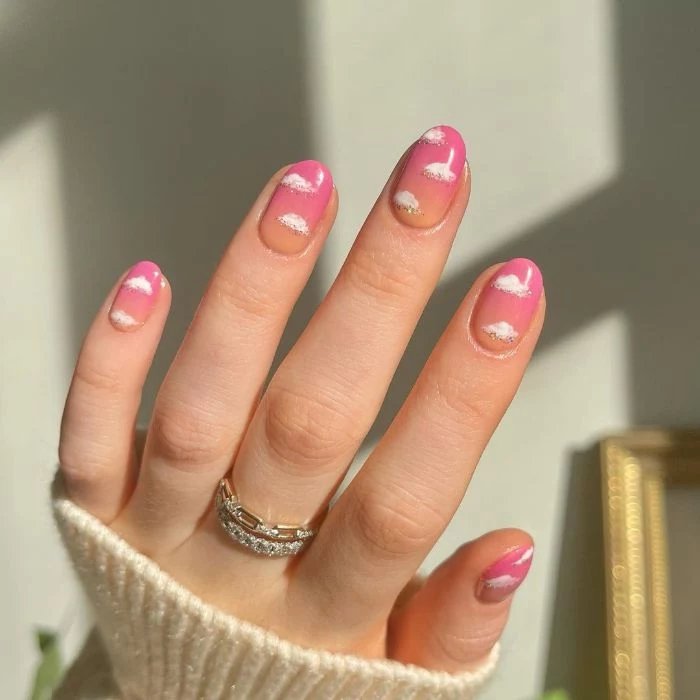
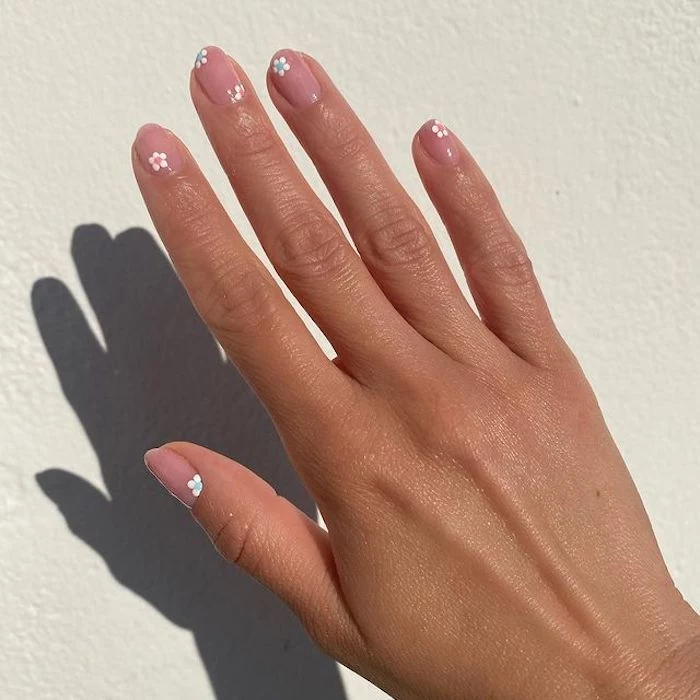
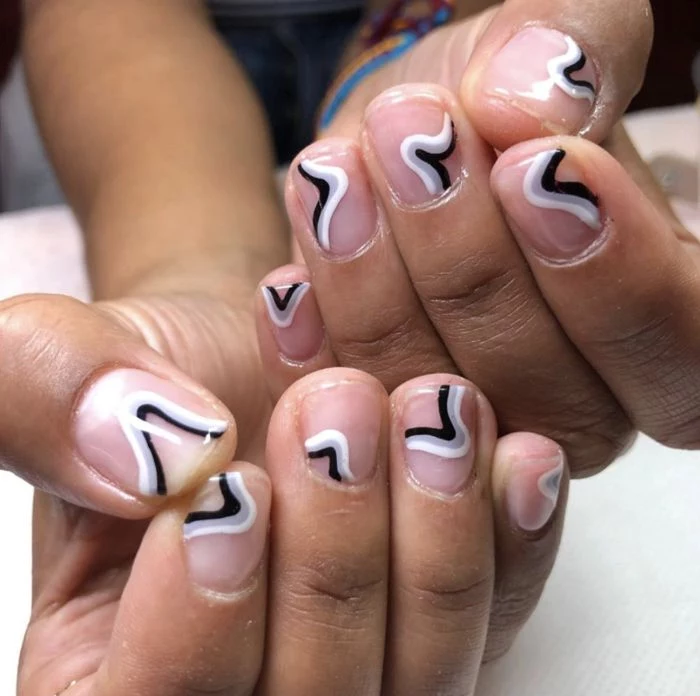
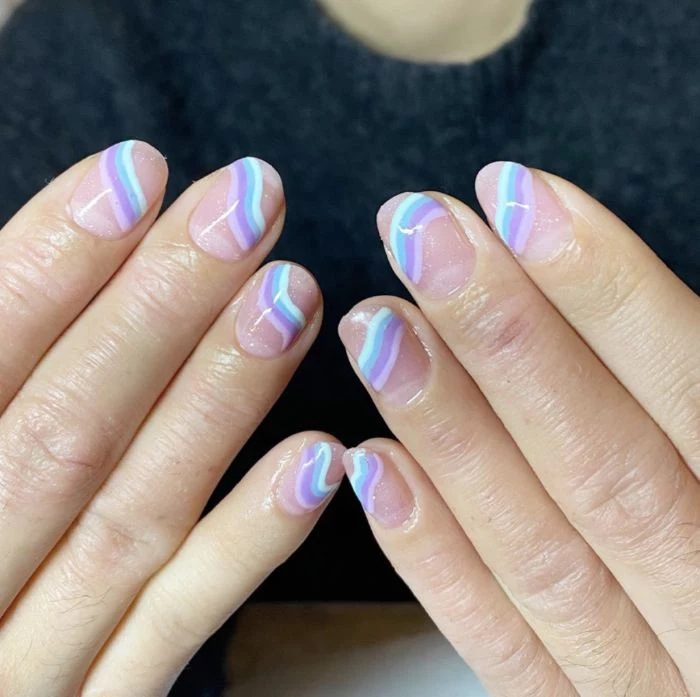
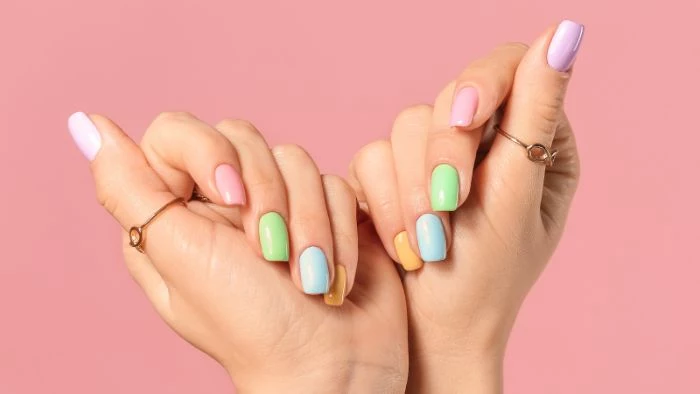
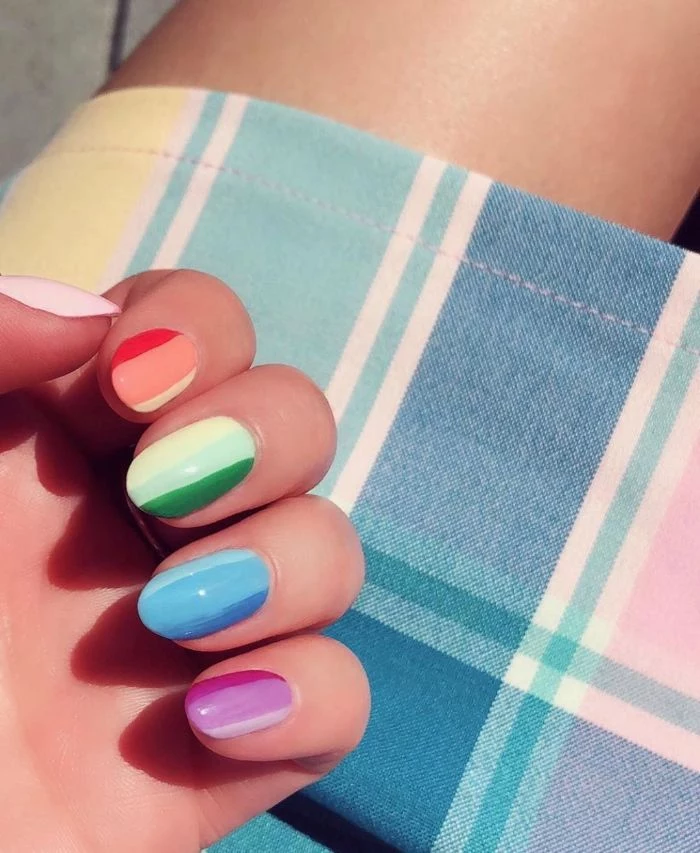
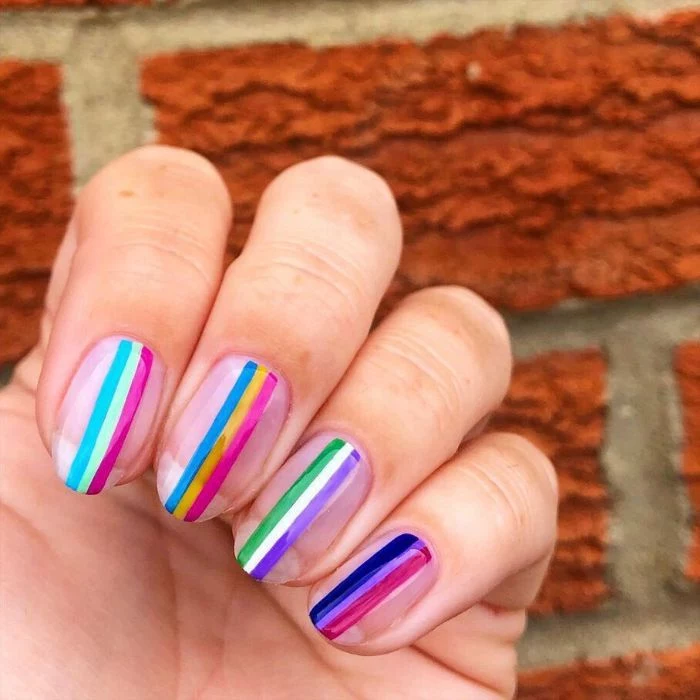
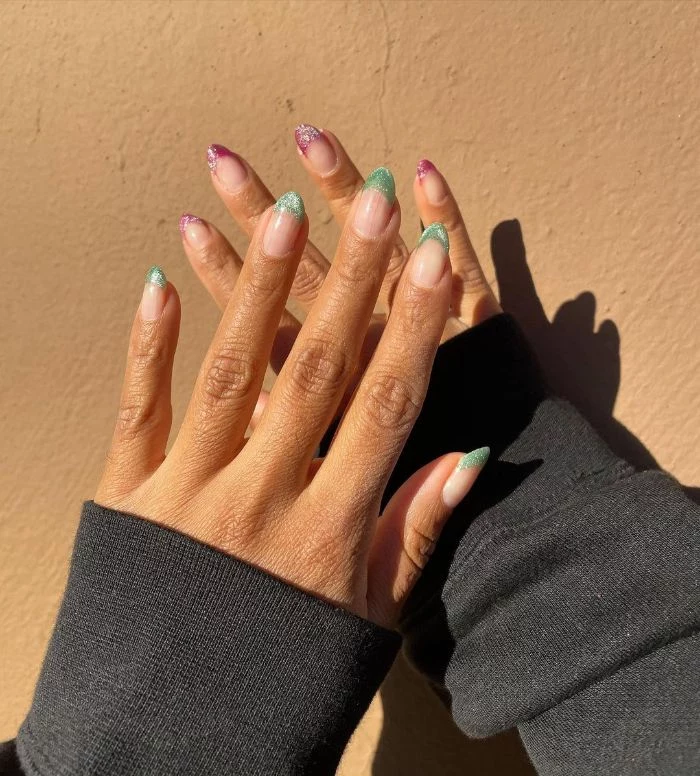
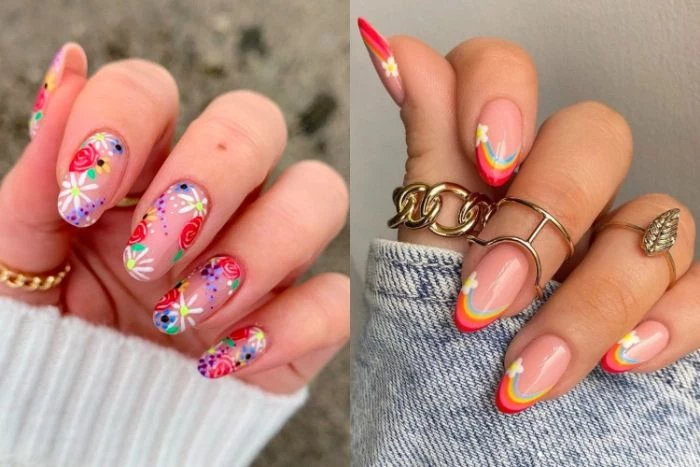
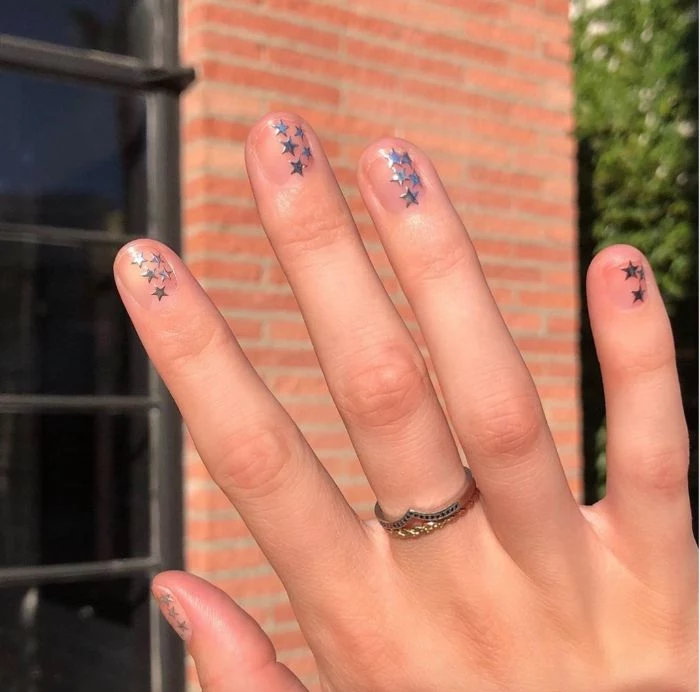
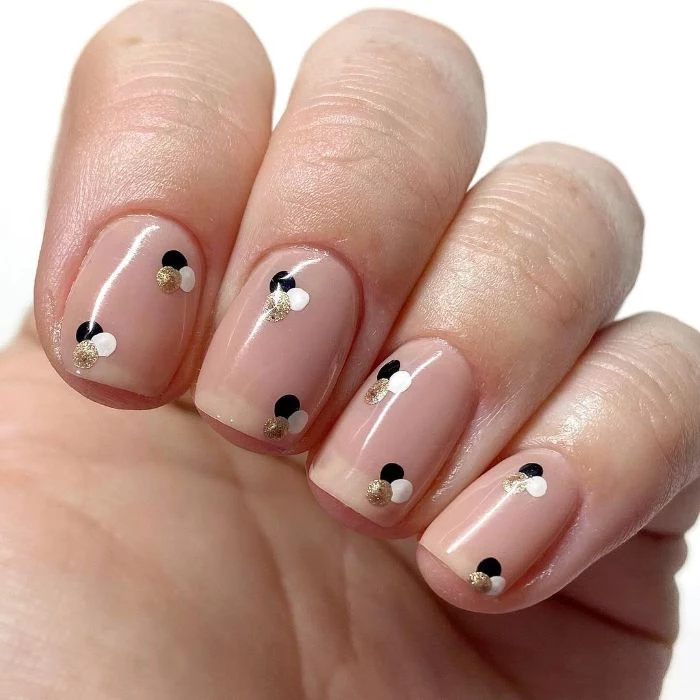
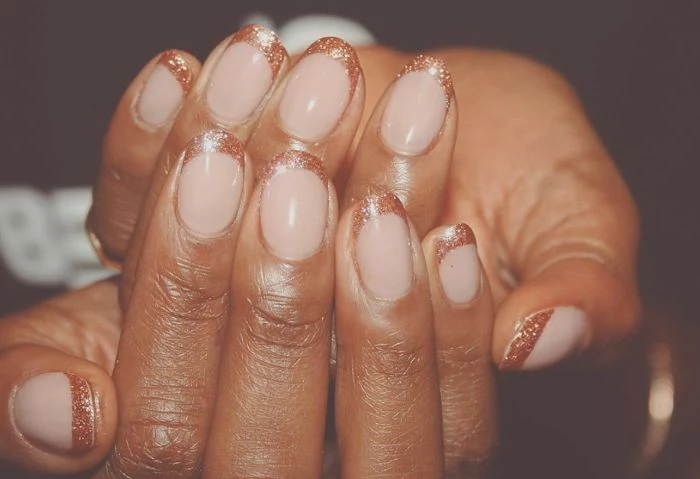
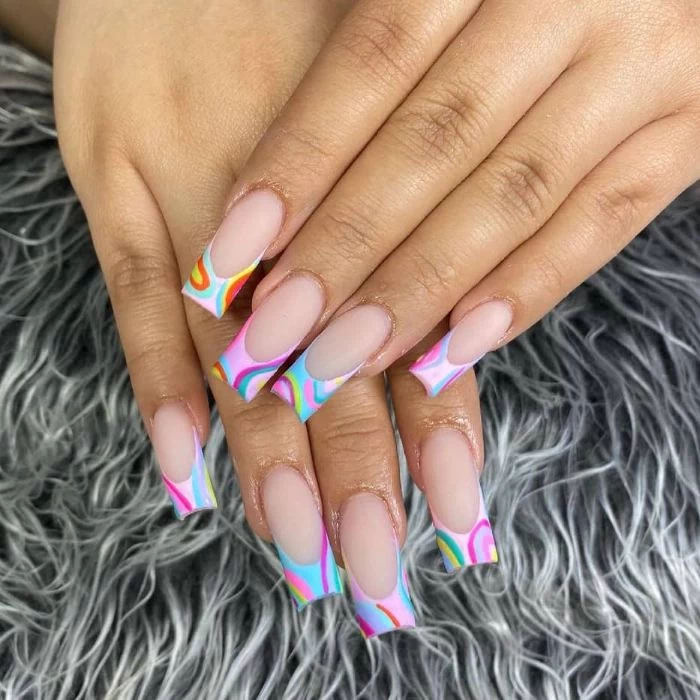
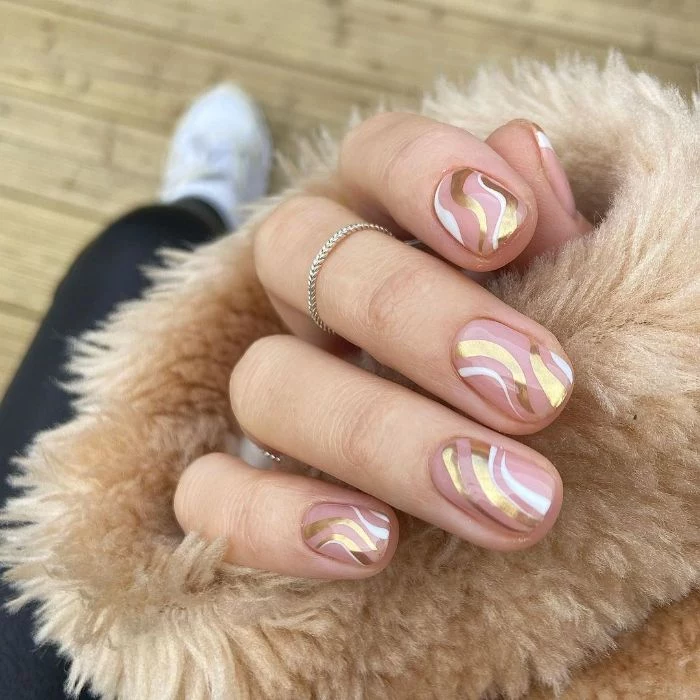
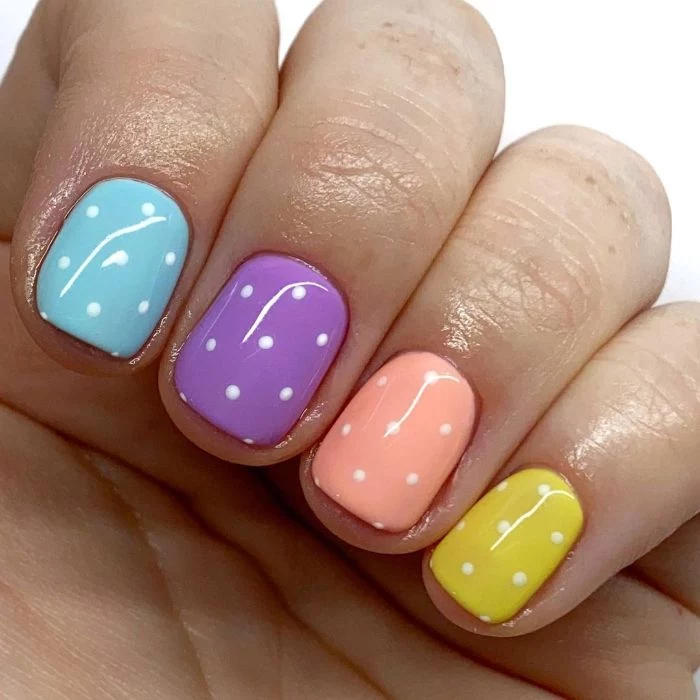
Inspirational Gallery
The global nail care market is projected to reach over $68 billion by 2030.
This explosive growth isn’t just about new colors. It’s driven by innovations in nail health, long-wear formulas, and at-home products that deliver professional results. Brands are investing heavily in research to create polishes and treatments that are not only beautiful but also fortifying, proving that consumers now demand both aesthetics and care in one bottle.
Wondering how to get that razor-sharp, clean edge around your cuticles?
The secret is a small, flat or angled artist’s brush (an old eyeliner or lip brush works perfectly) dipped in pure acetone. After applying your color but before the top coat, carefully trace around the cuticle line to wipe away any smudges. This simple trick elevates a home manicure to a salon-perfect finish instantly. It’s the detail that makes all the difference.

- Prevents staining on your natural nail.
- Fills in ridges for a smooth canvas.
- Creates a sticky surface for polish to adhere to.
The hero behind these benefits? The right base coat. Don’t skip this step! A specialized base coat, like Essie’s ‘Smooth-E’ for ridges or OPI’s ‘Nail Envy’ for strength, is the literal foundation of a durable manicure.
The shape of your nail dramatically influences the overall look. A classic square shape offers a modern, clean edge, perfect for bold, dark colors. An almond or oval shape elongates the fingers, lending an elegant and feminine feel that pairs beautifully with nudes and pastels. Don’t be afraid to experiment to see which style best complements your hands and your chosen polish.
The Final Seal: Capping the Free Edge
This is a non-negotiable step for longevity. After painting the nail surface with your base, color, and top coat, take the brush and gently swipe it along the very tip of your nail—the free edge. This creates a seal that protects against chipping from daily tasks like typing or washing your hands, effectively ‘wrapping’ the polish around your nail.
Before you even think of polish, ensure your nail plate is completely free of oils. After filing and pushing back cuticles, wipe each nail with a lint-free pad soaked in isopropyl alcohol or a dedicated nail dehydrator like ‘Nail Prep’ by CND. This removes any residue and oils, creating the perfect dry canvas for maximum polish adhesion. It’s the step that makes your polish truly grip.
Glass File: A high-end tool that seals the keratin layers at the nail edge as it files, preventing peeling. It’s gentle, long-lasting, and can be sanitized. Ideal for fragile or peeling nails.
Emery Board: The classic, affordable option. Look for a dual-sided board with different grits (e.g., 180/240). Use the rougher side for shaping and the finer side for smoothing. They wear out and should be replaced regularly.
For nail health, investing in a glass file from a brand like GERmanikure is a worthwhile upgrade.
Ever notice your favorite polish becoming thick and stringy? It’s often caused by air exposure from not closing the bottle tightly, or from the habit of shaking it.
- To thin it out: Add two to three drops of a dedicated nail polish thinner (not acetone, which ruins the formula). Look for products like OPI’s ‘Nail Lacquer Thinner’.
- To prevent it: Always store your polishes upright in a cool, dark place. And remember to roll, never shake, before application.
Common Mistake: Over-buffing the nail plate. It’s tempting to buff your nails to a high shine, but aggressively buffing thins the nail plate, leading to weakness, peeling, and sensitivity. A gentle buff with a high-grit block (220 grit or higher) is enough to smooth the surface for polish application without causing damage.
- File in one direction only, from the side to the center.
- Avoid aggressive back-and-forth sawing motions.
- Use the right grit: a 180-240 grit file is perfect for natural nails.
- Never file wet nails, as they are more prone to tearing.
Do nails really need to ‘breathe’?
This is a common myth. The nail plate is made of dead keratin cells and receives its oxygen and nutrients from the blood flow in the nail bed underneath, not from the air. While taking breaks between heavy-duty applications like gel or acrylics is great for assessing nail health and applying treatments, your nails don’t technically ‘breathe’.
Did you know? The iconic French Manicure wasn’t born in Paris. It was created in 1975 by Jeff Pink, founder of the American nail brand ORLY. He designed it as a versatile look for Hollywood actresses who needed a manicure that would match multiple costume changes.
The secret to a streak-free, even application lies in the ‘three-stripe rule’. Start with a single, confident stripe down the center of your nail, from just above the cuticle to the tip. Then, apply a second stripe on the left side, and a third on the right. This method ensures full coverage without overloading the nail with polish.
Roll, Don’t Shake: Shaking a bottle of nail polish creates tiny air bubbles. When you apply the polish, these bubbles can rise to the surface as it dries, causing a bumpy, uneven finish. Instead, gently roll the bottle between your palms for about 30 seconds to mix the pigments smoothly.
- Achieve perfectly crisp lines for French tips or geometric designs.
- Create flawless negative space patterns.
- Guide your color application for sharp half-moon manicures.
The tool? Simple striping tape. This ultra-thin adhesive tape, available at any beauty supply store, is a DIY nail artist’s best friend. Apply it to your nail, paint over it, and remove it while the polish is still wet for a professional-looking design.
Not all top coats are created equal. For a rock-hard, glossy finish that dries in minutes, nothing beats a quick-dry formula. Products like Seche Vite’s ‘Dry Fast Top Coat’ or ‘Super Glossy Taco’ from Holo Taco are cult favorites because they penetrate through the polish layers to dry the manicure completely, not just the surface. This dramatically reduces the chance of smudges and dents.
Acetone: A powerful solvent that breaks down polish (including gel and glitter) quickly and effectively. However, it can be very drying to the nails and surrounding skin.
Non-Acetone Remover: Gentler and less harsh, often containing hydrating ingredients like glycerin. It’s ideal for sensitive skin and regular polish changes, but it requires more effort to remove stubborn glitter or dark colors.
For routine color swaps, a non-acetone remover is a healthier choice. Save the pure acetone for heavy-duty jobs.
You’ve likely seen labels like ‘5-Free’ or ’10-Free’. This refers to the absence of specific potentially harmful chemicals. The original ‘Big 3’ to avoid were Formaldehyde, Toluene, and Dibutyl Phthalate (DBP). Modern formulas often go further, excluding things like formaldehyde resin, camphor, and parabens. Brands like Zoya and Butter London champion these cleaner formulas.

The Hailey Bieber-inspired ‘glazed donut’ look is surprisingly easy to achieve at home. After applying a sheer, milky nude polish (like OPI’s ‘Funny Bunny’), let it dry completely. Then, use a small eyeshadow sponge to gently rub a fine, white chrome powder over the entire nail. Seal with a glossy top coat for that signature iridescent, pearly sheen.
The average fingernail grows approximately 3.47 millimeters per month.
This means that any damage, like a white spot from an injury or a thin area from over-buffing, will take about 4-6 months to fully grow out. It’s a powerful reminder to be gentle with your nail matrix, the ‘factory’ at the base of your nail, as any trauma there will be visible for months to come.
Changing your manicure’s entire personality is as simple as switching your top coat.
- A high-gloss finish makes colors pop, giving a classic, ‘wet-look’ shine that reflects light and can make nails appear healthier.
- A matte top coat, like OPI’s ‘Matte Top Coat’, creates a modern, velvety, non-reflective finish. It’s perfect for giving dark colors an edgy, sophisticated twist.
Ridge-Filling Base Coat: Has a slightly thicker consistency and contains microscopic fillers that settle into the grooves of the nail, creating a perfectly smooth surface. Essential for anyone with ridged or uneven nails.
Strengthening Base Coat: Formulated with proteins like keratin or calcium to reinforce weak, brittle nails. It acts like a temporary support system, helping to prevent breakage as the nail grows.
Choose based on your primary nail concern for a truly customized prep.

Your hands do a lot. To protect your fresh manicure, always wear rubber gloves when washing dishes or using cleaning products, as hot water and harsh chemicals are the top culprits for premature chipping and peeling. After washing your hands, reapply a drop of cuticle oil to rehydrate the area.
Feeling creative but not ready for complex art? A simple dotting tool can create endless designs. Use it to make perfect polka dots, simple flowers (five dots around a central one), or elegant outlines along the cuticle. Experiment by using the two different-sized ends for varied effects. It’s the easiest entry into the world of nail art.


