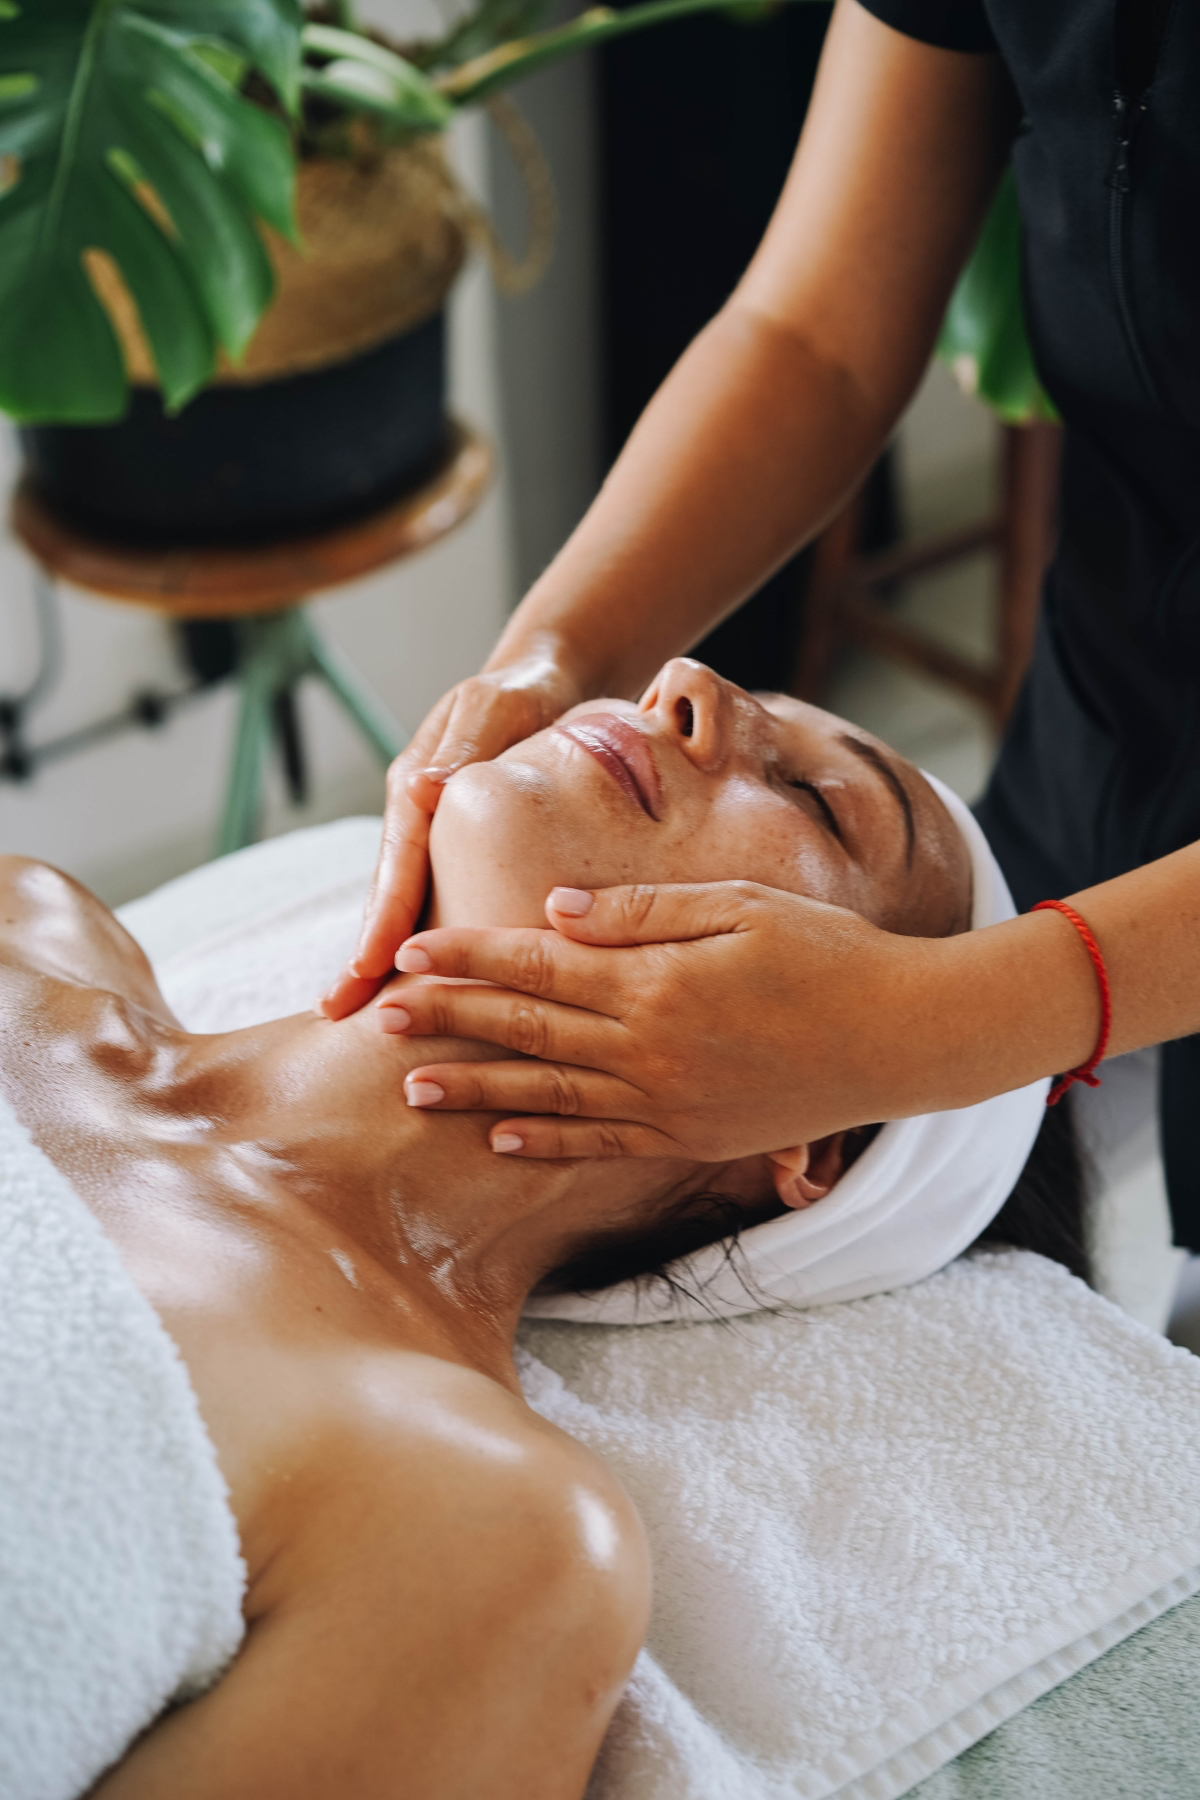
Your Guide to Facial Massage: Real Techniques for That Healthy Glow
When I first started my esthetics training, I’ll be honest—I thought facial massage was just the ‘fluffy’ part of the service. You know, the relaxing bit before we got down to the serious business of extractions and peels. My mentors, who had seen it all, were patient. They showed me that our skin isn’t just a canvas; it’s deeply connected to our muscles, circulation, and a whole drainage system most of us ignore.
In this article
It took seeing the difference in my clients’ skin, week after week, for the lesson to truly sink in. Facial massage isn’t fluff. It’s a cornerstone of genuine skin health.
I’ve seen it time and time again. The clients who took a few minutes to do simple massage techniques at home always had better, more lasting results. Their skin was bouncier, less puffy, and had a kind of vitality that you just can’t get from a bottle. So, let’s skip the trends and get into what actually works—the techniques, the tools, and the safety rules that make this practice so powerful.
Why This Actually Works: What’s Happening Under Your Skin
To get real results, you need to know what you’re actually doing. This isn’t about randomly rubbing your face; it’s about giving specific systems a helping hand. Once you get the ‘why,’ your ‘how’ becomes so much more effective.
Relaxing Your Facial Muscles
Your face has over 40 muscles, and man, do they hold on to stress. You know that tension in your jaw when you’re concentrating? Or the way your brow furrows? Over time, that constant muscle tension can contribute to expression lines and just make you look tired.
Facial massage gently coaxes these muscles to release that stored tension. Think of it as a deep tissue massage, but for your face. When the muscles chill out, the skin on top looks smoother and more relaxed. The goal isn’t to magically erase deep wrinkles, but to soften the lines caused by our daily habits. It’s a fantastic preventative measure.

Your Body’s Natural De-Puffer: The Lymphatic System
Ever wake up with a puffy face? Yep, that’s often a sluggish lymphatic system. Unlike your blood, which has the heart to pump it around, your lymph fluid just kind of… sits there. It relies on you moving your muscles to get it flowing and carrying away waste.
When you’re lying flat all night, fluid can pool in your face. A proper facial massage, using very light, specific strokes, acts like a manual pump for this system. This is often called Lymphatic Drainage. The key is to be gentle—the vessels are right under the skin. You’re simply guiding the fluid toward lymph nodes near your ears and down your neck. This is why you’ll always see pros finishing with downward strokes on the neck; we’re completing the drainage cycle!
Boosting Circulation for That ‘Lit-From-Within’ Look
Healthy skin has great blood flow. Blood delivers all the good stuff—oxygen and nutrients—that your skin cells need to repair themselves and build collagen. Poor circulation? That leads to dull, tired-looking skin.
The physical act of massage brings a rush of fresh blood to the surface. You’ll often see this as a temporary, healthy-looking flush. This boost in circulation creates the perfect environment for your skin to thrive and supports the processes that keep it firm and bouncy.
Bringing the Pro Techniques Home
You don’t need a 30-minute spa session every day. Honestly, a consistent 5-10 minutes can make a world of difference. The real secret is doing it right and doing it often.
Getting Prepped: The Non-Negotiables
First rule of facial massage: NEVER work on dry skin. It’s the one thing I drill into every new student. You’ll just tug and pull, which can cause irritation and is counterproductive over time.
1. Start Clean: Always begin with clean hands and a freshly washed face. You don’t want to massage daily grime into your pores.
2. Get Some Slip: You need a product that lets your fingers or tools glide without friction. A facial oil is perfect for this. I’d recommend starting with 5-6 drops and adding more if needed. For a fantastic budget-friendly option, The Ordinary’s 100% Plant-Derived Squalane is usually under $10 and works beautifully. If you’re feeling fancy, oils from brands like Biossance or Kiehl’s are a great splurge. Have acne-prone skin? Stick to lighter oils like grapeseed or squalane. A rich, hydrating serum can also work in a pinch, but you might have to reapply it as it soaks in fast.
AM or PM: When’s the Best Time to Massage?
A common question! Here’s the simple breakdown:
- Morning massage is incredible for de-puffing and stimulating circulation. It wakes your skin up and creates a vibrant, sculpted canvas for makeup.
- Evening massage is all about releasing the day’s tension. It’s a relaxing ritual that can help your nighttime skincare products absorb better while you sleep.
Honestly, the best time is whenever you’ll actually do it consistently. Don’t overthink it!
A Basic At-Home Routine (5-7 Minutes)
Ready to try? Before you start, here’s a quick checklist of what you’ll need.
Your Shopping List:
- A Cleanser: Whatever you already use is fine!
- A Facial Oil or Serum: This is your ‘slip’ agent. Expect to spend between $10 and $70, depending on the brand.
- (Optional) A Massage Tool: Your hands are free and fantastic! But if you want a tool, a Gua Sha can run you $15-$40, while a basic roller is about $15-$30.
Here’s a simple, effective routine. Repeat each step 3-5 times, using gentle but firm pressure.
1. Warm-Up (1 min): After applying your oil, start with broad, sweeping strokes from your collarbone up to your jaw. Then, gently sweep down the sides of your neck to get the drainage process started.
2. Jawline & Chin (1 min): Make a pincer shape with your thumb and index finger. Glide from the center of your chin out towards your earlobe. Gently knead the fleshy part of your jaw to release tension.
3. Cheeks (1 min): Use the flat pads of your fingers to sweep from the corners of your mouth up and out toward your temples. Then go from the sides of your nose across your cheekbones.
4. Eyes (1 min): Use your ring finger—it has the lightest touch. Trace a circle around your eye, moving along the brow bone (inside to out) and then very gently under the eye (outside to in). This is amazing for puffiness.
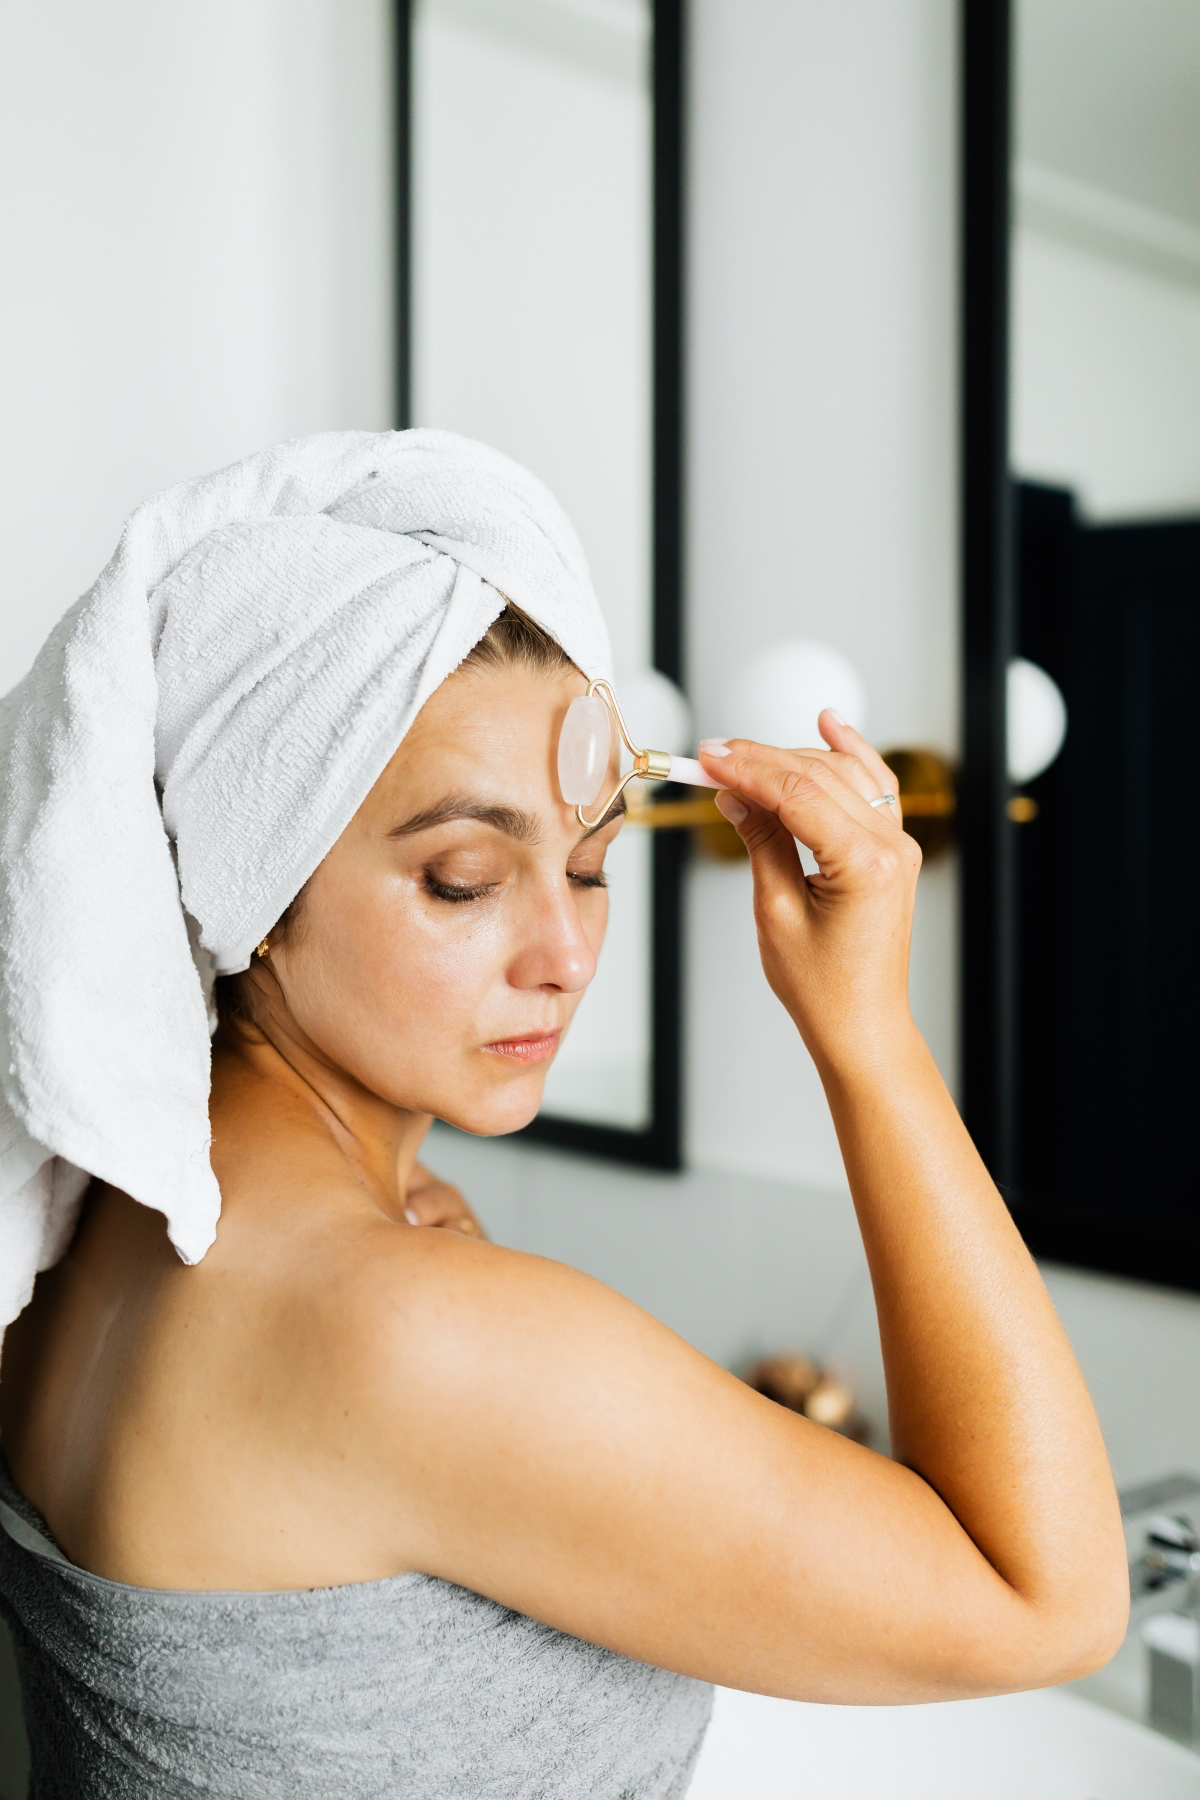
5. Forehead (1 min): Place your fingertips in the center of your forehead and sweep outward. Then, use small, up-and-down wiggles from your brows to your hairline to smooth horizontal lines.
6. The Finish (30 sec): End with a light, raindrop-like tapping all over your face. This is super stimulating and leaves your skin looking bright.
The 60-Second De-Puff Routine
In a major hurry? Just do this:
Apply 3-4 drops of oil. Use the heels of your palms to make 5 slow, sweeping motions from the center of your face outward: one across the forehead, one across the cheeks, and one along the jawline. Finish with 3 downward sweeps along the sides of your neck. Done.
Let’s Talk Tools: Hands vs. Gadgets
Your hands are your best and cheapest tools, but a few gadgets can definitely enhance the experience. Here’s the real scoop on what they do.
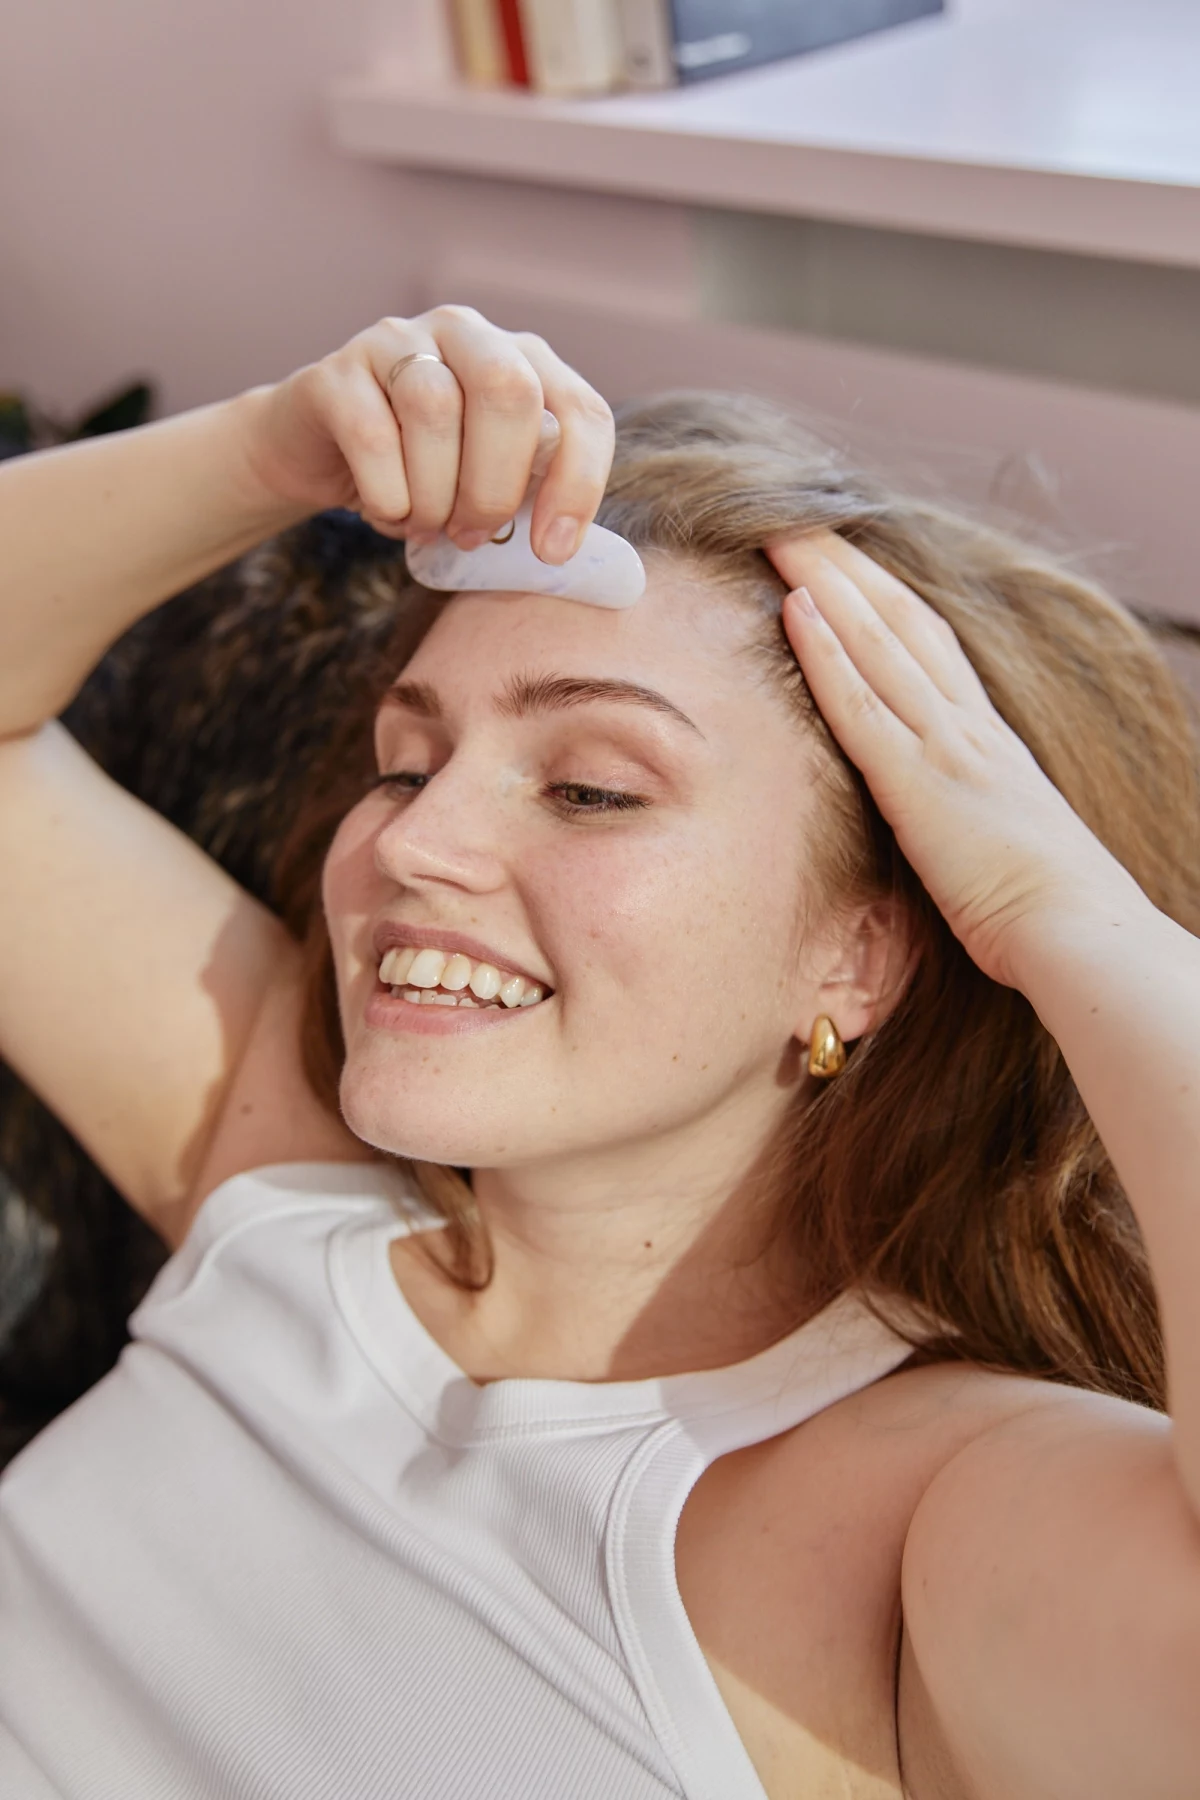
- Gua Sha: These smooth, flat stones are designed to hug the contours of your face. They are fantastic for applying sustained pressure, promoting lymphatic drainage, and releasing tight connective tissue. Holding the tool almost flat against your skin (a 15-degree angle is ideal) and gently scraping along the jawline and cheekbones can give a noticeably sculpted look. A good one will set you back about $15 to $40.
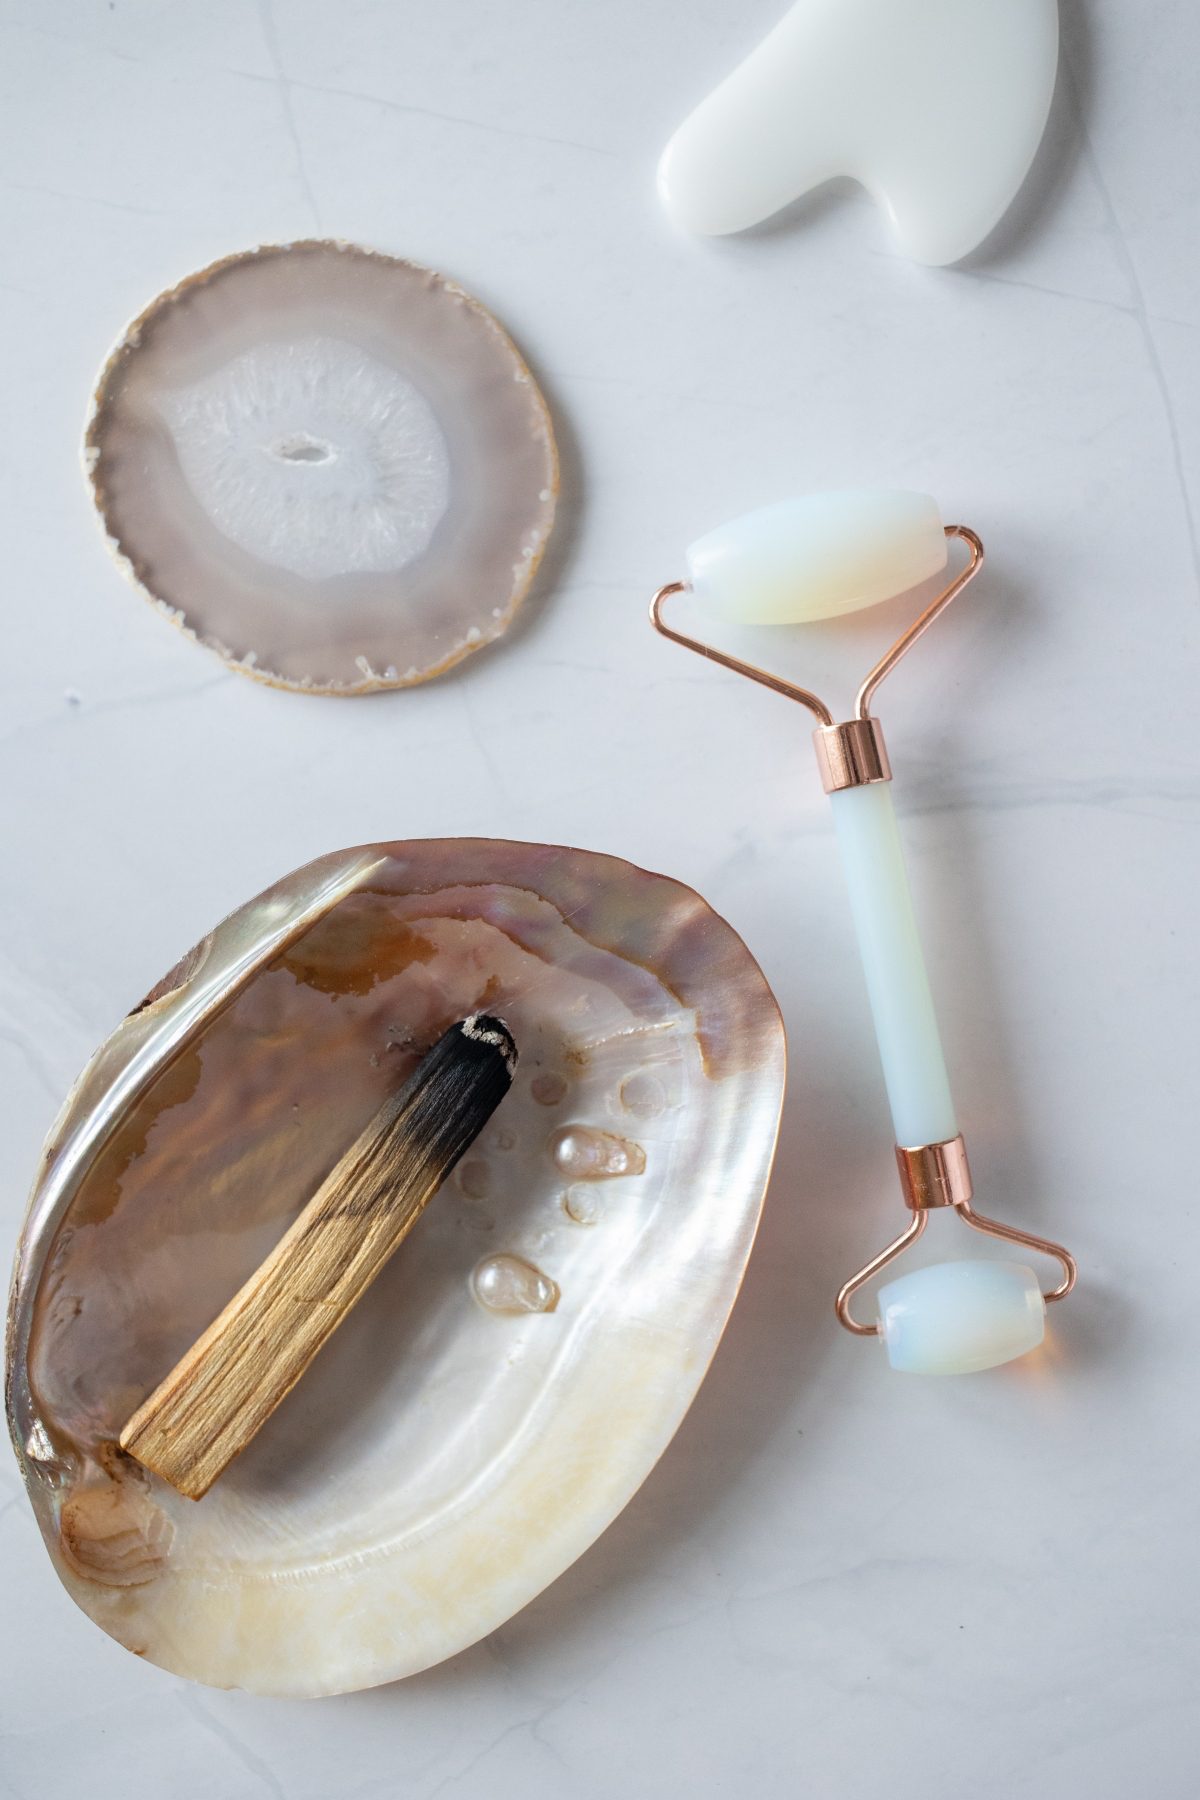
- Facial Rollers: These are much simpler. They’re best for their cooling and de-puffing effect, especially if you pop them in the fridge for 10 minutes. A roller is great for a quick morning roll or for pressing serums into the skin, but it won’t give you the deep muscle release of a gua sha or your hands. So, is there a difference between a $15 roller from Amazon and a $65 one from a high-end store? To be frank, not really in terms of function. A pricier roller might have better hardware that doesn’t squeak, but the stone itself does the same job.
- Microcurrent Devices: Now we’re getting advanced. These at-home tools deliver a tiny electrical current to your facial muscles, giving them a little workout to help tone and firm your facial contours. They are a serious investment (often $150+) and require real diligence—you have to use a special conductive gel and be consistent to see and maintain results.
Quick tip: Whatever tool you use, clean it! A quick wash with soap and water after each use is all you need to keep it hygienic.
Common Mistakes & Safety First
Knowing what not to do is just as important as good technique. Avoid these common slip-ups.
- Don’t Massage Over Active Breakouts: If you have inflamed pimples or cystic acne, massaging the area can spread bacteria and make things worse. Just work around those spots.
- Be Careful with Rosacea: If you’re having an active rosacea flare-up, massage can increase redness and irritation. Be extra gentle or wait until it calms down.
- Avoid Sunburns or Broken Skin: Let your skin heal completely first. It’s common sense, but it needs to be said!
- Wait After Injections: This is a big one. If you’ve had Botox or fillers, you MUST wait at least 2-4 weeks before massaging your face. You risk moving the product where it doesn’t belong. Always ask your injector for their specific timeline.
- Lighten Up! I once had a client who was so aggressive with her gua sha that she gave herself broken capillaries. More is not better! The pressure should feel good, never painful.
- Anchor Your Skin: To avoid dragging, especially on looser skin, use your other hand to gently hold the skin taut while you massage with your dominant hand.
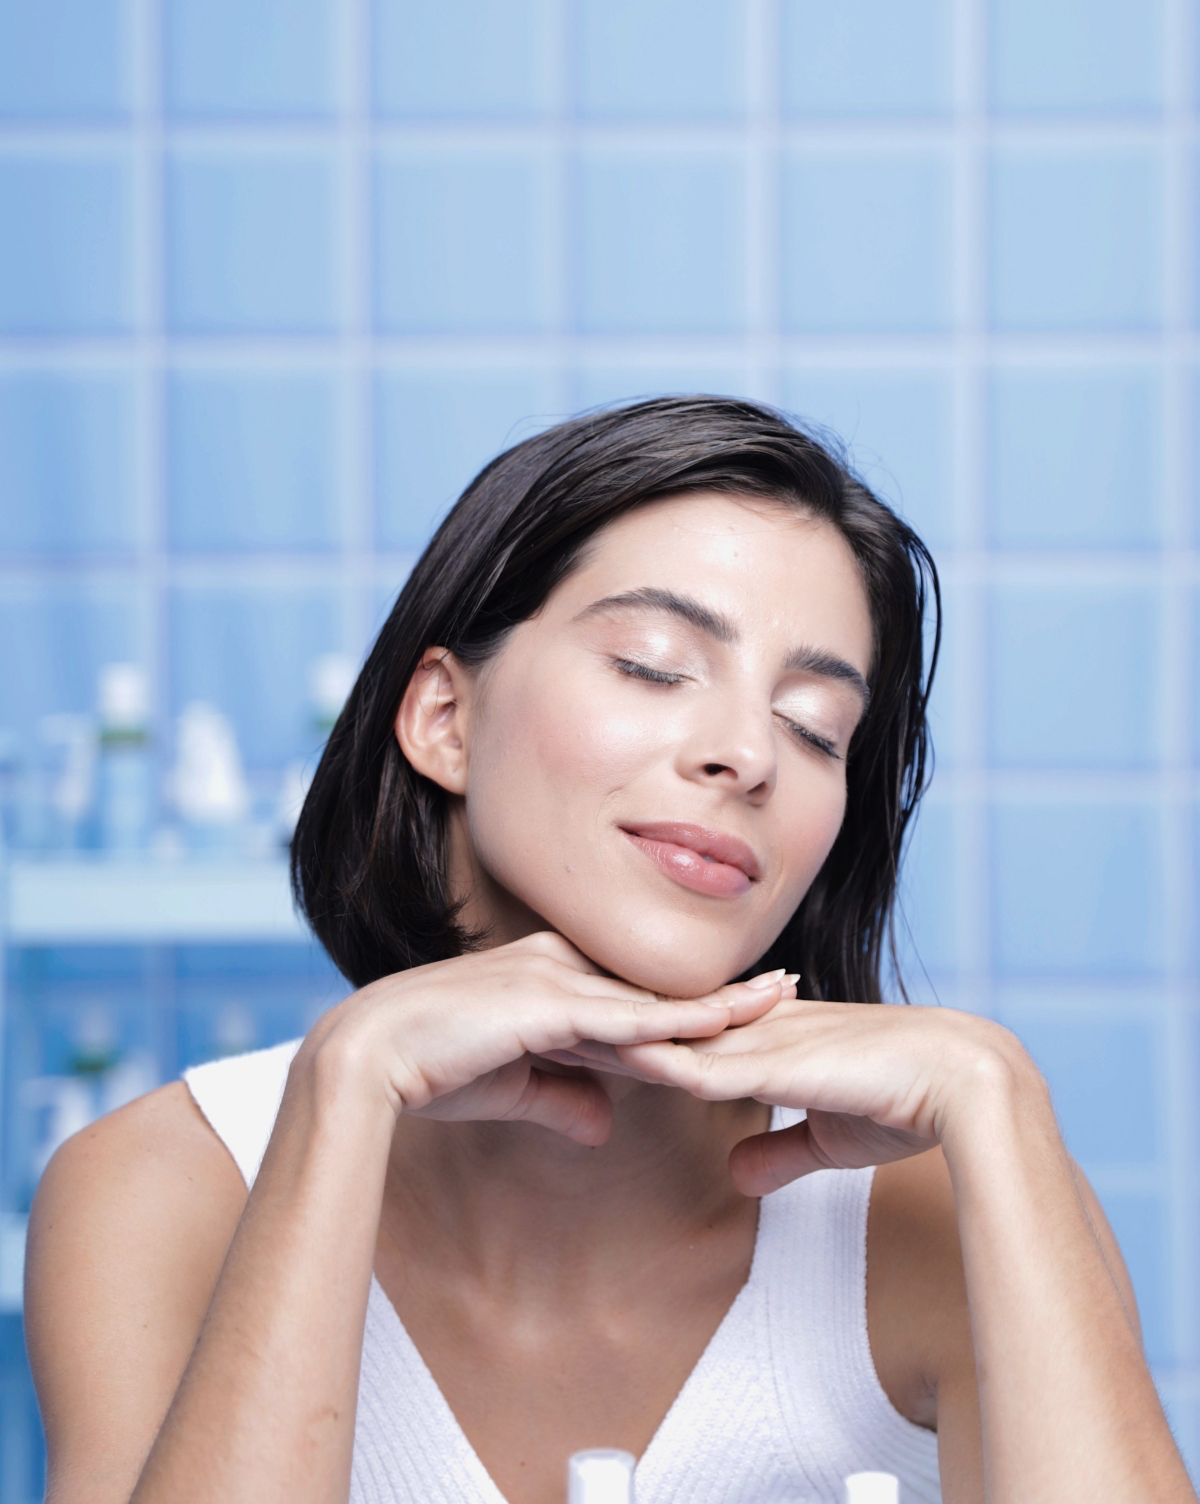
What to Expect (For Real)
Let’s manage expectations. Facial massage is an incredible supportive therapy, but it’s not a facelift in a bottle.
What it will do with consistency is improve your skin’s radiance, reduce puffiness, soften tension lines, help your products work better, and give you a more sculpted, healthy appearance over time. It’s one powerful piece of the puzzle, alongside a solid routine, sun protection, and a healthy lifestyle. The effects are cumulative—after a month of daily 5-minute massages, you’ll look in the mirror and notice a real difference.
Okay, I’m Done… Now What?
Ah, the final question! Your face is now clean, massaged, and a bit oily. What’s next?
If it’s nighttime, you can just leave the oil on as a final moisturizing step and head to bed. If it’s daytime or the oil feels too heavy, you have two options: gently blot the excess with a tissue, or lightly press a warm, damp washcloth onto your skin for a few seconds to remove the residue before applying sunscreen and makeup. Easy as that.
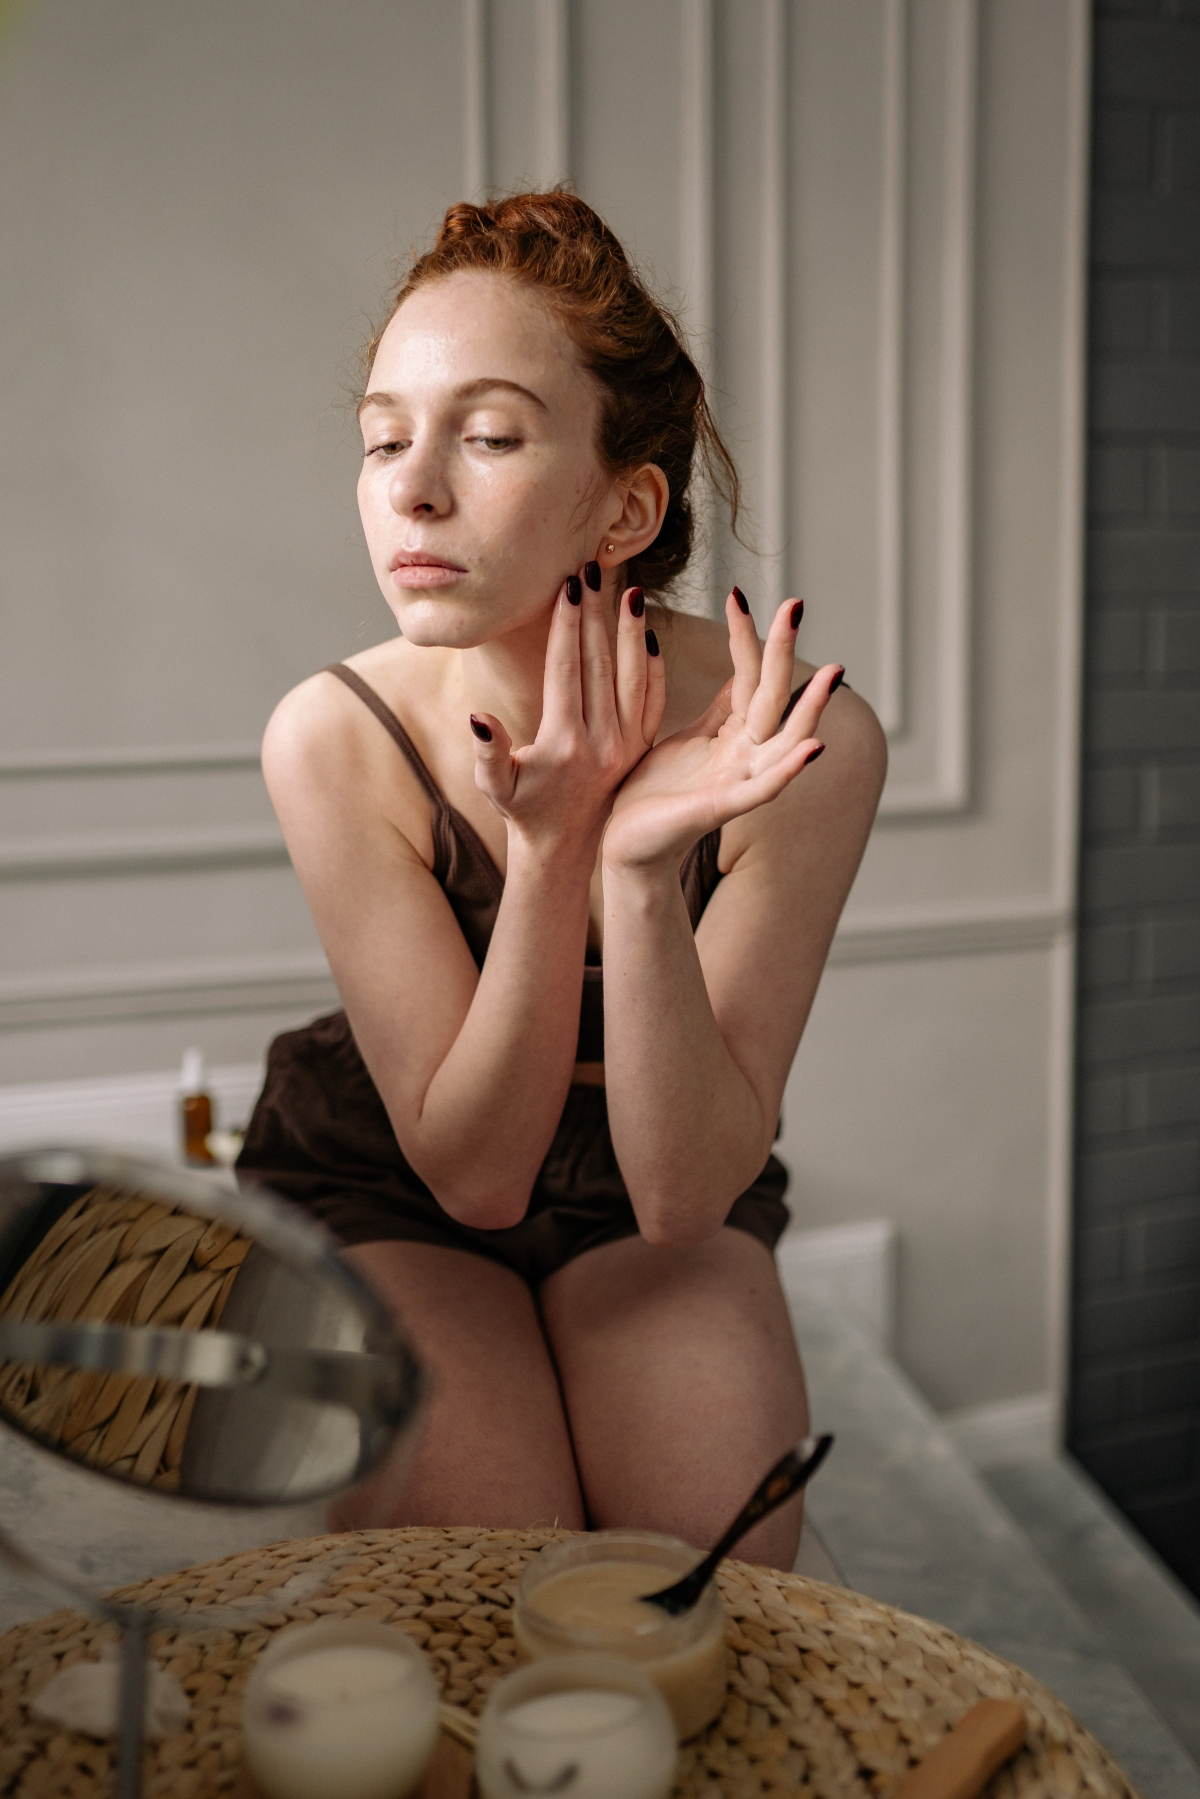
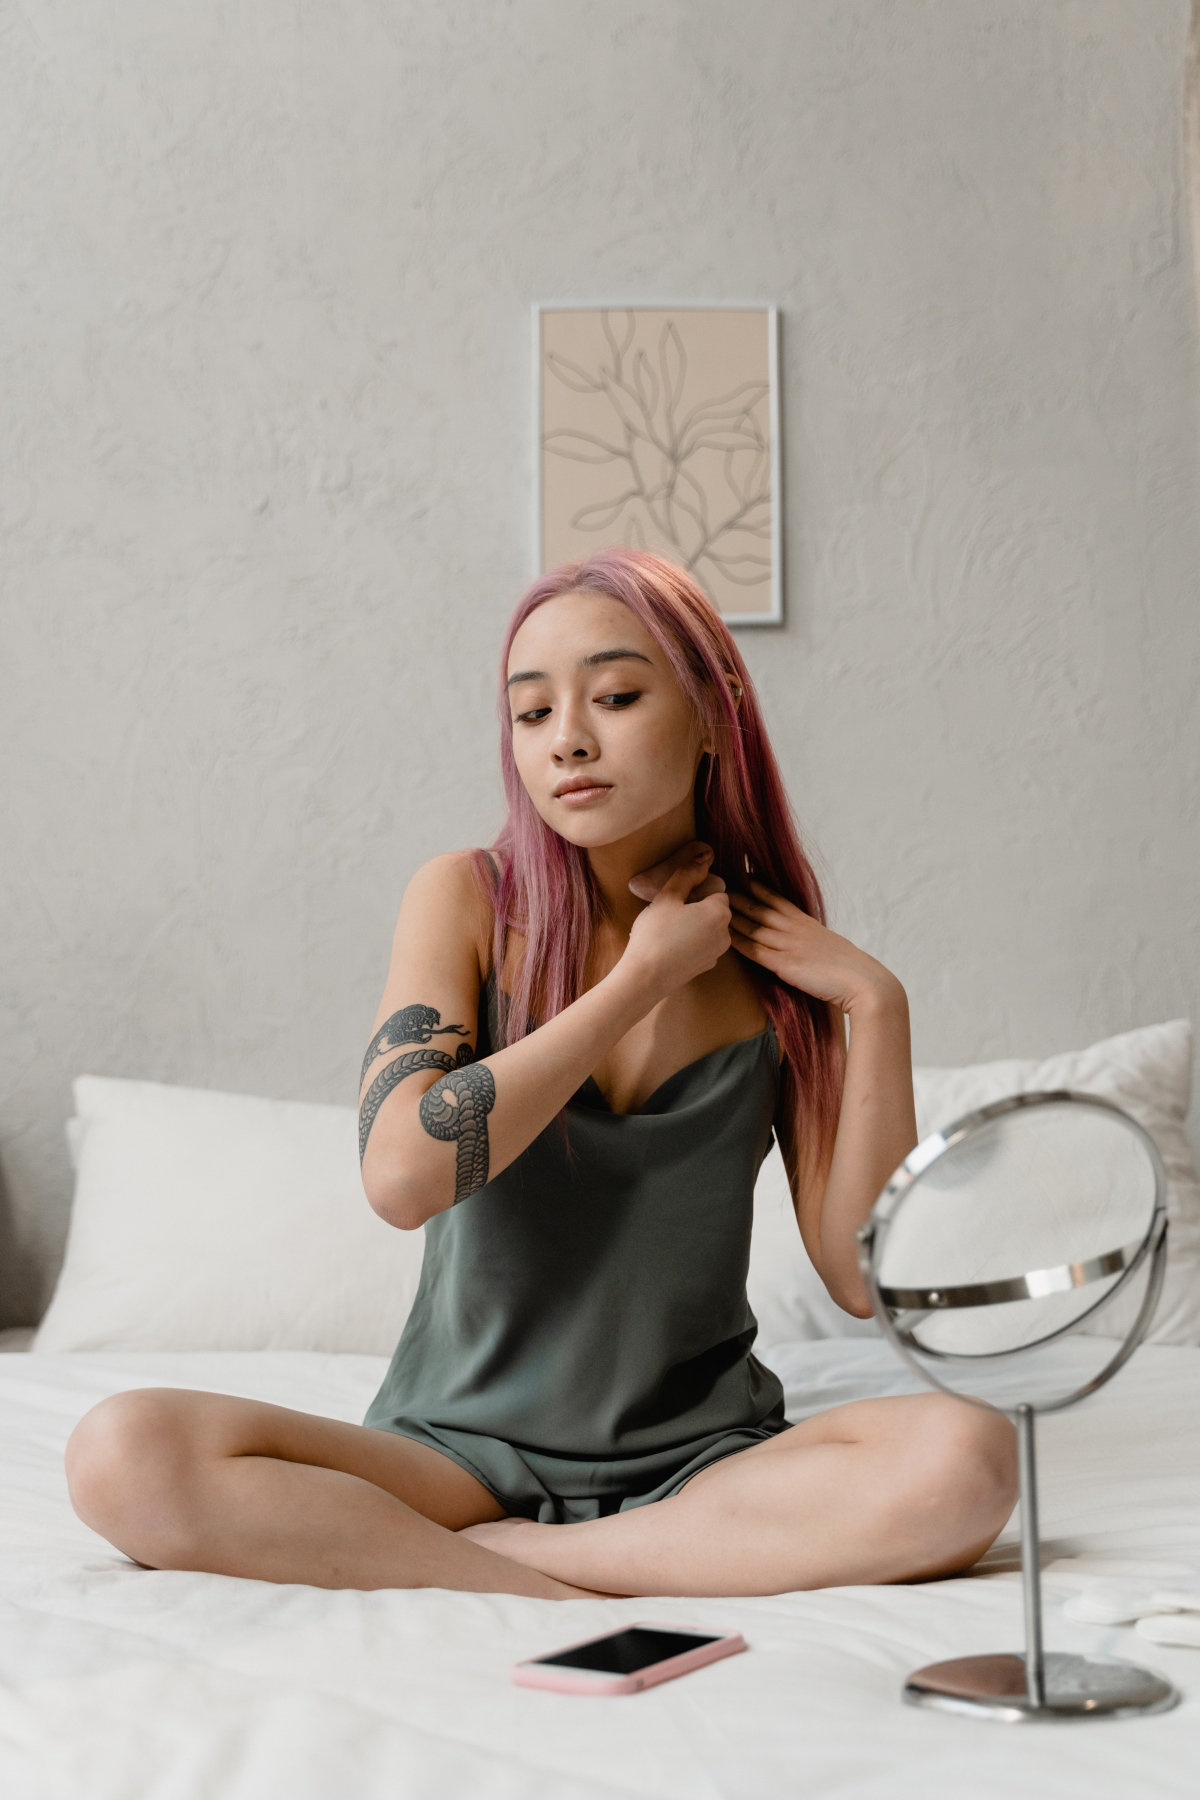
Inspirational Gallery
What’s the best oil for facial massage?
It’s less about the brand and more about the properties. Your ideal massage medium should provide enough ‘slip’ without clogging pores. For sensitive or acne-prone skin, 100% Squalane oil, like the one from Biossance, is a fantastic choice as it mimics your skin’s natural sebum. For drier skin types, cold-pressed Jojoba oil (The Ordinary has a great affordable option) is deeply nourishing and rich in Vitamin E. Always patch-test a new oil on your neck first.
Did you know? Nearly one-third of your body’s lymph nodes are located in your neck.
This is why so many facial massage techniques finish with downward strokes along the sides of the neck. You’re not just pushing fluid away from your face; you’re gently guiding it towards this major cluster of nodes to be processed and filtered by the body. It’s the crucial final step for de-puffing.
Your Hands vs. A Gua Sha Tool:
Hands: They’re free, intuitive, and their natural warmth helps relax muscles and increase product absorption. Perfect for beginners and for targeting larger areas like the cheeks and forehead with gentle, sweeping motions.
Gua Sha: The firm, smooth edge of a stone tool allows for more precise pressure and is unmatched for sculpting along the jawline and cheekbones. It also provides a cooling effect that’s excellent for reducing inflammation.
The best routine? It often involves both.
Don’t let your tools become a source of breakouts. Keeping your gua sha or facial roller clean is non-negotiable, as oil residue and bacteria can build up quickly.
- After each use, wash it with warm water and a gentle soap (your face cleanser works perfectly).
- Pat it completely dry with a clean, soft cloth to prevent water damage, especially for metal rollers.
- For a deeper clean once a week, you can wipe it down with a cotton pad soaked in rubbing alcohol.
A common mistake: Massaging on dry or barely-damp skin. Without sufficient slip from an oil or a rich cream, you’re not massaging the muscle, you’re just pulling and stretching the delicate facial skin. This can actually increase friction and irritation, working against your goals of a smoother, calmer complexion.
- Instantly reduces morning puffiness around the eyes.
- Helps to calm redness and inflammation from a breakout.
- Provides a refreshing, awakening sensation to start your day.
The secret? Keep your facial roller or gua sha stone in the refrigerator. The cold therapy, known as cryotherapy, constricts blood vessels, giving your massage an extra tightening and soothing boost.
Ever heard of Kobido? It’s the ancient Japanese facial massage once reserved for empresses.
Far from a slow, meditative glide, Kobido is a dynamic and intricate treatment involving hundreds of fast, rhythmic taps, pinches, and lifts. Practitioners train for years to master the techniques, which are designed to stimulate the facial nerves, improve circulation, and tone the muscles for a natural ‘facelift’ effect. It’s a powerful reminder that facial massage is a deeply rooted, highly skilled art form.
To create a true sensory ritual, timing matters. Performing your facial massage in the evening can be a powerful signal to your mind and body to unwind. The gentle, repetitive motions help to release the day’s tension held in your jaw and brow, while the focused act of self-care can lower cortisol levels before bed, promoting more restful sleep and allowing your skin to focus on repair.
- Avoid passing directly over active acne pustules or inflamed breakouts, which can spread bacteria.
- Never apply deep, aggressive pressure, especially around the delicate eye area. Let the weight of the tool do the work.
- Don’t forget the neck! Always finish by sweeping down the sides of the neck to encourage lymphatic flow.
The 5-Minute Rule: Consistency trumps duration. The real, lasting benefits of facial massage—like softened expression lines and a sculpted appearance—come from making it a regular habit. A dedicated 5 minutes every day is far more effective than one 30-minute session per week. Think of it like exercise for your face; a little bit, often, builds strength and vitality.


