The Brutally Honest Guide to Industrial Piercings
So, You’re Thinking About an Industrial Piercing? Let’s Talk.
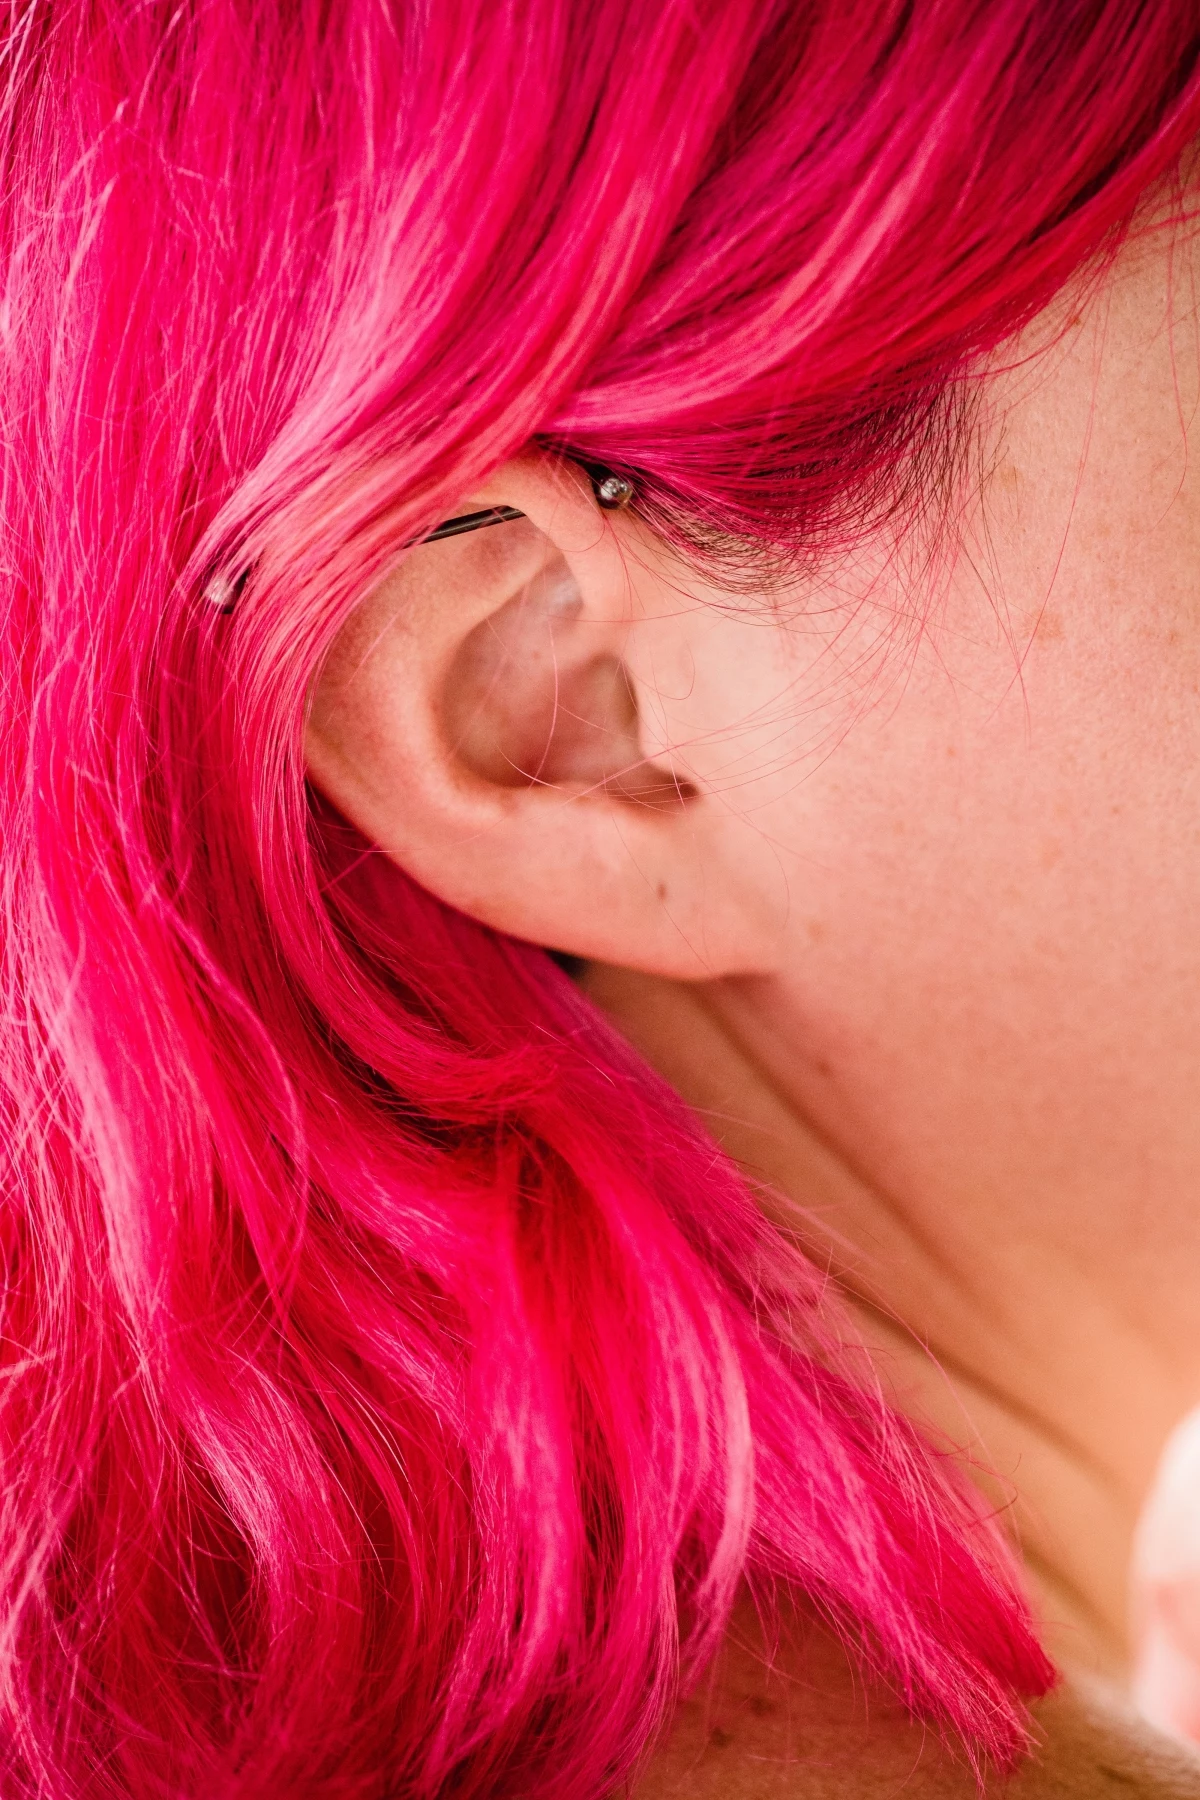
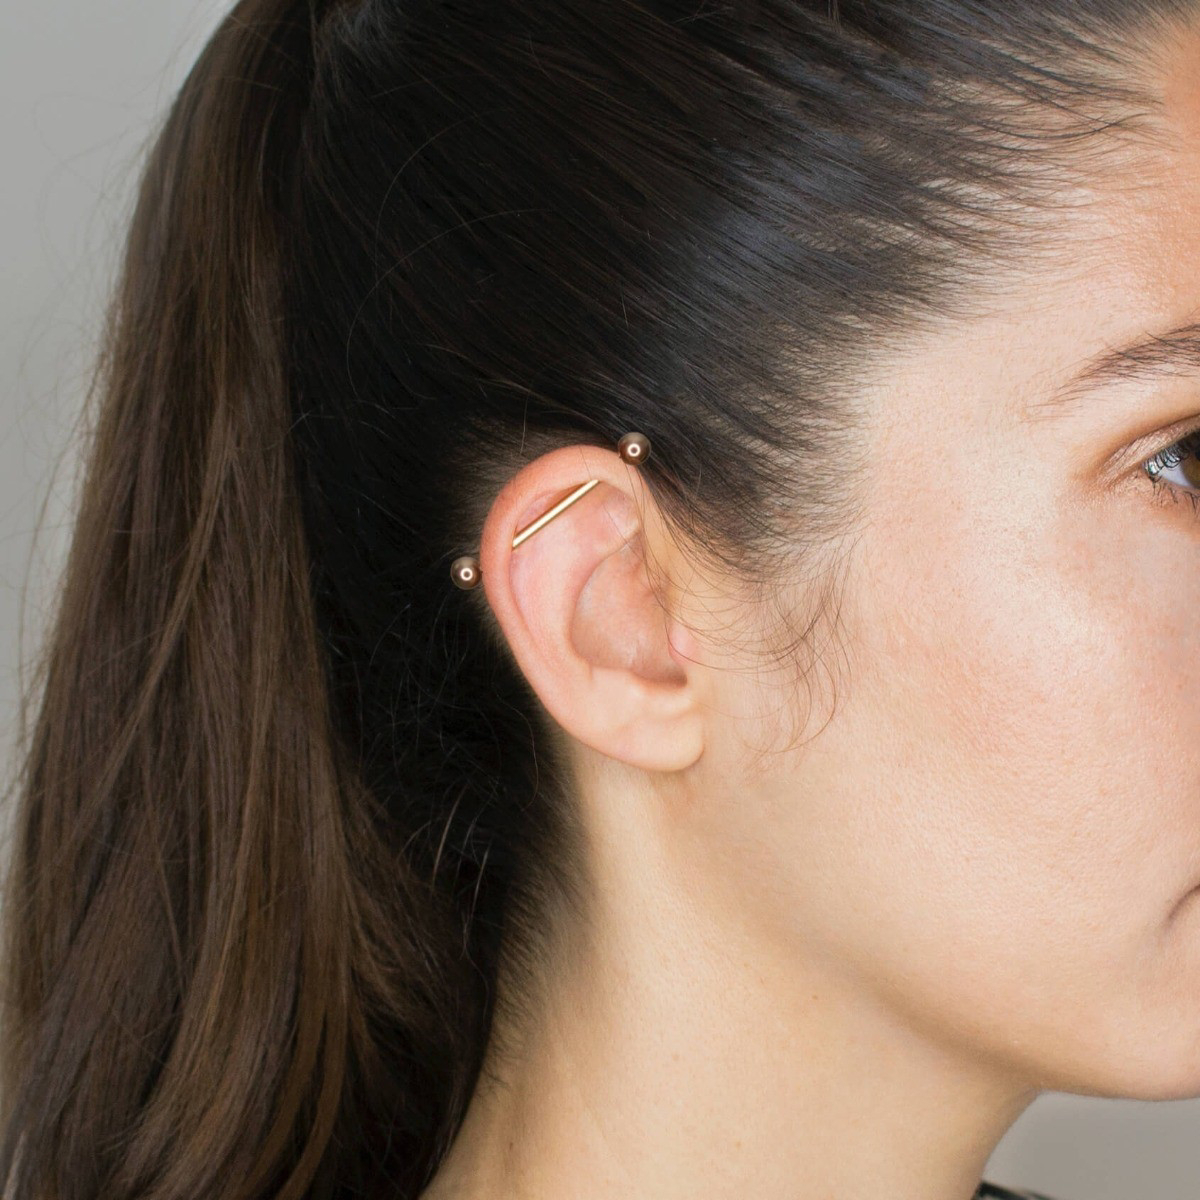
As a professional piercer, I’ve seen countless trends cycle through the studio over the years. But the industrial piercing? It’s a classic that never seems to fade. It’s that bold, eye-catching bar that connects two piercings in the upper ear cartilage, and honestly, it looks deceptively simple.
In this article
- So, You’re Thinking About an Industrial Piercing? Let’s Talk.
- First Thing’s First: Does Your Ear Even Qualify?
- The Piercing Process: What to Expect in the Chair
- Finding a Good Piercer: What to Look For (and What to Run From)
- The Hard Part: Healing, Aftercare, and Troubleshooting
- The Downsize: A Mandatory Step You Can’t Skip
- A Quick Healing Timeline Summary
- Galerie d’inspiration
Here’s the thing: it’s not. Of all the piercings I do, the industrial is the one that depends almost entirely on your unique anatomy. It also has one of the most demanding healing periods, requiring a serious level of commitment. A lot of people see a cool picture online and walk in ready to go, but my job is more than just poking holes; it’s making sure you can actually heal what you get.
So let’s have the real conversation we’d have in my chair. This is a straight-up, practical look at what this piercing truly involves, based on years of seeing what works and, more importantly, what doesn’t.
First Thing’s First: Does Your Ear Even Qualify?
Before we even think about needles or jewelry, we have to talk about your ear. The success or failure of an industrial piercing is decided before any tools are even opened. It all comes down to the specific shape of your ear cartilage.
For an industrial to work safely, you need two things:
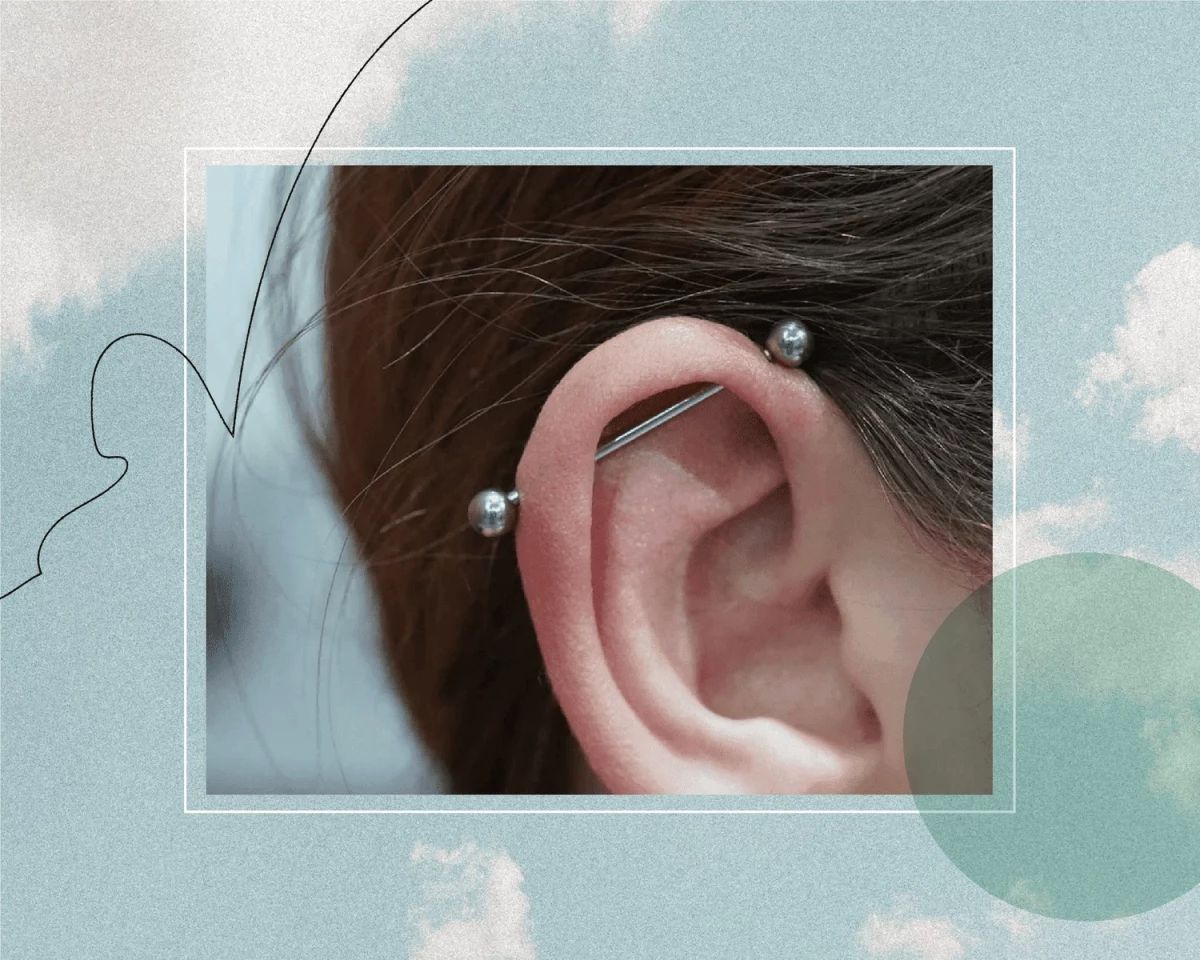
- A prominent, well-defined curl on the outer rim of your ear (the helix).
- Enough space for the barbell to pass from the outer helix to the forward helix (the part closer to your face) without pressing on the flat part of your ear in between.
That second point is the deal-breaker for most people. If the inner ridge of your ear is too pronounced, the barbell will constantly press down on it. This creates a painful pressure sore, which can lead to embedding, migration (where your body literally pushes the jewelry out), and a whole lot of misery. To be frank, I have to turn away about 3 out of every 10 people who ask for one. Their anatomy just won’t support it safely.
Quick at-home check: Grab a clean pen or a makeup brush handle. Lay it across your ear where you’d want the piercing to sit. Does it press down hard into the flat of your ear, with no gap underneath? If it does, you might have a tough time healing a traditional industrial. A good piercer will do this check with a sterile tool, and if they tell you no, please listen to them. They’re saving you from a world of hurt.
So You Can’t Get an Industrial? Here’s What’s Next
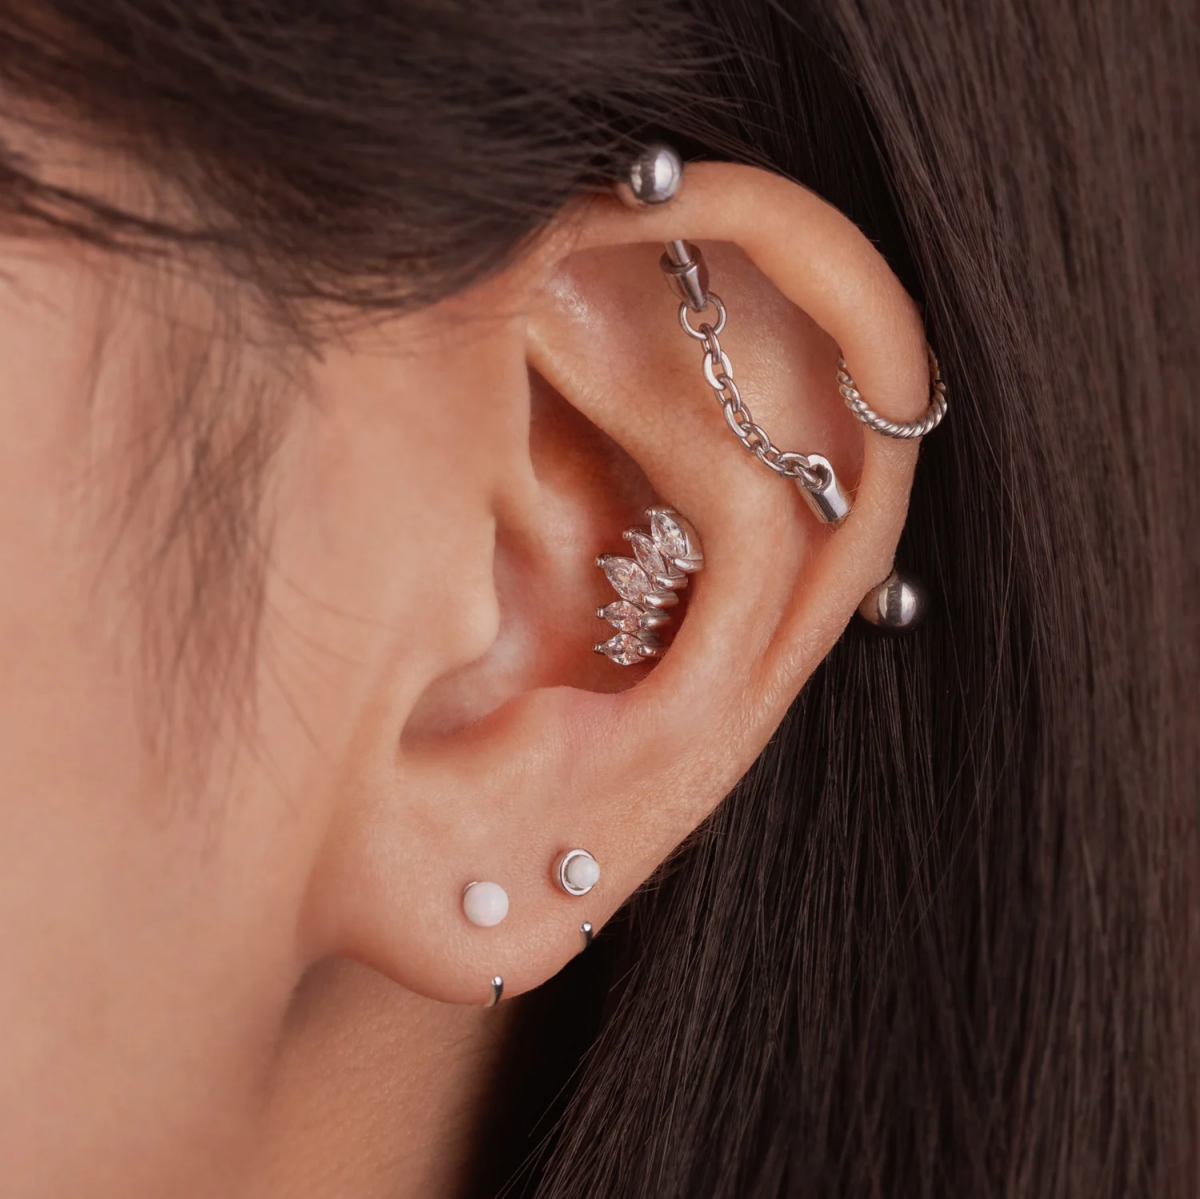
Getting turned down can be a bummer, but it’s not the end of the road! A good piercer will suggest awesome alternatives. One of the most popular is getting two separate helix piercings. Once they’re fully healed, you can connect them with a custom decorative chain. It gives you a similar vibe but with a much easier healing process because the two piercings aren’t rigidly connected.
In some rare cases, a highly skilled piercer might be able to create a custom-bent bar to fit unique anatomy, but this is a very specialized project. The point is, you have options!
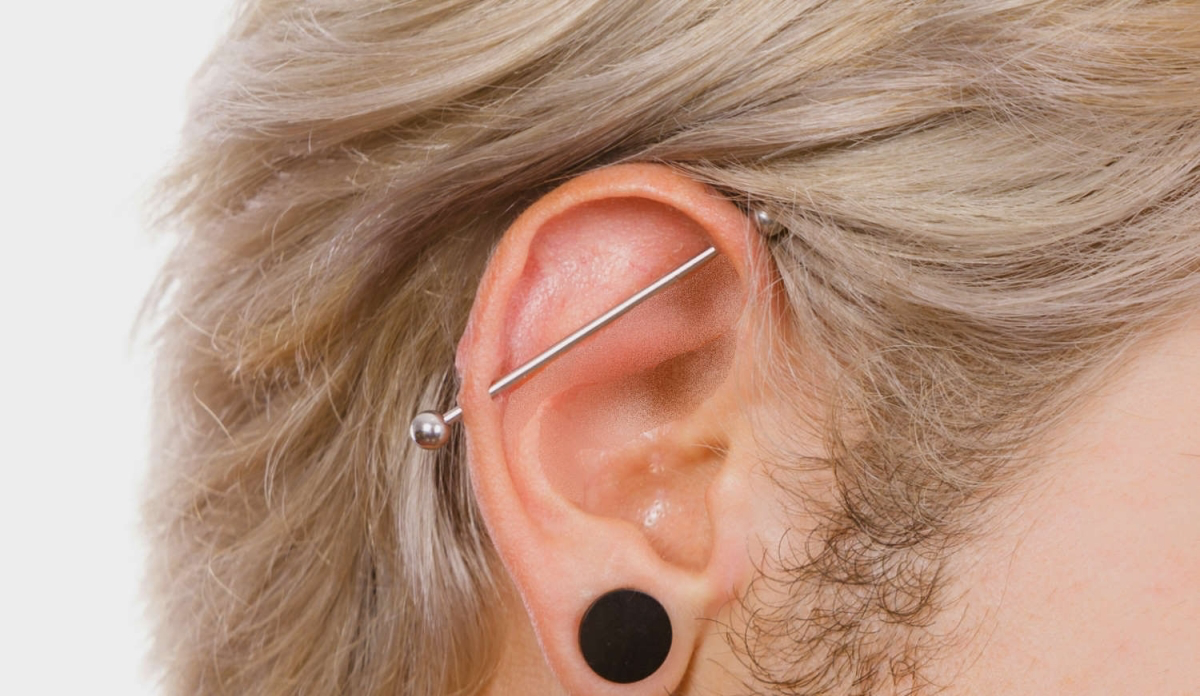
The Piercing Process: What to Expect in the Chair
If your anatomy gets the green light, we move on to the fun part. A professional industrial piercing is a careful, precise procedure. Here’s the breakdown.
First, we’ll chat and do the anatomy check. Then comes the most critical step: marking. Using a sterile skin marker, the piercer will meticulously line up the two points. This isn’t just a quick dot-dot; it involves making sure the entry and exit angles create a perfectly straight path. If the alignment is off by even a tiny bit, it creates constant pressure on the cartilage, which guarantees it will never heal right.
Pain, Price, and Jewelry
Okay, let’s talk about what everyone really wants to know. On a pain scale of 1 to 10, most clients say the first hole is a sharp pinch, maybe a 6/10. The second one often feels a bit more intense, like a 7/10, mainly because your ear is already sensitive and your adrenaline is pumping. You’ll hear a distinct “pop” as the needle goes through the cartilage—that’s totally normal.
Cost-wise, you need to budget for a few things. The piercing service fee itself usually runs between $40 and $80, depending on the studio’s location and reputation. The initial jewelry is a separate cost. For an industrial, you MUST start with a high-quality, implant-grade titanium bar. Expect this to add another $50 to $70 to the total. Yes, it’s more expensive than steel, but it’s completely nickel-free, lightweight, and what your body is least likely to have a reaction to. Don’t cheap out on this.
The piercer will use a single-use, hollow 14-gauge needle. And let me be clear: if anyone ever comes at your cartilage with a piercing gun, run. Guns shatter cartilage with blunt force and cause massive trauma, making healing nearly impossible.
Finding a Good Piercer: What to Look For (and What to Run From)
While techniques might vary slightly from one great studio to another, the safety standards are non-negotiable. Look for a piercer who is a member of a major professional piercing organization or who clearly follows their guidelines for hygiene and safety. This is your best bet for ensuring they know what they’re doing.
Heads up! Here are some major red flags to watch out for:
- They use a piercing gun for anything other than earlobes (and even then, it’s not ideal).
- They can’t or won’t show you their autoclave (the machine used for sterilizing jewelry and tools).
- They try to sell you harsh aftercare products like tea tree oil, alcohol, or special soaps.
- They offer low-quality, externally threaded jewelry for an initial piercing.
- They seem rushed or dismissive of your questions about anatomy.
The Hard Part: Healing, Aftercare, and Troubleshooting
Getting pierced is the easy part. Healing an industrial is a marathon, not a sprint. I tell all my clients to expect a minimum of 9 to 12 months for it to feel fully healed, and sometimes even longer. During this time, it will be your fussy, high-maintenance friend.
Your Industrial Piercing Starter Kit
Let’s make this simple. Here’s all you need to buy:

- Sterile Saline Spray: Get a can from a pharmacy or your piercer. Look for one that only contains 0.9% sodium chloride and water. That’s it.
- A Travel Pillow: The kind with a hole in the middle. This will be your new best friend.
- Clean Paper Towels: For gently patting the area dry.
Twice a day, just spray the saline on the entry and exit holes. Let it soak for a minute, then gently pat it dry with a fresh piece of paper towel. Do NOT use cotton swabs or towels, as their fibers can get snagged. And please, do not twist or turn the jewelry! You’re just tearing the delicate healing tissue inside.
The Golden Rules of Healing an Industrial
Honestly, I see more industrials fail from bad habits than bad cleaning. Follow these rules religiously:
- DO NOT SLEEP ON IT. This is the #1 killer of industrial piercings. Use that travel pillow and sleep with your ear in the hole.
- Keep hair, glasses, and headphones away. Tie your hair back, be careful with the arms of your glasses, and use earbuds instead of over-ear headphones until you are fully healed.
- Be mindful when changing clothes. A snagged industrial is a uniquely painful experience.
- No swimming. Stay out of pools, hot tubs, lakes, and oceans for the entire healing process. They’re just bacteria soup.

Troubleshooting: Is it Angry or Infected?
Panic is common when a piercing gets grumpy. Let’s clear up the difference between normal irritation and a real infection, because they are not the same thing.
Signs of Irritation: You might see small, reddish bumps around the piercing holes. These are NOT keloids; they’re temporary flare-ups from pressure or a snag. The piercing might be a little red, tender, and secrete a clear or whitish fluid (this is lymph, a normal part of healing). The solution is to figure out what’s annoying it (are you sleeping on it?) and stop. The bumps will go away with time and proper care.
Red Flags for Infection: An actual infection is a different beast. You’ll see thick, yellow, or green pus. The area will be extremely painful, hot to the touch, and you might see red streaks spreading from the piercing or even develop a fever. If you suspect an infection, see a doctor right away for antibiotics. IMPORTANT: Do not remove the jewelry, as this can trap the infection inside. After seeing a doctor, follow up with your piercer.

The Downsize: A Mandatory Step You Can’t Skip
Remember that extra-long bar we started you with? That was to accommodate the initial swelling. But after about 4 to 8 weeks, that swelling will have gone down, and the long bar becomes a problem. It’s way easier to snag and it moves around too much, causing irritation.
This is when you MUST go back to your piercer for a downsize. They will swap the long bar for a shorter one that fits your ear more snugly. This is a crucial step for long-term healing. Expect the new, shorter titanium bar to cost around $30 to $50. It’s a required investment in the health of your piercing.
A Quick Healing Timeline Summary
To wrap it all up, here’s what you can generally expect:
- Weeks 1-4: The angry phase. Expect redness, swelling, and tenderness. Be extra careful.
- Weeks 4-8: Things are calming down. Time to see your piercer for that mandatory downsize!
- Months 3-9: The long haul. It might look healed, but it’s still fragile inside. Be patient and don’t sleep on it.
- Month 9-12+: You made it! Once it’s truly, fully healed, you can finally start exploring all the cool and unique jewelry options out there.
An industrial piercing is a journey, for sure. But if you have the right anatomy and the patience to heal it properly, it’s one of the most rewarding and visually stunning piercings you can get.
Galerie d’inspiration
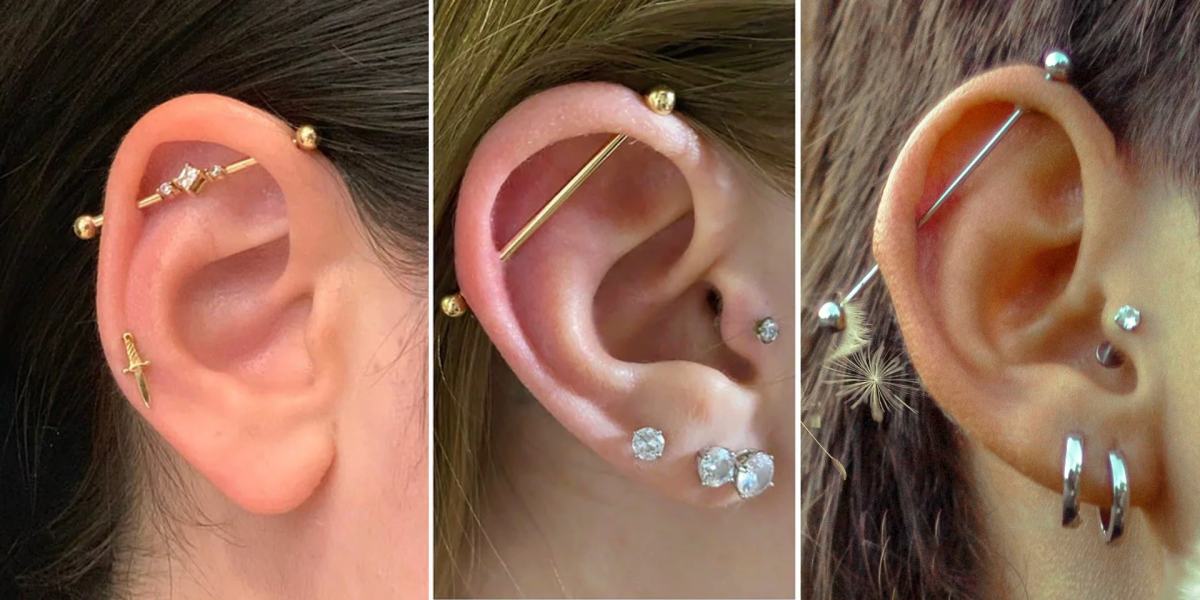
So your anatomy isn’t right for a standard industrial?
Don’t walk away disappointed. This is an opportunity for a truly custom piece. Talk to your piercer about a ‘floating industrial,’ where two separate piercings are done and later connected by a custom-bent bar that bypasses any problematic cartilage ridges. Another popular alternative involves getting two healed helix piercings and connecting them with a delicate chain from a quality brand like Pupil Hall or BVLA. It gives a similar edgy vibe but with far more anatomical flexibility and often an easier healing journey.
Implant-Grade Titanium (ASTM F-136): This is the non-negotiable standard for initial industrial jewelry. It’s completely nickel-free, lightweight, and won’t corrode, meaning your body is far less likely to have an allergic reaction or healing issue.
Surgical Steel: While often cheaper, most ‘surgical steel’ contains nickel, a very common irritant that can cause the dreaded piercing bumps, prolonged swelling, and rejection. For a piercing as notoriously fussy as an industrial, it’s a risk not worth taking.

A fresh industrial piercing can swell up to 25% more than its initial size in the first two weeks.
This is why a skilled piercer will use an initial barbell that looks slightly too long. This extra space is crucial to accommodate the initial swelling without putting pressure on the cartilage. Downsizing to a perfectly fitted bar is a key step in the healing process, but only once the piercer confirms the initial swelling phase is completely over, usually after 4-8 weeks.
Your industrial piercing’s worst enemies are often hiding in plain sight. Be mindful of:
- Hair Products: Hairspray, gels, and dry shampoo can build up on the jewelry and irritate the fistula (the healing tunnel). Try to shield your ear when applying them.
- Headphones: Over-ear headphones are a complete no-go. They apply pressure and introduce bacteria. Stick to earbuds on the opposite ear only for the first year.
- Eyeglass Arms: Check if the arms of your glasses or sunglasses rest on either of the piercing sites. If they do, you may need to adjust them or choose a different frame style during healing.


