The Life-Changing Guide to Finding a Bra That Fits (No, Seriously)
I’ve been helping people find the right bra for years, and let me tell you, I’ve seen the look of pure relief on someone’s face when they finally slip on a bra that truly fits. It’s a game-changer. I once had a client who was dealing with constant neck and shoulder pain. She’d tried everything—doctors, therapists, you name it. She was wearing a 38C from a big department store, and the straps were literally carving canyons into her shoulders while the back band rode up toward her neck.
In this article
- The Big Secret: Your Bra’s Band Does All the Work
- First, Let’s Talk Money and Sticker Shock
- The Modern Way to Measure: Ditch the Old Rules
- The 5-Point Fit Check: How It Should Actually Feel
- Going Deeper: Breast Shape Matters More Than You Think
- Troubleshooting With Your Secret Weapon: Sister Sizing
- How to Care For Your Bras (So They Last)
- Where to Go From Here: Finding Your Perfect Bra
- Inspiration:
After we did a proper measurement and tried a few options, she walked out in a 34G. A couple of weeks later, she called, almost in tears, because her chronic pain was nearly gone. Her bra was finally doing the support work her shoulders had been struggling with for years.
And honestly, this story isn’t unique. A bra is a serious piece of engineering designed to support weight comfortably. Finding the right one isn’t about vanity; it’s about understanding how your body is built and how a bra is supposed to work with it. My goal here is to share what I’ve learned from thousands of fittings so you can find that same comfort and support.
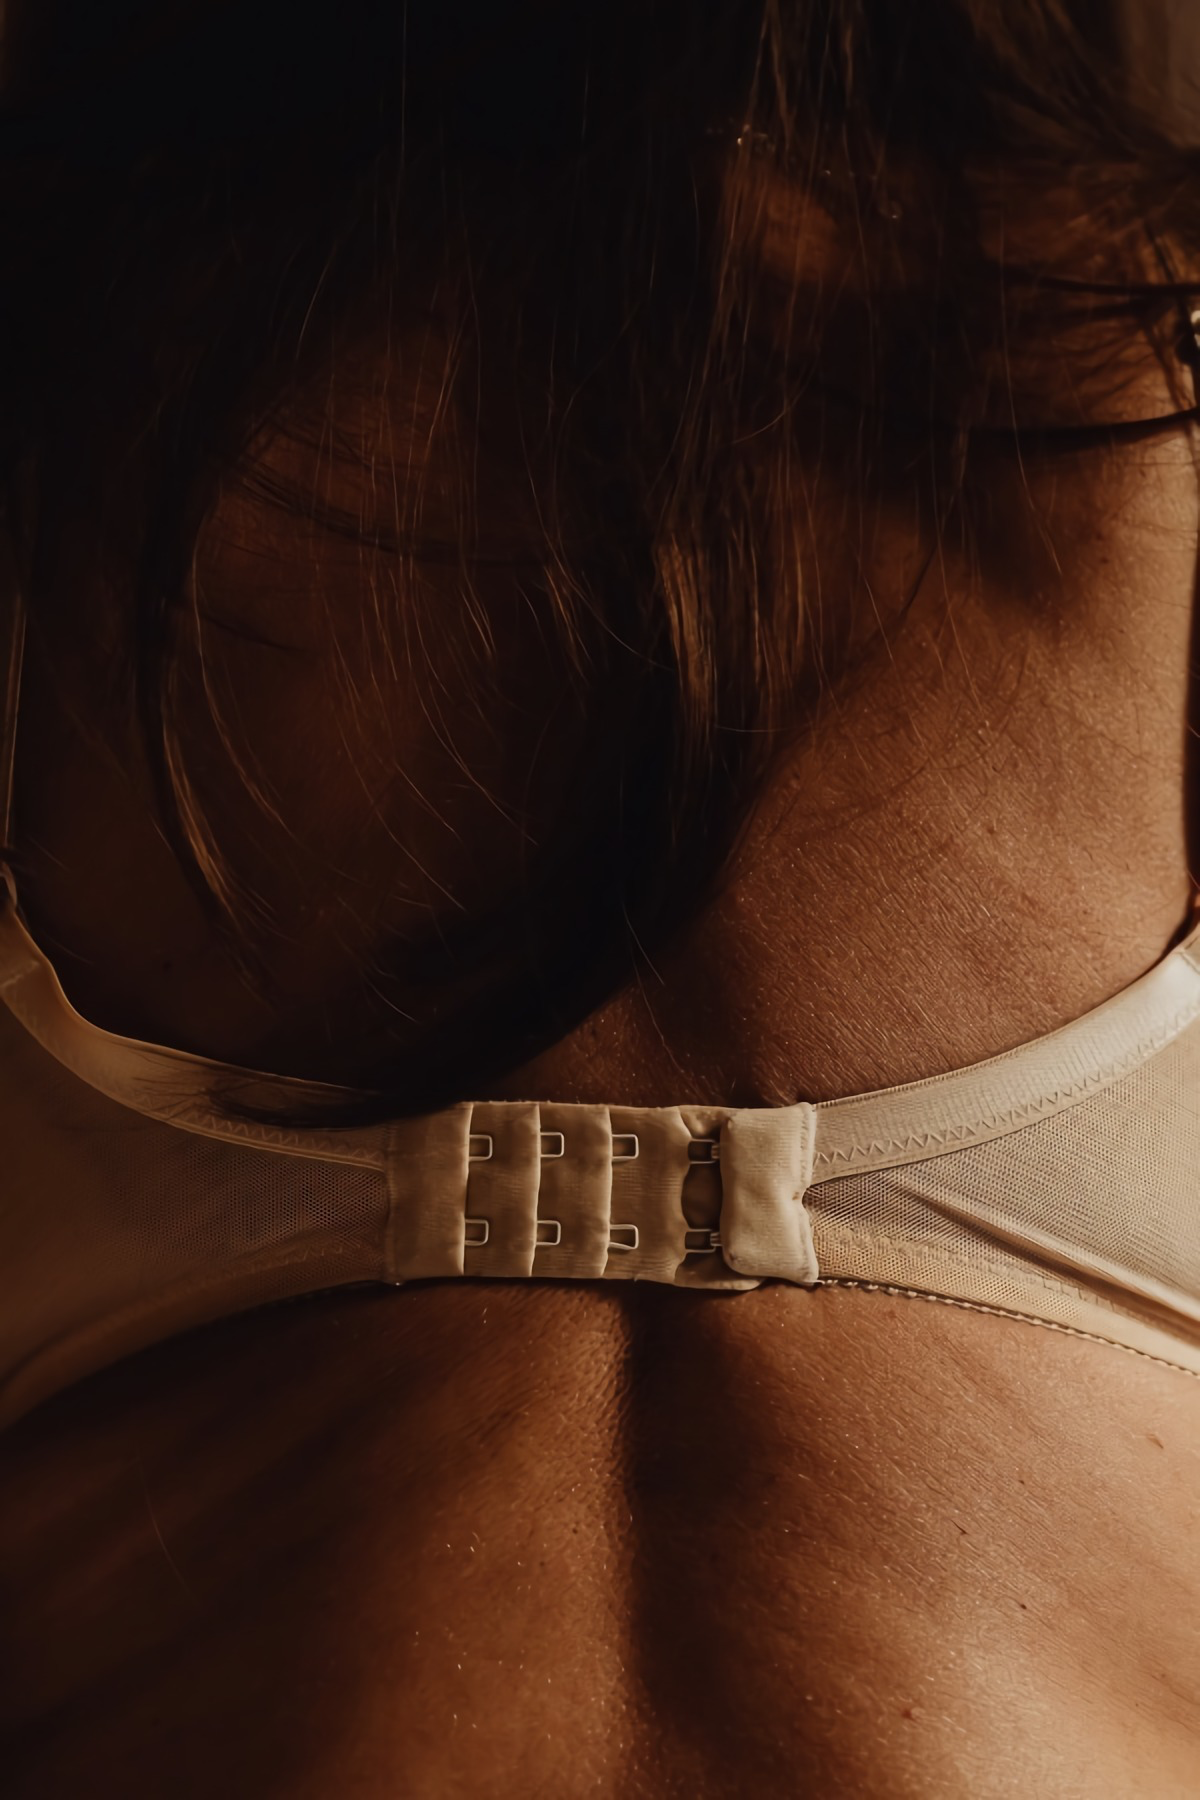
The Big Secret: Your Bra’s Band Does All the Work
Here’s the single biggest misconception out there: that the shoulder straps are meant to do the heavy lifting. They aren’t. Not even close. In a well-fitted bra, the band that wraps around your ribcage provides 80 to 90 percent of the support. The straps? They’re just there for balancing and shaping, carrying maybe 10 percent of the load.
Think of it like a suspension bridge. The band is the massive steel cable anchored securely around your torso. The straps are just the little vertical wires that keep things level. If that main cable is loose, the little wires get strained to their breaking point. That’s exactly what’s happening when your bra band is too big—your shoulders are forced to take on a burden they were never designed for.
A good band should be firm and sit parallel to the floor all the way around your back. If it’s riding up, the whole structure fails. The back goes up, the front sags down, and you lose all lift and support. That snug band is the foundation for everything else.
First, Let’s Talk Money and Sticker Shock
Okay, before we get into measuring, let’s address the elephant in the room: the price tag. A high-quality, supportive bra can easily run you between $60 and $90. And I get it, that can feel like a lot. But a well-made bra is an investment in your daily comfort and long-term health, not just a piece of fabric.
The higher cost comes from better materials (like strong power mesh), more complex construction (some bras have over 40 individual pieces!), and extensive research and development. It’s built to last and to properly support delicate breast tissue. A cheap, flimsy bra just won’t do the job and will wear out in a few months. So, try to reframe it as a piece of essential technical gear, just like a good pair of running shoes.
The Modern Way to Measure: Ditch the Old Rules
You’ve probably heard of the “+4 method,” where you measure your ribcage and add four or five inches. Let me be blunt: that method is completely outdated. It was created back when bras were made of rigid, non-stretch fabrics. Modern bras are made with high-tech elastic materials and are designed to be worn snug against the body.
Using the +4 rule today is the number one reason people end up in a band that’s way too big and cups that are way too small. So, let’s use the direct measurement method the pros use.
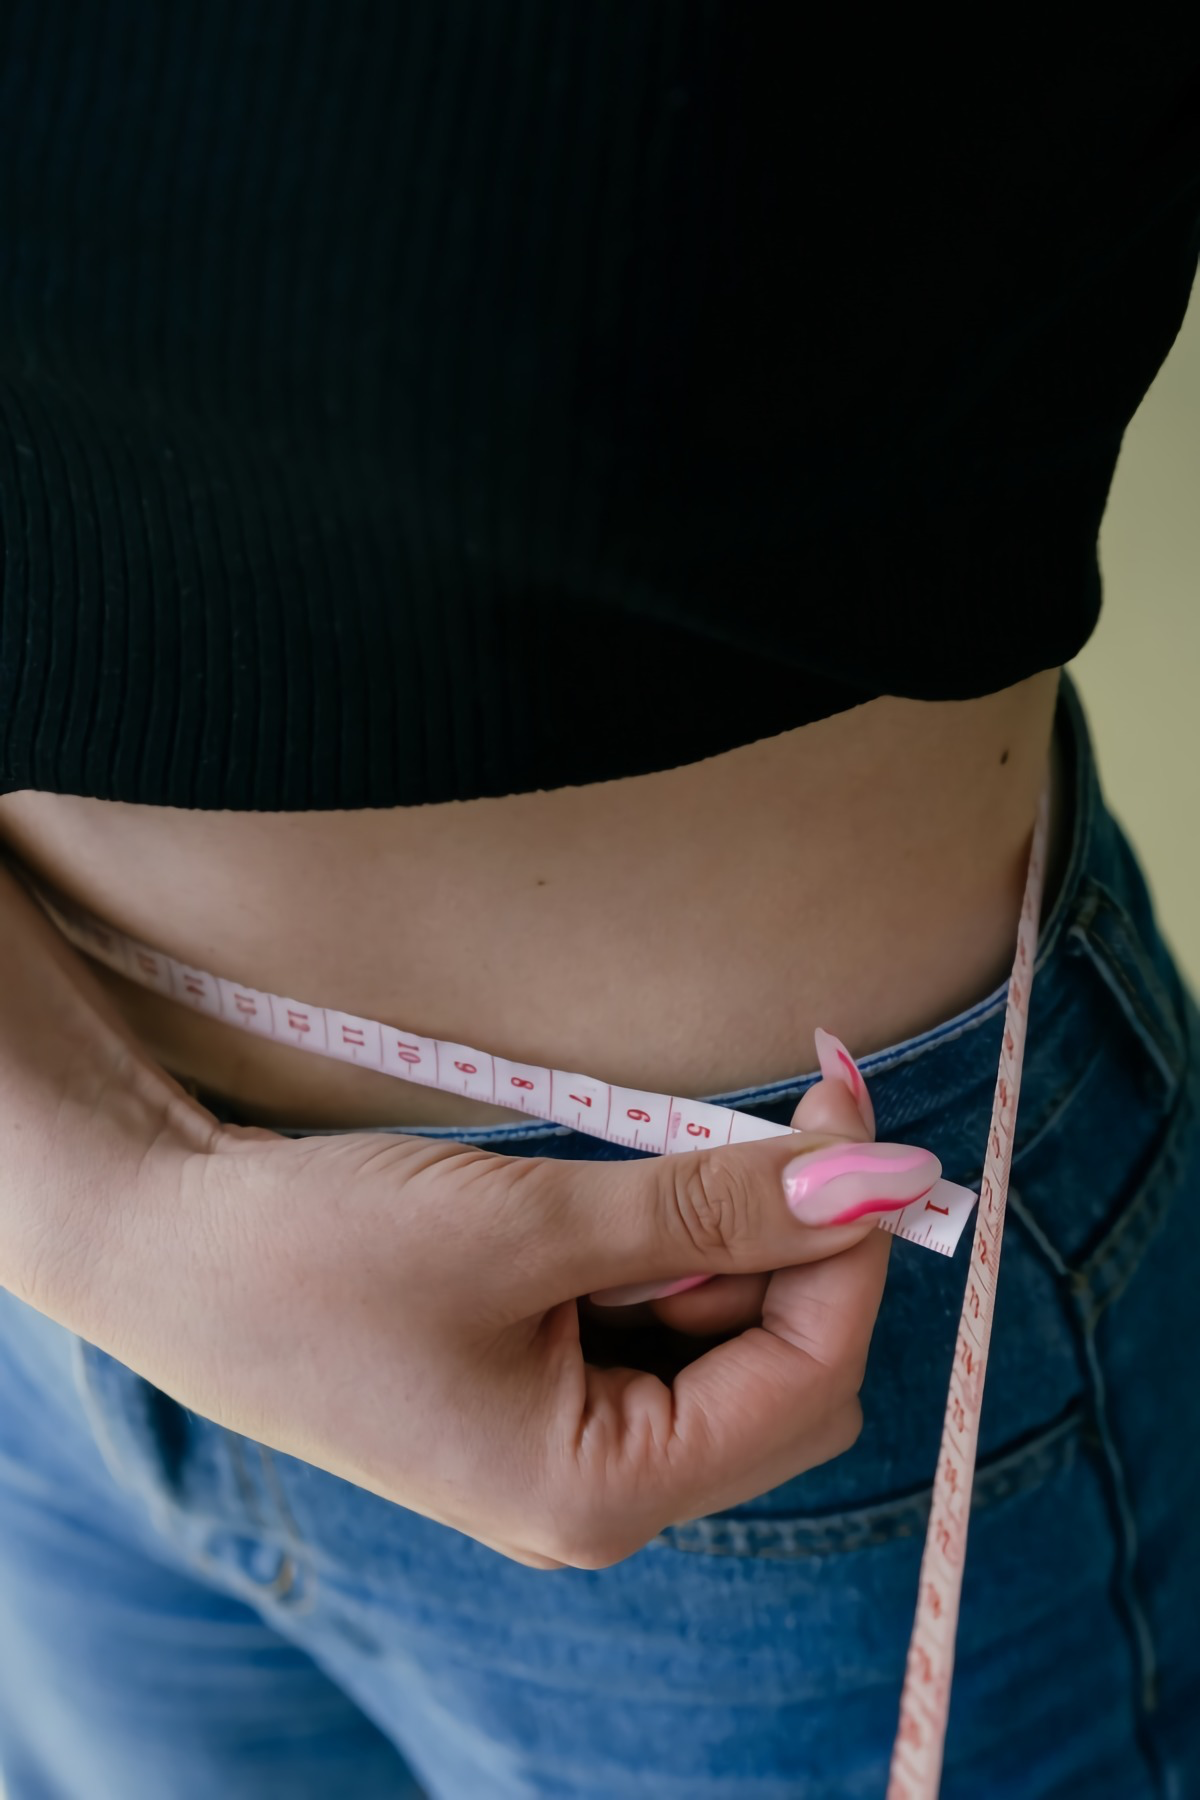
Step 1: Get Your Band Size
Grab a soft tailor’s measuring tape, which you can find at any craft store or online for a few bucks. It’s best to do this with no bra on, or just a thin, unpadded one.
- Stand up straight and breathe out normally. Don’t hold your breath!
- Wrap the tape around your torso, right underneath your breasts where the band sits.
- Make sure the tape is level all the way around. Use a mirror to check your back.
- Pull the tape snug. Not painfully tight, but firm. You should still be able to slide a finger or two underneath, but it shouldn’t be loose.
- Read the measurement in inches and round it to the nearest whole number. So, 33.7 inches becomes 34, and 31.2 inches becomes 31.
Bra bands come in even numbers (32, 34, 36). If your measurement was an even number (like 34), that’s your starting band size. If it was an odd number (like 31), you’ll want to try both the size below (30) and the size above (32). Many people prefer the larger size for comfort, but some need the smaller one for better support.
Step 2: Find Your Cup Measurement
This is where most people go wrong. To get an accurate measurement, you need to work with gravity, not against it.
- Lean forward so your back is parallel to the floor. This lets all your breast tissue fall forward.
- Now, loosely wrap the tape around the fullest part of your bust. Don’t pull it tight at all—it should just skim the surface without squishing any tissue.
- Make sure the tape isn’t twisted, and read the measurement in inches. Round to the nearest whole number.
Step 3: Calculate Your Starting Size
Now for some simple math. Subtract your snug band measurement from your leaning bust measurement. For example, if your band was 34 inches and your bust was 40 inches:
40 (bust) – 34 (band) = 6 inches
This difference corresponds to a cup letter. Here’s a general guide:
- 1″ difference = A
- 2″ difference = B
- 3″ difference = C
- 4″ difference = D
- 5″ difference = DD (or E in UK sizes)
- 6″ difference = DDD (or F in UK sizes)
- 7″ difference = G (or FF in UK sizes)
- 8″ difference = H (or G in UK sizes)
In our example, a 6-inch difference means our starting size is a 34DDD in US sizing or a 34F in UK sizing. Now, take a deep breath. If you’ve been wearing a 38C your whole life and just calculated 34F, your first reaction is probably, “That’s impossible!” Trust me, it’s not. Cup letters are just ratios, not fixed sizes. A ‘G’ cup doesn’t mean ‘giant’—it just means there’s a seven-inch difference between the bust and the band. This number is just your starting point to get you in the right section of the store. The real fit happens in the dressing room.
The 5-Point Fit Check: How It Should Actually Feel
When you try on a new bra, always fasten it on the loosest hook. The other hooks are for later, as the bra’s elastic naturally stretches over time. If it fits perfectly on the tightest hook when it’s new, you have nowhere to go.
Now, run through this checklist:
- The Band: Is it snug and level? Slide two fingers underneath the back. It should be firm. Now raise your arms. The band should stay put and not ride up your back. If it moves, the band is too loose.
- The Cups: Check for spilling or gaping. If you’re spilling out over the top or sides (the dreaded “quad-boob”), the cup is too small. If there’s wrinkling or empty space in the fabric, the cup is too big or the wrong shape for you.
- The Center Gore: This is the little panel between the cups. On an underwire bra, it should lie flat against your sternum, or breastbone. This is called “tacking,” and it’s a critical sign of a good fit. If it’s floating away from your chest, the cups are too small. (Heads up! If your breasts are very close-set, the gore may never tack perfectly. In that case, look for a plunge style with a lower, narrower gore).
- The Underwires: The wires should fully encase your breast tissue, tracing the natural root of your breast. They shouldn’t be sitting on any breast tissue, not on the side under your arm or in the middle. If it’s poking you, the wire shape might be wrong, or the cup is too small.
- The Straps: After the band is secure, adjust your straps. You should be able to fit two fingers underneath them comfortably. If you feel a ton of pressure on your shoulders, I guarantee your band is too loose.

Going Deeper: Breast Shape Matters More Than You Think
A measuring tape can’t tell you about your breast shape, which is why two people with the same size can need totally different bras. Here’s a quick guide to figuring out your shape:
- Projection vs. Shallow: Projected breasts stick out from the chest, while shallow breasts are spread over a wider area. If you’re projected, you’ll need bras with deeper cups. Molded T-shirt bras often have a shallow shape and can cause spilling even if the size is technically correct.
- Fullness (Top, Bottom, or Even): Lean forward and look in the mirror. Do you have more tissue above the nipple (full-on-top) or below (full-on-bottom)? If you’re full-on-bottom, balconette styles often work great. If you’re full-on-top, you may need a full-cup style with stretch lace at the top to prevent cutting in.
- A quick tip on asymmetry: It’s incredibly common for one breast to be larger than the other. Always fit the bra to your larger breast to avoid spillage. You can use a small foam insert (often called a “cookie”) on the smaller side to even things out.
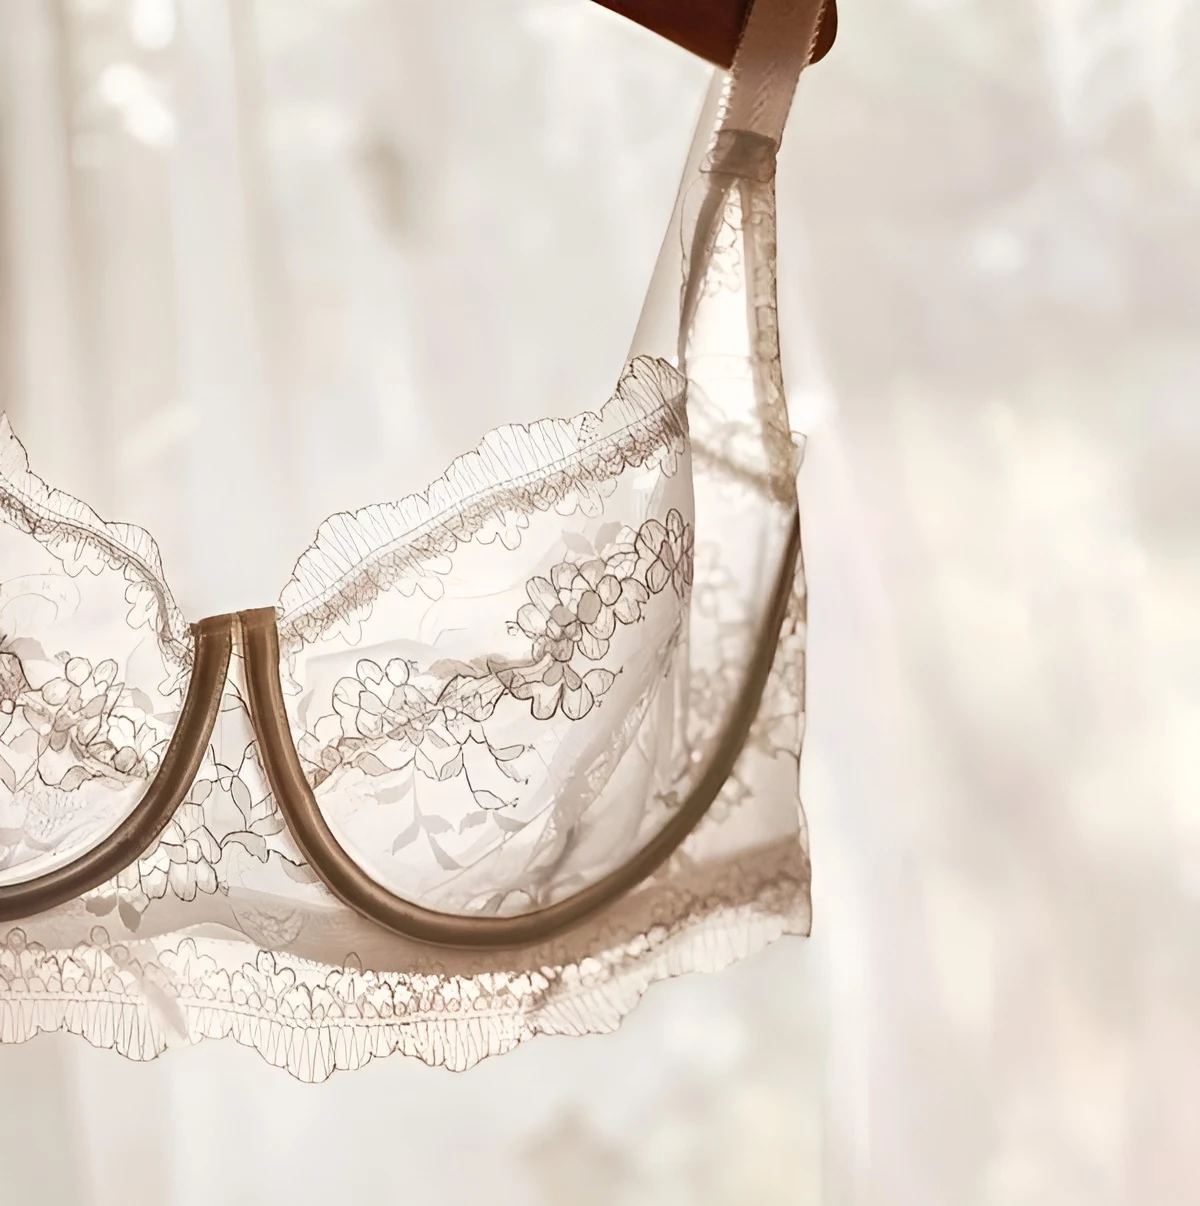
By the way, if you’re totally lost on shape, here’s a lesser-known trick: try a “diagnostic” bra. A style like the Panache Envy is a fantastic starting point. Its unlined, multi-part cup with stretch lace at the top is very forgiving and can help you see what’s really going on with your shape and fullness.

Troubleshooting With Your Secret Weapon: Sister Sizing
Sister sizing is a pro technique for finding the same cup volume on a different band size. The rule is simple: if you go UP a band size, go DOWN a cup size. If you go DOWN a band size, go UP a cup size.
So, let’s say you try on that 34F. The cups are perfect—no spilling, no gaps. But the band feels a bit loose even on the tightest hook. This is your cue to sister size down! Try a 32G. It will have the same cup volume but on a snugger, more supportive band. It’s the key to fine-tuning your fit.
How to Care For Your Bras (So They Last)
Please, I’m begging you, never put your underwire bras in the washing machine. The agitation bends wires and the heat destroys elastic. Hand-wash them instead.
- Use a gentle, no-rinse lingerie wash like Soak or Eucalan in cool water. (In a pinch, a bit of baby shampoo works too!) Let them soak for 20-30 minutes.
- Gently squeeze out the water (don’t wring them!) and hang them to air dry by the center gore. Never, ever put them in the dryer.
- Rotate your bras. Elastic needs about 24 hours to recover. Having 3-4 good bras in rotation will make them all last much, much longer.

Where to Go From Here: Finding Your Perfect Bra
Okay, so where do you even find bras in these new sizes? You probably won’t find them at your local mall. Your best bet is online or at a specialty lingerie boutique.
- Great Online Stores: Check out websites like Bare Necessities, Bravissimo, and Breakout Bras. They have huge selections and detailed sizing info. Just be sure to check the sizing system! A UK ‘G’ cup is much larger than a US ‘G’ cup. Most specialty brands use UK sizing because it’s more consistent, so knowing your UK size is a huge advantage.
- Find a Local Boutique: Search for “specialty lingerie store” or “bra fitting boutique” near you. A professional fitter can assess your shape and save you hours of trial and error.
- Community Help: The subreddit r/ABraThatFits is an incredibly knowledgeable and supportive online community with a wealth of information and guides.
Getting a bra that fits correctly is one of the kindest things you can do for your body. It improves your posture, boosts your confidence, and makes you feel incredible. It’s a foundation for everything else, and it’s absolutely worth the effort to get it right.
Inspiration:
A 2008 study published in ‘Chiropractic & Osteopathy’ found that 80% of women were wearing the wrong bra size. Of those, 70% wore bras that were too small.
This isn’t just a comfort issue; it’s a structural one. When cups are too small, breast tissue is compressed, and the underwire can’t sit properly behind the tissue on the ribcage. This forces the band away from the body, compromising the entire support system and often leading to the dreaded ‘quad-boob’ spillover.
My new bra felt perfect in the store, but now the underwire is digging into my armpits. What went wrong?
This is a classic sign that the cup style might not be right for your body shape, even if the size is correct. Wires poking your underarms often happen with full-coverage or balconette styles on a petite frame or someone with a shorter torso. The solution isn’t necessarily a different size but a different style. Try a ‘plunge’ bra or a ‘demi-cup’ style from brands like Panache or Freya; their wires are often shorter and cut lower on the sides, providing containment without the painful poking.


