Tired of Sad, Stubby Lashes? Here’s How to Actually Make Them Healthy
In all my years as a licensed esthetician, I’ve seen so many people walk in feeling completely defeated by their eyelashes. It’s a familiar story: they either tried extensions that left their natural lashes looking sparse and sad, or they’ve dropped serious cash on fancy serums that didn’t deliver on their promises.
In this article
The one thing I hear over and over is, “I just want them to be healthy again.” And honestly, that’s the perfect place to start. Getting those long, lush lashes you’re dreaming of isn’t about some magic potion or a secret hack. It’s all about understanding how they actually grow and giving them consistent, gentle care.
So many of us don’t even realize our eyelashes have a life cycle, just like the hair on our heads. The real goal is to support that cycle, not try to cheat it. Forget the quick fixes. Let’s dig into the methods that work for building real, lasting lash health from the ground up.
First Things First: Why Your Lashes Even Have a Life Cycle
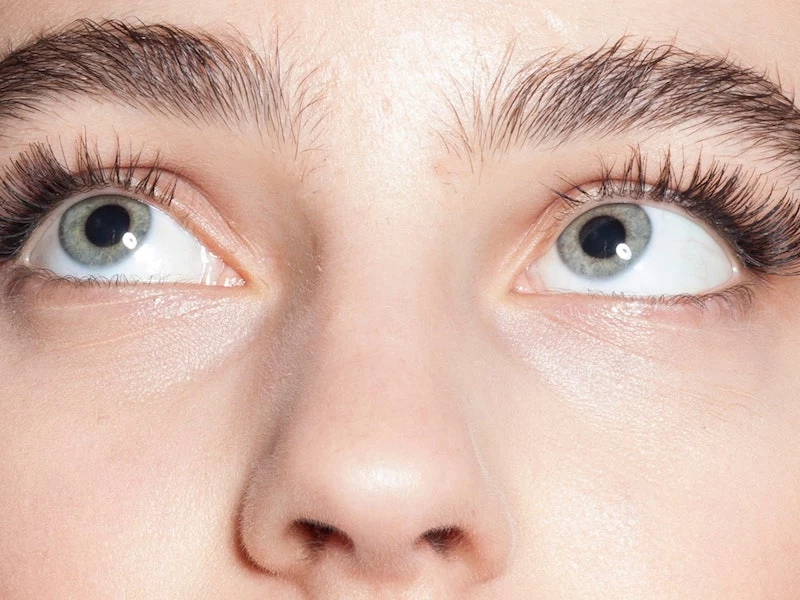
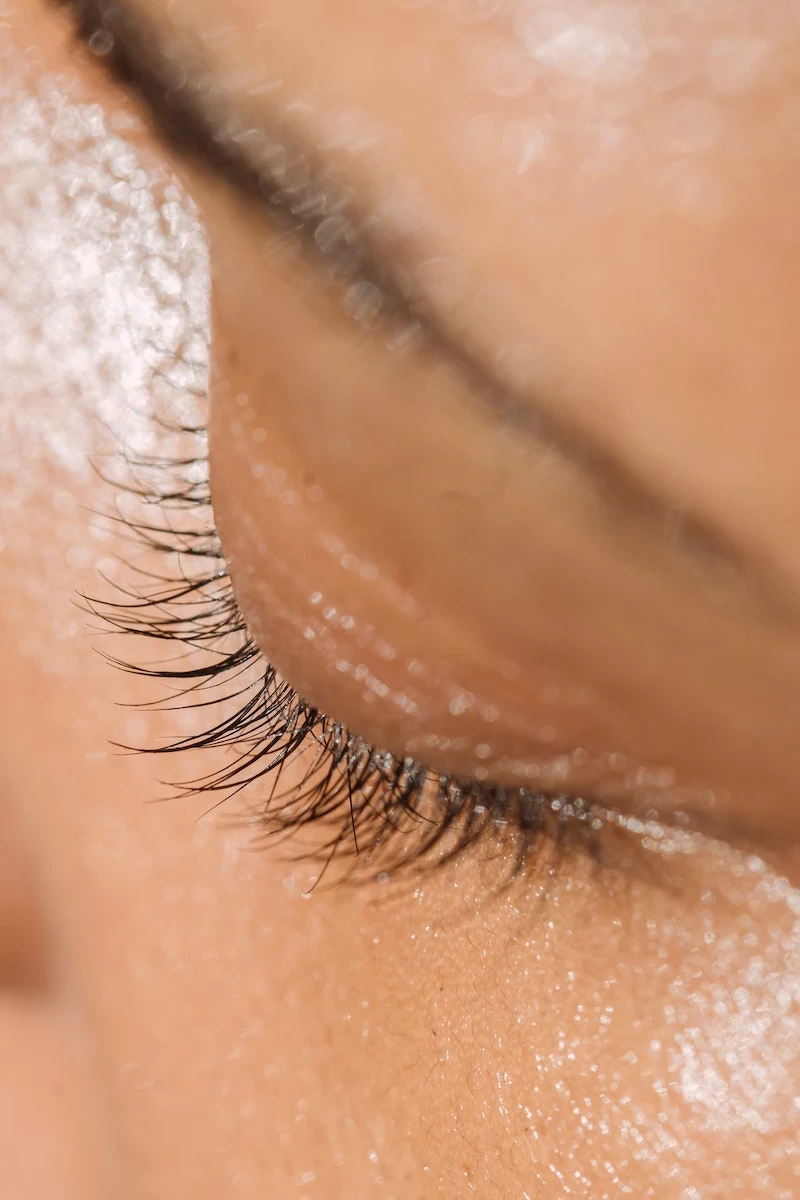
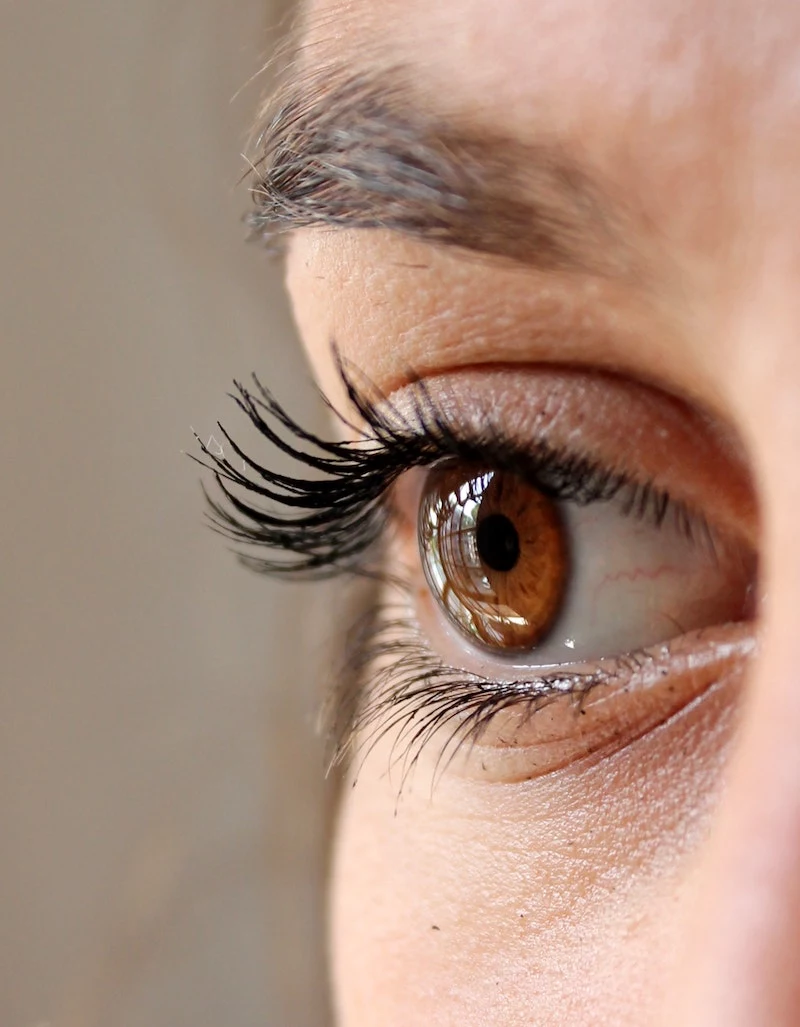
Before we get into the fixes, you have to appreciate what your lashes do. They aren’t just there to look pretty! They’re the first line of defense for your eyes, catching dust, sweat, and all sorts of other gunk. Each little lash grows from a follicle in your eyelid, and the health of that follicle is everything.
The lash life cycle is broken down into three phases. Once you get this, you’ll understand why patience is so important and why some damage takes a while to reverse.
- Anagen (The Growth Phase): This is when the action happens. The lash is actively pushing out of the follicle and growing longer. For lashes, this phase lasts about 30 to 45 days. This is your golden window of opportunity—the care you provide now directly affects how long and strong that lash will get.
- Catagen (The Transition Phase): After its growth spurt, the lash follicle shrinks, and the lash stops growing. It’s basically getting ready to retire. This lasts for two to three weeks. Heads up! If a lash gets pulled out during this phase, the follicle has to finish the cycle before it can start growing a new one, which is why you can get a temporary bald spot.
- Telogen (The Resting Phase): This is the long goodbye, lasting over 100 days. The fully-grown lash is just hanging out while a new baby lash starts to form underneath. Eventually, the old lash sheds naturally. So when you find a random lash on your cheek, don’t panic. It’s usually just making way for a new one. By the way, it’s totally normal to lose between one and five lashes per day!
Our whole strategy is to keep lashes in that lovely anagen (growth) phase for as long as possible and prevent them from being yanked out early. That’s how you achieve a lash line that looks naturally full and long.

The Usual Suspects: How We Accidentally Wreck Our Lashes
In my treatment room, I see the same kinds of preventable damage day in and day out. It almost always comes down to our daily habits.
Oops… Mechanical Damage
This is the number one issue, and it’s usually caused by physical force we don’t even realize we’re using.
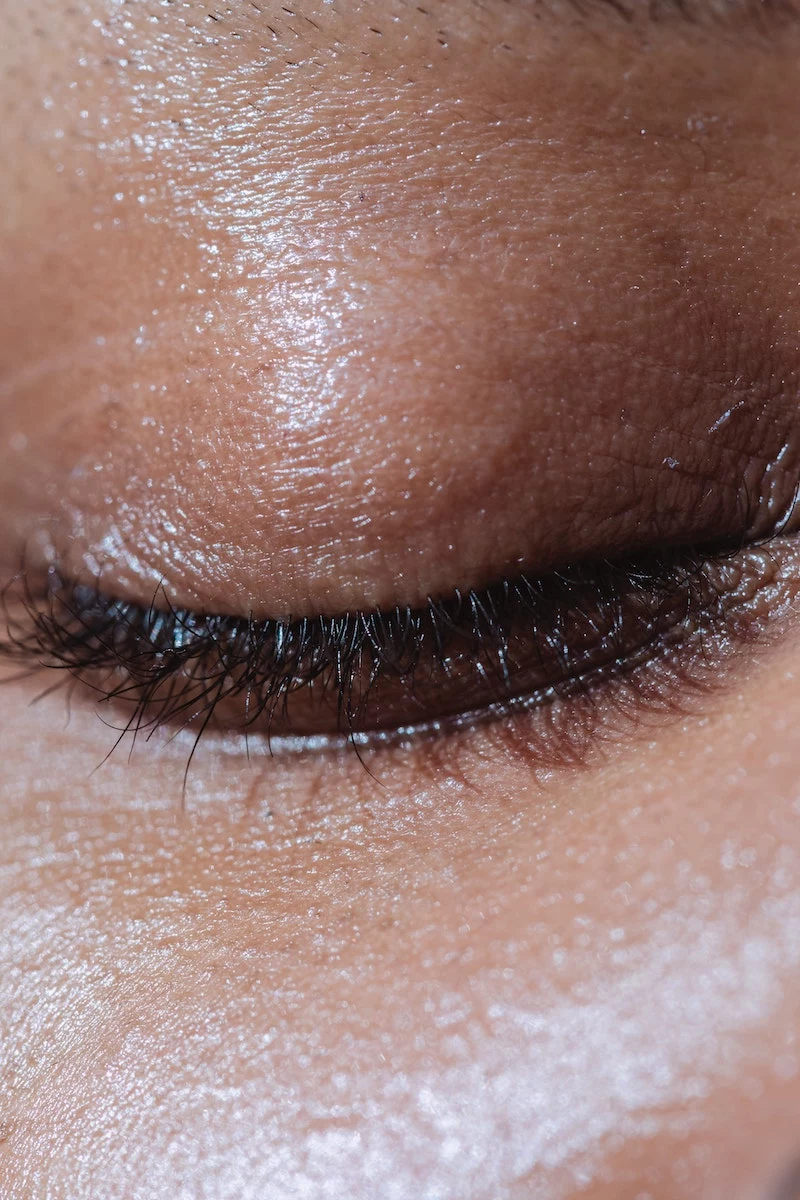
A huge one is aggressive makeup removal. Viciously scrubbing your eyes with a makeup wipe or cotton pad is a recipe for disaster. That back-and-forth friction bends, weakens, and pulls out lashes. I once worked with a client who had visible gaps in her lash line from rubbing too hard. It took us nearly four months of gentle care to get those follicles healthy and producing again.
And let’s talk about eyelash curlers. Using a curler on lashes that already have mascara on them is a major no-no. Mascara makes lashes sticky and brittle, so when you clamp down, they can snap right off. Also, those little rubber pads on your curler wear out. A cracked, worn-out pad can pinch and literally cut your lashes. Quick tip: a pack of refills costs less than $10 at most drugstores. Replace that pad every couple of months.

The Cost of Cosmetic Treatments
Lash extensions and lifts can look incredible, but it’s smart to know the risks. To be frank, the difference between a great result and a disaster often comes down to the skill of the technician and the quality of the products.
Let’s compare the two big ones, since people ask me about this all the time.
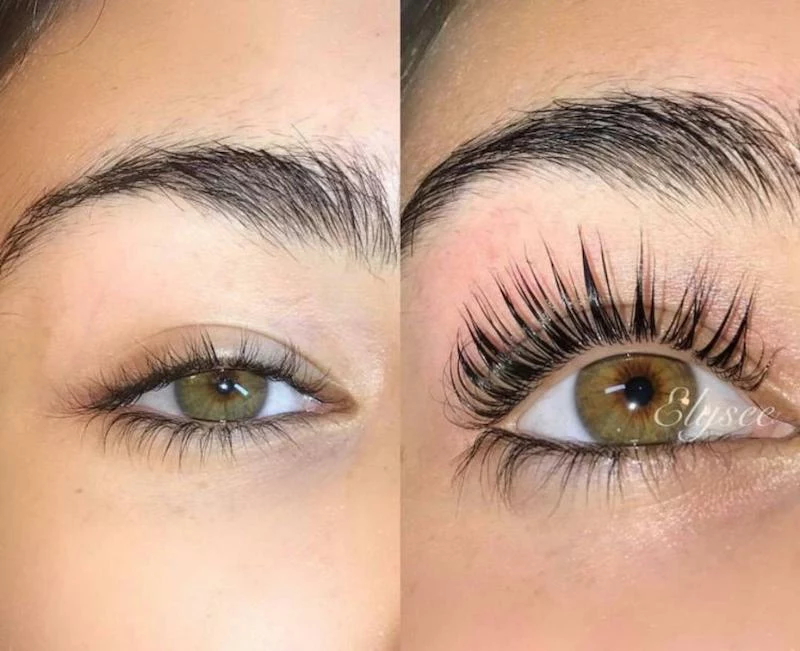
Lash Extensions are all about adding individual fibers to your natural lashes with a strong glue. They give you instant drama and length, which is great for people with shorter lashes. But the maintenance is no joke—you’re looking at fills every 2-3 weeks, which can cost anywhere from $75 to $150 a pop after the initial full set ($150-$300+). The biggest risk here is damage from poor application. If an inexperienced tech glues one extension to multiple natural lashes, it causes pulling and breakage. The weight can also cause strain. My advice? Always see a certified pro and give your natural lashes a break for a month every three or four months.

A Lash Lift, on the other hand, is like a perm for your own lashes. It uses a chemical solution to curl your natural lashes upward, making them look longer and more open. It’s perfect if you already have decent length but your lashes are straight. A good lift can cost between $80 and $150 and lasts about 6-8 weeks. The risk here is chemical. If the perming solution is left on too long, it can make your lashes brittle, dry, and frizzy. Again, technician skill is everything.
Your At-Home Lash Rehab Plan
Okay, ready for the good stuff? Healthy lashes begin with a solid, consistent daily routine. This is what I teach every single one of my clients. It’s simple, but it works.
Step 1: Master the Art of Gentle Cleansing
You have to get your eye makeup off every night. No exceptions. But how you do it matters. Ditch the scrubbing for good.
Here’s the pro method: 1. Grab a flat cotton pad (the lint-free kind are great) and soak it with a dual-phase (oil and water) or a pure oil-based makeup remover. Micellar water can work, but for waterproof stuff, oil is your friend. 2. Press the soaked pad onto your closed eye and just hold it there for 30 seconds. Seriously, don’t move or peek. Let the cleanser do the work of dissolving the makeup. 3. After 30 seconds, gently wipe downwards in the direction your lashes grow. No side-to-side sawing motions! Repeat once or twice if needed. That’s it.
Step 2: Condition Your Lashes Nightly
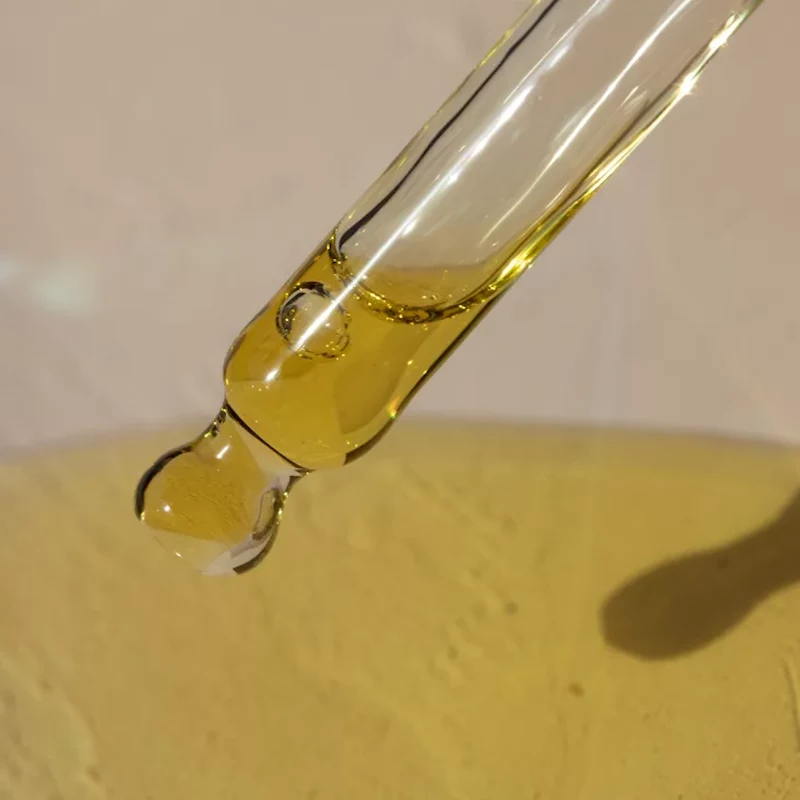
Just like the hair on your head, your lashes benefit from a little conditioning. You don’t need a super expensive product for this, especially when you’re starting out. A simple, pure oil works wonders.
A little bit of castor oil or jojoba oil on a clean spoolie or cotton swab, swiped along the lash line before bed, can help keep follicles nourished and lashes soft and flexible. You can find a bottle of high-quality, cold-pressed oil online or at a health food store for about $10, and it will last you forever.
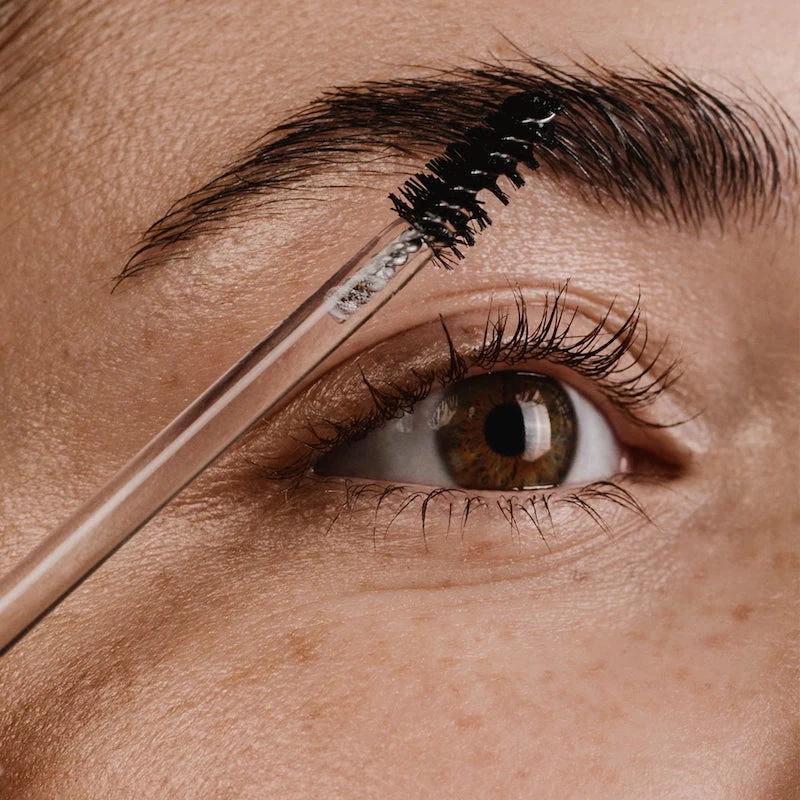
Step 3: Choose Your Products Wisely
What you put on your lashes all day is just as important. For daily wear, consider switching to a high-quality, water-soluble mascara instead of a waterproof one. It performs beautifully but comes off so much more easily, which means less stress on your lashes.
And please, please, throw out your mascara every three months. A tube of mascara is a dark, wet environment—a perfect breeding ground for bacteria that can cause infections and irritate follicles. A new drugstore mascara is about $10-$15. It’s one of the best investments you can make for your eye health.
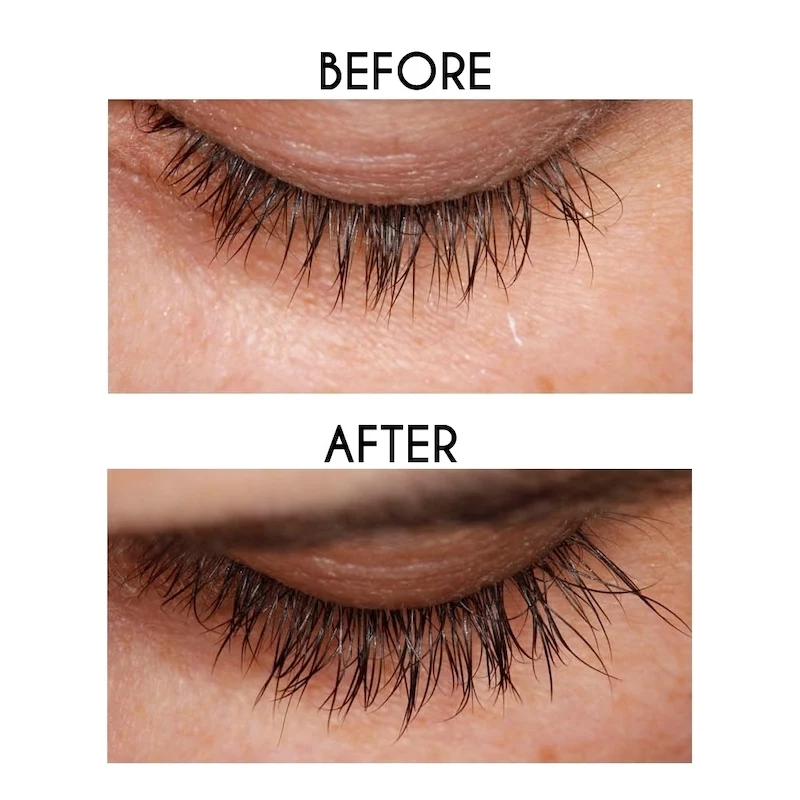
Level-Up: Adding a Lash Serum
If you want to give your lashes an extra boost, a good serum can really help extend that anagen (growth) phase. Quality serums can run anywhere from $40 to over $100, but they can be effective.
Look for ingredients like peptides (Myristoyl Pentapeptide-17 is a common one), biotin, and panthenol (a form of Vitamin B5). These are all aimed at nourishing and strengthening the lash.
A little warning: some prescription-strength serums use ingredients called prostaglandins. While effective, they can have side effects for some people, like darkening the skin around the eye or even changing your iris color. So it’s good to be aware and start with a gentler, peptide-based formula if you’re concerned.
Oh, and if you start using a serum and your lashes feel brittle? That’s a common complaint! It could mean you’re over-applying it. You only need one thin swipe along the upper lash line. Try switching to every other day and see if that helps.
At the end of the day, bringing your lashes back to life is totally possible. It just takes a little bit of knowledge and a whole lot of consistency. Be gentle, keep them clean, and give them the nourishment they need. You’ve got this!
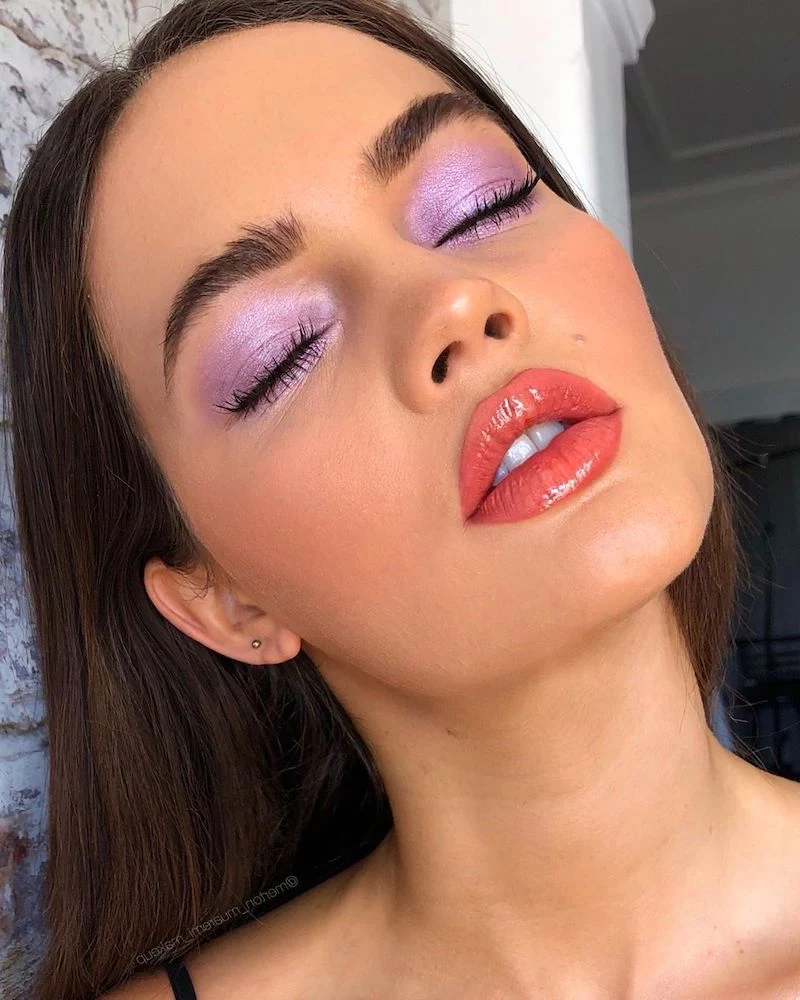
Inspirational Gallery
Peptide Serums: These work by nourishing the hair follicle with amino acids, the building blocks of protein. Think of it as a nutrient-rich smoothie for your lashes. They condition and strengthen what you already have, reducing breakage. A popular choice is The Ordinary Multi-Peptide Lash and Brow Serum.
Prostaglandin Analogues: These ingredients actually extend the anagen (growth) phase of the lash cycle. This is how you get noticeable length and density. Brands like GrandeLASH-MD use this technology, but they come at a higher price point and can sometimes cause irritation.
For sensitive eyes or a focus on health, start with peptides. For a dramatic transformation, consider prostaglandin-based serums carefully.

Did you know? Your lashes are primarily made of a protein called keratin. A diet lacking in biotin and amino acids can directly impact keratin production, leading to more brittle, shorter lashes over time.

Is my waterproof mascara doing more harm than good?
While essential for a tearjerker movie or a day at the beach, daily use of waterproof mascara can be a recipe for lash loss. Its stubborn formulas require vigorous rubbing and harsh, oil-based removers. This constant friction can weaken lashes and cause them to fall out prematurely. For everyday wear, consider a ‘tubing’ mascara, like those from Thrive Causemetics or Blinc. They form tiny tubes around each lash that won’t smudge but slide off easily with just warm water and gentle pressure—no rubbing required.

- Soak a cotton pad (preferably a reusable one) in a bi-phase makeup remover.
- Press it gently against your closed eye for 20-30 seconds. Don’t rub!
- Allow the remover to dissolve the makeup.
- Wipe downwards, following the direction of lash growth.
- Use a cotton swab dipped in remover for any remaining liner at the base.
The biggest mistake: Pumping your mascara wand in and out of the tube. This forces air inside, drying out the formula and, more importantly, introducing bacteria. A contaminated tube is a leading cause of eye infections and styes, which can seriously disrupt follicle health and lash growth. Instead, gently swirl the wand inside the tube to pick up product.
Tired of extensions but miss the lift? A professional lash lift could be your new best friend. It’s essentially a perm for your natural lashes, setting them in an upward curl that lasts for 6-8 weeks. The process makes your own lashes appear instantly longer and more open without the weight or glue of extensions, allowing you to focus on nourishing them back to health while still enjoying a dramatic, eye-opening effect.
A single eyelash follicle can take up to two months to produce a new lash if the previous one was pulled out prematurely during its transition (Catagen) phase. Patience isn’t just a virtue; it’s a biological necessity for lash recovery.
This explains why damage from harsh glue or accidental pulling seems to last so long. The follicle is forced to complete its dormant cycle before it can begin growing a new lash. Supporting your body’s natural timeline with gentle care is the only way to truly speed up the process of seeing full, healthy lashes again.
- Conditions lashes to make them more flexible and less prone to snapping.
- Provides a healthy, natural-looking sheen.
- Soothes the delicate skin of the eyelid.
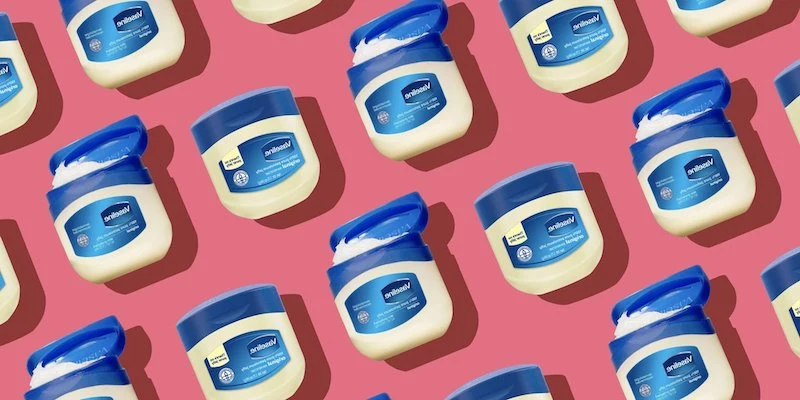
The secret? A simple, nightly DIY conditioner. Just mix a single drop of 100% pure almond oil with a tiny dab of medical-grade lanolin (like Lansinoh) on the back of your hand. Use a clean finger to gently massage it into the lash line before bed. The lanolin provides a protective barrier while the almond oil delivers a dose of Vitamin E.
Can my eyelash curler be the culprit?
Absolutely, if used incorrectly. Never, ever curl your lashes after applying mascara. The mascara makes lashes stiff and brittle, and clamping down on them can cause them to snap right off. Always curl clean, bare lashes. Squeeze gently at the base, move to the middle, and then the tips for a natural curve—don’t just clamp down once. And make sure to clean the pad regularly to remove bacteria and residue! A quality tool like the iconic Shiseido Eyelash Curler is designed to fit the eye shape and prevent pinching.
Beyond oils, what you eat plays a huge role in lash health. Think of it as fertilizing the soil from the inside out. For strong, resilient lashes, make sure your diet includes:
- Iron: Found in spinach and lentils, it helps prevent hair and lash shedding.
- Biotin: Eggs, almonds, and salmon are rich in this B-vitamin, crucial for producing keratin.
- Vitamin C: Citrus fruits and bell peppers help your body produce collagen, a protein that strengthens hair.


