How to Give Yourself a Flawless Pedicure at Home (That Actually Lasts)
After years of working as a nail pro, I can tell you one thing for sure: a real pedicure is about foot health first and pretty polish second. So many people think it’s just a quick fix for sandal season, but it’s so much more than that. It’s a practice.
In this article
It’s about understanding the basics of your feet, using the right tools the right way, and honestly, knowing when to just leave it to a professional. This isn’t about getting that perfect “salon look” in your living room. It’s about giving you the foundation to keep your feet healthy and comfortable, safely. The beautiful results? They’re just a happy side effect.
First, A Little Foot Science (Don’t Worry, It’s Quick!)
Before you even think about grabbing a clipper, you need to know what you’re working with. This is the first thing I teach anyone who wants to learn proper technique.
The skin around your nail is your first line of defense. That little ridge of skin at the base of your nail? That’s the eponychium, and it’s living tissue. Its job is to form a seal that protects the new nail from bacteria. The actual “cuticle,” on the other hand, is the non-living, flaky tissue that gets stuck to your nail plate. Our goal is to gently remove the dead cuticle, NOT the living eponychium. Cutting that seal is one of the biggest mistakes people make, and it’s a wide-open invitation to painful infections.
And what about calluses? They’re just your body’s way of protecting itself from friction and pressure. Think of them as natural padding. The goal is to smooth and reduce them, not attack them like an enemy. Fun fact: if you get too aggressive with a file or—even worse—one of those scary shaver tools, you can trigger a “rebound callus.” Your body freaks out, thinks it’s been injured, and builds an even thicker, tougher callus in the exact same spot. Gentle and consistent is the only way to win this game.
Building Your Pro-Level Home Pedi Kit
Let’s be honest, those all-in-one pedicure kits from the discount aisle are mostly junk. Using flimsy, poorly designed tools is a great way to damage your nails and skin. Investing in a few quality items separately will make a world of difference and last you for years.
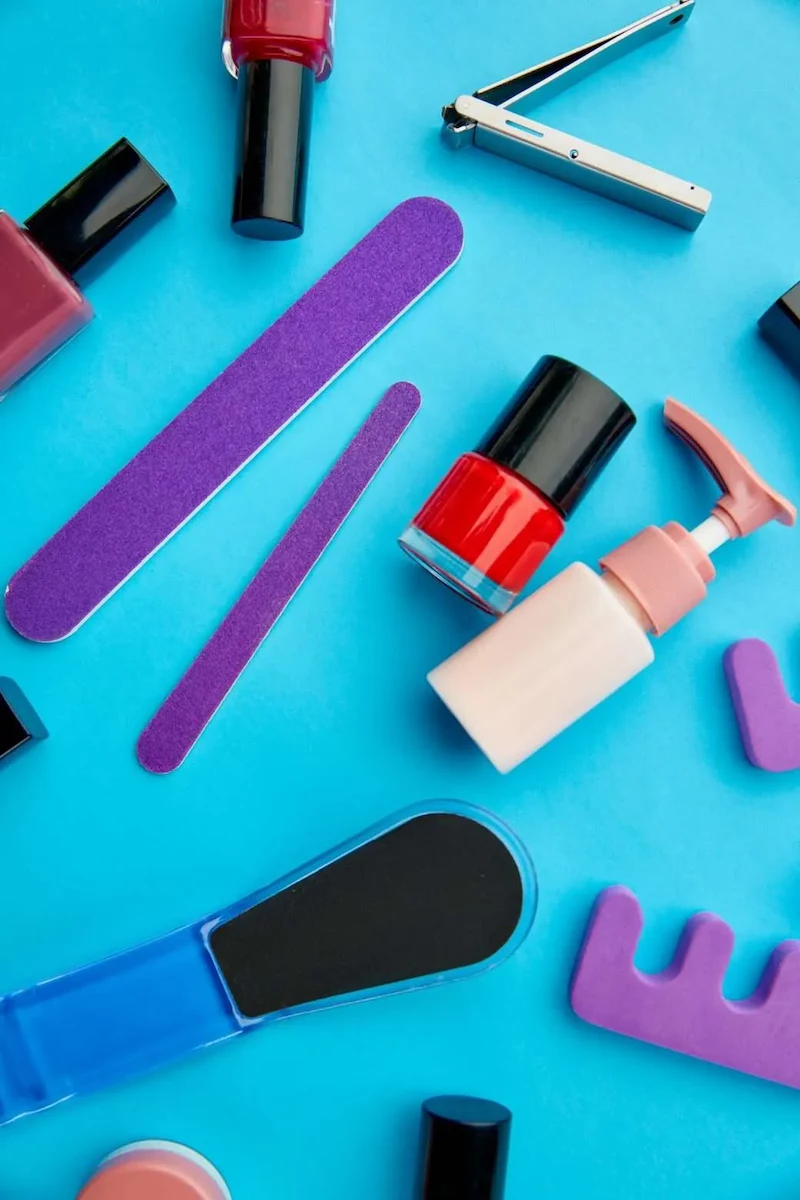
Here’s what you actually need and what you should expect to pay:
- Straight-Edge Toenail Clippers: This is a non-negotiable for preventing ingrown nails. The straight edge helps you cut straight across. Forget the curved ones for your toes. Expect to pay between $15 and $25 for a good stainless steel pair from a brand like Tweezerman. You can find them at Ulta or online, and they’ll last practically forever.
- A Good Nail File: Please, throw away your metal file. It shreds your nail’s layers. A glass or crystal file is a fantastic investment, usually costing around $10 to $15 on Amazon. They create a smooth, sealed edge and can be easily washed. If you prefer a classic emery board, get a professional-style one with two grits, like 180/240.
- A Professional Foot File: Stop. Do not even look at any tool that resembles a cheese grater. They are way too harsh and can cause tiny cuts in your skin. Instead, look for a professional-grade foot file, which often looks like a paddle with a sandpaper-like surface. You can find these at a beauty supply store like Sally Beauty for about $20, and many have replaceable pads. A simple pumice stone is also a perfectly safe and effective alternative.
- Cuticle Care Tools: All you need is a bottle of cuticle remover solution (the classic Sally Hansen one in the blue bottle is about $5 and works wonders) and something to push with. An orangewood stick is cheap and gentle. A stainless steel pusher is more durable but requires a very light touch.
- Sanitation Stuff: This is critical! You need soap, water, and a bottle of 70% isopropyl alcohol. I once had a client get a terrible infection from sharing unwashed tools at home. It’s no joke. Clean your metal tools with soap and a brush, dry them completely, then wipe them down with alcohol before and after every single use. Store them in a clean, dry bag or container.
The Pro Pedicure Method: Step-by-Step
Ready? Set aside about an hour, put on some music, and don’t rush. A proper pedicure is methodical. I recommend doing one foot completely before starting the next one. This prevents your other foot from getting waterlogged in the basin.
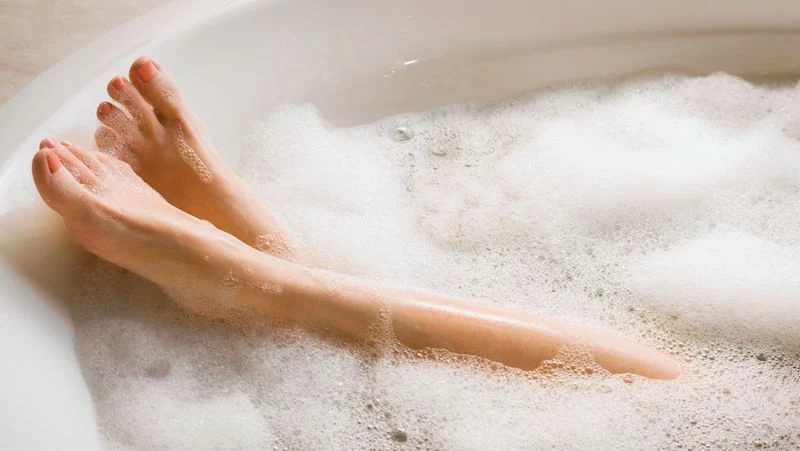
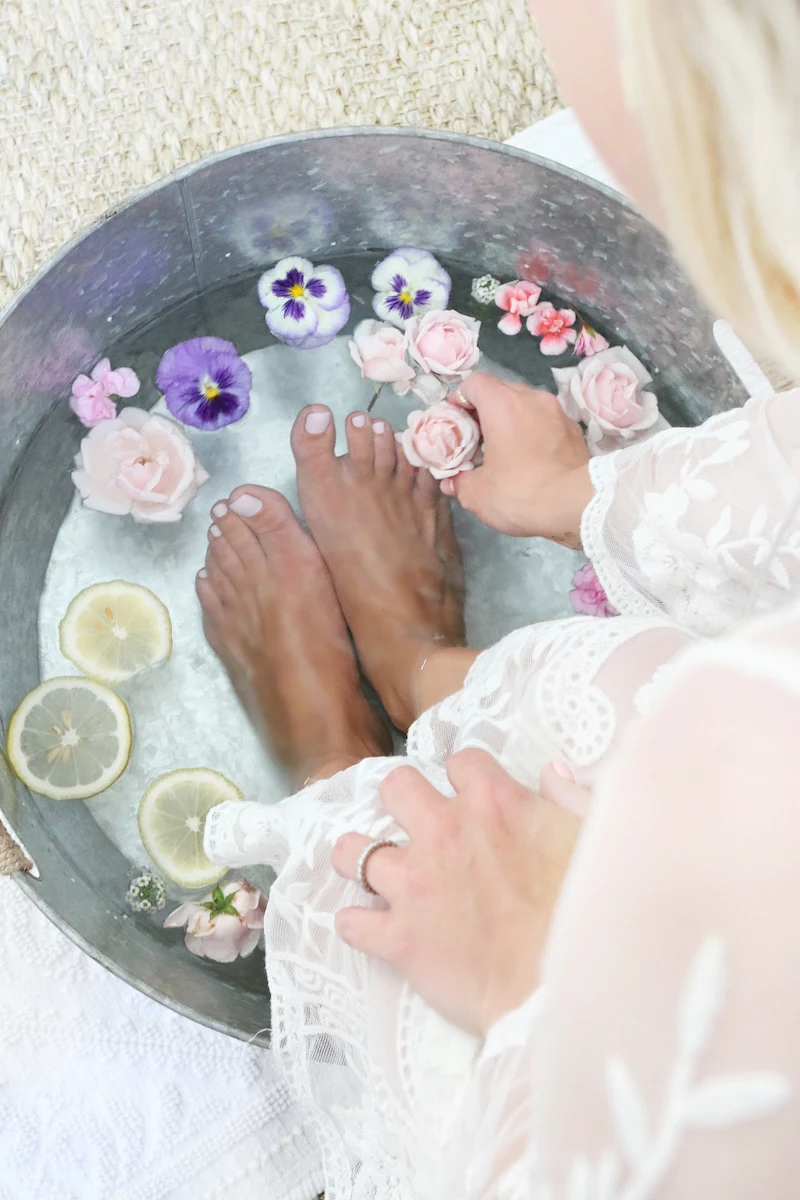
Step 1: The Soak (5-10 Minutes, Max!)
The goal here is to soften your skin, not your nails. Fill a basin with warm (not hot!) water. You can add a scoop of Epsom salts to soothe achy feet or a few drops of tea tree oil for its natural antifungal properties. Soaking for more than 10 minutes makes your nails absorb too much water, leaving them soft and vulnerable to damage when you file. It’s a super common mistake.
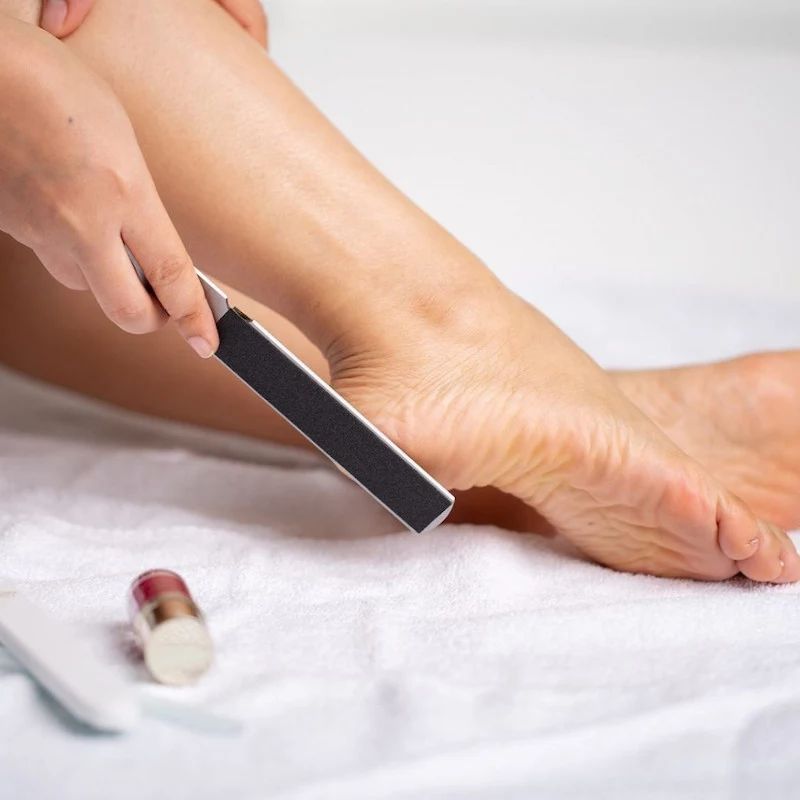
Step 2: Smooth Your Soles
Take one foot out of the water and pat it mostly dry. The skin should be damp, not sopping wet. Use your professional foot file or pumice stone with gentle, consistent pressure. Work back-and-forth on your heels, the ball of your foot, and any other thick spots. Remember, you’re aiming for reduction, not total elimination. After a minute or two, the skin will feel smoother. That’s your sign to stop. Consistency is key here—a few minutes twice a week is way better than one aggressive session once a month.
Step 3: Shape Your Nails
Using your straight-edge clippers, cut your nails straight across. It’s best to leave a little bit of the white free edge (about 1-2 millimeters). Whatever you do, don’t cut down into the corners—that’s the number one cause of painful ingrown toenails. Afterward, use your file in one direction (not sawing back and forth) to smooth the edge you just cut.
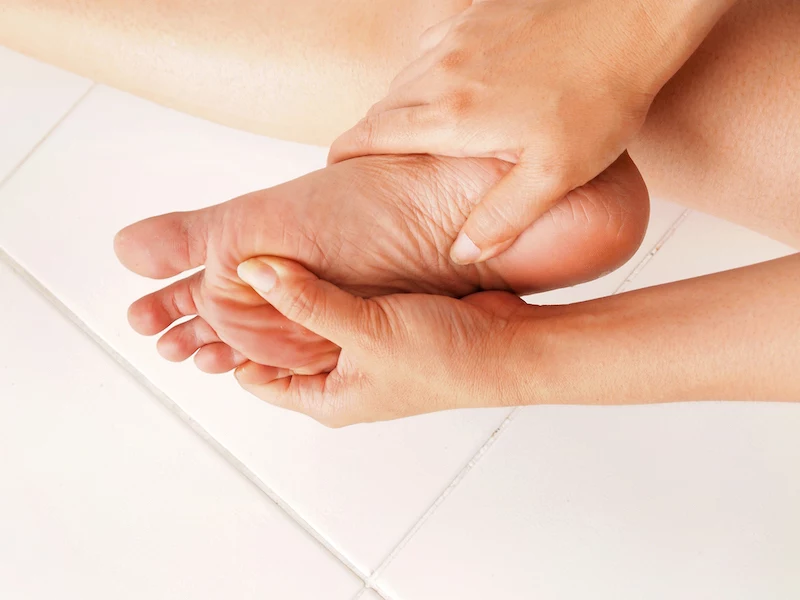
Step 4: Tidy Your Cuticles
Apply a bit of cuticle remover solution to the base of each nail and let it sit for about 30-60 seconds. Then, using your orangewood stick or pusher at a flat angle, gently push back the skin. You’ll see a filmy layer of dead tissue lift off the nail plate. Use small, circular motions to buff it away, then wipe the nail clean. Again, NEVER cut the living skin.
Step 5: Exfoliate and Rinse
Now for the finishing touch. Use a sugar or salt scrub to massage your entire foot and lower leg. This gets rid of any leftover dry flakes and feels amazing. Rinse everything off thoroughly and pat your feet completely dry.
Quick Tip: My Go-To DIY Scrub. Honestly, it works better than most store-bought stuff. Just mix half a cup of plain sugar (or salt) with enough olive or coconut oil to form a thick, scoopable paste. That’s it!
The Secret to Polish That Actually Lasts
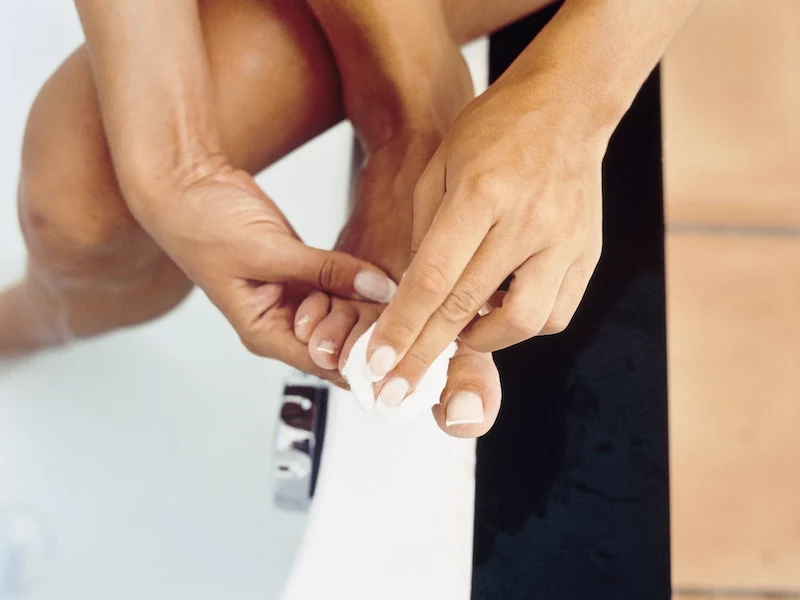
A great polish job is 90% prep. The single most important step happens right before you apply your base coat.
First, you have to dehydrate the nail plate. All those lotions, oils, and even water leave a residue that makes polish chip. Soak a lint-free wipe or a piece of paper towel in 70% isopropyl alcohol and scrub each toenail until it looks a little dull and chalky. This clean, oil-free surface is what you want.
From there, it’s all about thin coats:
- Base Coat: One thin layer. Don’t skip it! It prevents staining and helps the color stick.
- Color: Apply two thin coats, not one thick one. Let each coat dry for at least three minutes. After painting each nail, run the brush along the very tip—this is called “capping the free edge” and it’s a game-changer for preventing chips.
- Top Coat: One layer of a good, quick-drying top coat provides a hard, shiny shell. Be sure to cap the free edge again! To make your pedi last, reapply the top coat every 2-3 days.
And be realistic about dry time. Your nails might feel dry to the touch in 20 minutes, but the polish isn’t fully hardened for several hours. If you can, wait at least two hours before cramming your feet into closed-toe shoes.
Your Perfect Pedicure Schedule
So, how often should you do all this? It’s overwhelming to think about doing it every week.
- The Full Pedicure: A full, one-hour session like the one described above is perfect to do once a month.
- Weekly Maintenance: Once a week, just do a quick, gentle file on any callused spots (takes 5 minutes) and reapply a fresh layer of top coat to your polish.
- The 10-Minute Foot Refresh: In a pinch? Just do a quick soak, a light buff with the foot file, and apply a good quality foot cream. It’s not a full pedicure, but it’s enough to keep things comfortable and looking good between full sessions.
By the way, if you live in a very dry climate, daily foot cream is a must. Look for something with effective ingredients like urea or lactic acid—a cream like Eucerin Advanced Repair is the real deal for seriously dry or cracked heels. If you live somewhere humid, focus on keeping your feet dry to prevent fungal issues.
Heads Up: When to See a Professional
Home care is amazing for maintenance, but you have to know your limits. Your safety is always the top priority.
Stop and call a doctor or a podiatrist if you see:
- A True Ingrown Nail: If it’s red, swollen, painful, or leaking fluid, do not attempt “bathroom surgery.” You need a professional to handle it safely.
- Suspected Fungus: If a nail is becoming yellow, thick, and brittle, polish will only make it worse by trapping moisture. Get a proper diagnosis.
- Warts or Strange Spots: Any unusual growths on your feet need to be looked at by a doctor.
A critical warning: If you have diabetes, poor circulation, or neuropathy, you should not be performing this kind of pedicure at home. A tiny nick you can’t feel could lead to a very serious infection. Please leave your foot care to a podiatrist or a medical professional. No exceptions.
Inspirational Gallery
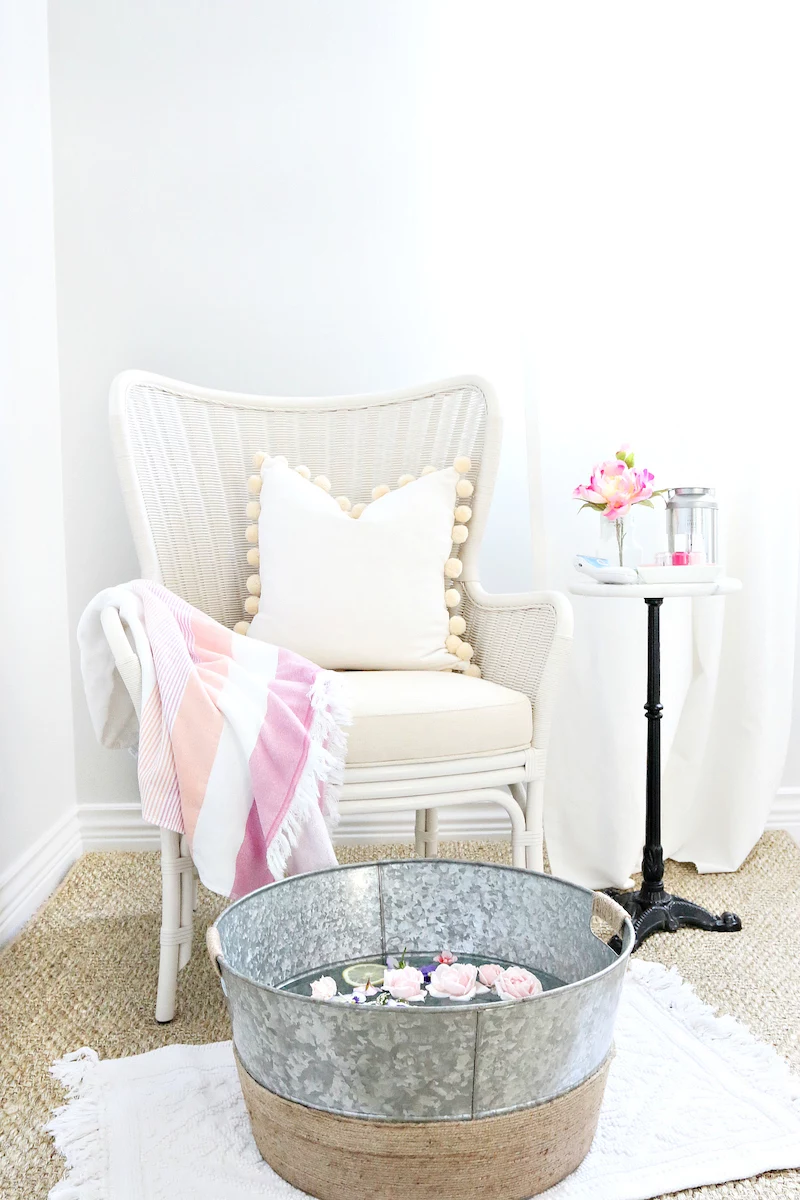
Want that spa-like foot soak without the spa price tag?
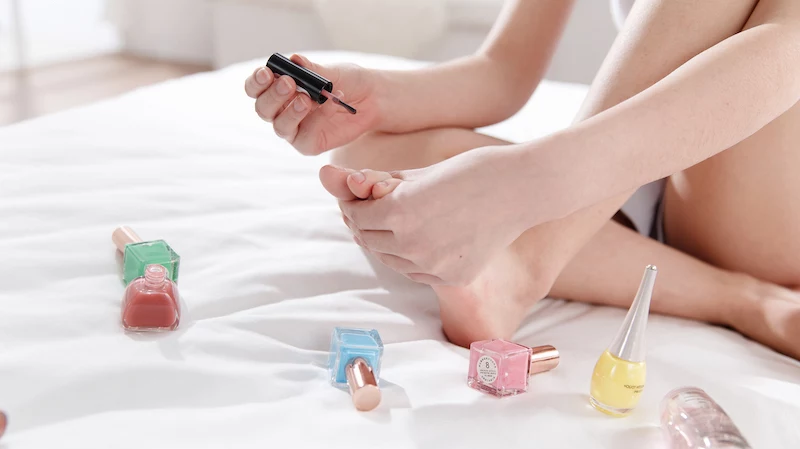
Forget expensive pre-packaged mixes. Create your own therapeutic soak by dissolving half a cup of Epsom salts in warm water. Add 5-7 drops of peppermint essential oil to soothe tired muscles and a few drops of tea tree oil for its natural antiseptic properties. A few thin slices of lemon or lime not only look beautiful but the citric acid can help gently brighten nails. It’s a sensory experience that preps your feet perfectly for the next steps.
Quick-Dry Top Coat: A classic like Seche Vite gives a glassy, rock-hard finish in minutes. It’s perfect when you’re short on time but can sometimes cause polish
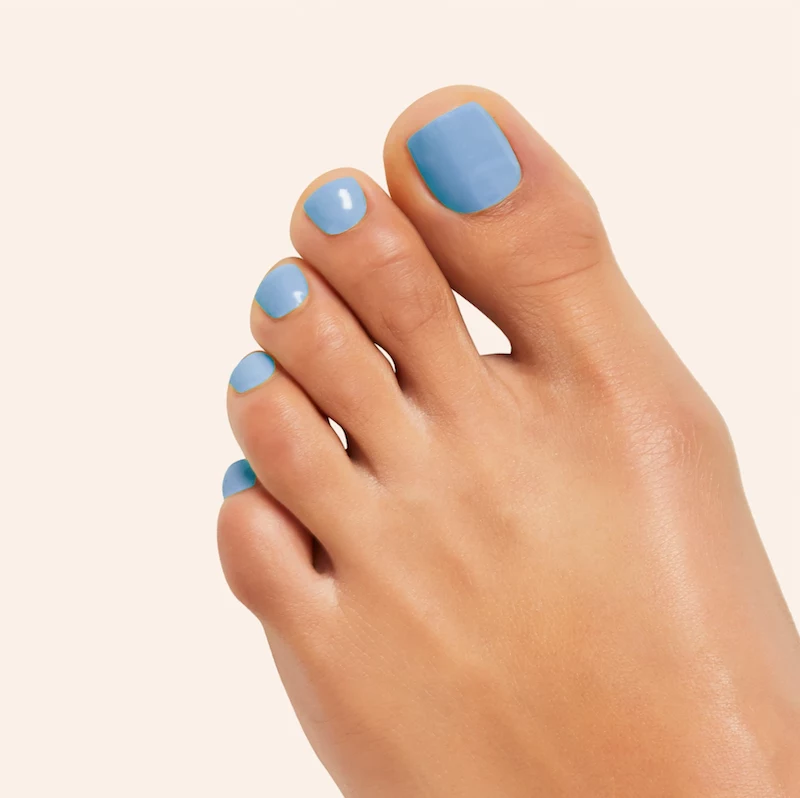
Over 90% of nail discoloration is caused by external factors, with polish being a primary culprit.
This is why a quality base coat is non-negotiable. It creates an essential barrier between the nail plate and the pigments in your polish. Using a dedicated base coat, such as OPI’s Natural Nail Base Coat, not only prevents staining from bold reds or deep blues but also gives the color something to adhere to, extending the life of your pedicure.
- Heels that feel genuinely soft, not just temporarily slick.
- A visible reduction in deep cracks and flaky skin.
- Hydration that lasts for days, not hours.
The secret? A foot cream with urea. This powerful ingredient, found in dermatologist-backed creams like Eucerin Advanced Repair Foot Cream, is a humectant that draws moisture into the skin while gently exfoliating calluses. Apply it nightly for a transformative effect.
The Final Polish Step Pros Swear By: After applying your top coat, wait one minute, then apply a single drop of a specialized drying oil, like Essie’s Quick-E Drying Drops. It doesn’t just speed up the surface drying; it penetrates through the layers of polish to help cure them from the inside out, dramatically reducing the risk of smudges and sheet marks if you’re doing your pedicure before bed.

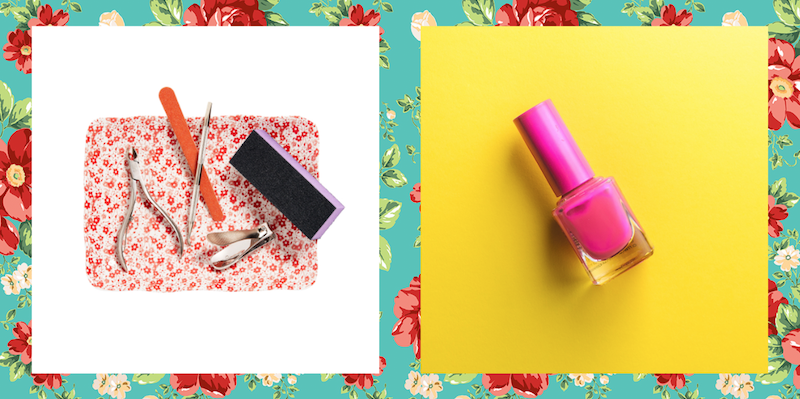
Your choice of nail file grit matters. For shaping toenails, which are naturally thicker, a 180-grit file offers the perfect balance of efficiency and control without shredding the nail. For smoothing rough calluses, a specialized stainless steel or diamond-grit foot file (like those from Diamancel) is a much safer and more effective investment than razor-style tools. For a final, flawless seal on the nail’s free edge, nothing compares to the gentle precision of a glass or crystal file.
- Don’t soak for more than 10-15 minutes. Over-soaking can lead to waterlogged skin and nails, making them more prone to damage and infection.
- Avoid using cuticle oil *before* polishing. It creates a greasy surface that prevents the base coat from adhering properly. Save it for the very last step.
- Never file nails back and forth in a sawing motion. This causes micro-tears. Always file gently from the outer edge toward the center.


