The Real Deal on Dry Brushing: A Pro’s Honest Guide to Getting It Right
I’ll never forget my first real lesson on dry brushing. It wasn’t about miracle cures or magically erasing cellulite. Instead, my instructor, a woman who had seen it all in the skincare world, held up a simple, natural-bristle brush and talked about the skin as a living, breathing system. The lesson was about supporting what our bodies already do naturally. That stuck with me. After years in the field, I’ve seen countless trendy gadgets come and go, but this humble brush? It’s still a staple in my routine.
In this article
Dry brushing isn’t some new fad; it’s a technique with deep roots in various wellness traditions. The idea is wonderfully simple: you use a stiff-bristled brush on dry skin to exfoliate and get the blood flowing. But honestly, it’s often surrounded by some pretty wild claims. My goal here isn’t to sell you a fantasy. It’s to give you the straight-up, practical knowledge from a pro so you can do this the right way, understand the real benefits, and avoid common mistakes that can actually harm your skin.
So, Why Exactly Are We Doing This?
To get the most out of any tool, you have to understand what you’re working with—and in this case, that’s your skin. Knowing the ‘why’ transforms dry brushing from just randomly rubbing a brush on your body into a mindful, effective practice. A lot of articles throw around terms like ‘detoxification’ without really explaining what’s happening. Let’s break it down.
Helping Your Skin’s Natural Refresh Cycle
Your skin is constantly renewing itself. New cells are born deep down and travel to the surface, and by the time they get there, they form a protective layer of dead cells. This is totally normal. But sometimes, especially as we get older or due to environmental stress, this shedding process slows down. The result? Skin that looks dull, rough, and flaky.
Dry brushing is a fantastic form of physical exfoliation. The firm bristles literally sweep away that excess buildup of old cells. This instantly makes your skin feel smoother and look brighter. Oh yeah, and it also means your body lotions and oils can actually sink in and do their job instead of just sitting on top of a layer of dead skin. It’s also great for helping prevent clogged pores on the body, especially on the back and upper arms.
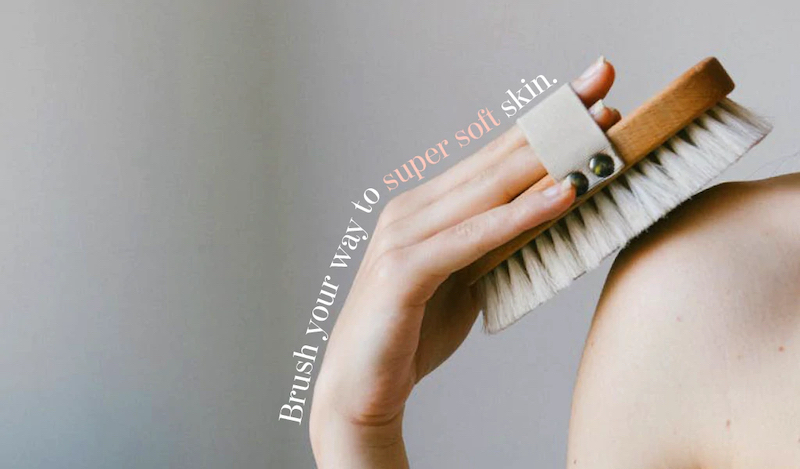
Giving Your Circulation a Little Boost
Ever notice how your skin gets a little pink and tingly after you brush? That’s a good thing! It’s a sign of increased blood flow to the surface. The friction from the bristles nudges the tiny capillaries just under your skin to wake up, bringing a fresh supply of oxygen and nutrients to the area. Think of it as a mini-workout for your skin. While it’s a temporary effect, doing it consistently really contributes to that healthy, vibrant glow everyone talks about.
Let’s Talk Lymph (and Cellulite and KP)
Okay, this is where the hype can get out of control. You’ll hear that dry brushing is a magic bullet for lymphatic drainage and ‘removing toxins.’ Let’s be real about this. Your lymphatic system is a crucial part of your immune response, but it doesn’t have a pump like your heart. It relies on muscle movement to keep things flowing.
Because some lymphatic vessels are close to the skin, the light, upward strokes of dry brushing can give the system a gentle nudge. So, is it supportive? Yes. Is it a deep detox that will cure diseases or single-handedly drain your lymph nodes? Absolutely not. Think of it as a helpful high-five to your body’s natural processes, not a powerful medical intervention.
And now for the two questions I get all the time:
1. Will it get rid of my cellulite? The honest answer is no. Cellulite is a structural issue far below the skin’s surface. But—and this is a big but—by increasing circulation and temporarily plumping the skin, dry brushing can make the appearance of cellulite look much smoother for a little while. It’s a great trick before a day at the beach!
2. What about my ‘chicken skin’ (Keratosis Pilaris)? For this, dry brushing can be a game-changer. KP is caused by a buildup of keratin that plugs hair follicles, creating those little red bumps. The physical exfoliation from brushing is perfect for gently clearing out those plugs. Just remember to be extra gentle over those areas!
Your Toolkit: How to Pick the Perfect Brush
The success of your dry brushing routine depends almost entirely on your tool. A bad brush can leave you with irritated, scratched skin, while the right one feels invigorating. You don’t need to break the bank, either. Expect to pay between $15 and $25 for a high-quality brush that will last. Anything more expensive is usually just for fancy branding.
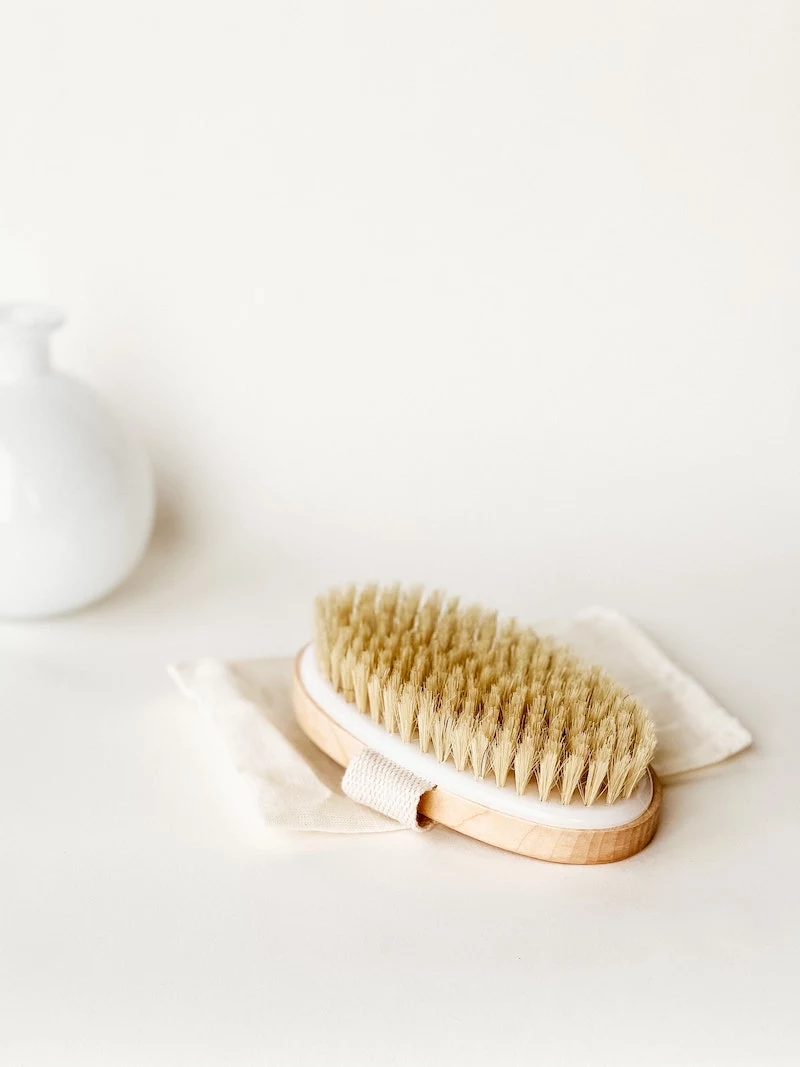
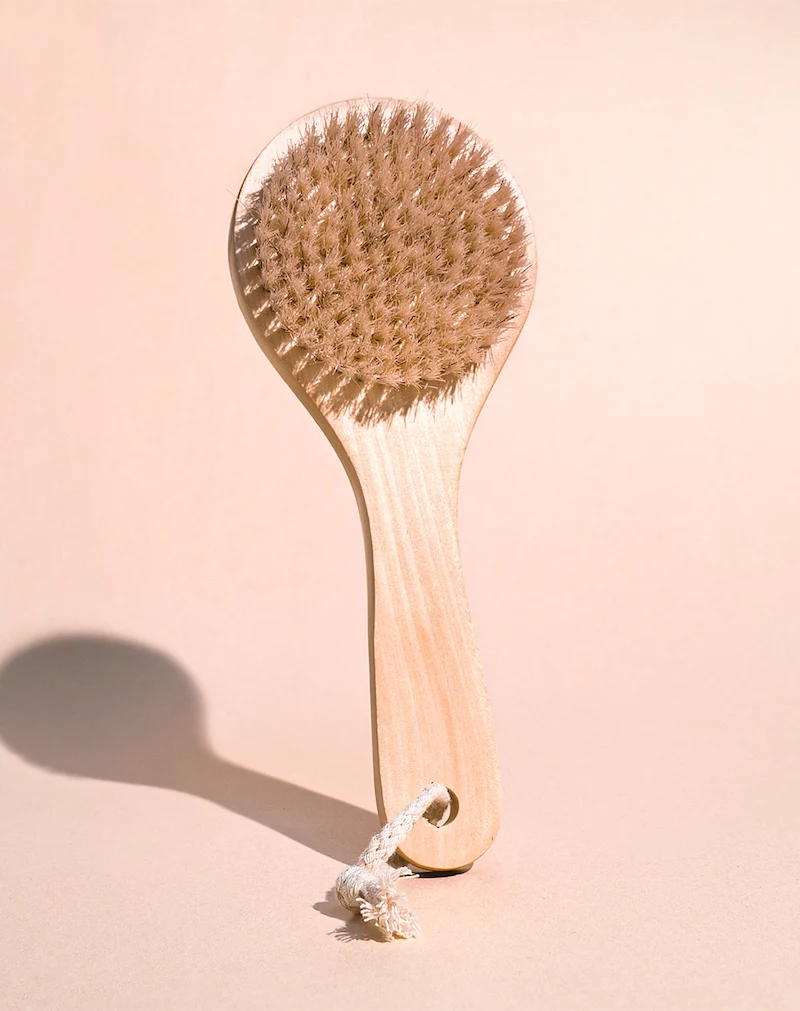
Bristle Material is Key
Always, always go for natural bristles. Plastic or nylon bristles are often too sharp and can create micro-tears in your skin. Here’s a quick rundown of the best options, presented conversationally instead of in a boring table:
- For a Vigorous Feel: Look for Tampico (or Agave) bristles. These are firm, durable plant fibers that are great for less sensitive skin or for anyone who really likes an intense, scrubby sensation.
- For Beginners or a Softer Touch:Sisal is your best bet. It’s another plant fiber, but it’s a bit softer and more flexible than Tampico. It’s the perfect middle-ground—effective exfoliation without feeling too harsh.
- The Classic All-Rounder:Boar bristles are a traditional favorite. They are firm but have a unique flexibility that feels fantastic on the skin. From my experience, they provide the most satisfying feel, but they are sometimes a bit pricier.
Good to know: You can find great options from wellness-focused brands or even by searching for ‘natural bristle body brush’ on Amazon. Just double-check that the bristles are 100% natural.
Handle and Shape Matter, Too
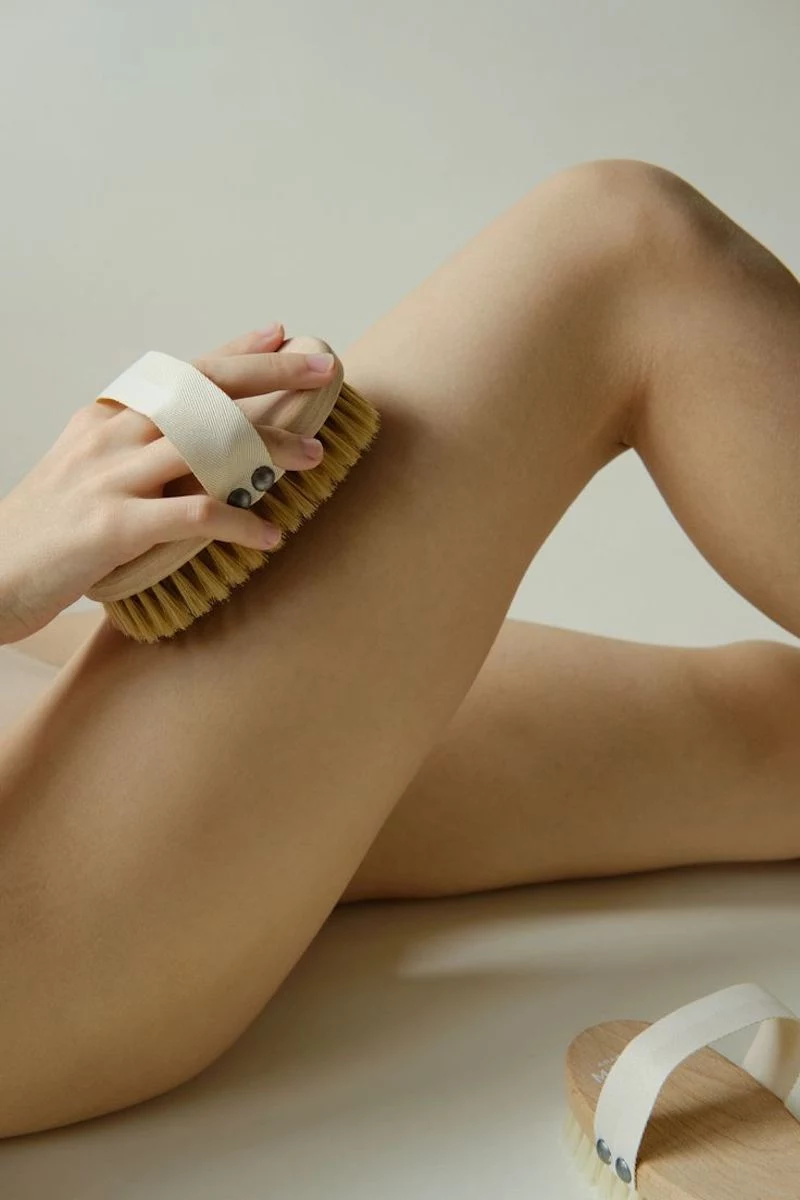
I always suggest getting a brush with a long, detachable handle. The long handle is a lifesaver for reaching your entire back, while the detachable head works perfectly as a palm brush for areas like your arms and stomach where you want more control.
The Right Way to Do It: A Step-by-Step Ritual
Technique is everything. This should feel like a mindful ritual, not a frantic five-minute scrub-down before you jump in the shower.
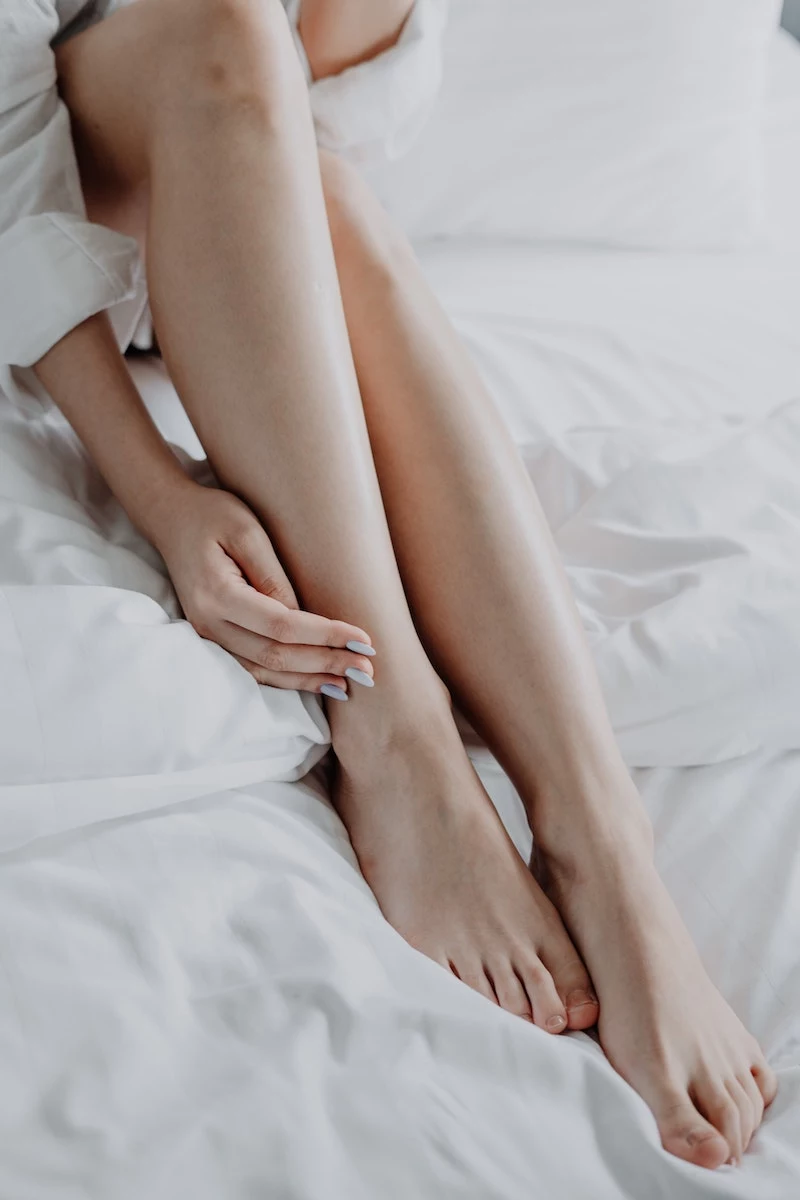
Quick Win: No time for the full routine? Just spend 60 seconds brushing your legs from ankle to thigh before your shower. You’ll immediately feel how much smoother your skin is and notice your lotion sinking in way better!
The Prep
- Start Bone Dry: This is non-negotiable. Your skin and the brush must be completely dry. Wet skin is more fragile, and a wet brush is a breeding ground for mildew. I recommend standing in a dry shower or on a tiled floor to make cleaning up the flaky skin easy.
- Find Your Pressure: The goal is stimulation, not scratching. The pressure should be firm but never painful. Use a lighter touch on sensitive spots like your stomach and chest, and a bit more pressure on tough skin like the soles of your feet.
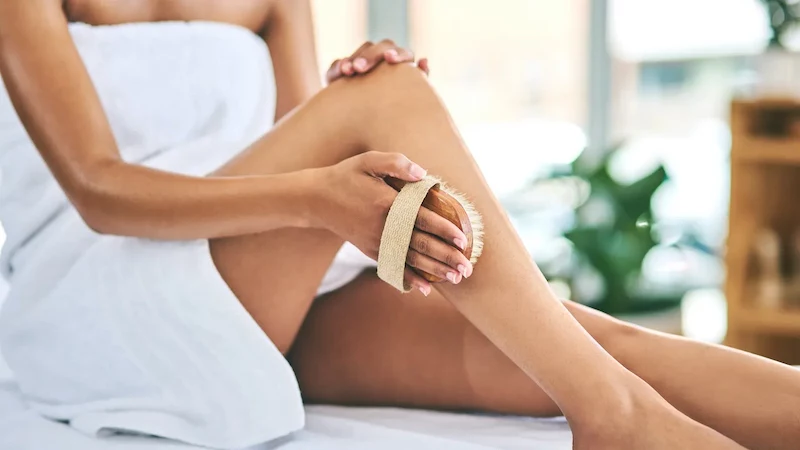
The Full-Body Sequence (3-5 Minutes)
The golden rule is to always brush in long, smooth strokes toward your heart. This follows the natural flow of your circulatory and lymphatic systems.
- Start at your feet and work your way up your legs with long, upward strokes.
- Move to your hips and buttocks, where you can switch to a firmer, circular motion.
- For your abdomen, use a very gentle, clockwise circular motion around your navel. This is said to follow the path of digestion and can feel very soothing.
- Use the long handle for your back, stroking upward from your lower back toward your shoulders.
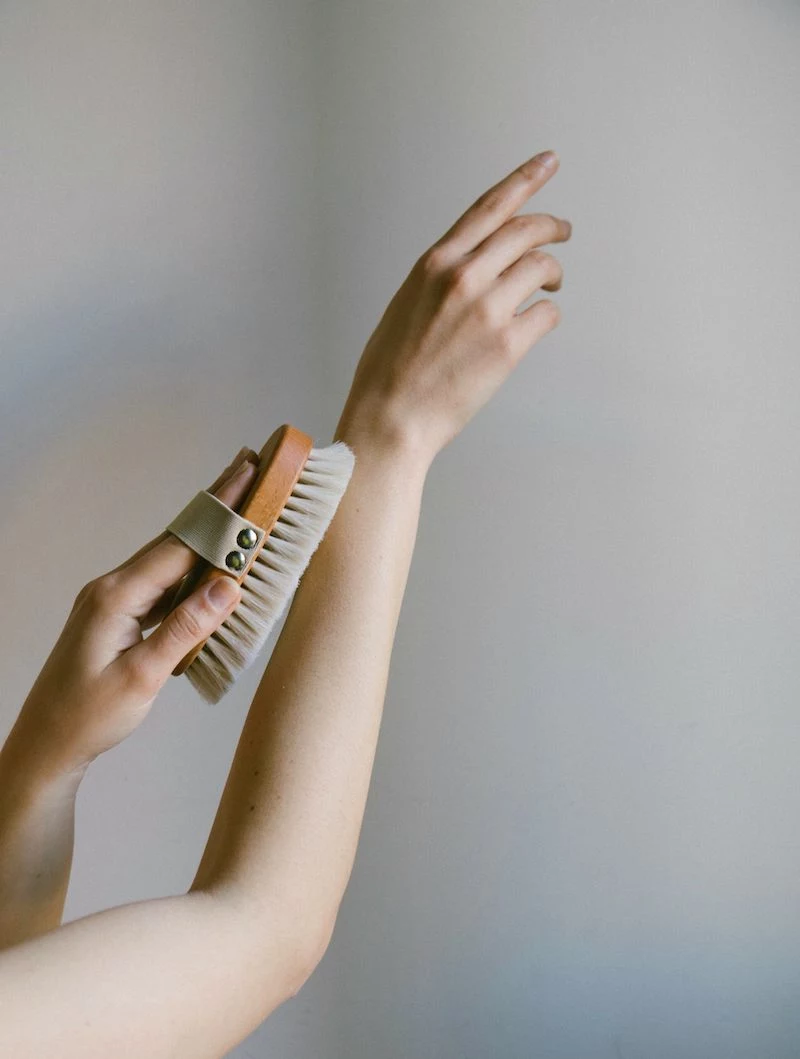
- Brush your arms, starting at your hands and moving with long strokes up to your shoulders.
- Be EXTRA gentle on your chest and décolletage. Use light, outward strokes away from the center of your chest. Avoid the nipple area completely.
The All-Important After-Care
What you do after is just as important as the brushing itself.
- Rinse Off: Hop in a lukewarm shower to rinse away all the dead skin cells you’ve just loosened.
- Pat, Don’t Rub: Gently pat your skin with a towel until it’s just damp.
- Hydrate, Hydrate, Hydrate: This is the magic step. Your skin is perfectly prepped to soak up moisture. Immediately apply a nourishing body oil or lotion to your damp skin to lock everything in. Look for products with ingredients like ceramides, shea butter, or natural oils like jojoba and sweet almond. A quick tip: try to avoid anything with a high alcohol content right after brushing, as it can sting or be overly drying.
Troubleshooting, Cleaning, and When to Stop
Consistency beats intensity every time. Listen to your skin!
- How often? Start with 1-2 times a week. If your skin is happy, you can work your way up to 2-3 times a week or even daily if your skin is resilient.
- Feeling itchy or sore? You’re pushing too hard or doing it too often. Back off on the pressure or frequency.
- Is my new brush shedding? Totally normal for the first few uses with natural fibers! Just tap it against the side of the tub before you start. If it’s still shedding like crazy after a week, it might be a poor-quality brush.
- Keep it clean: Tap out the skin flakes after each use. Once a week, give it a wash with gentle soap (baby shampoo works great), rinse well, and hang it to air dry completely. Replace it when the bristles get soft and bent out of shape.
Heads Up: When You Should NOT Dry Brush
Please don’t skip this part. As a professional, safety is my number one priority. Dry brushing is not for every person or every situation.
Do NOT brush over:
- Open wounds, cuts, or sores (this can cause infection).
- Sunburn (it will hurt and cause more damage).
- Active eczema, psoriasis, or rosacea flare-ups (it will make them much worse).
- Any rashes, hives, or skin infections.
Also, be very cautious around prominent varicose veins—brush lightly around them, not directly on them. And never, ever use your coarse body brush on your face. The skin there is far too delicate and requires a special, ultra-soft brush and a completely different technique.
Inspirational Gallery

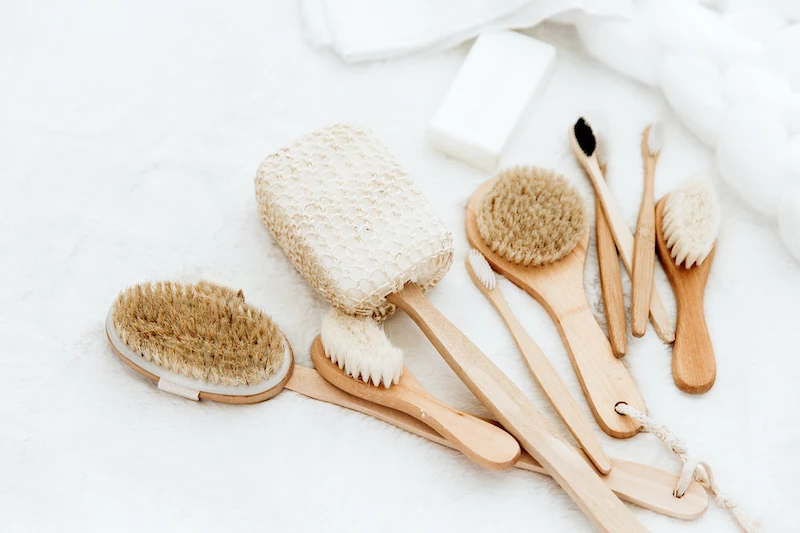
Plant-Based Bristles (Sisal or Cactus): Often firmer and more vigorous, this is the ideal choice for a truly stimulating exfoliation and for those who prefer vegan-friendly tools. Brands like Goop offer a high-end ultimate dry brush with cactus bristles for a spa-like experience.
Animal-Based Bristles (Boar): Generally a bit softer and more flexible than their plant-based counterparts. This makes them a great starting point for sensitive skin or for those new to the practice. The classic brushes from brands like EcoTools are often made with boar bristles and are widely accessible.
The best choice depends entirely on your skin’s sensitivity and your desired intensity.
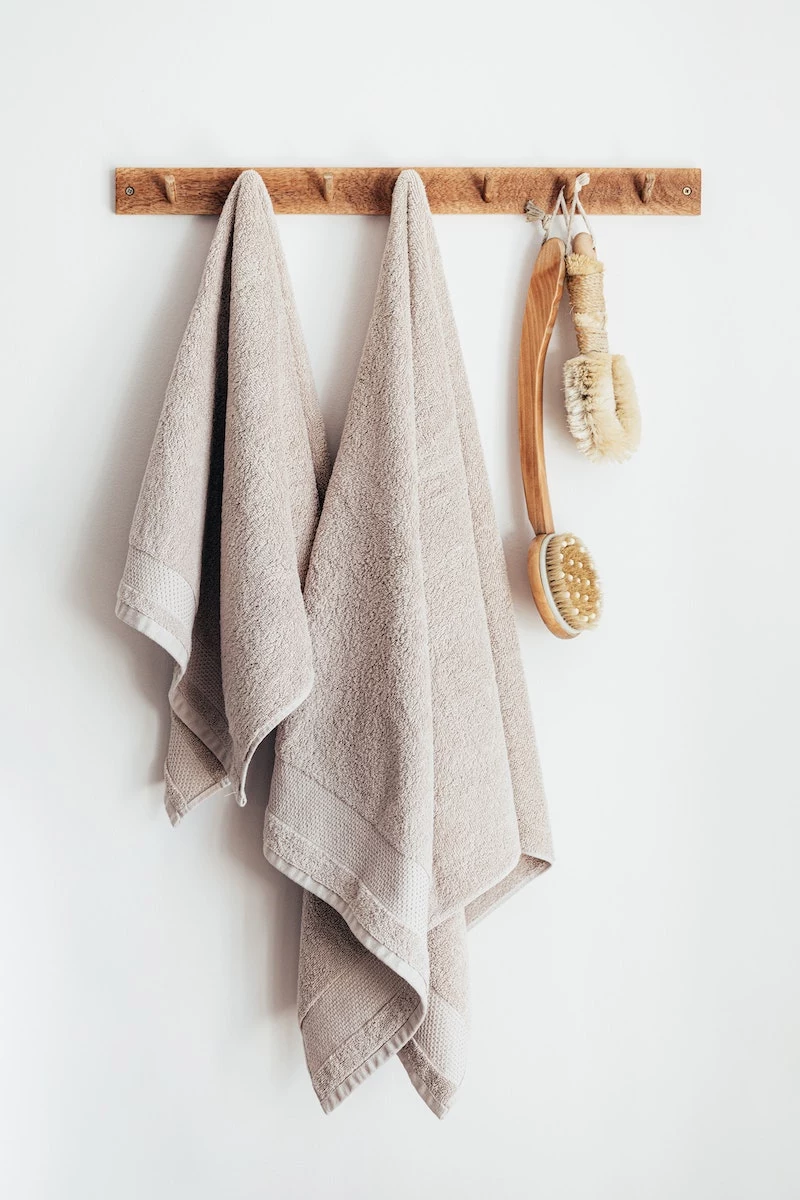
Your dry brush can harbor a buildup of dead skin cells, oils, and bacteria after just a few uses.
Don’t undo all your good work by using a dirty tool! Cleaning your brush is non-negotiable for skin health and brush longevity. Once a week, tap out any loose skin flakes after use. Then, give it a proper wash: gently scrub the bristles with a mild soap (like Dr. Bronner’s) and warm water. Rinse thoroughly, squeeze out excess water with a towel, and hang it to dry in a well-ventilated area—never in a damp, enclosed shower—to prevent mildew.
Transform your daily brushing into a mindful ritual. It’s not just about the motion, but the moment you create for yourself:
- Find a warm, quiet spot where you won’t be disturbed.
- Add a few drops of uplifting essential oil, like grapefruit or lemon, to a diffuser to energize the space.
- Focus on your breath as you brush, making the experience a moving meditation.


