Your Makeup Brushes Are Probably Filthy. Here’s the Pro-Approved Way to Clean Them.
I’ve spent years working as a makeup artist in pretty much every environment you can imagine—from dusty outdoor shoots to ridiculously humid studios. And honestly, the biggest lesson I ever learned had nothing to do with mastering a cut crease. It’s all about keeping your tools clean. It sounds boring, but it’s the absolute foundation of great makeup. It protects your skin, makes your expensive brushes last longer, and frankly, makes your makeup go on so much better.
In this article
- So, What’s Actually on Your Brushes? (It’s a Little Gross)
- Your Cleaning Toolkit: What to Buy and What to Skip
- The Pro Deep-Cleaning Method: A Step-by-Step Guide
- Special Care for Sponges and Other Tools
- Troubleshooting Common Problems
- Day-to-Day Storage and When to Say Goodbye
- Inspirational Gallery with Photos
I’ll never forget something an early mentor told me. She saw me give a foundation brush a quick, lazy wipe before moving to a new model and stopped me. She said, “Think of that brush as your own hand. Would you touch someone’s face with a dirty hand?” That completely changed my perspective. My brushes went from being simple tools to professional instruments that deserve respect. This guide is built on that idea—to help you not just clean your brushes, but to truly understand and preserve them.
So, What’s Actually on Your Brushes? (It’s a Little Gross)
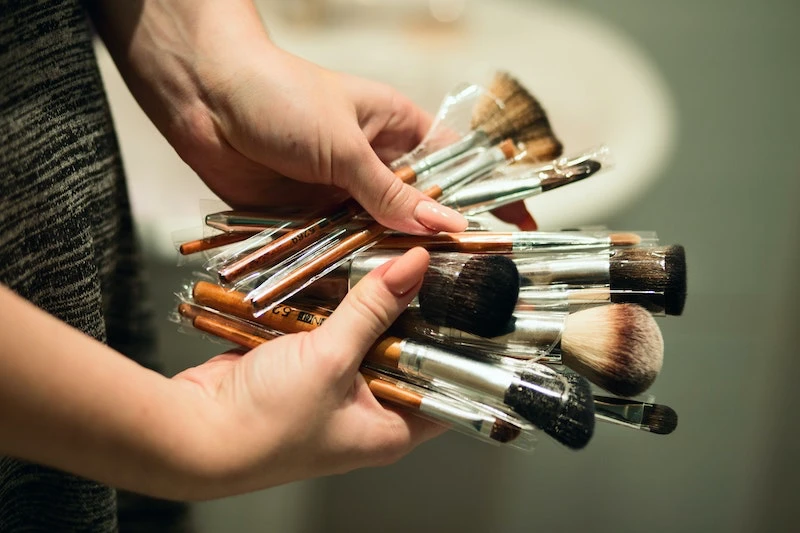
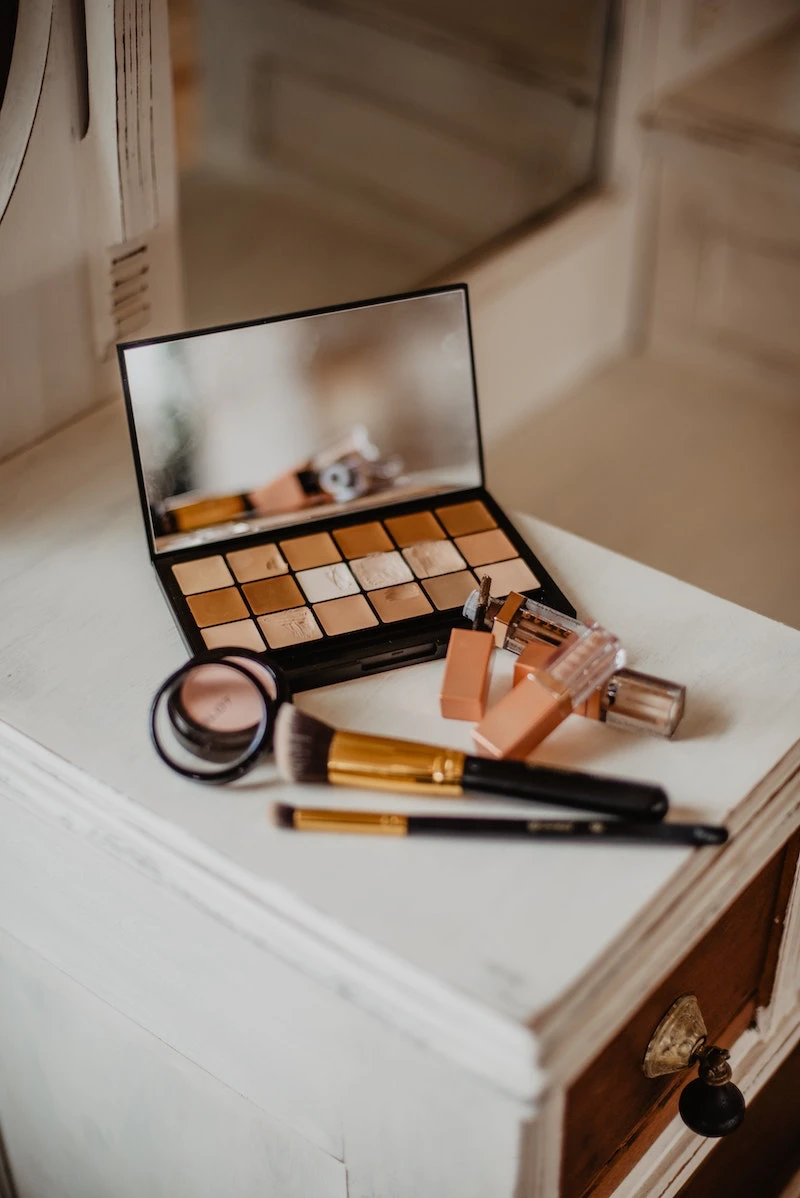
It’s so easy to ignore that foundation brush sitting on your vanity. You might only notice a problem when your makeup starts looking streaky. But the real issue is what you can’t see. Your brushes are like little sponges, soaking up your skin’s oils, dead cells, and leftover makeup. This creates the perfect warm, damp party house for bacteria.
We’re talking about some nasty stuff, including the kinds of bacteria that can cause very real skin infections, like staph. Over time, all this gunk builds up into what’s known as a biofilm—a slimy, protective layer of microbes that’s super stubborn. A quick rinse under the tap isn’t going to cut it.
Using that dirty brush means you’re just painting that cocktail of old makeup and bacteria right back onto your face. This can cause a ton of issues:
- Breakouts That Aren’t Hormonal: Ever get pimples along your cheekbones where you apply blush or bronzer? It could be acne mechanica, which is caused by the friction and bacteria from a dirty brush clogging your pores.
- Irritation and Infections: If you have sensitive skin, rosacea, or eczema, a dirty brush can be a major trigger for flare-ups. In a worst-case scenario, it can lead to serious infections that require a doctor’s visit. I once worked with a client who kept getting styes, and we traced it back to an eyeliner brush she’d never, ever washed.
- Undermining Your Skincare: All that bacteria can cause oxidative stress on your skin, which slowly breaks down the collagen that keeps it looking firm and youthful. It’s a subtle thing, but why let a dirty brush undo all the hard work of your expensive serums?
Your Cleaning Toolkit: What to Buy and What to Skip
Walking down the beauty aisle can be overwhelming. There are fancy brush shampoos, solid cleansers, sprays… and then there’s the stuff you already have at home. You honestly don’t need the most expensive products to get a pro-level clean.
Here’s a breakdown of what works, what doesn’t, and what’s actually worth the money.
For a Budget-Friendly Cleaning Kit (Under $15):
If you’re just starting out or want to save money, this is all you really need. You can get everything at a drugstore or Target.
- Your Cleanser: A bottle of gentle, unscented Baby Shampoo is the hero here. It costs about $5 and works beautifully without drying out your brushes. Another fantastic option is Dr. Bronner’s Unscented Castile Soap. A bottle is around $8-$12, but it’s super concentrated, so you only need a tiny drop. It will last you forever.
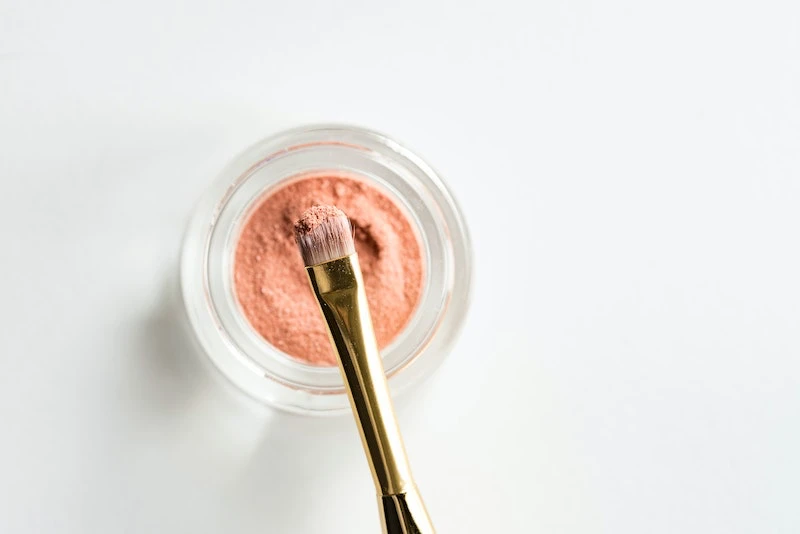
- Your Cleaning Surface: The palm of your hand! The natural lines and creases in your palm are perfect for working up a good lather. It’s free and effective.
For a Pro-Level Home Kit (If You’re a Makeup Enthusiast):
If you have a large collection or just love having the best tools for the job, here’s how to upgrade.
- Your Deep Cleanser: A Solid Brush Cleanser is amazing for melting away stubborn foundation and concealer. The Beautyblender one is popular and costs around $16, but more affordable versions from brands like e.l.f. are also available. They’re great for travel, too.
- Your Spot Cleaner: An alcohol-based spray like Cinema Secrets is the industry standard for quick cleans between colors. It’s not for deep cleaning, but it’s a lifesaver when you want to use the same eyeshadow brush for a dark and a light shade. A bottle costs about $25 but is a game-changer for convenience.
- Your Cleaning Surface: A Silicone Cleaning Mat. These mats have different textures to get deep into the bristles. You can find them on Amazon for $5-$10. It definitely speeds up the process.
Heads up! What to avoid: Please don’t use regular hand soap, bar soap, or harsh dish soaps (unless it’s an emergency for a synthetic brush). They often leave behind a filmy residue that can make bristles stiff, ruin your makeup application, and ironically, attract more bacteria.
Quick Tip: Natural vs. Synthetic Brushes
Before you wash, it helps to know what your brushes are made of. It’s easy to tell!
- Synthetic brushes (usually nylon or taklon) have smooth, slightly shiny bristles. They feel very slick. They are workhorses, perfect for creams and liquids, and can handle more frequent, vigorous washing.
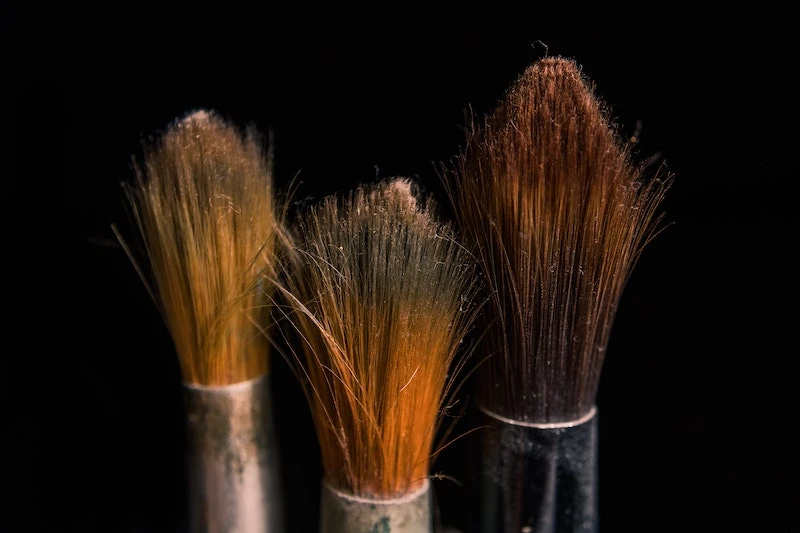
- Natural brushes (made from animal hair) look and feel more like real hair. They have more texture and a duller, more porous appearance. They excel at picking up and blending powders but are more delicate, so treat them gently, just like your own hair.
The Pro Deep-Cleaning Method: A Step-by-Step Guide
Set aside 30 minutes to an hour for this—I promise, it’s worth it. I usually make it a Sunday ritual. Put on a podcast or some music, and it feels less like a chore and more like a reset for the week.
You’ll need: Your cleanser, a small bowl of lukewarm water (never hot!), and a clean, lint-free towel.
Step 1: The Wetting. Dip ONLY the bristles into the lukewarm water, pointing the brush downwards. The golden rule is to never let water get into the ferrule (the metal part). Water weakens the glue in there, causing your precious brushes to shed and fall apart. Keep those bristles pointed down through the whole process!
Step 2: Lather Up. Put a drop of cleanser in your palm or on your mat. Gently swirl the damp brush into the soap. You’ll see the makeup instantly start to melt away. Don’t push too hard; you don’t want to fray the bristles.
Step 3: The Rinse. Rinse the brush under a gentle stream of lukewarm water, still pointing it downwards. Let the water run from the base of the bristles out to the tips, gently squeezing as you go. You’ll be amazed at how much gunk comes out.
Step 4: Repeat if Needed. For foundation or concealer brushes, one wash is rarely enough. Go back for a second lather. Your goal is to keep washing and rinsing until the water you squeeze from the bristles runs 100% clear. That’s how you know it’s truly clean.
Step 5: Reshape and Squeeze. Once clean, gently squeeze the excess water out with your fingers. Then, lay the brush on your towel and carefully press the bristles to blot them, reshaping them back to their original form. A fluffy powder brush should be fanned out, a pencil brush brought to a point, etc.
Step 6: The All-Important Drying Process. This is the step everyone gets wrong. Lay your brushes flat on the towel, but with the brush heads hanging over the edge of a counter. This allows air to circulate all the way around the bristles, ensuring they dry evenly and in the right shape. (Laying them flat on the towel can smush one side). Most importantly, gravity keeps any sneaky water droplets from running back into the handle. Never, ever dry them standing up in a cup!
Let them air dry completely. This can take anywhere from 8 to 24 hours, depending on how dense the brush is.
Special Care for Sponges and Other Tools
Your makeup sponge is probably the dirtiest tool in your bag. Because it’s so porous, it needs to be cleaned after every single use. No exceptions!
To clean a sponge, first saturate it under running water until it expands to its full size. Then, work your cleanser (solid cleansers are fantastic for this) directly into the sponge. Squeeze and massage it repeatedly under the water until it runs completely clear. It might take a few minutes. Squeeze out all the water and let it air dry on a stand or in an open, well-ventilated area.
And by the way… a popular internet “hack” is to microwave a damp sponge to sanitize it. Please don’t do this. It doesn’t effectively clean the inside, and you risk melting it or even starting a fire.
My Favorite DIY Spot-Cleaning Spray
For a quick clean between eyeshadow colors, you can make your own spray. In a small spray bottle, mix about 70% isopropyl alcohol (the 91% or 99% kind is best) with 30% filtered water and one tiny drop of non-oily soap. Shake it up, spray it on a paper towel, and wipe your brush back and forth until the color is gone. It dries in seconds! Just remember, this isn’t a replacement for a real deep clean.
Troubleshooting Common Problems
- My brush is shedding! If it’s a new brush, a few loose hairs are normal. If an old favorite suddenly starts shedding, water has likely gotten into the ferrule and the damage is done. Time to start looking for a replacement.
- The bristles feel stiff or scratchy. This is usually soap residue. Re-wash it and be extra thorough with the rinse. For natural brushes, you can even work a tiny dab of hair conditioner through the bristles (and rinse it out completely!) to restore softness.
- A stain won’t come out! For stubborn red lipstick or long-wear eyeliner, oil breaks down oil. Before washing, work a tiny drop of oil (coconut oil, jojoba, or even the olive oil from your kitchen) into the dry bristles to dissolve the product. Then, wash with soap and water as usual.
- It smells musty… That’s a sign of mildew, meaning it was stored damp. You can try washing it with a drop of white vinegar in the soap. If the smell lingers after it’s fully dry, it’s safest to just toss it.
Day-to-Day Storage and When to Say Goodbye
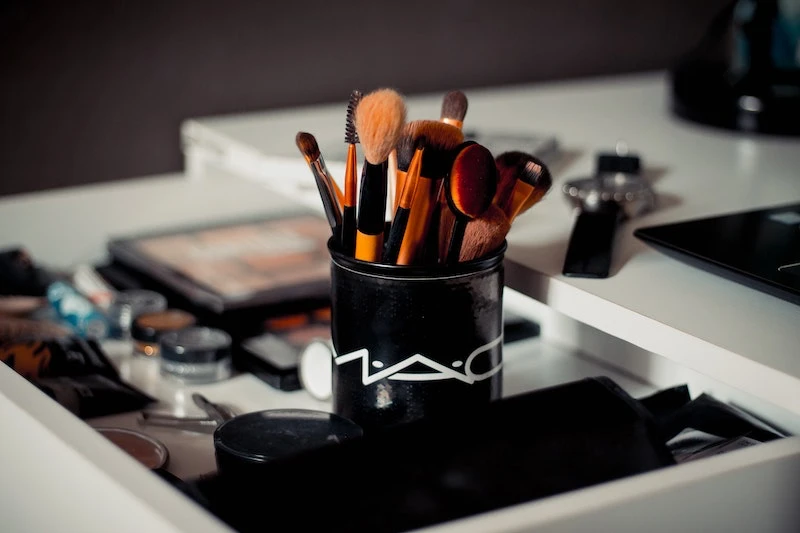
How you store your clean brushes matters, too. Storing them upright in a cup on your vanity is great for easy access, but they can collect dust. Keeping them in a brush roll or a clean, closed drawer protects them better. The choice is yours, just make sure they are 100% dry before you put them away.
A Realistic Cleaning Schedule
Consistency is key. Here’s a good routine to aim for:
- Foundation/Concealer Brushes & Sponges: Clean after every use, or at least once a week.
- Powder, Blush & Bronzer Brushes: Every 1-2 weeks.
- Eyeshadow & Eyeliner Brushes: Eyeliner brushes after every use. Eyeshadow brushes weekly.
In a Rush? Here’s Your 2-Minute Fix:
If you don’t have time for a full wash, just clean your foundation brush (or sponge) and your eyeliner brush. These two are the biggest culprits for causing skin problems. It takes two minutes and makes a huge difference.
Finally, know when it’s time to retire a brush. Even high-quality tools don’t last forever. If a brush sheds constantly, has lost its shape for good, feels scratchy, or has a ferrule that’s wobbly, it’s time to say goodbye. Think of it as an opportunity to upgrade!
Taking care of your tools is a simple act that elevates your entire makeup game. It’s a little bit of effort that pays off big time in the health of your skin and the quality of your art.
Inspirational Gallery with Photos
The one mistake everyone makes: Soaking the entire brush. Water gets trapped in the ferrule (the metal part connecting the handle to the bristles), which dissolves the glue over time and leads to shedding. Always keep the ferrule dry, pointing the brush head downwards when you rinse.
Solid vs. Liquid Cleansers:
Solid Cleansers (like Beautyblender’s Solid or Juno & Co. Clean Up Your Act): Excellent for deep cleaning and travel. You swirl the damp brush directly on the soap, which helps dislodge stubborn pigment from dense foundation brushes.
Liquid Soaps (like Dr. Bronner’s or baby shampoo): A cost-effective solution for a weekly wash of your entire collection. Ideal for fluffier powder brushes that aren’t heavily soiled.
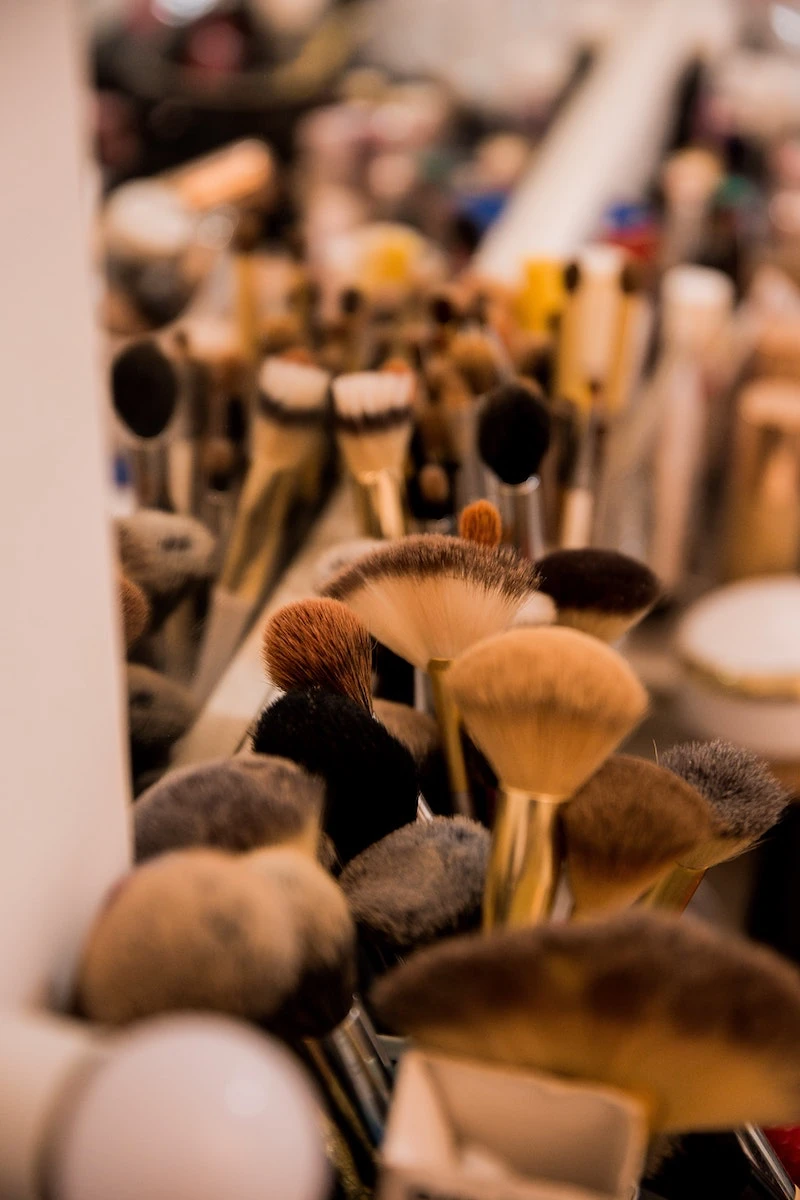
A 2015 study found that 72% of people never wash their makeup brushes or sponges.
This neglect not only breeds bacteria but also significantly shortens the lifespan of your tools. A high-quality brush from a brand like MAC or a prestige line like Hakuhodo can last for over a decade, but only with consistent, proper care. It’s an investment worth protecting.
But how do I dry them without ruining their shape?
Never dry your brushes upright in a cup—water will run down into the ferrule and handle. Instead, gently reshape the wet bristles with your fingers and lay them flat on a clean towel. For perfect drying, let the brush heads hang just over the edge of a counter. This allows for 360-degree air circulation, preventing mildew and preserving their shape.
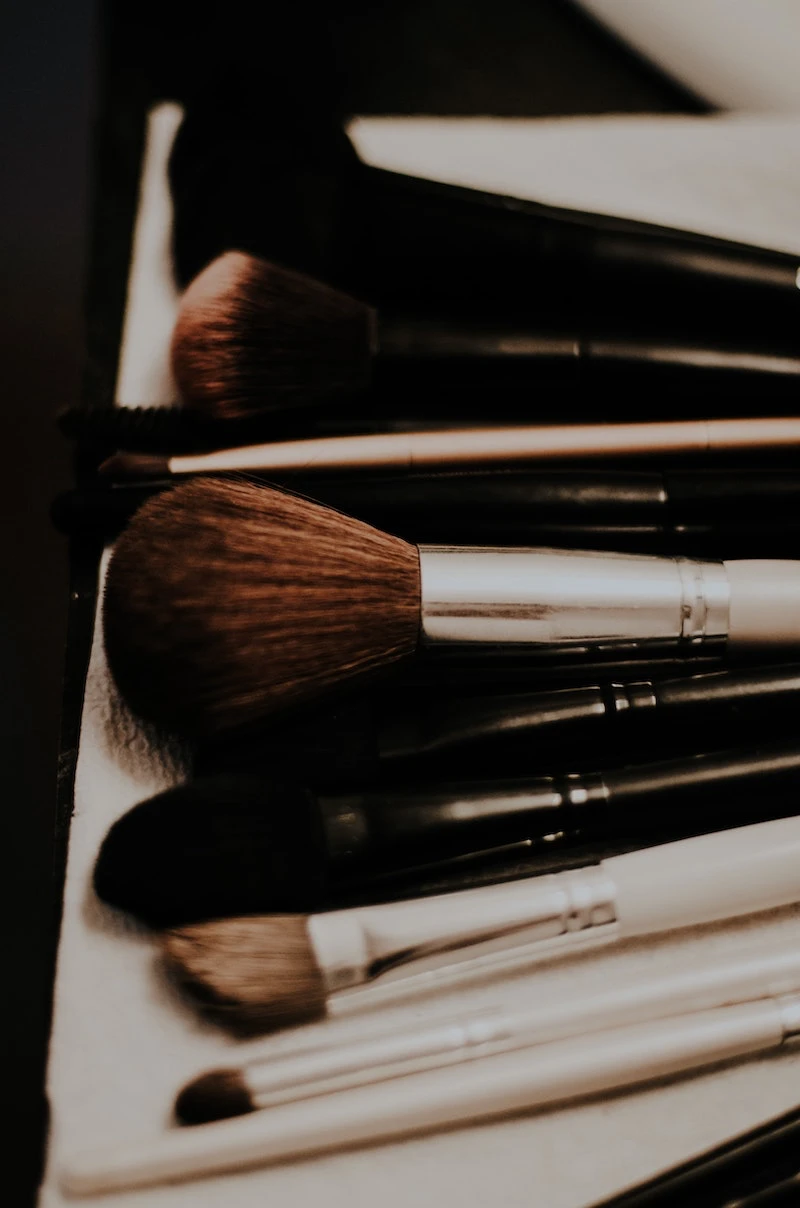
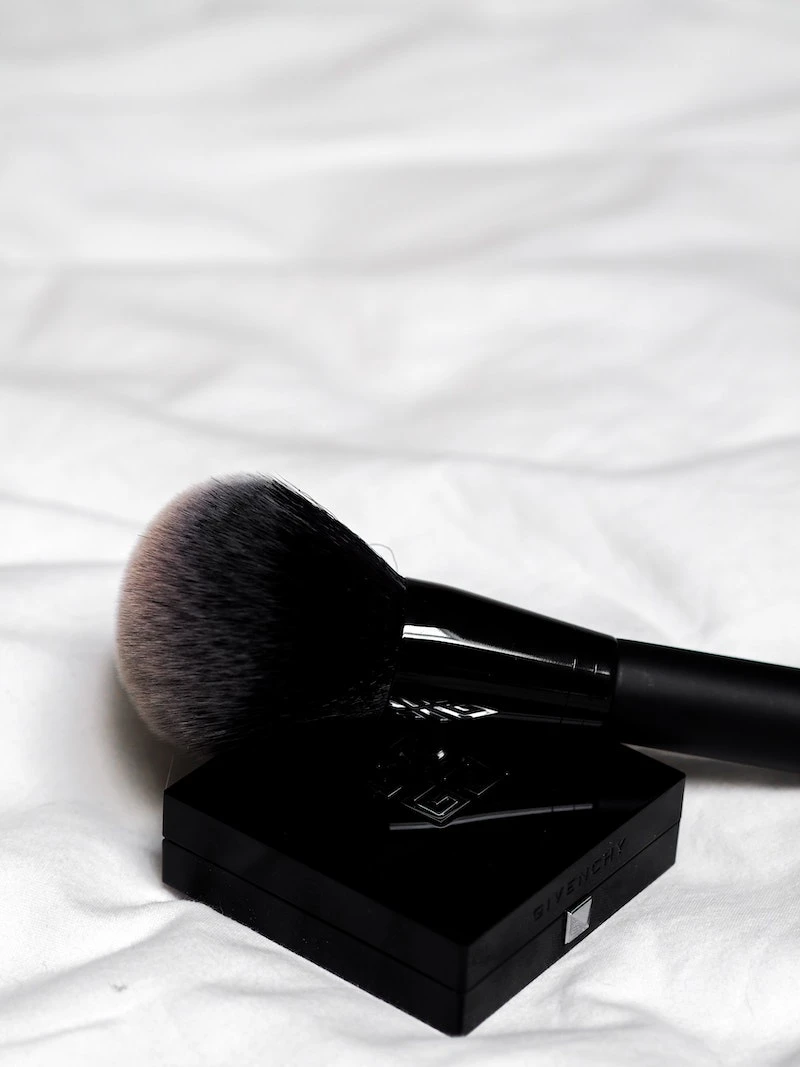
The difference is night and day. A truly clean powder brush feels impossibly soft, picking up just the right amount of product and diffusing it like a cloud. Your foundation brush will glide without streaks, blending makeup into the skin seamlessly instead of just pushing it around. It’s the secret to that coveted
- Breaks down stubborn, dried-on foundation in seconds.
- Provides the perfect friction without fraying delicate bristles.
- Ensures every single fiber gets clean, right to the core.
The secret? A simple, textured silicone mat. Brands like Sigma Beauty make famous versions, but any silicone pot holder or facial cleansing pad with varied textures will do the trick.
Don’t forget your makeup sponge! Unlike brushes, sponges should be washed after every single use. Because they are used damp, they’re an even more attractive environment for microbial growth. A quick wash with a solid cleanser under running water is all it takes to keep your Beautyblender or AOA Studio sponge hygienic and performing at its best.
Thinking of upgrading your cleaning routine? An electronic brush cleaner might be for you.
- It uses centrifugal force to spin soap and water out of the bristles.
- It can clean and dry a brush in under 30 seconds.
- This method is particularly effective for very dense kabuki or foundation brushes that typically take a full day to air-dry.
Natural brushes are made from animal hair (like goat or squirrel), which is porous and has a cuticle, just like human hair.
This means they require more gentle handling. Use mild soaps (like baby shampoo) and avoid harsh detergents that can strip them and make them brittle. Synthetic brushes (often taklon or nylon) are non-porous, making them easier to clean, quicker to dry, and the undisputed champions for applying cream or liquid products.


