The Real Deal on Crochet Braids: A Stylist’s Guide to Getting It Right
After years of working in salons, I’ve seen countless hair trends come and go. But you know what’s stuck around? Crochet braids. And for good reason—they’re not just a passing fad. When they’re done right, they’re an amazing, versatile way to protect your natural hair and rock a new look. But here’s the honest truth: the difference between a gorgeous, long-lasting style and a total hair disaster comes down to the details.
In this article
So many people think of crochet braids as a super quick, easy-peasy style. And while the installation can definitely be faster than, say, individual box braids, the real skill is in the prep work. A flawless crochet style isn’t just about looping some hair through cornrows. It’s about understanding tension, how to manage hair density, and most importantly, scalp health. I’ve had to fix so many styles that were done too tight, were way too heavy, or had a poorly planned braid pattern. These common mistakes can lead to headaches, an irritated scalp, and even hair loss over time—no thank you!
My goal here is to walk you through the professional approach. Whether you’re planning a DIY session or just want to know what a good stylist should be doing, this is the inside scoop.
First Things First: The Foundation Is Everything
Let’s be real: the success of your entire crochet hairstyle depends completely on the quality of your cornrow base. This is where expertise truly shines. It’s not just about braiding hair down flat; it’s about creating a secure, safe anchor for the extension hair. Think of it as building the foundation for a house—if it’s weak, the whole thing will crumble.
Why Your Braid Pattern Matters So Much
Your scalp is more delicate than you think. Constant, focused pulling on a small group of hair follicles can cause some serious damage, leading to something called traction alopecia. I’ve seen it happen, and it usually starts with thinning edges and tender spots. A solid cornrow base is designed specifically to prevent this.
The main goal is to create a flat surface that distributes the weight of the extensions evenly. It’s like how snowshoes spread out your weight so you don’t sink. A good cornrow pattern does the same thing for your hair. That’s why we avoid big, bulky braids—they create fewer, high-tension anchor points. Instead, the pros favor smaller, neater cornrows spaced closely together. This gives you way more places to attach the hair, meaning less stress on any one spot.
Pro Techniques for the Perfect Base
Before I even think about braiding, the hair has to be squeaky clean, deep-conditioned, and 100% dry. Braiding on dirty hair just traps oil and buildup, which is a recipe for an itchy, unhappy scalp.
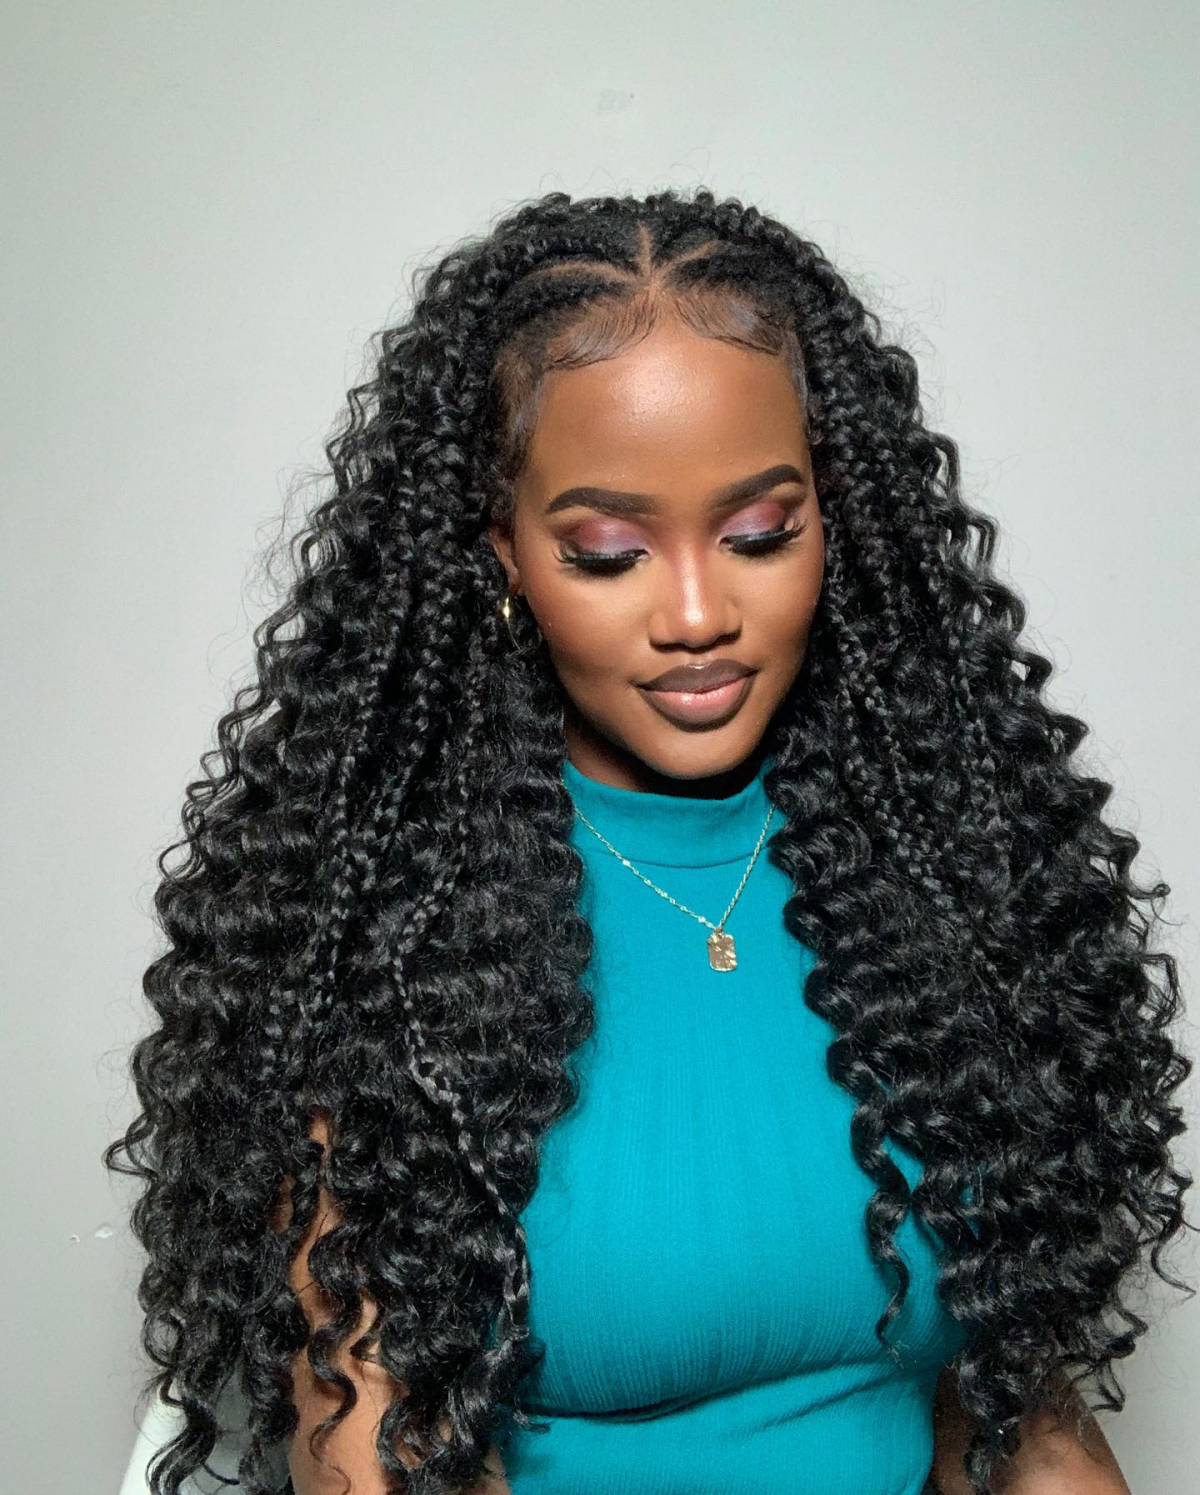
The braid pattern itself really depends on the final look. For a style with a clean, defined part, I’ll braid straight back on both sides of the part line, making the braids right next to the part extra tiny. This lets me place the crochet hair super close together for a scalp-like appearance. For a full style with no part, a circular or “beehive” pattern is fantastic. To picture it, imagine starting a single cornrow at the crown and spiraling it outwards, like a snail shell, until you reach the perimeter of the head. It’s a brilliant way to distribute weight.
But the most critical part? Tension. The braid needs to be snug enough to last, but NEVER tight. Your client shouldn’t feel pain, and you shouldn’t see the scalp pulling or turning red. If there’s a headache or a throbbing feeling, it’s too tight and needs to be redone immediately. It’s a skill you develop by feel. Oh, and always tuck the ends of the natural hair away, either by sewing them down with weaving thread or tucking them into the next braid. This creates an even flatter base, which is a must for sleek styles.
The Installation: Let’s Get to Knotting
Once your foundation is perfect, it’s time for the fun part. The right tools and the right knotting technique will make the difference between a style that looks like it’s growing from your scalp and one that screams “wiggy.”
Tools of the Trade
Your main tool is a crochet latch hook, but not all are created equal. Heads up! The ones from the craft store meant for yarn are usually too big and clunky. You want to grab one from a beauty supply store like Sally Beauty or online; they have smaller hooks and a better latch mechanism that prevents snagging. They usually only cost about $2 to $5. I keep a few sizes on hand—a smaller hook is a lifesaver for getting invisible knots near the hairline.
The Secret to a Secure Knot
The standard method is a simple pull-through knot. You slide the hook under the cornrow, latch the pre-looped hair, pull a small loop through, and then pull the tails through that loop. Easy, right? Well, for most hair types, a single knot just won’t cut it.
In my salon, we almost always use a double or even a triple knot. It’s simple: after you pull the tails through the loop once, you just do it again. A double knot is so much more secure and stops the hair from slipping, especially with silky synthetic fibers. For super slick hair textures or around the nape of the neck where there’s more movement, a triple knot is the way to go. The key is to make sure you tighten the knot at the base of the cornrow, not right up against the scalp. That keeps the tension off your follicles.
A Pro Tip for Invisible Parts
Want that super-realistic scalp look along a part? This is a technique we use all the time. Instead of pre-looped hair, you’ll need loose, bulk hair. You take a very, very small piece of the bulk hair and use your latch hook to create a single, hidden knot right on the cornrow next to the part. You repeat this in a tight, concentrated line. It takes more patience, but the result is absolutely flawless and worth the extra effort.
Choosing Your Hair: A Quick Guide
The hair you choose makes a huge difference, not just in the look, but in the maintenance, too. The vast majority of crochet styles use synthetic hair because it’s budget-friendly (usually $5-$12 per pack) and holds its shape.
- Kanekalon: This is the classic workhorse. Brands like X-Pression are famous for it. It has a texture that mimics natural, blown-out hair, so it has a bit of grip that’s perfect for twists and braids. It’s also usually heat-safe for hot water setting.
- Toyokalon: This fiber is much silkier and lighter. Think of brands like Freetress Braid. It’s great for styles that need shine and a lot of movement, like loose waves. The downside? It can be more prone to tangling, so be gentle with it.
By the way, where you live can affect your choice. If you’re in a humid climate, some synthetic fibers can frizz up and get huge. For clients in those areas, I often suggest a style that’s meant to look a bit wild, like bohemian locs, or we’ll opt for a higher-quality fiber that’s less reactive to moisture.

Getting Ready: Your Game Plan for a Great Style
A little planning goes a long way. Let’s talk about what you’ll need, how long it will take, and what it might cost.
Your Shopping & Tool List
Before you start, make sure you have everything lined up. It’s no fun running to the store mid-install.
- Hair: Usually 4 to 8 packs. Check the packaging for recommendations, but my rule of thumb is to always buy one extra pack. Running out is the worst! A full head of hair will likely cost between $40 and $100 total.
- Rat-tail Comb: For those clean, crisp parts.
- Latch Hook: The right size for the job ($2-$5).
- Moisturizer & Scalp Oil: A good leave-in for your natural hair and a light oil (like jojoba or grapeseed) for your scalp afterwards.
- Scissors: For trimming and, eventually, removal.
A professional installation can take anywhere from 2 to 5 hours. If you’re doing it yourself for the first time, honestly, block out a whole afternoon. Be patient with yourself! As for cost, a salon installation typically starts around $150 and goes up from there, not including the hair. If you see a price that seems too good to be true, it probably is—it could mean a rushed job that might damage your hair.
Troubleshooting & Quick Fixes
Even with the best prep, sometimes things go a little sideways. Here’s how to handle common issues.
- Help, I can see my cornrows! Don’t panic. You can fix gaps without starting over. Just take a very small piece of hair and use your smallest latch hook to add it into the sparse area with a discreet knot.
- This hair is too shiny and looks fake. This is such an easy fix. Lightly dust the hair with a bit of dry shampoo or even a translucent powder. It instantly cuts the shine for a more natural, matte finish.
- It’s starting to get frizzy and tangled. Over time, this is normal. You can carefully snip away the frizzy flyaways with sharp scissors. For tangled curls, use your fingers and a bit of mousse to gently separate them. Whatever you do, don’t use a brush—it will destroy the curl pattern.
The Most Important Part: Hair Health & Takedown
A style is only great if it doesn’t ruin your hair underneath. Proper care and removal are non-negotiable.
Heads Up! That Itchy Feeling Might Be an Allergy
Ever wonder why new braiding hair sometimes makes your scalp incredibly itchy? Most synthetic hair is coated with an alkaline base. Some people are allergic to it, causing miserable itching and bumps. The fix is simple: give the hair an apple cider vinegar (ACV) rinse before you install it. Just soak the loose hair in a sink or basin filled with about a gallon of warm water and 1 cup of ACV for 30 minutes. Rinse it well, hang it to dry completely, and you’re good to go. This one step can save you so much discomfort!
Care and How Long to Keep It In
Don’t wear your crochet style for more than 8 weeks, and honestly, 4 to 6 weeks is even better. Any longer, and your new growth starts to mat with the shed hair at the base of the cornrows, creating a tangled mess that’s a nightmare to remove without breakage. Every week or two, cleanse your scalp using a diluted shampoo (mix 1 part shampoo to 4 parts water) in an applicator bottle. Let the water run through to rinse—try not to rough up the braids too much. And always, always sleep in a satin bonnet or scarf.
The Takedown: Don’t Ruin Your Hair Now!
Rushing the removal process is where most damage happens. Take your time.
- Cut the Extensions: First, cut the crochet hair off, leaving it significantly longer than your own natural hair to be safe.
- Cut the Knot (The Pro Secret): This is the delicate part. You need to cut the knot at the base of each loop. My absolute favorite tool for this is a seam ripper—yes, the kind from a sewing kit! It’s perfect for hooking under the knot and snipping it safely without cutting your real hair. It’s a total game-changer.
- Unravel Gently: Once the extensions are gone, carefully unravel your cornrows, using your fingers first. Expect a lot of shed hair—this is totally normal, as it’s all the hair that couldn’t fall out while it was braided up.
- Post-Style TLC: Your hair has been tucked away, so it needs some love. A good clarifying shampoo followed by a deep conditioning treatment (ideally with some heat) for at least 30 minutes will work wonders. Let your hair breathe for at least a week before jumping into another protective style.
Crochet braids are a fantastic option, offering tons of flexibility while protecting your hair. As long as you focus on a healthy foundation and careful maintenance, you can enjoy all the amazing looks without worry.

Galerie d’inspiration
How do I keep my scalp from getting impossibly itchy?
It’s the most common question, and relief is easier than you think. Forget scratching, which can cause damage and frizz. Instead, create a soothing scalp spray in a nozzle-tip applicator bottle. Mix distilled water with a few drops of tea tree oil and peppermint oil for their anti-inflammatory and cooling properties. A light spritz directly onto the scalp provides instant relief without disturbing your style. For buildup, gently wipe your parts with a cotton pad soaked in non-alcoholic witch hazel.
The global hair extension market is projected to grow from USD 11.8 billion in 2024 to USD 23.4 billion by 2032.
This explosive growth isn’t just about trends; it reflects a deeper understanding of protective styling’s benefits. As innovations in synthetic fibers make styles like crochet braids look more natural and feel lighter than ever, more people are embracing them as a smart, stylish way to protect and grow their natural hair.
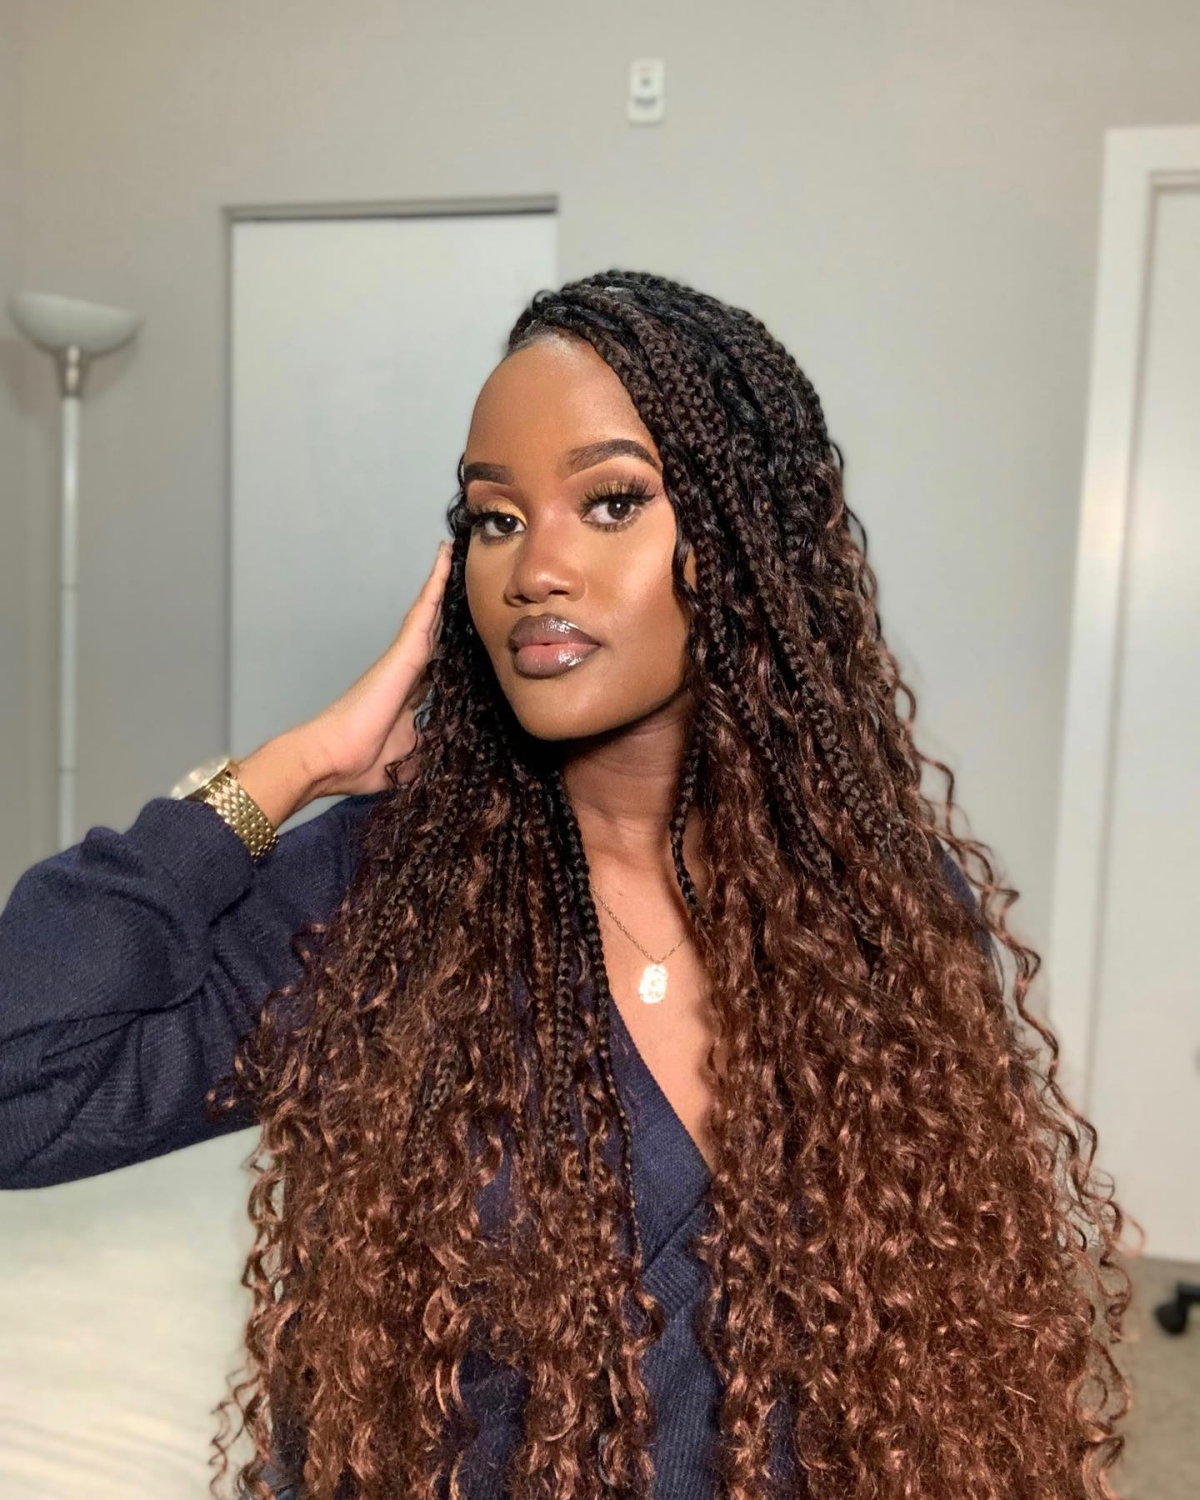
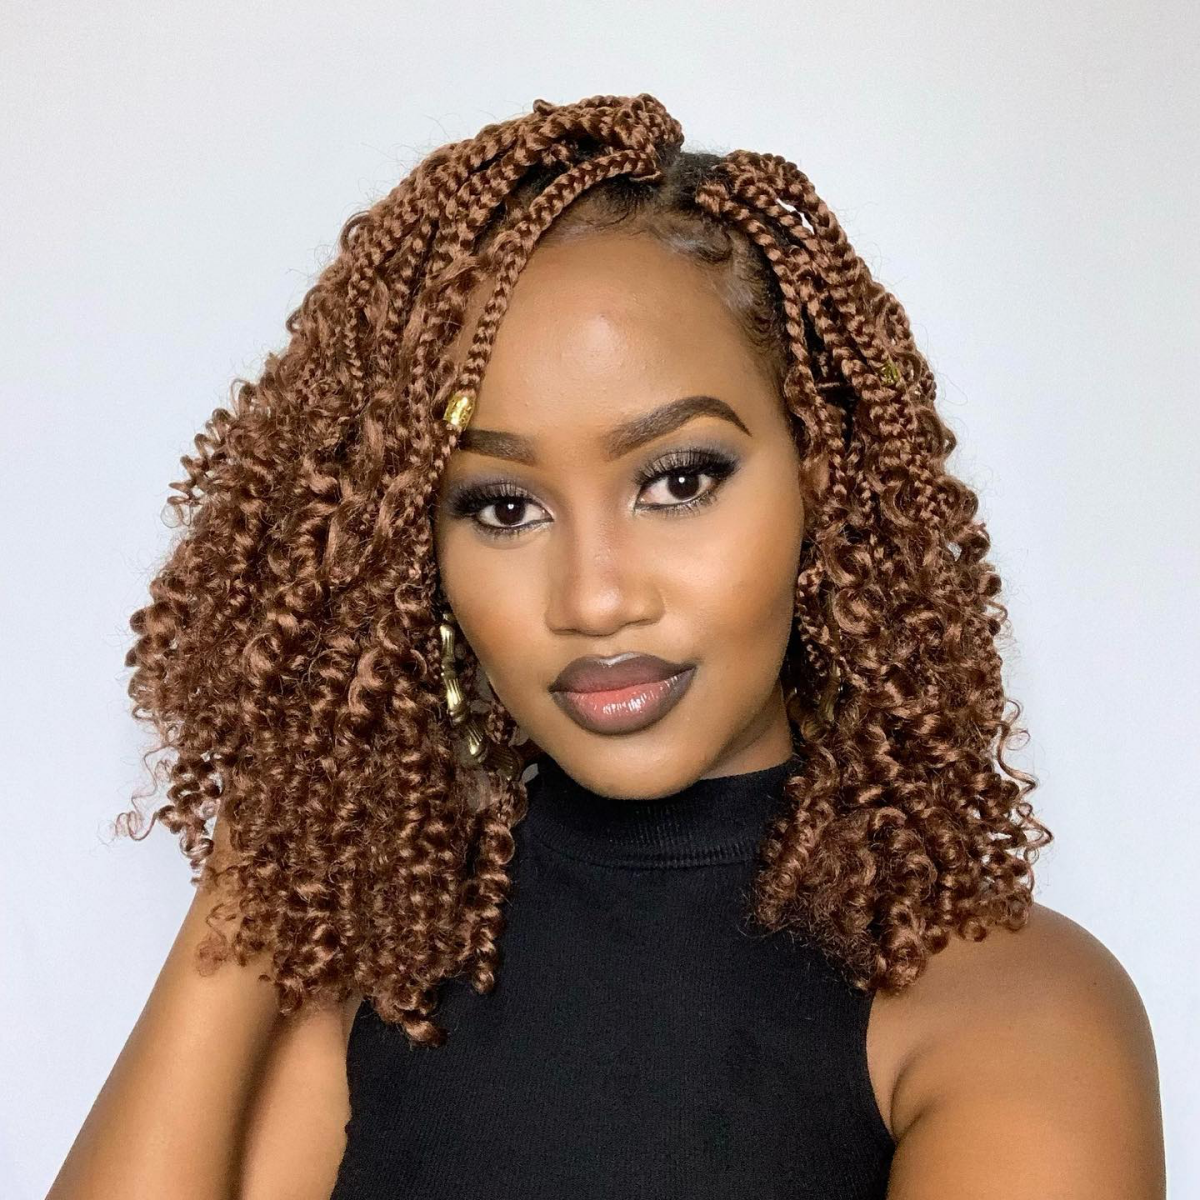
Your hair choice matters. For defined, long-lasting curls and twists, synthetic is often king. Brands like Freetress and Outre use high-quality Kanekalon fibers that are lightweight and hold their shape without drooping. For a more subtle, realistic luster, especially for wavy or straight styles, a human hair blend can be a great option, though it may require more maintenance and a higher budget. For classic crochet, synthetics usually offer the best balance of look, feel, and durability.
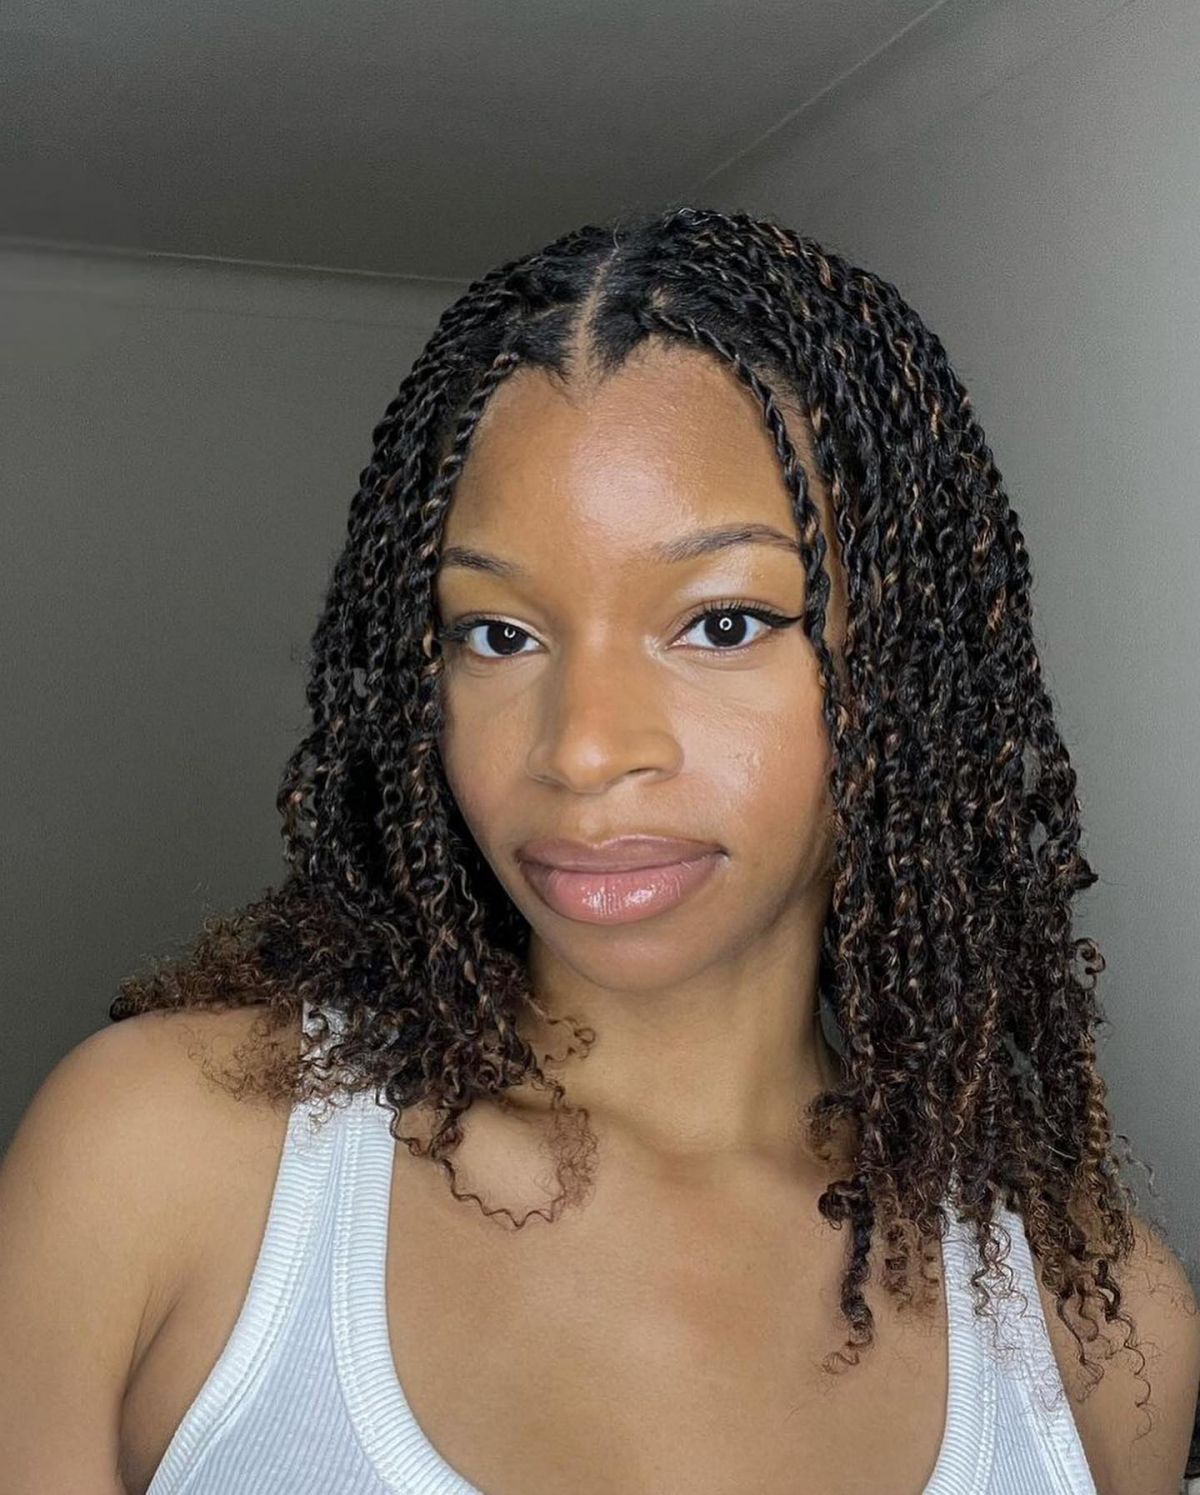
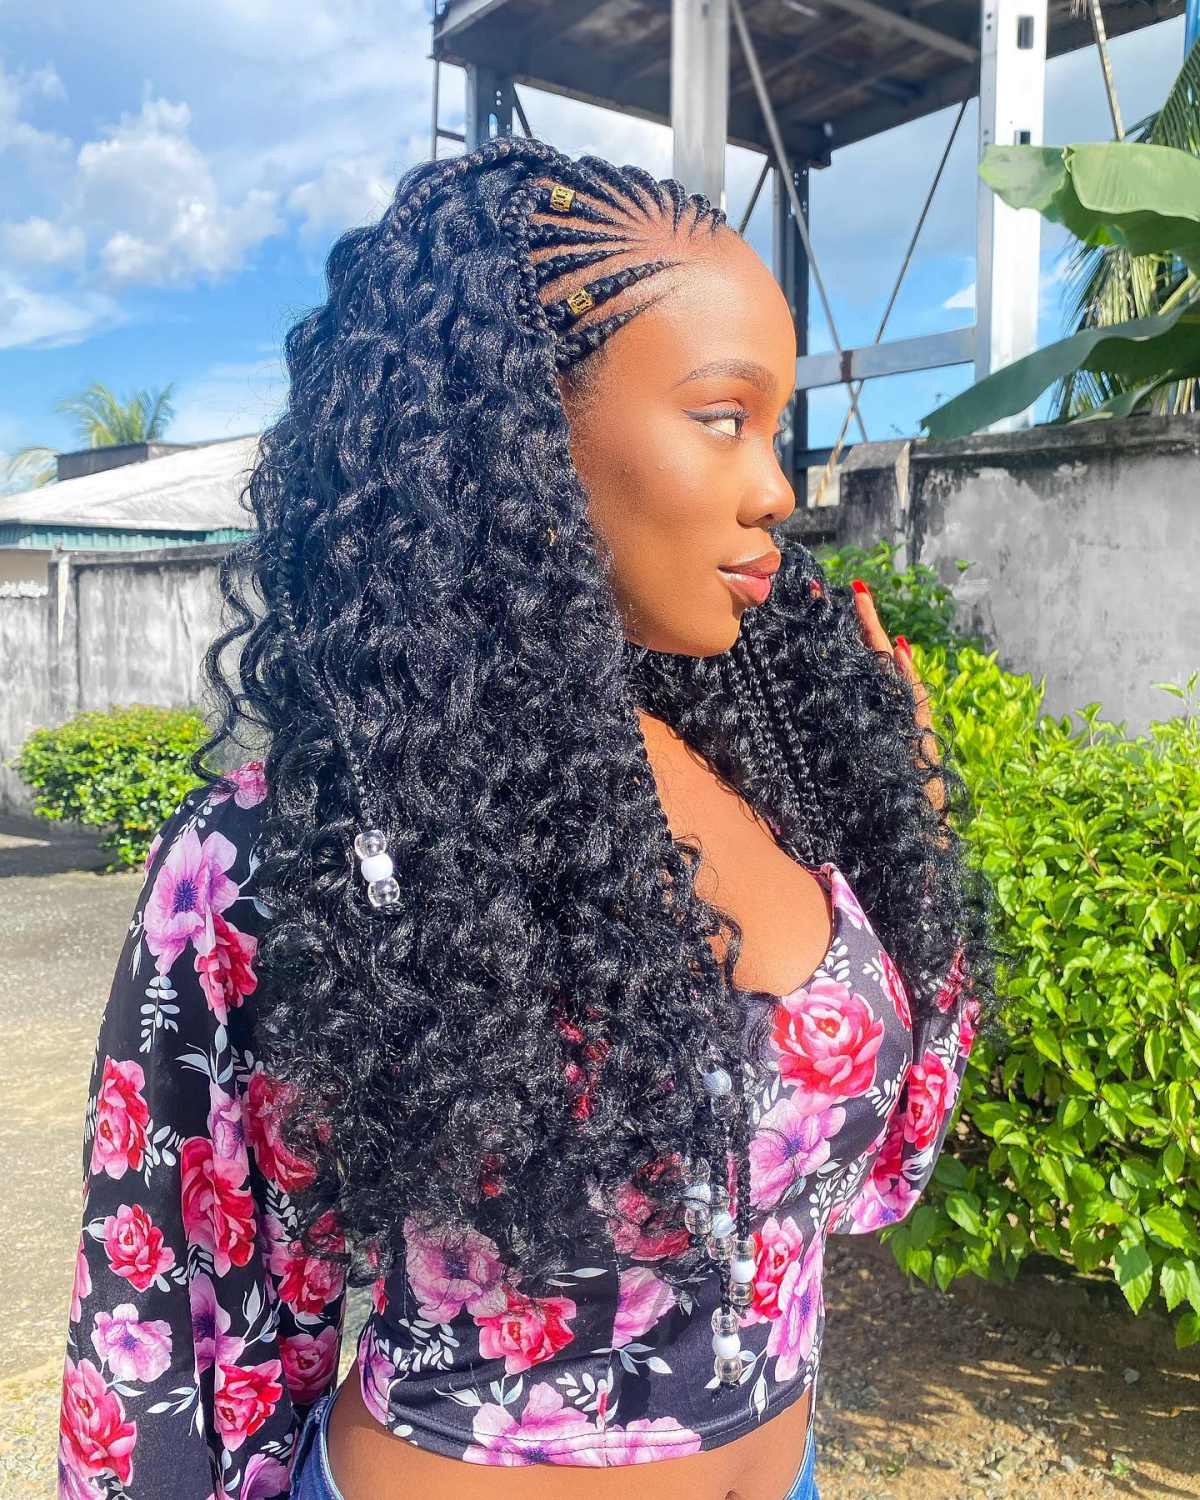
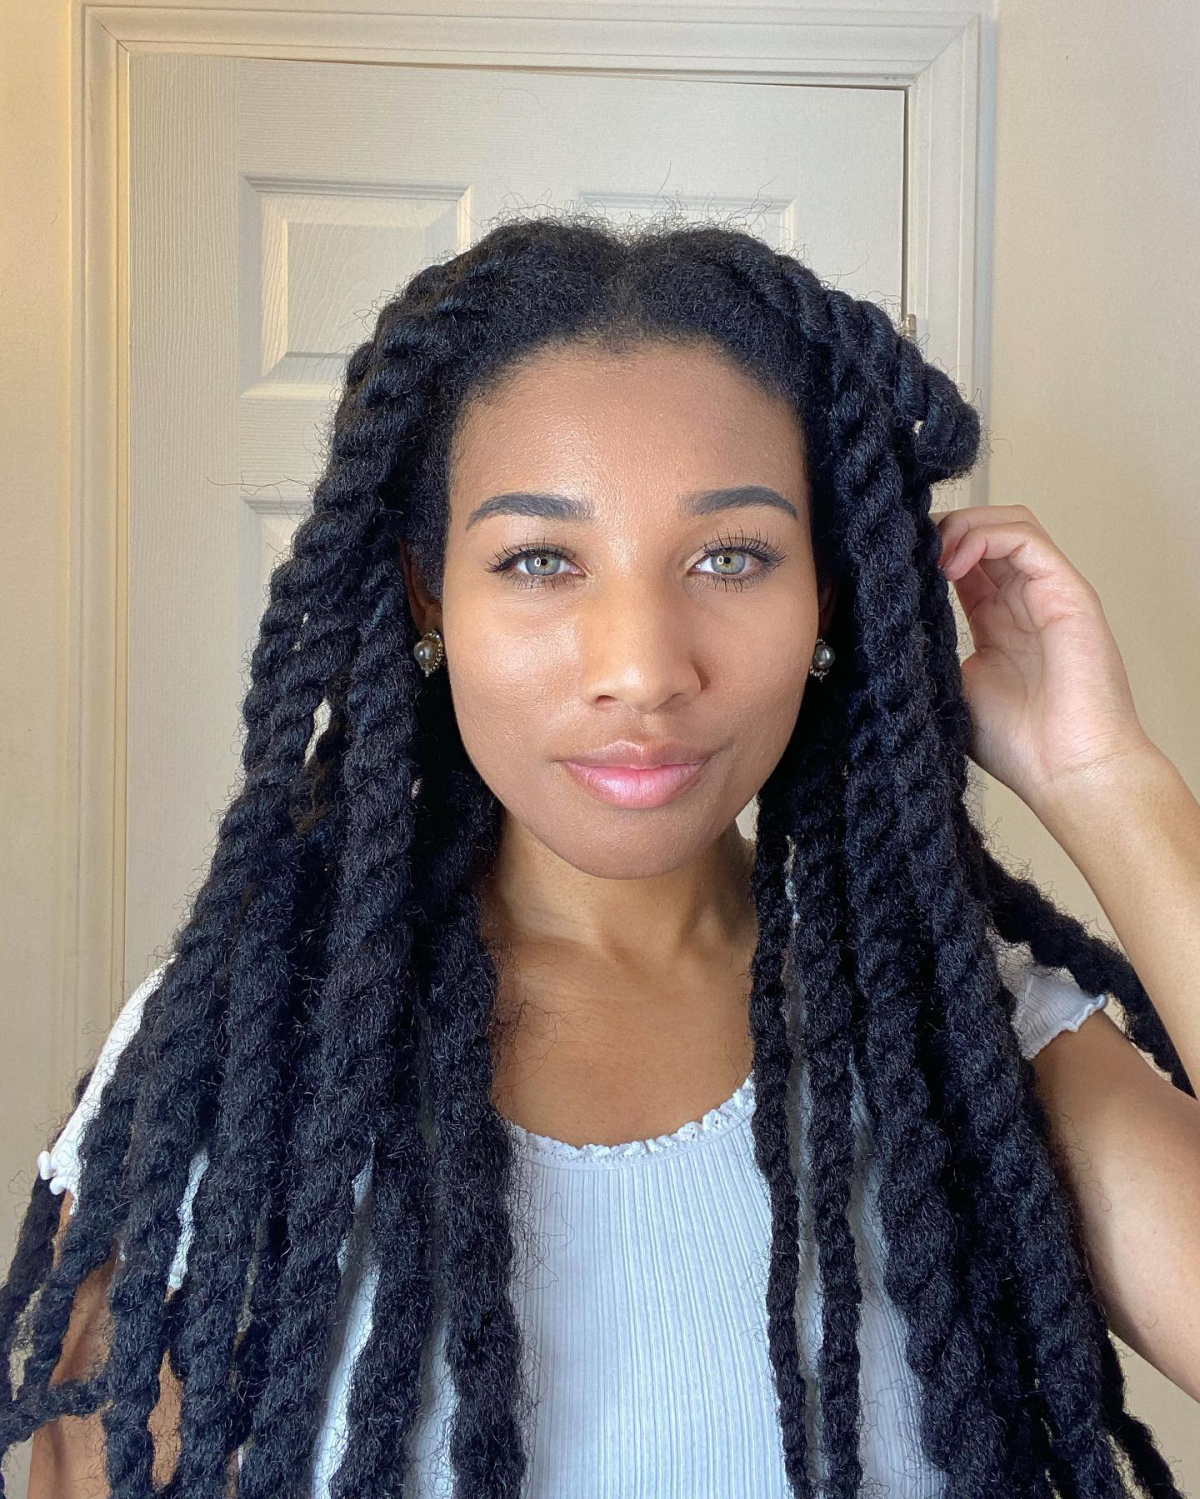
- A seamless, natural-looking hairline.
- Less bulkiness at the root.
- A flatter, more realistic overall appearance.
The secret? Master the invisible knot. Instead of looping the hair twice to secure it, this technique involves a single loop and pulling the hair through itself. It’s particularly crucial for the front hairline and the parting space, creating the illusion that the hair is growing directly from your scalp.
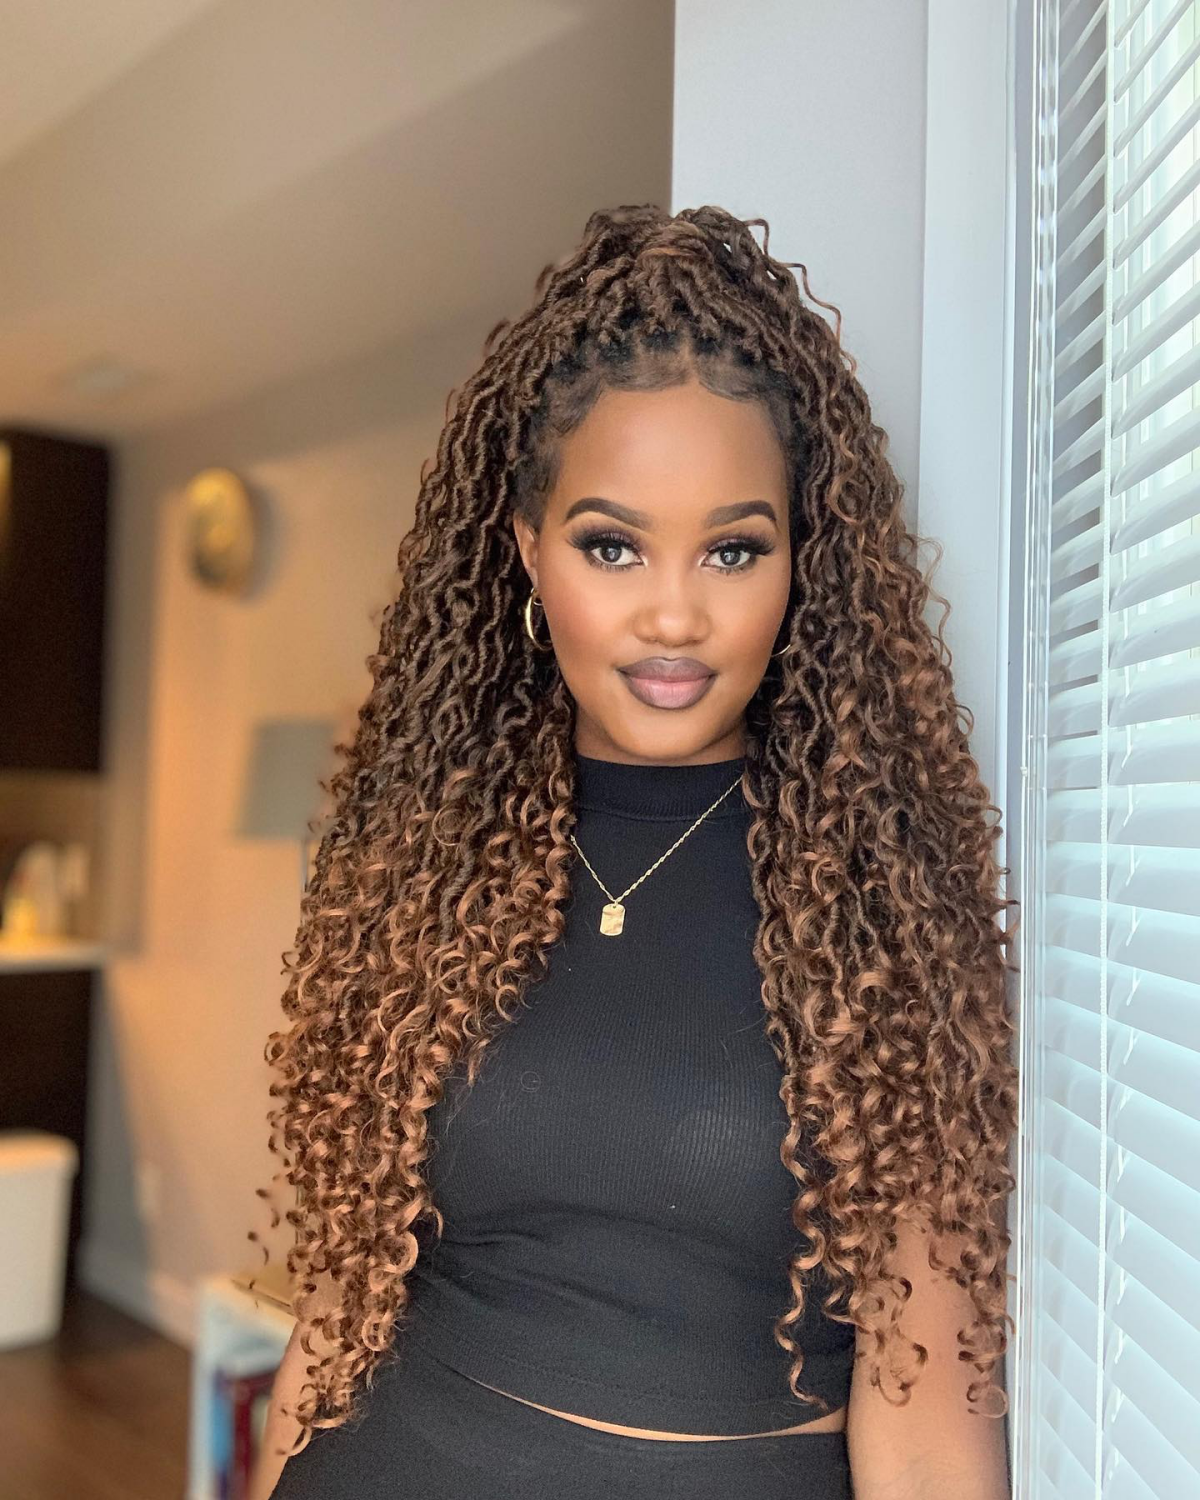
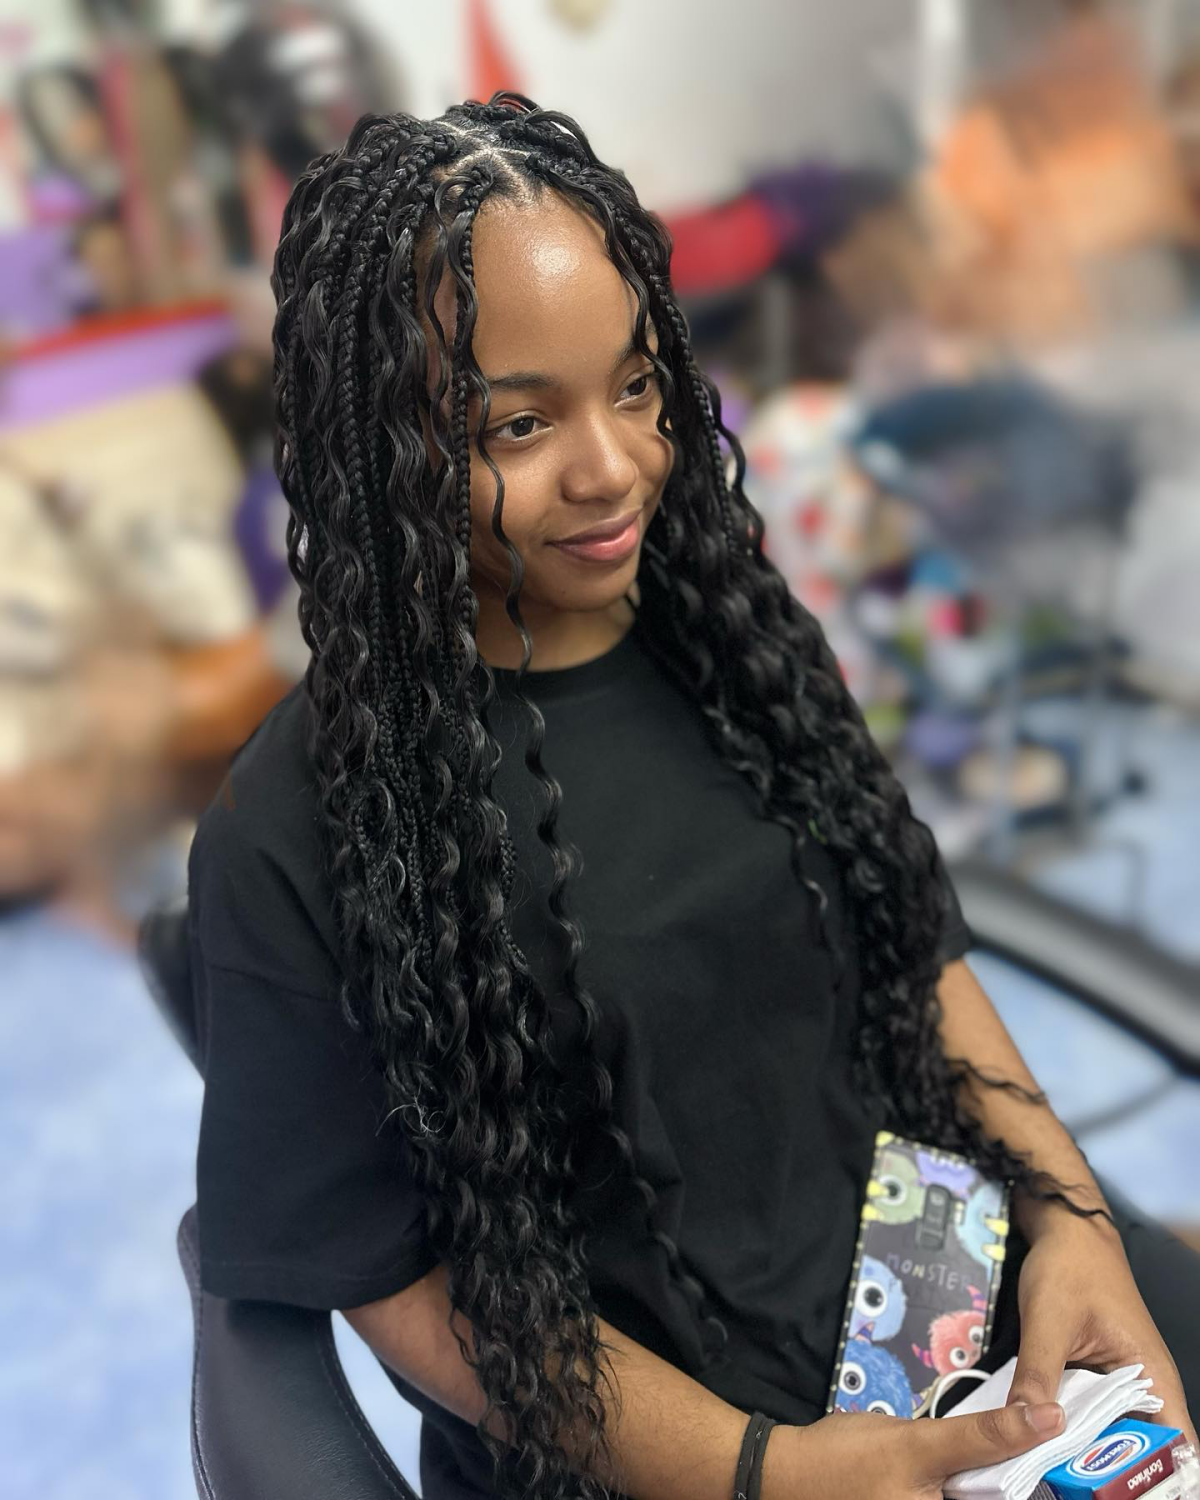
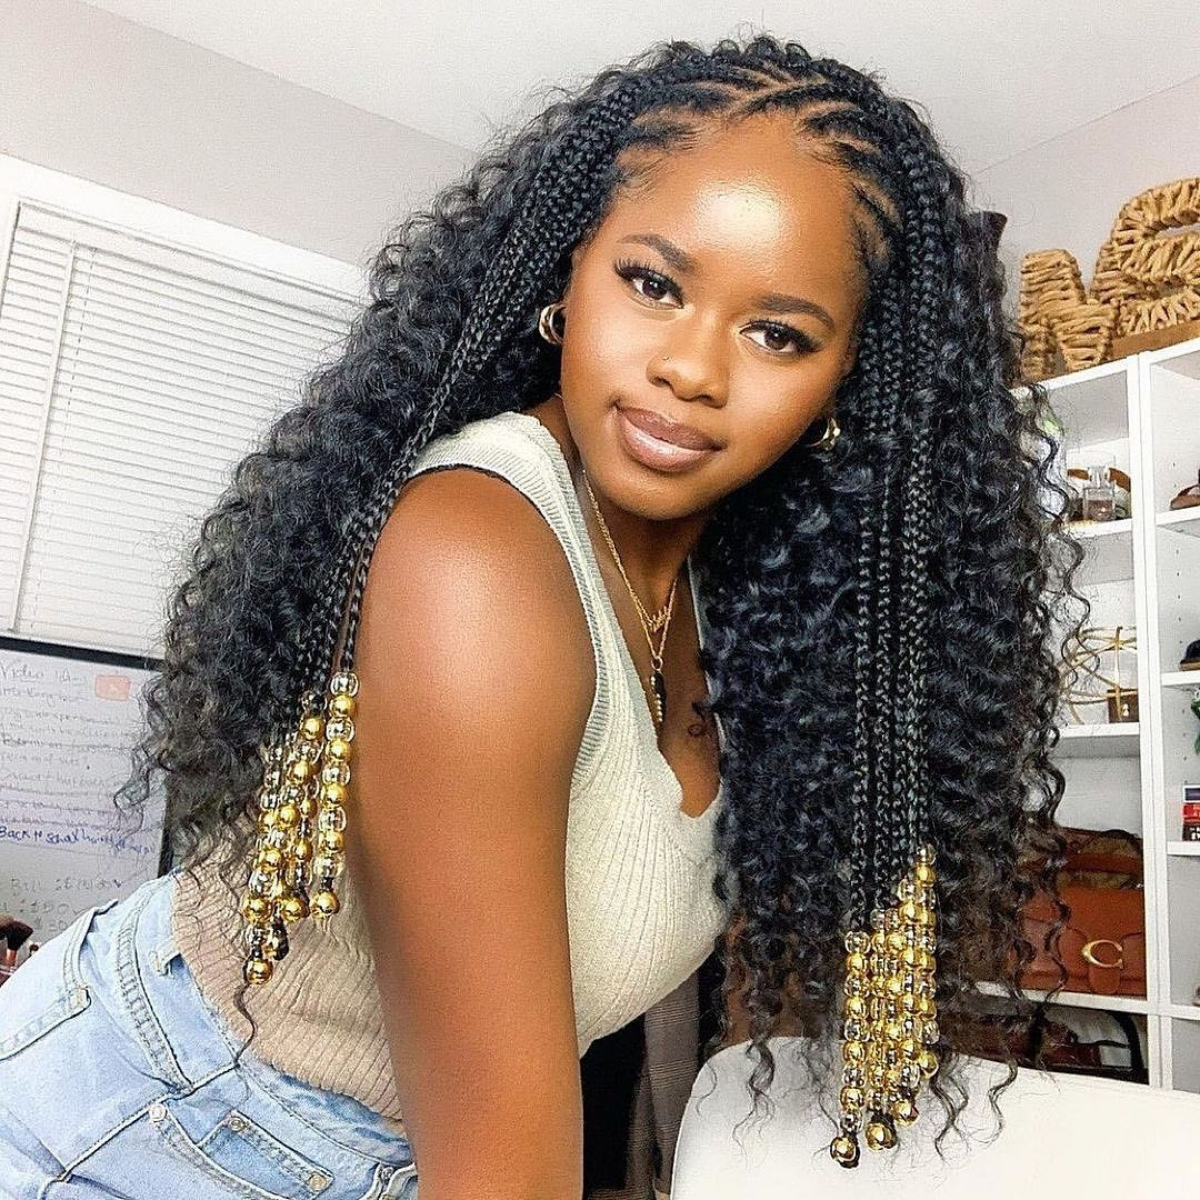
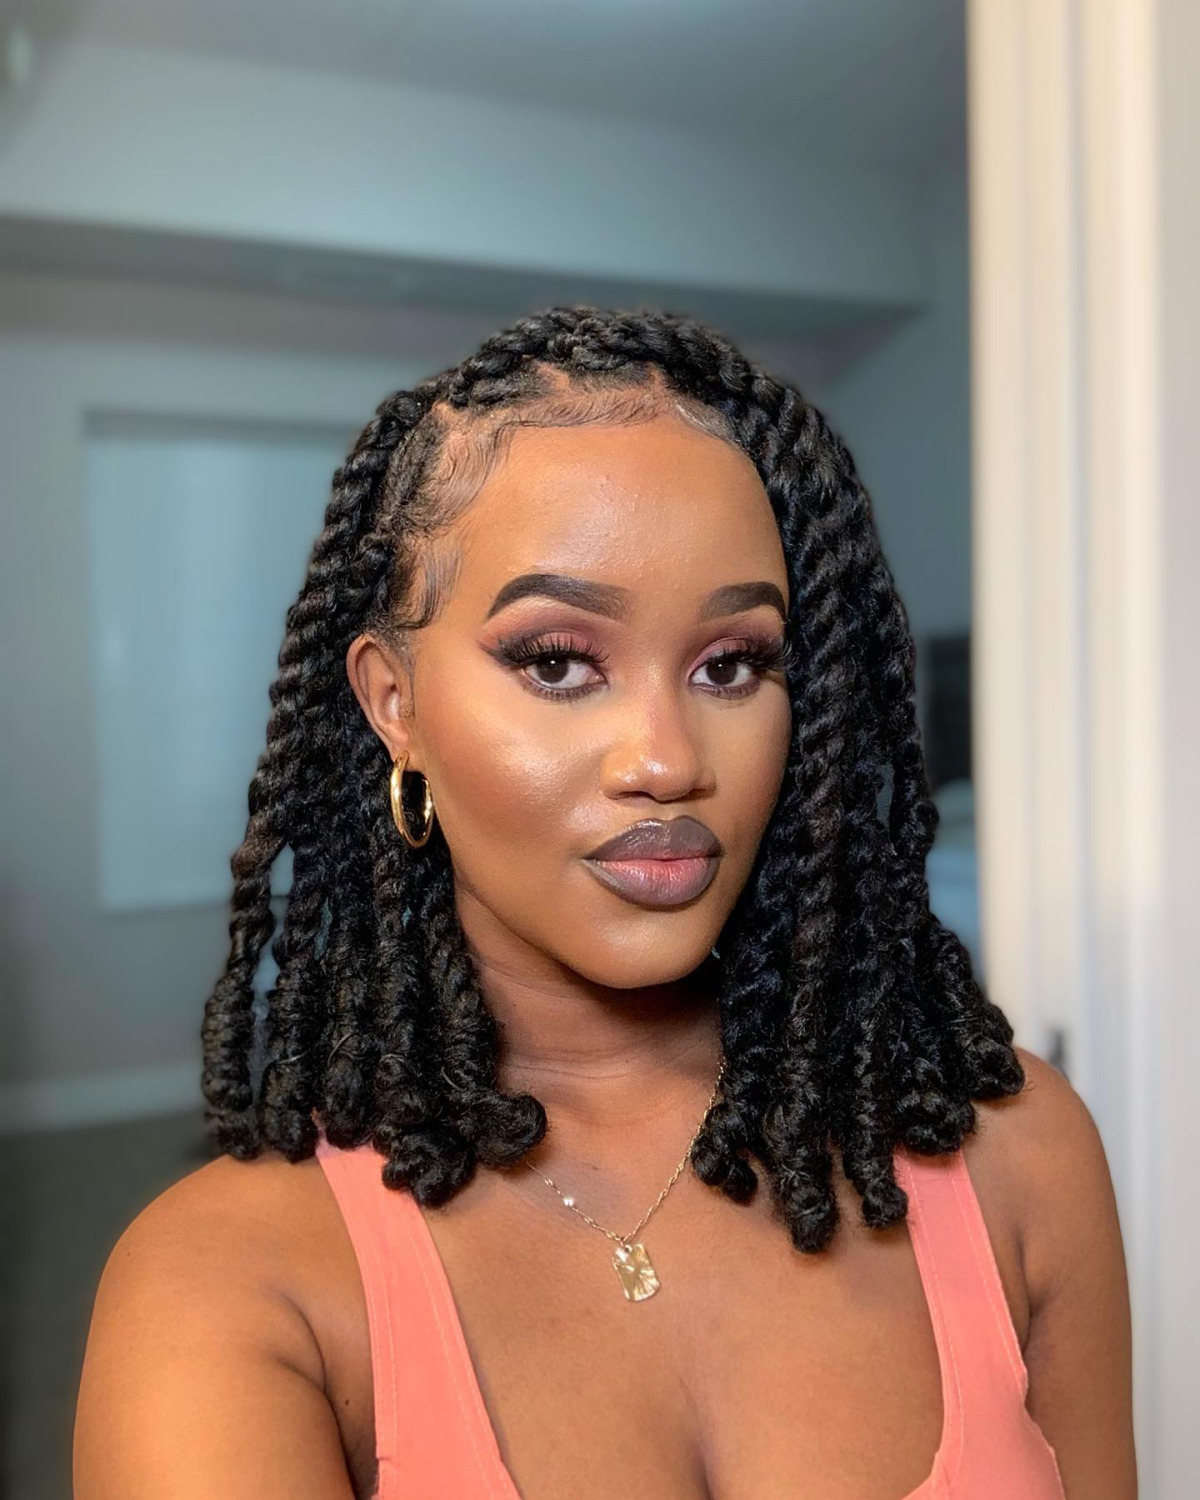
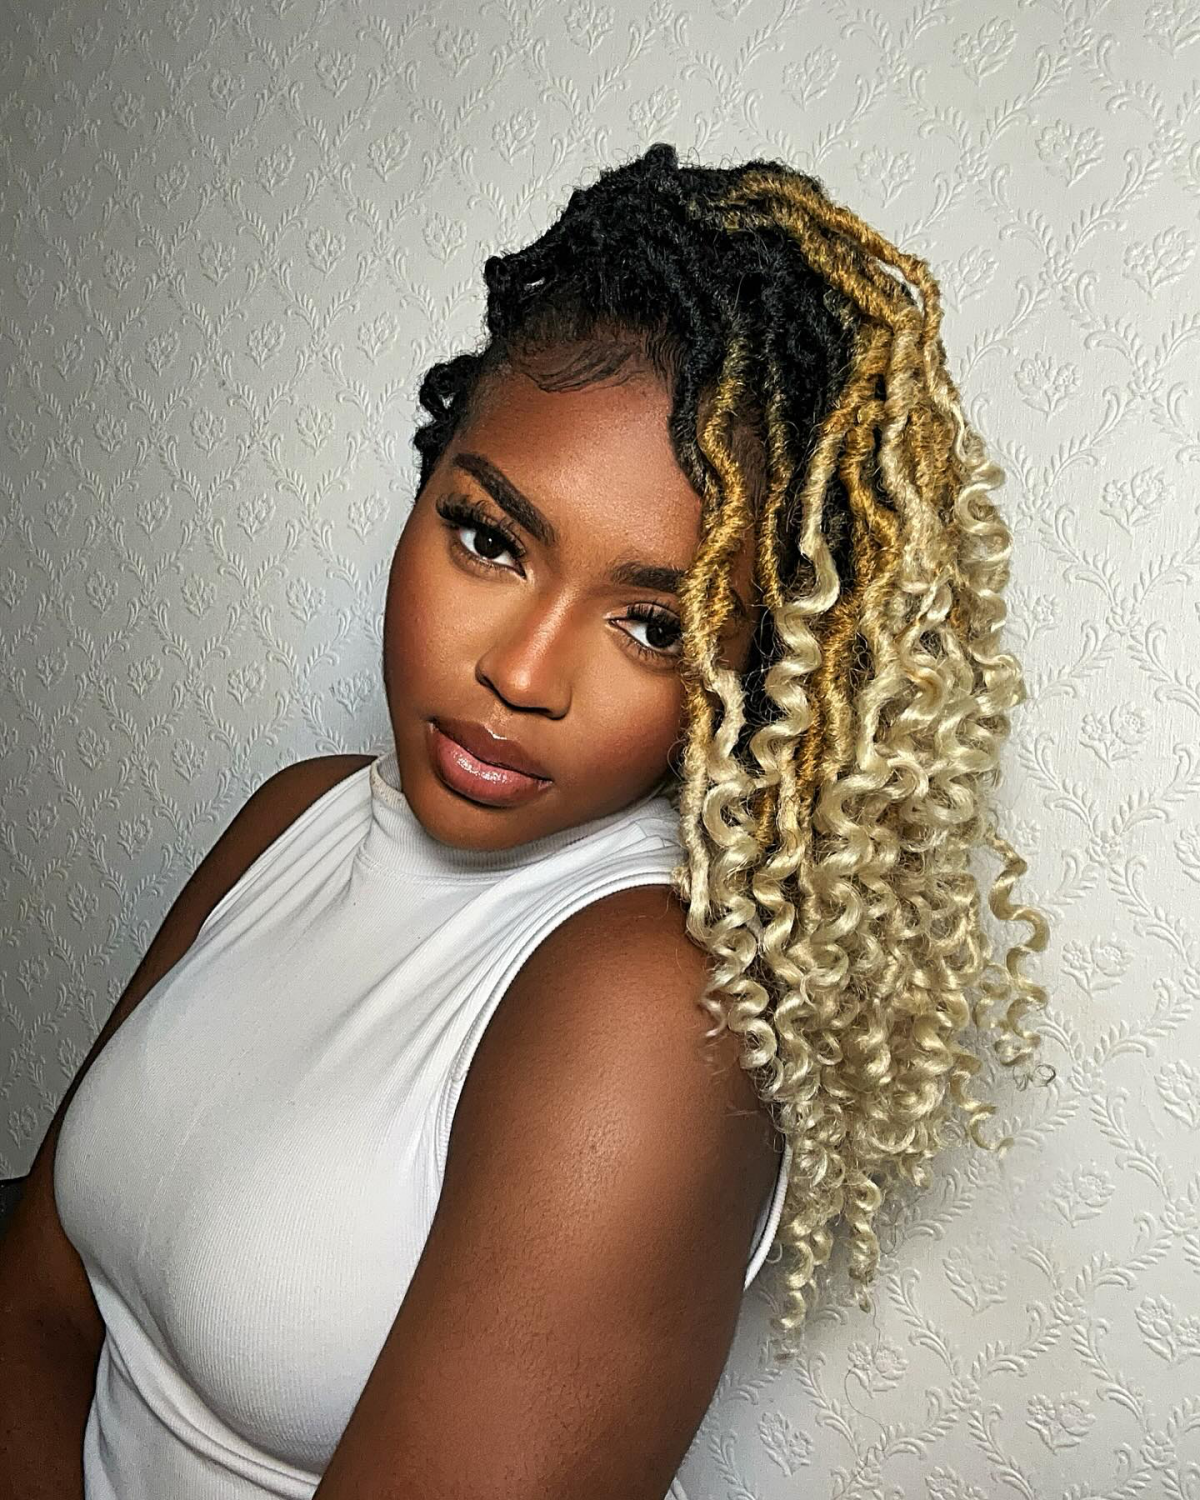
To truly elevate your crochet style from good to gorgeous, focus on the details that create a custom look. Mix two or three complementary shades—like a natural black (1B), a deep burgundy (99J), and a touch of copper—to create depth and dimension that pre-packaged single-color hair can’t match. Alternating the strands randomly gives a salon-quality, sun-kissed finish.
Important point: The takedown is just as crucial as the installation. Rushing can cause major breakage. Be patient. First, cut the extension hair close to the knot, but leave enough length to distinguish it from your own hair. Then, carefully unloop the knot. After all extensions are out, gently unravel your cornrows, which will be tender. Your hair needs a deep conditioning treatment before its next chapter.
Did you know that cornrows, the foundation of crochet styles, can be traced back over 3,000 years in Africa? They weren’t just decorative; they could signify a person’s tribe, marital status, or wealth.
Synthetic vs. Human Hair:
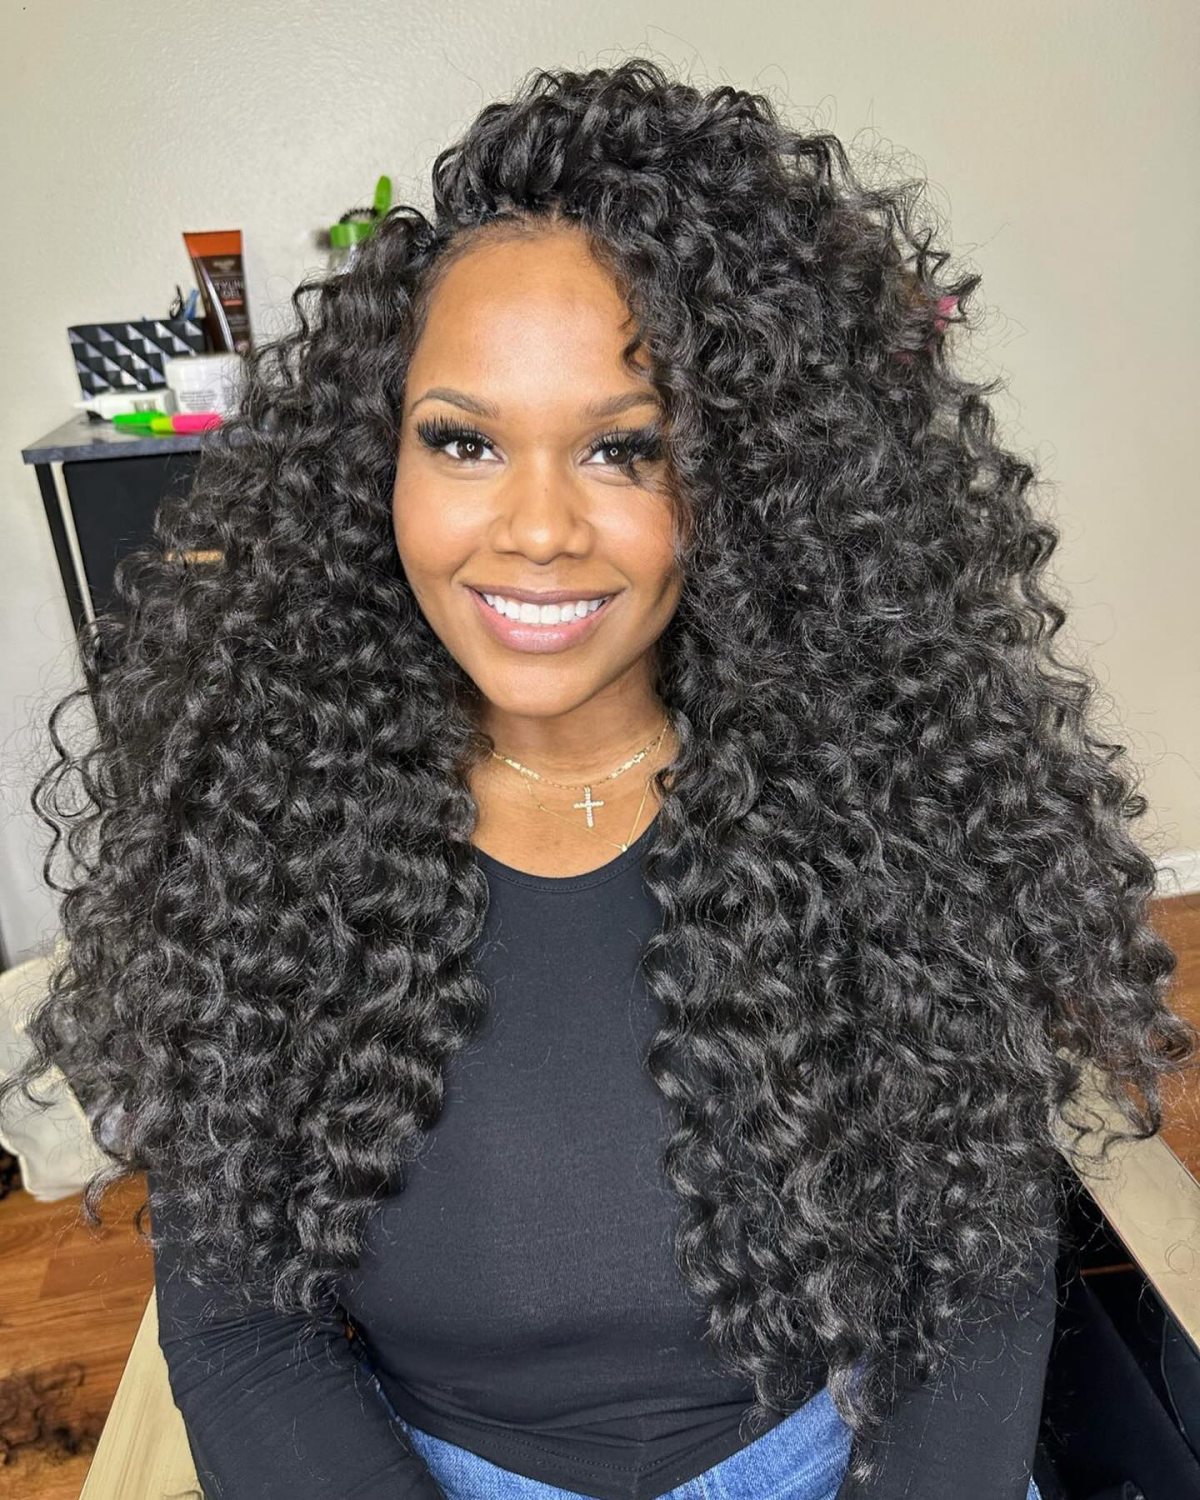
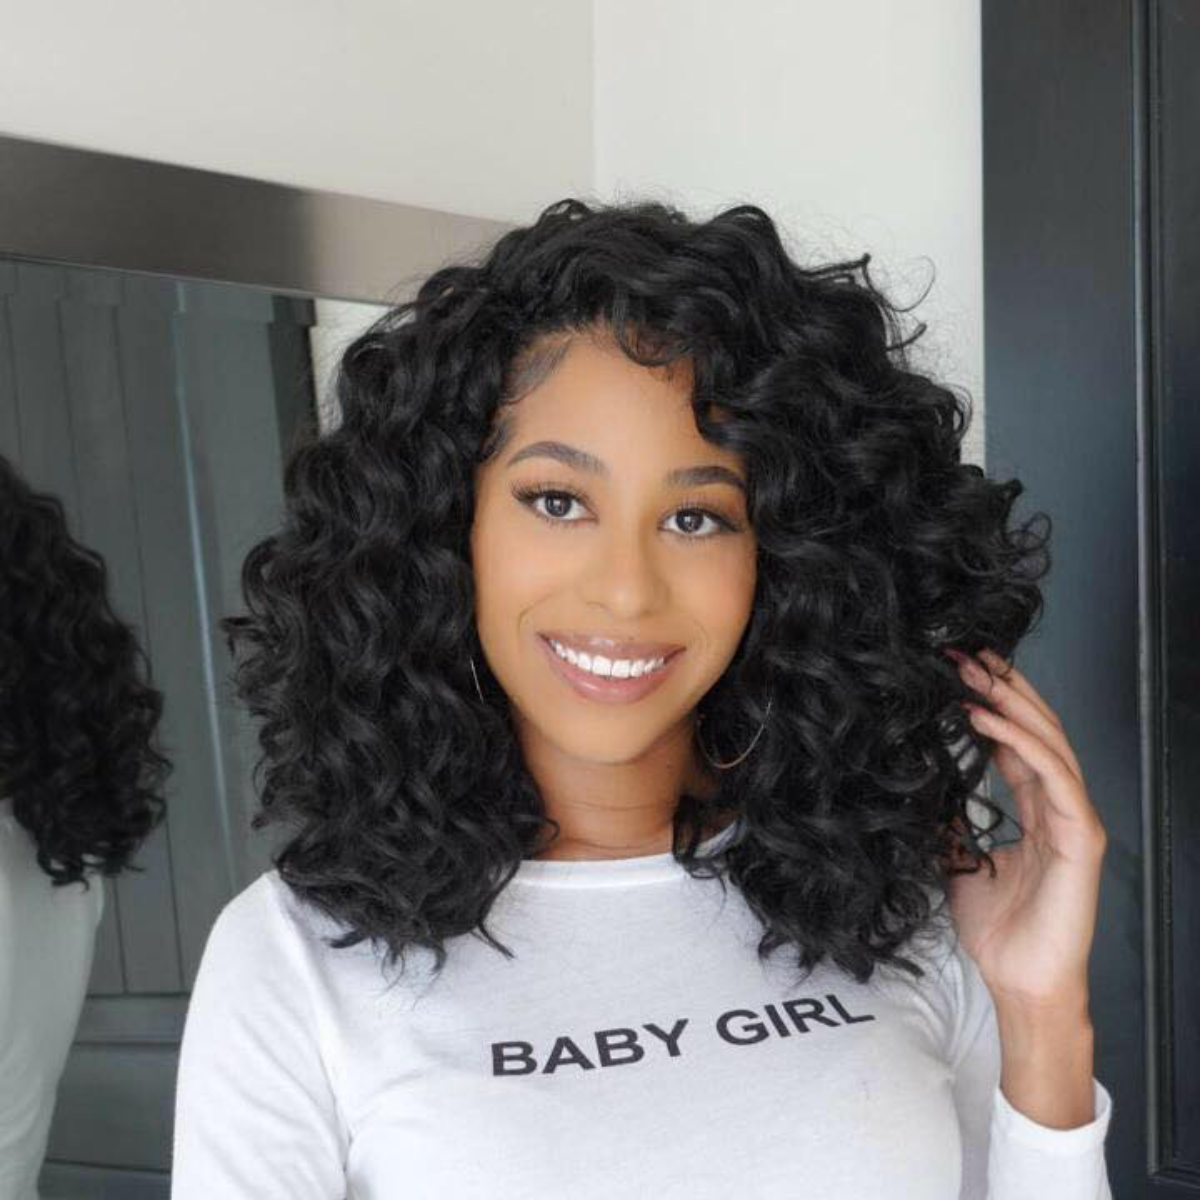
Synthetic (Kanekalon/Toyokalon): The go-to for most crochet styles. It’s lightweight, holds curls and textures perfectly (like the popular ‘Water Wave’ from Spectra), is budget-friendly, and low maintenance. Its main drawback is it can’t be heat-styled like human hair.
Human Hair Blend: Offers a more natural sheen and can sometimes be heat-styled on a low setting. However, it’s heavier, more expensive, and can lose its texture when washed. For crochet braids, synthetic usually provides the best performance and value.
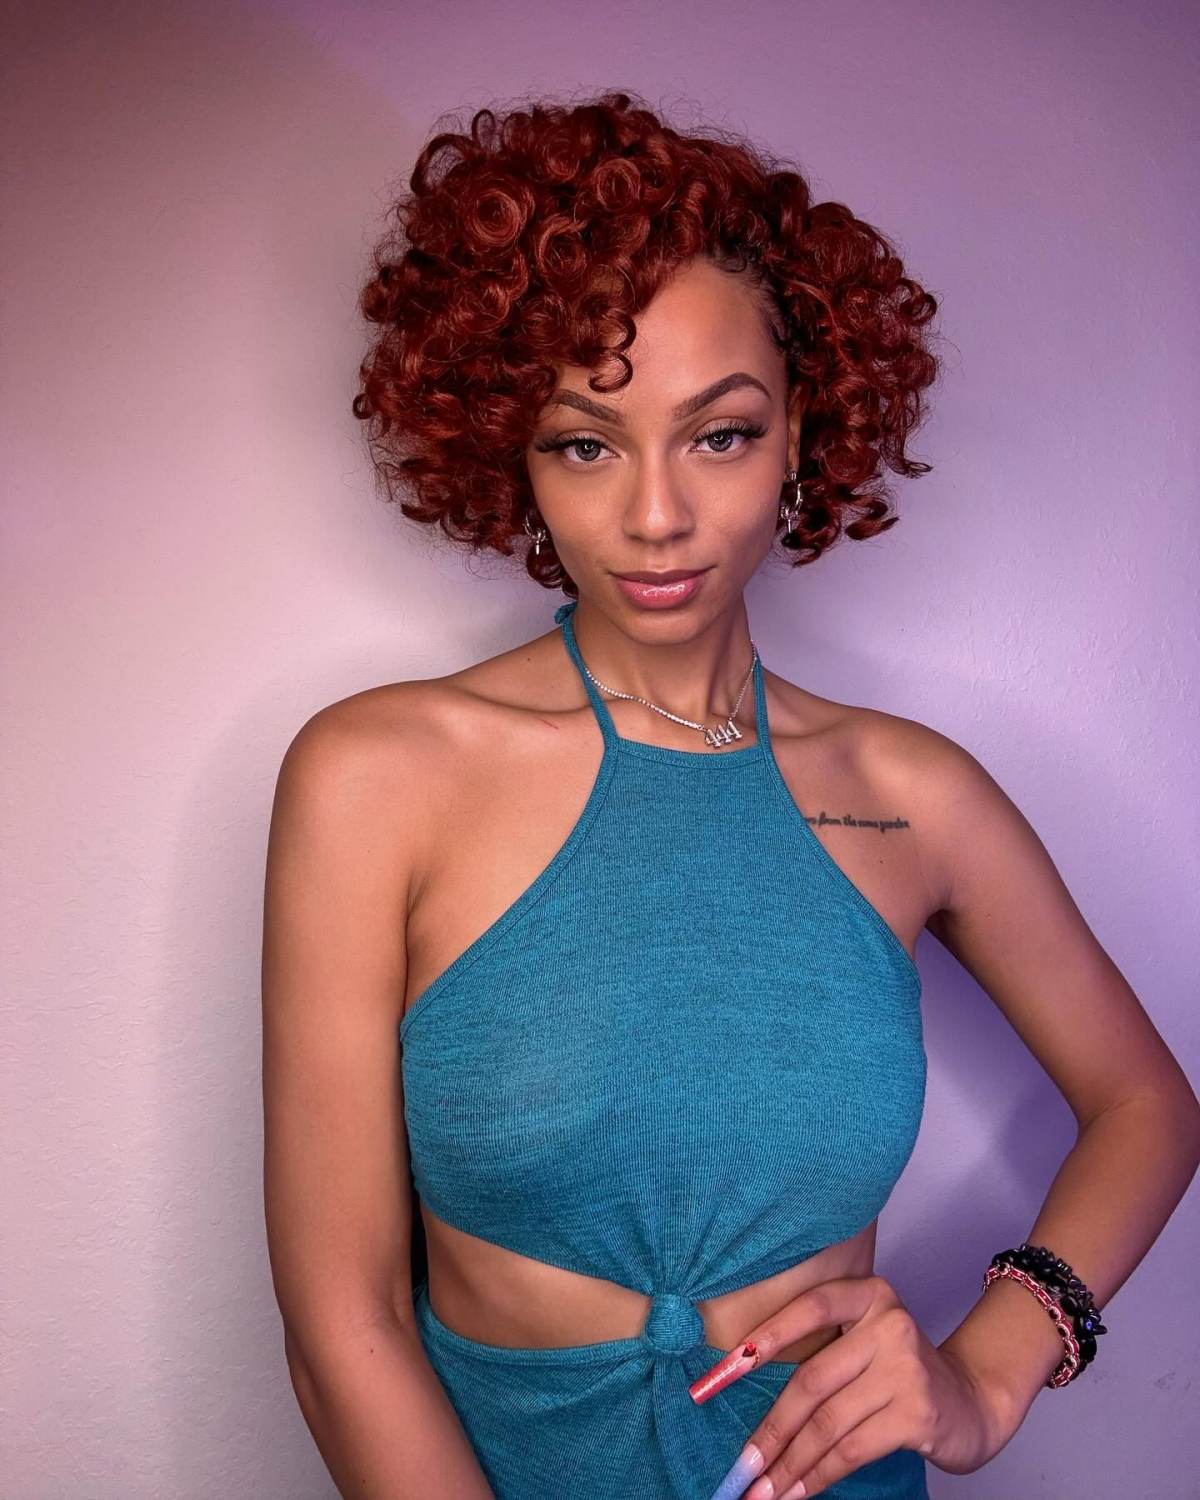
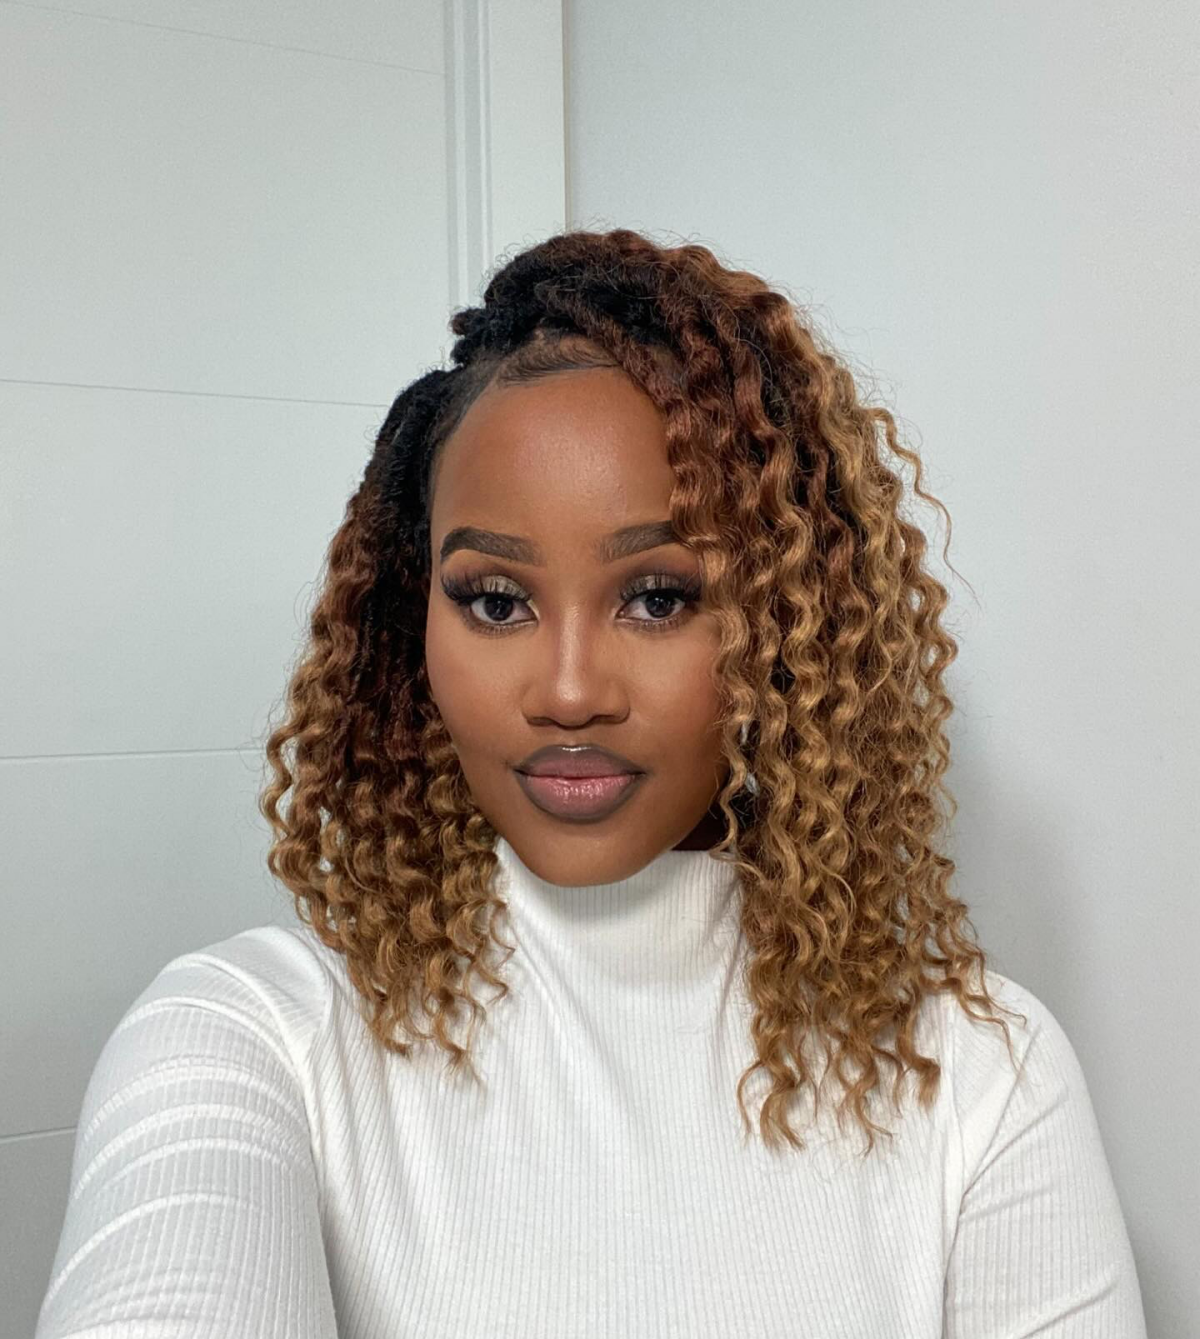
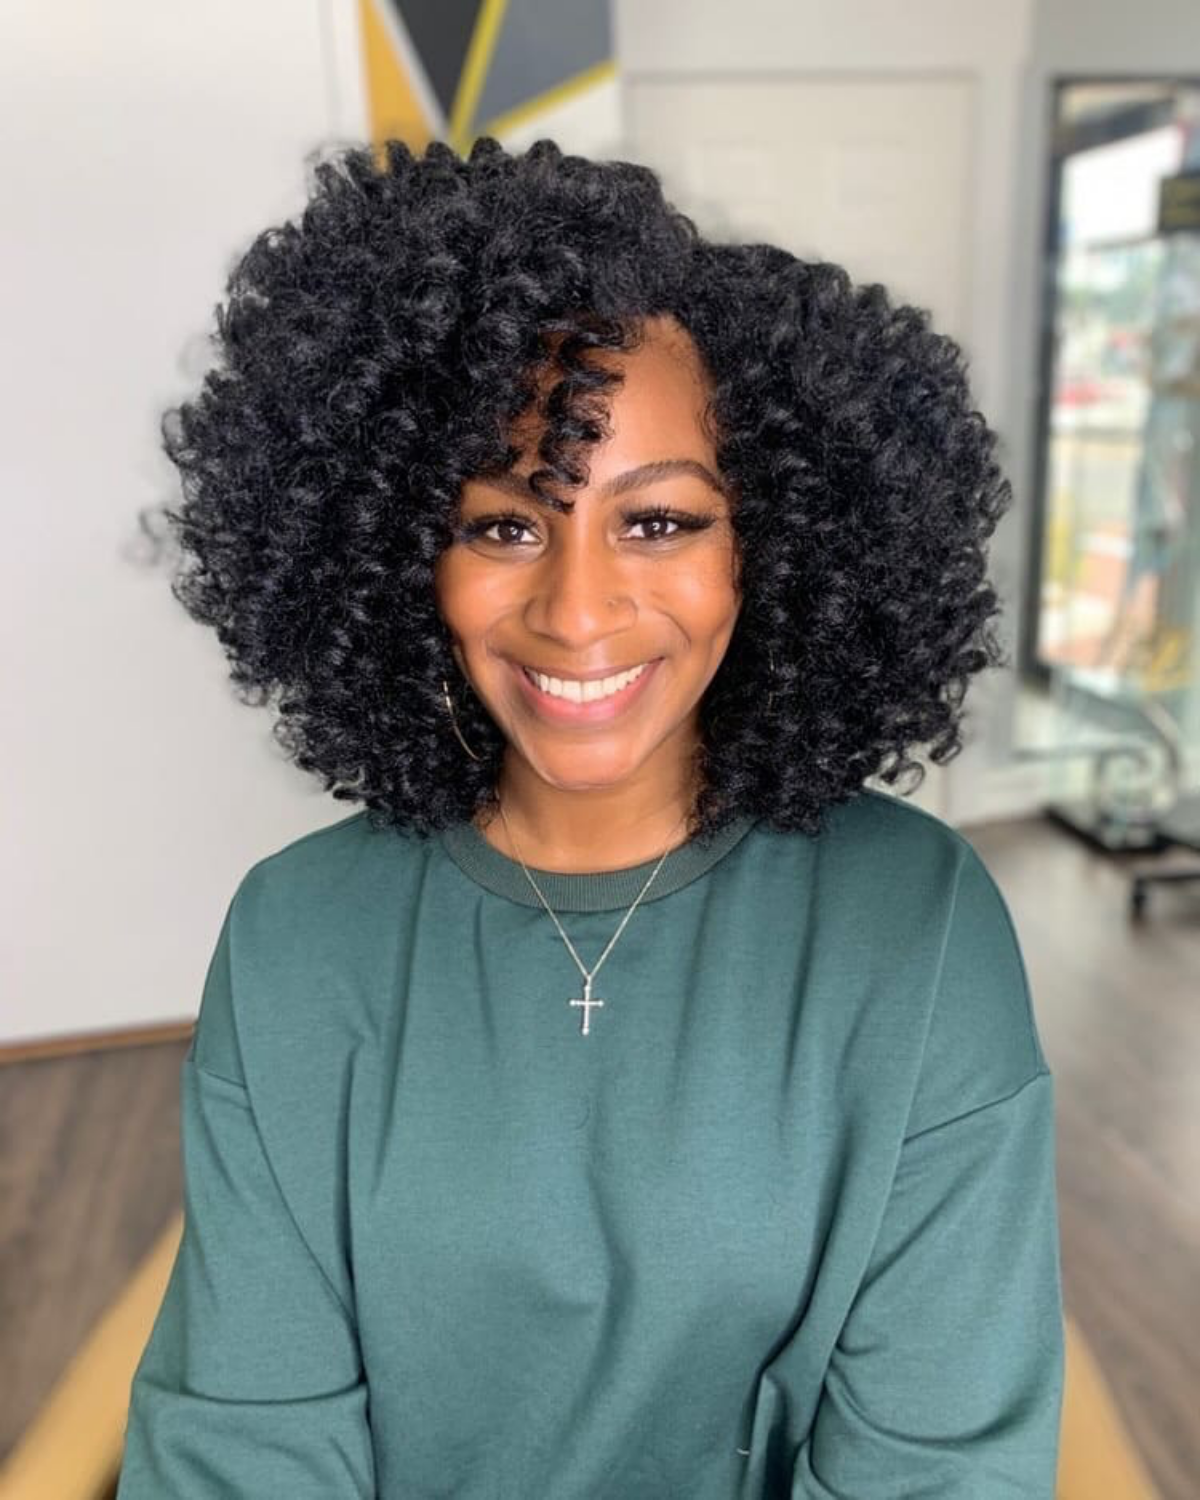
Don’t be afraid to give your new hair a haircut! Right after installation, the hair can sometimes look too uniform or ‘perfect.’ A professional stylist (or a brave DIY-er with good shears) will often trim and layer the hair slightly. This breaks up the pattern, adds movement, and creates a much more natural, bespoke shape that frames your face beautifully.
- Apply a foam wrapping lotion, like LottaBody’s Wrap Me Foaming Mousse, to tame frizz and redefine curls.
- Gently snip away any individual strands that have become tangled or frizzy.
- Sleep with your hair in a ‘pineapple’ (a loose, high ponytail) under a silk or satin bonnet to preserve the style overnight.
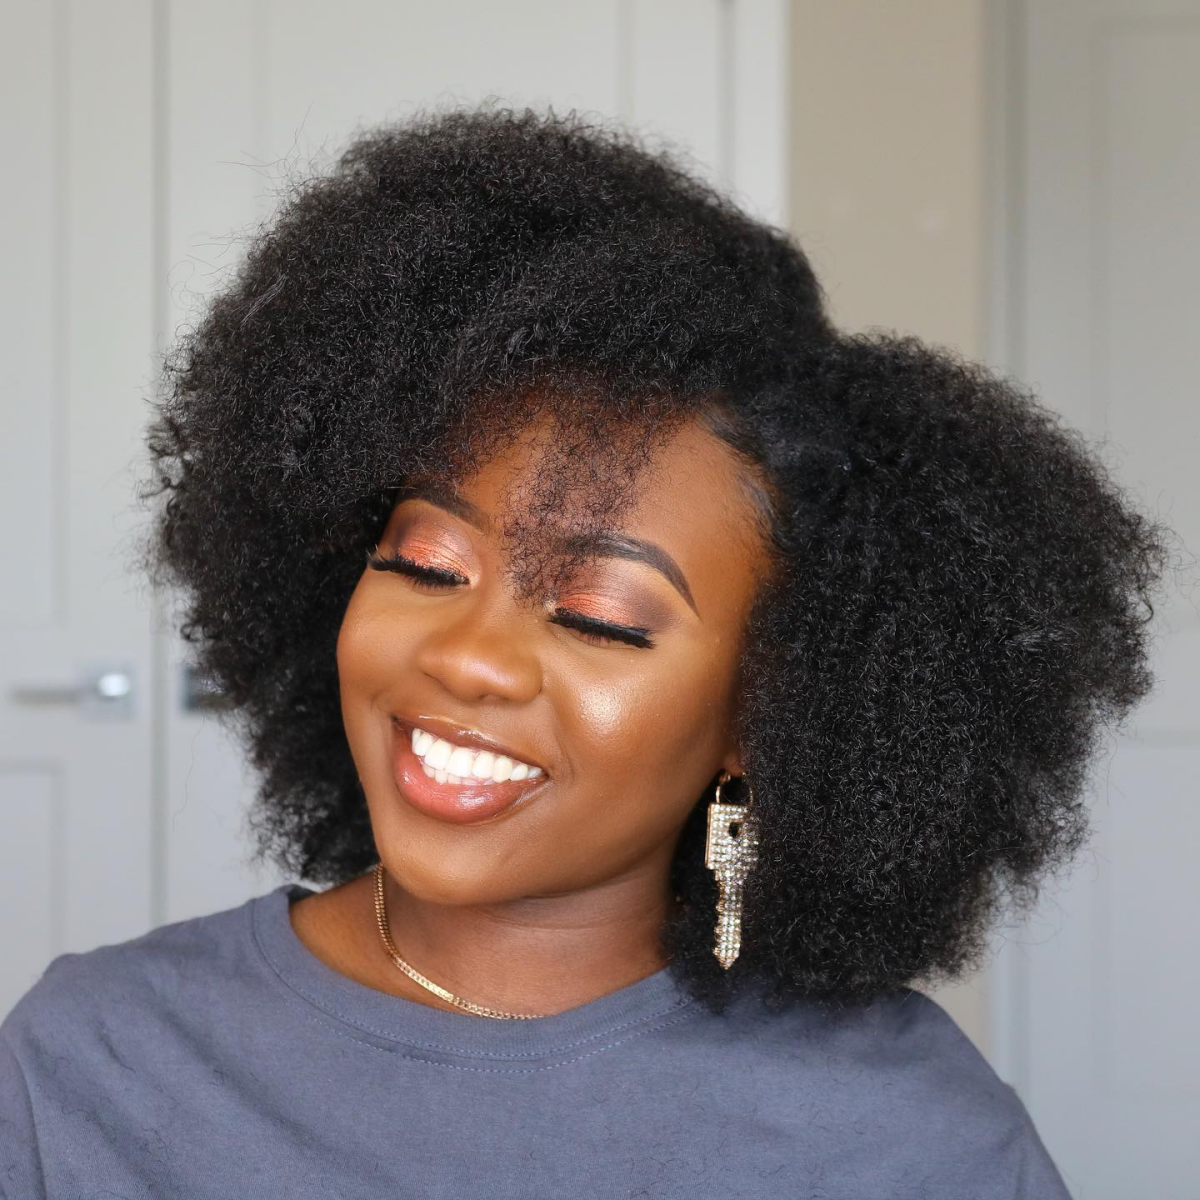
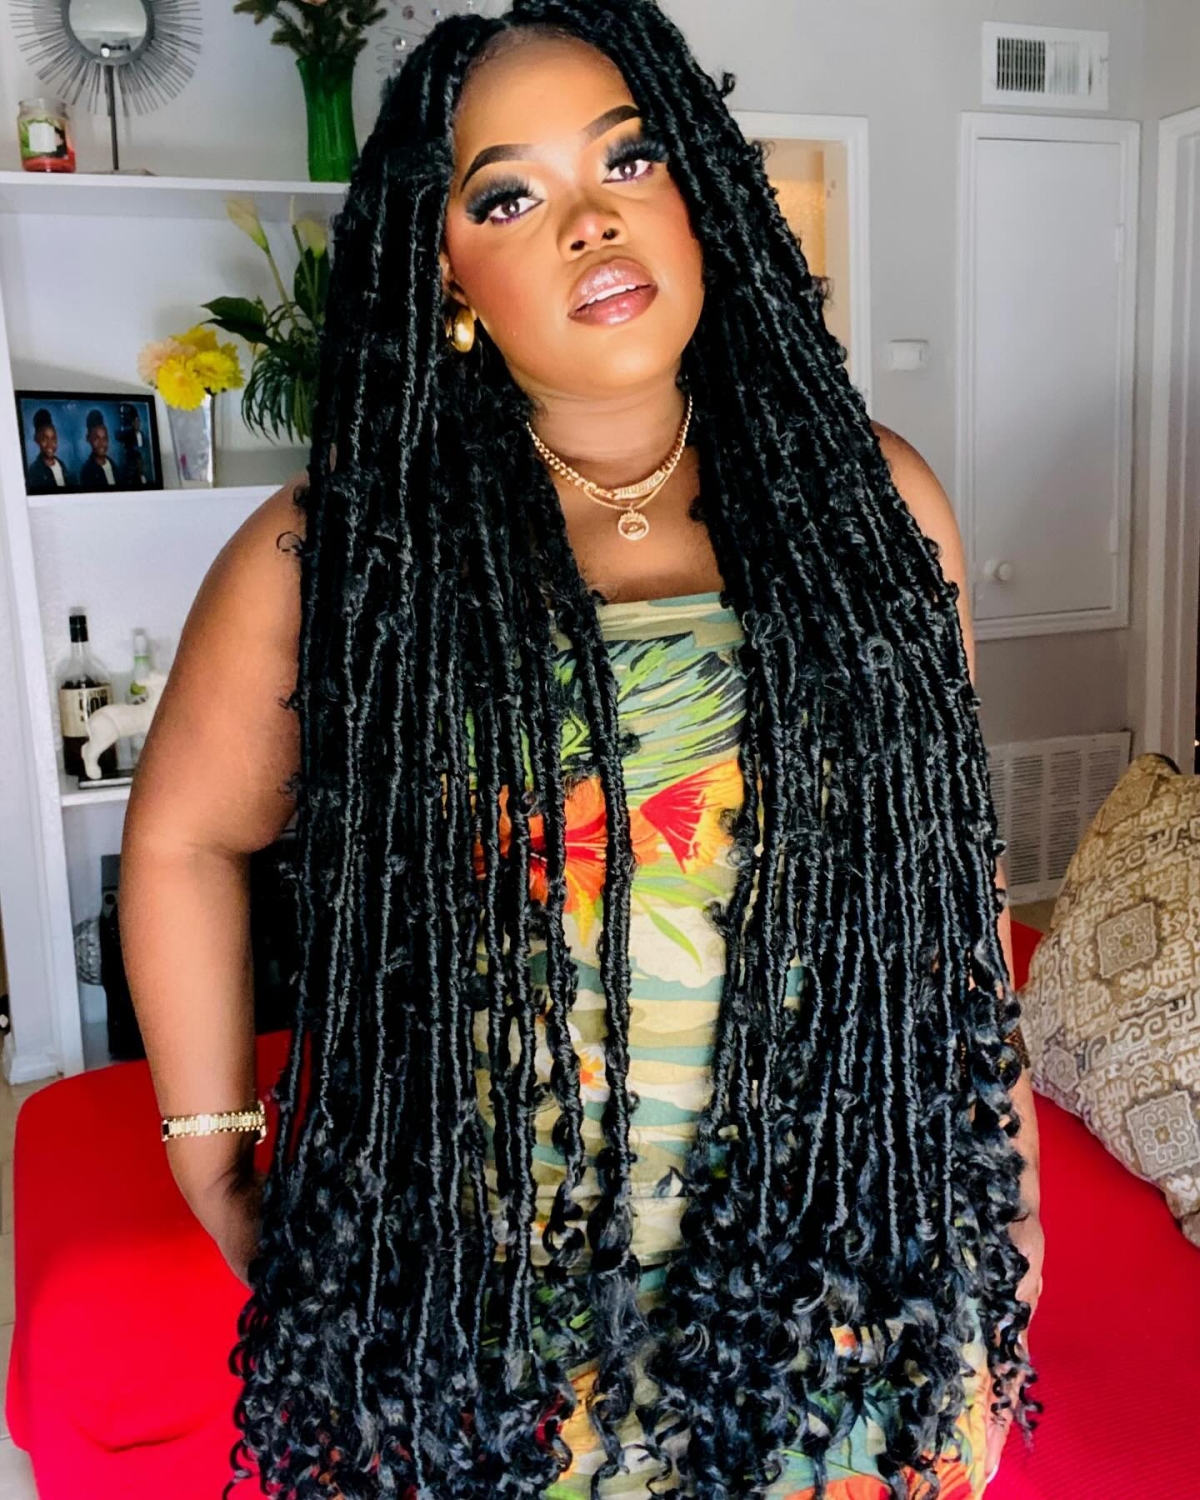
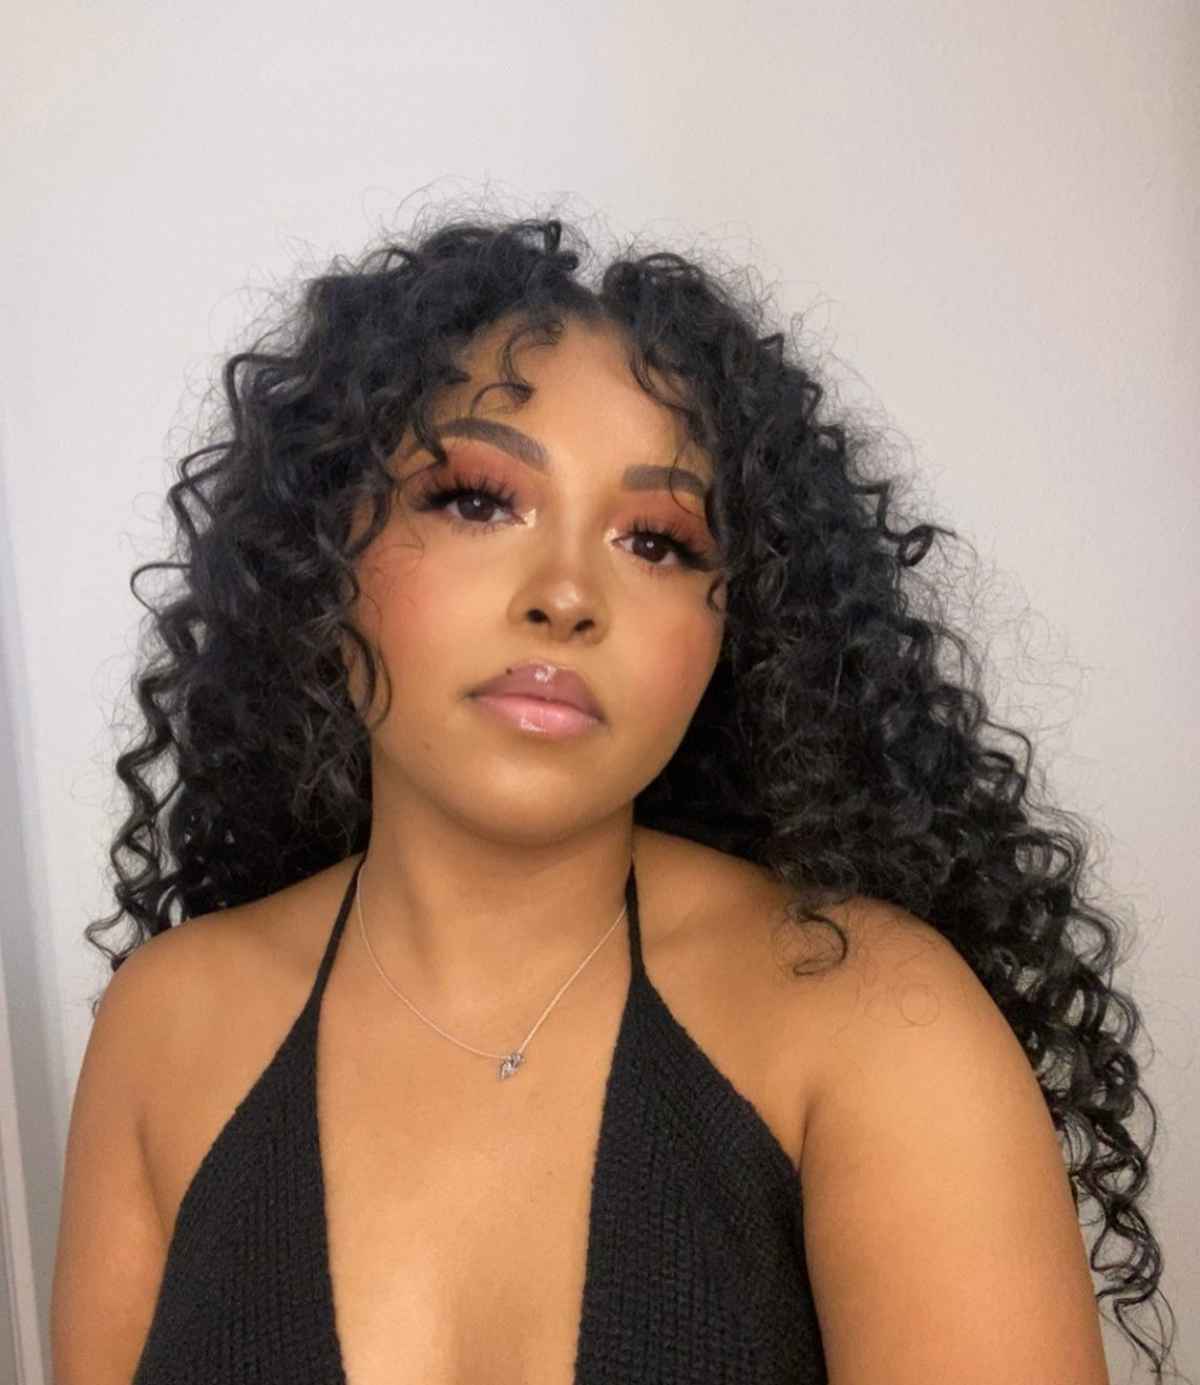
The key to a voluminous look without the damaging weight is choosing the right type of pre-looped hair. Styles labeled as ‘Butterfly Locs’ or ‘Passion Twists’ are intentionally created with a lighter, fluffier texture. They use less dense fiber, meaning you can achieve a full, glamorous look without putting excessive tension on your scalp and edges. It’s the ultimate win-win for style and hair health.