Your Ultimate Guide to Making Flaxseed Gel for Incredible Skin and Hair
I’ve spent years working with natural ingredients, not in some sterile lab, but with real people who had skin so sensitive it reacted to pretty much everything. They needed simple, gentle, and effective solutions. That journey led me straight to one of the most reliable workhorses in the natural world: flaxseed.
In this article
The gel you can make from these tiny seeds is honestly remarkable. It’s not some miracle cure, but when you know how to make and use it the right way, it’s a total game-changer for both skin and hair. This is the guide I wish I’d had when I first started—all the practical tips, tricks, and hard-won lessons, with none of the fluff.
So, What’s the Magic? The Science Behind Flaxseed Gel
Understanding why something works helps you get way better results. Flaxseed’s power isn’t a mystery; it’s all down to a few key compounds that our skin and hair absolutely love.
The Power of Mucilage
When you heat flaxseeds in water, they release this slippery, gel-like substance called mucilage. It’s basically a type of soluble fiber made of complex sugars. This stuff is the heart of your gel. On your skin, it creates a thin, breathable film that does two amazing things: it pulls moisture from the air to your skin (like a humectant) and it locks in your skin’s existing hydration. Double win.
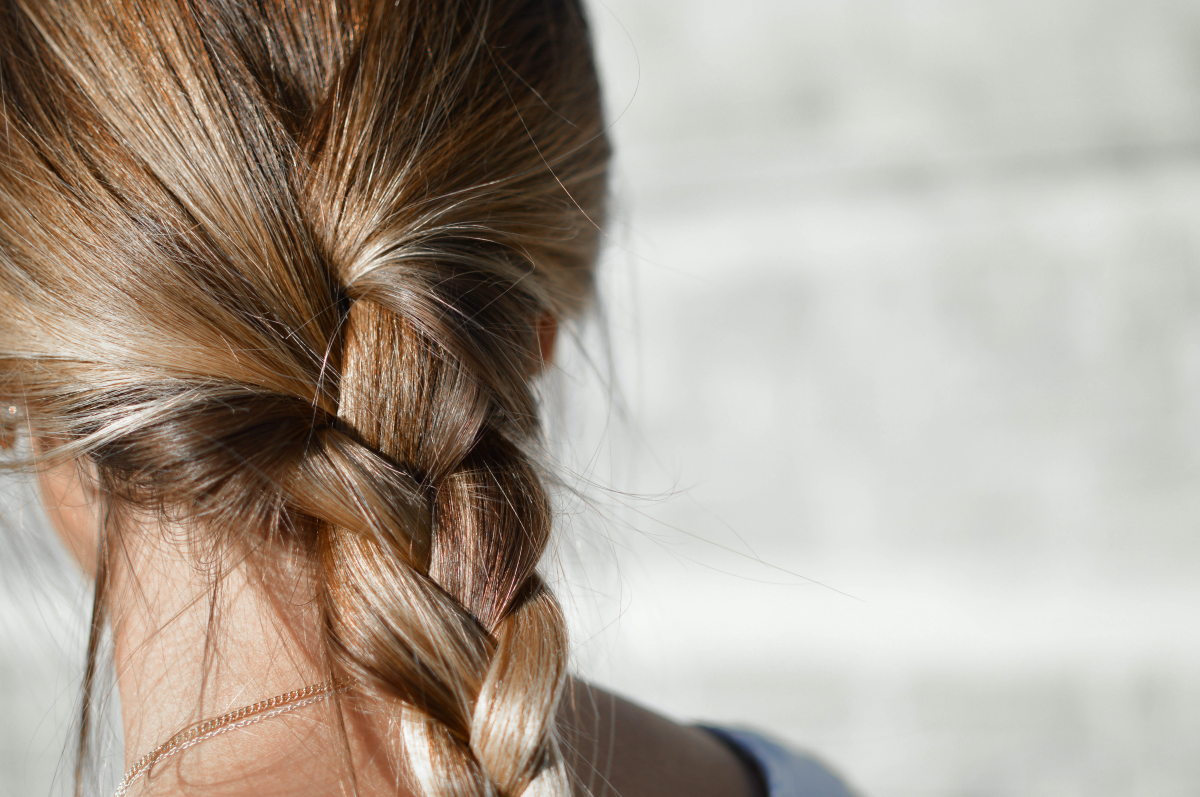
For hair, that same film is what gives you incredible definition and hold. The mucilage coats each hair strand, smoothing down the cuticle (goodbye, frizz!) and encouraging your hair to clump into defined curls and waves. It creates a gentle ‘cast’ that you can easily break once your hair is dry, leaving it soft and bouncy, not crunchy.
Alpha-Linolenic Acid (ALA)
You’ve probably heard flaxseeds are packed with omega-3s, and the star player here is alpha-linolenic acid, or ALA. When you apply it topically, ALA helps fortify your skin’s natural barrier. A strong barrier is everything—it keeps moisture in and irritants out. For anyone with dry or easily irritated skin, this is huge, as it helps your skin become calmer and more resilient over time.
Antioxidants to the Rescue
Flaxseeds are also loaded with compounds called lignans, which are powerful antioxidants. Every day, our skin battles environmental stressors like pollution that create free radicals—nasty little molecules that damage skin cells and speed up aging. The antioxidants in flaxseed gel help neutralize that damage, giving your skin a helping hand in staying healthy.
The Pro’s Method for Perfect Flaxseed Gel
Making the gel is simple, but the technique is what separates a smooth, perfect gel from a lumpy, frustrating mess. Trust me, I’ve made all the mistakes so you don’t have to. This is my foolproof method.
Step 1: Gather Your Gear
First things first, keep it clean. You’re making a cosmetic product, so wipe down your surfaces and use clean tools. Hygiene is key!
The Ingredients:
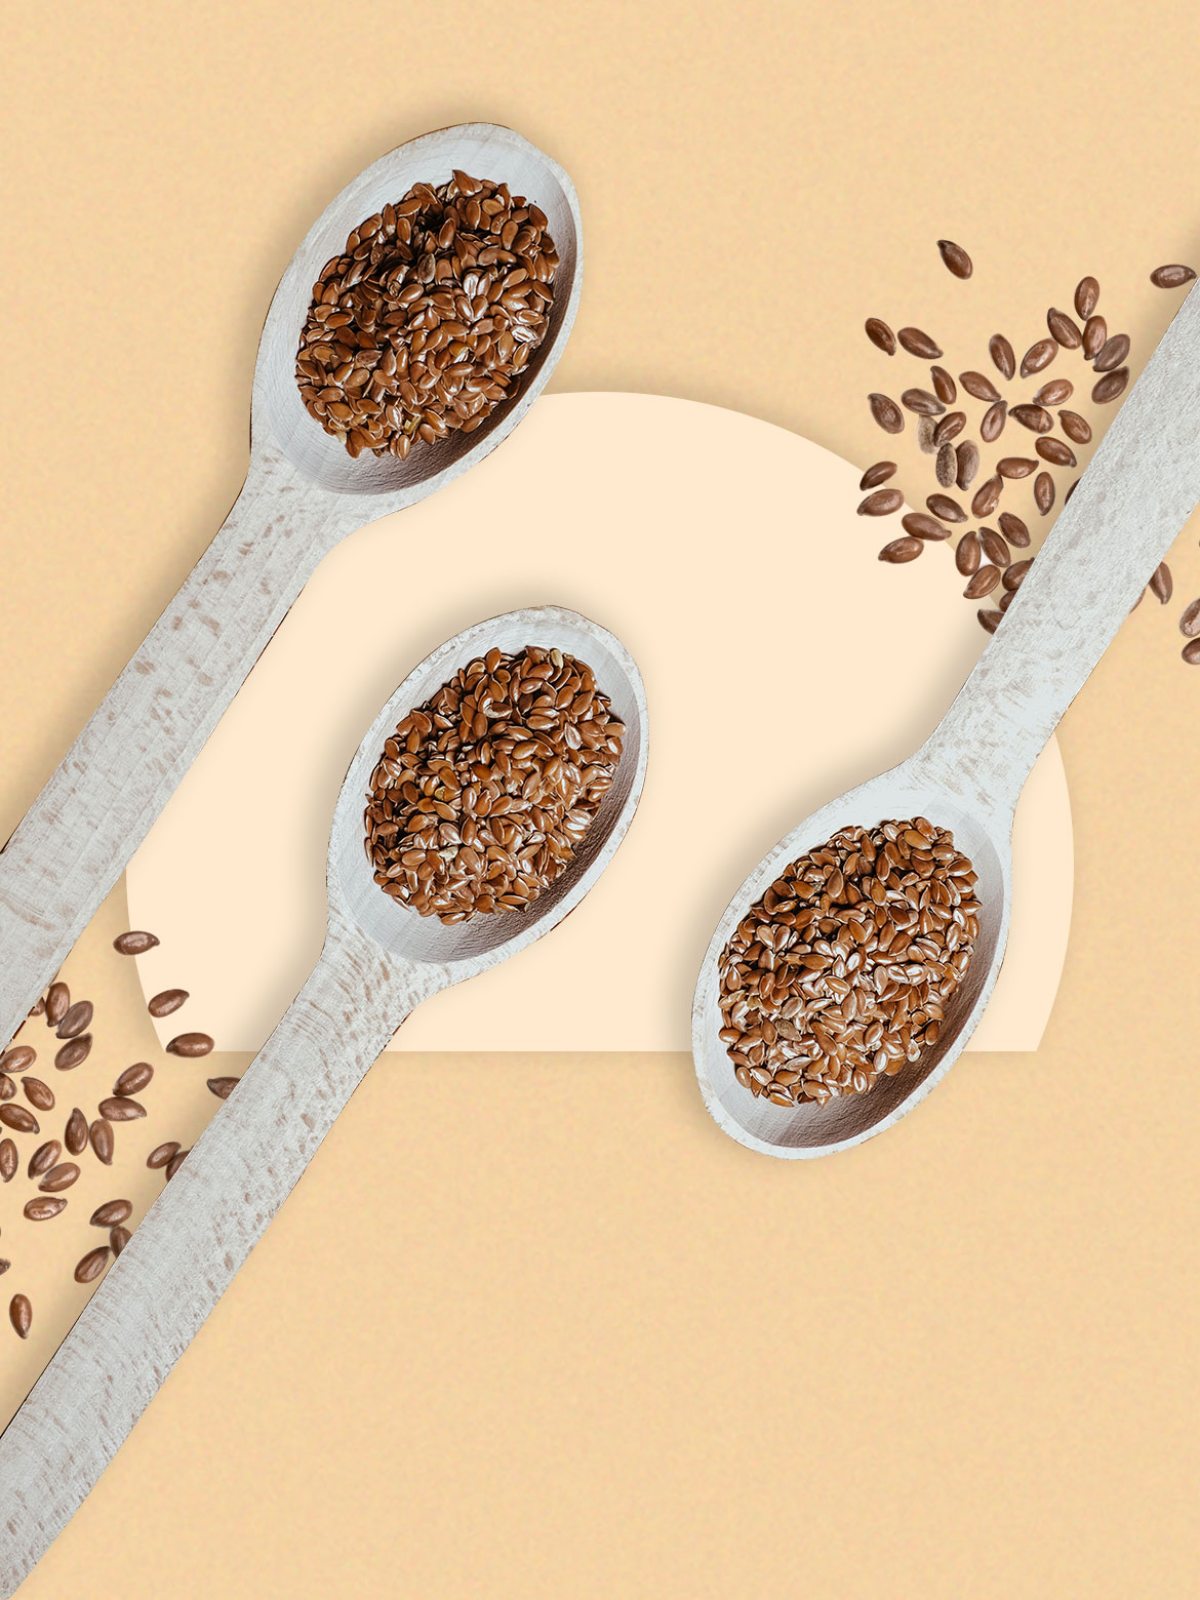
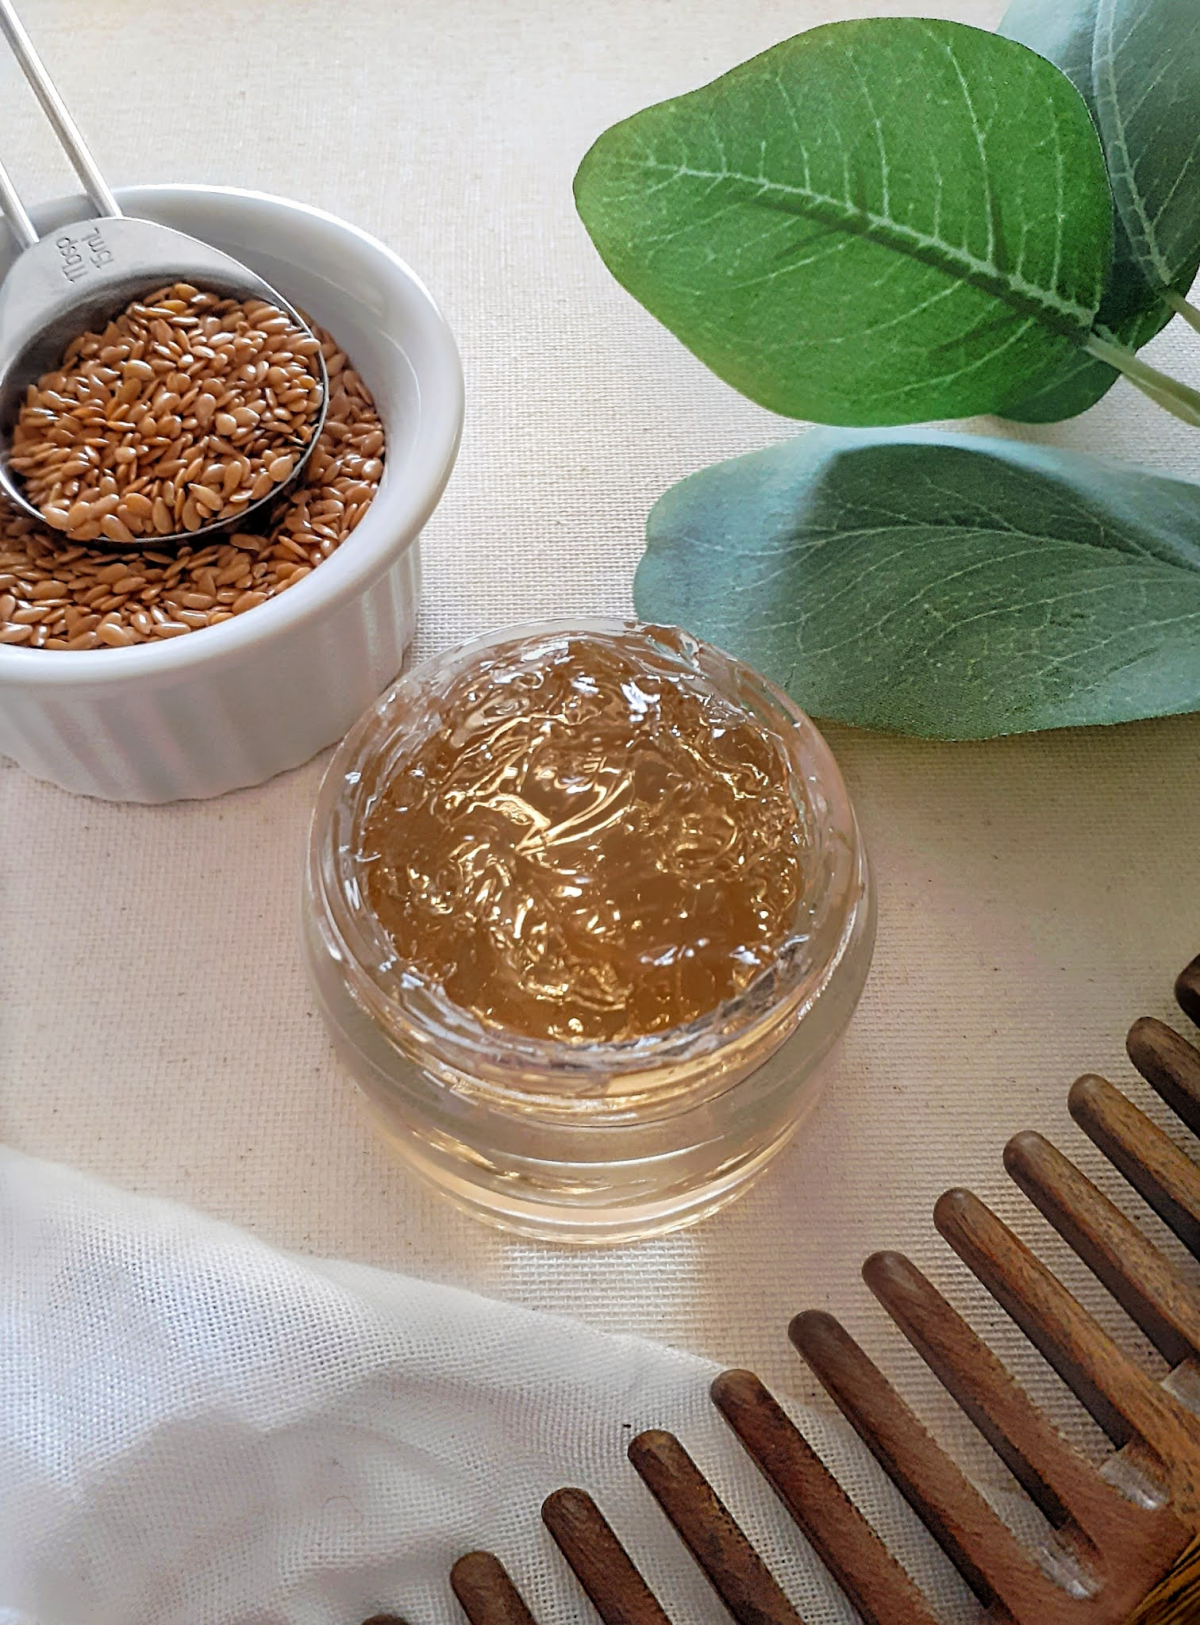
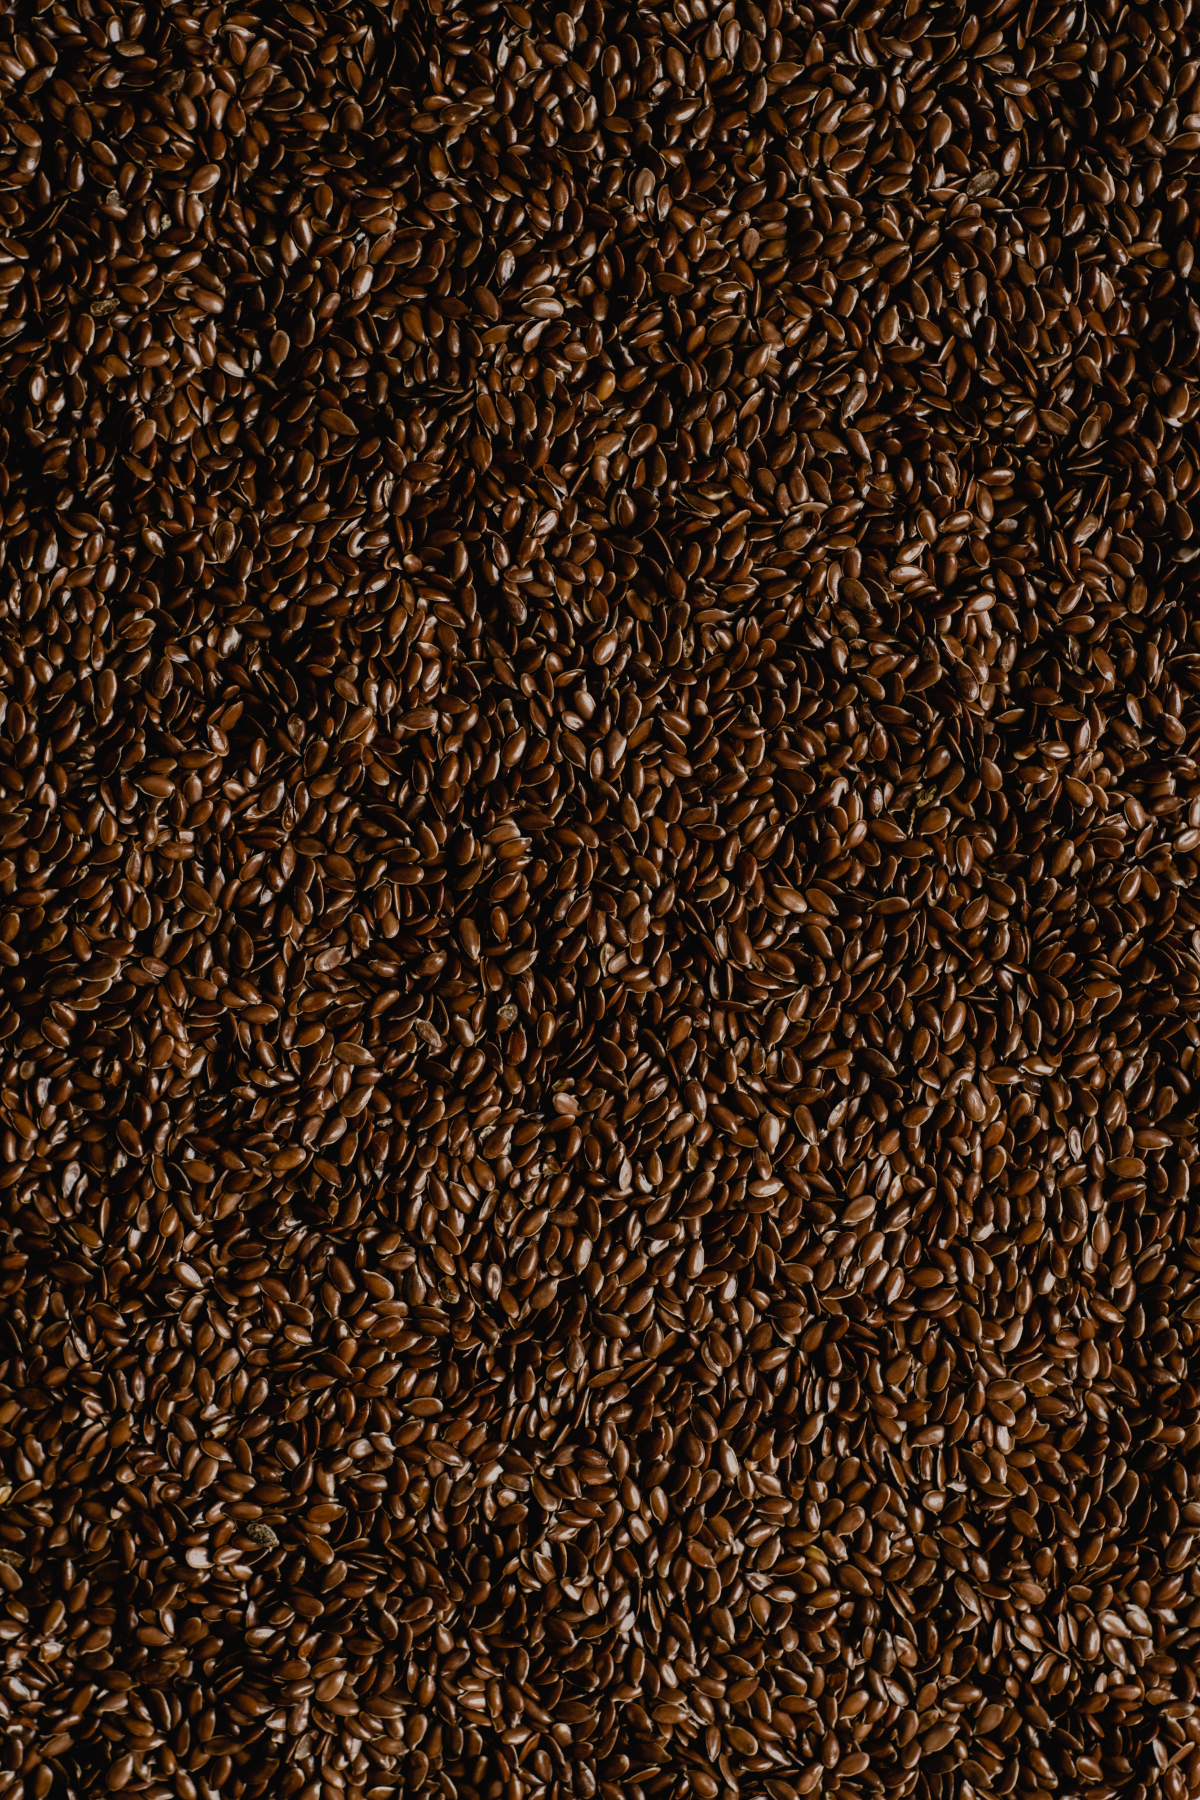
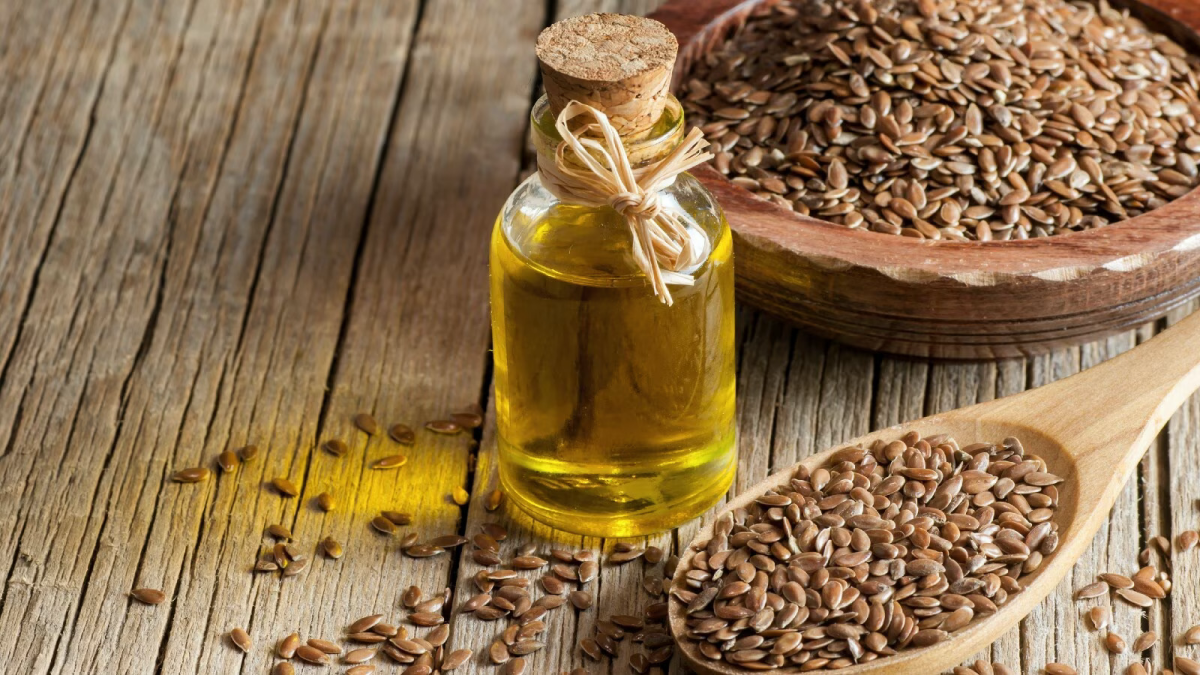
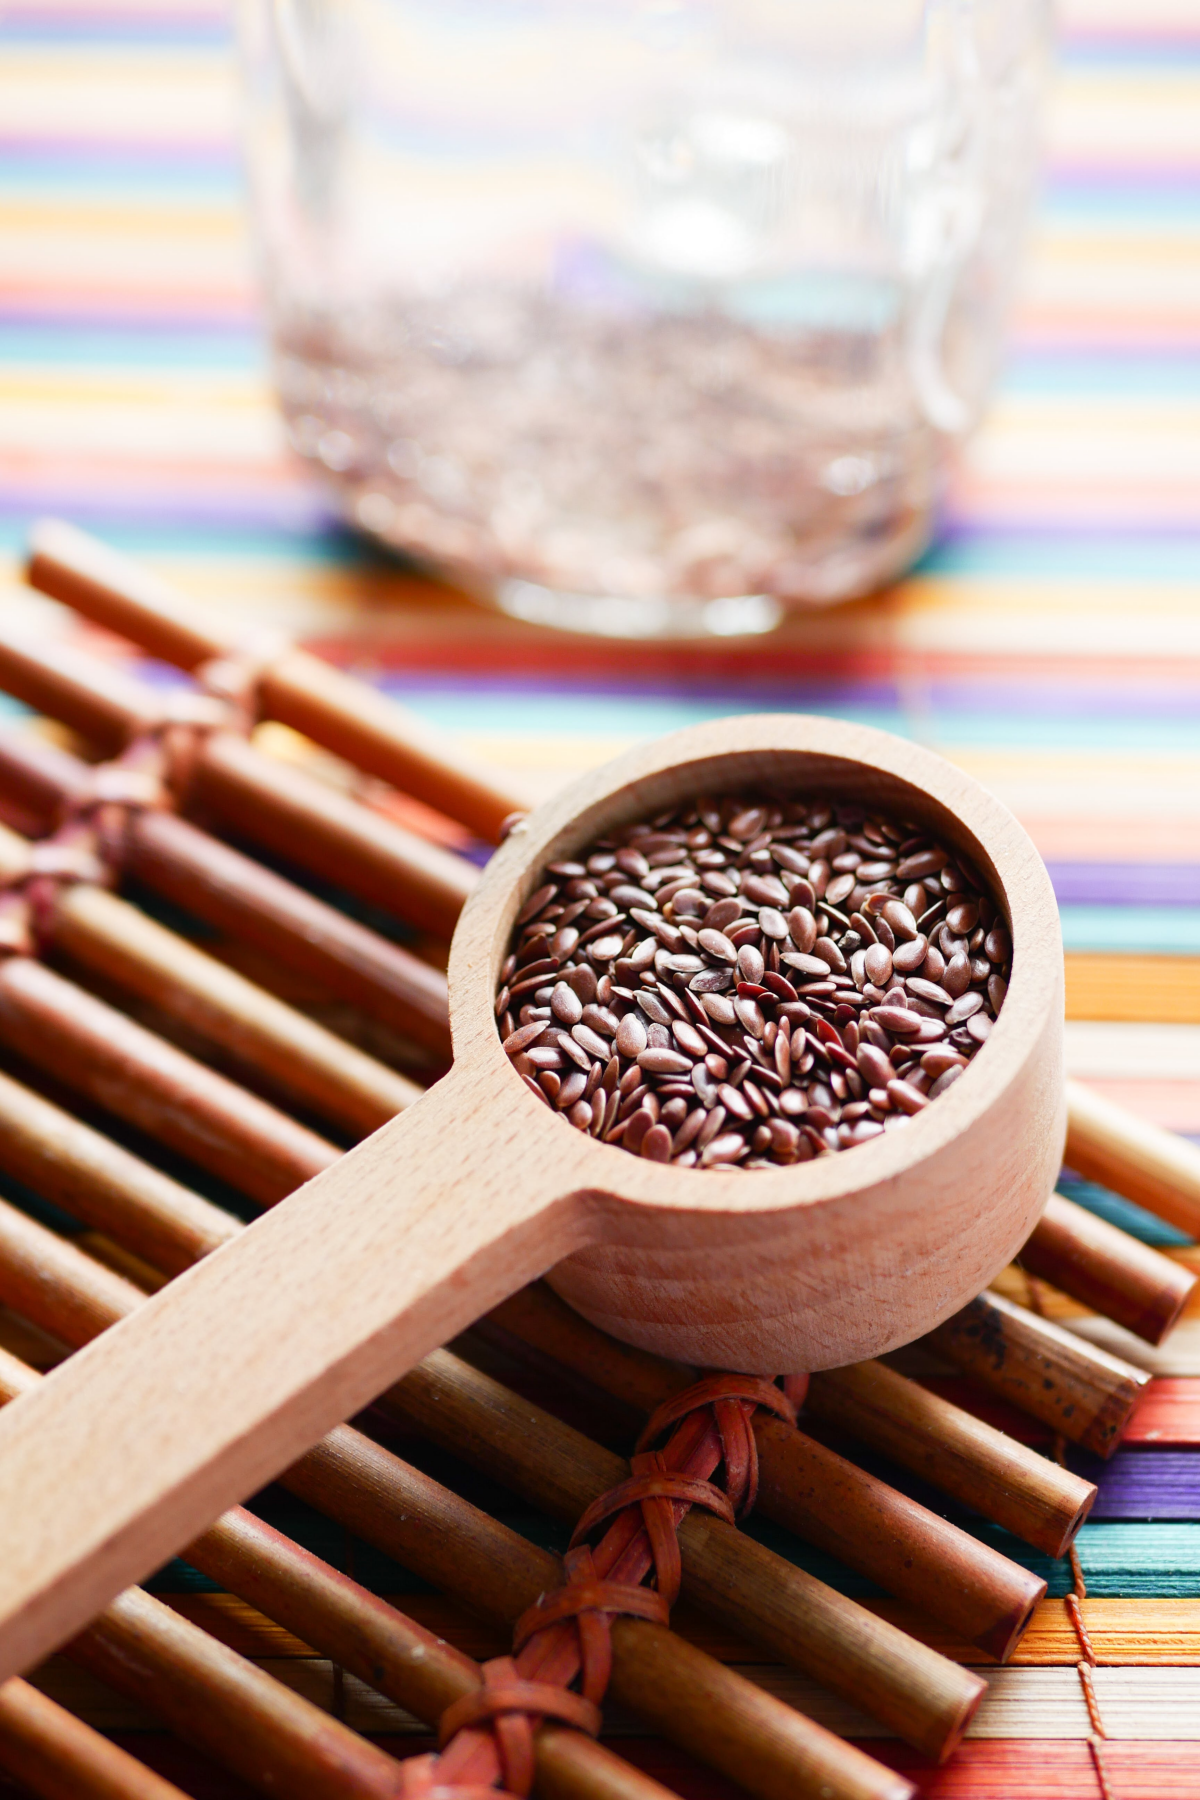
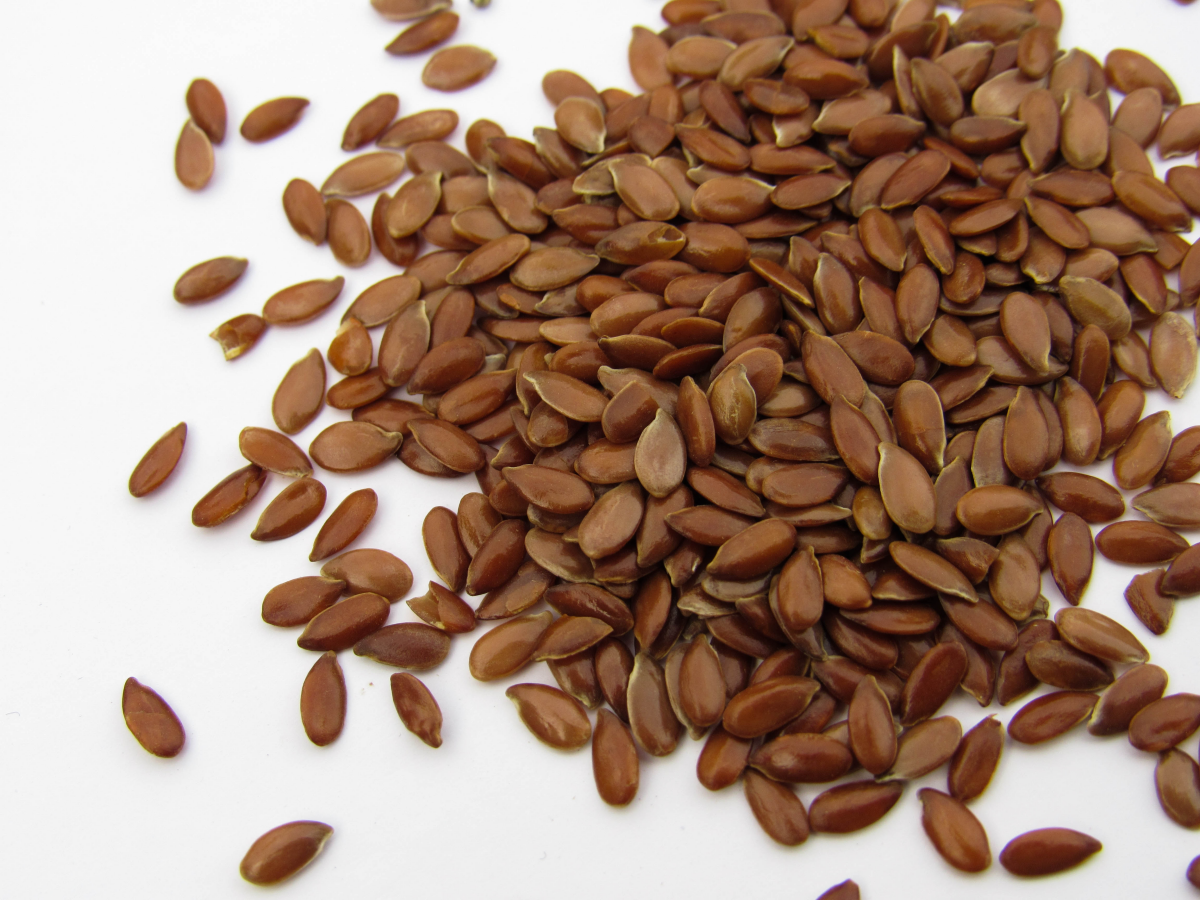
- Whole Flaxseeds (1/4 cup): I always use whole seeds, not ground meal. They’re so much easier to strain and give you a beautiful, clear gel. Brown or golden seeds both work great; golden ones just make a lighter-colored gel. A bag of flaxseeds will only run you about $4-7 at most grocery stores like Trader Joe’s or online, and it will last you for dozens of batches. It’s incredibly cost-effective.
- Purified Water (2 cups): Filtered or distilled water is best. The minerals and chlorine in tap water can mess with your gel’s consistency and shelf life.
The Tools:

- A small saucepan.
- A wooden spoon or silicone spatula.
- A strainer. This is the most critical tool! You have options:
– A fine-mesh metal sieve is the quickest option. It’s easy to use and clean, but you might get a few tiny seed particles in your final gel. No big deal, but something to know.
– Cheesecloth works really well for a super clean gel. Just be sure to use a double layer for the best results.
– My personal favorite? A clean nylon stocking or pantyhose. It’s an old-school trick that works like a charm. The fine weave strains the gel perfectly, and you can squeeze it to get out every last drop. It can be a little messier, but the results are worth it. - A clean glass jar with a lid for storage.
Step 2: The Cooking Process
This part moves quickly, so stay by the stove. It only takes about 10 minutes.
- Combine the 1/4 cup of flaxseeds and 2 cups of water in your saucepan.
- Turn the heat to medium-high. Stir now and then to stop the seeds from sticking.
- Once it reaches a gentle boil, lower the heat to a simmer. You want slow, gentle bubbles. A rolling boil is too aggressive and can break down the good stuff.
- Simmer for 8-12 minutes, stirring often. You’ll notice the water thickening. The test is to lift your spoon and look for a texture like raw egg whites. It will get MUCH thicker as it cools, so it’s better to undercook it slightly than overcook it.
Step 3: The Strain (Timing is Everything!)
Okay, listen up, because this is the #1 place people go wrong. You have to strain the gel while it is HOT. I can’t say this enough. If you let it cool, it will set into a solid, seed-filled brick of jelly that is impossible to strain.
I learned this the hard way. I left a batch to cool, thinking it would be safer. Total disaster. Don’t be like me.
Set up your strainer over a heat-proof bowl or your jar. Carefully pour the hot mixture in. If you’re using a sieve, use your spoon to press the gel through. If you’re using a nylon, gather the ends, protect your hands with a towel (it’s hot!), and squeeze the gel out. Work fast!
Step 4: Cooling, Storing, and What to Expect
Let your strained gel cool to room temperature. This recipe should yield about 1.5 cups of gel, which is plenty for a week’s worth of use.
Heads up! This is a fresh, preservative-free product. Treat it like food. It will last for about one week in the fridge. Always do a sniff test before you use it. If it smells sour, looks cloudy, or has any signs of mold, toss it immediately. Your safety is more important than saving a few cents worth of gel.
Pro Tip: Don’t want to make a new batch every week? You can totally freeze it! Pour the cooled gel into an ice cube tray. Once frozen, pop the cubes into a freezer bag. This gives you perfect, single-use pods that will last for months. Just thaw one as needed.
What About the Leftover Seeds?
Don’t just throw those strained seeds away! They are still packed with fiber and nutrients. You can toss them into a smoothie, mix them into oatmeal, or even try a ‘second boil’—just add more water and cook them again for a slightly weaker, but still usable, gel.
Oops! Common Mistakes & How to Fix Them
- “My gel is way too thick and won’t strain!” Ah, you probably overcooked it. Next time, pull it off the heat a minute or two sooner. To try and save the current batch, you can put the whole glob into a blender with a splash of hot water and blitz it to loosen it up before trying to strain again.
- “My gel is too watery.” You likely undercooked it. You can try putting it back on the stove for a few more minutes to thicken up. Or, just use it as is! A thinner gel is still effective, especially as a facial toner or a light-hold hair product.
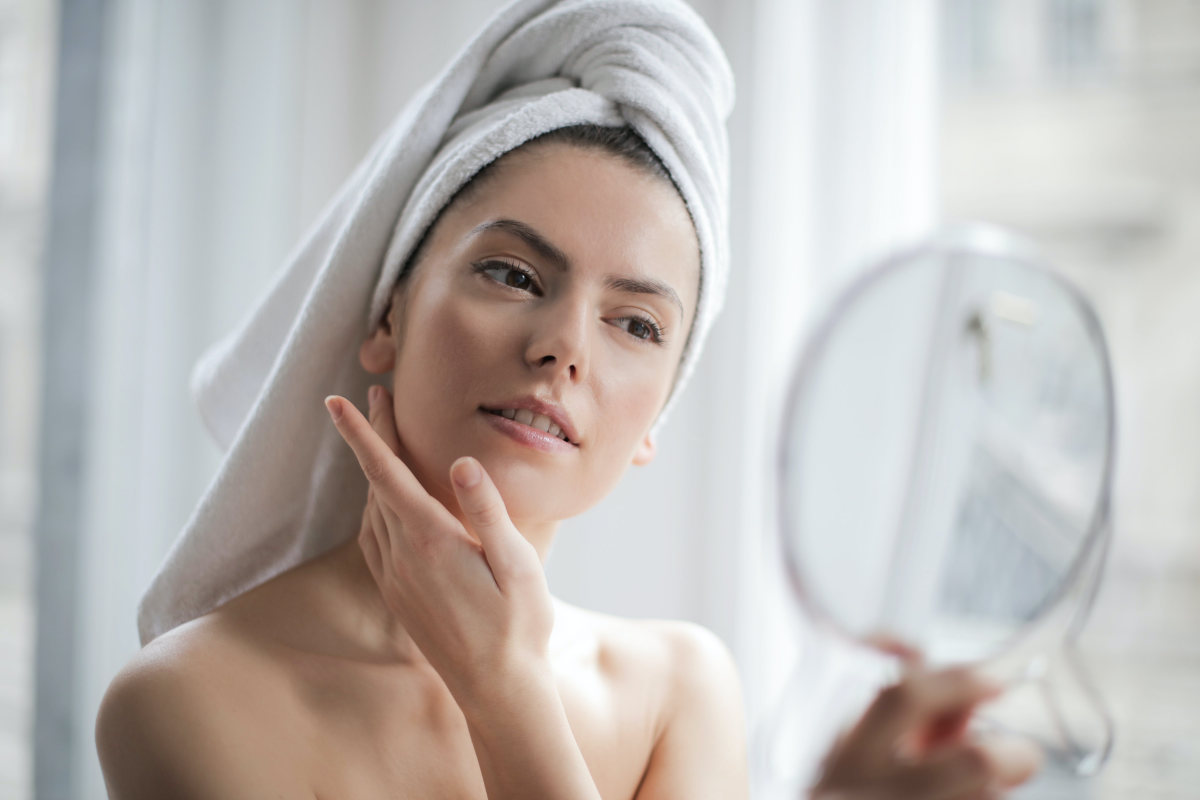
How to Use Flaxseed Gel for Glowing Skin
This gel is a wonderfully soothing treat for your face. It calms redness, gives a serious hydration boost, and has a temporary tightening effect that can make pores and fine lines look less noticeable.
Apply a thin layer of the cool gel to your clean face and neck. It feels amazing! Let it dry for 15-20 minutes, until it’s tacky but not cracking-level tight. Then just splash your face with lukewarm water to soften it and rinse it off. Follow up with your favorite moisturizer to seal in all that goodness.
Customize Your Mask: (Mix these into a single-use amount, not your main batch!)
- For Dry Skin: Add 1/2 tsp of honey or a few drops of glycerin for extra hydration.
- For Oily Skin: Mix in 1/2 tsp of French green clay to help absorb excess oil.
- For Calming Redness: A spoonful of pure aloe vera gel is a fantastic, soothing addition.
- Level Up Your Gel: For a more advanced version, you can simmer a sprig of fresh rosemary (great for the scalp) or a pinch of marshmallow root (for extra slip and hydration) along with your flaxseeds. Just strain them out with the seeds.
Using Flaxseed Gel for Gorgeous Hair
Flaxseed gel is a holy grail for curly and wavy hair, but it’s great for almost all hair types as a hydrator and styler.
As a Hydrating Hair Mask
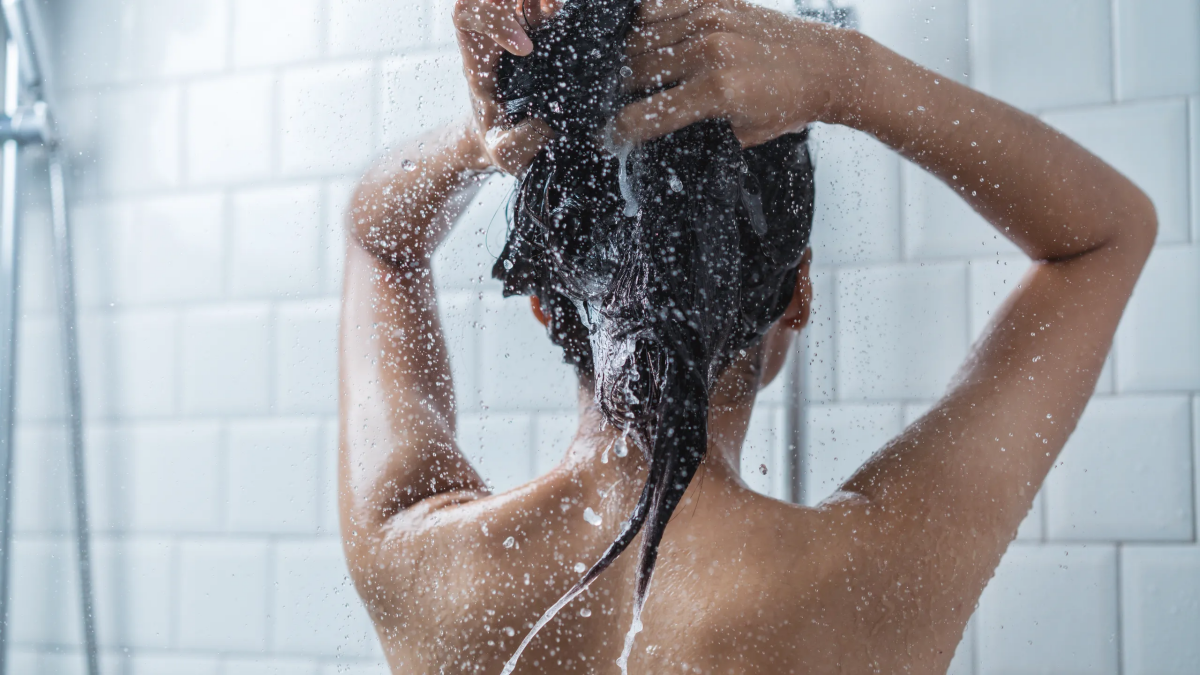
Apply the gel generously to clean, damp hair from root to tip. Cover with a shower cap and let it sit for 30-60 minutes before rinsing thoroughly. It provides an intense moisture treatment that leaves hair feeling soft and elastic.
As a Natural Styling Gel
This is where it really shines. Apply it to soaking wet hair for the best, frizz-free results. How much? Start with a dime-sized amount for short hair or a quarter-sized amount for shoulder-length hair. A little goes a long way!
Rake it through, smooth it on with “praying hands,” or scrunch it in to encourage curls. Then, and this is important, don’t touch your hair while it dries! Let it air-dry or use a diffuser on low.
Your hair will dry with a crunchy ‘cast.’ This is a good thing! It means your style is locked in. Once your hair is 100% dry, gently scrunch your hair all over to break the cast. You’ll be left with soft, defined, touchable hair that has flexible hold. It’s a game-changer.
The Final Word: Safety and Realistic Expectations
Being ‘natural’ doesn’t mean it’s right for everyone. So let’s be real for a second.
The biggest risk is bacterial growth. I know I’ve said it before, but it’s that important. Make small batches, store it in the fridge, and throw it out after a week (unless frozen).
Always, always do a patch test before slathering it on your face or scalp. Apply a bit to your inner elbow, wait 24 hours, and check for any reaction. An allergy, while rare, is possible.
And finally, remember this is a cosmetic treatment, not medicine. If you have a serious skin condition like cystic acne, eczema, or psoriasis, please see a dermatologist. This gel can be a lovely, soothing addition to your routine, but it’s not a substitute for professional medical advice.
Inspirational Gallery
Golden Flaxseeds: Often preferred for hair gel, especially for lighter hair colors, as they produce a clearer, lighter-colored gel that won’t leave a noticeable tint.
Brown Flaxseeds: Just as effective and rich in nutrients, but they create a slightly darker, amber-toned gel. They are perfect for skincare or for those with dark hair.
Ultimately, the choice is purely aesthetic; their nourishing properties are virtually identical.
Your basic flaxseed gel is a powerhouse on its own, but why not customize it for your specific needs? A few drops of the right ingredient can elevate your homemade creation to a bespoke treatment.
- For extra moisture: A teaspoon of pure aloe vera gel or vegetable glycerin will boost the humectant properties, drawing even more moisture to your hair and skin.
- For preservation and scalp health: Add a few drops of Vitamin E oil or rosemary essential oil. Both are antioxidants that can help extend the gel’s shelf life and stimulate the scalp.
- For soothing irritated skin: A touch of chamomile extract or a teaspoon of colloidal oatmeal mixed in can calm redness and inflammation.
The ‘living’ nature of preservative-free cosmetics means their shelf life is measured in days, not months. The refrigerator is your best friend.
Wondering why your face feels instantly tighter after applying a flaxseed mask?
It’s not just in your head! As the gel dries, its high concentration of mucilage and polysaccharides creates a thin film on the skin’s surface. This film contracts slightly as it loses water, causing a noticeable tightening effect often dubbed the ‘natural botox’ effect. This physical action helps to temporarily smooth the appearance of fine lines while the underlying nutrients, like omega-3s, work on nourishing your skin barrier for longer-term benefits.
The number one rookie mistake: Boiling the seeds for too long. You’re looking for a consistency like thin egg whites, not thick glue. If it gets too thick in the pot, it becomes nearly impossible to strain through a cheesecloth or stocking. Always err on the side of cooking it less; you can always gently heat it again for another minute if it’s too thin.
- Incredibly soft, defined curls that last for days.
- A significant reduction in frizz and flyaways.
- Enhanced natural shine without a greasy feel.
The secret? Don’t be afraid of the ‘cast’. That slightly crunchy feeling your hair has when it’s fully dry is the gel’s mucilage shell doing its job. Once 100% dry, simply scrunch your hair gently with your hands or a silk scarf to break the cast, revealing soft, touchable, perfectly formed curls underneath.
Think of flaxseed gel as more than just a styler. It’s a phenomenal pre-shampoo treatment, or ‘pre-poo.’ Before you even step in the shower, saturate your dry hair from root to tip with a generous amount of gel. Let it sit for 30 minutes to an hour. The mucilage will deeply hydrate and protect your strands from the stripping effects of shampoo, resulting in significantly softer, more manageable, and less tangled hair post-wash.
A 2011 study in the British Journal of Nutrition found that topical application of flaxseed oil can significantly decrease skin sensitivity and improve hydration and smoothness.
While your gel is mostly water and mucilage, it still delivers some of these powerful fatty acids directly to the skin’s surface. This science backs up what users have known for years: it’s an effective way to calm irritated skin and strengthen its moisture barrier from the outside in.
A batch of homemade flaxseed gel costs pennies to make, especially when buying seeds from bulk bins. Compare a month’s supply (around $0.50) to a single bottle of a premium curl cream like Briogeo’s Curl Charisma™ or a high-end serum from Kérastase, which can easily cost over $30. While commercial products offer convenience and preservatives for a long shelf life, the cost-effectiveness and pure, simple nature of flaxseed gel make it an unbeatable option for budget-conscious and ingredient-savvy individuals.


