The Ultimate Guide to DIY Pumpkin Facials (That Actually Work)
I’ve been deep in the world of skincare for a long, long time, first starting out with all the high-tech, lab-created stuff. But a real turning point in my career came when I started to study more traditional, nature-based approaches. My mentors taught me to look at the incredible ingredients we already have in our kitchens, and that’s when I really fell in love with pumpkin.
In this article
Honestly, most people see a pumpkin and think of pies or Halloween decorations. But for anyone who understands skin, it’s a total powerhouse of renewing compounds. You know how when the air gets crisp in the fall, your skin can suddenly feel dull, dry, and just… blah? It’s begging for gentle exfoliation and a big drink of water. Pumpkin delivers both.
I’ve used professional-grade pumpkin enzyme peels in my practice for years, but I’ve also taught countless clients how to get amazing, safe results at home. So, this is everything I’ve learned. We’ll get into why it works, how to prep it like a pro, and a few of my tried-and-true recipes.
So, Why Pumpkin? The Science Behind the Glow
To really get the most out of any ingredient, you’ve got to understand what it’s doing. Pumpkin isn’t some kind of magic potion; it’s pure chemistry. Its benefits come from a brilliant combination of enzymes, vitamins, and minerals that work together to refresh your skin’s surface. Knowing this helps you use it way more effectively.
Natural Enzymes and AHAs for Exfoliation
At its core, pumpkin pulp is loaded with natural enzymes and alpha-hydroxy acids (AHAs). These are the real heroes for getting that fresh, bright look. Imagine the top layer of your skin is like a brick wall. The skin cells are the bricks, and the ‘mortar’ holding them together is a mix of old proteins. Over time, that mortar gets crusty and holds onto dead cells, which is what makes skin look so dull.
The enzymes in pumpkin literally go to work dissolving that old protein mortar. This gently loosens the dead skin cells so they can be washed away without harsh scrubbing. It’s a much kinder way to exfoliate than using a gritty physical scrub. While a homemade mask is obviously much milder than a professional peel, the basic principle is exactly the same.
A Powerhouse of Antioxidant Vitamins
That gorgeous orange color? It comes from beta-carotene, which your body cleverly converts into Vitamin A. In the skincare world, Vitamin A is famous for helping speed up cell turnover, which helps smooth out skin texture and improve the look of fine lines. Oh yeah, and it’s also packed with Vitamin C, another antioxidant champ that helps protect your skin from daily environmental stress and plays a key role in building firming collagen.
Essential Minerals for Healthy Skin
And it doesn’t stop there. Pumpkin also contains key minerals like zinc and potassium. I often suggest zinc-rich products for clients with oily or blemish-prone skin because it helps regulate oil production and can soothe irritation. Potassium, by the way, is crucial for keeping your cells hydrated. Properly hydrated skin looks plump and healthy, which is why even a simple pumpkin mask can leave your skin feeling incredibly soft.
Getting Your Pumpkin Ready: The Pro Method
The quality of your face mask starts with the quality of your pumpkin. Seriously, not all pumpkins are created equal for skincare. And how you prepare it makes a huge difference in how potent and effective it will be.
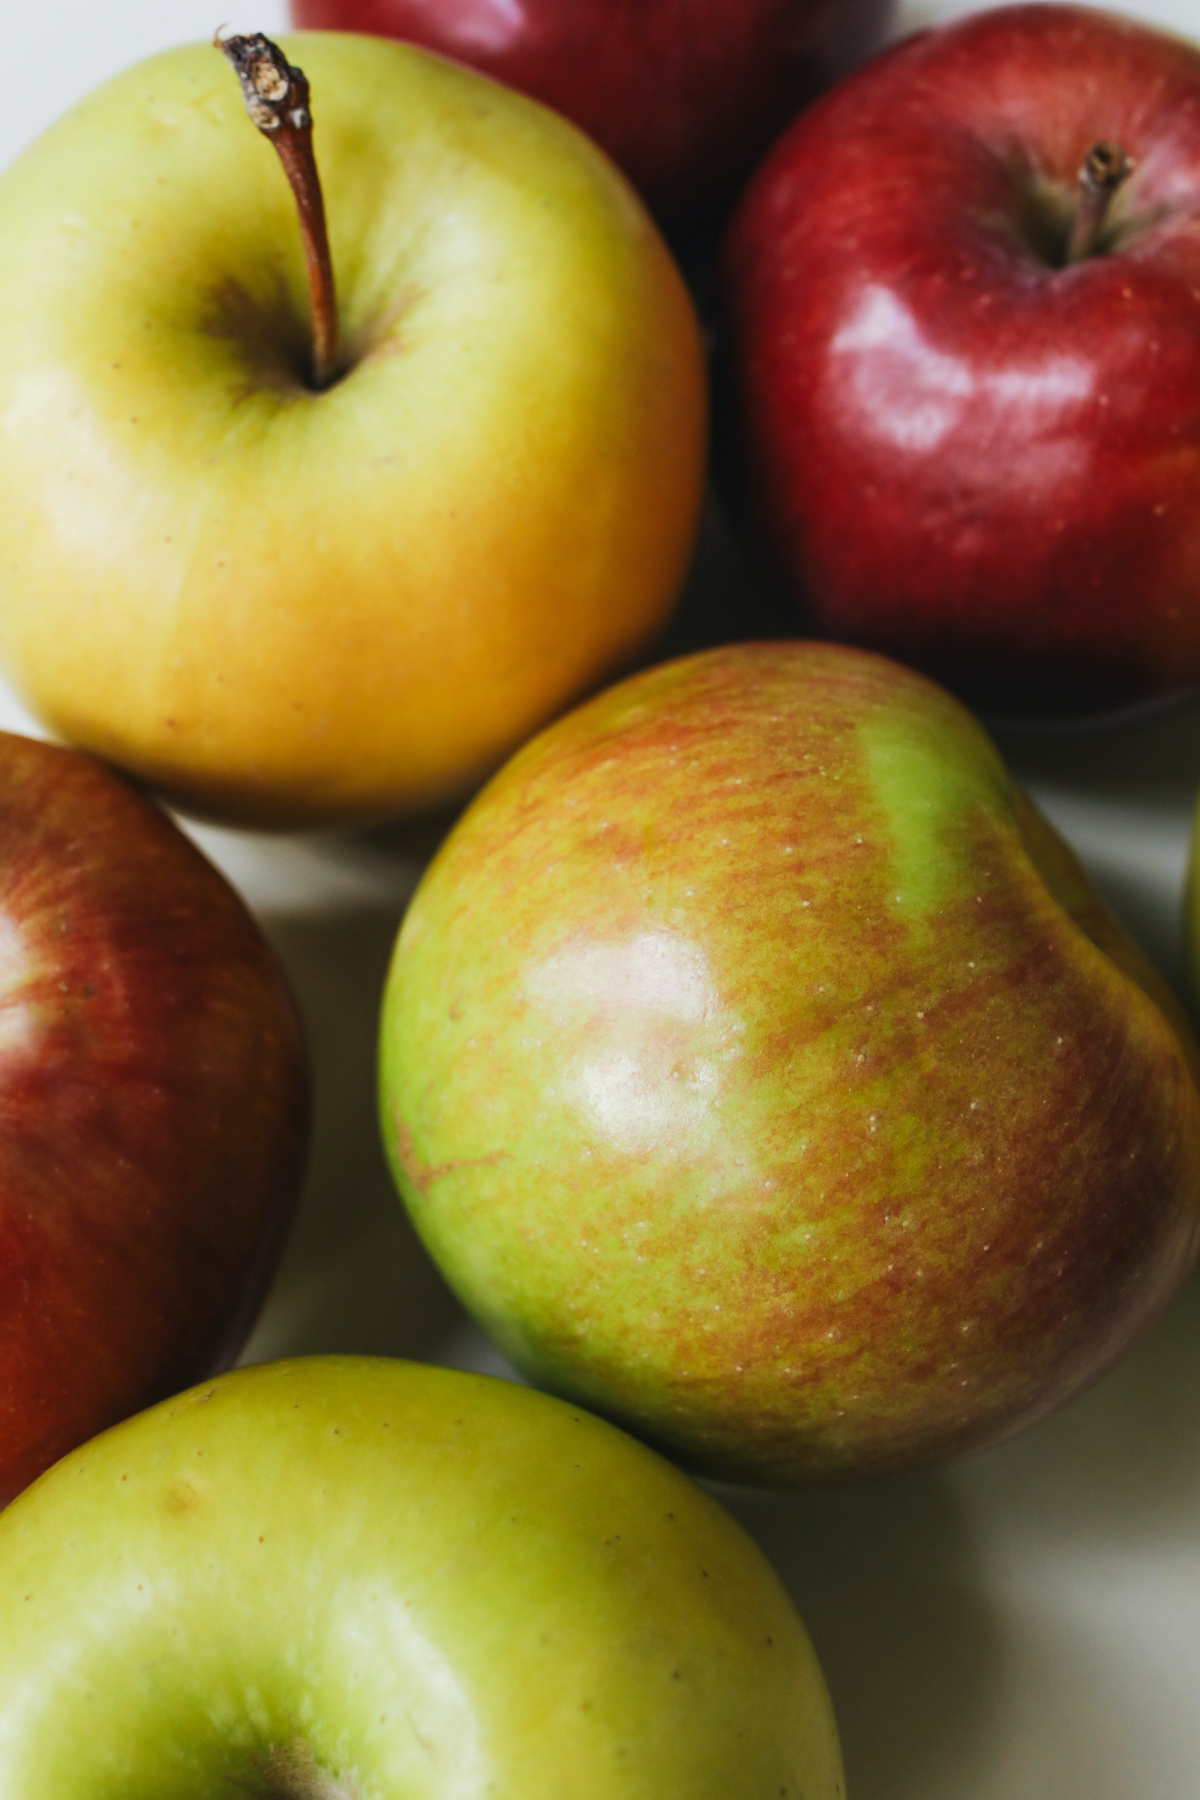
First, Choose the Right Pumpkin
For skincare, you want a pumpkin with dense, nutrient-rich flesh. Steer clear of those giant, watery jack-o’-lantern types—they’re mostly water and have fewer of the good-for-your-skin compounds. Instead, hit up your local grocery store or a farmer’s market in the fall and look for smaller varieties meant for cooking.
- Sugar Pumpkins (or Pie Pumpkins): This is my number one pick. They’re small, sweet, and have smooth, string-less flesh that’s a deep, rich orange—a great sign of high beta-carotene content.
- Kabocha Squash: A Japanese variety with dark green skin. Its flesh is incredibly sweet and nutrient-dense, and it makes a beautifully creamy purée.
- Butternut Squash: While it’s technically a squash, it’s in the same family and has a very similar nutrient profile. It’s easy to find year-round and works wonderfully.
Good to know: In a pinch, 100% pure canned pumpkin purée is a solid backup. It’s convenient and consistent. Just double-check—no, triple-check—that you’re buying pure purée and NOT pumpkin pie filling, which is loaded with sugar and spices that will irritate your skin.
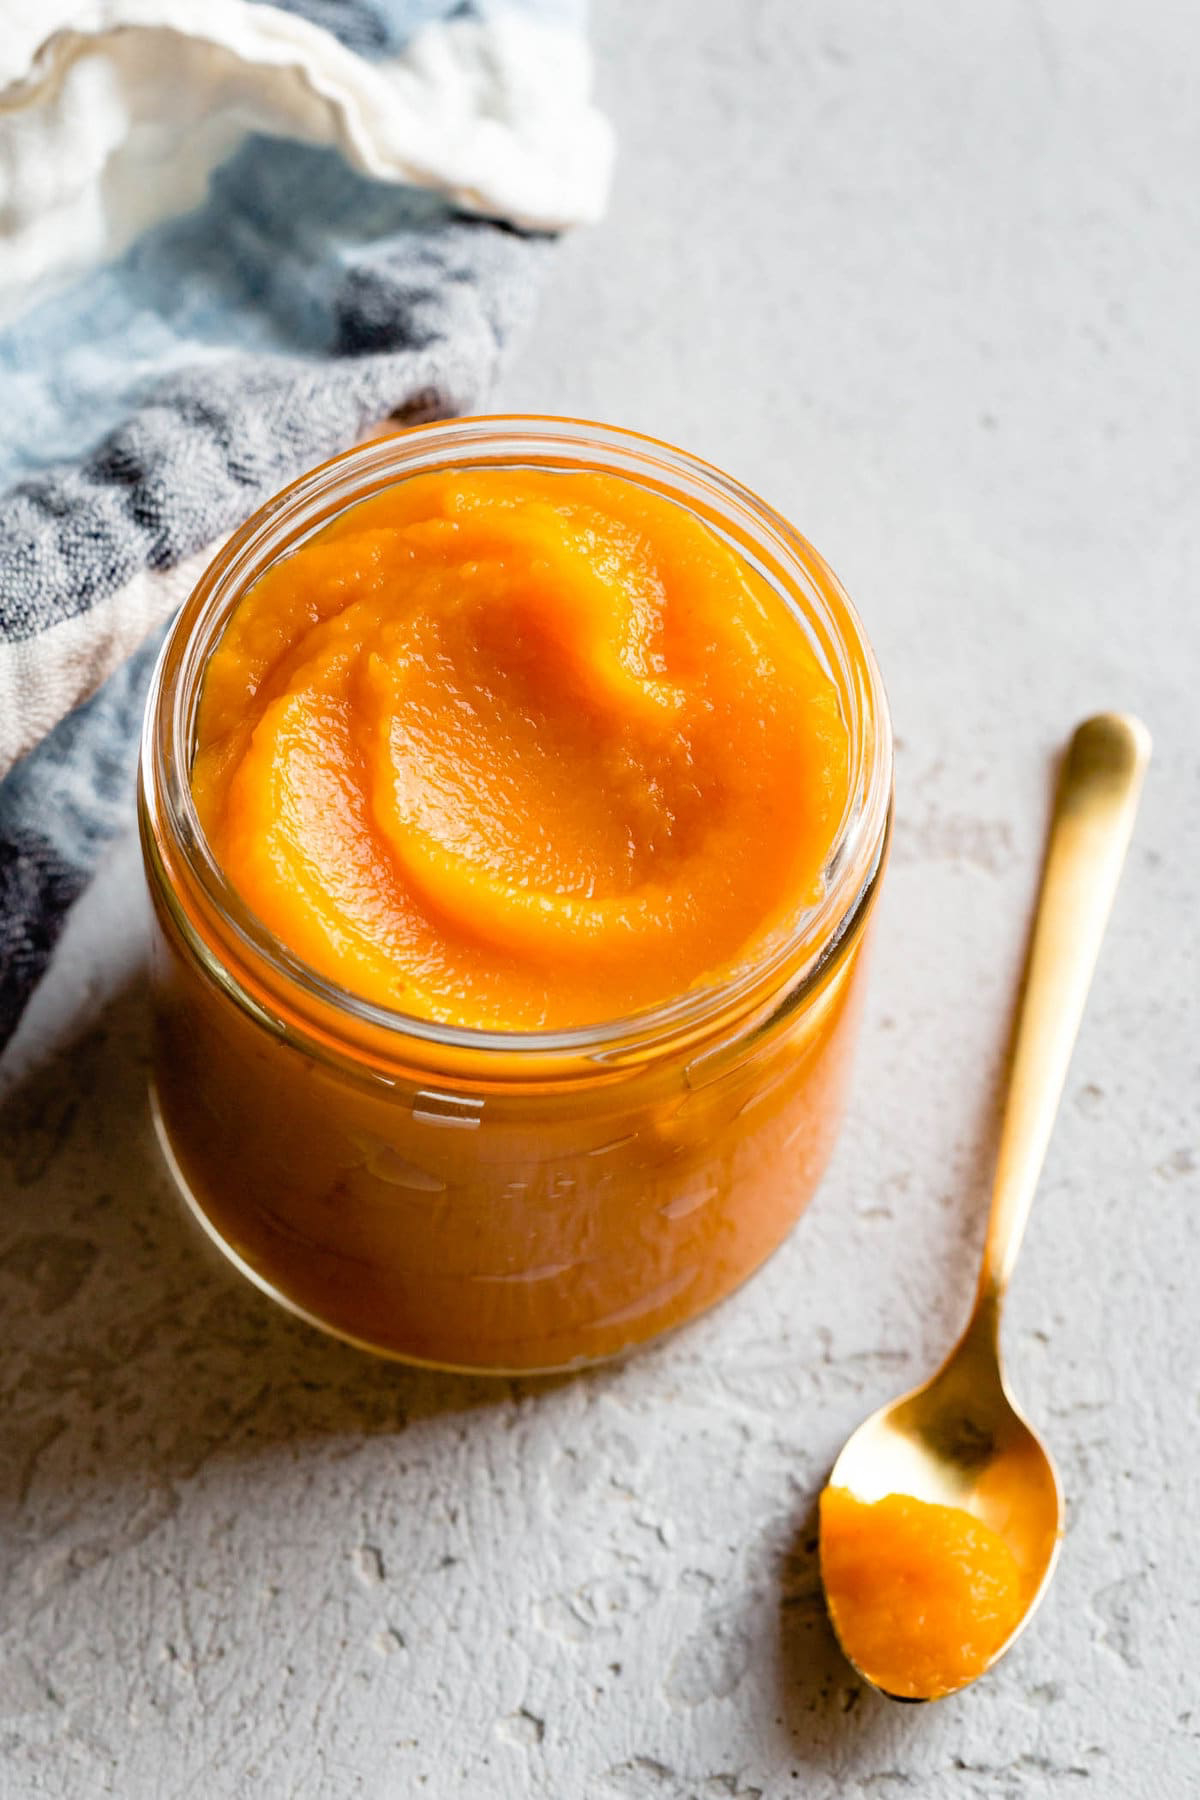
How to Make a Silky, Potent Purée
Making your own purée lets you control the quality. I learned early on that roasting is way better than boiling because boiling can pull some of the best water-soluble vitamins, like Vitamin C, right out of the pumpkin. Roasting concentrates everything.
- Wash, Halve, and Scoop: Give the outside of your pumpkin a good wash. Slice it in half and scoop out all the seeds and stringy bits (you can save the seeds to roast for a snack!).
- Roast for Richness: Place the halves cut-side down on a baking sheet lined with parchment paper. Pop them in an oven preheated to 375°F (around 190°C) for about 45-60 minutes. You’ll know it’s done when a fork pierces the skin easily.
- Cool and Scrape: Let it cool down so you can handle it. The skin should peel right off, or you can just scoop the soft flesh out with a spoon.
- Blend Until Smooth: Toss the cooked pumpkin into a blender or food processor and blend until it’s perfectly smooth, like a thick pudding. (No blender? No problem. A potato masher or even a sturdy fork will get the job done. Your purée might be a bit more rustic, but it’s still fantastic for your skin).
- Store it Smart: Your fresh purée will keep for about 4-5 days in an airtight container in the fridge. For longer storage, I freeze it in ice cube trays. Each cube is a perfect single-serving for a face mask. Just pop a cube in a small bowl and let it thaw on the counter for about 20-30 minutes before you use it.
Let’s talk budget for a second. A single $4 sugar pumpkin can yield about 2 cups of purée. That’s enough for at least 15-16 masks! Compare that to a single-use pumpkin mask from a beauty store, which can easily run you $8, or a high-end one for $30 or more. The savings are huge.
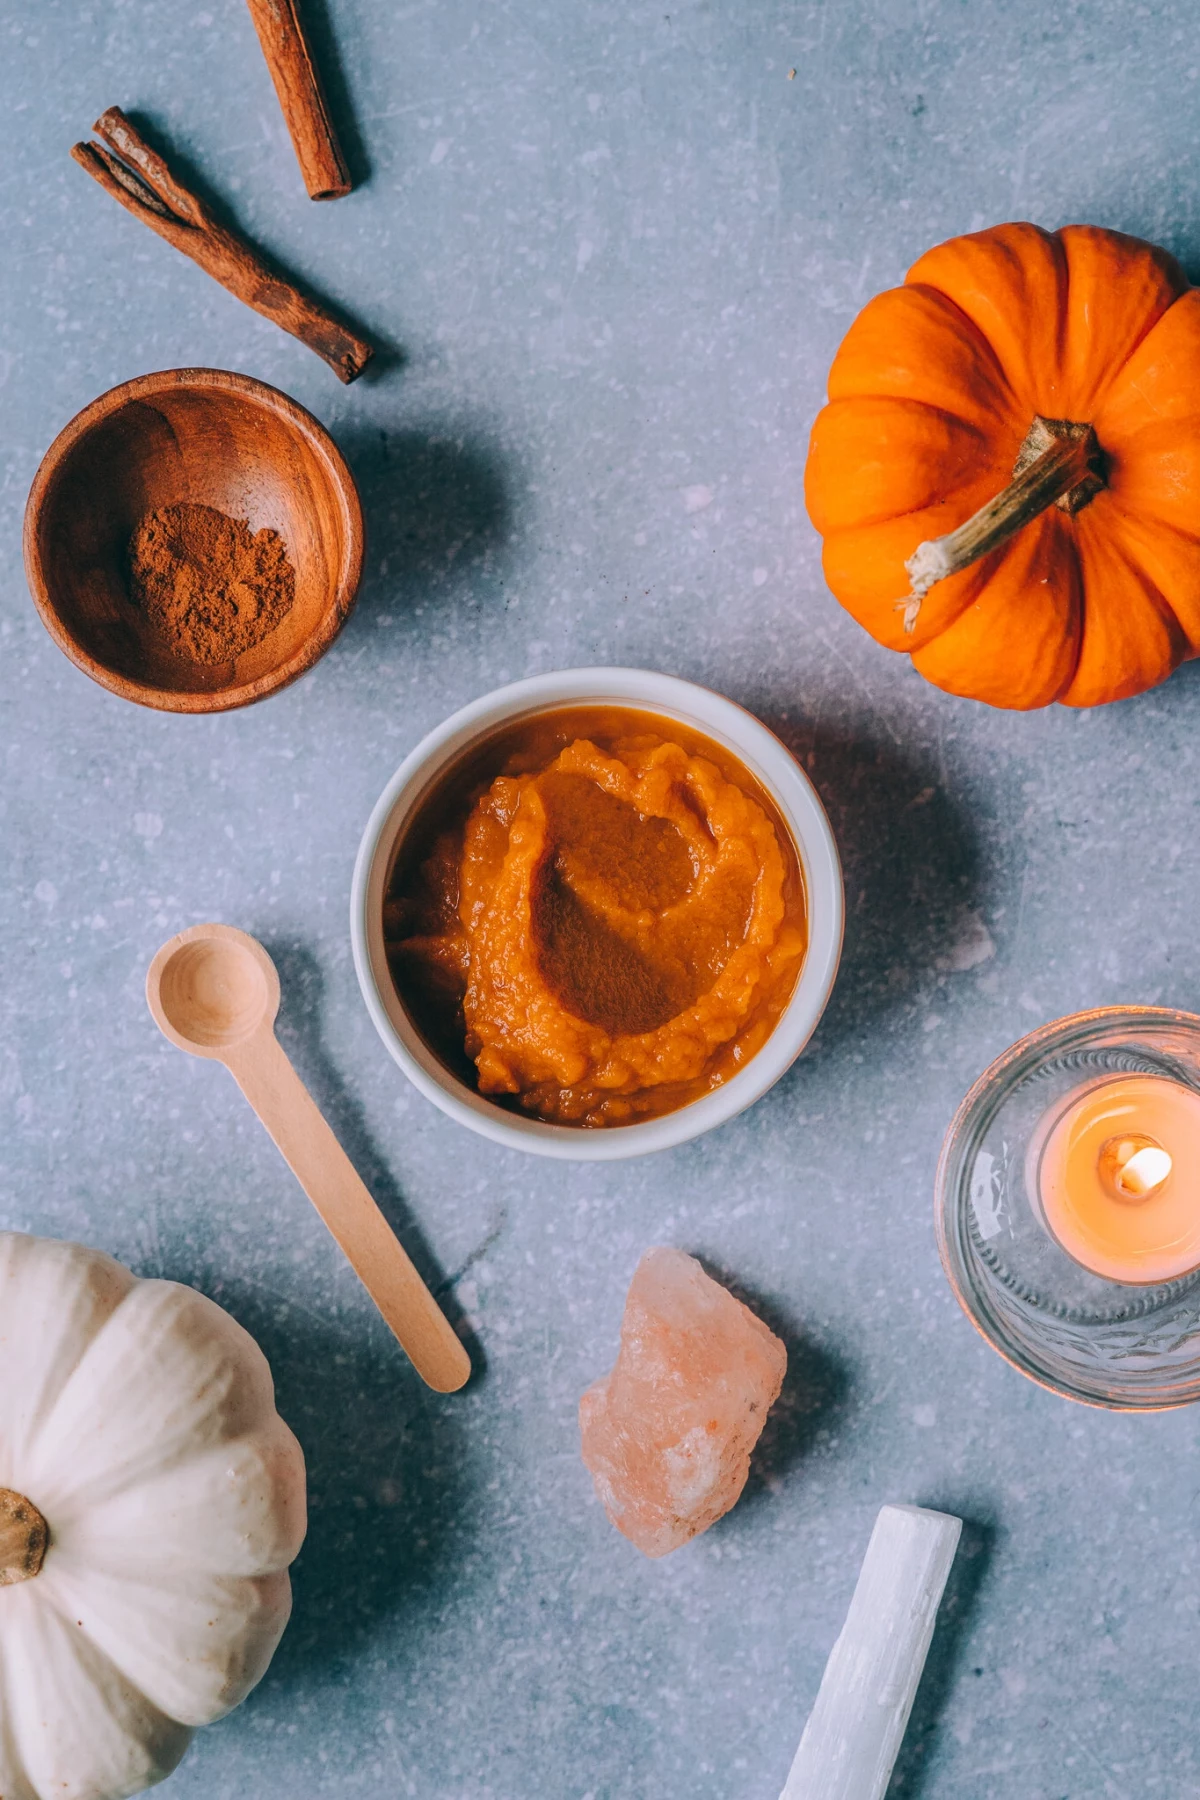
My Go-To Pumpkin Mask Recipes
Before you start mixing, a quick heads up: Always use a clean glass or ceramic bowl. The natural acids in pumpkin can sometimes react with metal, which is a big no-no for your face. These recipes are fantastic starting points that I’ve trusted for years.
So, which mask is right for you? Let’s break it down real quick:
- For a ‘lit-from-within’ glow… go with the Gentle Brightening Mask. It’s perfect for normal, combination, or just plain tired-looking skin.
- If your skin is feeling tight and thirsty… the Soothing Hydrator Mask is your new best friend. It’s a dream for dry, dehydrated, or sensitive types.
- Dealing with oiliness or clogged pores? Mix up the Deep Cleansing Mask. This one targets congestion in oily and combination skin without over-drying.
1. The Gentle Brightening Mask (for Dullness)
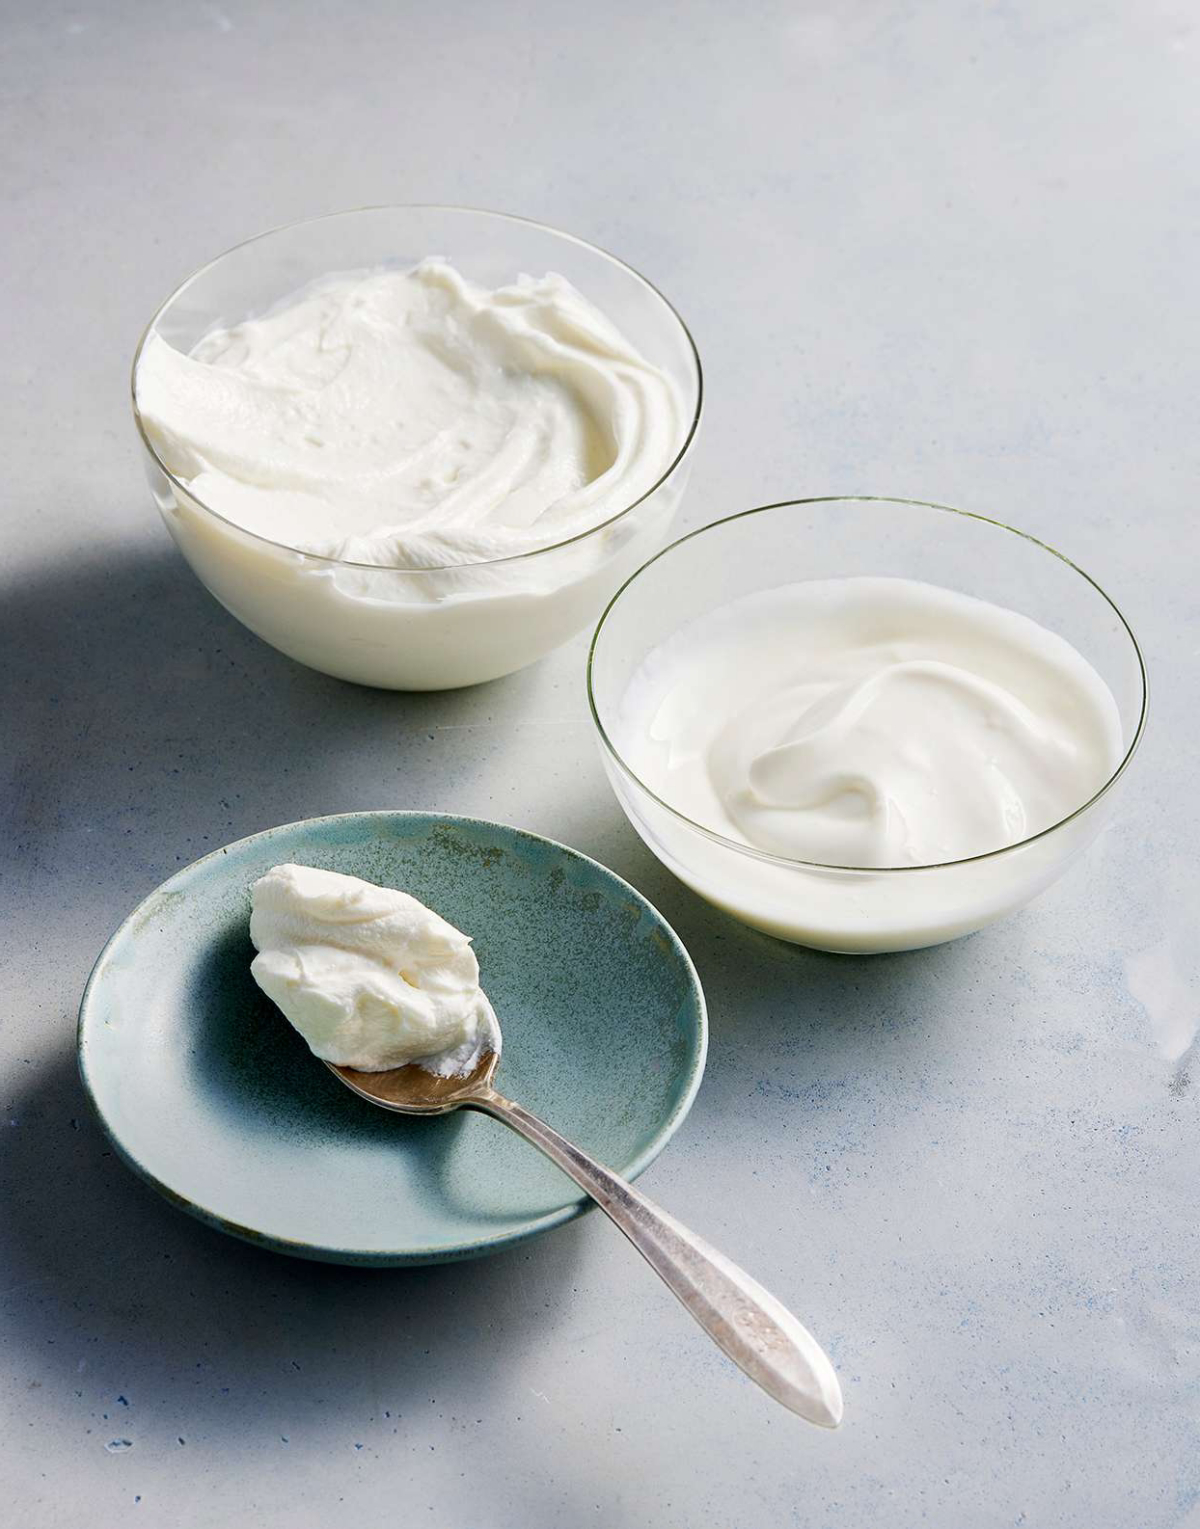
This is my secret weapon for skin that looks tired and needs its sparkle back. The pumpkin enzymes and yogurt’s lactic acid provide a gentle one-two punch of exfoliation.
- Ingredients: 2 tbsp pumpkin purée, 1 tbsp plain full-fat yogurt (Greek is great for its thickness).
- Method: Mix the two ingredients until you have a creamy, uniform orange paste. Apply a thin layer to clean, dry skin, avoiding your eyes and mouth. Let it sit for 10-15 minutes. A slight tingle is normal, but if it burns, wash it off immediately. Rinse with lukewarm water.
- Pro-Tip: I’ll never forget a client who felt her skin was constantly dull from city life. After a month of using this mask once a week, she came in just glowing. Consistency really is everything!
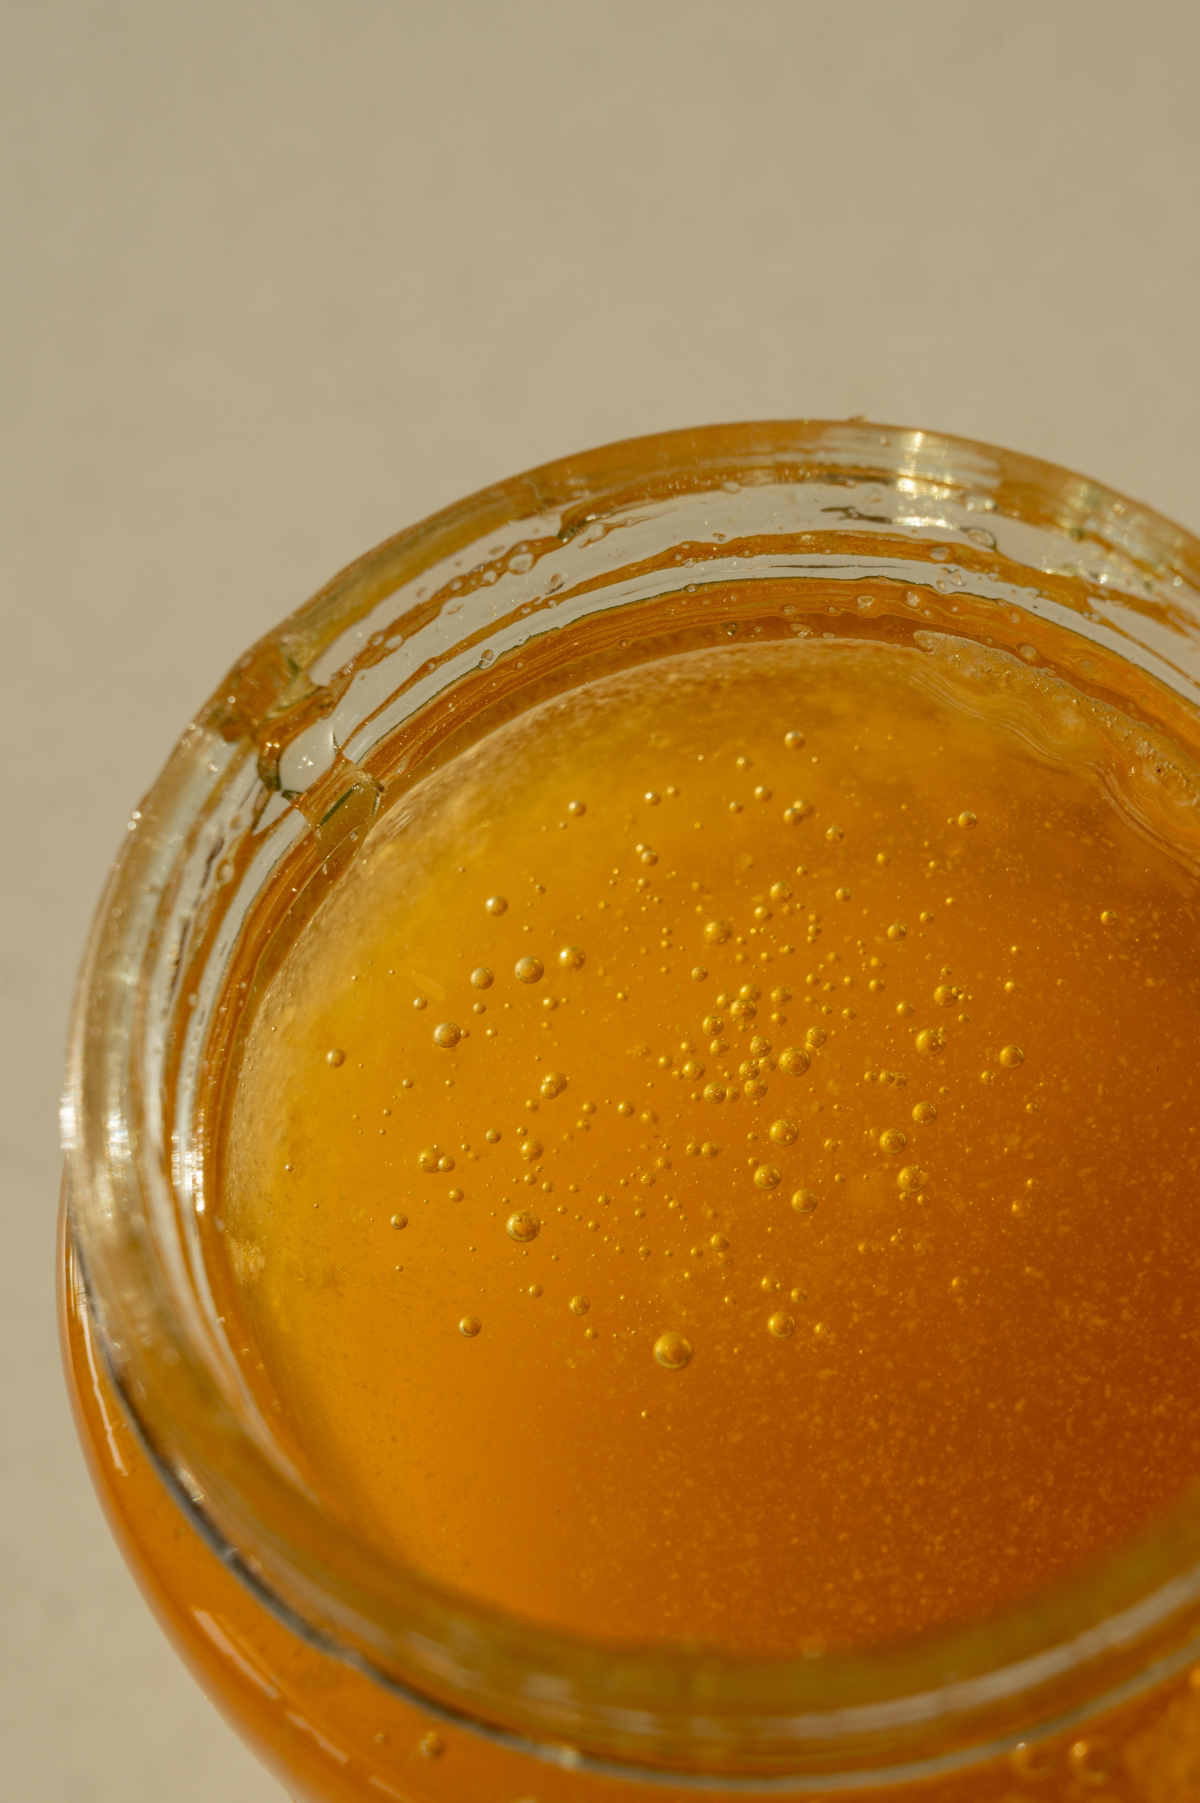
2. The Soothing Hydrator Mask (for Dry or Irritated Skin)
When skin feels tight, stressed, or just parched, this is the one. It’s all about calming and hydrating.
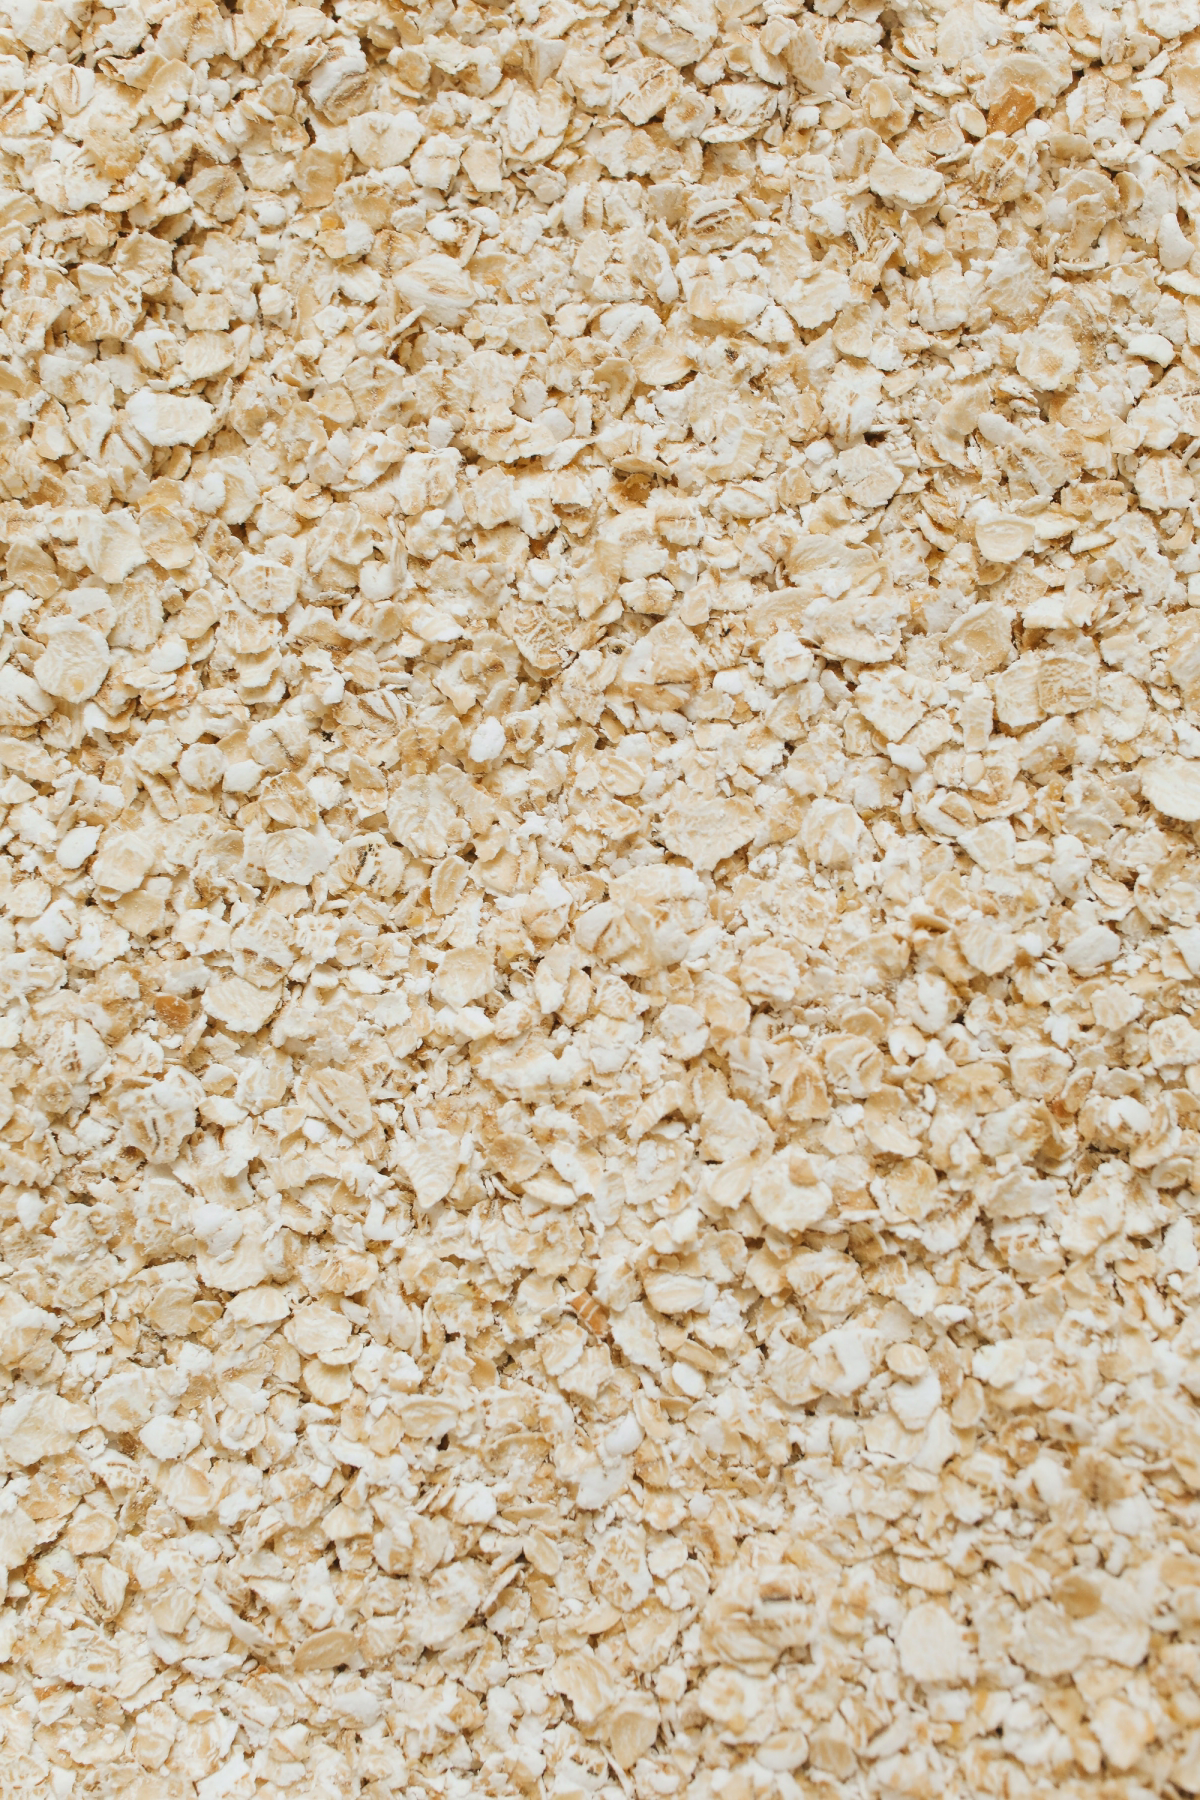
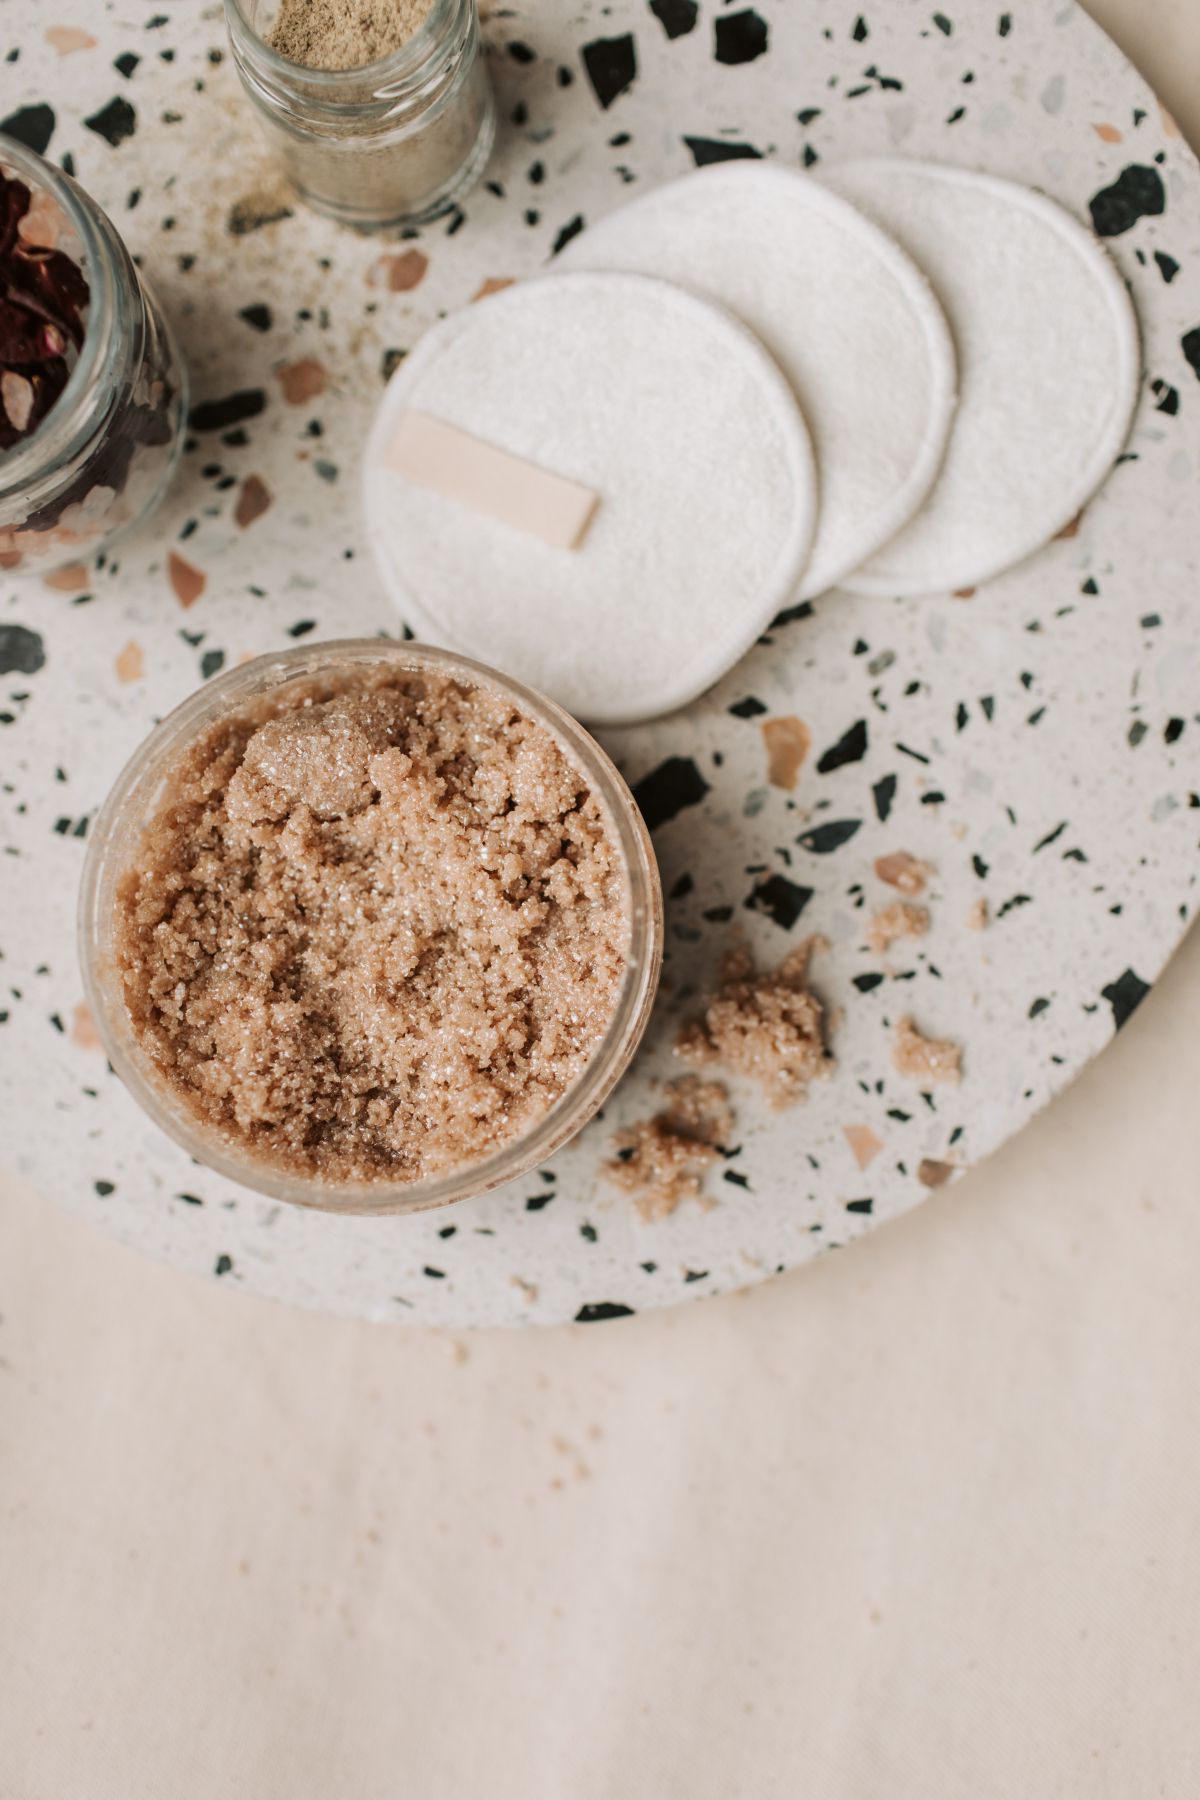
- Ingredients: 2 tbsp pumpkin purée, 1 tsp raw honey (Manuka is amazing but can be pricey, around $20-$50 a jar at health food stores), 1 tbsp colloidal oatmeal (or just blend up regular oats in a coffee grinder).
- Method: Gently warm the honey to make it easier to mix. Combine all ingredients. The texture will be a bit thick and oatmeal-y. Apply to clean skin and let it rest for 15 minutes. To remove, wet your fingertips and gently massage for a final, soft polish before rinsing.
3. The Deep Cleansing Mask (for Oily or Congested Skin)
This mask is designed to help absorb excess oil and gunk from your pores without stripping your skin bare.
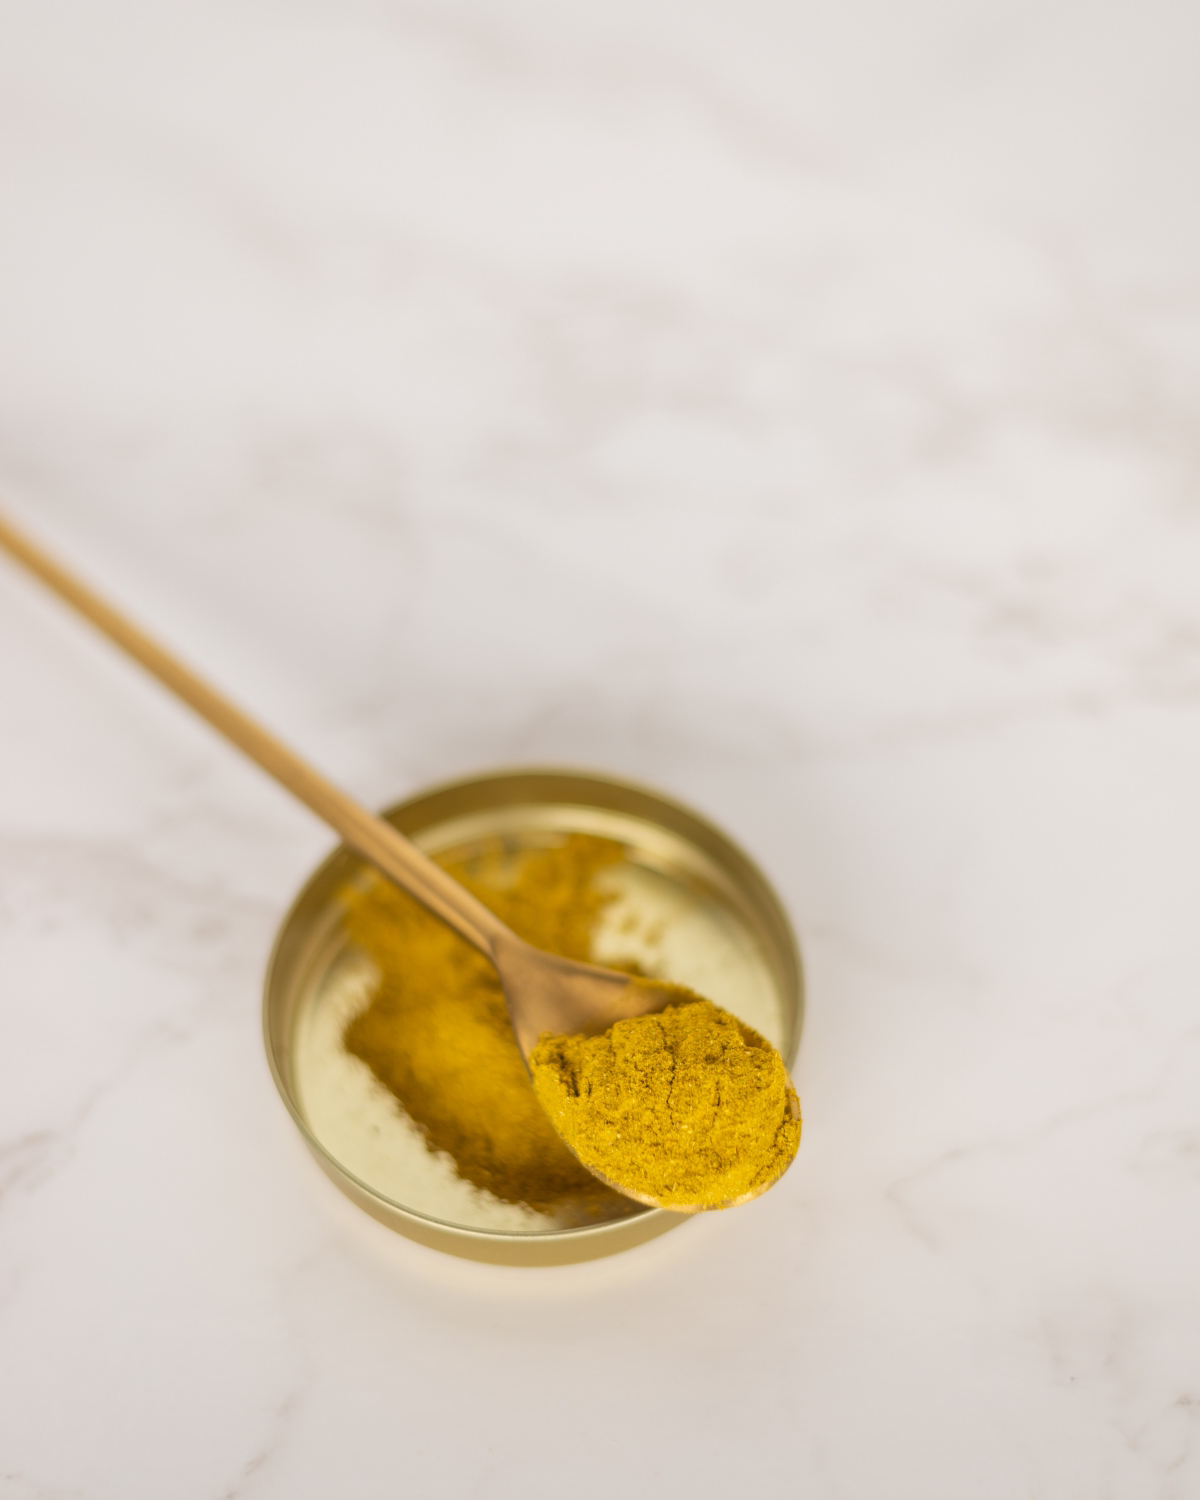
- Ingredients: 2 tbsp pumpkin purée, 1 tsp Kaolin clay (you can find this online or at natural health stores for about $10-$15 a bag), ½ tsp raw apple cider vinegar.
- Method: First, mix the pumpkin and clay. Then, add the vinegar and stir until smooth. Apply a thin layer to your T-zone or all over, and let it dry for about 10 minutes. Don’t let it get super dry and crackly—that’s too much! Re-moisten with a damp cloth before rinsing it all off. Use this one maybe once a week to avoid drying out your skin.
Making it Your Own: Custom Tweaks & Troubleshooting
Once you get the hang of these, you can start listening to your skin and making little adjustments. A common mistake is thinking ‘more is better,’ but with active ingredients, gentle consistency is what truly brings results.

- Skin feels tight after? You might have left it on too long. Next time, try 8-10 minutes. You can also add 3-4 drops of a skin-loving oil like jojoba or squalane to the mix for extra nourishment.
- Mask is too runny? This happens with watery purée. Just add a half-teaspoon of colloidal oatmeal or a pinch of Kaolin clay to thicken it right up.
- Seeing redness or irritation? Wash it off immediately. This is a sign of sensitivity. Always, always do a patch test before putting a new concoction all over your face.
Lesser-known trick: Don’t have 15 minutes? Mix a teaspoon of pumpkin purée directly into your favorite creamy cleanser for a quick 2-minute exfoliating wash in the shower. It’s a game-changer on busy mornings!
A Quick Word on Safety
Okay, let’s talk safety for a second, because this is super important. Working with fresh, natural ingredients is amazing, but it requires common sense.
First, the patch test. I can’t say this enough. Before slathering a new mask on your face, test a small amount on your inner wrist or behind your ear. Wait 24 hours. If there’s any redness, itching, or irritation, that mask is not for you.
Second, treat these masks like fresh food, because they are. They don’t have preservatives, so they will spoil. Never use a batch that’s been in the fridge for more than a few days. If it smells funky or looks off, toss it. Making just enough for one use at a time is always the safest bet.
And finally, remember that a DIY facial is for maintenance and a bit of pampering. It’s not a substitute for professional medical care. If you have a persistent condition like cystic acne, rosacea, or eczema, please see a board-certified dermatologist. Enjoy these recipes for what they are: a beautiful, seasonal way to connect with nature and give your skin a healthy, happy glow.


