The Brutally Honest Guide to Getting a Forward Helix Piercing
I’ve been in the body piercing world for a long, long time, and I’ve seen thousands of piercings come and go. But the forward helix? It’s always been one of my favorites. It’s got this delicate, sophisticated vibe that just looks incredible when it’s done right. The thing is, it’s also one of the most misunderstood piercings out there. People see a gorgeous triple-stack on social media and rush in, not realizing there’s a lot more to it than just pointing at a picture.
In this article
- First Things First: Is Your Ear Even Suited for This?
- The Piercing Process: What to Expect at a Pro Studio
- Pain and Healing: The Realistic Timeline
- Choosing Your First Jewelry (This is Important!)
- Aftercare That Actually Works (and My 1 Tip)
- Help! What to Do When Things Go Wrong
- Going for the Triple and Long-Term Care
- Galerie d’inspiration
So, my goal here is simple: to give you the real talk. This is the conversation we’d have in my studio before a needle ever comes out. We’re going to cover everything from whether your ear is even shaped for it to the nitty-gritty of healing, and—most importantly—how to not mess it up.
First Things First: Is Your Ear Even Suited for This?
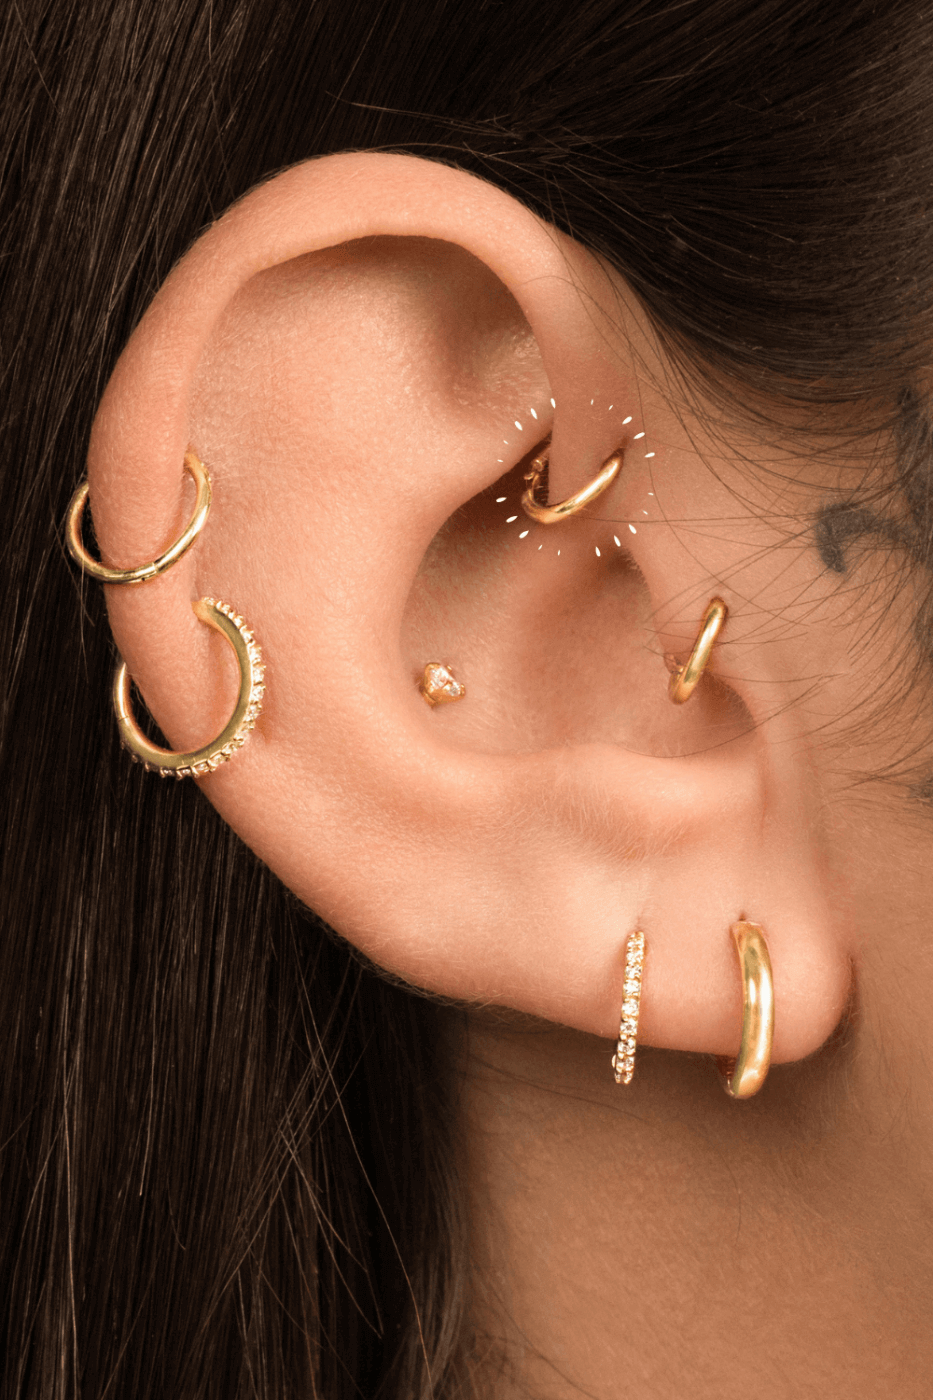
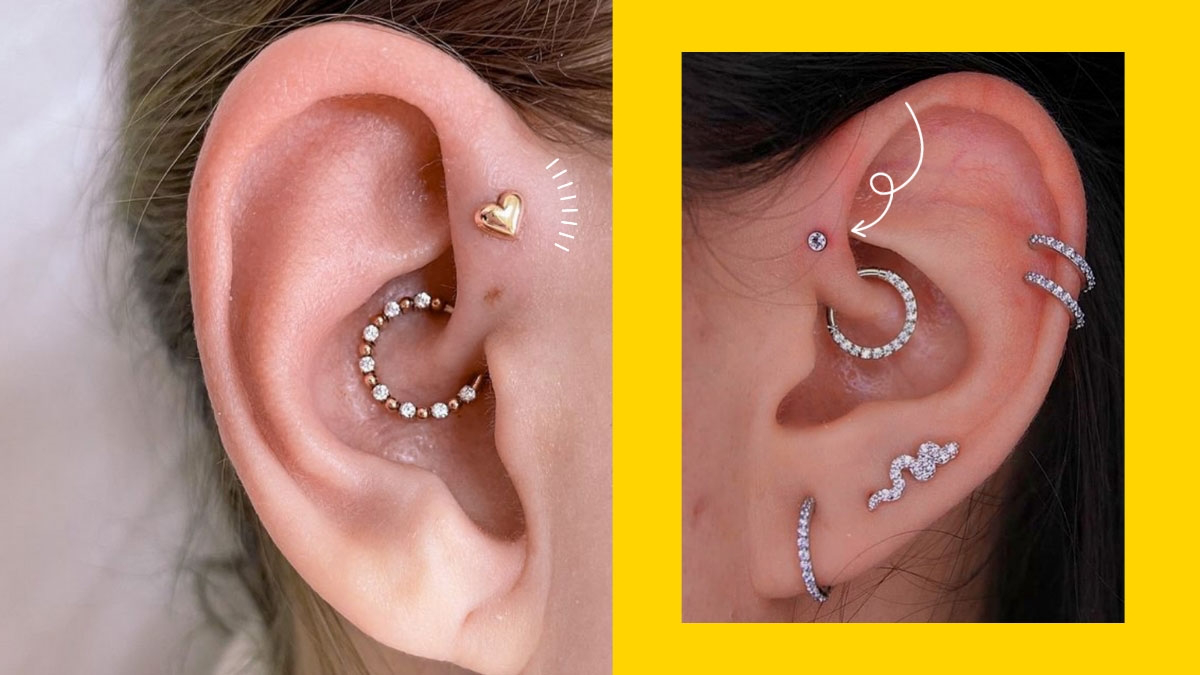
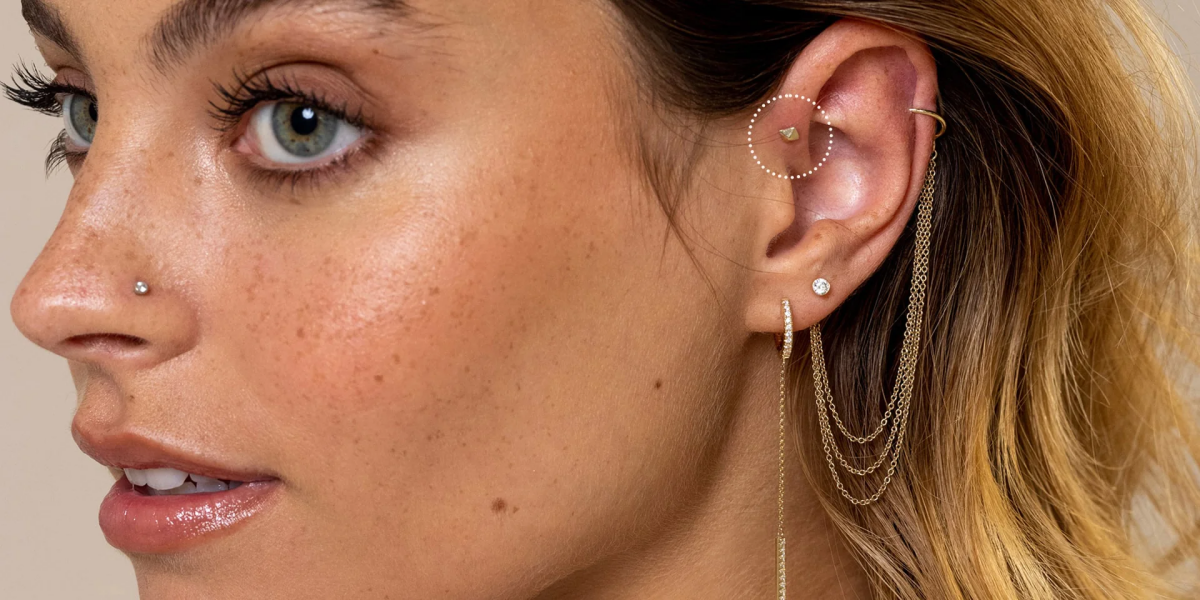
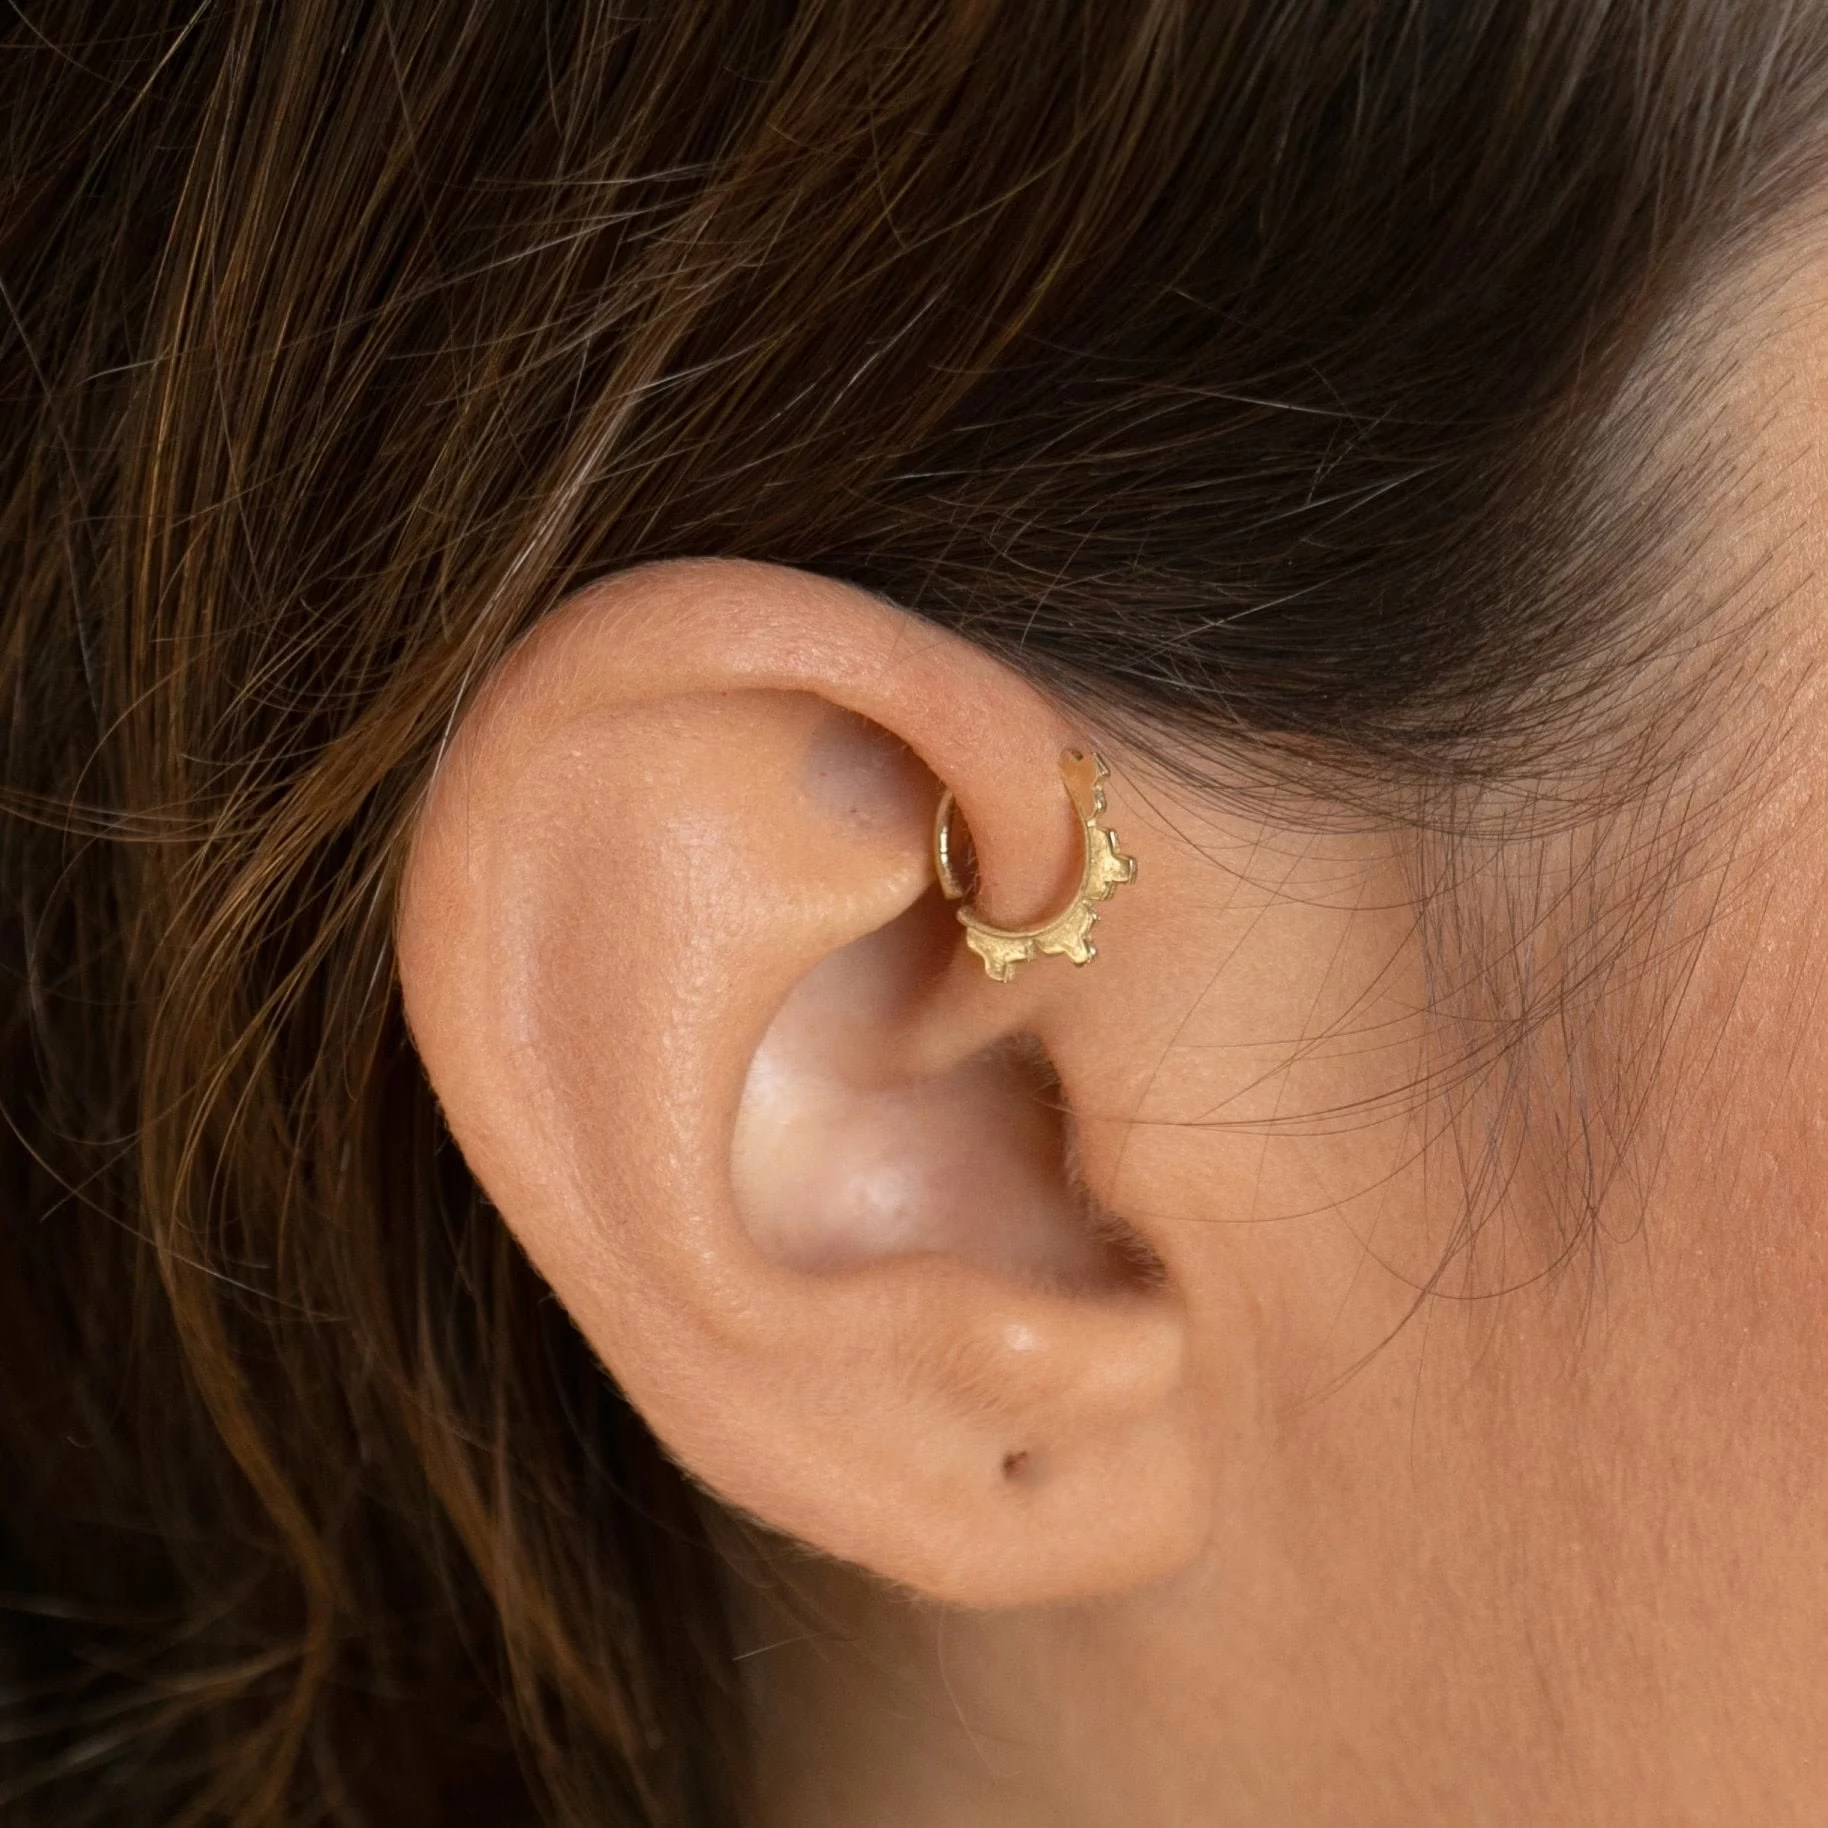
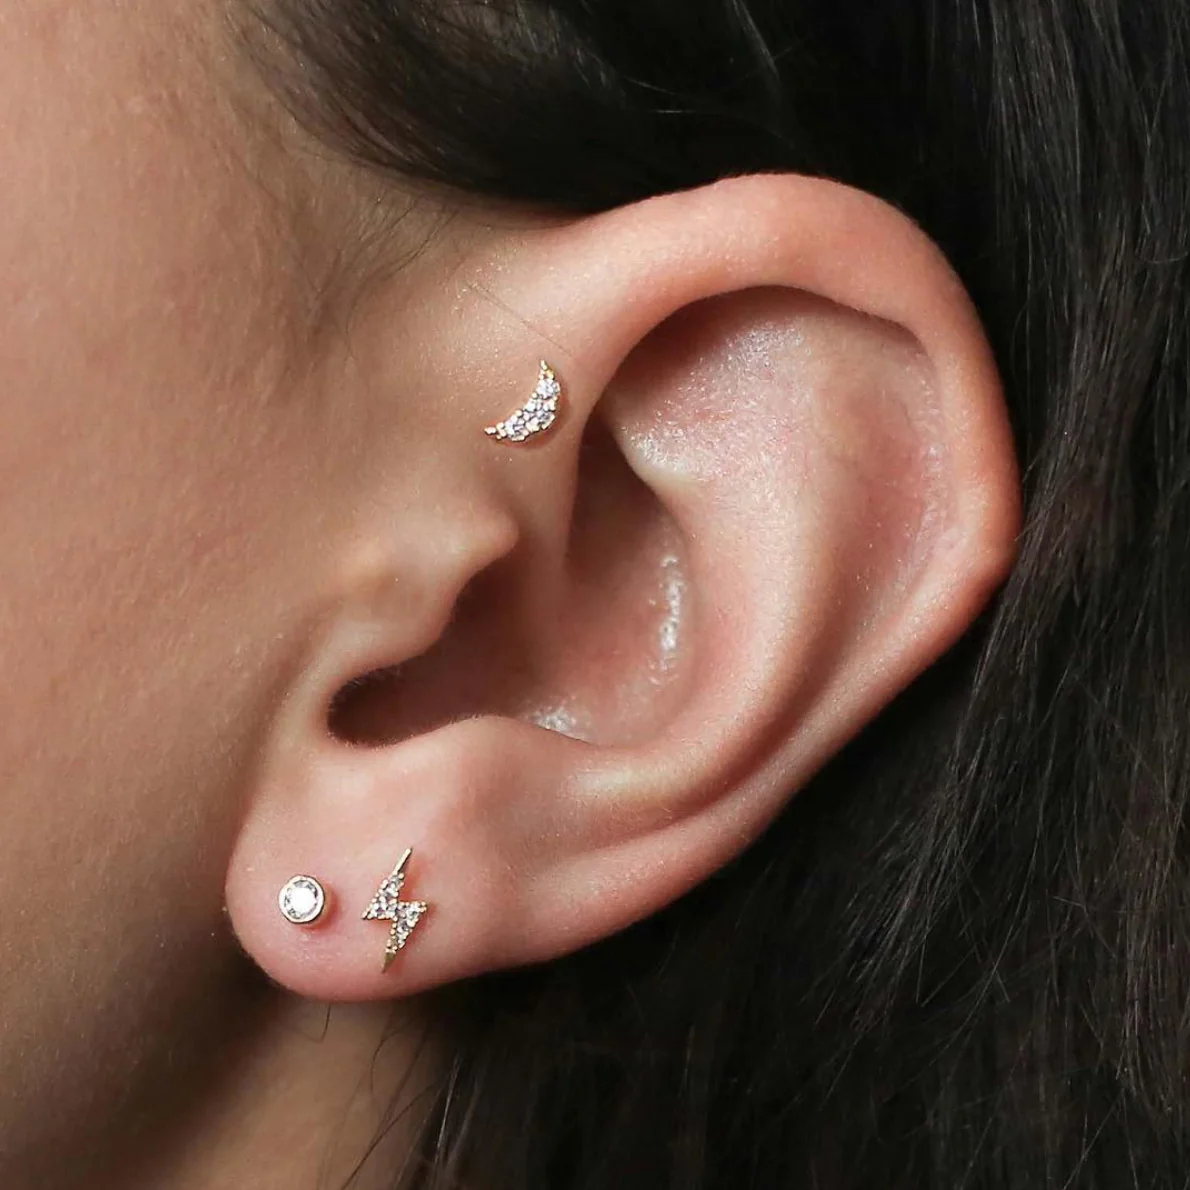
Before we even think about jewelry, we have to look at your ear’s anatomy. The forward helix piercing sits on that little forward-facing rim of cartilage right above your tragus. You know, where the curve of your ear starts to connect to your head.
Go ahead, grab a mirror or use your phone’s camera right now. Feel that little ridge? The main requirement here is a defined “shelf” of cartilage. If that area is super flat or thin, there might not be enough tissue to safely support the jewelry. I’ve had to gently tell people their anatomy won’t work for this piercing, and yeah, it’s a bummer. But it’s so much better than giving you a piercing that’s just going to reject or migrate, causing a ton of frustration down the line. A good piercer will always prioritize your long-term success over a quick buck.
This cartilage is also pretty dense and doesn’t get a ton of blood flow compared to your earlobe. That’s the main reason cartilage piercings are notorious for their long healing times. Less blood means a slower healing process, which is why patience is your best friend here.
The Piercing Process: What to Expect at a Pro Studio
A safe piercing all comes down to a sterile environment. Here’s a rundown of how it should go down if you’re in the hands of a true professional.
1. The Chat and the Plan
First, we talk. I’ll take a close look at your ear, and we’ll discuss placement. Are you dreaming of a single, a double, or a super-cool triple forward helix? We’ll map out potential spots, keeping in mind things like how your glasses sit or where your earbuds go. Heads up: if you want a triple, a good piercer will plan the entire layout from the start, even if you only get one that day. Spacing is everything.
2. The Money Talk
Let’s talk about cost for a sec, because nobody likes surprises. In most reputable studios, you’ll pay for two things separately: the piercing service fee itself, which can run anywhere from $30 to $60, and then the cost of the jewelry. A basic, implant-grade titanium labret stud might start around $40, while a solid gold piece could be $100 or more. So, all in, you should probably walk in expecting to pay somewhere between $70 and $100+ for the whole shebang. And don’t forget to ask about the cost of downsizing later—sometimes it’s just the price of the new, shorter post.
3. The Prep and the Dot
This part is non-negotiable. All the tools, the needle, and your jewelry will be sterilized in a hospital-grade steam sterilizer (an autoclave). Your piercer will wash up and put on fresh gloves, and your ear will be cleaned with a proper skin antiseptic. Then, using a sterile marker, they’ll place a dot on the spot. You get the final say! They’ll hand you a mirror so you can approve the placement from every angle.
4. The Main Event
The entire appointment might take 30-45 minutes, from paperwork to picking jewelry. The actual needle part? That’s literally two seconds. Don’t sweat it.
You’ll take a deep breath in and exhale slowly. On the exhale, a super-sharp, single-use hollow needle goes through. Most pros use a freehand technique for this, supporting the tissue with their fingers instead of using clamps, which can cause extra trauma. You’ll feel a quick, sharp pressure, and then it’s done. A seamless transfer pin is then used to guide the jewelry into place without scraping the fresh piercing. It’s a smooth, professional process designed to minimize trauma.
Pain and Healing: The Realistic Timeline
Okay, let’s be real. Does it hurt? Yes. A needle is going through cartilage. On a scale of 1 to 10, most people put it at a 5 or 6. It’s a sharp, intense sting that lasts a few seconds, followed by a dull, warm throb for a few hours. That’s totally normal.
Healing a forward helix is a marathon, not a sprint. It can easily take 9 to 12 months—and sometimes even longer—to be 100% healed. It might feel fine after a couple of months, but the tissue channel inside is still super fragile.
- The First Month: Expect some serious swelling, redness, and tenderness. This is when you have to be most careful.
- Months 2-6: Things will calm down. You might see some clear or whitish fluid, which is just lymph and is totally normal. This is also when the dreaded irritation bumps love to show up if you’ve been bumping it or sleeping on it.
- Months 6-12+: It looks good from the outside, but the inside is still strengthening. This is the phase where people get impatient, change the jewelry too soon, and cause a major setback. Don’t be that person.
Choosing Your First Jewelry (This is Important!)
The jewelry you get pierced with is basically a medical implant, so the material and style are crucial for good healing. Don’t compromise here.
Best Materials for a Fresh Piercing:
- Implant-Grade Titanium: This is the gold standard, folks. It’s nickel-free, lightweight, and won’t tarnish. Make sure it’s a specific, verifiable grade (like ASTM F-136). Don’t settle for vague “titanium.”
- 14k or 18k Solid Gold: Gold is a beautiful option, but it has to be solid, not plated, and from a reputable body jewelry maker that uses biocompatible, nickel-free alloys. It’s pricier, but worth it for the look if you know you aren’t sensitive.
- Niobium: Another fantastic, hypoallergenic metal that’s great for people with extreme sensitivities.
And what about surgical steel? Honestly, I’d steer clear for a new piercing. It’s a vague term for many different metal alloys, most of which contain nickel, a common allergen. It’s a gamble that’s just not worth the potential irritation.
Best Style for Healing:
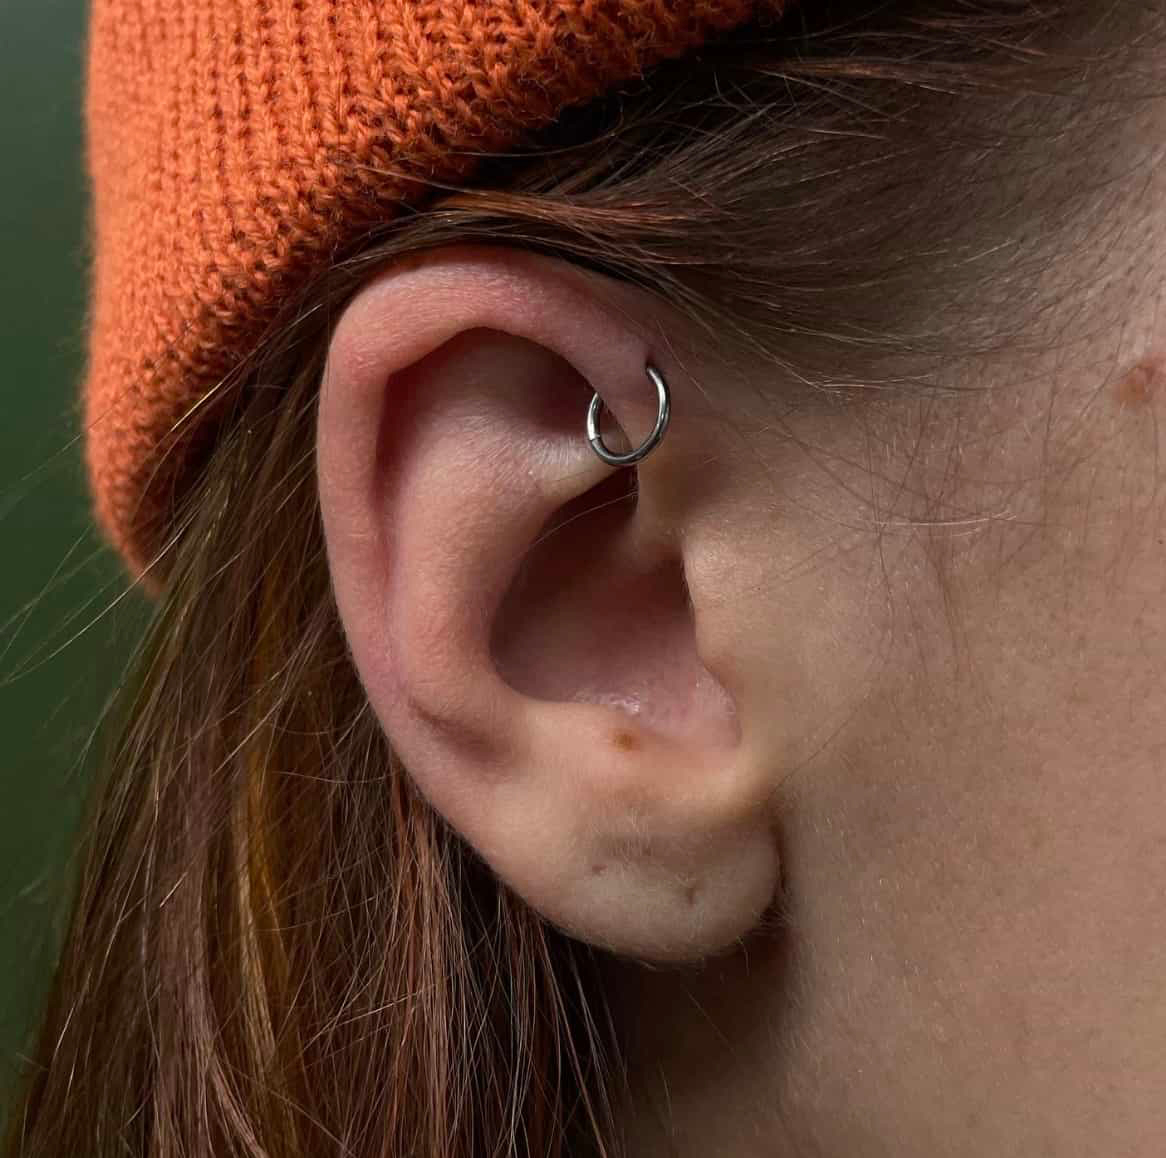
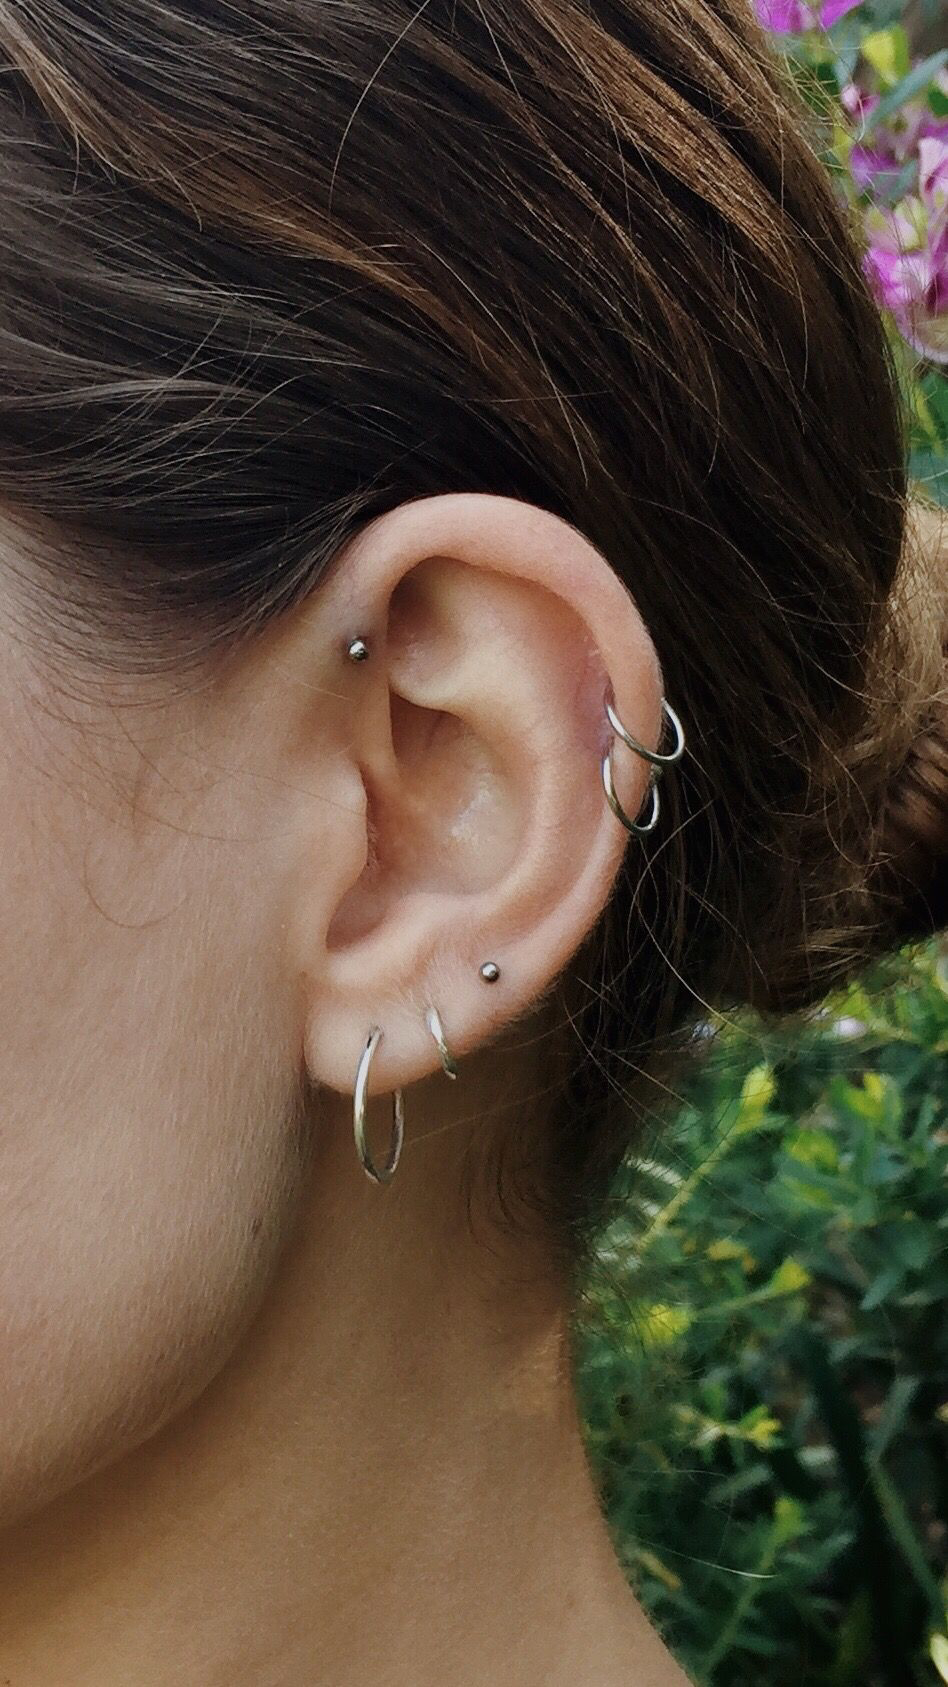
For a forward helix, you want a labret stud. Period. It has a flat disc on the back that sits flush against your ear, minimizing snags. You’ll be pierced with a slightly longer bar to allow for swelling. Rings and hoops are an absolute no-go for healing; their curve puts constant pressure on the straight piercing channel. Wait a solid year before you even think about a hoop.
Aftercare That Actually Works (and My
1 Tip)
Good aftercare is so much simpler than people think. The goal is just to keep it clean and leave it alone.
The only thing you need is a sterile saline wound wash. You can find it at any pharmacy—it comes in a pressurized can and should have only two ingredients: sterile water and 0.9% sodium chloride. That’s it. Spray it on the front and back twice a day, let it soak for a minute, then gently pat it dry with a clean paper towel or use a hairdryer on the cool setting.
What to AVOID: Stay away from alcohol, hydrogen peroxide, soaps, ointments, and especially tea tree oil. These are all way too harsh and will just irritate your piercing. Also, ditch the Q-tips; their fibers can get trapped and cause major problems.
Now for my secret weapon for healing any cartilage piercing: a travel pillow! You know, the U-shaped ones for planes? Sleep with your ear in the hole. Seriously. It’s a total game-changer. It prevents you from putting pressure on the piercing overnight, which is the
1 cause of those awful irritation bumps.
Help! What to Do When Things Go Wrong
Even with perfect care, you might hit a snag (literally).
- Irritation Bumps: These are the most common issue. A little red bump pops up right next to the piercing. It’s NOT a keloid (which is a rare genetic scarring condition). It’s just a fluid-filled bubble of irritation. The cause is usually physical: sleeping on it, a snag, or low-quality jewelry. The fix? Find and eliminate the cause. Get back to your saline soaks, use that travel pillow, and don’t touch it.
- A Big Snag: Okay, you caught it on a towel. Don’t panic. Take a breath. Just do a gentle saline rinse to clean away any germs and then leave it completely alone. It’ll probably be angry and swollen for a day or two, but it should calm down.
- Signs of a Real Infection: An irritated piercing is not the same as an infected one. An infection needs a doctor. Look for thick, yellow/green, smelly pus (not the normal clearish fluid), skin that’s hot to the touch, red streaks spreading from the site, or a fever. If you see these signs, see a doctor for antibiotics and DO NOT remove the jewelry. Taking it out can trap the infection inside.
Going for the Triple and Long-Term Care
Healed one and now you want more? Awesome! Just know that most piercers will strongly recommend you get a double or triple done one or two at a time. Trying to heal three fresh piercings right next to each other can be an absolute nightmare of swelling and irritation.
About 4 to 8 weeks in, you’ll need to go back to your piercer for a downsize. This means swapping the initial long bar for a shorter one that fits snugly now that the swelling is down. This step is critical for preventing the piercing from healing at a crooked angle.
And please, I can’t stress this enough: wait until it’s fully, truly healed (9-12 months minimum) before you try changing the top yourself for fashion. That angle is tricky, and it’s easy to damage the piercing. Let your piercer do it the first few times. A forward helix is a commitment, but if you’re patient and follow the right advice, you’ll have a stunning piercing that you’ll love for years to come.
Galerie d’inspiration
Implant-Grade Titanium: This is the gold standard for initial piercing jewelry. It’s nickel-free, lightweight, and biocompatible, meaning your body is less likely to react to it. Brands like Anatometal, Neometal, and Industrial Strength are trusted by top piercers for this reason.
Surgical Steel: While common, it can contain varying amounts of nickel, a frequent cause of irritation and allergic reactions during the sensitive healing phase.
For a forward helix, always start with titanium. You can switch to other materials like 14k or 18k gold once you’re fully healed, but giving your piercing the best possible start is non-negotiable.
The Association of Professional Piercers (APP) explicitly advises against over-cleaning and using harsh products on a new piercing.
This means sticking to a simple, gentle routine. Your body does most of the work. Your job is just to keep the area clean without causing irritation. The best tool for the job is a sterile saline spray, like NeilMed Piercing Aftercare, used once or twice a day. Forget the tea tree oil, alcohol, or bactine—they are far too harsh for a delicate healing fistula and will only prolong the process.
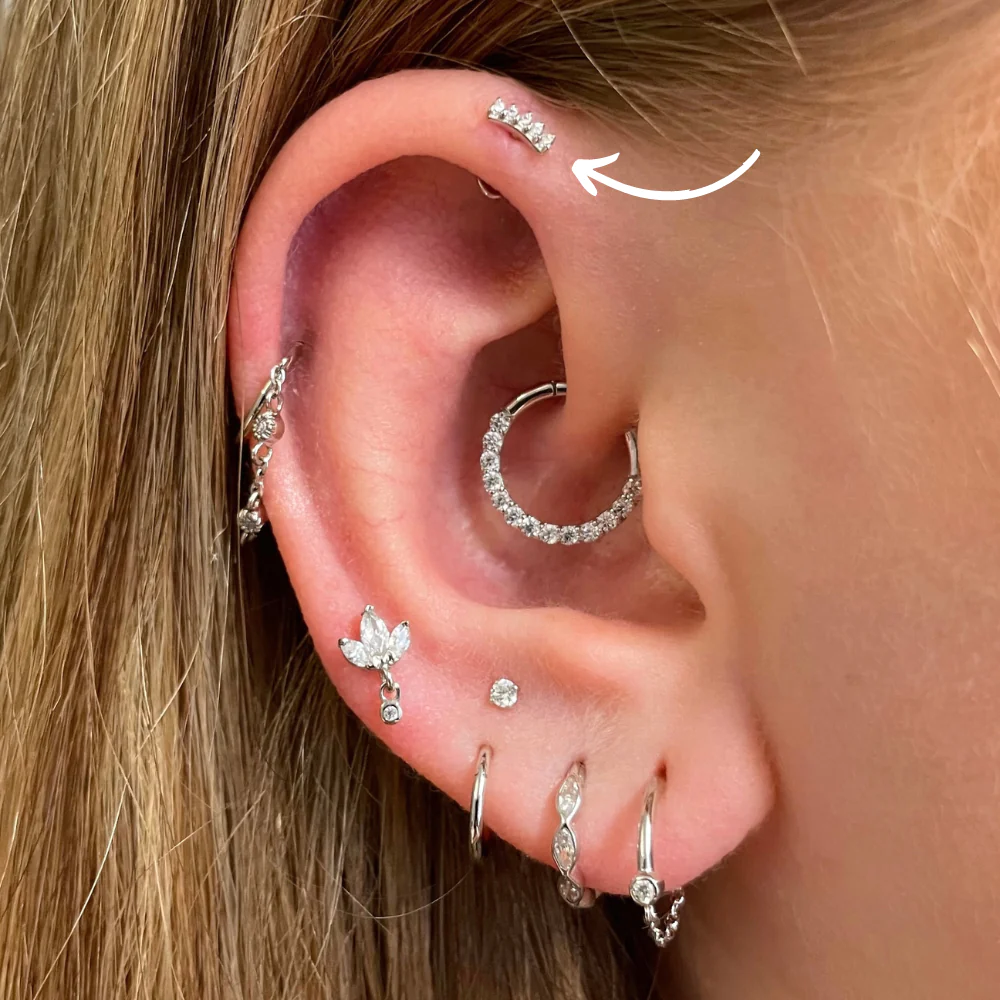
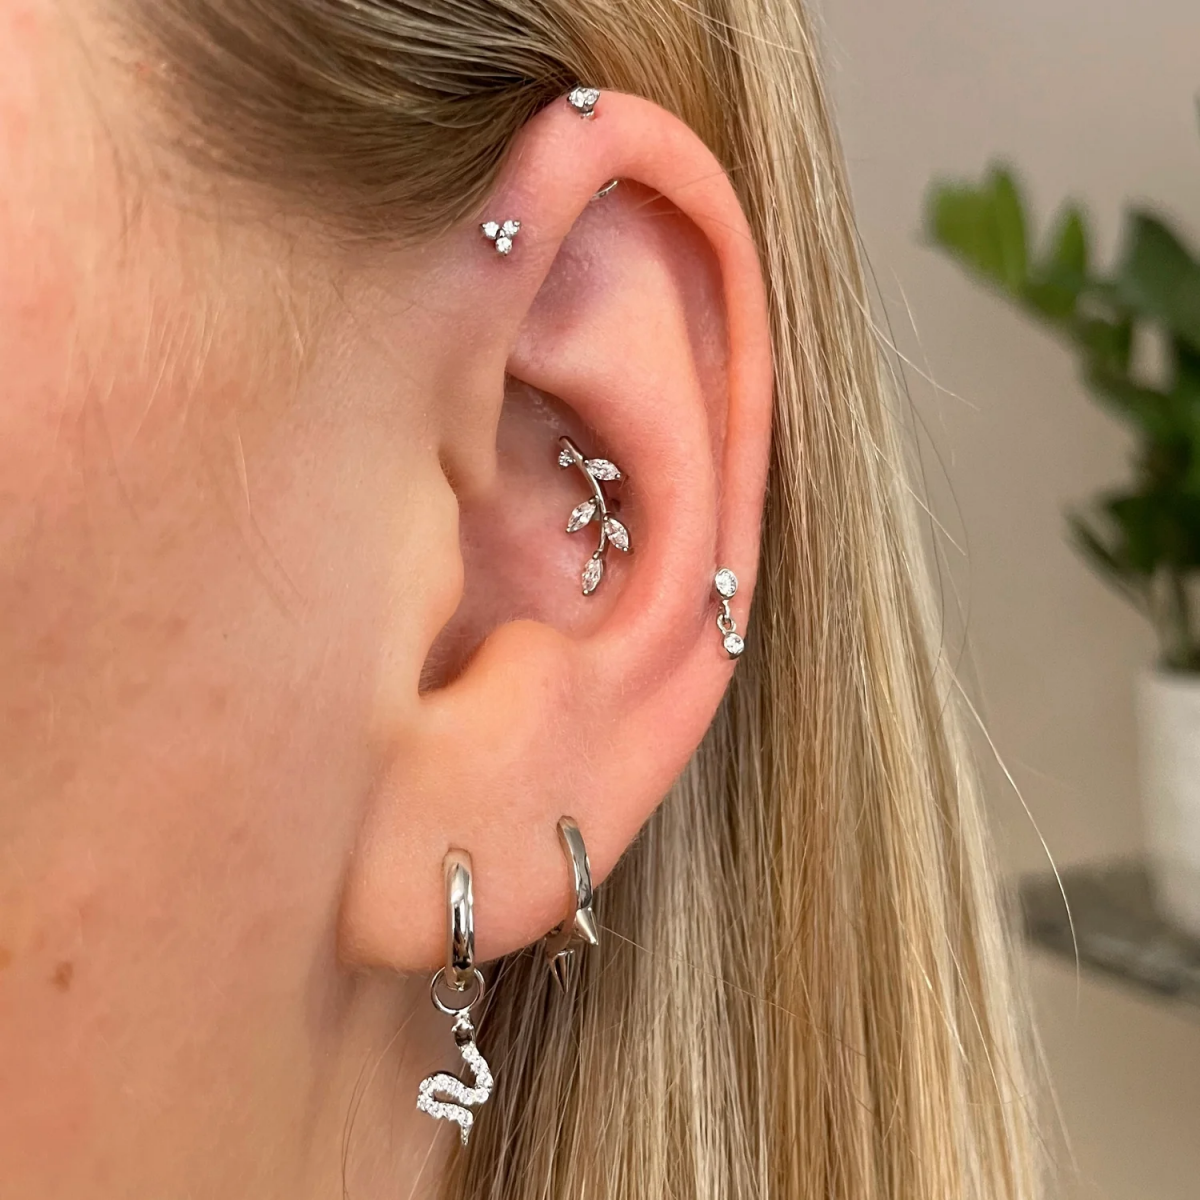
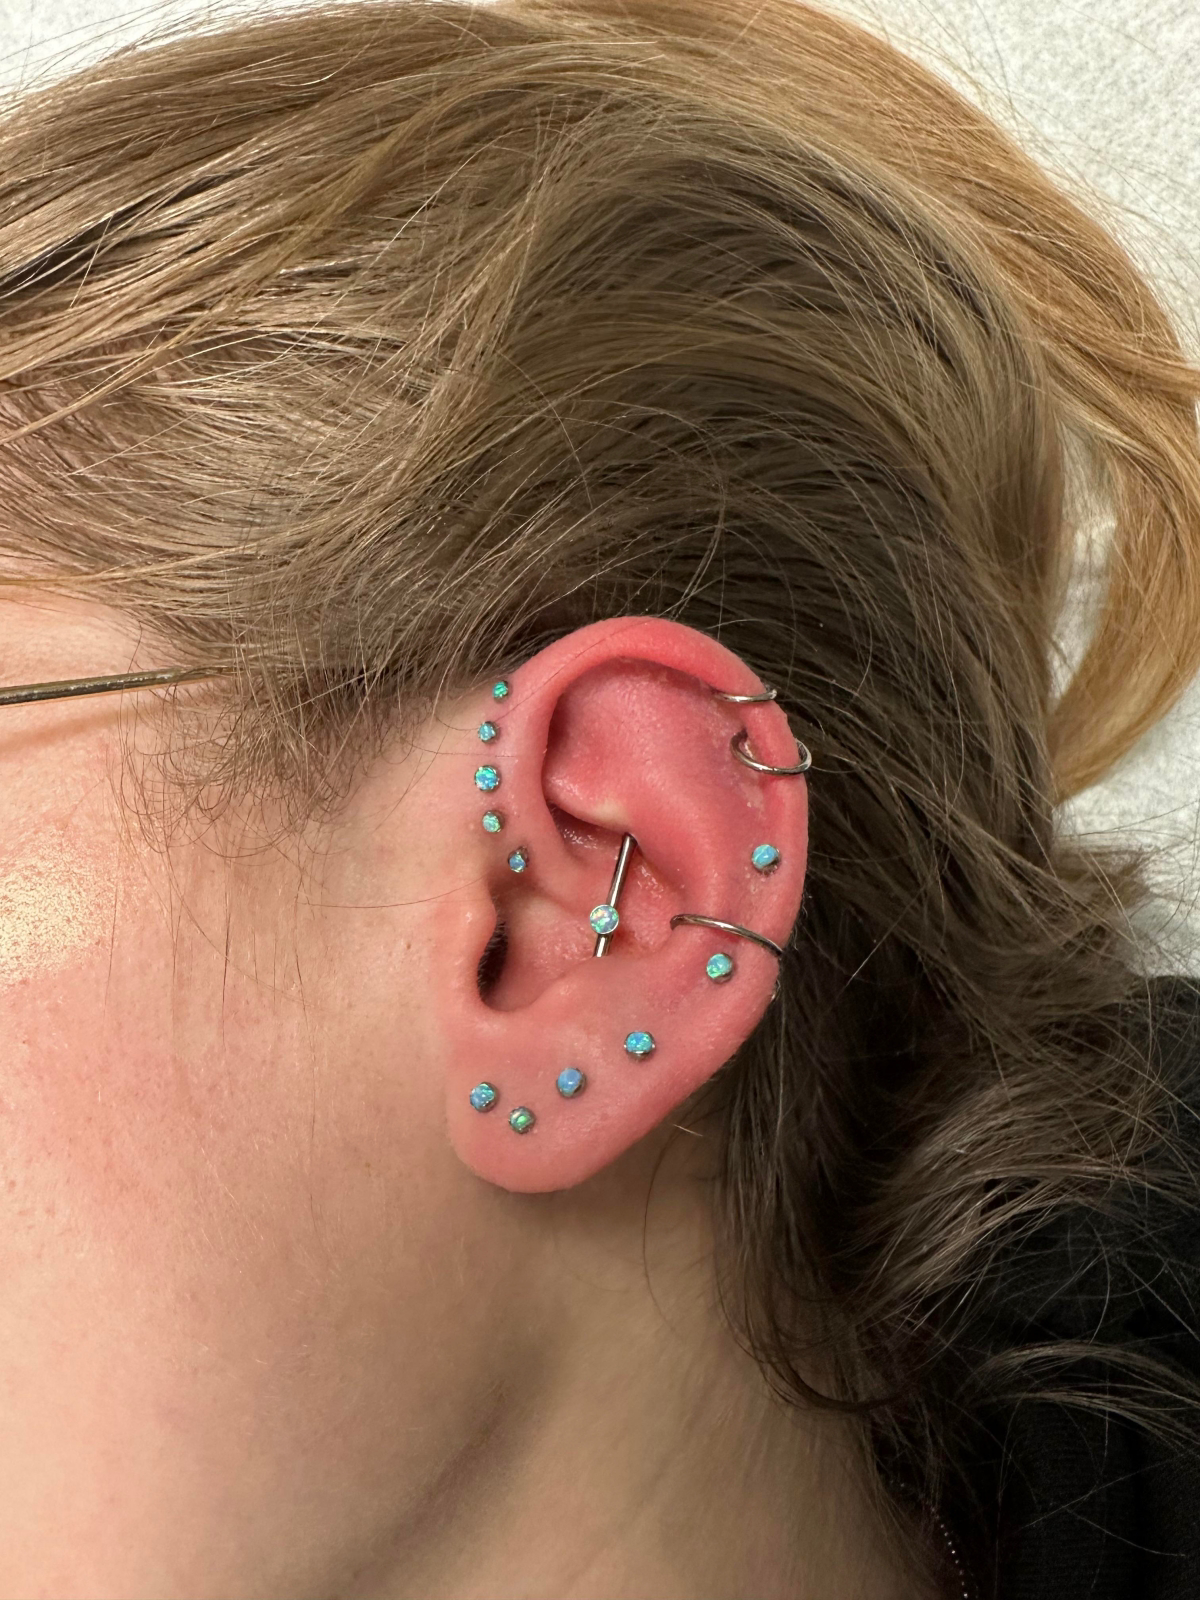
How do you style a forward helix without it looking cluttered?
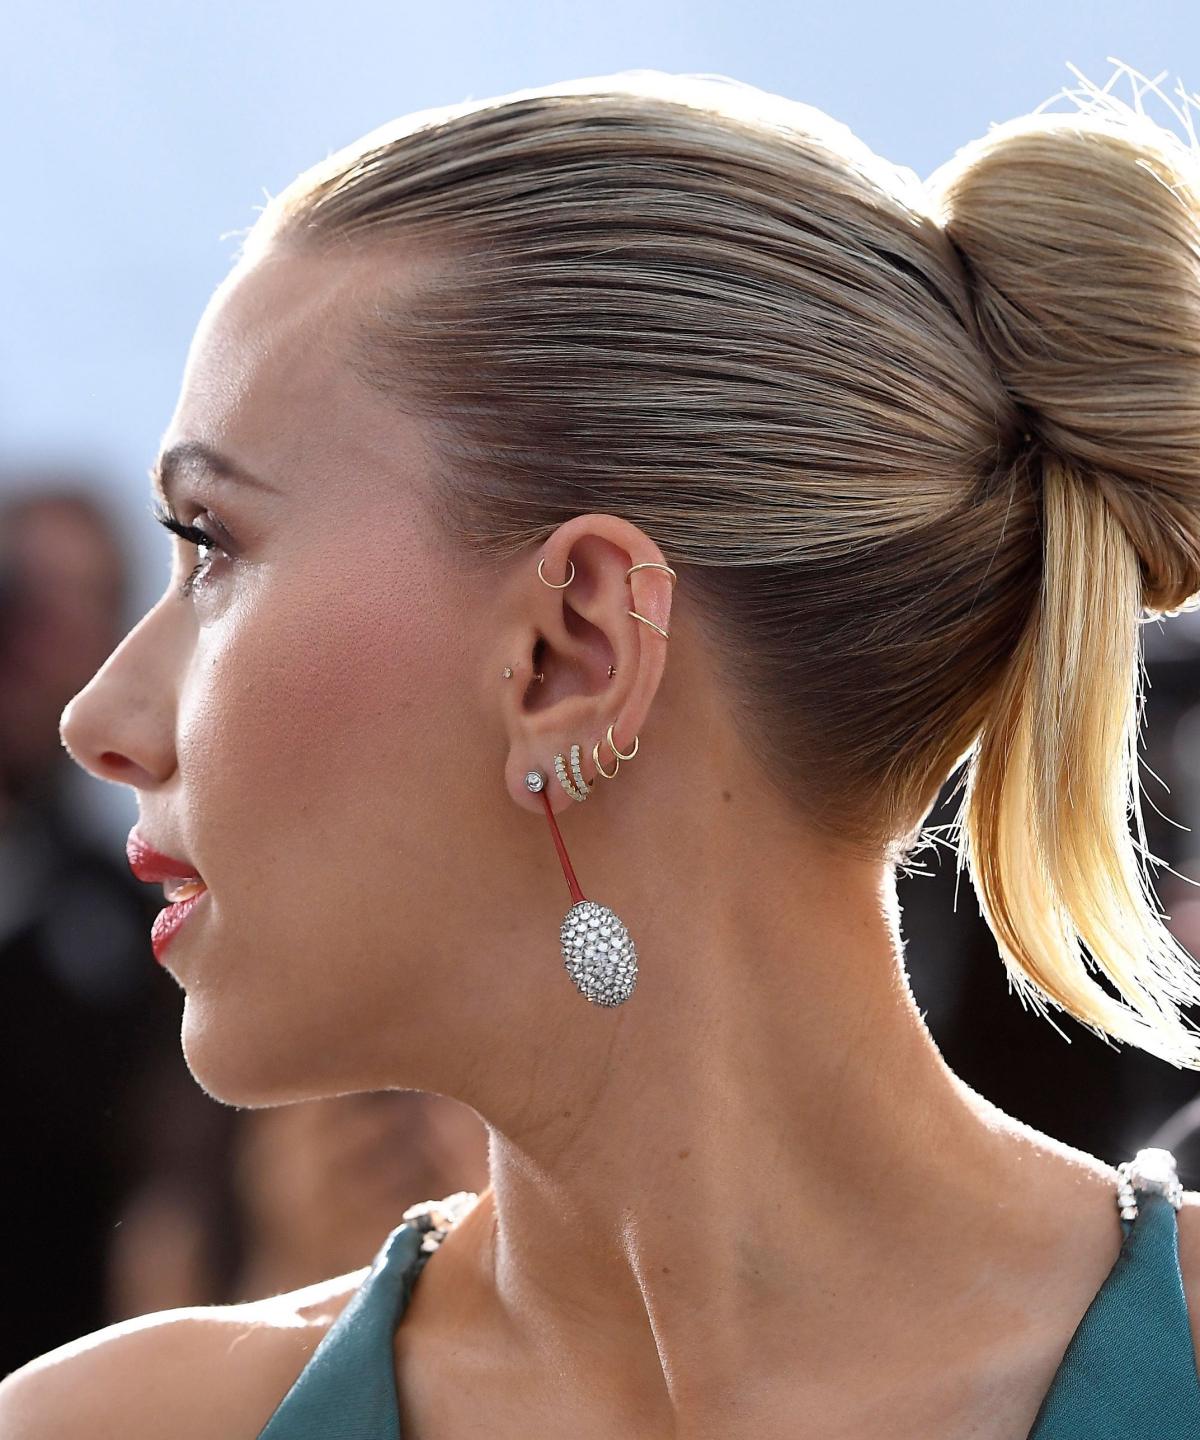
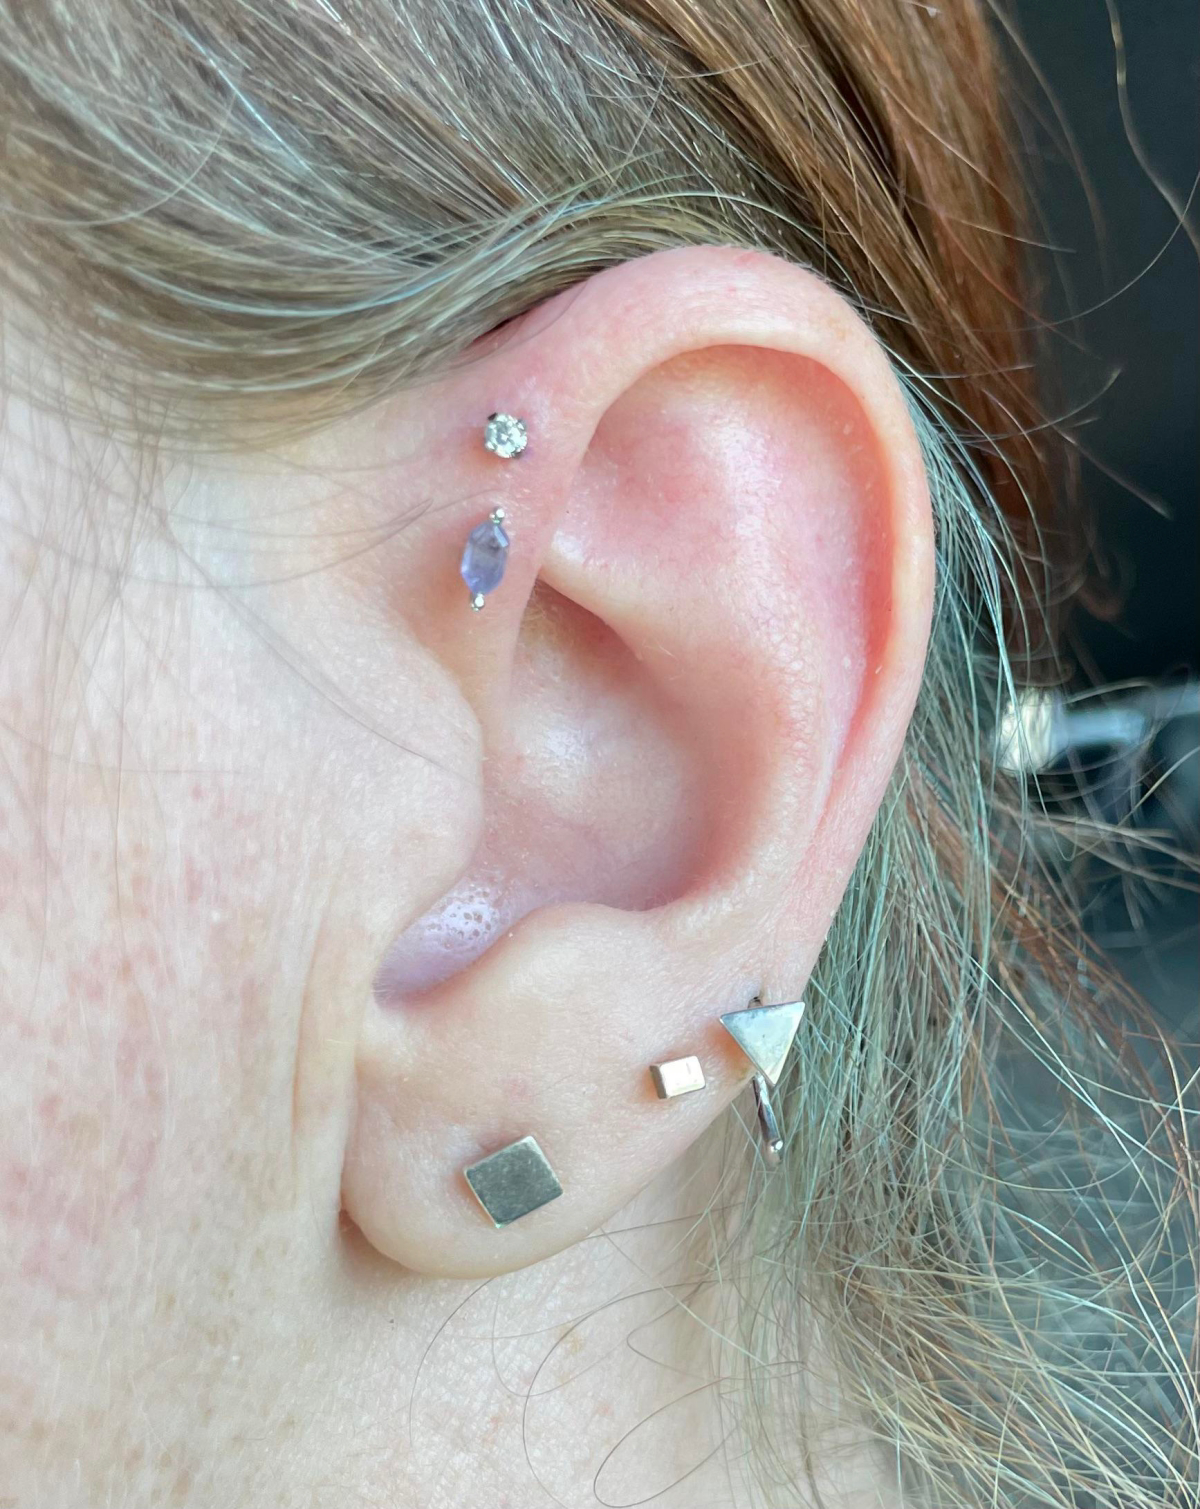
It’s all about balance and scale. If you have a triple forward helix, consider using tiny, minimalist studs—like 1.5mm gems or simple gold balls—to create a delicate sparkle. This looks stunning when balanced with a more prominent piece in your conch or a statement hoop in your daith. If you opt for a single, bolder forward helix stud (perhaps a marquise-cut gem from a brand like BVLA), keep the surrounding helix jewelry simpler to let it be the star. The goal is to create a cohesive ‘earscape,’ not a competition.
- Sleeping on your new piercing, which puts pressure on the jewelry and can shift its angle permanently.
- Getting hair products, makeup, or moisturizers in the piercing.
- Twisting or turning the jewelry—this just re-injures the healing tissue.
- Changing the jewelry before a professional piercer says it’s time (usually 6-12 months).
The biggest mistake? Impatience. A forward helix is a marathon, not a sprint.


