Thinking About an Orbital Piercing? Here’s the Honest Truth
I’ve been behind the needle as a professional piercer for a long, long time. I’ve seen countless trends come and go, but the orbital piercing? That one has some serious staying power. It’s such a striking look, connecting two separate piercings with one beautiful ring to create a single, intentional statement.
In this article
- The Big Question: Do You Get the Ring Right Away?
- Your Ear’s Anatomy and Why It’s a Big Deal
- Choosing Your Spot: Helix vs. Conch Orbitals
- The Piercing Process: What to Expect
- The Money Talk: Budgeting for a Quality Piercing
- Aftercare: Your Guide to a Happy Healer
- Troubleshooting 101: Bumps, Lumps, and When to Worry
- Galerie d’inspiration
When it’s done right, an orbital looks clean, elegant, and just plain cool. But I’ve also seen the other side of the coin. A poorly planned orbital can lead to a world of hurt—think irritation bumps, constant pain, and months of frustration. So, my goal here is to give you the honest, no-fluff knowledge you need before you commit.
Let’s be clear: an orbital isn’t just a piercing; it’s a project. It’s a true partnership between you and your piercer, and success depends on both of us doing our jobs right.
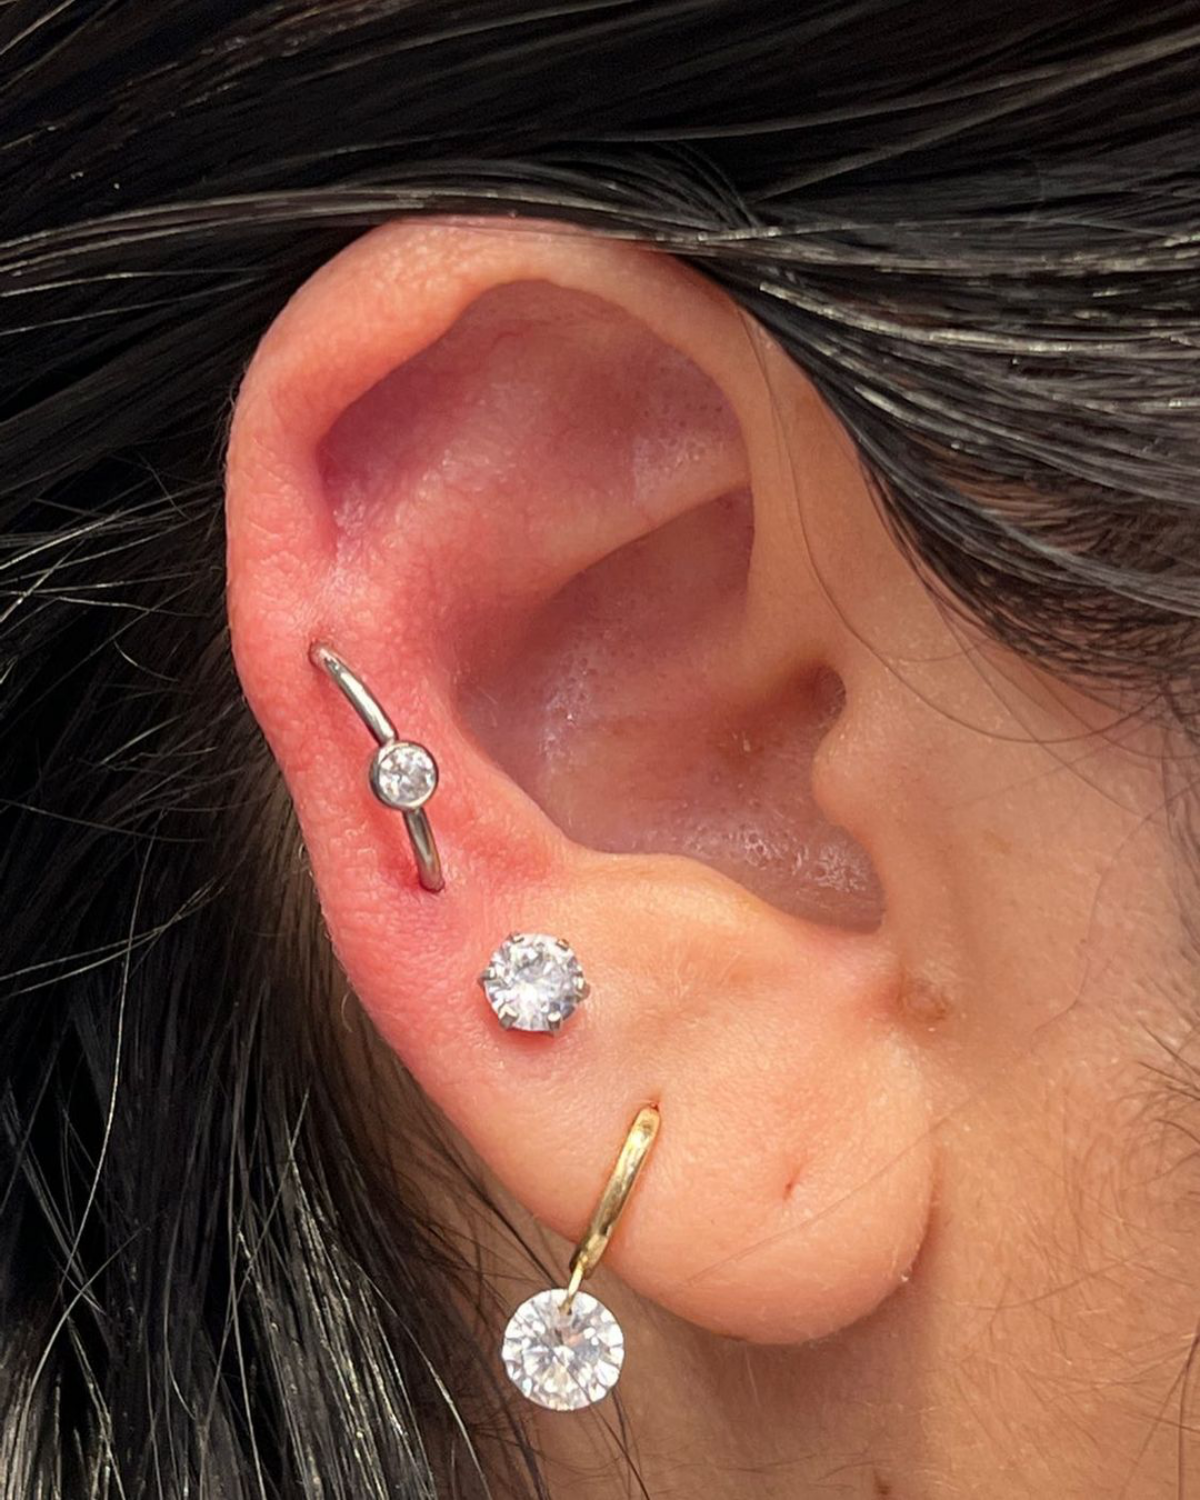
The Big Question: Do You Get the Ring Right Away?
Okay, let’s get the most important question out of the way first. Most people picture getting the cool hoop on day one, but in most cases, that’s not the best approach. Honestly, the gold standard for healing an orbital is to start with two separate, high-quality studs.

Why? It’s all about physics. A ring creates tension and movement between the two fresh piercings, which are trying desperately to heal. This constant pulling is a recipe for irritation bumps and a super prolonged, painful healing process. By using two separate flat-back labret studs initially, each piercing can heal independently without any pressure. Once they are fully healed and stable—we’re talking 6 to 12 months down the line—you can swap them out for that gorgeous ring you’ve been dreaming of. It requires patience, but trust me, it’s the secret to a happy, healthy orbital.
Your Ear’s Anatomy and Why It’s a Big Deal
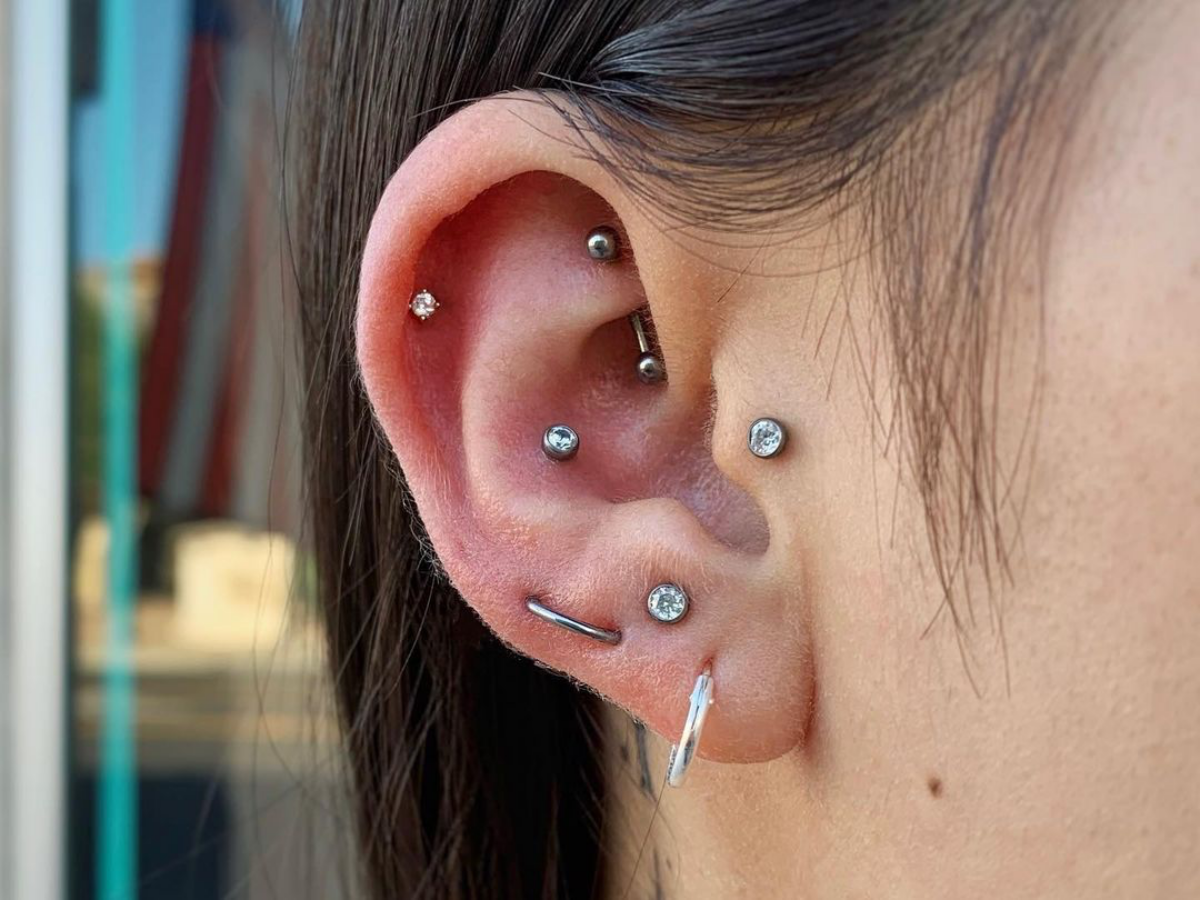
To really get the orbital, you have to understand your ear. The outer ear is mostly cartilage, which is way different from your soft, fleshy earlobe. Cartilage is dense tissue with very little blood flow, and that’s the single most important fact you need to know. Less blood flow means slower healing. An earlobe might be happy in 6 to 8 weeks, but you’re looking at a solid 6 to 12 months (and sometimes longer!) for a cartilage piercing like an orbital. There are absolutely no shortcuts.
The geometry of the orbital is what makes it so tricky for the piercer. We have to place two holes that are perfectly parallel to each other on a surface that isn’t flat. Your ear has all these unique curves and ridges. If the angles are off by even a millimeter, the future ring will pull and put constant pressure on the tissue. That pressure is the number one cause of failed orbitals. A good piercer has to account for that three-dimensional shape to ensure the jewelry will eventually sit passively, without any tension.
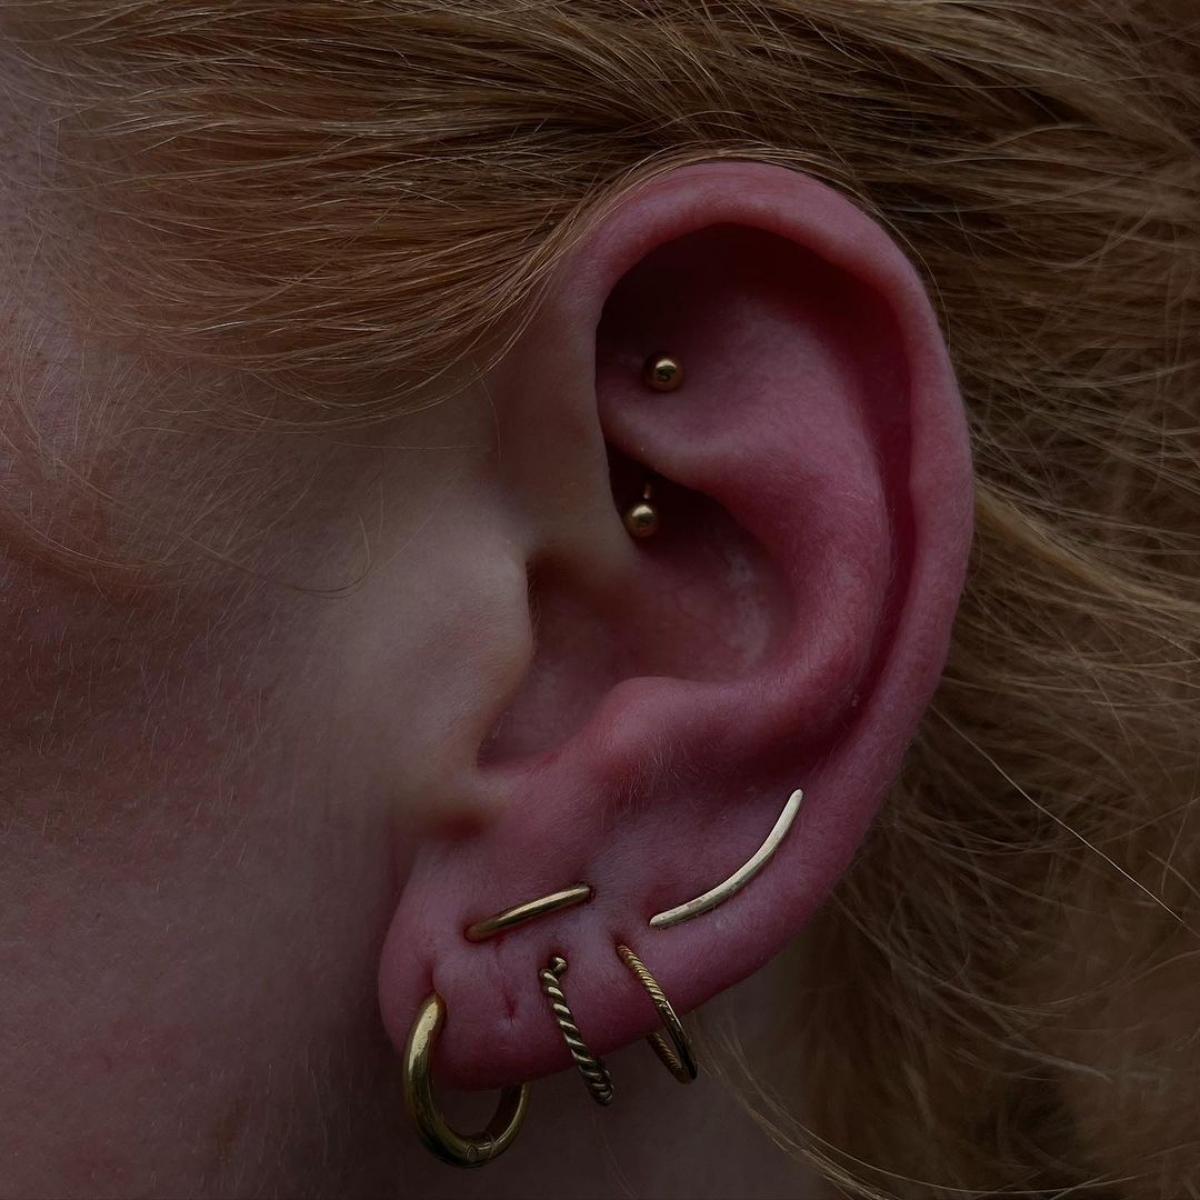
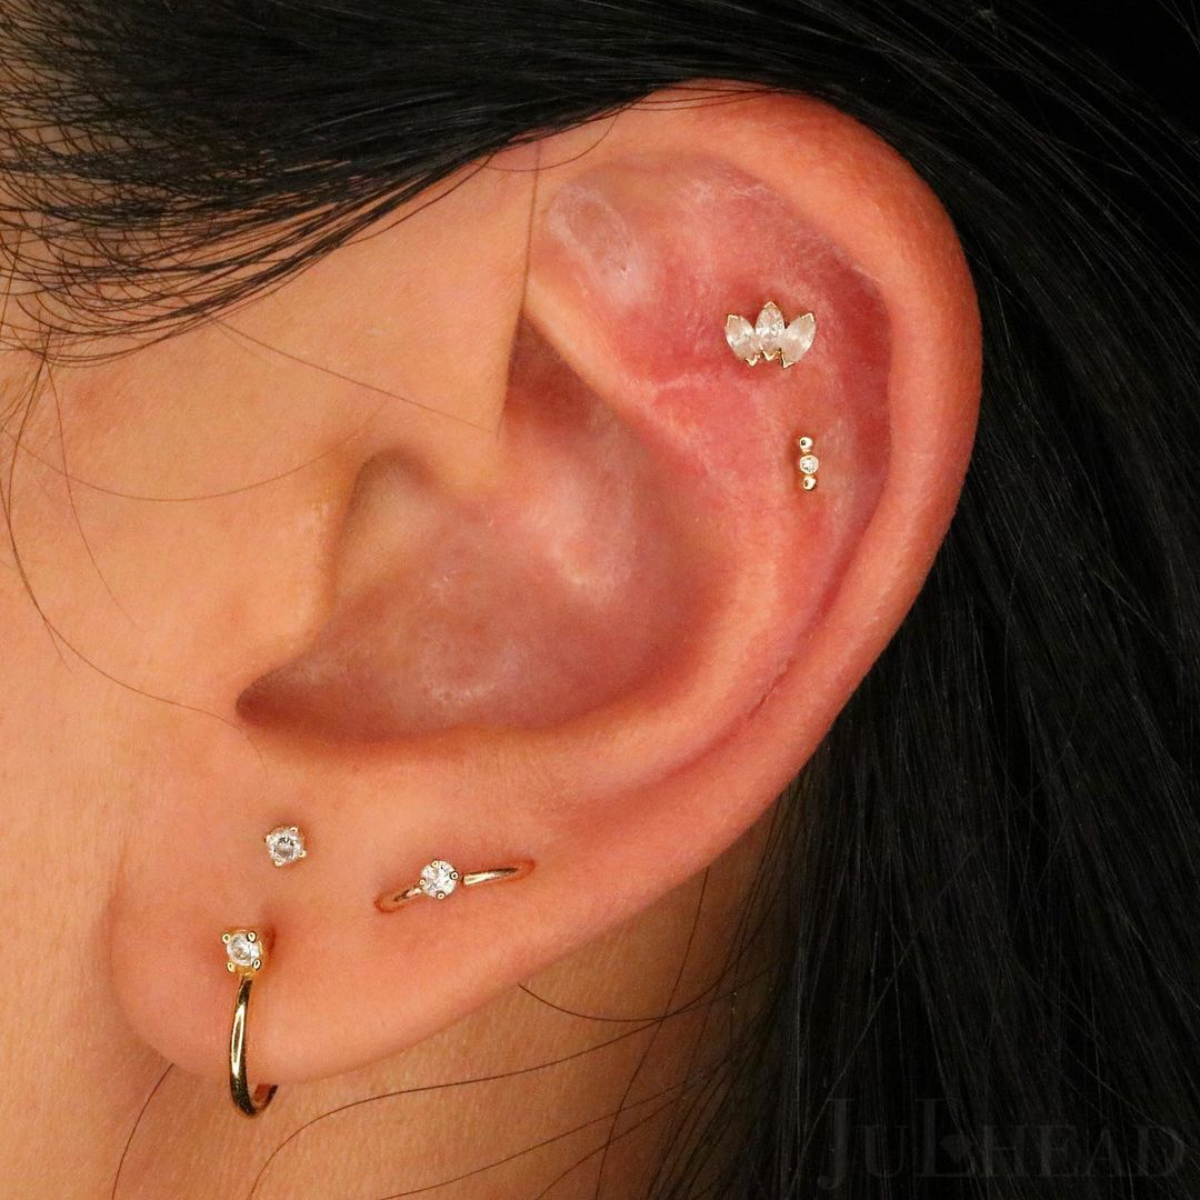
Choosing Your Spot: Helix vs. Conch Orbitals
Most orbitals are placed in one of two main areas. There’s no right or wrong answer, just what works best for you and your lifestyle.
- The Helix Orbital: This is placed along the outer rim of your ear, making it super visible and a classic choice. The downside? It’s much easier to snag on hair, glasses, or when you’re pulling a shirt on. If you’re someone who is rough with your ears, this is something to seriously consider.
- The Conch Orbital: This one is nestled inside the inner ‘cup’ of your ear. It’s a bit more tucked away and protected, which can be great for healing. The main challenge here is earbuds—they can put pressure on the area and introduce bacteria. You’ll likely have to stick with over-the-ear headphones for the entire healing period.
The Piercing Process: What to Expect
Alright, so you’ve decided to go for it. Finding the right piercer is everything. Look for someone whose portfolio shows plenty of healed orbitals, not just photos taken seconds after the piercing. Healed work is proof of skill. A piercer associated with professional piercing organizations is also a great sign they’re committed to safety and education.
During the appointment, we’ll start with a chat. I’ll examine your ear’s anatomy and we’ll talk about placement. I’ll clean your ear and mark the proposed spots with a skin-safe marker for your approval. Nothing happens until you are 100% happy with the placement.
Then comes the piercing itself. Everything that touches you should be opened from a sealed, sterile package right in front of you. We use a hollow, single-use needle, typically in a 16 or 14 gauge. Heads up: if a studio ever tries to use a piercing gun on your cartilage, walk out. Guns cause blunt force trauma and can shatter cartilage, leading to serious complications. A needle is sharp, precise, and far safer.
So, what about the pain? On a scale of 1 to 10, most clients put it at a 6/10. It’s a sharp, intense pinch for each piercing that fades very quickly into a dull throb. It’s generally considered more intense than a lobe piercing but less so than something like an industrial. You’ll feel a distinct pressure, and then it’s over in seconds.
The Money Talk: Budgeting for a Quality Piercing
Let’s talk dollars and cents, because this is an investment in your body. The piercing service fee for a double piercing like an orbital typically runs between $60 and $100, depending on the studio’s location and the piercer’s experience. But that’s just the service fee—it doesn’t include the jewelry.
And this is where you don’t want to skimp. For initial jewelry, you should only use implant-grade titanium or solid 14k/18k gold. A pair of implant-grade titanium labret studs will likely cost between $30 and $60 total. If you opt for solid gold, you could be looking at $80 or more per stud. It might seem pricey, but high-quality, body-safe metal is non-negotiable for smooth healing. Cheap mystery metals can cause allergic reactions and irritation that will cost you more in the long run.
Aftercare: Your Guide to a Happy Healer
The piercing is the easy part; the real work begins when you walk out the door. Your number one job is to keep it clean and leave it alone.
Your simple shopping list (get this beforehand!):
- A sterile saline wound wash spray. Look for one that contains only 0.9% sodium chloride and water, with no other additives. You can find these at most pharmacies.
- Sterile, non-woven gauze pads. Avoid cotton balls or swabs, as their fibers can get caught in the piercing.
- A travel pillow. This is a lifesaver! It allows you to sleep on your side without putting any pressure on your healing ear.
Your daily routine should be simple: Gently spray the front and back of each piercing with the sterile saline solution, 1-2 times per day. If there are any “crusties” (which are a normal part of healing), let the spray soften them for a minute before gently wiping them away with the non-woven gauze. That’s it. Do not twist, turn, or play with the jewelry. Don’t use alcohol, peroxide, or harsh soaps—they do more harm than good.
Troubleshooting 101: Bumps, Lumps, and When to Worry
Even with perfect aftercare, you might hit a snag. The most common issue is the dreaded irritation bump. It usually looks like a small, reddish pimple right next to the piercing site. This is NOT an infection. It’s your body’s response to pressure or irritation—from being slept on, snagged, or from low-quality jewelry. The first step is to check in with your piercer so they can help you identify the cause.
An actual infection is a different beast and needs medical attention. Signs of infection include:
- Thick, yellow or green pus (not the clear/whitish fluid of normal healing)
- The area is hot to the touch
- Redness that spreads far from the piercing site
- Fever or feeling generally unwell
If you suspect an infection, see a doctor. But don’t remove the jewelry, as this can trap the infection inside.
By the way, people often worry about keloids. True keloids are a specific type of genetic scarring and are much rarer than simple irritation bumps. If you don’t have a personal or family history of them, it’s very unlikely you’ll develop one.
So there you have it. The orbital is a high-commitment, high-reward piercing. It demands patience and care, but when you finally get to install that seamless ring in your fully healed piercing… well, there’s nothing quite like it.
Galerie d’inspiration
Implant-Grade Titanium: The gold standard for initial piercings. It’s lightweight, completely nickel-free (look for ASTM F-136), and ideal for sensitive skin, minimizing reaction risks.
Implant-Grade Surgical Steel: A classic and durable choice (look for ASTM F-138), but it contains trace amounts of nickel. Most people tolerate it well, but titanium is the safer bet if you have any sensitivities.
For a smooth healing journey, starting with titanium is a piercer-approved pro move.
The Association of Professional Piercers (APP) explicitly advises against using harsh products like alcohol, hydrogen peroxide, or antibacterial soaps on healing piercings.
These products are far too aggressive for a delicate healing channel. They can kill off the healthy new cells your body is trying to build, leading to dryness, irritation, and a significantly longer healing time. Stick to a simple sterile saline spray.
Is it normal for my new orbital to be swollen and red?
Yes, for the first few weeks, some swelling, redness, and tenderness are completely normal. Your body is reacting to the new ‘wounds’. However, if the redness spreads significantly, the swelling is excessive, you see yellow or green pus, or you develop a fever, contact your piercer and a doctor immediately. These are signs of a potential infection that requires medical attention.
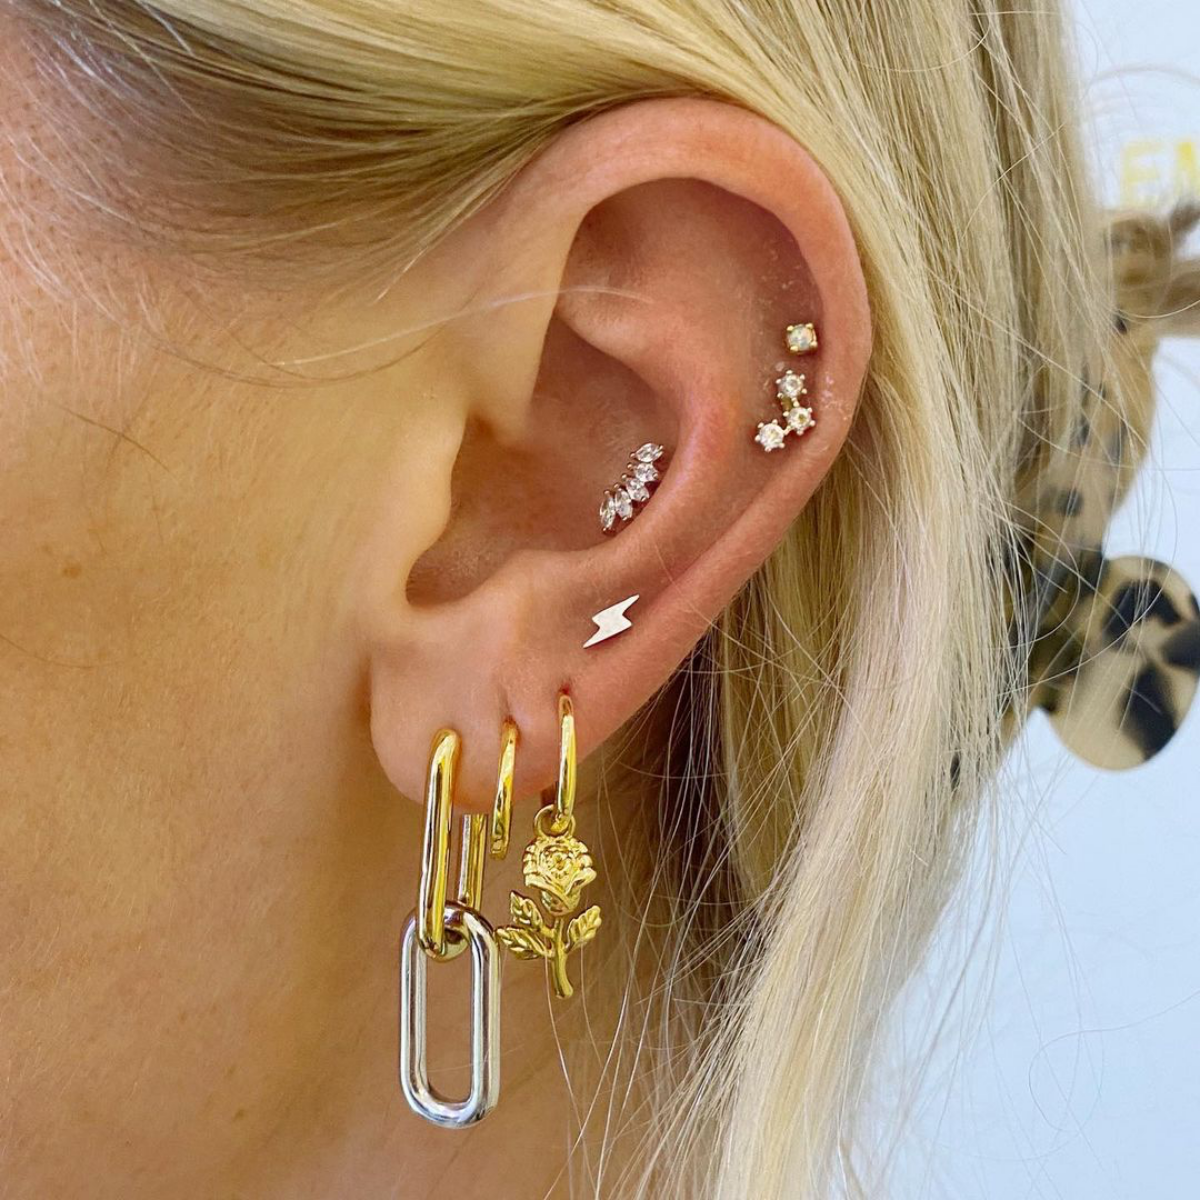
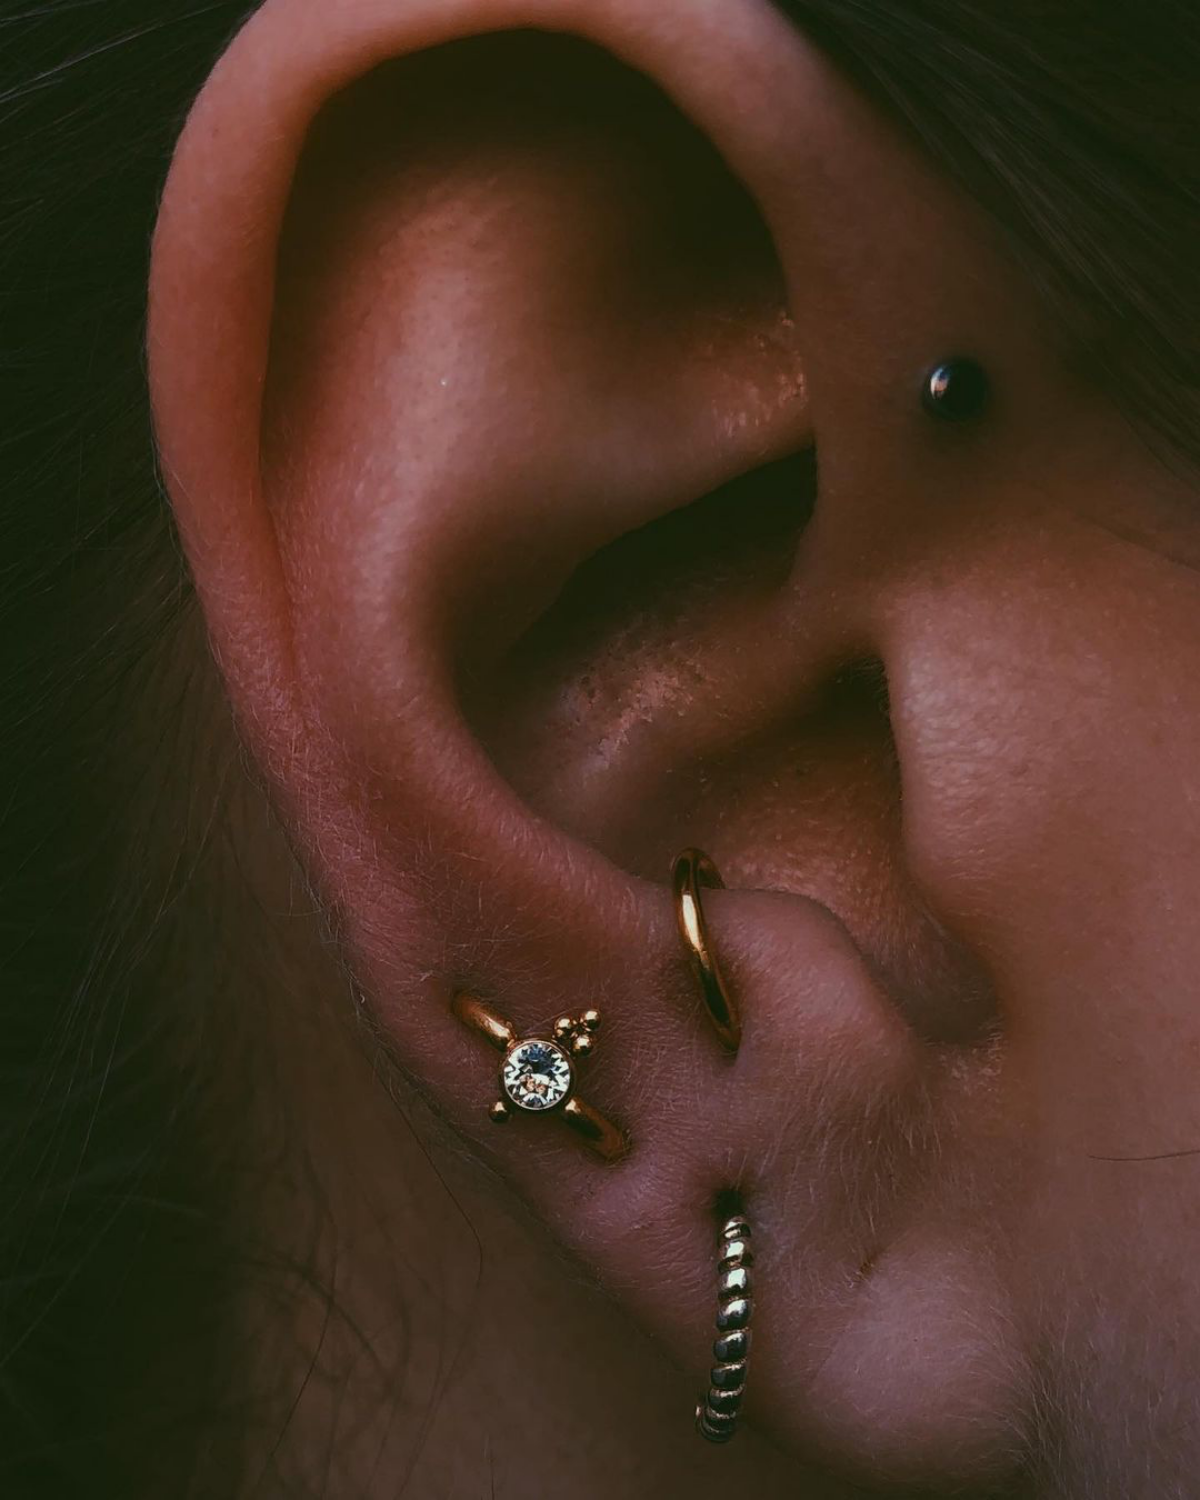
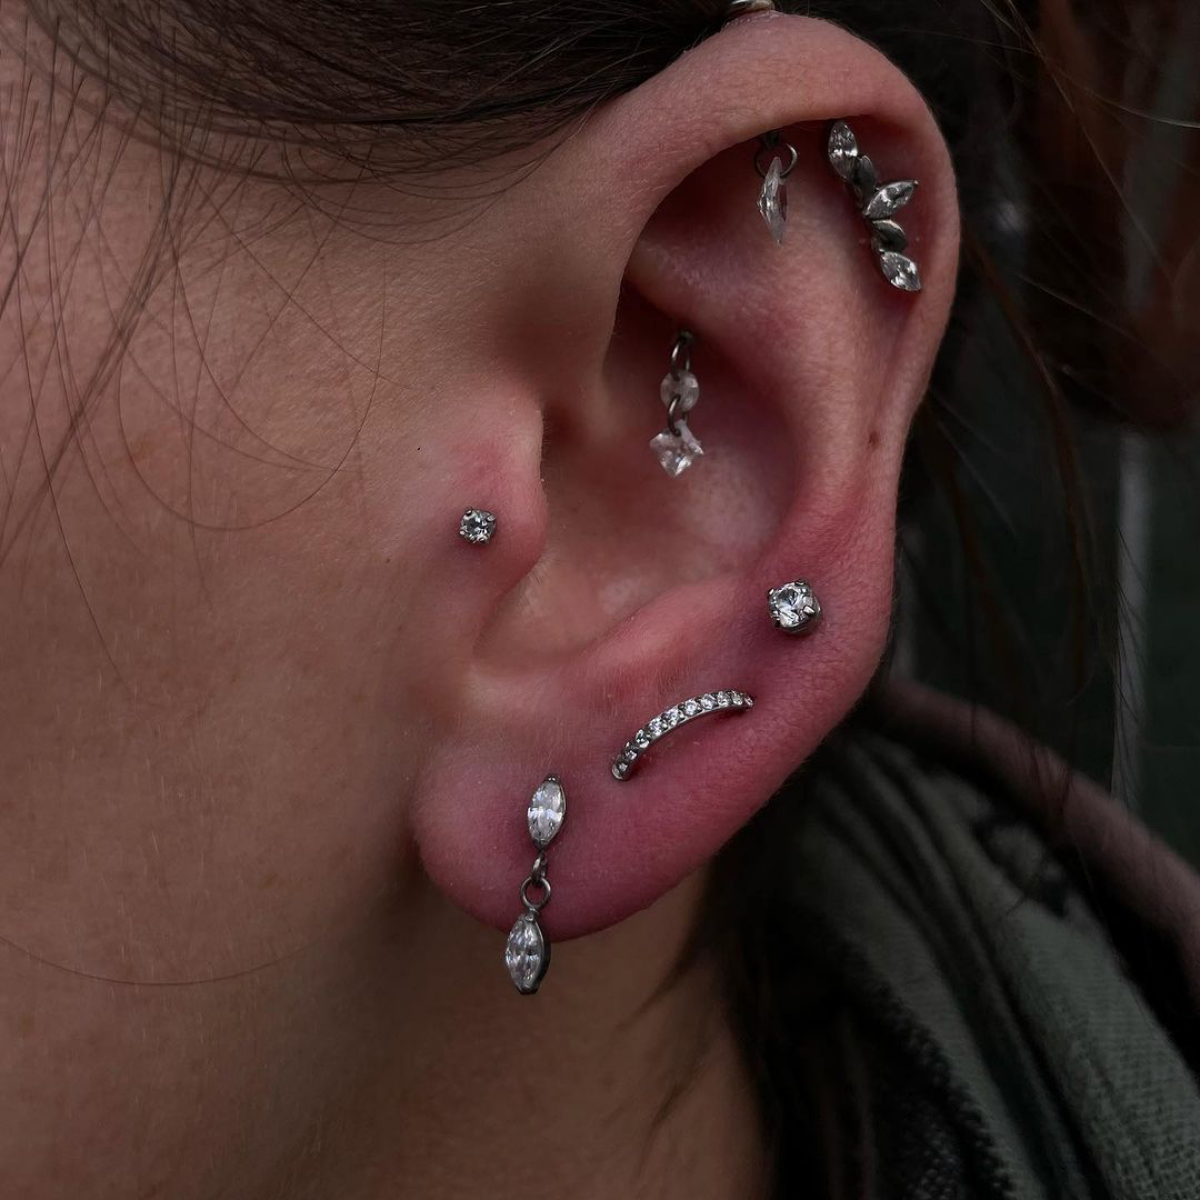
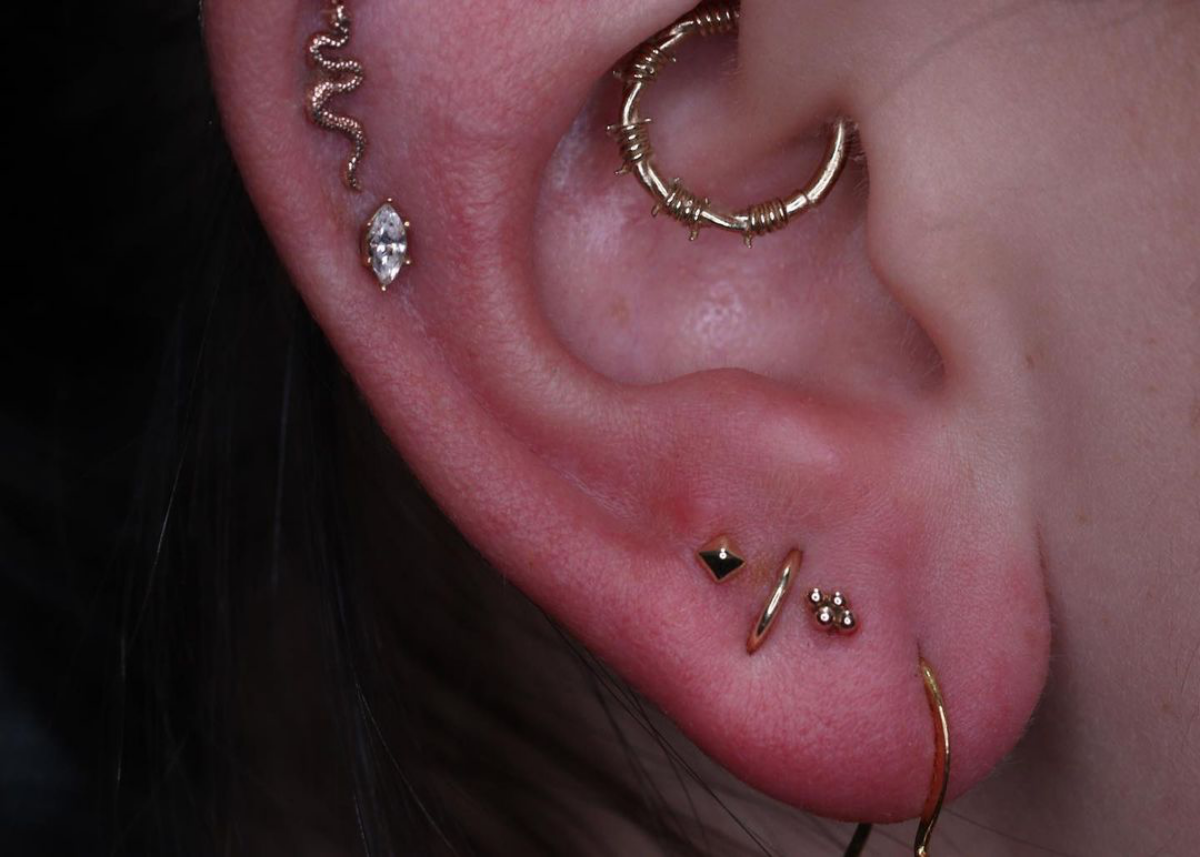
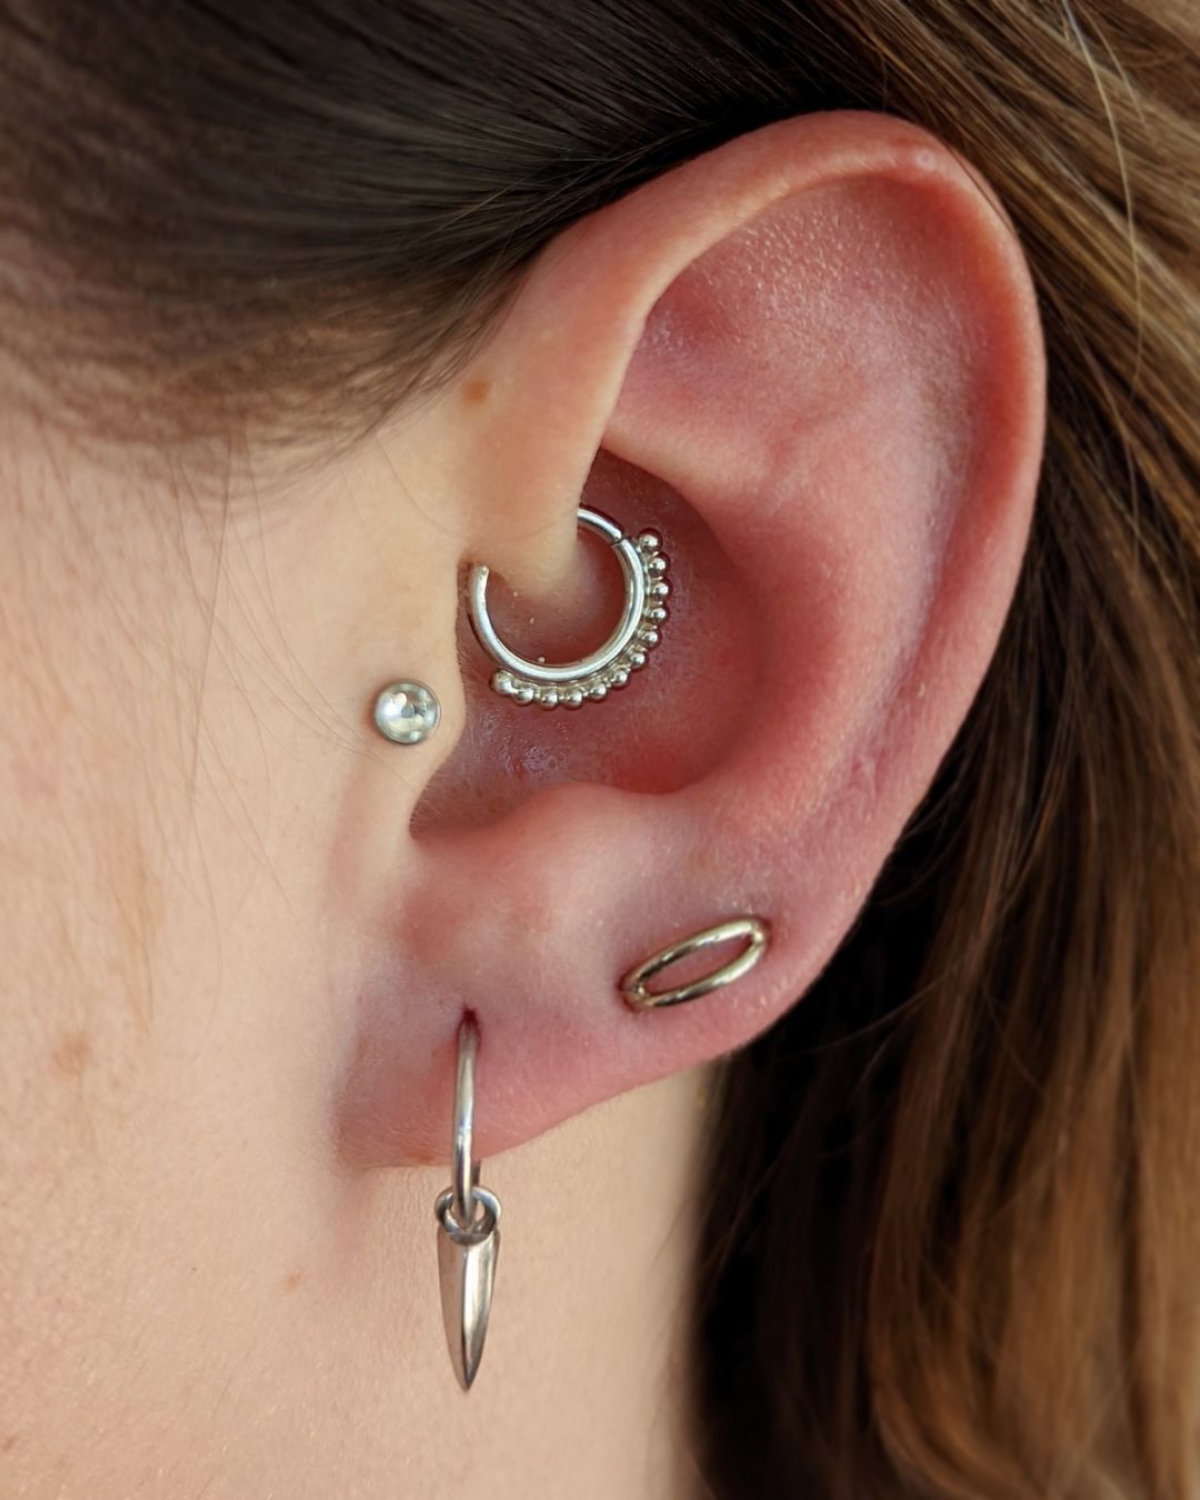
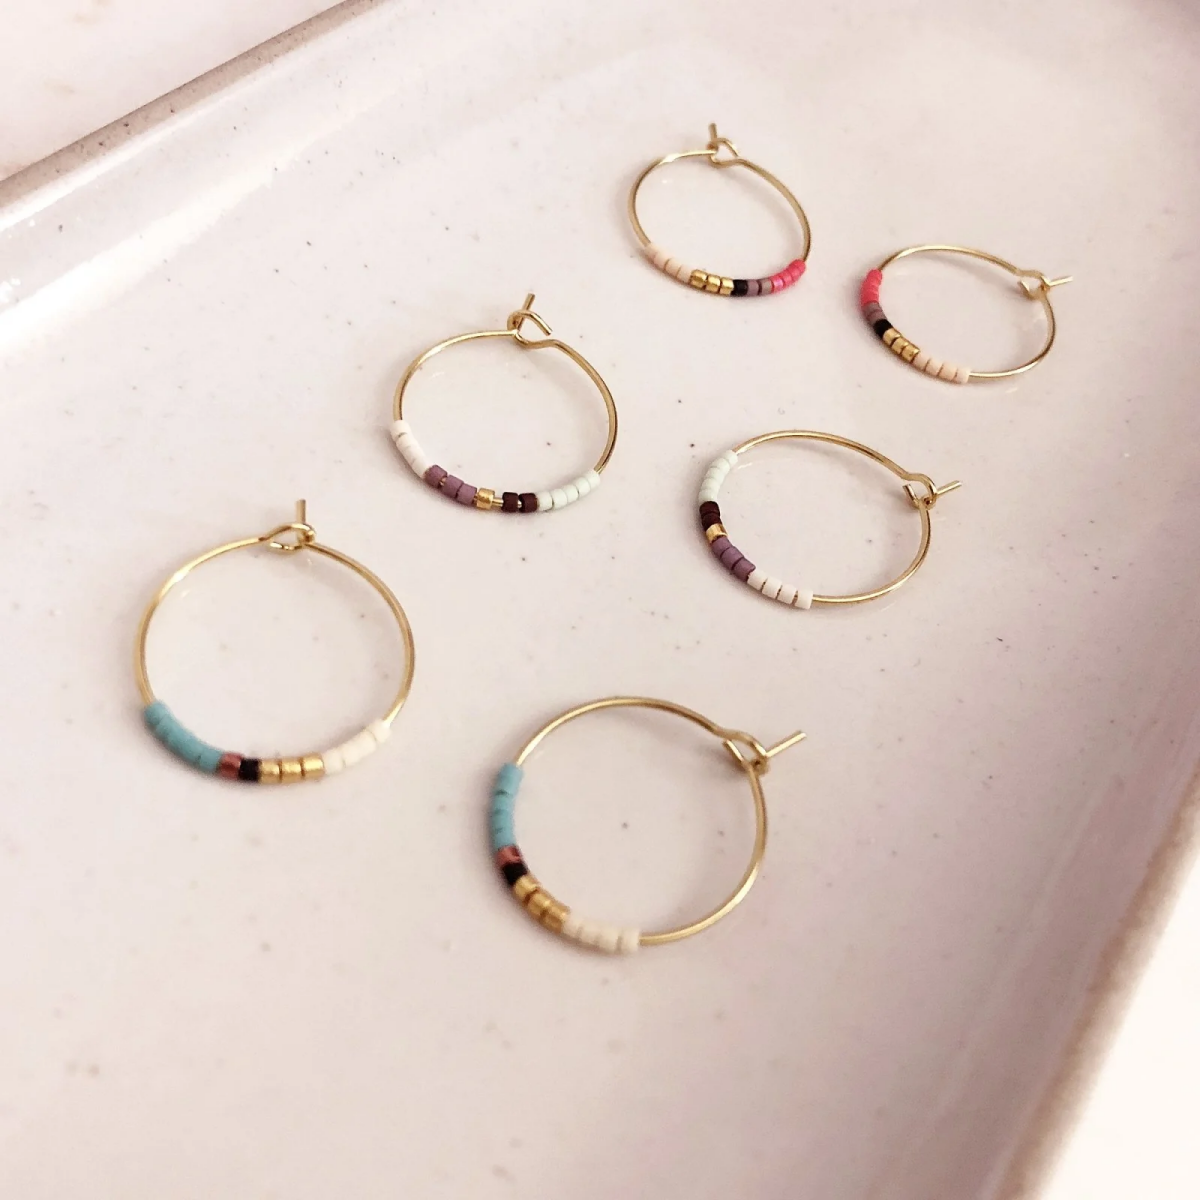
Once healed, your orbital is the centerpiece of your ear curation. Think of it as the anchor for your personal style.
- For a cohesive look: Match the metal of your orbital ring to your other jewelry. A yellow gold orbital from a brand like BVLA pairs beautifully with delicate gold lobe studs.
- For an edgy contrast: Mix your metals. A polished black titanium ring in your orbital can make silver or gold jewelry in other piercings pop.
- For a touch of sparkle: Choose an orbital ring with a single, subtle gemstone that complements other jeweled pieces in your ear.

Important consideration: Your piercer’s portfolio is your best friend. Don’t just look for photos of fresh, shiny orbital piercings. Ask to see pictures of *healed* ones. A truly skilled piercer will be proud to show off their clients’ well-healed, long-term results, proving they understand placement, anatomy, and proper jewelry sizing for successful healing.
- A warm, rich glow that enhances any skin tone.
- Excellent biocompatibility for long-term wear.
- An investment piece that holds its value.
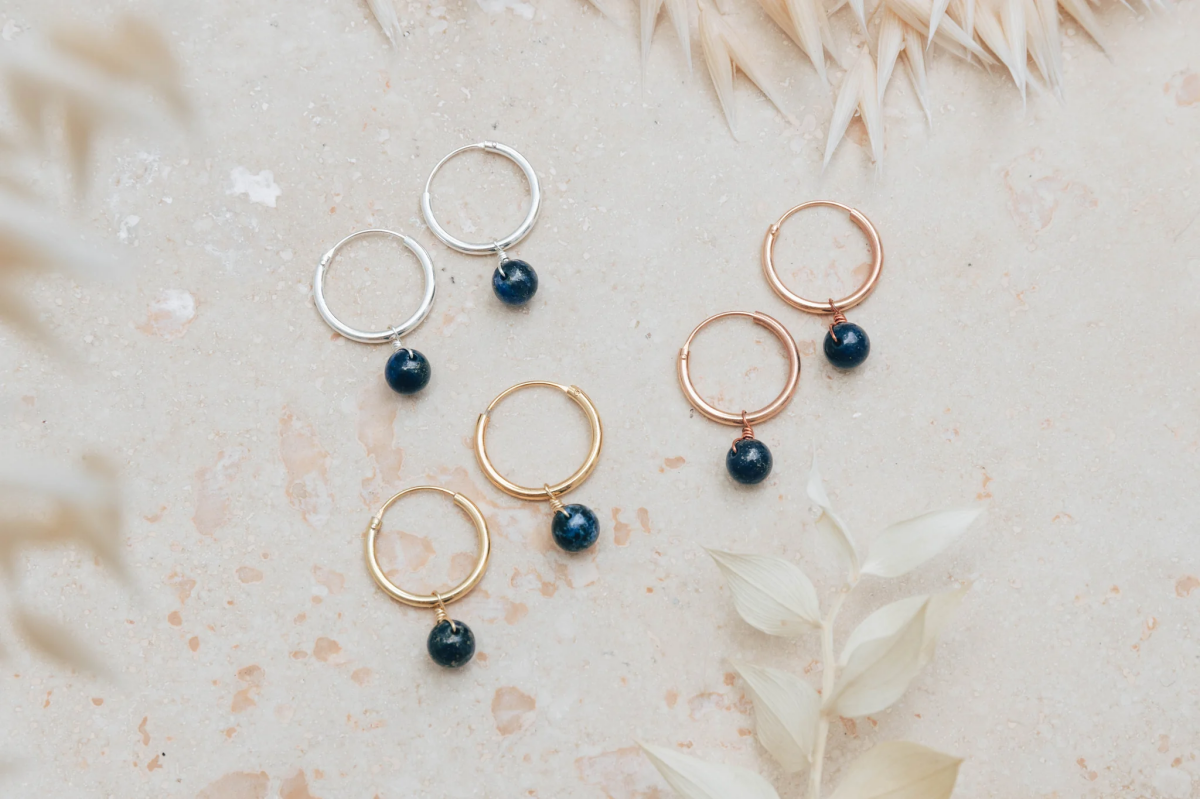
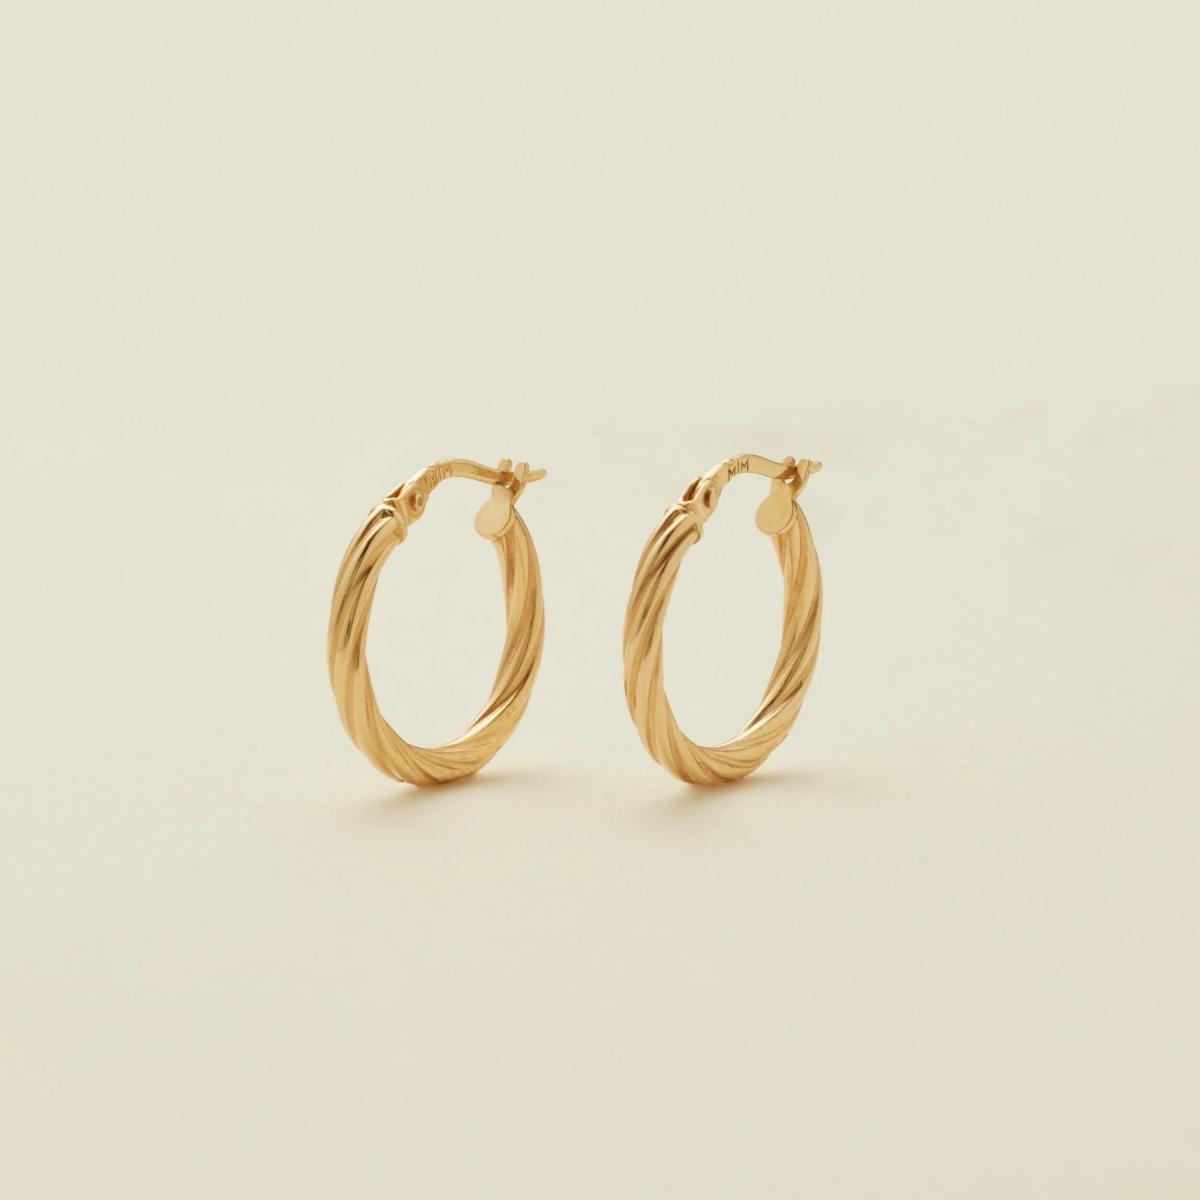
The secret? Sticking to solid 14k or 18k gold. Avoid gold-plated or gold-filled jewelry for a permanent piercing. The plating can wear off over time, exposing underlying base metals that may cause irritation or discoloration. Solid gold is the ultimate choice for both luxury and safety.
Don’t forget to budget for the entire orbital journey. The final cost isn’t just the piercer’s fee. You’ll need to account for: the price of two high-quality initial labret studs, several cans of sterile saline solution for 6+ months of aftercare, and finally, the statement ring itself. A quality orbital hoop from a reputable body jewelry brand like Junipurr or Buddha Jewelry Organics is an investment in its own right.
Love the orbital aesthetic but not ready for the commitment? You can fake the look with surprising ease. A well-placed ear cuff that hugs the helix ridge can create a convincing illusion of a ring passing through the cartilage. It’s a perfect way to test-drive the placement or simply accessorize for a night out without the long-term healing process.
- Don’t panic! Irritation bumps are common, especially with cartilage.
- Do not touch, twist, or pick at it.
- Ensure you’re only cleaning it with a sterile saline solution.
- Check if you’ve been sleeping on it accidentally. A travel pillow can help prevent pressure.
- Consult your piercer. They can assess if it’s an issue with angle, jewelry size, or aftercare and provide a solution.
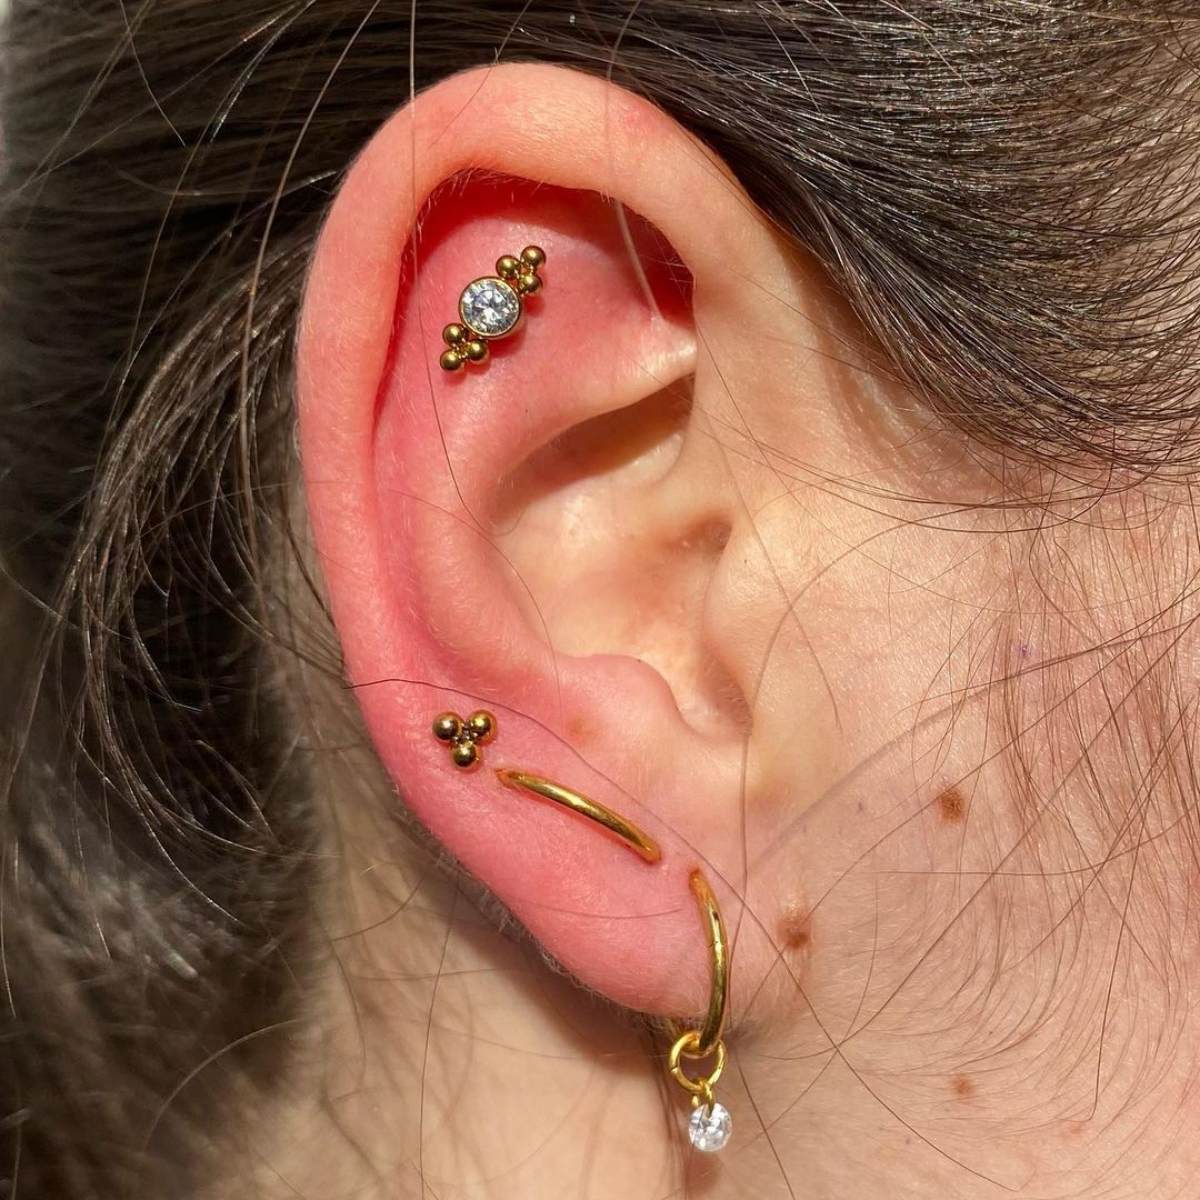
An orbital piercing is technically two separate piercings that are later connected by one piece of jewelry.


