Your Guide to Bulletproof Nail Art That Actually Lasts
After more than a decade as a professional nail tech, let me tell you something I know for sure. A gorgeous nail design that chips in two days isn’t gorgeous at all—it’s just a waste of time and money. I’ve seen it all in my studio, from clients showing me intricate photos to new apprentices fumbling with the basics. The real secret between a manicure that lasts a week and one that lasts a month isn’t the color or the trend. It’s the hidden engineering underneath.
In this article
So many people think nail art is just about painting pretty pictures on top of a nail. But for those of us who live and breathe this stuff, it’s a craft built on science. It’s about understanding product chemistry, nail anatomy, and the physics of building a tiny structure that can survive daily life. Honestly, I learned this the hard way early on, watching my own work lift or break and having to figure out why. That’s where real skill comes from—not just copying a design, but truly mastering the foundation.
This guide isn’t about chasing fads. It’s about sharing the core principles I’ve picked up over years of working on clients, training apprentices, and taking countless pro classes. We’re going to dive into why prep is everything, how to build a strong base, and the techniques for applying art that doesn’t give up. Whether you’re a curious client wanting to know what you’re paying for, a home enthusiast, or an aspiring tech, this is the stuff that really matters.
First Things First: The Science of a Rock-Solid Foundation
Before a single drop of color ever touches the nail, the most important work is already done. The success of any manicure, whether it’s a simple gel color or a complex set with 3D art, lives or dies by how well the natural nail is prepped. It’s not glamorous, but it is EVERYTHING.
Getting to Know the Nail Plate
The nail itself is made up of layers of keratin. It’s porous and naturally has oils and moisture on its surface. For any product to stick, you have to create a clean, dry, and slightly rough surface for it to grab onto. Think of it like painting a wall—you’d never just slap paint over dirt and grease, right? You’d clean and prime it. Same exact principle here.
A huge mistake I see all the time is bad cuticle care. What most people call the ‘cuticle’ is actually two different things: the living skin at the base (the eponychium) and the non-living tissue that grows out onto the nail plate (the true cuticle). Rule number one: we never, ever cut the living tissue. Our job is to gently remove that non-living, invisible layer of skin on the nail. If you leave it there, the gel will stick to it instead of the nail. As your nail grows, that little piece of skin lifts, and it takes the product right along with it. This is probably the #1 cause of lifting at the base of the nail.
The Magic of Adhesion
Once the nail is clean, we use special products to help everything stick. These are your dehydrators and primers. It’s good to know what they’re doing.
- Dehydrators: These are usually a mix of alcohol and acetone. Their only job is to temporarily suck all the oils and moisture off the nail surface. It creates a perfect, clean slate for the next step.
- Primers: There are two main kinds. Acid-free primers are the modern standard for gels and work like molecular double-sided tape. One side of the molecule grabs onto the nail’s keratin, and the other side grabs onto the gel product. It’s pretty cool stuff. The other kind, acid-based primers, are less common now but they chemically micro-etch the nail to create a rougher surface. I almost exclusively use high-quality, acid-free primers, like the popular ones from brands like Young Nails. They’re incredibly effective and much kinder to the nail and skin.
And then there’s the curing process, or polymerization. This is where the gel hardens under a lamp. The gel has things called photoinitiators inside that react to specific UV/LED light wavelengths. Oh yeah, and your lamp MATTERS. A professional lamp is calibrated to emit the right light to cure the gel all the way through. Under-curing is one of the most dangerous mistakes a person can make, because it can leave unreacted chemicals that seep into your skin, leading to contact dermatitis and even lifelong gel allergies. Seriously, be wary of those super-cheap, low-power lamps you can find online for $10. A good, safe lamp for home use from a brand like MelodySusie or SUNUV usually costs between $25 and $50 and is a much smarter investment in your health.
Building the Perfect Canvas: Pro Techniques
With the science down, let’s get physical. In the salon, we call this ‘building the canvas.’ A flat or weak nail needs a little architecture to support art and length. A pro doesn’t just paint on a bare nail; we build a subtle, strong structure first.
My No-Fail Prep Routine
My prep is a ritual, and I do it the same way every time. After sanitizing, of course:
- Push Back: I use a sanitized metal pusher to gently ease back the skin at the base of the nail. This makes that invisible true cuticle easier to see and remove.
- Cuticle Cleanup: With a very fine-grit diamond bit on an e-file at a low speed (around 8,000-12,000 RPM), I gently trace the cuticle area. The sound you want is a soft whisper, not a harsh grind. This takes training, so a heads up for home users: a much safer bet is to use a liquid cuticle remover (you can get a good one for about $8 at Sally Beauty) and a soft brush or orangewood stick to do this part manually.
- Gentle Buffing: I use a 180 or 240-grit buffer—never a coarse file—to lightly remove the shine from the nail plate. The goal is to create a matte surface, not to remove layers of the nail.
- Final Cleanse: This is non-negotiable. I scrub the nail with a lint-free wipe soaked in 99% isopropyl alcohol. It removes every last trace of dust and oil.
The Secret to Strength: The Apex
When clients want nails that feel strong, a simple flat coat of gel polish isn’t enough. We use a thicker product, like builder gel, to create a ‘structured manicure.’ The key to this is the apex. This is the thickest part of the nail enhancement, placed right over the nail’s stress area (about a third of the way down from the cuticle). This provides the reinforcement needed to stop bending and breaking.
To create it, I’ll apply a thin ‘slip layer’ of builder gel over the nail (don’t cure it!), then place a bead of gel in that stress zone. I use a tiny brush to guide it, then have the client flip their hand upside down for a few seconds. Gravity is your best friend here—it pulls the gel into a perfect, self-leveled curve. The real test? I check the reflection of my overhead light on the nail. Before, on a flat nail, the reflection is a wide, wobbly line. After, it should be a single, crisp, unbroken curve. That’s how you know it’s perfectly structured and strong.
Quick tip for beginners: Not ready for builder gel? Try this little trick. After your gel base coat, put an extra little dot of the base coat right in the center of your nail and let it self-level for 10-15 seconds before you cure. It creates a ‘cheater’ apex that adds a surprising amount of strength to a regular gel mani!
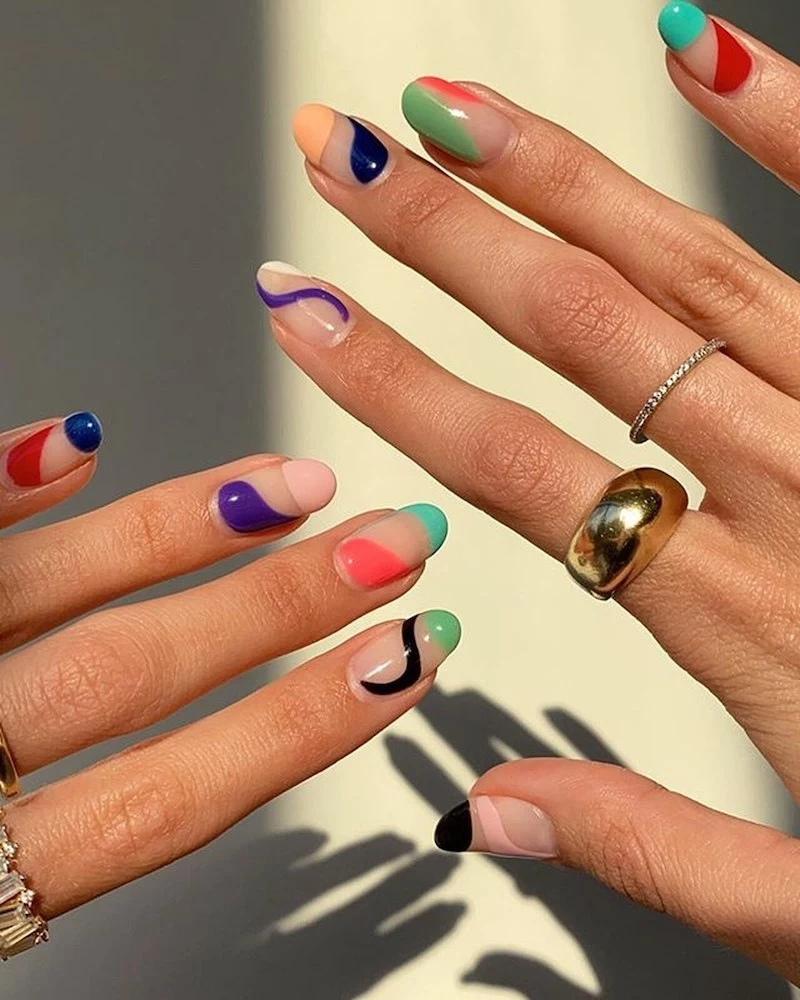
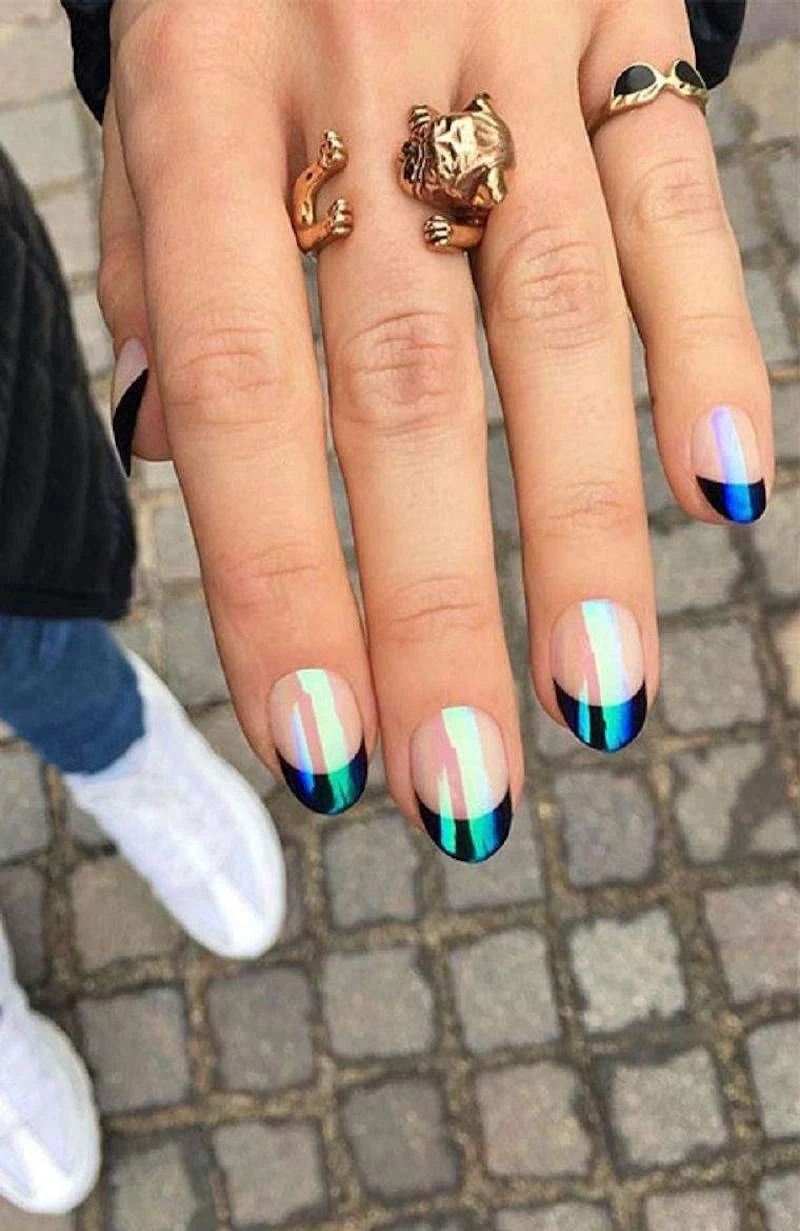
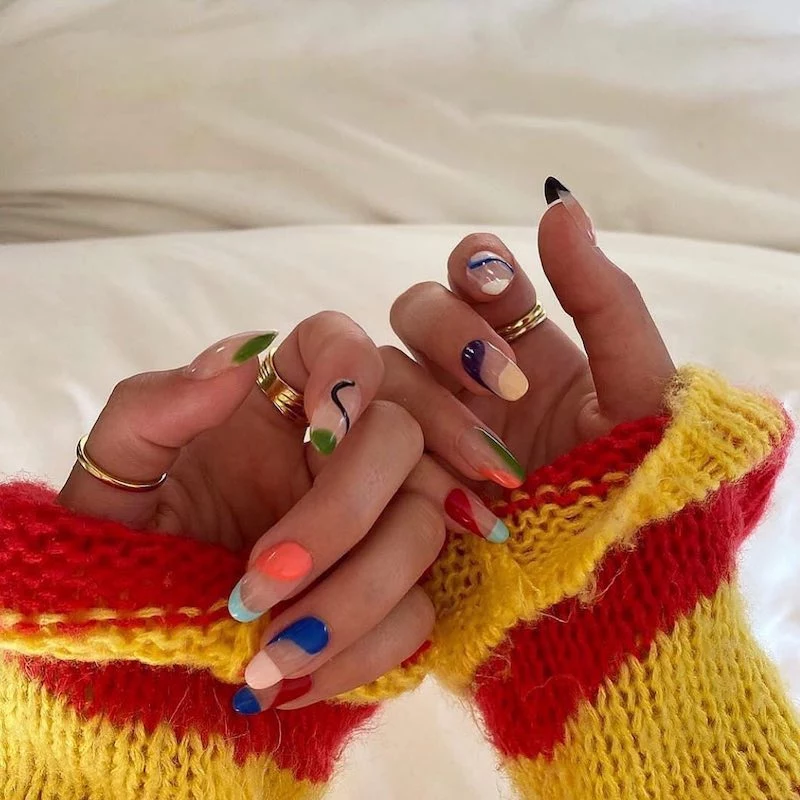
A Look at Modern Nail Art Mediums
Once you have that flawless canvas, the real fun begins. I don’t think in terms of trends, but in terms of mediums. Each one has its own quirks.
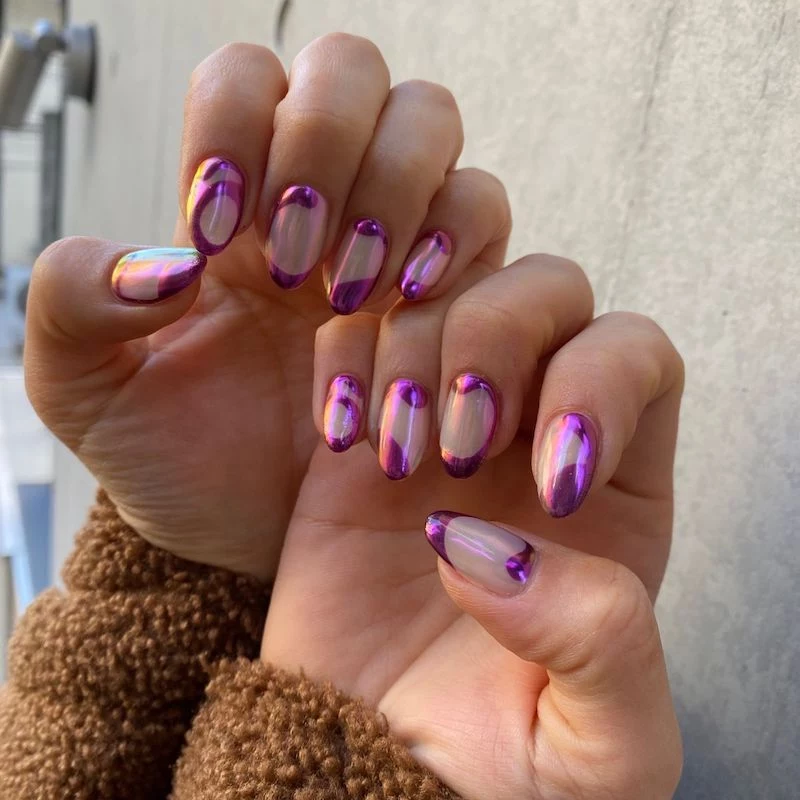
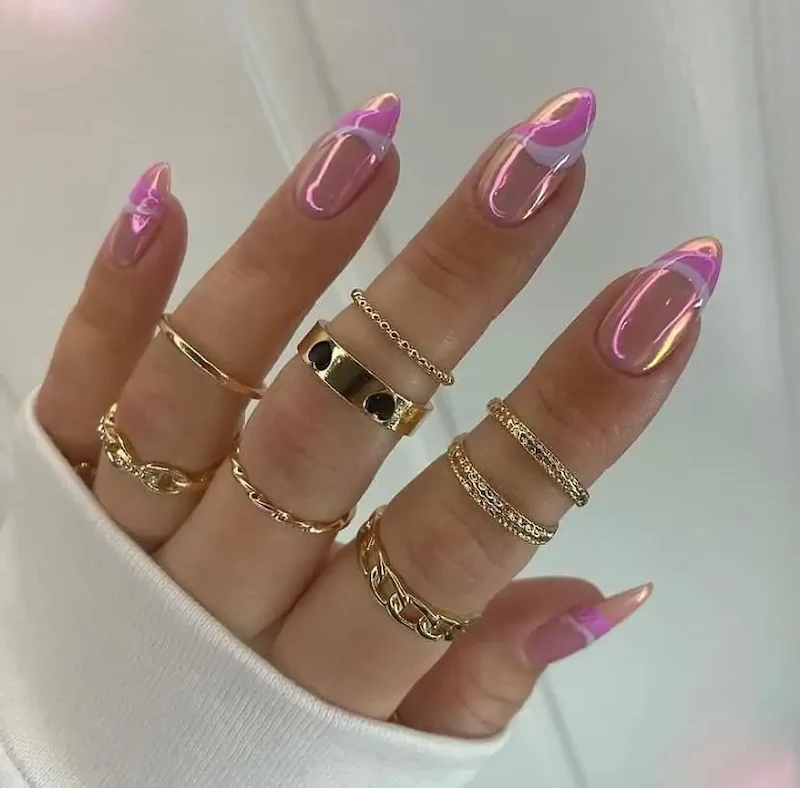
Chrome & Metallic Powders
That incredible mirror-like finish isn’t a polish; it’s a super-fine powder that you rub onto a specific surface. Getting it right is all about timing.
- The Secret Sauce: You need a no-wipe gel top coat. Apply it over your color, but here’s the key: the cure time. In my 48-watt lamp, I only cure it for about 30 seconds, not the full 60. This leaves the surface hard but with a unique tackiness the powder can grip. From my experience, every lamp is different, so you have to experiment! Test cure times of 20, 30, and 40 seconds on a practice nail to find that sweet spot.
- Troubleshooting 101: If your chrome looks gritty or sparkly instead of like a smooth mirror, your top coat was likely cured for too long. If it’s peeling off within a few days? You probably didn’t seal the free edge correctly. After applying the chrome, you have to use a bonder just on the very tip of the nail before applying your final, full-strength top coat over the entire thing. Don’t forget to ‘cap’ that free edge!
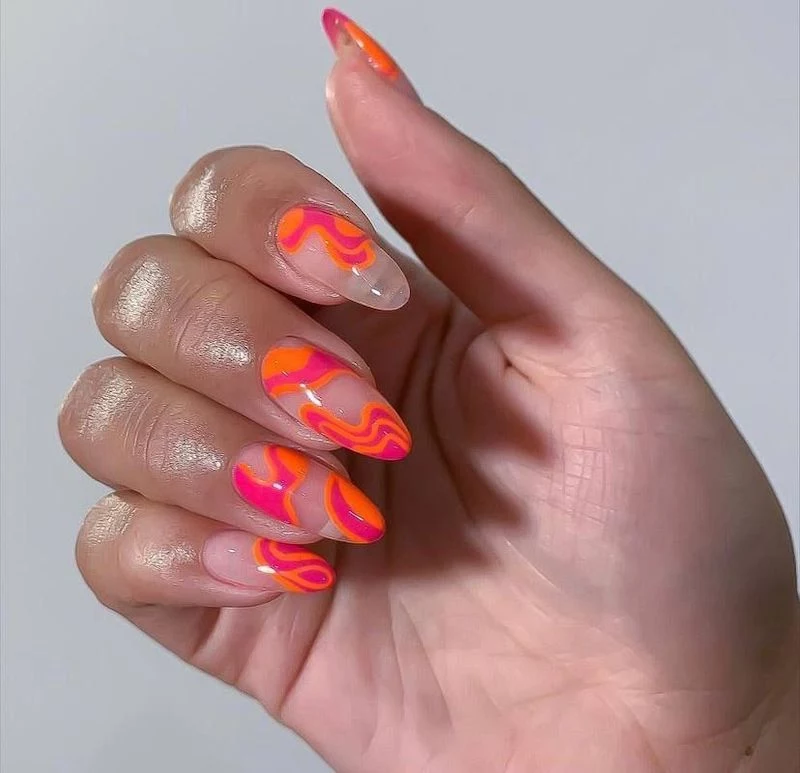
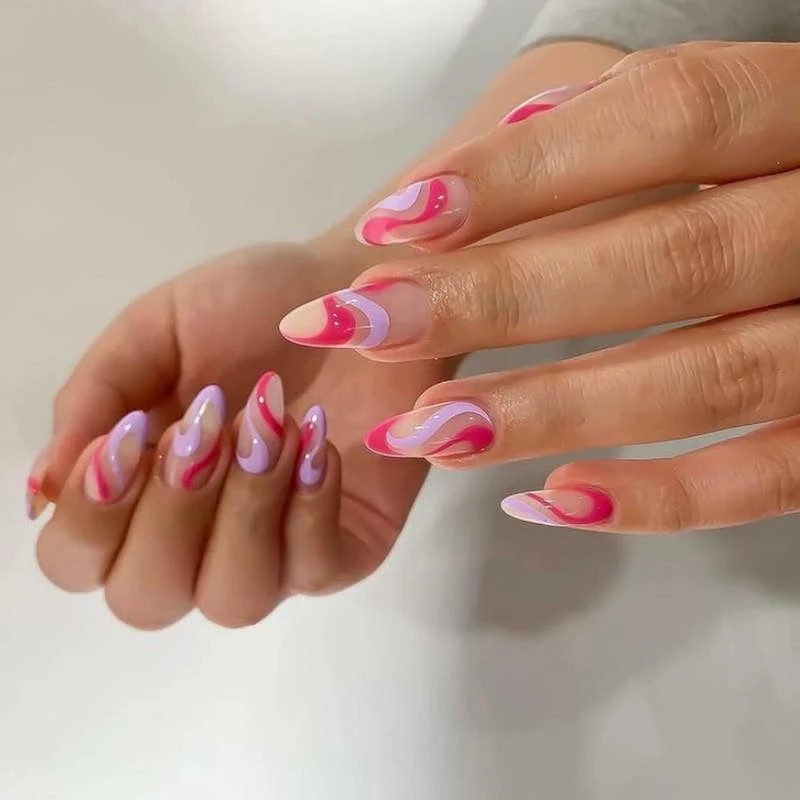
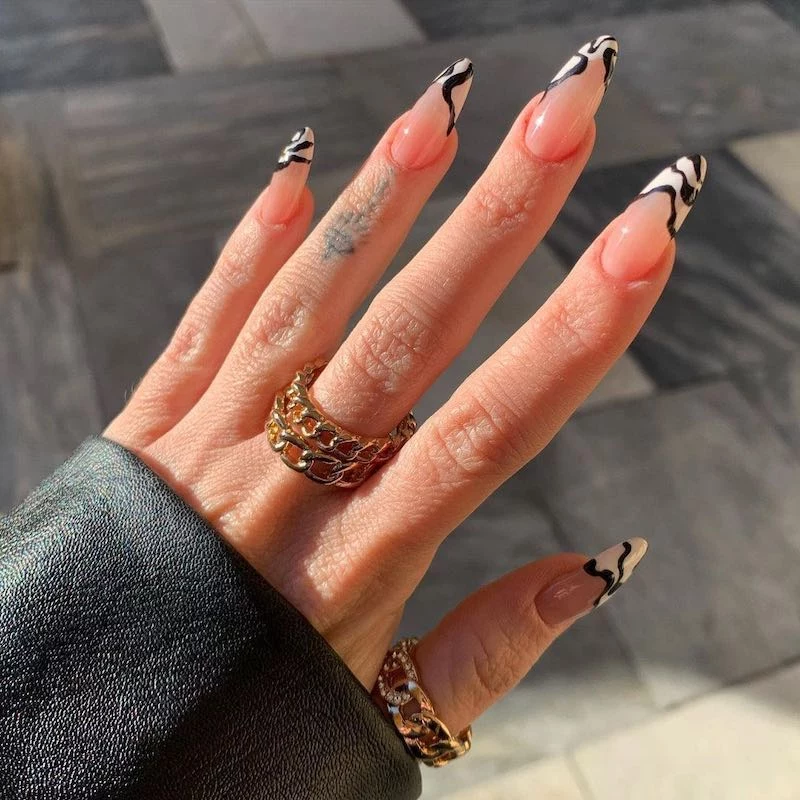
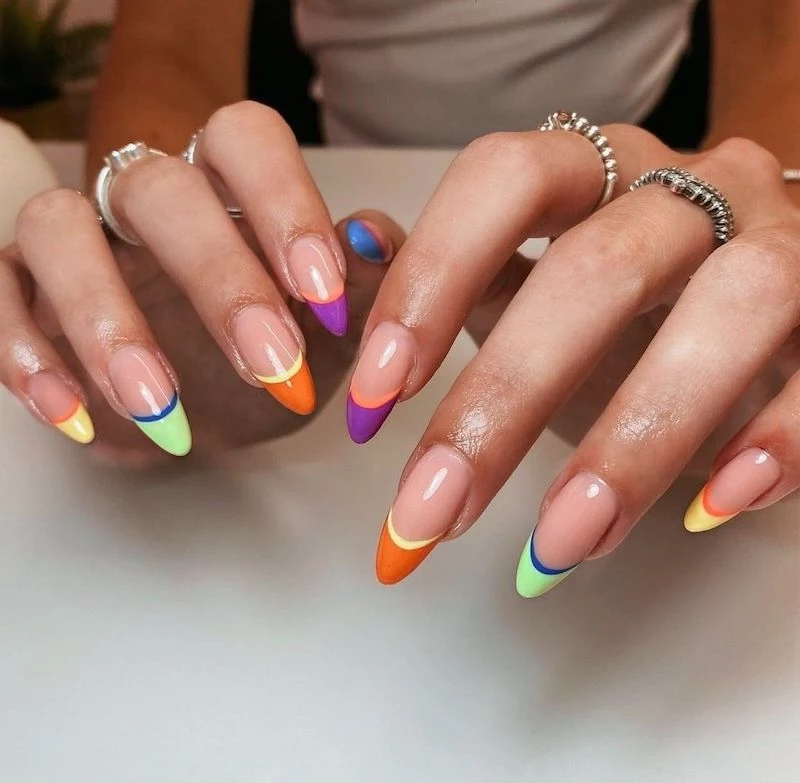
Mastering Swirls and Line Art
Clean, flowing lines are a nail art staple. For this, the product and the brush are everything. I use highly pigmented, thick art gels, not regular gel polish. They’re so much thicker that they don’t spread or bleed, giving you crisp lines. For long, sweeping curves, a 15-20mm striping brush is my go-to. For tiny details, I switch to a 5mm detailer brush. A little pro tip: flash-cure each line for 10 seconds before starting the next one. It freezes it in place so nothing gets smudged.
Layering and Encapsulating 3D Bits
Adding things like crystals, foils, or dried flowers means you have to ‘encapsulate’ them, basically building the nail around the object. For flat stuff like glitter, I’ll put it onto a thin, wet layer of builder gel, cure it, and then build the rest of the nail’s structure on top, sealing it inside. For bigger things like crystals, forget regular nail glue. I use a dedicated gem gel, which is super thick. I place a bead of it, press the crystal in, and then use a fine brush to pull a tiny bit of the gel up and around the base of the crystal, creating a little ‘bezel’ that locks it in place. It’s important to be upfront about this—a full set of encapsulated glitter can add $20-$30 and at least 30 minutes to an appointment, which is why those sets cost more.
Choosing the Right Service for You
Nail styles are a global thing now, with amazing techniques coming from everywhere. You’ve got the super-detailed, potted-gel styles often seen in Eastern Asian nail art, and the meticulous e-file manicure (sometimes called a ‘dry’ manicure) that focuses on flawless cuticle prep. But all that variety means you need to know what you’re asking for.
The most important conversation is the one I have with a new client. I always ask about their lifestyle. Are you a nurse constantly washing your hands? A gardener? A writer who types all day? The answers tell me everything. A simple gel polish manicure is great for someone with naturally strong nails. A structured manicure is better for someone with weaker nails or who wants to add a bit of length. Let’s break it down:
- A Simple Gel Manicure: This is your standard gel service. It involves basic prep and a few coats of color between a base and top coat. It’s perfect for nails that are already in good shape. Plan for about 45-60 minutes, and a cost of around $45-$60 in most salons.
- A Structured Manicure: This service includes all the prep plus the application of builder gel to create that supportive apex. It’s the best choice for adding strength to flexible nails, fixing broken corners, or supporting elaborate art. Because it’s more complex and uses more product, expect it to take 90-120 minutes and cost anywhere from $80 to $120+, especially with detailed art.
A good tech doesn’t just copy a picture; they adapt the design to fit your life. That’s how you build trust and send a client home with nails that are both beautiful and practical.
Maintenance, Fixes, and Keeping Nails Healthy
Even with a perfect set, life happens. Part of the job is knowing how to maintain and repair them.
After 2-4 weeks, a client comes back for a ‘fill.’ This isn’t just slapping more product on top. I use an e-file to shave down about 70-80% of the old product, remove any lifting, re-prep the new nail growth, and then re-balance the whole structure by moving the apex back where it belongs. Only then do I apply the new design.
By the way, if you see a little corner lifting, never just glue it down or put more product over it. That traps moisture and can lead to a nasty bacterial infection. The right way to fix it is to carefully file away the entire lifted section until you see a solid seal again, then prep and fill that spot with new product.
Your Job After You Leave the Salon
My top priority is always the health and safety of my clients. This means top-notch sanitation (sterilized metal tools, single-use files) and good ventilation. But your part of the deal starts when you walk out the door.

I send every client home with a little bottle of cuticle oil and this advice: ‘Your nails are jewels, not tools.’ Don’t use them to open soda cans or scrape stickers. Daily use of a quality cuticle oil is a game-changer. I personally love CND SolarOil, but even pure jojoba oil from a health food store works wonders. Its molecules are small enough to actually penetrate the nail plate, keeping it hydrated and flexible. This prevents the enhancement from becoming brittle and helps stop lifting.
And I can’t stress this enough: if you’re doing your nails at home, never, ever let uncured gel touch your skin. If you get some on you, wipe it off with alcohol before you cure. I’ve seen the rise of at-home kits lead to a huge spike in gel allergies, and once you develop one, it’s for life.
Finally, please don’t pry your enhancements off! It rips off layers of your natural nail and causes damage that takes months to grow out. A professional will file or soak them off safely, preserving the health of the canvas underneath. Because at the end of the day, true expertise is about creating lasting beauty while protecting what’s yours.
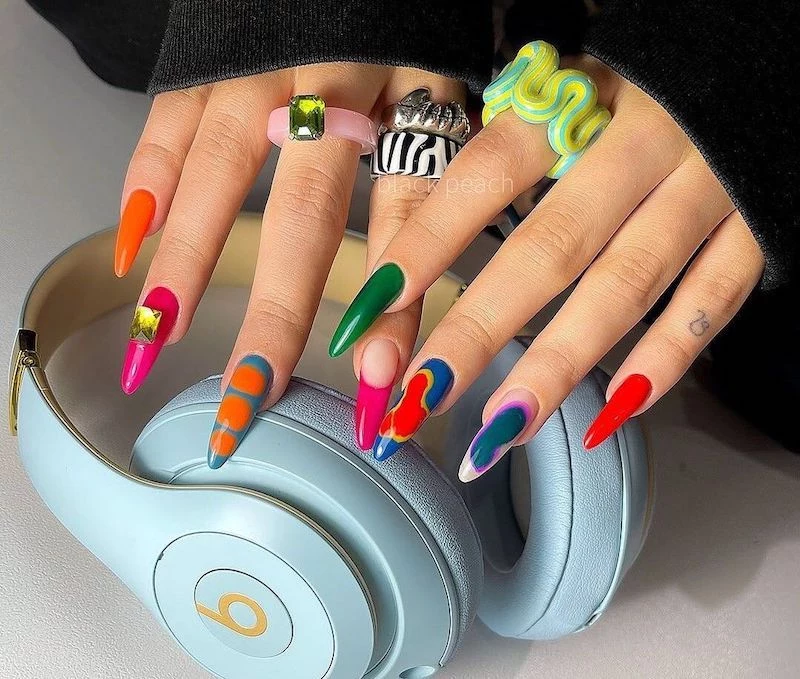
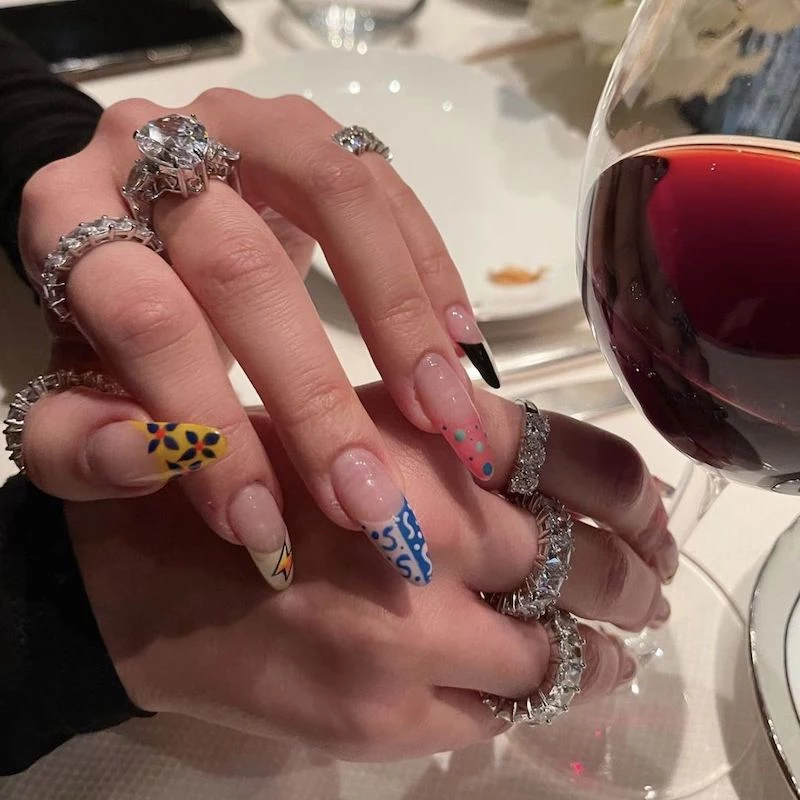
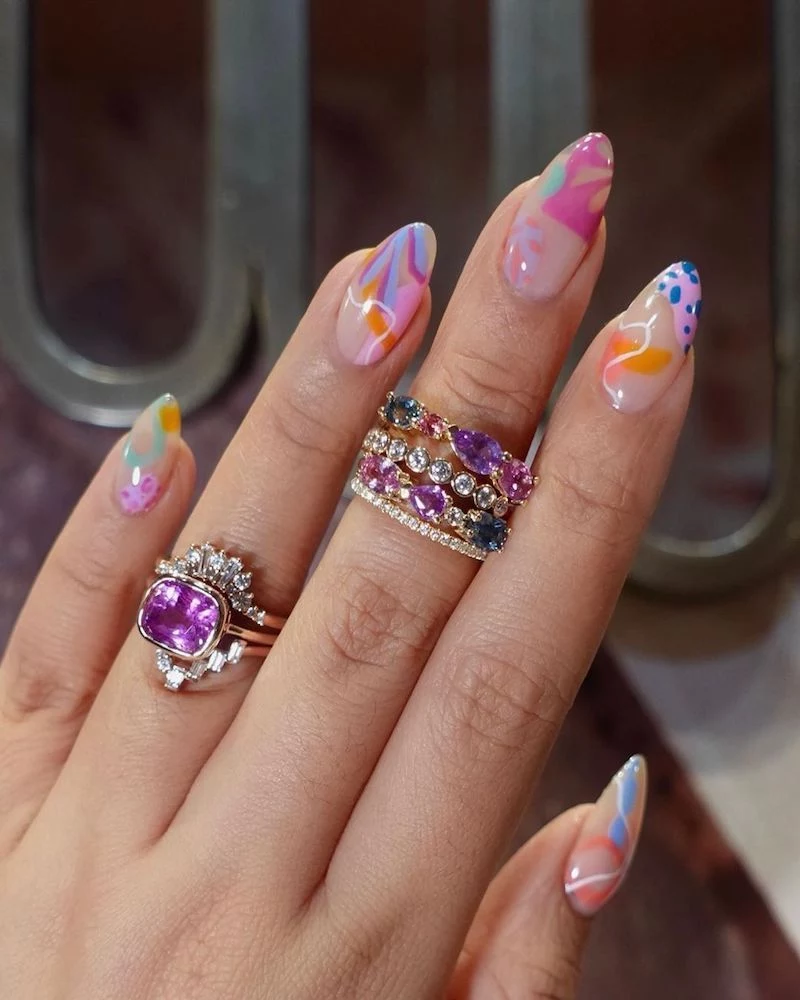
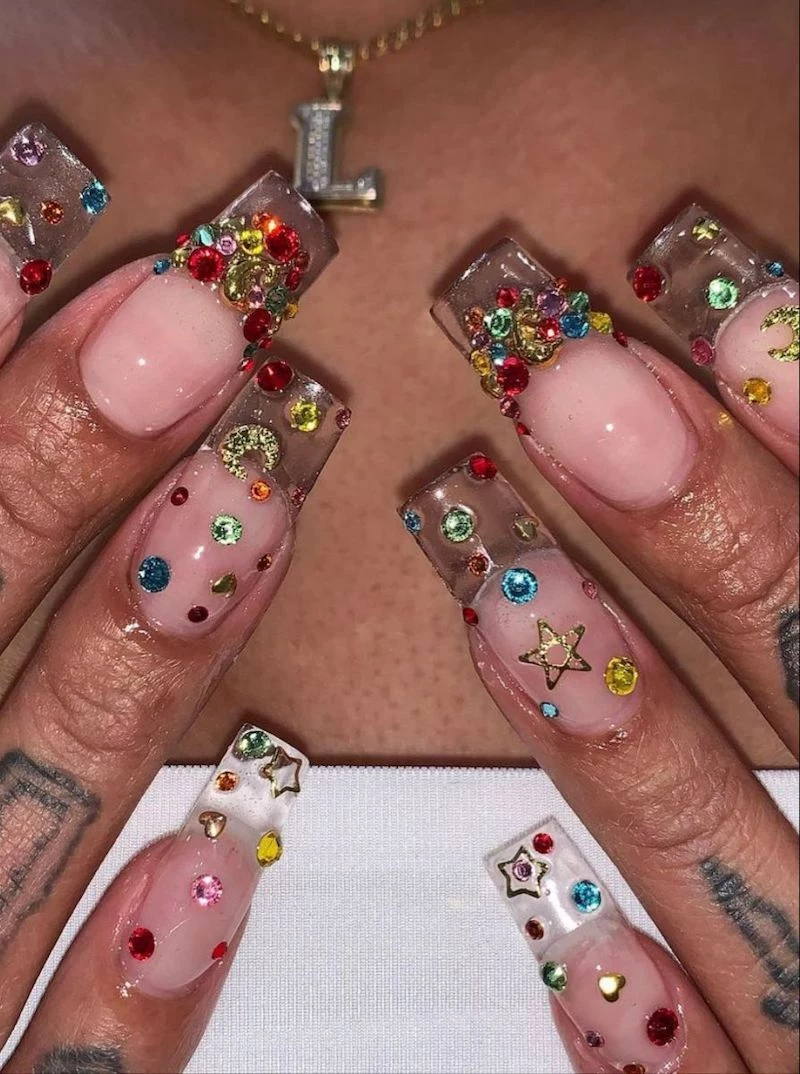
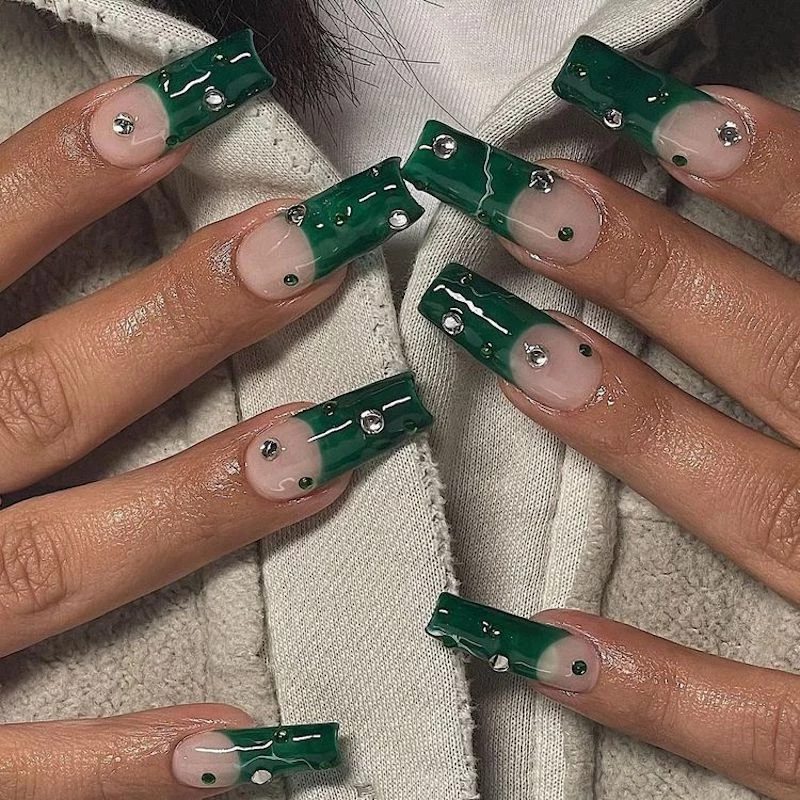
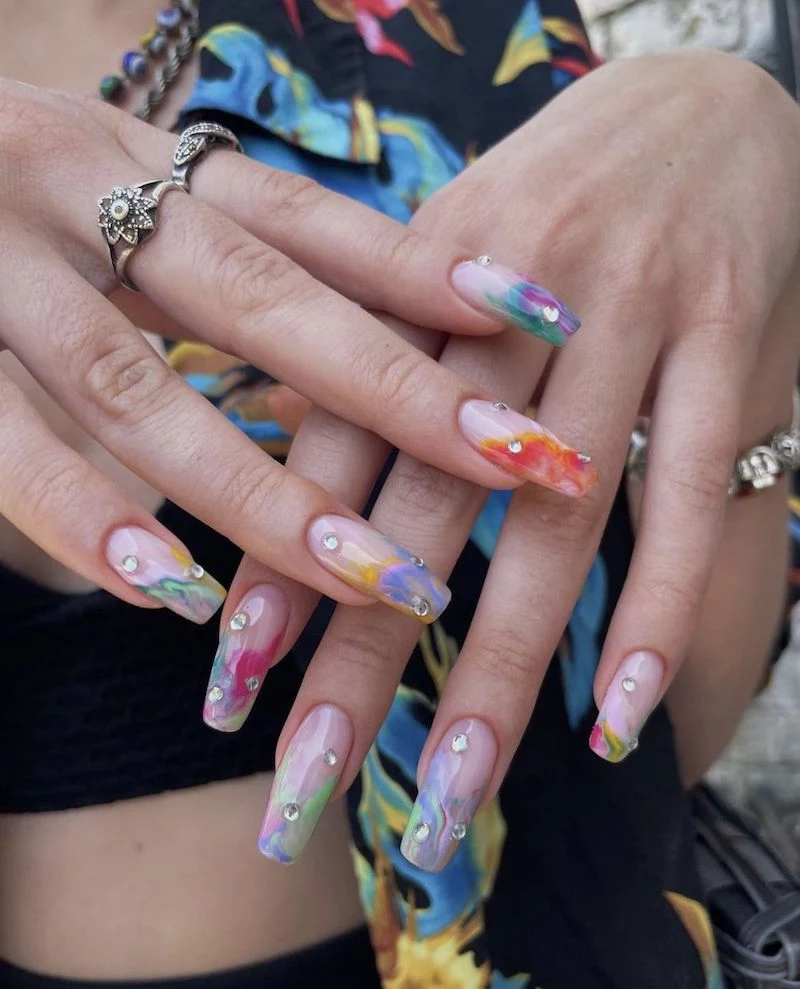
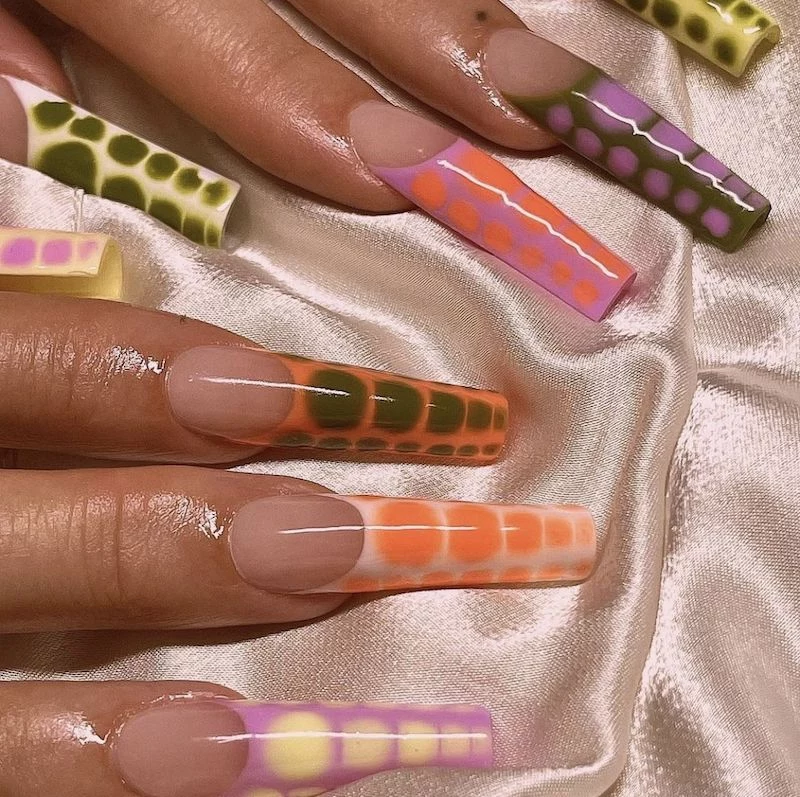
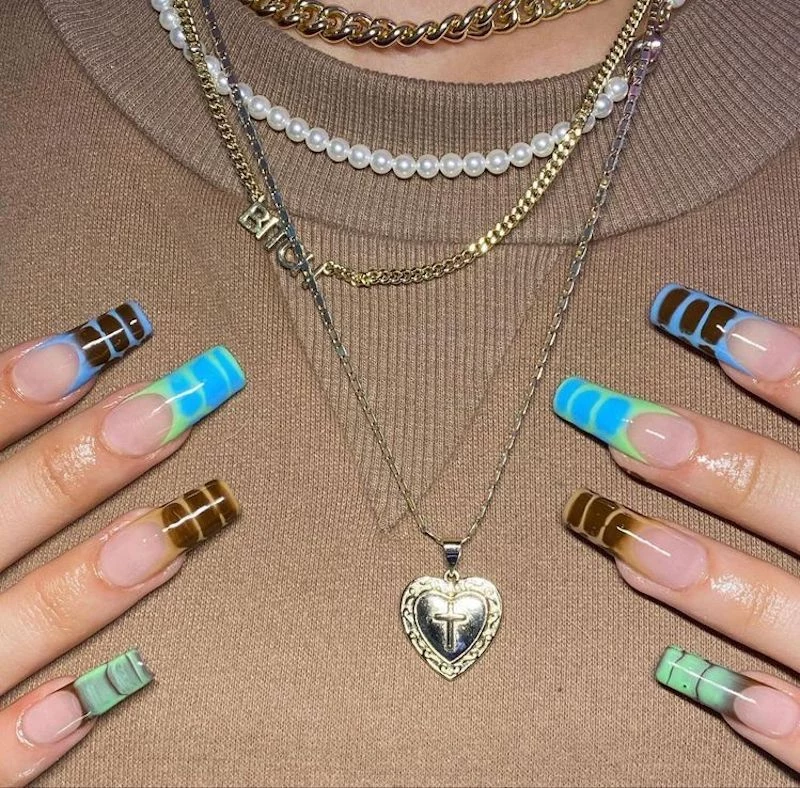
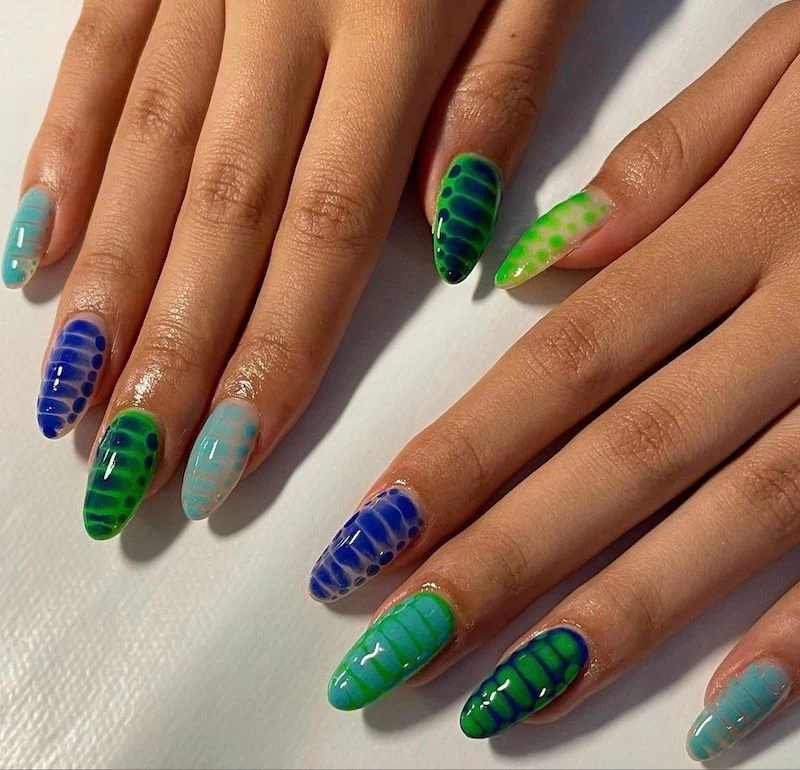
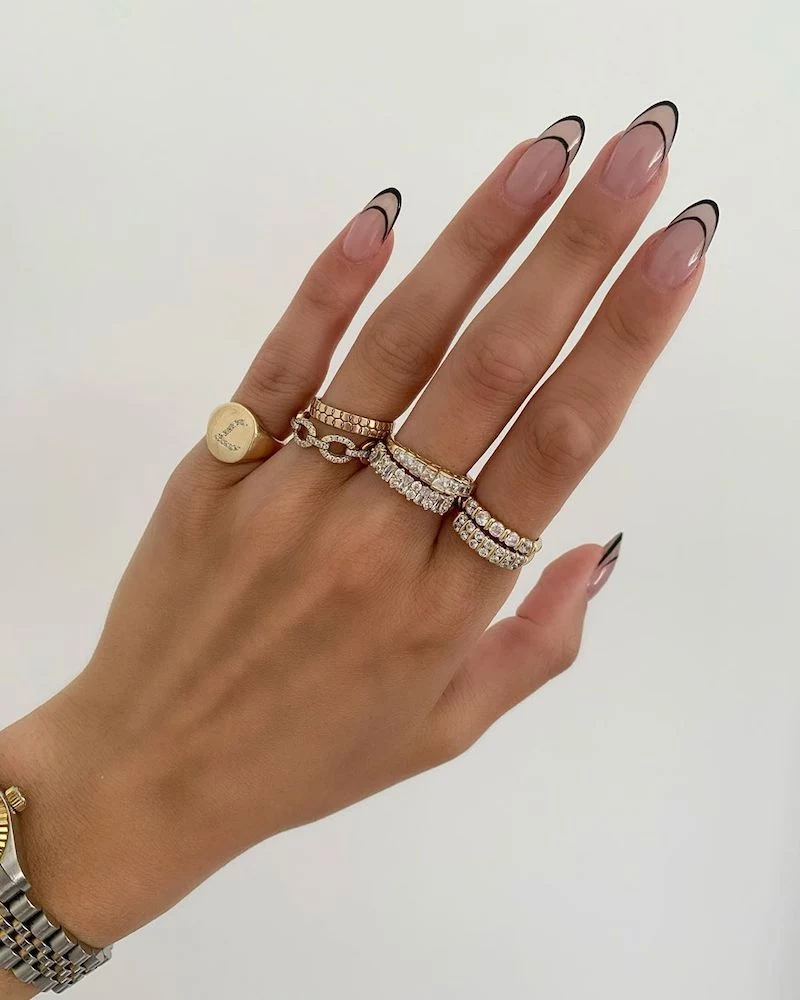
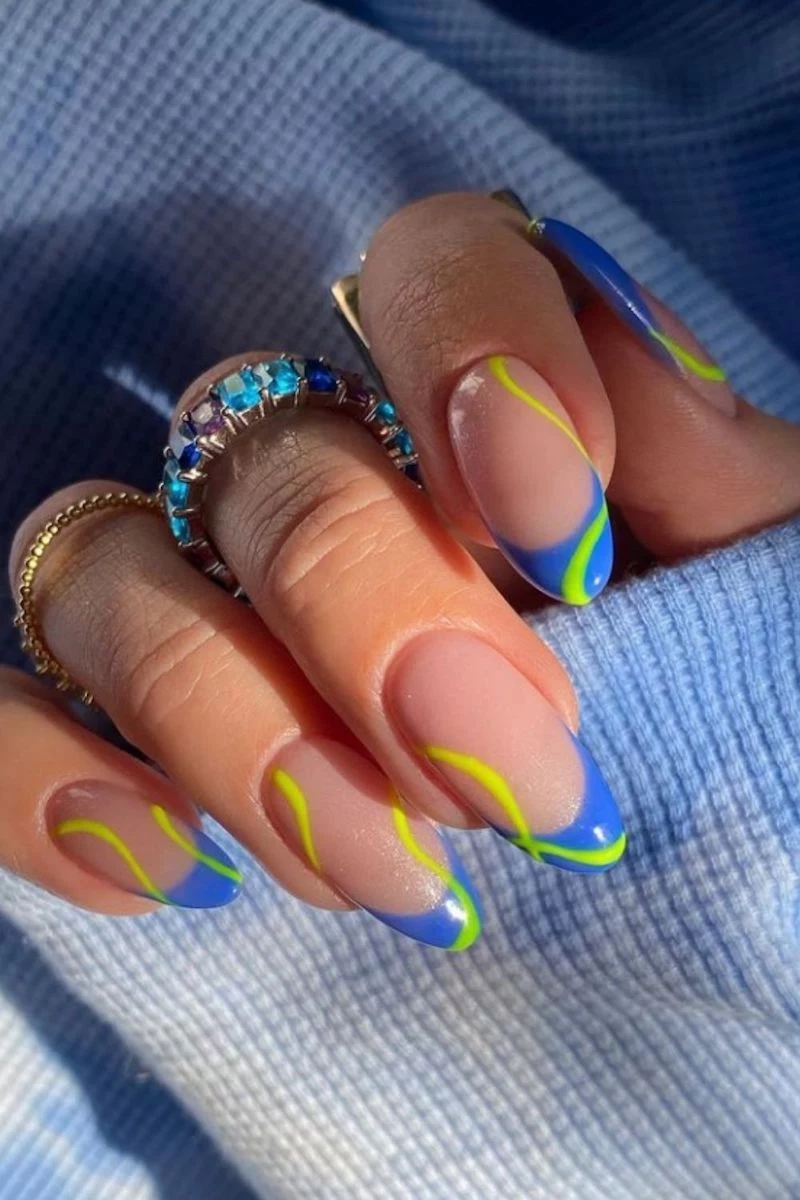
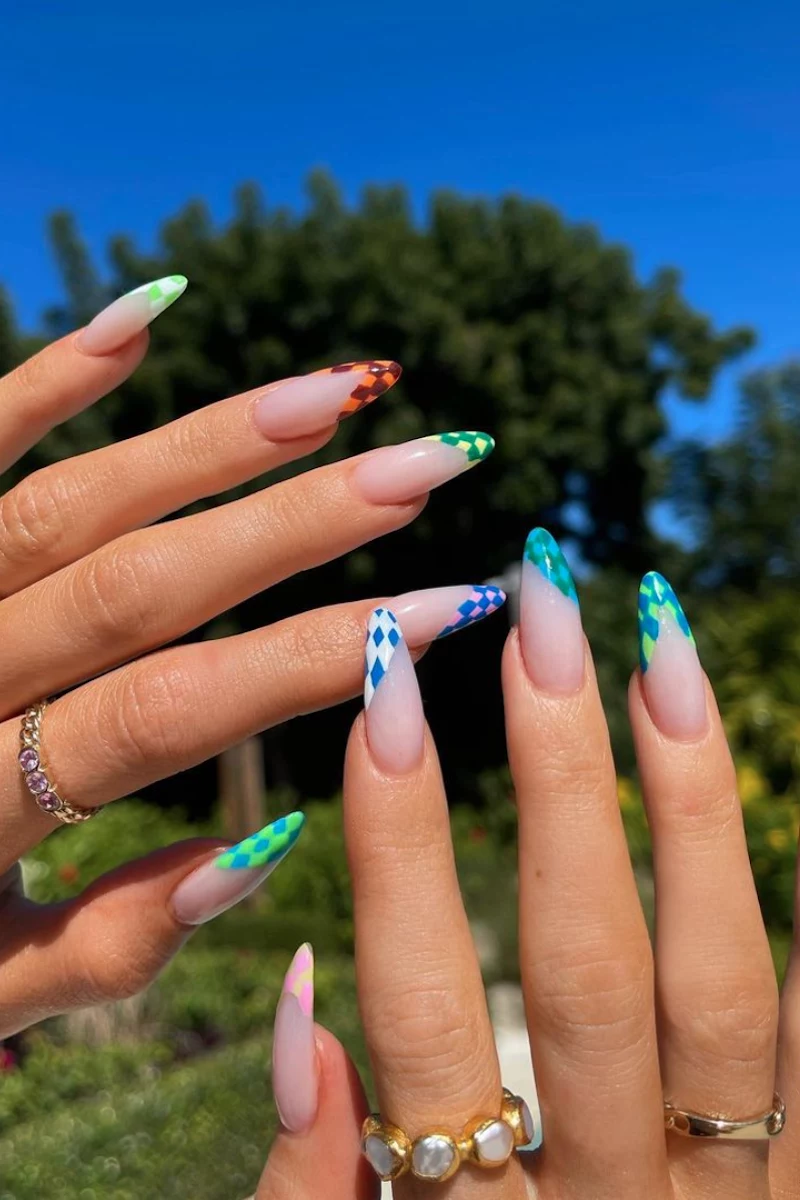
Inspirational Gallery
Is it really a problem to mix and match my gel products?
While nail pros sometimes have their holy-grail combos, it’s generally best to stick to a single brand’s system (base, color, top coat). Brands like CND Shellac or OPI GelColor formulate their products to cure perfectly together under a specific lamp wattage and light wavelength. Mixing can sometimes lead to incomplete curing, which not only causes chipping but can also lead to skin sensitivities over time.
Did you know that properly hydrated cuticles can actually prolong the life of your manicure? Dehydrated skin around the nail can shrink and pull away, breaking the seal of your gel or polish and leading to lifting.
This is why daily application of a quality cuticle oil, like CND SolarOil or OPI ProSpa Nail & Cuticle Oil, is more than just a luxury—it’s essential maintenance for durability. It keeps the surrounding skin flexible and the nail plate nourished.
The secret to making modern nail art like chrome or metallic effects last isn’t just in the application; it’s in the seal. After applying your chrome powder over a no-wipe top coat, gently buff the free edge with a fine-grit buffer. Then, apply a bonder or primer just to the tip before sealing the entire nail with another two layers of top coat. This creates an ultra-strong ‘cap’ that prevents the tip wear that plagues these beautiful finishes.
Builder Gel In a Bottle (BIAB): A soak-off gel with a thick consistency, prized for its flexibility and ability to add strength to natural nails without the rigidity of acrylic. Ideal for creating a smooth, durable foundation. Brands like The GelBottle Inc. have popularized this category.
Traditional Hard Gel: A non-soak-off product that is incredibly tough and must be filed off. It’s perfect for creating long extensions and is more resistant to solvents, but less flexible than BIAB. A great choice for those who are very hard on their hands.
- Less damage to the natural nail plate.
- Saves significant time and money.
- Maintains the structural integrity of the nail.
The secret? Opting for a
A key mistake: Neglecting your lamp. If your gel manicures are suddenly chipping or peeling, your UV/LED lamp might be the culprit. Look for these signs:
- Gels take longer than usual to cure.
- The finish feels slightly tacky or under-cured, even after wiping the inhibition layer.
- You’ve been using the same lamp heavily for over a year—the bulbs lose efficacy over time!
For nail art that looks great even as it grows out, think about designs that don’t have a sharp line at the cuticle. Glitter fades, ombré effects, or a modern
Japanese gel nail art is often revered for its incredible longevity, sometimes lasting over a month without a single chip.
This isn’t magic; it’s a philosophy. Brands like Kokoist and Presto focus on creating gels that achieve superior adhesion through chemistry, not aggressive filing. Technicians are trained in meticulous, microscopic prep work to preserve nail health while building a structure that flexes with the natural nail, preventing the stress fractures that lead to breaks.
Thinking of trying some DIY nail art? One of the most durable techniques is
There’s a subtle but powerful confidence that comes from having truly durable, perfect nails. It’s the satisfying ‘click’ on your keyboard, the flash of color when you pick up your coffee, and the freedom of knowing you can open a can or do the dishes without a second thought. It’s a small, constant reminder that you’re polished and put-together.
Apres Gel-X, a pioneer in soft gel extensions, created a system where the tip itself is the entire structure and is bonded to the natural nail with gel. This revolutionized the industry by offering the length of acrylics with the ease of a gel soak-off.
Don’t underestimate the power of a top-tier top coat. It’s the armor for your entire manicure. A high-quality, scratch-resistant top coat like Seche Vite for polish or a professional no-wipe gel top coat does more than add shine—it provides a crucial barrier against UV rays (which can fade color), chemicals from cleaning products, and daily wear and tear. It’s the single most important product for extending the life of your art.
- The ability to create delicate, 3D art that won’t snag.
- A crystal-clear finish that never yellows.
- Incredible strength in a thin application.
The material making this possible? Structured gel. Often called


