Thinking About a Conch Piercing? Here’s What You *Really* Need to Know
I’ve been in the body piercing world for a long, long time, and I can honestly say I’ve seen it all. In those years, I’ve done thousands of piercings, but the conch still stands out. It’s just so incredibly versatile. You can make it subtle and classy for a professional setting or go all out with a bold, decorative piece. It looks amazing on just about every ear shape.
In this article
But let’s be real: this piercing isn’t a walk in the park. It goes right through a thick piece of cartilage, and healing it properly takes a whole lot of patience and care. My goal here isn’t to sell you on getting one. It’s to give you the straight-up, practical advice I share with my clients every single day, so you can make a safe choice and end up with a piercing you absolutely love.
First Things First: Understanding Your Ear’s Anatomy
Before we even think about needles, let’s talk about the piercing spot itself. The conch is that big, cup-shaped area in the middle of your ear, named because it kind of looks like a conch shell. The most important thing to know is that this area is made of avascular cartilage. That’s a fancy way of saying it has no direct blood supply. Your squishy earlobe? Full of blood vessels. This lack of blood flow is the number one reason cartilage piercings take forever to heal. All the good stuff your body uses to heal—nutrients, white blood cells—has a much longer journey to get to the wound. So, think of this healing process as a marathon, not a sprint.

For piercing purposes, we usually break the conch down into two spots:
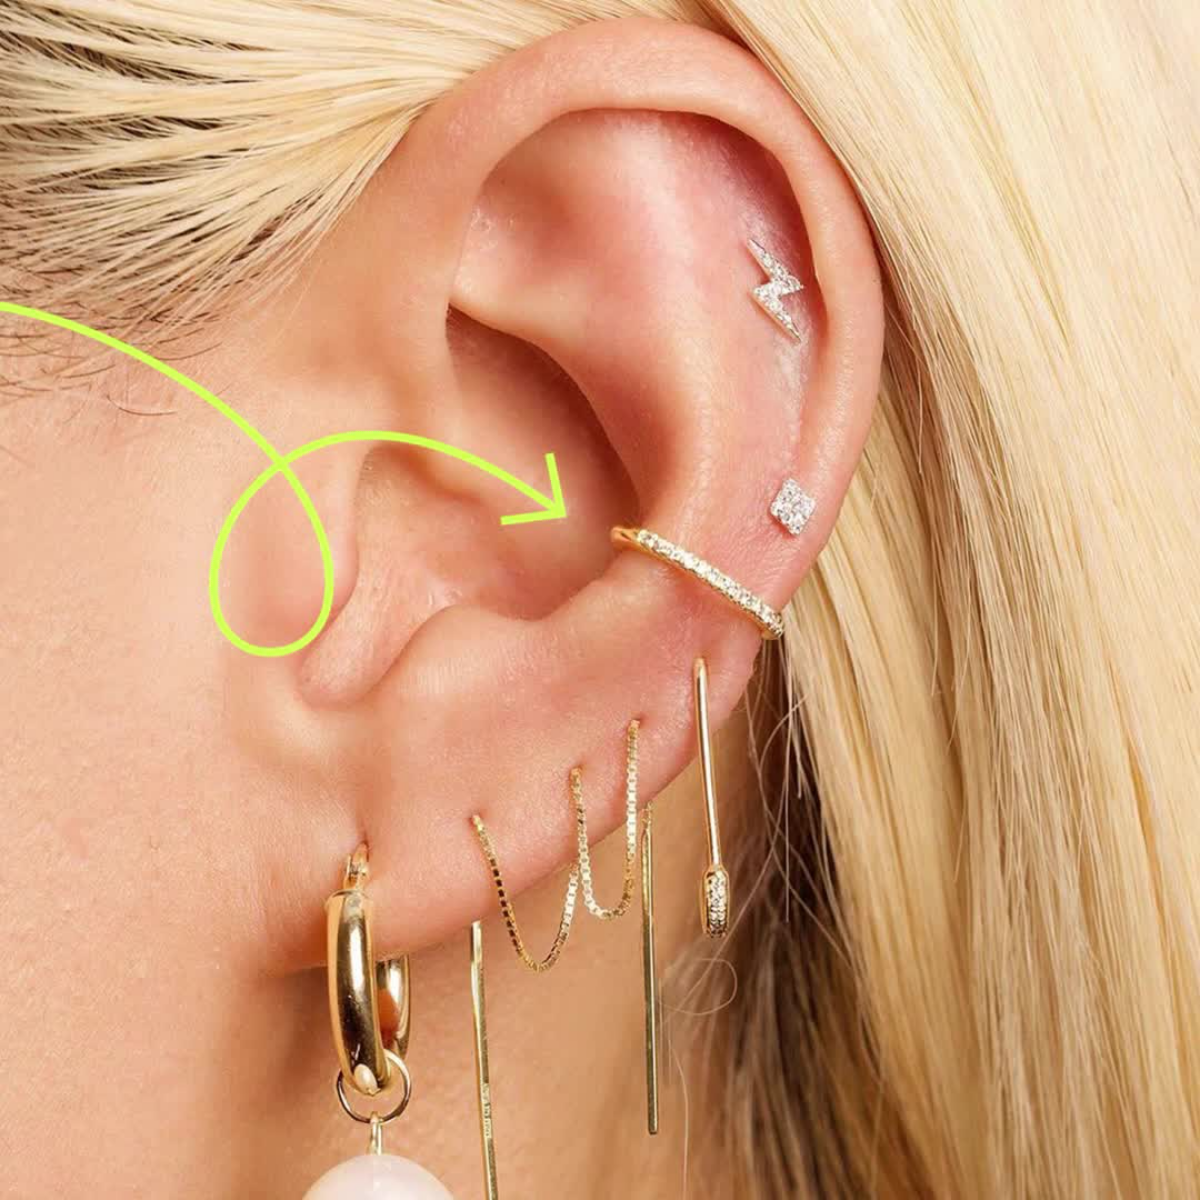
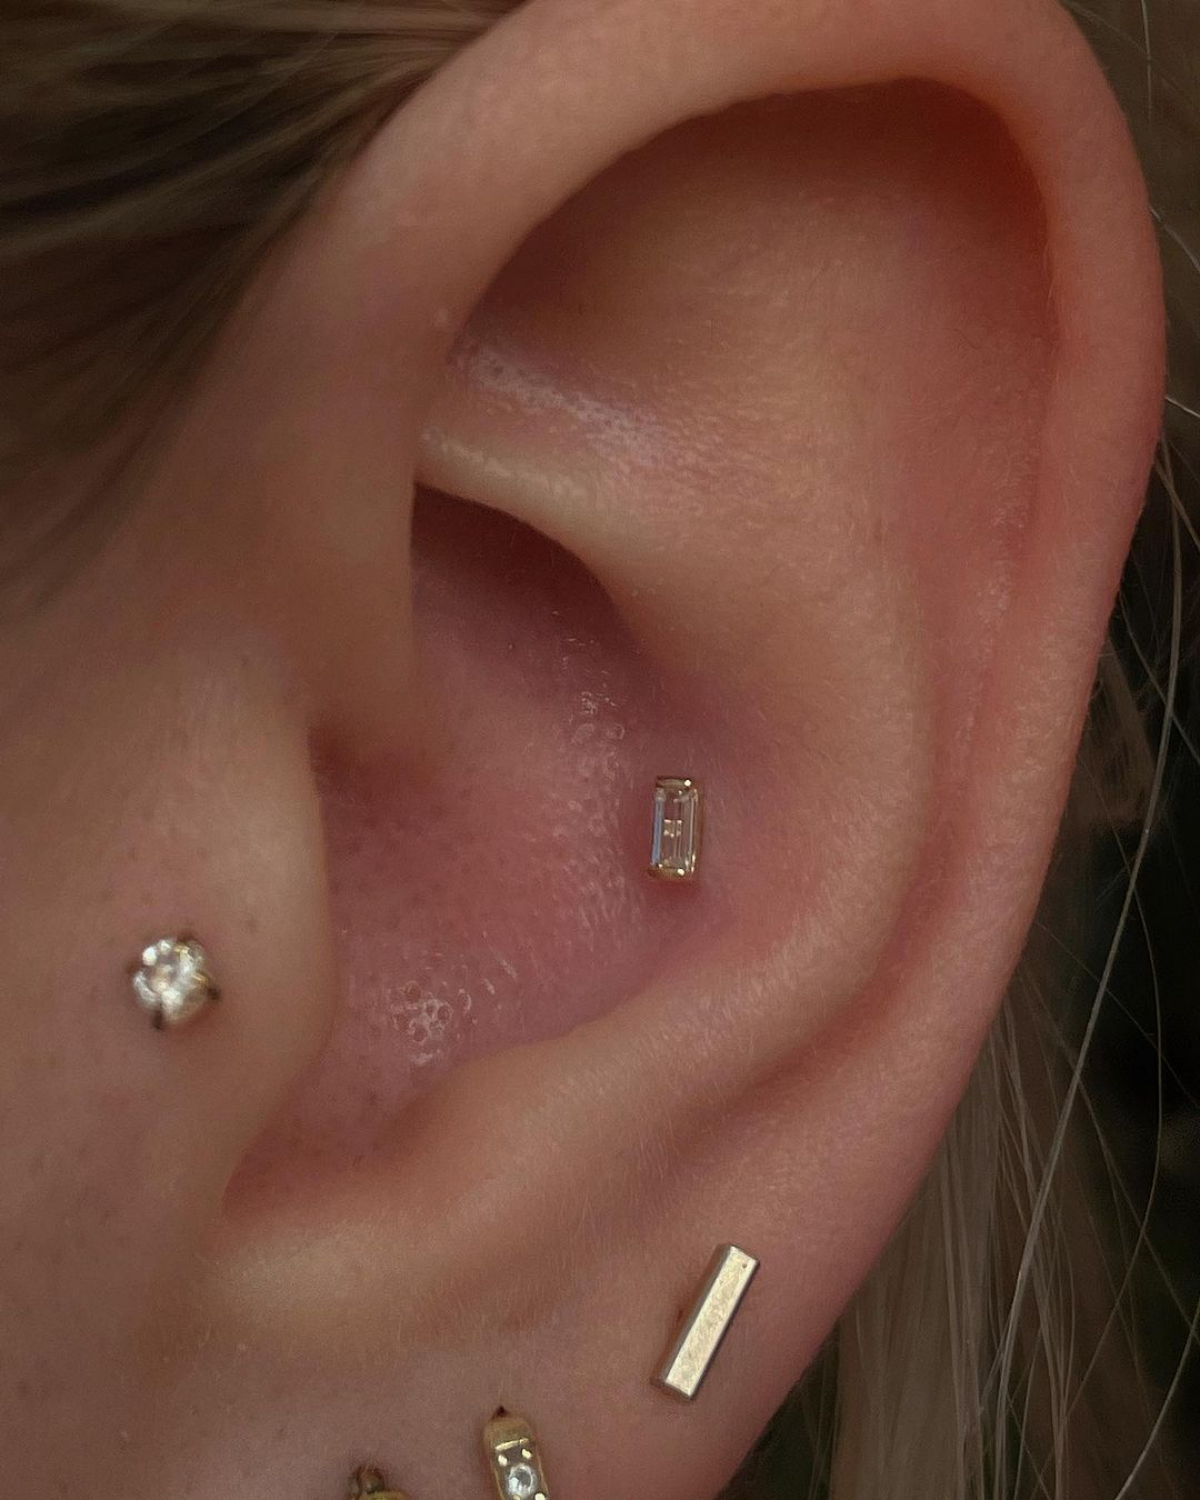
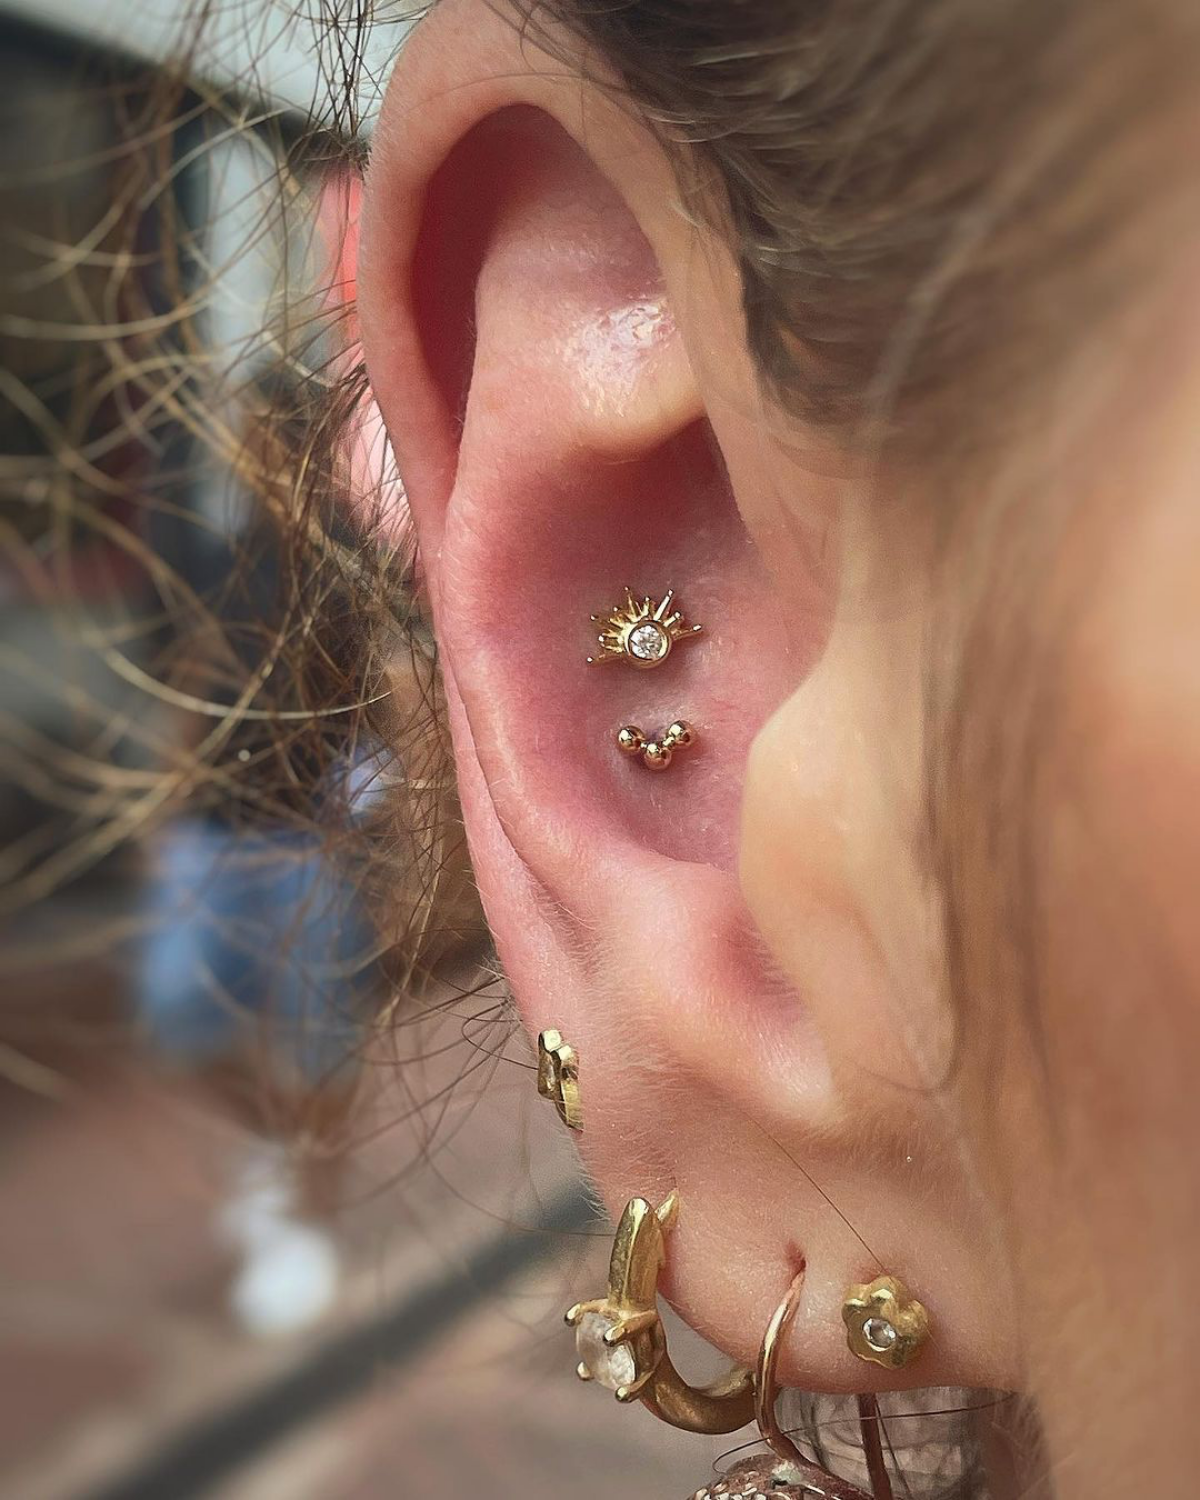
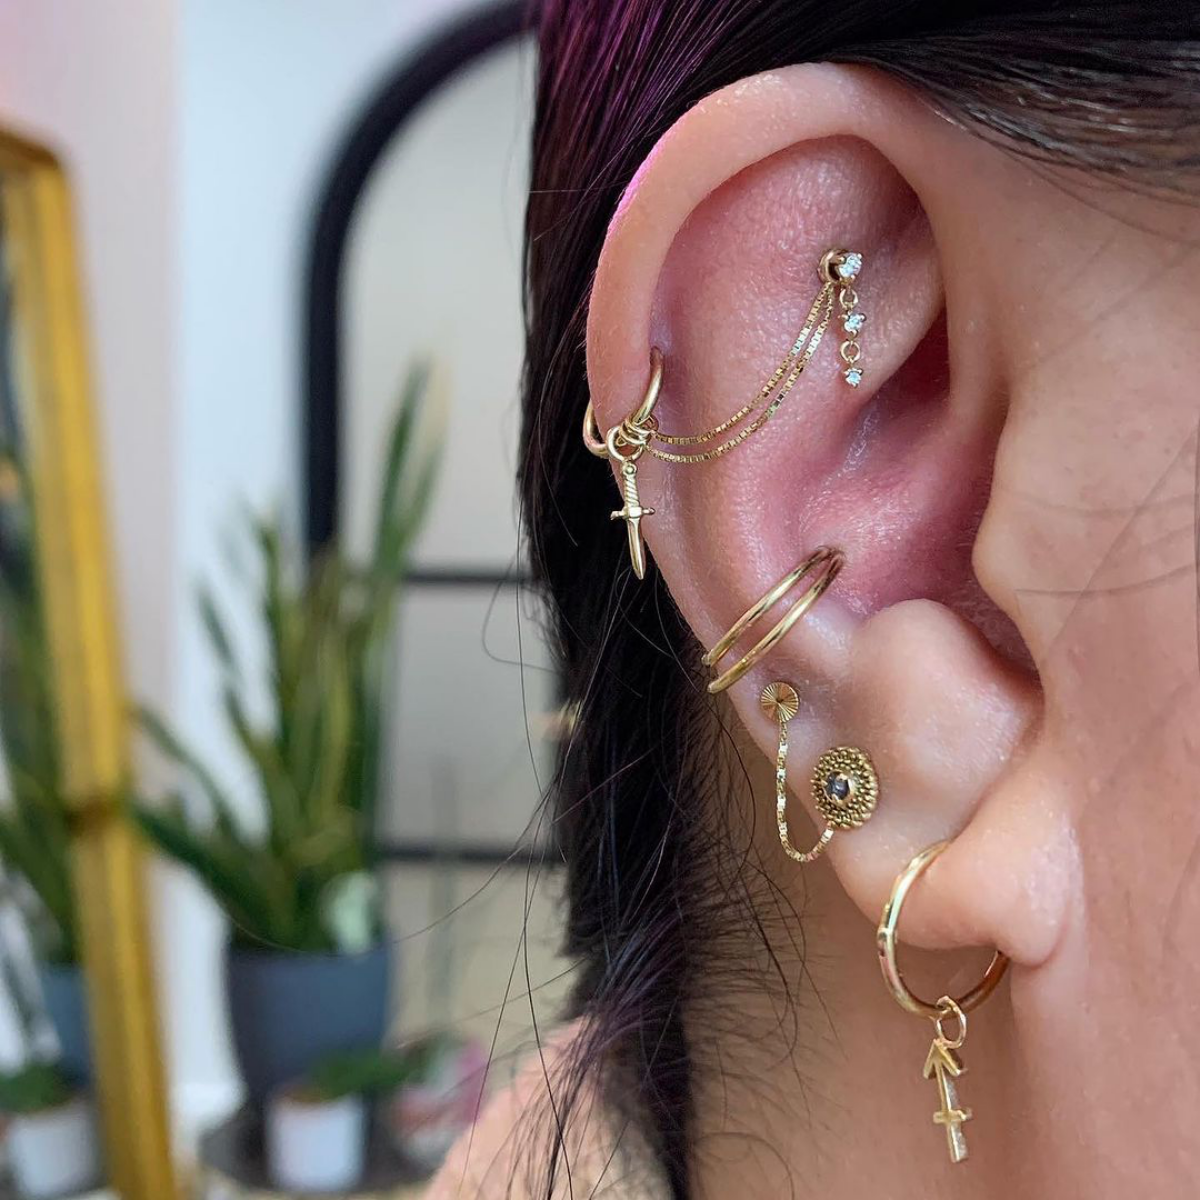
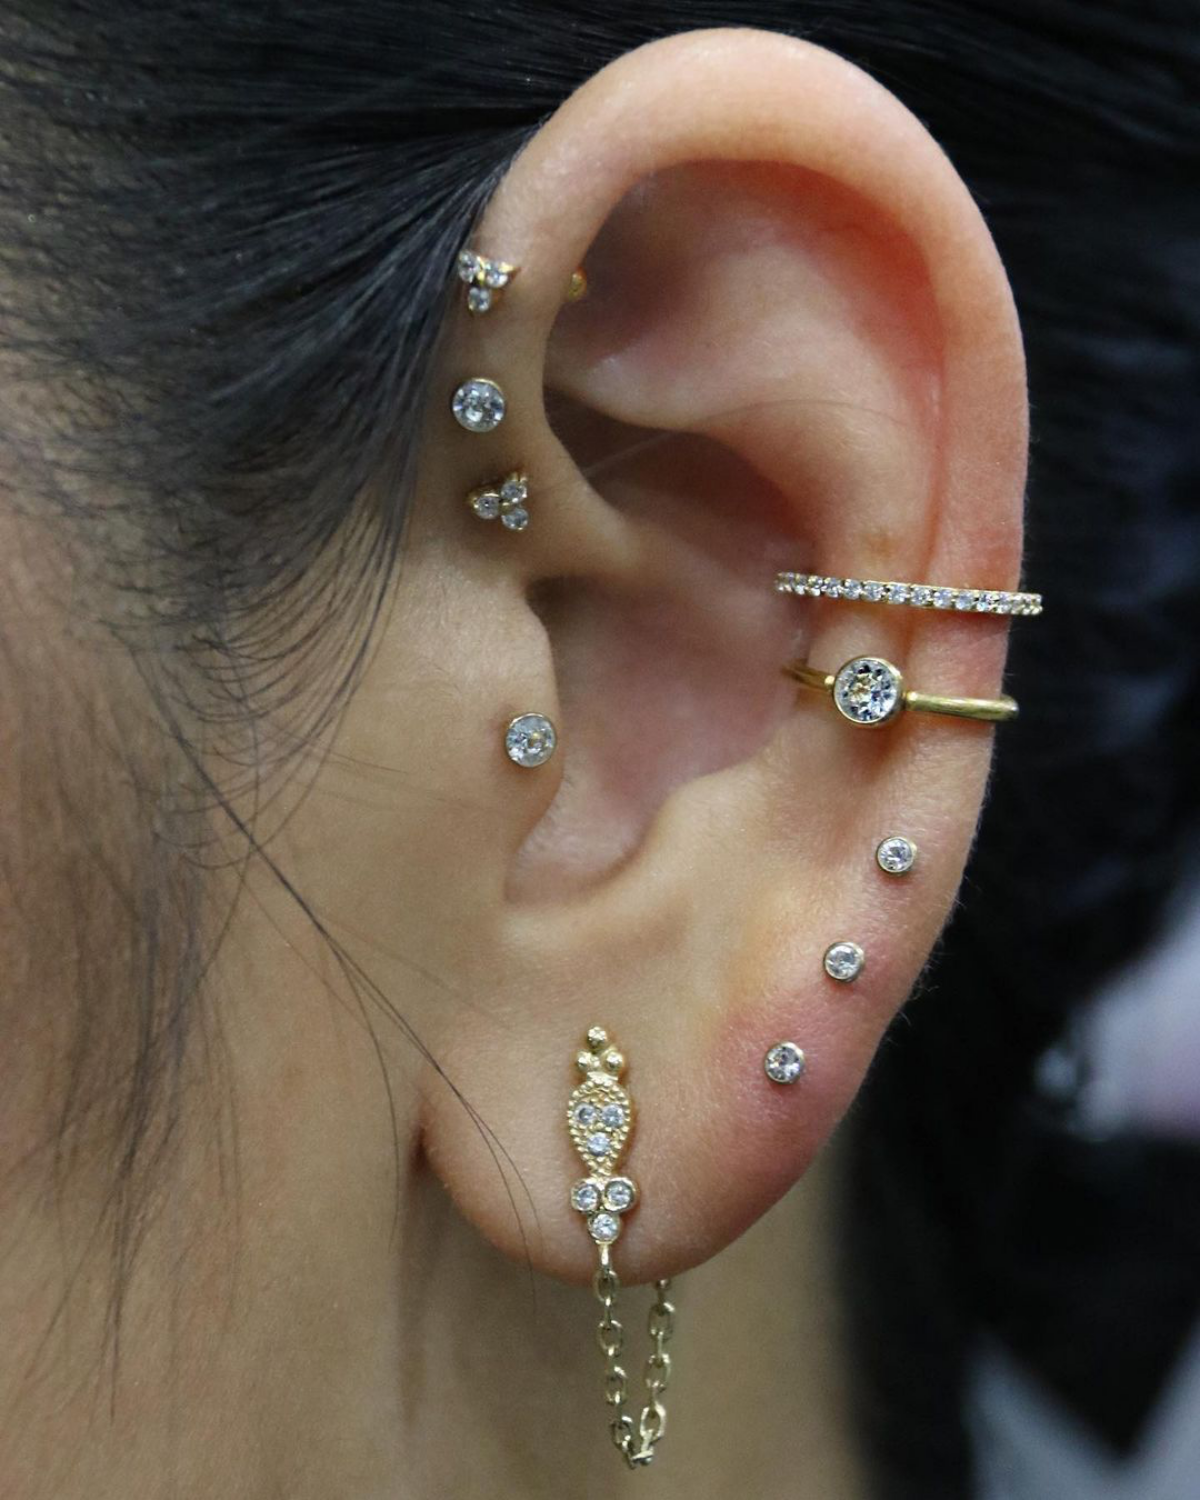
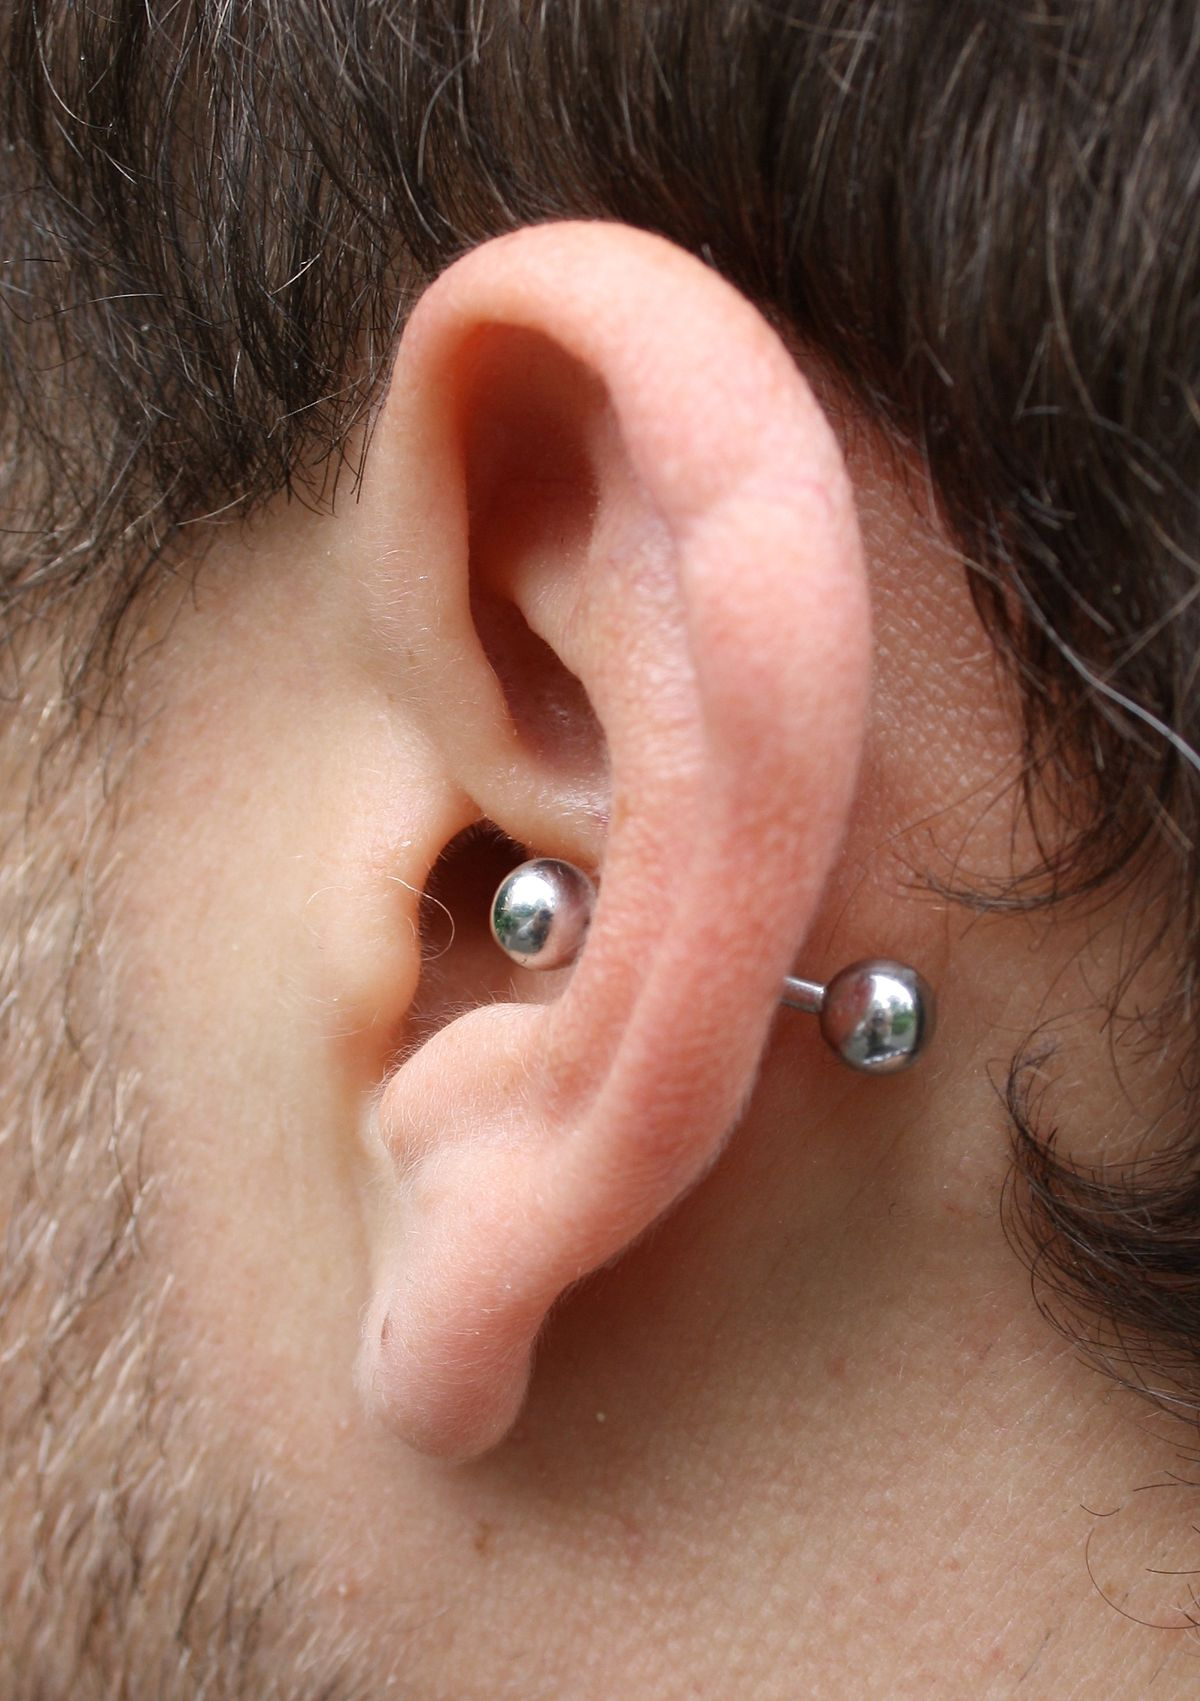
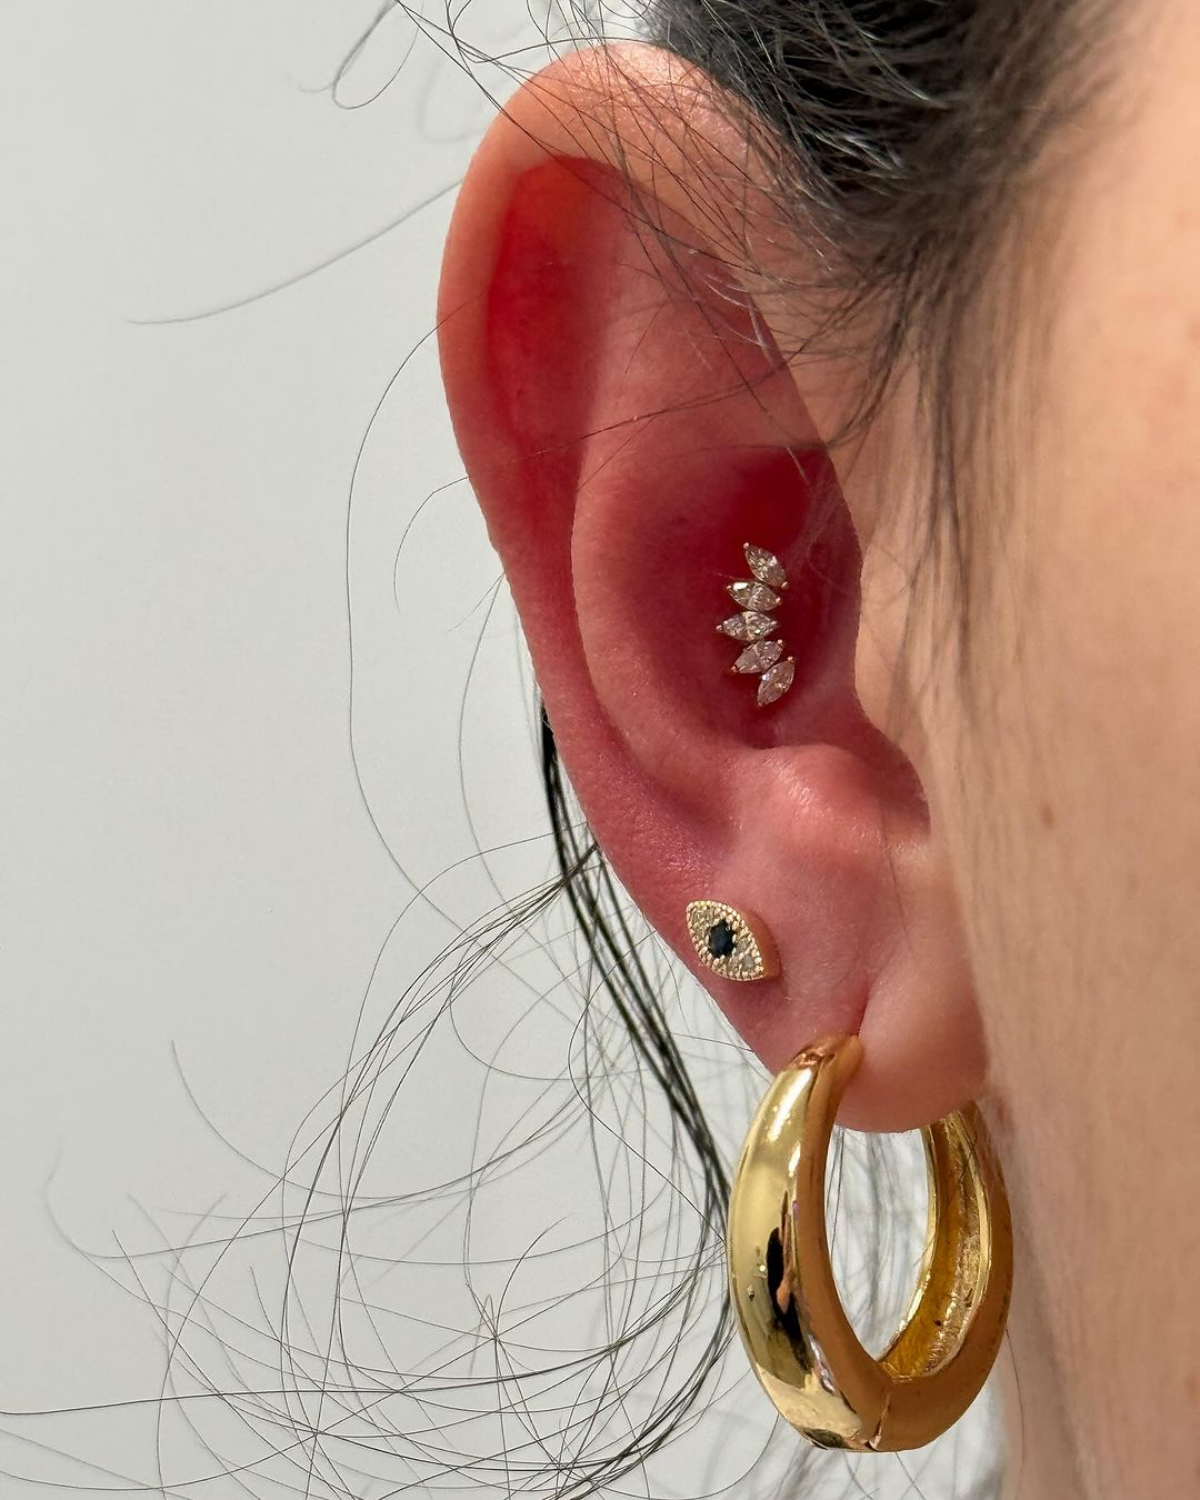
- The Inner Conch: This is the deeper, bowl-like part of your ear. It’s the perfect spot for a single, eye-catching stud. Because it’s a bit more tucked away and protected by the ridges of your ear, it can sometimes be a little easier to heal without getting snagged.
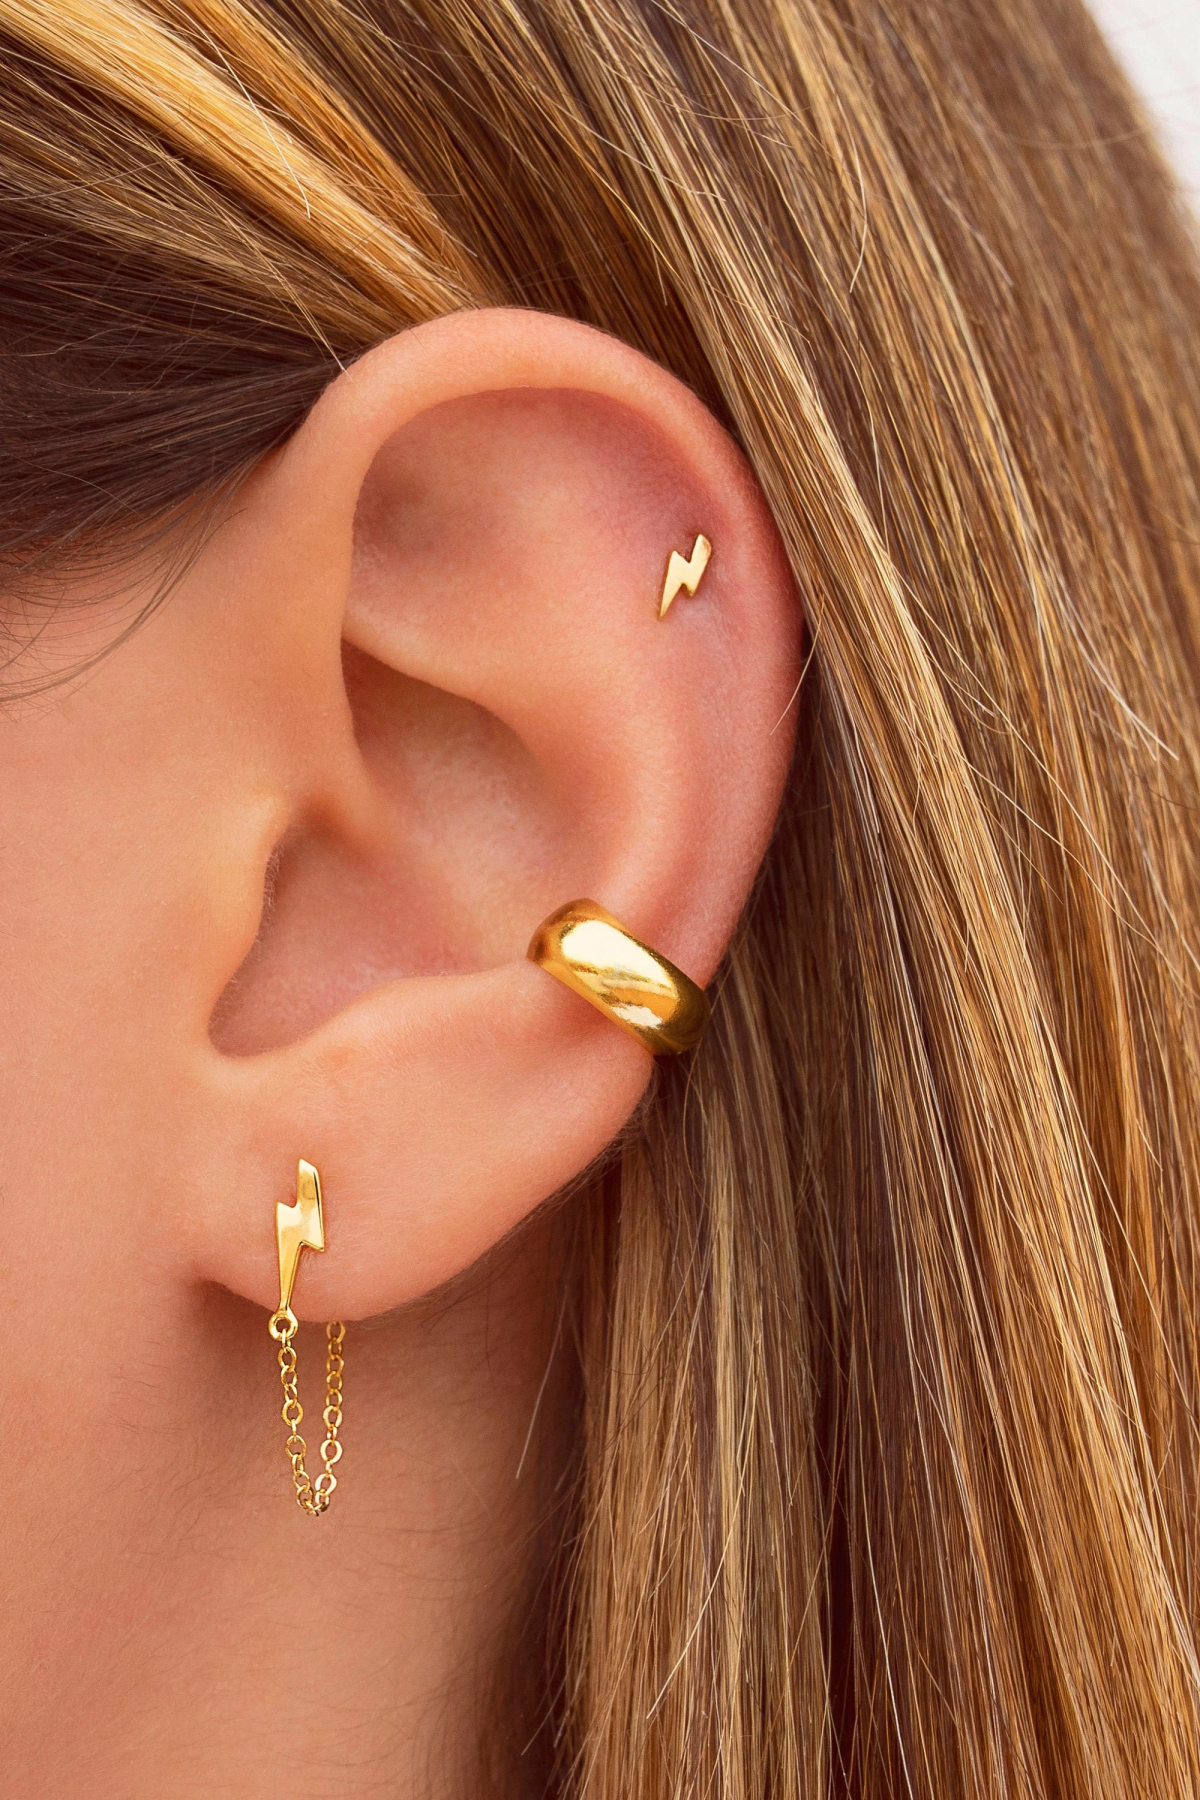
- The Outer Conch: This refers to the flatter, upper part of the conch, right below the firm ridge of your helix. This spot is incredible for a statement hoop, but only after it’s fully healed. Anatomy is everything here. Not everyone’s ear has a pronounced enough ridge to support a hoop without it putting pressure on the piercing, which can cause major problems. A good piercer will always check your ear’s shape first.
I’ve had so many people come in with a photo of a piercing they want, but their anatomy just won’t support it safely. We always work together to find a placement that looks great and, more importantly, will heal well. Forcing a piercing where it doesn’t want to go is just asking for a long, painful battle with irritation and migration.
The Piercing Process: Needles ONLY
Let me be crystal clear about this: a conch piercing must only be done with a brand-new, sterile, single-use hollow needle. If anyone, anywhere, ever suggests using a piercing gun for cartilage, you need to walk away. Seriously. They are not a professional.
A piercing gun uses blunt force to ram a dull stud through your tissue. This shatters the cartilage, causing massive trauma and dramatically increasing your risk for infection and those dreaded permanent bumps. The jewelry is also total junk—low-quality metal, too short to allow for swelling, and butterfly backs that are a perfect home for bacteria. A needle, on the other hand, is incredibly sharp and surgically removes a tiny piece of tissue, creating a clean channel for the jewelry to sit in. It’s far less traumatic to the body.
So, how do you find a reputable studio? Look for piercers who are part of professional organizations that uphold safety standards. Check out their online portfolios—and here’s a pro-tip: look for pictures of healed piercings, not just fresh ones. Anyone can make a piercing look good for two minutes. It takes skill to make one that heals beautifully. Big red flags include using guns, offering cheap “2 for 1” deals, or not being able to tell you what metal their jewelry is made of.

Once you’re in a good studio, here’s what to expect:
- Consult & Markup: First, you’ll chat about the look you want. The piercer will then check your anatomy and mark a potential spot with a sterile skin marker. You’ll get the final say—they’ll have you look in a mirror to make sure you love it.
- Sterile Setup: Everything that will touch you—the needle, the jewelry, the gloves—should be sterilized in a machine called an autoclave and opened from a sealed package right in front of you. Don’t be shy about asking to see the proof.
- The Main Event: After cleaning the area with an antiseptic, it’s time. They’ll ask you to take a deep breath in and exhale slowly. On the exhale, the needle goes through. It’s quick. You’ll feel a sharp, intense pressure for a few seconds, and then it’s over.
- Jewelry Insertion: The piercer will follow the needle immediately with your chosen jewelry, often using a little guide pin so the transfer is smooth and gentle. This whole part takes just a few minutes, way less time than the setup and cleaning.
Pain, Price, and a Whole Lot of Patience
Okay, the question everyone asks: does it hurt? Yes, it does. On a scale of 1 to 10, most people put the conch at a solid 5 to 7. It’s a sharp pinch, but it’s over in a flash. Afterward, you can expect a warm, throbbing feeling for a few hours. Taking some ibuprofen beforehand can help with the initial swelling, but it won’t numb the piercing itself.
The Healing Timeline: A 6 to 12 Month Journey
Patience is mandatory. Your piercing will look and feel better way before it’s actually healed on the inside. Messing with it during this time is what causes most issues.
- The First Month: Expect it to be swollen, tender, and maybe a little red. This is why we use a longer post for the initial jewelry—to give it room to swell up.
- Months 2-6: This is the danger zone. The initial soreness is gone, and you think it’s healed. It isn’t. Inside, a delicate new tube of tissue (a fistula) is forming. This is the most important time to avoid sleeping on it.
- The Downsize: Heads up! Around 4 to 8 weeks in, you’ll need to go back to your piercer to have a shorter post put in. This is a crucial step! The initial long bar is great for swelling, but once that goes down, it can get snagged easily and cause irritation bumps. This follow-up visit is super important for a happy piercing, so plan on it.
- Months 6-12+: The fistula is getting strong and stable. For most, it’s considered fully healed and ready for a hoop (if that’s your goal) around the 9 to 12-month mark. For some, it can take even longer.
Breaking Down the Cost
A professional piercing is an investment in your body. The price is typically broken into two parts: a service fee and the cost of the jewelry. Be very wary of places that quote one cheap price for everything.
- Service Fee: This usually runs from $40 to $80 in most cities. This pays for the piercer’s expertise, time, and all the sterile, single-use equipment.
- Jewelry Cost: This is where the price can vary wildly. A basic, implant-grade titanium labret stud will likely be in the $30 to $50 range. If you want to start with solid 14k gold, you’re looking at $80 to $150 and up. High-end, intricate pieces with genuine gemstones can easily run several hundred dollars. Why the high price? You’re paying for materials guaranteed to be safe for long-term wear inside your body and expert craftsmanship that often comes with a lifetime guarantee.
All in, expect to pay at least $70 to $130 for a safe, high-quality conch piercing. Trust me, paying for quality upfront saves you money and pain down the road.
Living With Your New Conch: The Practical Stuff
Okay, so you got the piercing. Now how do you live with it? The biggest challenges are the simple, everyday things.
Sleeping is the big one. You absolutely cannot sleep on your new piercing. It will get angry, fast. Here’s the best trick in the book: get one of those U-shaped travel pillows. You know, the kind for airplanes? Lay it flat on your bed and sleep with your ear in the hole. It’s a total game-changer.
What about earbuds and glasses? For the first few months, in-ear headphones on that side are a no-go. They can introduce bacteria and put pressure on the healing tissue. Over-ear headphones are a much better choice, as long as they don’t sit directly on the piercing. If you wear glasses or a mask, just be super mindful when putting them on and taking them off. Slow and steady wins the race.
Finally, The Right Way to Clean It (Less is More!)
Aftercare has gotten so much simpler over the years. We’ve learned that the best approach is to just keep the area clean and otherwise leave it the heck alone. Your body is amazing at healing itself.
For your aftercare kit, you really only need one thing: a can of sterile saline wound wash spray. You can find this at any pharmacy, usually for around $8-$12. Look for one that only contains sterile water and sodium chloride—no other additives!
Here’s your daily routine:
- Twice a day (morning and night), gently spray the front and back of your piercing with the sterile saline.
- Let it sit for about 30-60 seconds to soften up any “crusties” (this is just dried lymph fluid, and it’s totally normal).
- Gently pat the area dry with a clean piece of non-woven gauze or a paper towel. Don’t use cotton balls or Q-tips, as their fibers can get caught in the jewelry. And don’t use a bath towel—they harbor bacteria.
That’s it. Do NOT twist or turn your jewelry. Do NOT use alcohol, hydrogen peroxide, or antibacterial soaps—they are way too harsh. And definitely avoid swimming in pools, hot tubs, or natural bodies of water for at least the first two months.
Help! What’s This Bump on My Piercing?
Let’s talk about the dreaded piercing bump. Take a breath. 99% of the time, that scary-looking bump is just an irritation bump, not a keloid. A keloid is a specific type of scar tissue that only some people are genetically prone to, and they are much rarer than the internet would have you believe.
An irritation bump is just your piercing’s way of telling you it’s unhappy about something. The most common culprits are:
- Sleeping on it or putting pressure on it.
- Snagging it on your hair, clothes, or mask.
- Using low-quality jewelry.
- Not downsizing your post in time.
- Trapped moisture from not drying it properly after cleaning or showering.
The solution isn’t some magical potion like tea tree oil (please don’t do that!). The solution is to figure out what’s causing the irritation and stop it. Go back to your piercer. They can help you troubleshoot the problem and get your healing journey back on track. A little patience and care go a long way, and soon enough, you’ll have a beautifully healed piercing to show off.
Galerie d’inspiration
Implant-Grade Titanium: The industry standard for initial piercings for a reason. It’s nickel-free, highly biocompatible (meaning your body is less likely to react to it), and relatively lightweight. Brands like NeoMetal or Anatometal are piercer-approved mainstays.
14k or 18k Solid Gold: For a touch of luxury once healed. Avoid gold-plated jewelry initially, as the plating can wear off and expose underlying alloys that cause irritation. Look for solid nickel-free gold from high-end brands like BVLA (Body Vision Los Angeles) or Maria Tash.
For your first piece of jewelry, titanium is the safest and most affordable bet to ensure a smooth start to healing.
A conch piercing can take anywhere from 6 to 12 months—and sometimes longer—to fully heal on the inside.
Patience is non-negotiable. Even if it looks and feels fine after a few months, the internal tissue (the fistula) is still fragile. Changing jewelry too early or stopping your aftercare routine is one of the biggest causes of irritation bumps and setbacks. Trust the process and listen to your piercer, not just your eyes.
The big question: How much does a conch piercing hurt?
Let’s be honest, it’s more than a lobe piercing. Most people describe a sharp, intense pressure for a few seconds as the needle goes through the thick cartilage, followed by a dull, warm throbbing ache that can last a few hours. On a pain scale, many rate it a 6 or 7 out of 10. The good news? The initial intense part is over in a flash. The real challenge isn’t the moment of piercing, but the long-term tenderness during the healing phase.
- Avoid sleeping directly on your new piercing. A travel pillow with a hole in the middle can be a lifesaver.
- Clean with sterile saline solution ONLY. Avoid alcohol, hydrogen peroxide, or antibacterial soaps, which are far too harsh.
- Keep headphones, especially earbuds, away from the piercing until it’s no longer tender to the touch.
- Be mindful of your hair; try to keep it tied back to prevent snagging and the transfer of oils or hair products.
Don’t skip the downsize: Your initial piercing jewelry is always a bit longer to accommodate for swelling. After 4-8 weeks, that swelling subsides, and the long bar can cause problems—it gets snagged easily and can shift the angle of the piercing. Visiting your piercer to have the post swapped for a shorter, perfectly fitted one is a crucial step for a happy, well-healed conch.

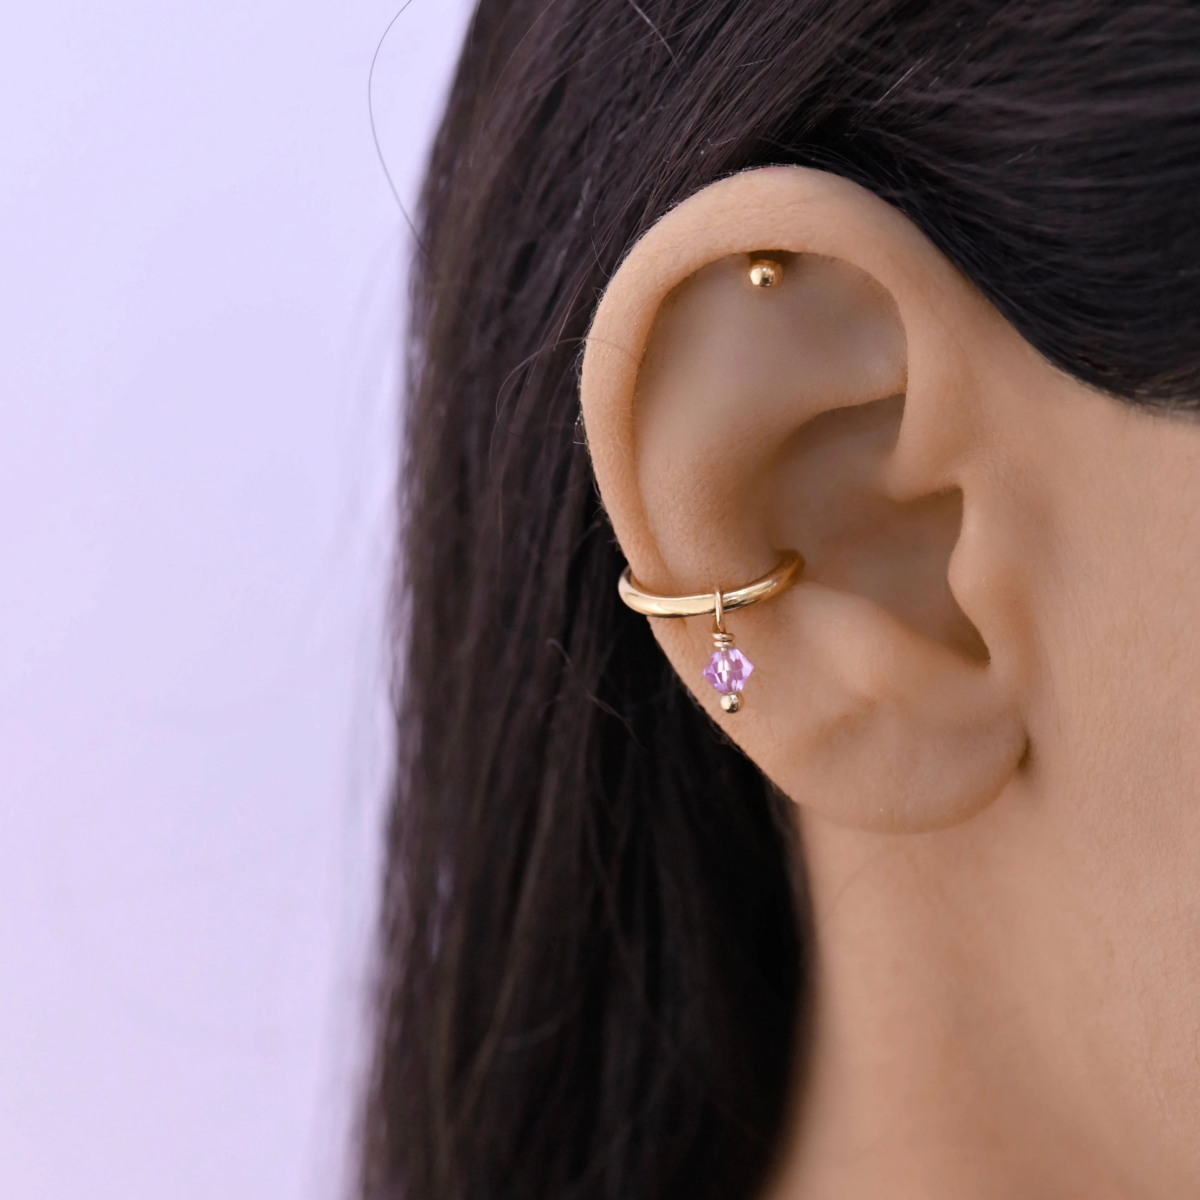
The conch piercing is a cornerstone of the modern

- Get the look without the long-term commitment.
- Test out the placement and see how it feels with your style.
- Completely painless and zero healing time required.
The secret? A high-quality conch cuff. Brands like Maison Miru or Astrid & Miyu offer elegant, adjustable cuffs that grip the cartilage firmly, giving the illusion of a real piercing. It’s the perfect way to experiment before taking the plunge.
According to the Association of Professional Piercers (APP), the only appropriate cleaning solution for a healing body piercing is a packaged sterile saline solution with no additives.


