Forget ‘Fixing’ Your Round Face—Here’s How to Make It Shine
After more than two decades in the styling and makeup world, I’ve seen it all. But you know the one question that pops up constantly? How to style a round face. Honestly, a quick search online gives you a ton of so-called ‘rules’ that are just plain wrong. They treat a round face like a problem you need to solve, and that’s just not the right way to think about it.
In this article
A round face has this wonderfully soft, approachable look that often reads as youthful and kind. The goal isn’t to hide it or force it into another shape. The real art is all about creating balance and harmony. It’s about using hair, makeup, and even your accessories to play up your best features. Think of it as understanding how lines, shadows, and light can work with your natural curves. So, let’s get into the techniques the pros actually use—the stuff learned from years of working with real people, not just theory.

The Real Secret: Why Certain Styles Just Work
Before we even think about picking up a brush or a pair of scissors, we need to get the basic principles down. This is the stuff that separates a good look from a great one. Once you get this, you won’t need to memorize rules anymore; you’ll just see what works.
It’s All About Light and Shadow
This is the number one concept in all of makeup. It’s simple, really: light brings things forward, and shadow makes them recede. Picture a simple white sphere. The part hit by light looks closer, while the sides fade into shadow, giving it that 3D look. We’re just applying that same idea to the face.
So, when we use a darker contour product, we’re essentially painting a soft shadow. This visually pushes an area back. And when we tap on a shimmery highlighter, we’re catching the light, which makes that spot pop forward. For a round face, this means we can create the illusion of more defined bone structure. A little shadow under the cheekbones makes them look higher, and a touch of light on top of them enhances that effect. It’s a simple, but powerful, trick of the eye.
The Magic of Angles vs. Curves
A round face is all about those soft, beautiful curves. The jawline is gentle, the cheeks are often full and lovely. To create that beautiful visual balance I was talking about, we need to introduce some angles. This contrast adds a bit of structure and is really pleasing to the eye.
This is exactly why an angled bob haircut is such a knockout look. The sharp, clean line of the hair cuts across the soft jawline, creating a striking contrast. It’s the same reason a V-neck top is often more flattering than a round crew neck—the ‘V’ shape draws the eye downward, which helps elongate the look of the face and neck. We use this principle everywhere, from how we shape our eyebrows to the earrings we choose.
Your Haircut: The Ultimate Frame for Your Face
Your haircut is everything. Seriously. It’s the best style investment you can make. A great cut from a skilled stylist who understands face shapes can change your whole look. A good cut should also grow out gracefully, saving you money and awkward in-between phases.
Heads up: a quality, professional cut like an A-line bob can set you back anywhere from $75 to over $250, depending on where you live and the salon’s reputation. But it’s worth it.
The Right Cut is in the Details
People always ask for “layers,” but that’s a super vague term. Where those layers are placed makes all the difference. For a round face, the last thing we want is to add a bunch of volume at the sides of the head, as this will only emphasize width.
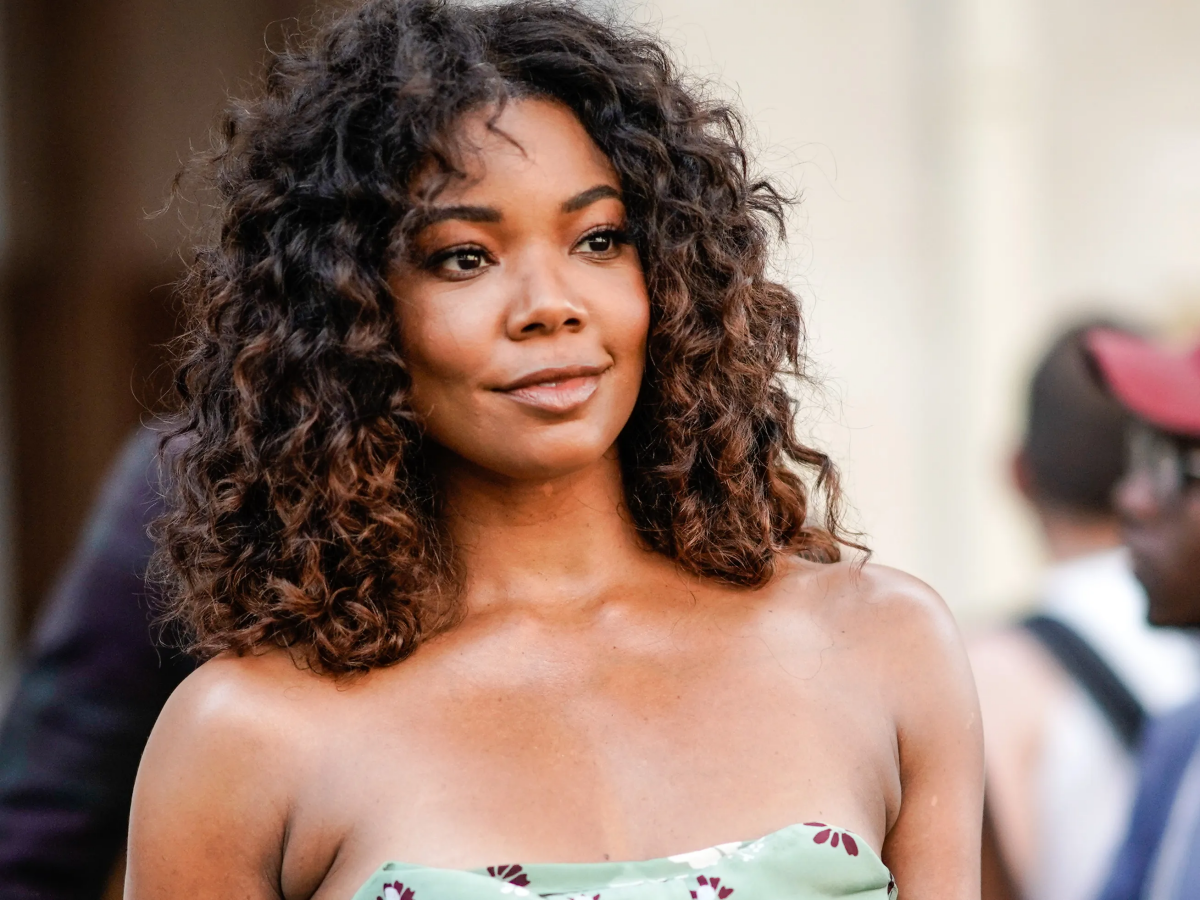
- Long, Flowing Layers: The pros often use a technique like slide cutting to create soft, long layers that fall vertically. This vertical motion is key—it draws the eye up and down, not side to side, which has a natural slimming effect. A common mistake I see is short, choppy layers that start right at the cheek. That adds volume exactly where you don’t want it.
- The Angled (or A-Line) Bob: Let’s be frank, a classic, one-length bob that ends at the chin is probably the least flattering cut for a round face. It creates a harsh horizontal line right at the widest point. But an A-line bob is a completely different story. It’s shorter in the back and angles down toward the front, with the longest pieces falling past your chin. Those front pieces create two strong vertical lines that frame the face beautifully.
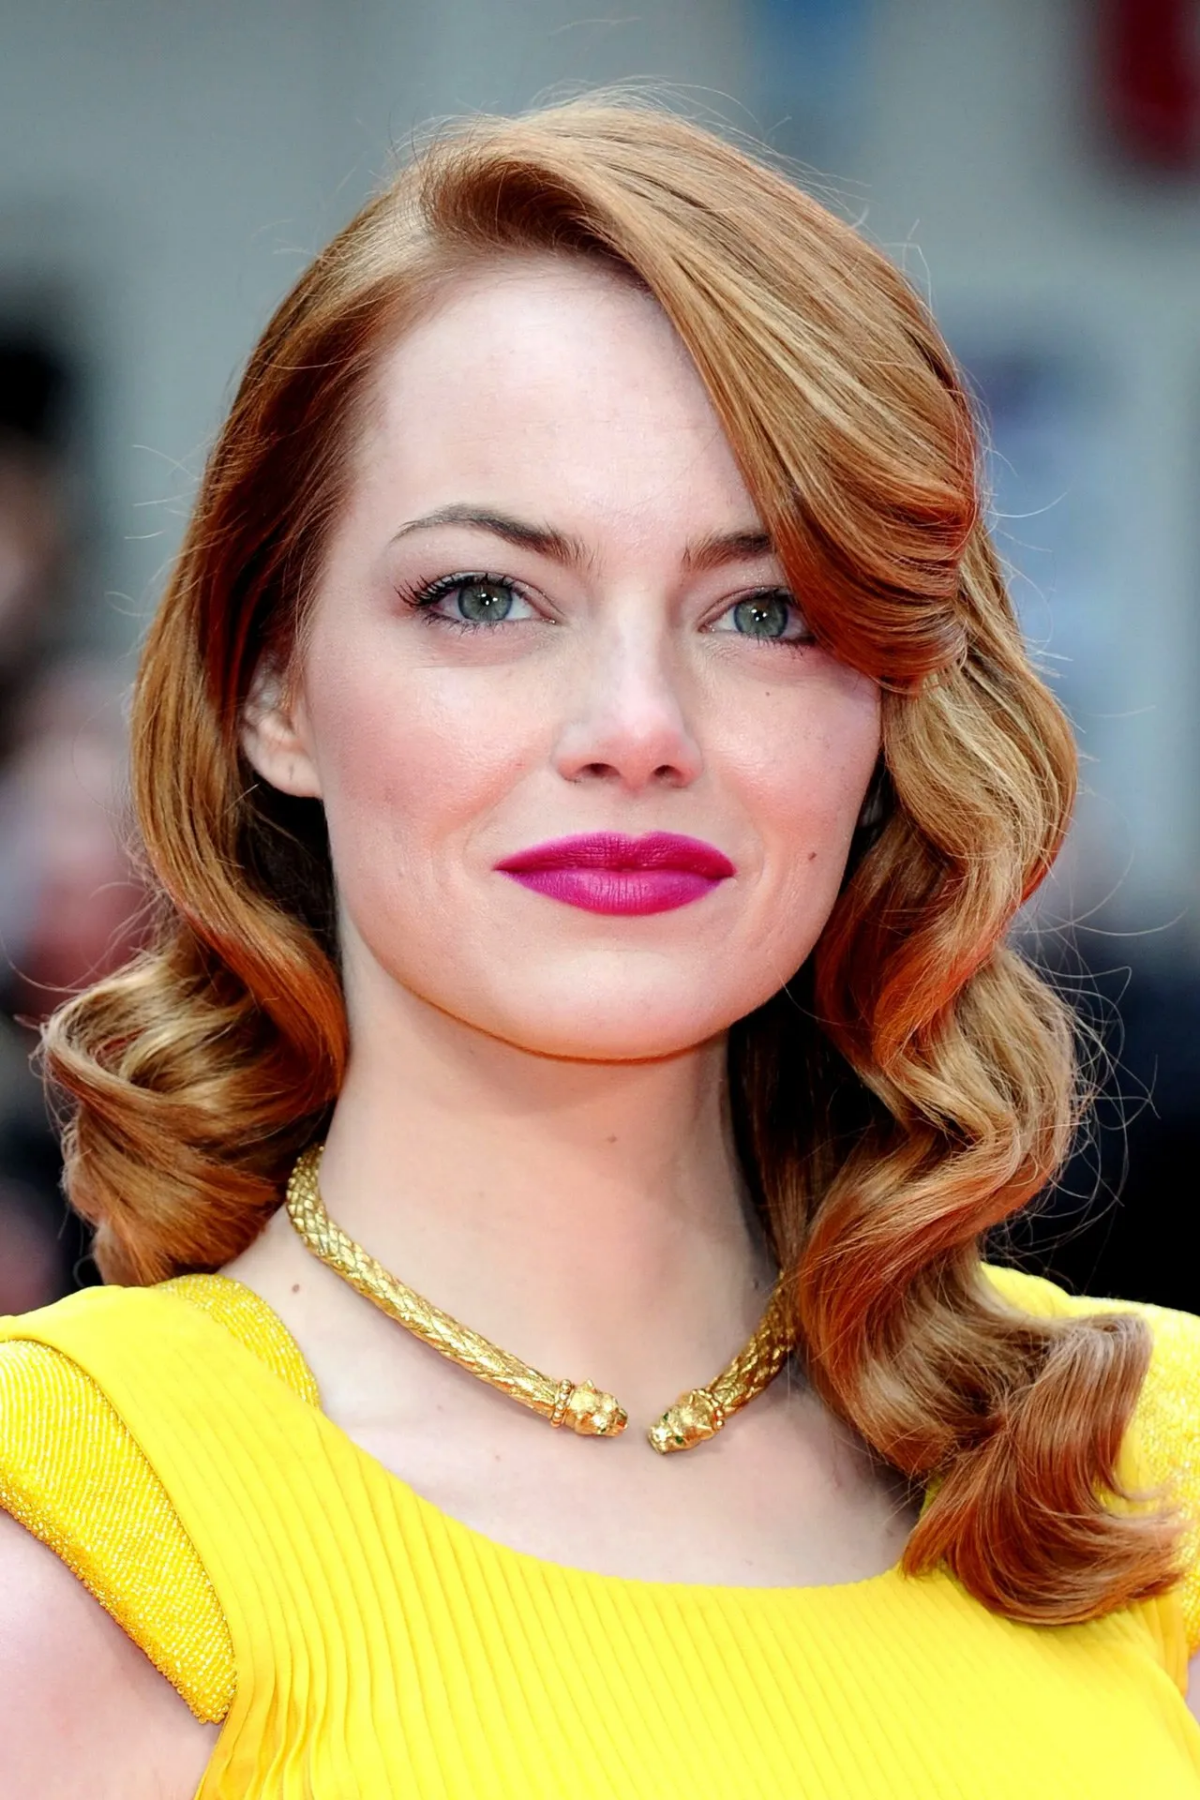
- Bangs (But Handle with Care): A blunt, straight-across bang is a huge gamble. It chops the face in half horizontally and can make it appear shorter and wider. I’ve had to perform rescue missions on more than a few DIY bang trims gone wrong. A much better option is a long, side-swept bang that creates a flattering diagonal line. Curtain bangs that part in the middle and sweep out are also fantastic because they open up the face while still adding some soft, framing angles.

Daily Styling Tricks for Big Impact
A great cut needs a little daily love to look its best. These are quick things that have a huge effect.
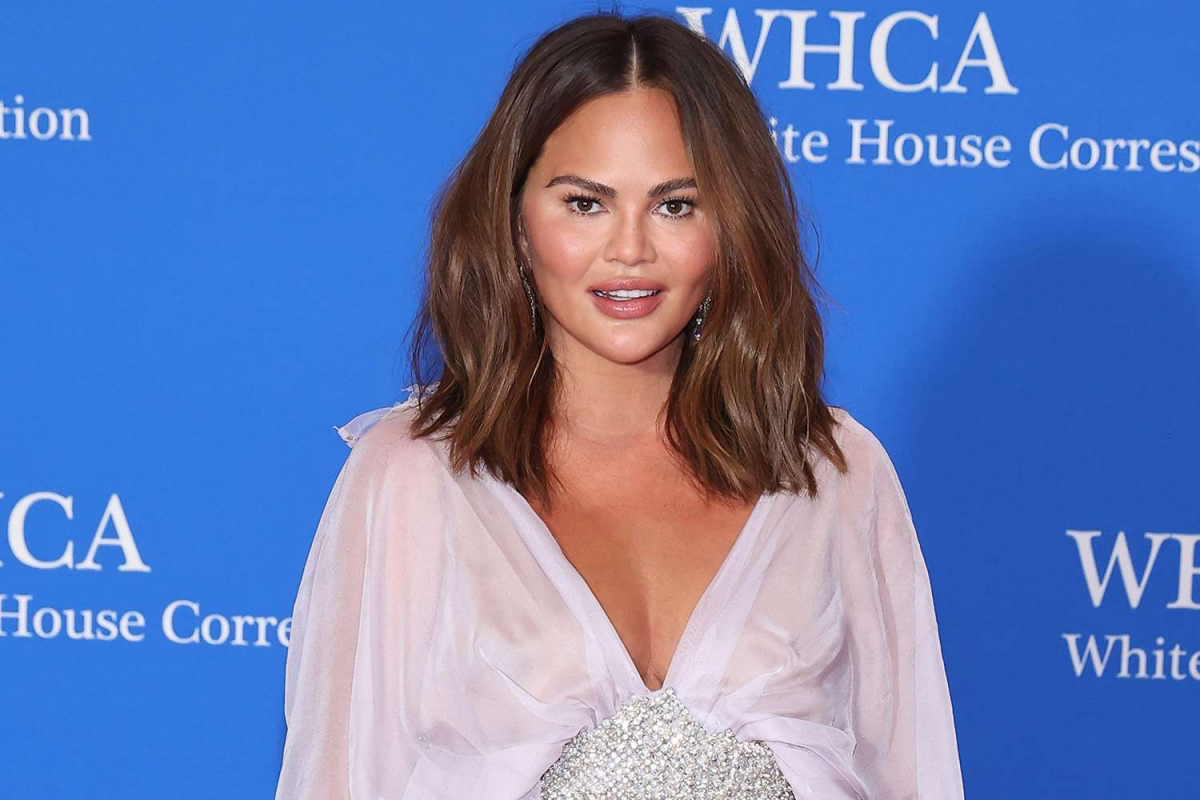
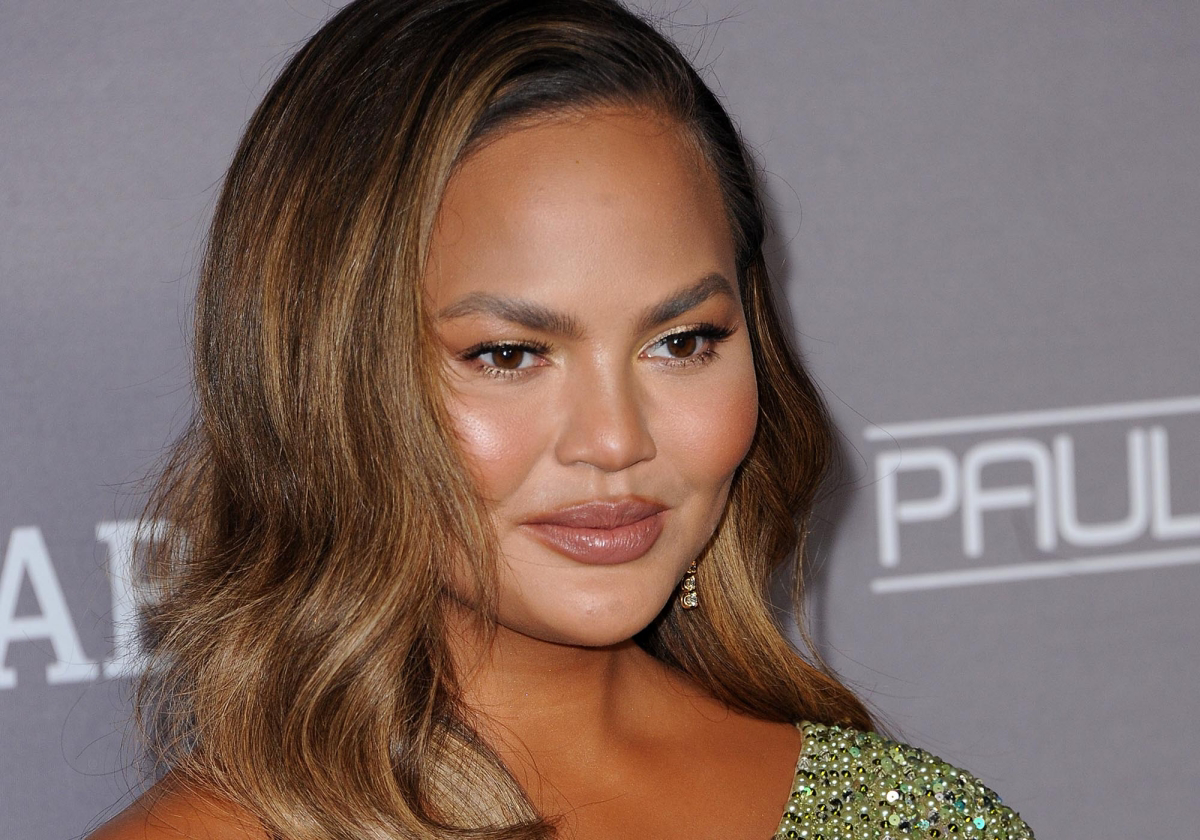
- The Power of the Part: A deep side part is your best friend. It creates instant asymmetry that breaks up the roundness of the face. By sweeping a larger section of hair over to one side, you also get a bonus: height at the root and a strong diagonal line.
- Where to Put Your Volume: Remember how we said no volume on the sides? Instead, you want to create lift at the crown of your head. This added height makes the face appear longer. Quick tip: On damp hair, spray a root-lifting spray (like Got2b Volumaniac or a higher-end one like Color Wow’s Root Lift) right at the scalp. Then, flip your head upside down and blast just the roots with your blow-dryer for about 60 seconds. Flip back up and style as usual. Instant height!
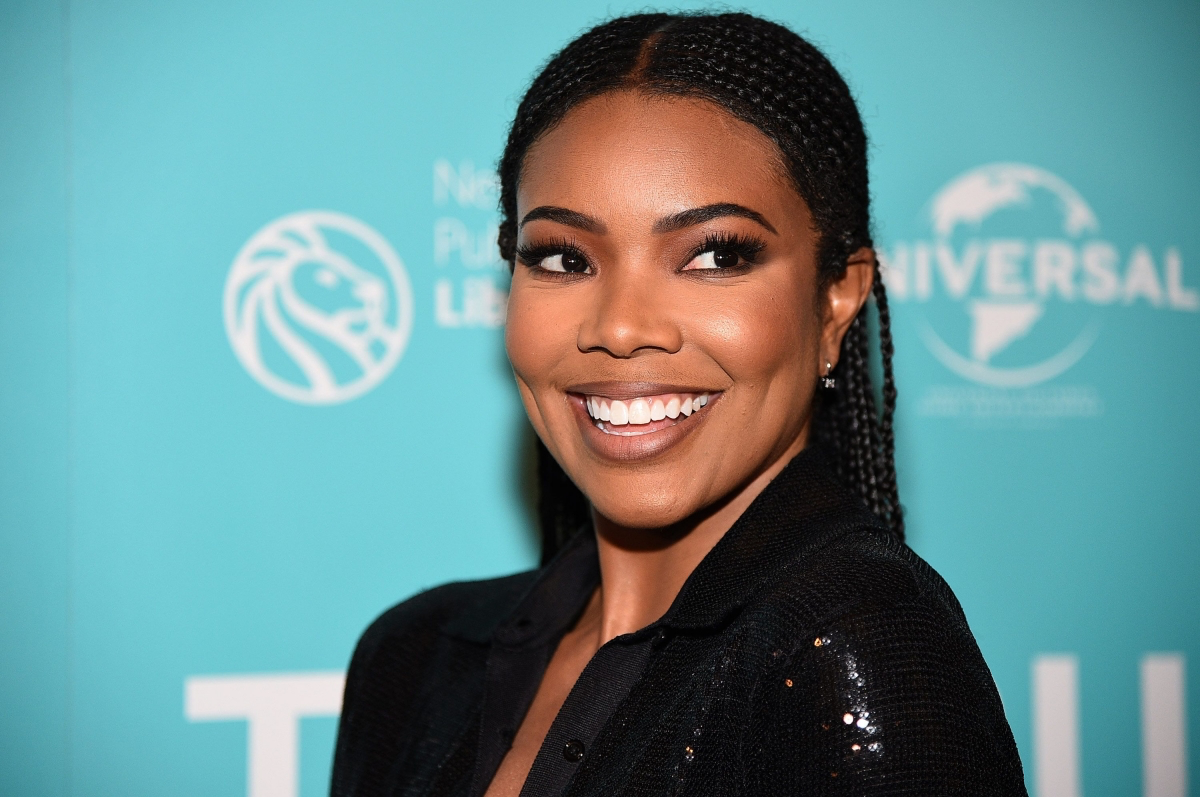
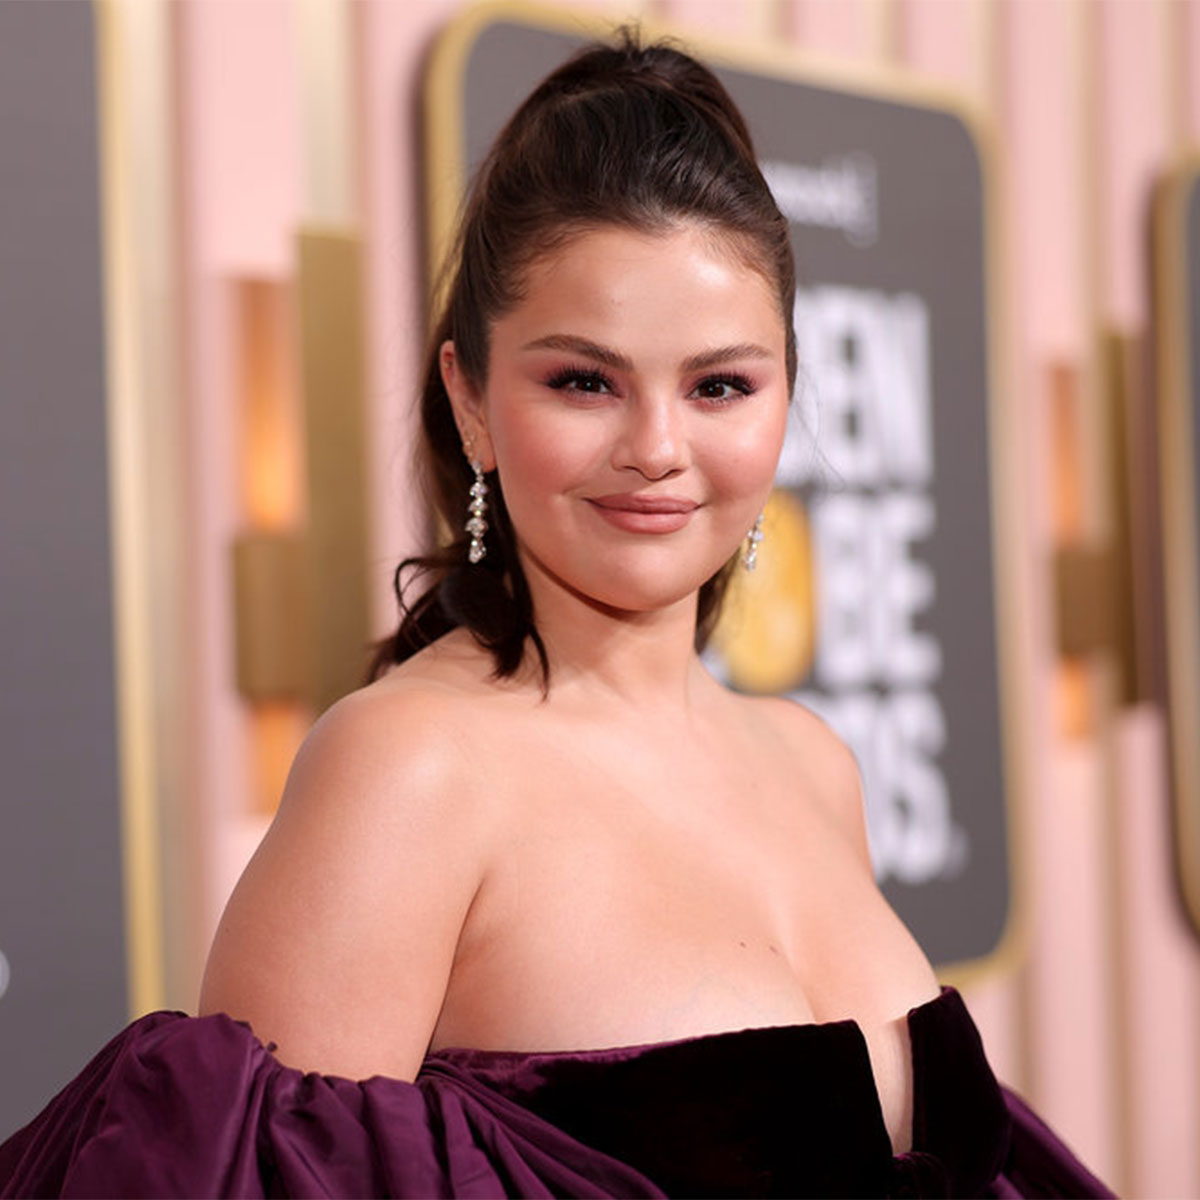
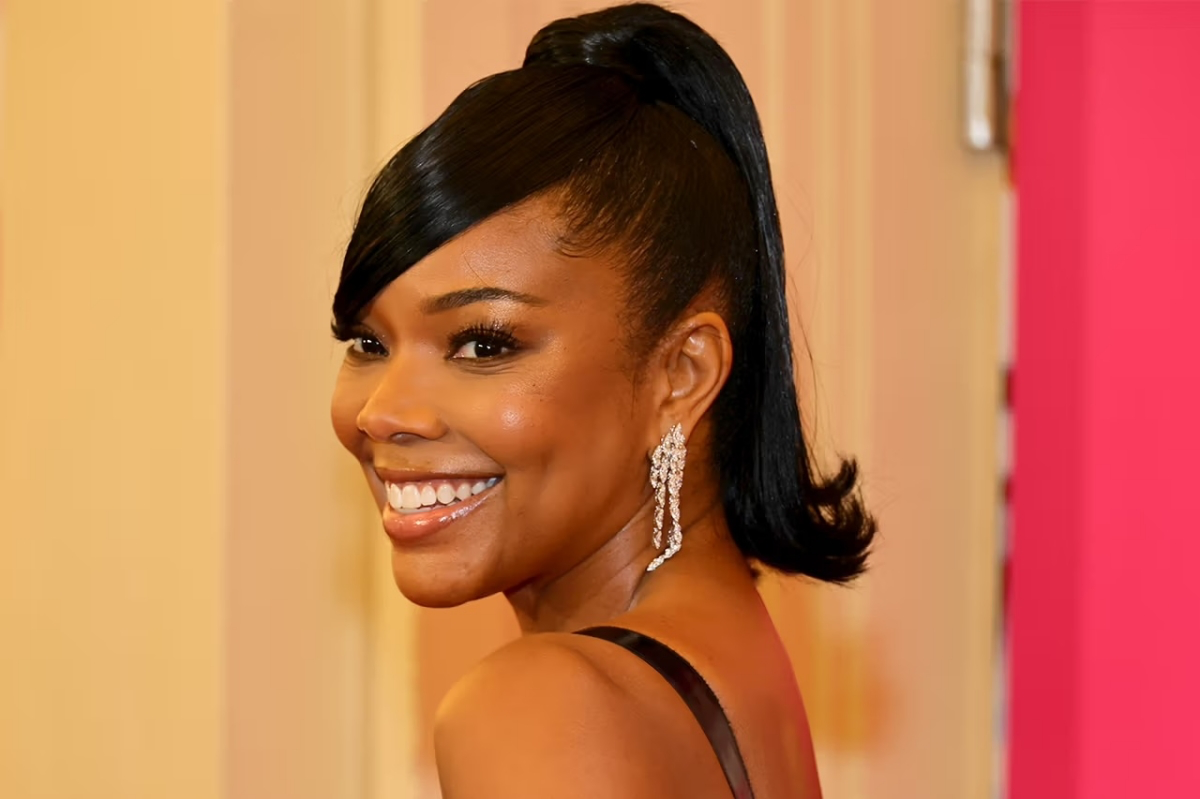
- Smarter Updos: When you pull your hair back, avoid scraping it all back into a tight, slick pony. A high ponytail, positioned right at the crown, is much better because it draws the eye upward. Oh, and always pull out a few soft, face-framing tendrils. They soften the whole look and break up the hairline.
Makeup Time: How to Sculpt with Light and Color
Makeup is your secret weapon for adding dimension. It’s not about caking it on; it’s about being strategic with where you place it.
A Quick Shopping List for Beginners
You don’t need a million products. Here’s a simple, effective toolkit:
- Contour Product: For a creamy, blendable option, the Fenty Match Stix ($28) is a cult favorite. On a budget? The e.l.f. Putty Bronzer ($7) is fantastic. Just be sure to pick a cool-toned shade that mimics a real shadow, not a warm, orangey bronzer.
- Angled Brush: You need this for precise contour application. The pros might use something pricey, but a brush from Real Techniques or Morphe (usually $8-$15 at Ulta) works perfectly.
- Root-Lifting Spray: The L’ange Grand Debut Root Booster is a solid mid-range choice ($25), while John Frieda’s Volume Lift spray is a great drugstore find for under $10.
The Step-by-Step Guide to a Flawless Face
Okay, let’s get down to it. Here’s exactly where to put everything.
- Contour First. Ready for the oldest trick in the book? Suck in your cheeks like you’re making a fishy face. See that hollow that forms right under your cheekbone? That’s your target. Using your angled brush, apply your contour in that hollow, starting from your ear and blending forward and slightly down, stopping about midway across your cheek. You can also add a little along your jawline and on your temples to create more of an oval shape.
- Next, Blush. Here’s a major pro tip: whatever you do, do NOT apply blush to the apples of your cheeks. For a round face, this just makes it look rounder. Instead, sweep your blush just above your contour, on the higher part of your cheekbone, blending it back toward your temple. This creates a lifting effect.
- Finally, Highlight. This is the fun part! Dab a little highlighter on the very highest points of your face where light would naturally hit. That means the top of your cheekbones (just above your blush), down the bridge of your nose, and a tiny bit on your cupid’s bow.
Don’t Forget Accessories!
Yep, your jewelry and glasses are part of your look, and they can make a huge difference.
- Earrings: To add length, go for dangly, teardrop, or other long earring styles. They draw the eye downward. Try to avoid large, round studs or big hoops, which can add width right at your cheek level.
- Necklaces: A V-shaped or longer pendant necklace is a great choice because, like a V-neck shirt, it creates a downward point and elongates your look. Chokers or very short, rounded necklaces can have the opposite effect.
- Glasses: Look for frames that have some angularity. Rectangular, square, or cat-eye shapes provide a great contrast to the soft curves of your face. Steer clear of small, round frames that can exaggerate roundness.
And there you have it. It’s not about a rigid set of rules, but about understanding a few key concepts. Play around, see what feels good, and focus on highlighting what’s already beautiful. You’ve got this.

Galerie d’inspiration
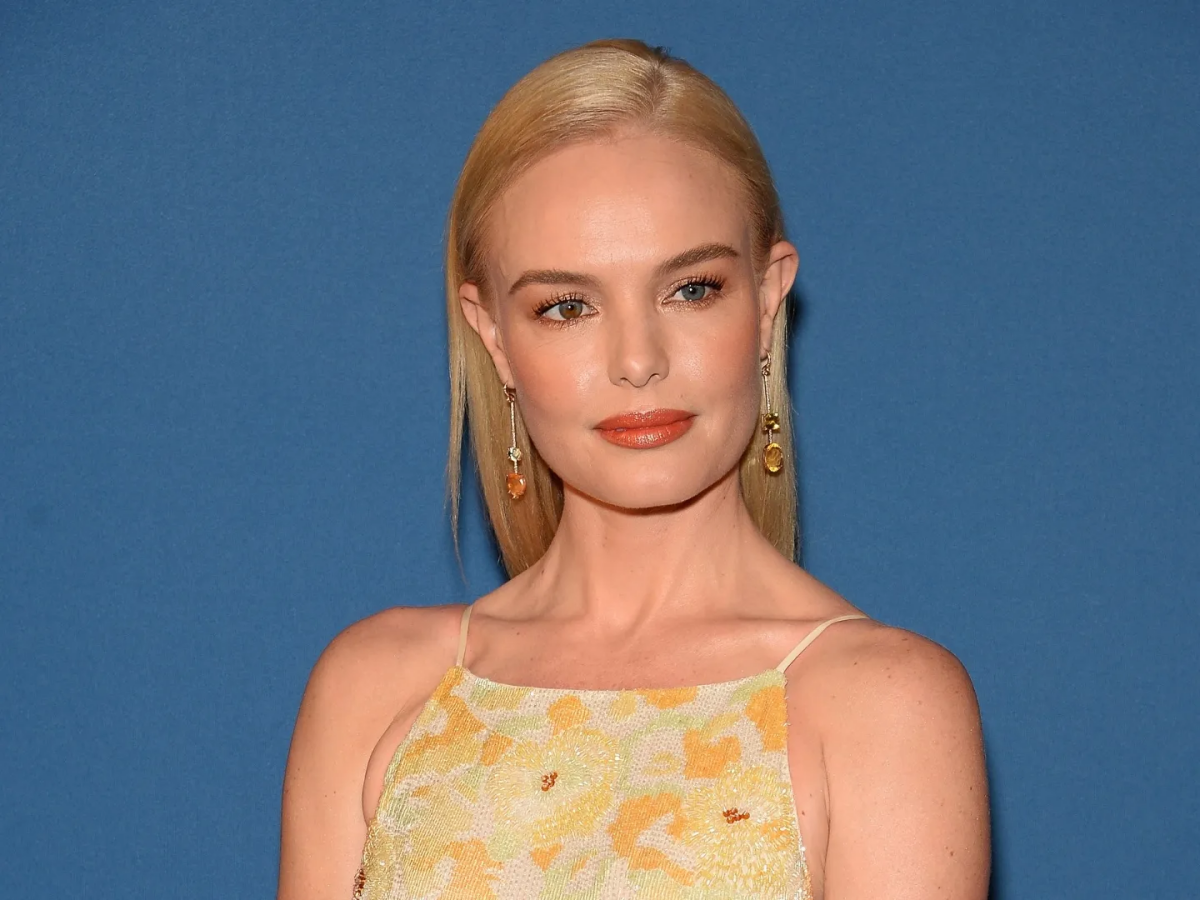
- Aim for a higher, more defined arch rather than a rounded one.
- Extend the tail of the brow outwards towards your temple, not just down.
- A feathered, brushed-up look adds a lovely vertical element that subtly lifts your features.
The goal? Your brows should draw the eye up and out, creating a gentle frame for your face.
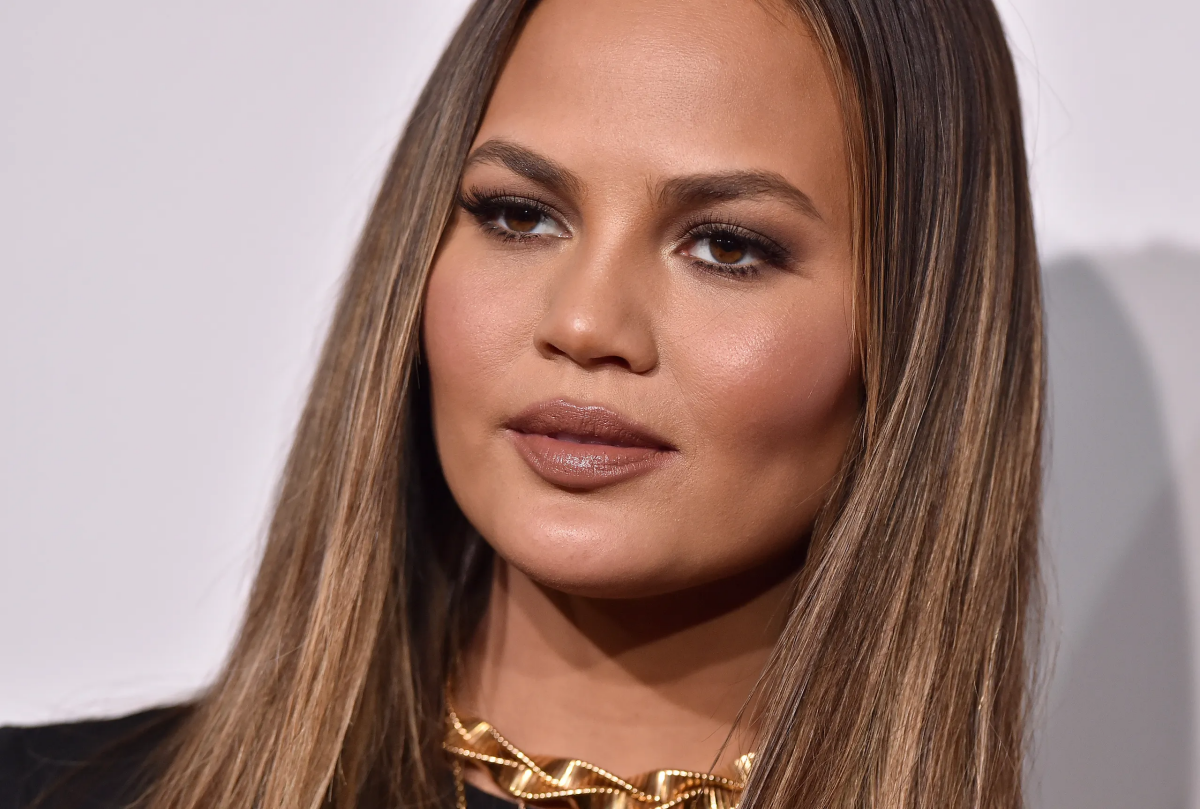
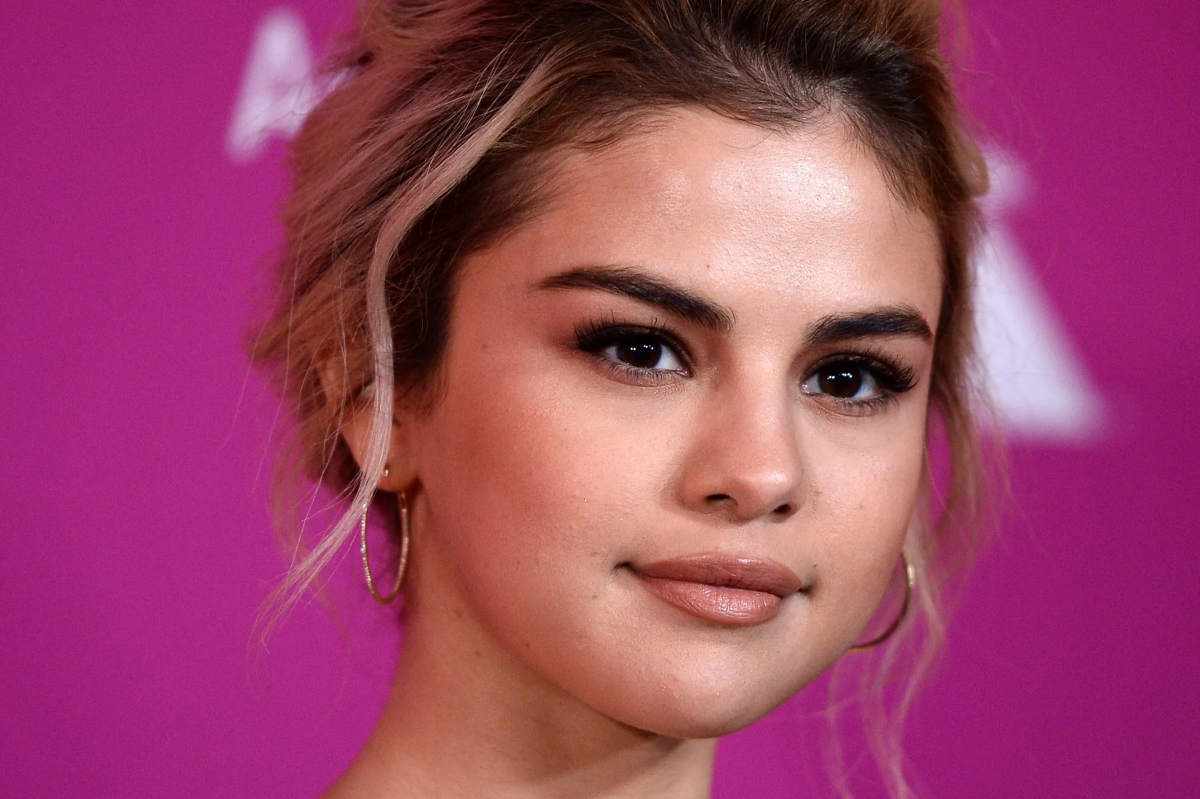
The #1 blush mistake: Applying it in circles on the apples of your cheeks. This classic advice can actually emphasize roundness. Instead, smile to find the highest point of your cheekbone, then sweep a soft blush like NARS’s iconic ‘Orgasm’ upwards towards your hairline for an instant lift.
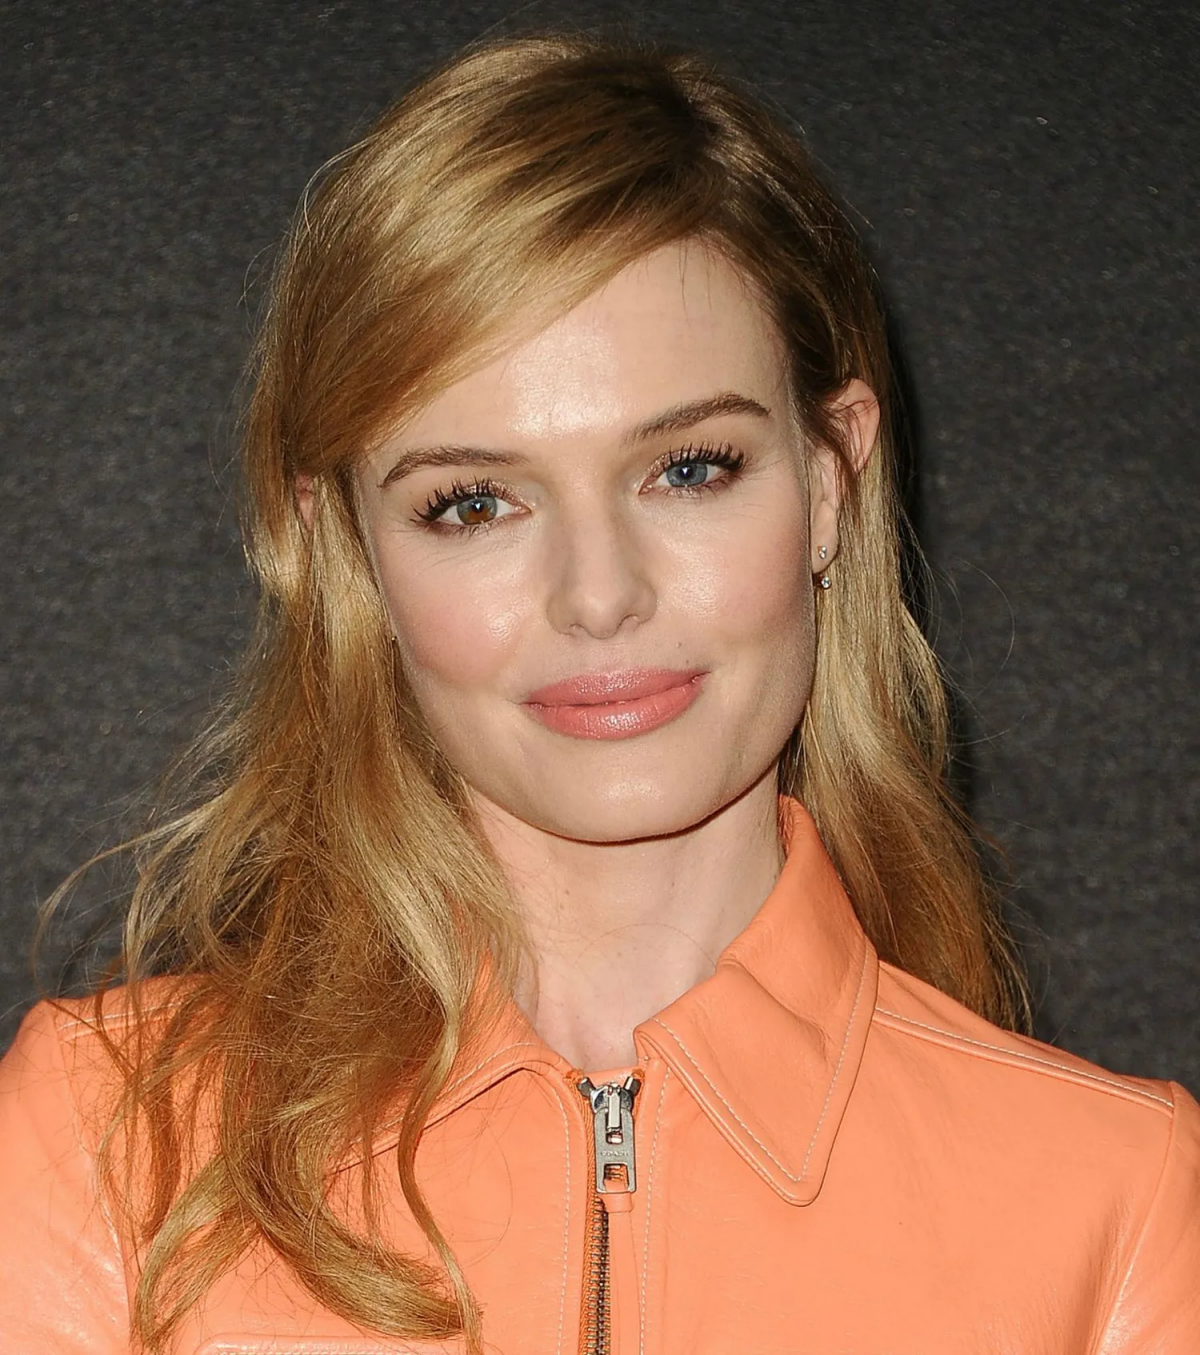
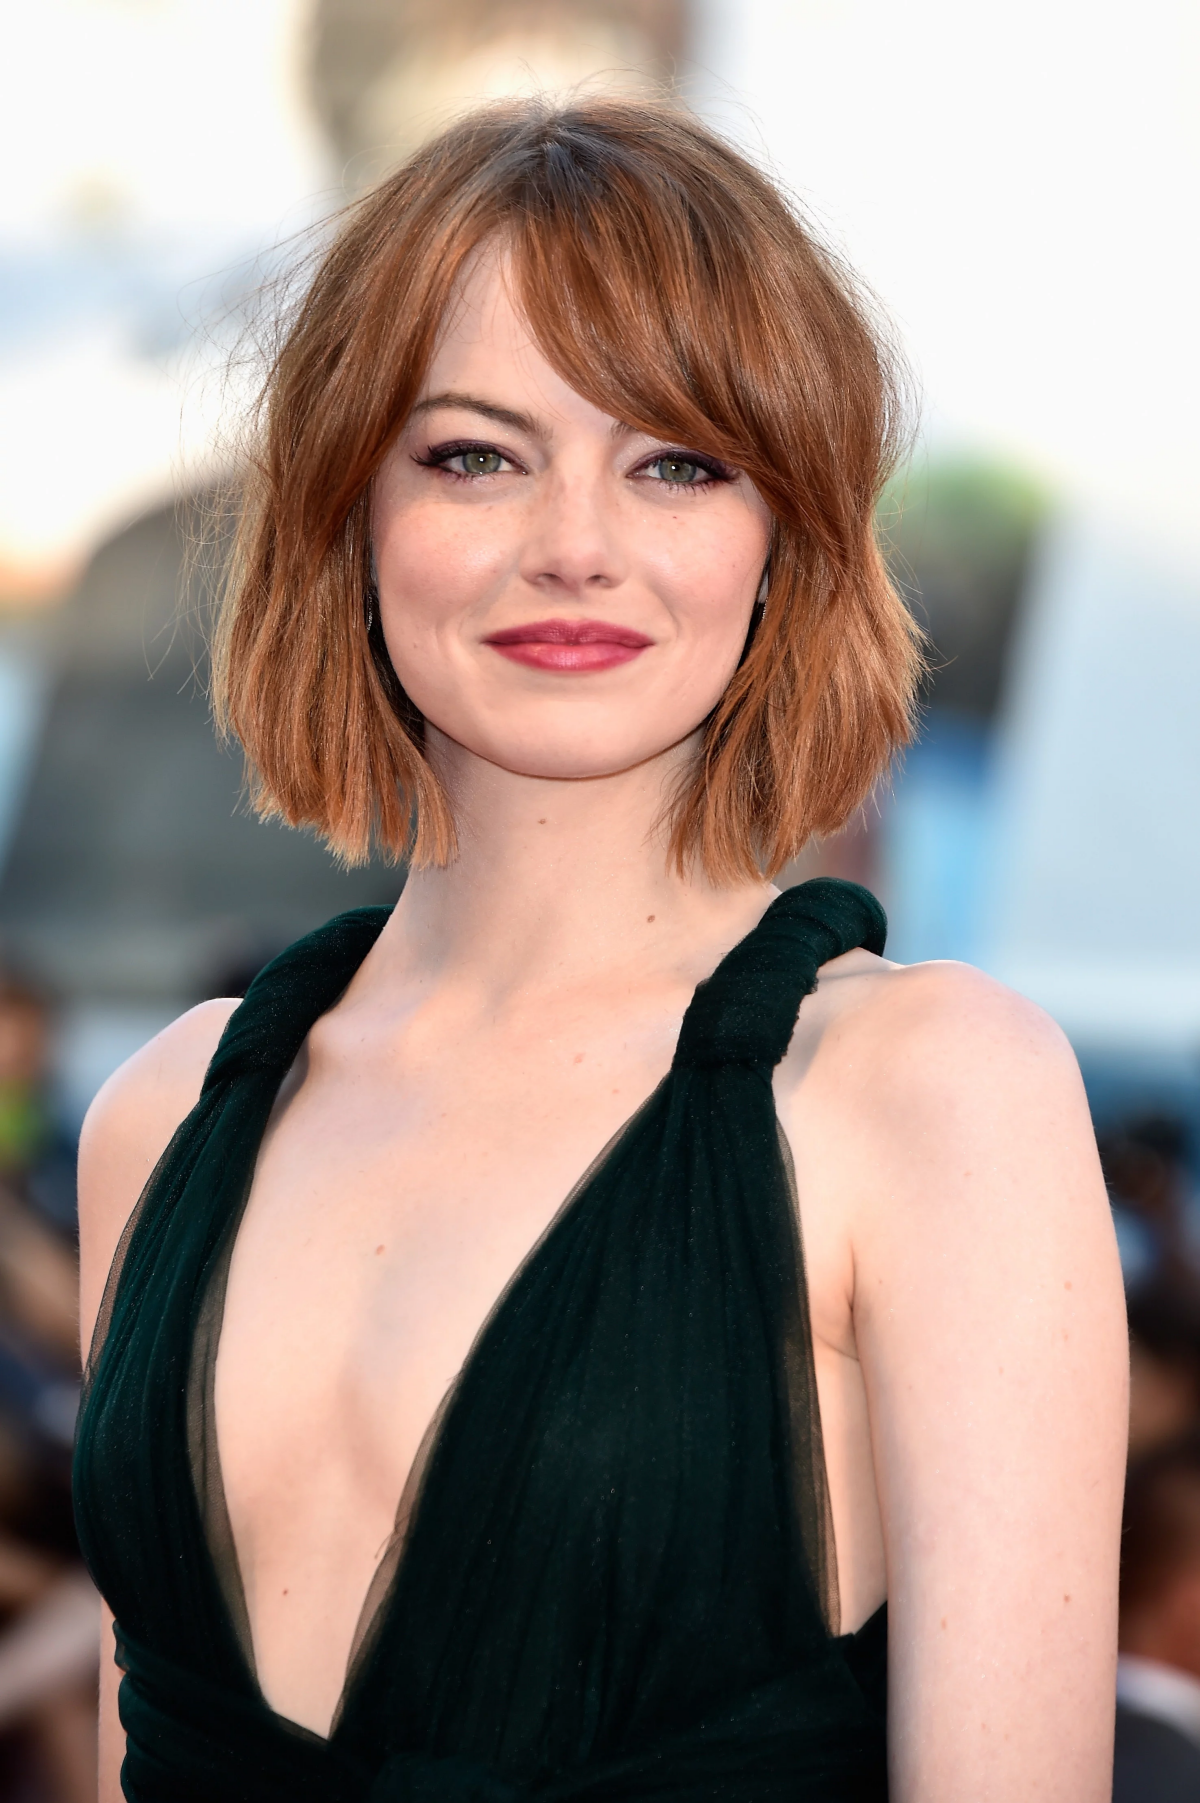
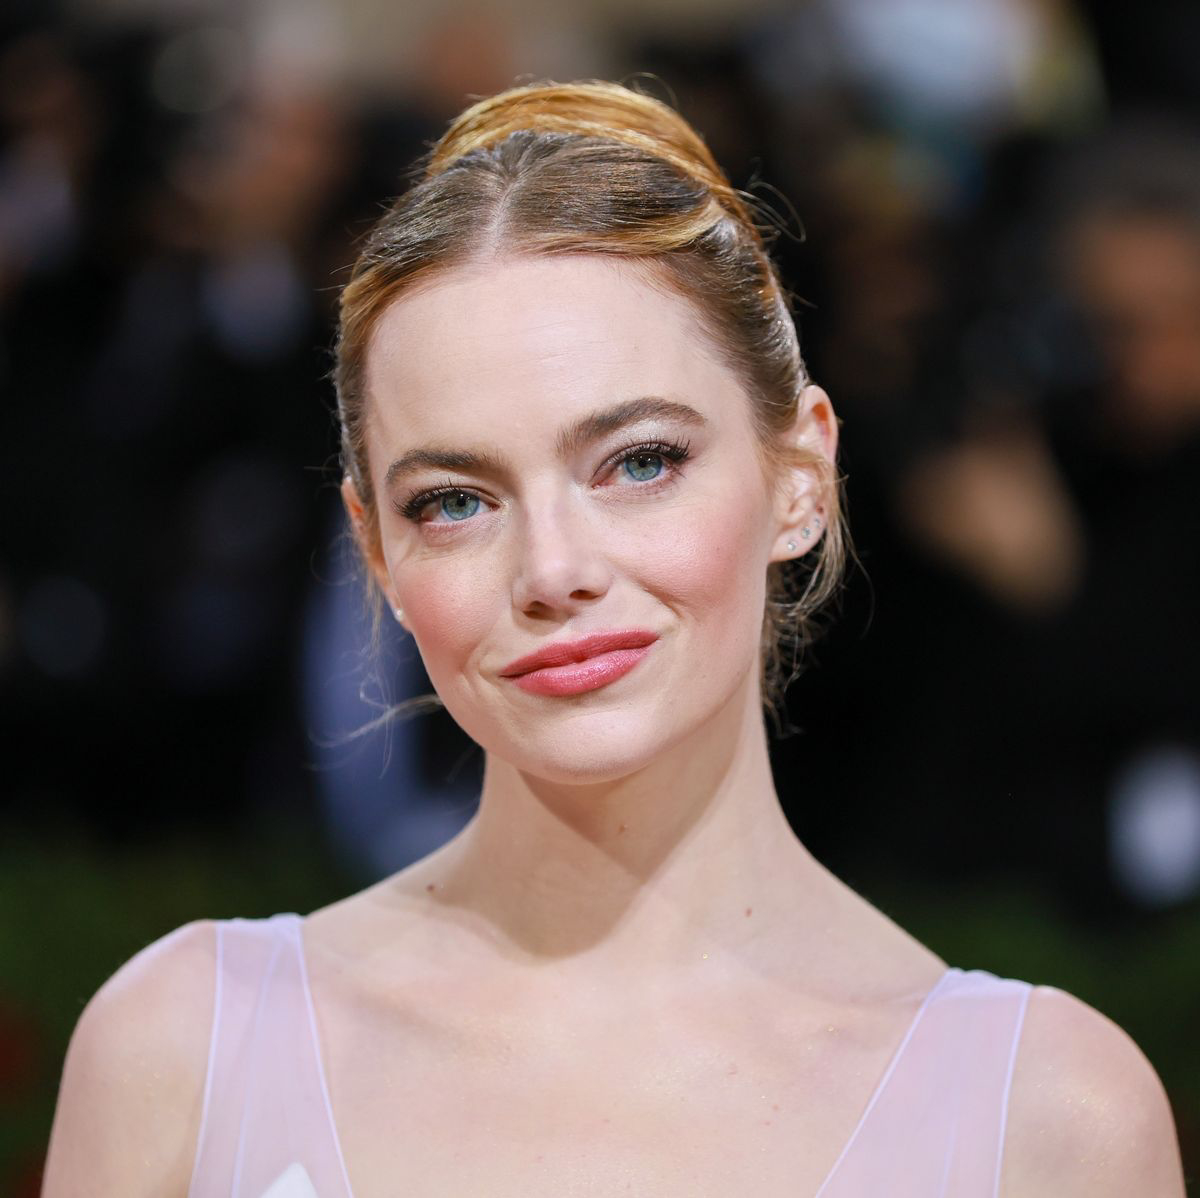
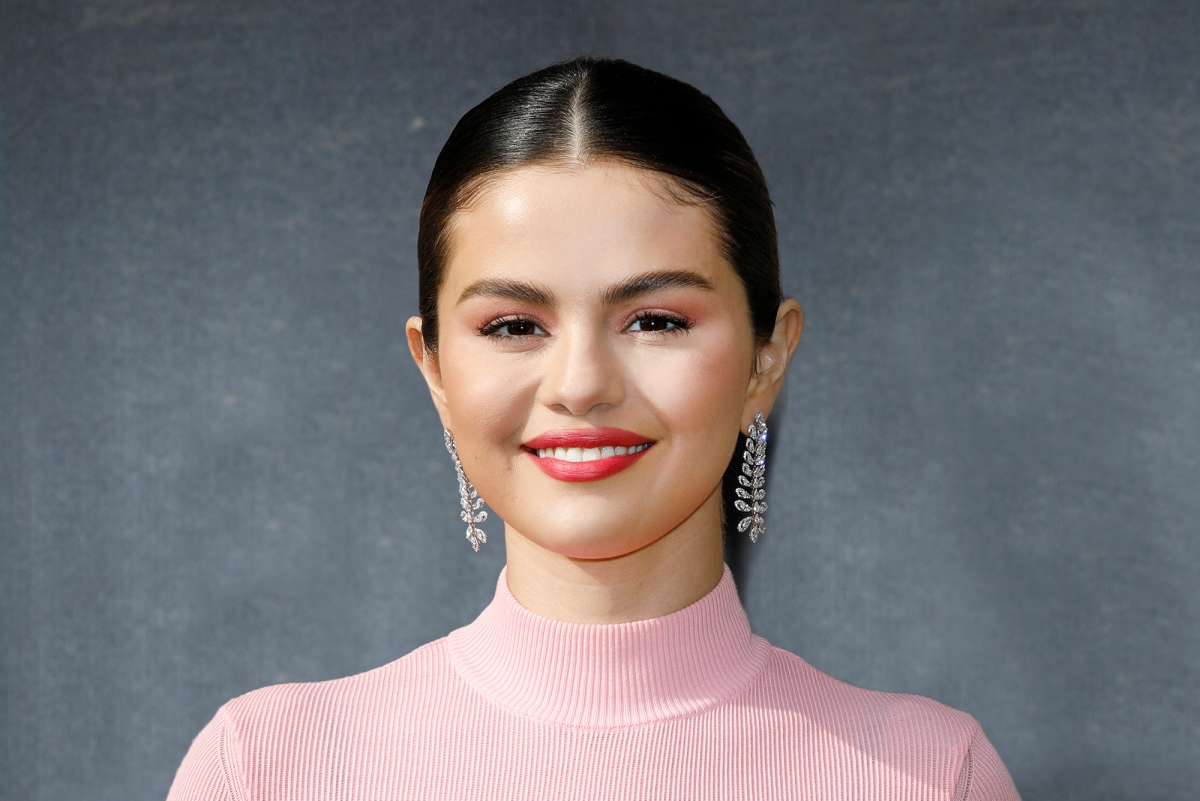
Don’t underestimate the power of your hair parting. While a center part can be chic, a deep side part works wonders on a round face. It creates a strong, asymmetrical line across the forehead, breaking up the symmetry and visually adding length to the face’s overall appearance. It’s a zero-cost styling trick seen on celebrities like Emma Stone and Miranda Kerr.
Can I really wear bangs with a round face?
Absolutely! The trick is to avoid heavy, blunt-cut bangs that create a harsh horizontal line. Instead, opt for softer styles. Light, side-swept bangs or airy curtain bangs that part in the middle are perfect. They frame the face and create flattering diagonal lines that draw attention to your eyes.
Cream Contour: Ideal for a natural, dewy finish. Products like the Fenty Beauty Match Stix are foolproof. They blend seamlessly into the skin, creating a shadow that looks like it’s truly yours.
Powder Contour: Offers a more matte, defined look and is great for oilier skin types or for more staying power. The key is a soft, fluffy angled brush to avoid harsh lines.
For an everyday look, creams often feel more modern and forgiving.
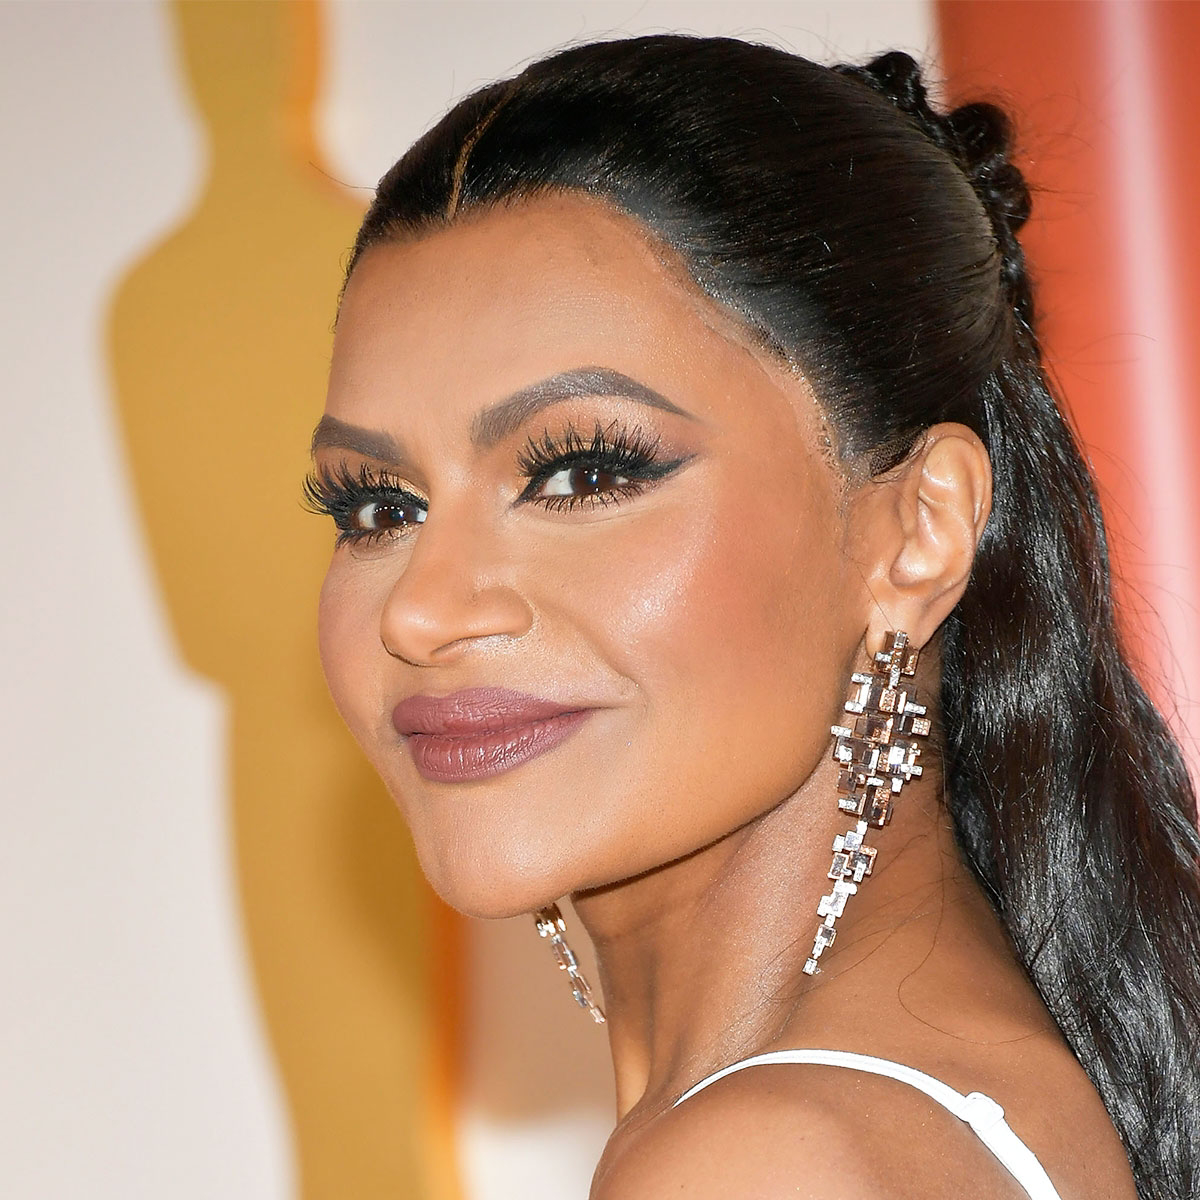
When it comes to earrings, think vertically. Your goal is to draw the eye downward, creating an elongating effect that balances the soft curves of your face.
- Dangles and Drops: Long, linear earrings are your best friend.
- Geometric Shapes: Narrow rectangles and other angular shapes provide a beautiful contrast.
- Avoid: Round button studs and large circular hoops, which can add width right at the cheek level.
A 2011 Swiss study found that eyeglasses can significantly alter perceptions of a person’s features.
Beyond perception, they’re a powerful styling accessory. For a round face, look for frames with angularity. Square or rectangular shapes provide a sharp contrast to soft features. A style with an upward lift—like a subtle cat-eye or a frame that’s wider at the top—draws attention upward, creating a beautifully balanced look.
- It builds volume at the crown, not the sides.
- The ends create soft, face-framing angles right around the jawline.
- It’s incredibly versatile, looking just as good sleek as it does with beachy waves.
The secret? The long bob, or
For a pro-level highlight, try the

The unspoken rule of contouring: Blend, blend, and then blend some more. The goal is an imperceptible shadow, not a visible stripe. After applying your contour product, use a damp beauty sponge or a clean, dense brush to tap and buff the product into the skin until there are no harsh edges. Your contour should be a whisper, not a statement.
The necklace you choose can be a secret weapon. Creating a
Look beyond just the cut and consider color placement. Ask your colorist for ‘face-framing highlights’ or a ‘money piece’. By placing lighter strands around the front hairline, you create brightness and vertical lines that draw attention to the center of your face, subtly elongating your features and making your eyes pop.


