The Anti-Tragus Piercing: Your Complete Guide to Getting It Right
So, you’re thinking about getting an anti-tragus piercing. Good choice! It’s one of those subtle yet seriously cool piercings that has some real staying power. It’s not as common as a helix or a standard lobe, which gives it a unique edge. But let’s be real—this isn’t a piercing you get on a whim. It’s a commitment, and it all starts with your own unique anatomy.
In this article
- First Things First: Is Your Ear Built for an Anti-Tragus?
- The Big Question: How Much Does It Hurt?
- What to Expect in the Piercing Chair
- Healing: Your 9 to 12-Month Project
- Troubleshooting: Bumps, Irritation, and Infections
- What If I Have to Wear Earbuds or a Stethoscope?
- Finding a Great Piercer and What It Should Cost
- Galerie d’inspiration
My goal here is to give you the same honest advice I’d give a friend. We’ll cover everything: whether your ear is even shaped for it, what the pain is really like, the step-by-step process, and the aftercare that makes all the difference. Think of this as the chat we’d have before you even step into the studio.
First Things First: Is Your Ear Built for an Anti-Tragus?
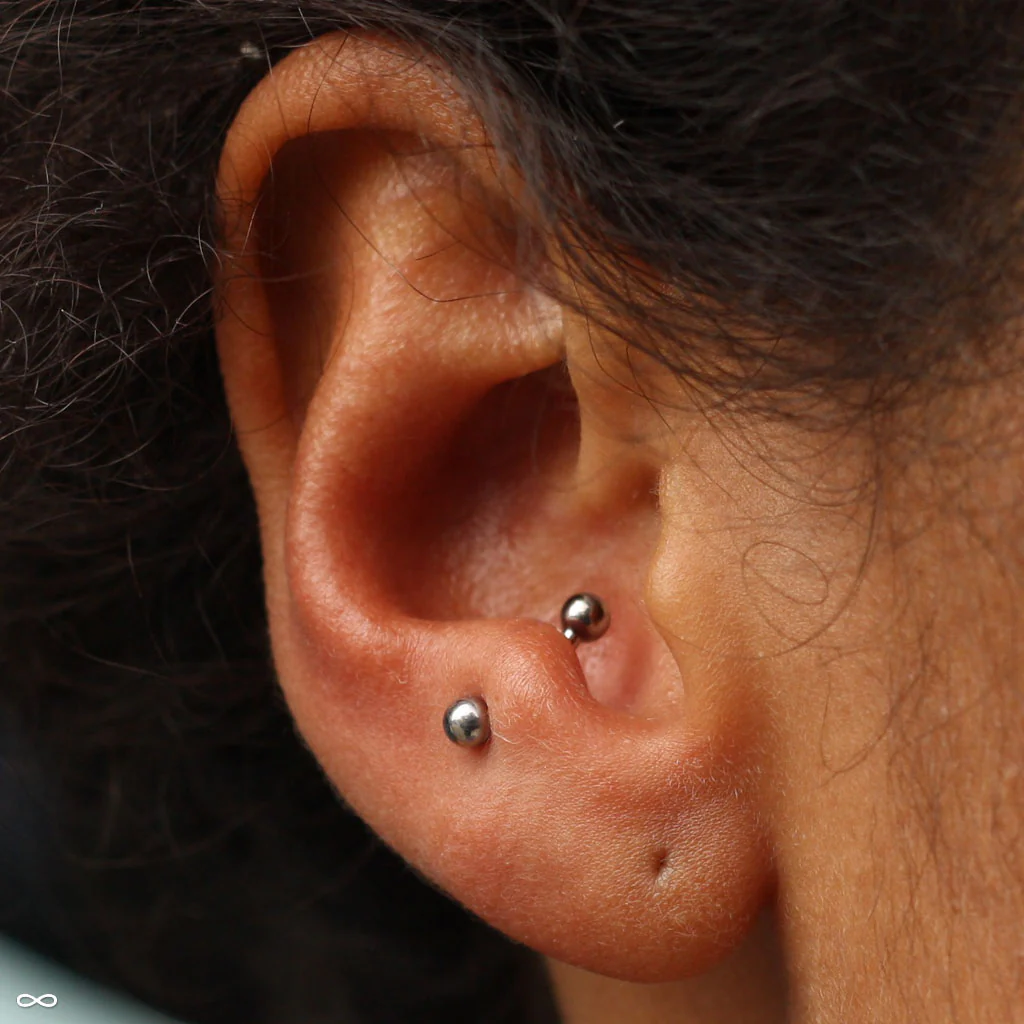
Before we even dream about jewelry, we have to talk about your ear. The anti-tragus is that little triangular ridge of cartilage right above your earlobe, sitting opposite the tragus (the little flap that covers your ear canal). The success of this piercing hinges entirely on that ridge.
Go look in a mirror right now and gently pinch that little shelf of cartilage. Is there a distinct, ‘pinchable’ ledge? Or does it feel pretty flat against your head? For this piercing to work, you need a well-defined ridge with enough tissue to securely hold the jewelry. If it’s too shallow, the piercing has a super high chance of migrating or rejecting, which is when your body slowly pushes the jewelry out, often leaving a scar. A reputable piercer will be honest and tell you if your anatomy isn’t a good fit. It’s about your safety, not just making a sale.
Oh yeah, and that cartilage is pretty dense. This is important because cartilage has less blood flow than fleshy spots like your earlobe. Less blood flow means healing takes a lot longer. Patience isn’t just a virtue here; it’s a non-negotiable requirement.
The Big Question: How Much Does It Hurt?
Alright, let’s get straight to it. The pain. On a scale of 1 to 10, if an earlobe piercing is a 2 and a standard helix (outer rim cartilage) is a 5, most people would put the anti-tragus at a solid 6 or 7 out of 10.
It’s a quick, intense pinch because the cartilage is thick. You might even hear a little “pop” as the needle passes through, which is totally normal. But honestly, the most intense part is over in about two seconds. You’ll feel a dull, throbbing ache afterward, but the sharp pain is incredibly brief.
What to Expect in the Piercing Chair
A professional, safe piercing is a precise and sterile process. If the studio you visit skips any of these steps, that’s a huge red flag. Walk away.
First, you’ll have a quick chat with your piercer about your lifestyle. Do you wear earbuds? Sleep on that side? This helps make sure the piercing is practical for you. Then, they’ll check your anatomy as we discussed.
Next up is jewelry selection. For a fresh anti-tragus, your best bets are a curved barbell or a straight labret stud, usually in 16-gauge (1.2mm) thickness. The only materials that should touch a fresh piercing are implant-grade titanium (ASTM F-136), niobium, or solid 14k-18k gold—never plated. A basic titanium piece will probably run you between $30 and $50. Heads up: many studios use “surgical steel,” but it often contains nickel, which is a common cause of irritation. Stick with titanium; it’s worth the small extra cost. Once you pick your piece, it goes into an autoclave to be sterilized.
While that’s happening, your piercer will clean your ear with an antiseptic wipe. Then comes the marking. They’ll use a single-use skin marker to place a dot, and then hand you a mirror. This is YOUR piercing. You get the final say on the placement, so don’t be shy about asking for adjustments.
Once you approve the spot, you’ll lie down. This helps you stay still and prevents any lightheadedness. Your piercer will use a brand-new, sterile, hollow needle. On a slow exhale, they’ll pass the needle through in one smooth motion. The jewelry is then seamlessly inserted, the top is secured, and you’re done! The area will be red and warm, which is a totally normal start to the healing journey.
Healing: Your 9 to 12-Month Project
Getting the piercing is the easy part. The healing is where you take over, and an anti-tragus can take a full 9 to 12 months (sometimes longer!) to be fully stable. It might feel fine after a few months, but trust me, the tissue inside is still fragile.

Your Anti-Tragus Survival Kit
Forget all the weird DIY remedies you see online. This is all you need:
- Sterile Saline Spray: Look for a can that says 0.9% sodium chloride and nothing else. A great brand is NeilMed Piercing Aftercare, which you can find online or at a pharmacy for about $12.
- A Travel Pillow: This is the #1 game-changer. You can find a basic donut pillow on Amazon or at Target for around $15. Sleep with your ear in the hole to avoid any pressure.
- Non-Woven Gauze: For gently drying the area. A box costs just a few bucks at any drug store. Don’t use cotton swabs or balls—their fibers can get snagged.
The Rules of Healing
For the first few weeks, expect some swelling, redness, and a bit of crusty stuff (this is lymph fluid, not pus). Your job is to simply leave it alone as much as humanly possible. Spray the piercing front and back with your saline spray twice a day, let it sit for a minute, then gently pat it dry with gauze. That’s it.
Heads up! The most important rule is to NOT sleep on it. Pressure is the enemy of healing cartilage. And for the love of all that is holy, do not get both ears pierced at the same time. You need a side to sleep on. Trust me on this. One at a time!
After 4-8 weeks, once the initial swelling subsides, you MUST go back to your piercer for a downsize. They’ll swap the initial long bar for a shorter one that fits snugly. This prevents snagging and helps it heal straight. Don’t worry, the downsize appointment is super quick and doesn’t hurt like the initial piercing. It’s a tiny pinch at most and is the best investment you can make for your piercing’s future.
Troubleshooting: Bumps, Irritation, and Infections
Even with perfect care, you might hit a snag. It’s crucial to know what you’re dealing with.
Is It an Irritation Bump?
The most common problem is a small, reddish bump right next to the piercing. This is NOT a keloid (which is a rare genetic scarring condition). It’s just an irritation bump. It’s your body’s way of saying something is bothering it—usually moisture, pressure, or movement. The fix? Identify the cause. Are you sleeping on it? Is your jewelry too long? Go back to basics with your aftercare, use that travel pillow religiously, and see your piercer if you haven’t downsized. The bump will almost always go away once the source of irritation is removed.
Or Is It an Infection?
An infection is much more serious and needs a doctor. Piercers aren’t medical professionals. Here are the signs of a true infection:
- Thick, opaque green or yellow discharge (pus).
- A foul odor coming from the piercing.
- Redness spreading far out from the piercing site.
- The area is noticeably hot to the touch.
- You have a fever or feel generally unwell.
If you suspect an infection, DO NOT remove the jewelry. Leaving it in allows the infection to drain. Taking it out can trap the infection inside, leading to an abscess. See a doctor right away for antibiotics.
What If I Have to Wear Earbuds or a Stethoscope?
This is a tough one. Ideally, you’d avoid anything in or on your ear for months. But if your job in healthcare or an office requires it, you need a plan. Earbuds that sit inside the ear canal are a definite no-go for a long time. They put direct pressure on the anti-tragus and are crawling with bacteria.

Your best bet is to use an over-ear headphone that completely clears the area. If you must use a stethoscope or a single earpiece for work, try to position it so it doesn’t press on the jewelry. Be extra diligent with cleaning afterward, but be prepared for a potentially trickier healing process.
Finding a Great Piercer and What It Should Cost
Your safety is everything. A cheap piercing is never a good deal. Look for a professional studio, not a mall kiosk that uses piercing guns. A great piercer will have a portfolio of healed work (not just fresh piercings), use an autoclave for sterilization, and only use high-quality, implant-grade jewelry.
A quick tip: The Association of Professional Piercers (APP) has a member directory on their website. Just Google “APP Find a Piercer,” and their official locator tool will pop right up. It’s a fantastic resource for finding a reputable pro near you.
Expect to pay for the service and the jewelry separately. The piercing fee for an anti-tragus usually falls between $40 and $80. Basic, implant-grade titanium jewelry will add another $30 to $50 on top of that. If a place advertises a piercing for “$25 with jewelry included,” it’s a sign they’re using low-quality materials. It’s a gamble not worth taking.
Ultimately, the anti-tragus is a beautiful, unique piercing for someone with the right anatomy and the right mindset. If you’re willing to be patient and diligent with aftercare, you’ll end up with a piercing you’ll love for years to come.
Galerie d’inspiration
Implant-Grade Titanium (ASTM F-136): This is the gold standard. It’s completely nickel-free and biocompatible, meaning your body is far less likely to react to it. It’s lightweight, which is ideal for a sensitive area like the anti-tragus during healing.
Surgical Steel (316LVM): A common and more budget-friendly option, but it contains trace amounts of nickel. If you have sensitive skin or known metal allergies, it’s a gamble that can lead to irritation and healing complications.
For an initial piercing, always insist on implant-grade titanium from brands like Anatometal or Neometal. You can always switch to other materials once it’s fully healed.
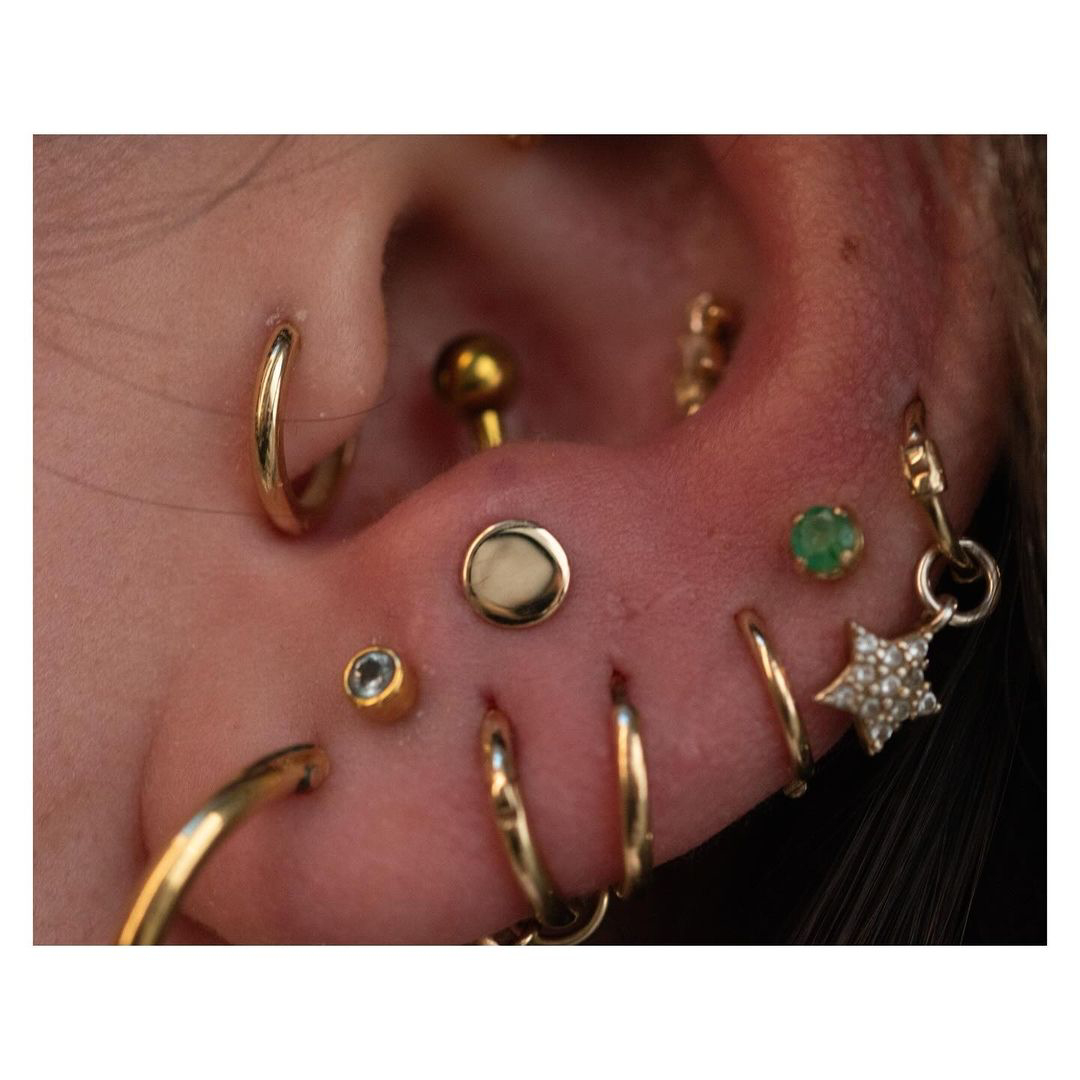
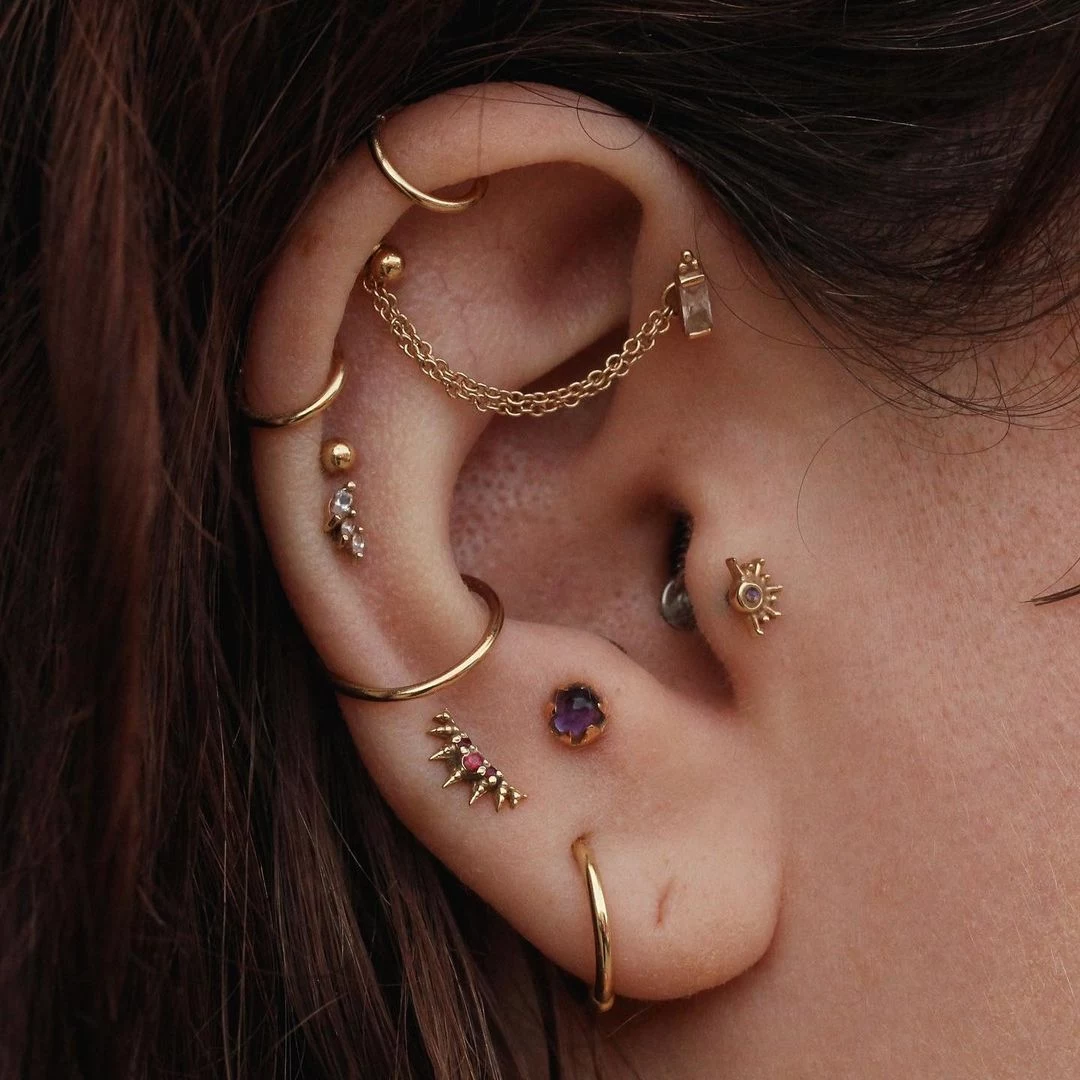
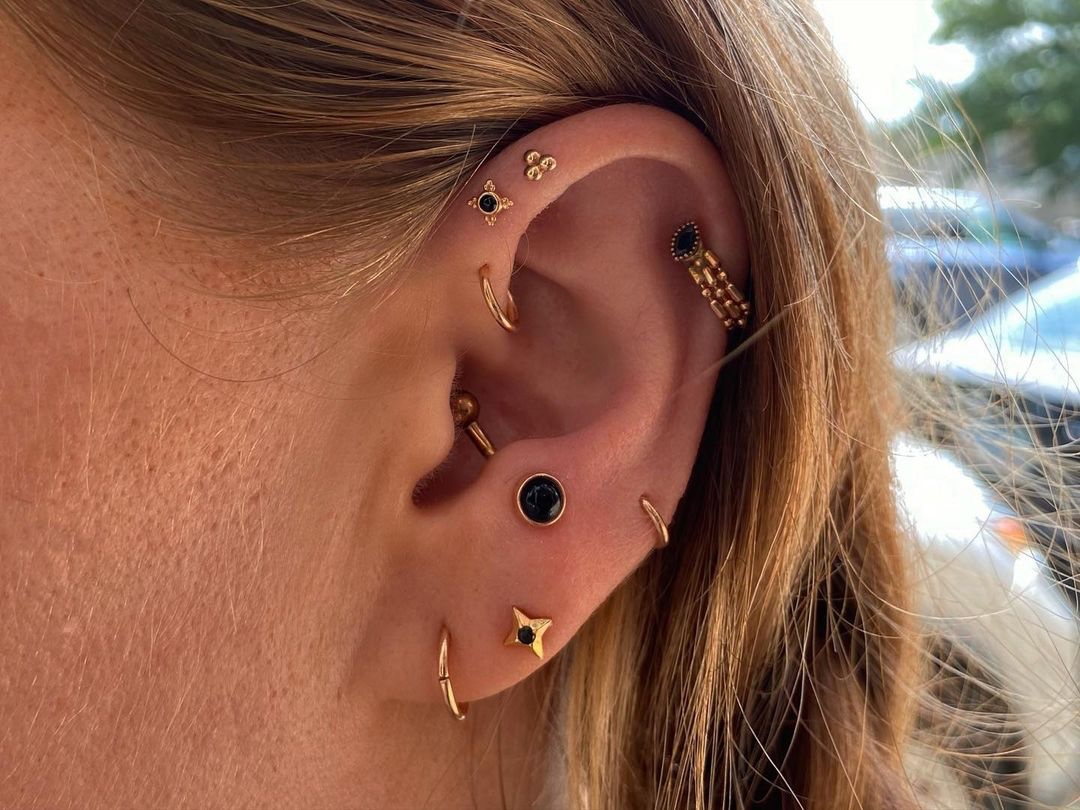
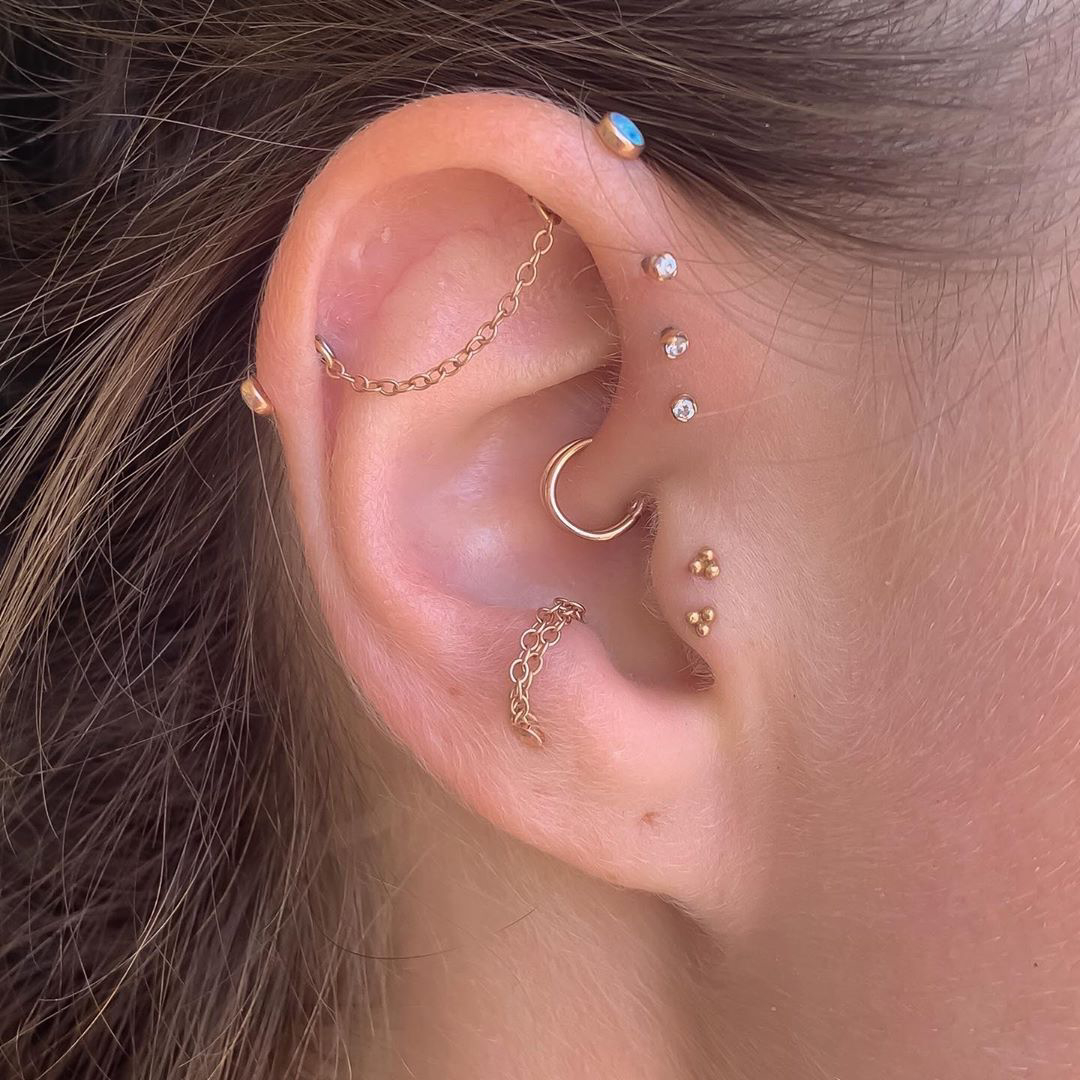
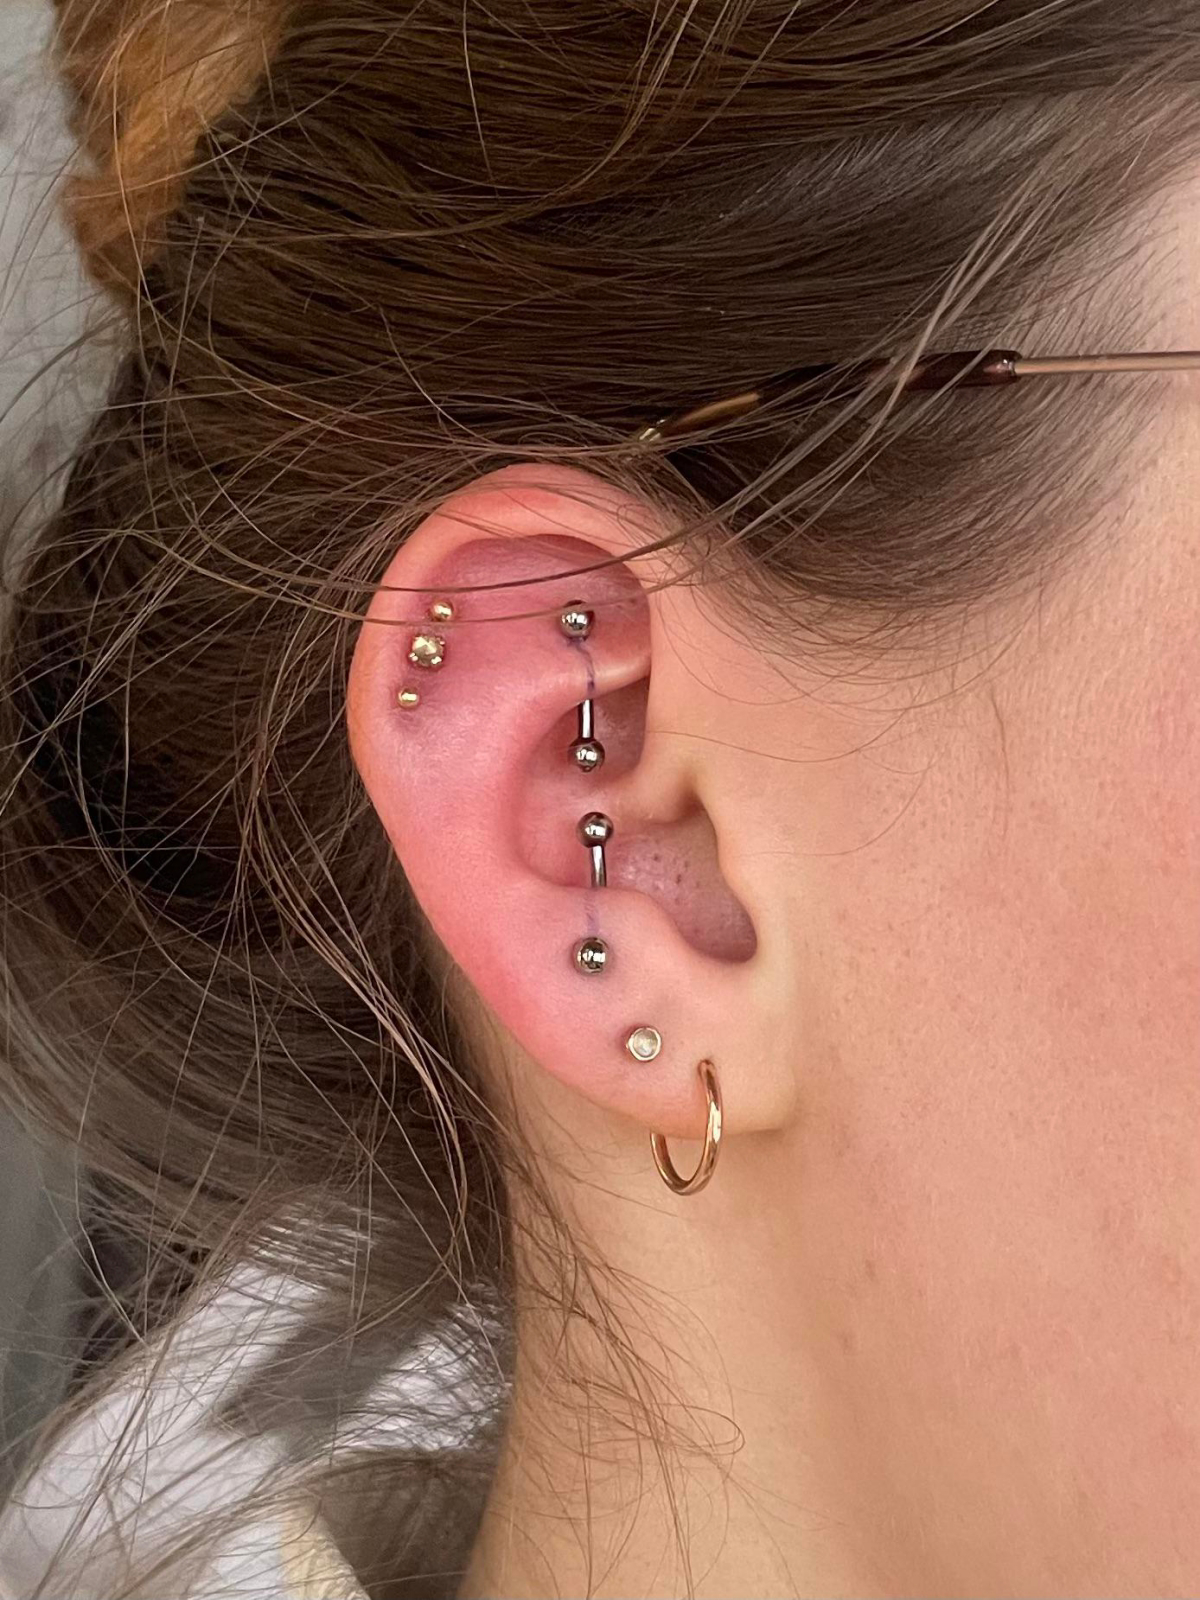
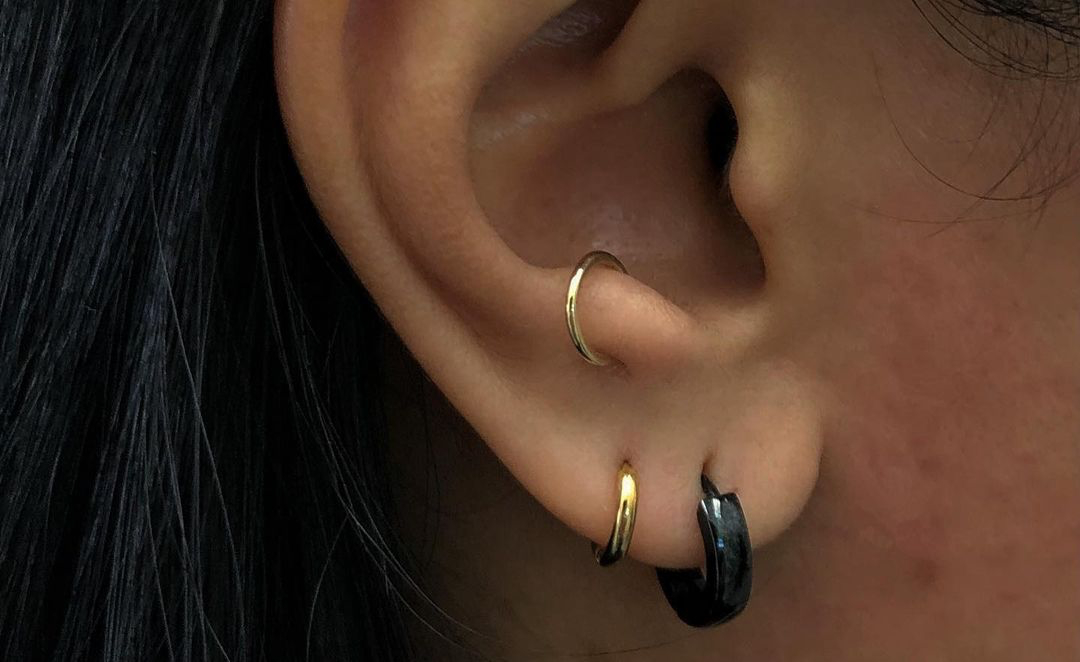
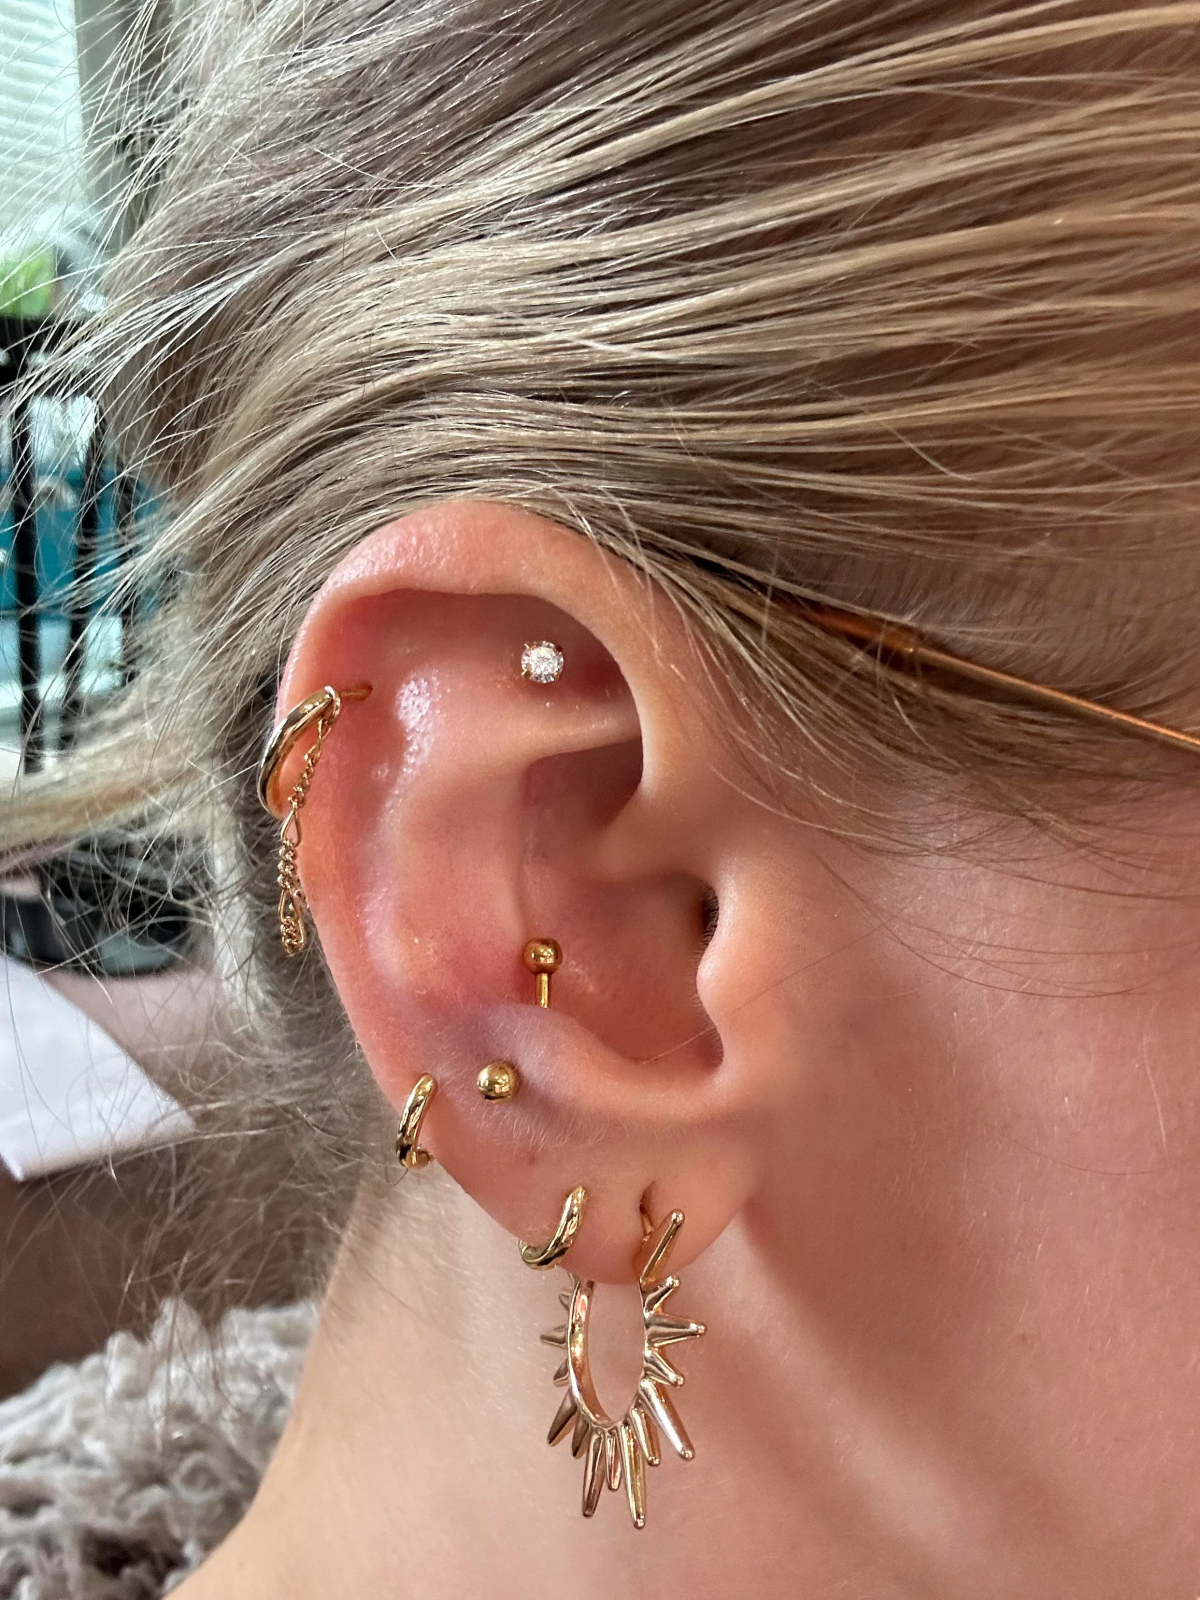
The ‘curated ear’—a thoughtful arrangement of multiple piercings—is more than a trend; it’s a form of personal storytelling.
The anti-tragus is a key player in this aesthetic. It doesn’t scream for attention like a large industrial piercing but acts as a sophisticated anchor point in the lower ear. It perfectly balances a constellation of lobe piercings below and complements the flow of a helix or daith piercing above, adding depth and an intentional, designer feel to your collection.
Your piercer did their part, now it’s up to you. To avoid turning your healing journey into a nightmare, make sure you don’t:
- Sleep directly on the piercing. A travel pillow with a hole in the middle is a game-changer.
- Twist or turn the jewelry. This was old advice; now we know it just irritates the fistula (the healing tube of skin).
- Use harsh chemicals like alcohol, hydrogen peroxide, or antibacterial soaps. They destroy healthy, healing tissue.
- Change the jewelry too soon. Patience is everything!
Help! I have an angry red bump on my new anti-tragus. Is it infected?
Probably not. More likely, you’re dealing with a dreaded irritation bump. These are incredibly common with cartilage piercings and are usually caused by snagging, pressure (like from sleeping on it), or improper aftercare. Don’t panic and don’t pick at it. Stick to your cleaning routine with a sterile saline spray, like NeilMed Piercing Aftercare, twice a day. The key is to identify and eliminate the source of irritation. If it’s hot to the touch, leaking greenish pus, or you have a fever, see a doctor. Otherwise, be patient and gentle.
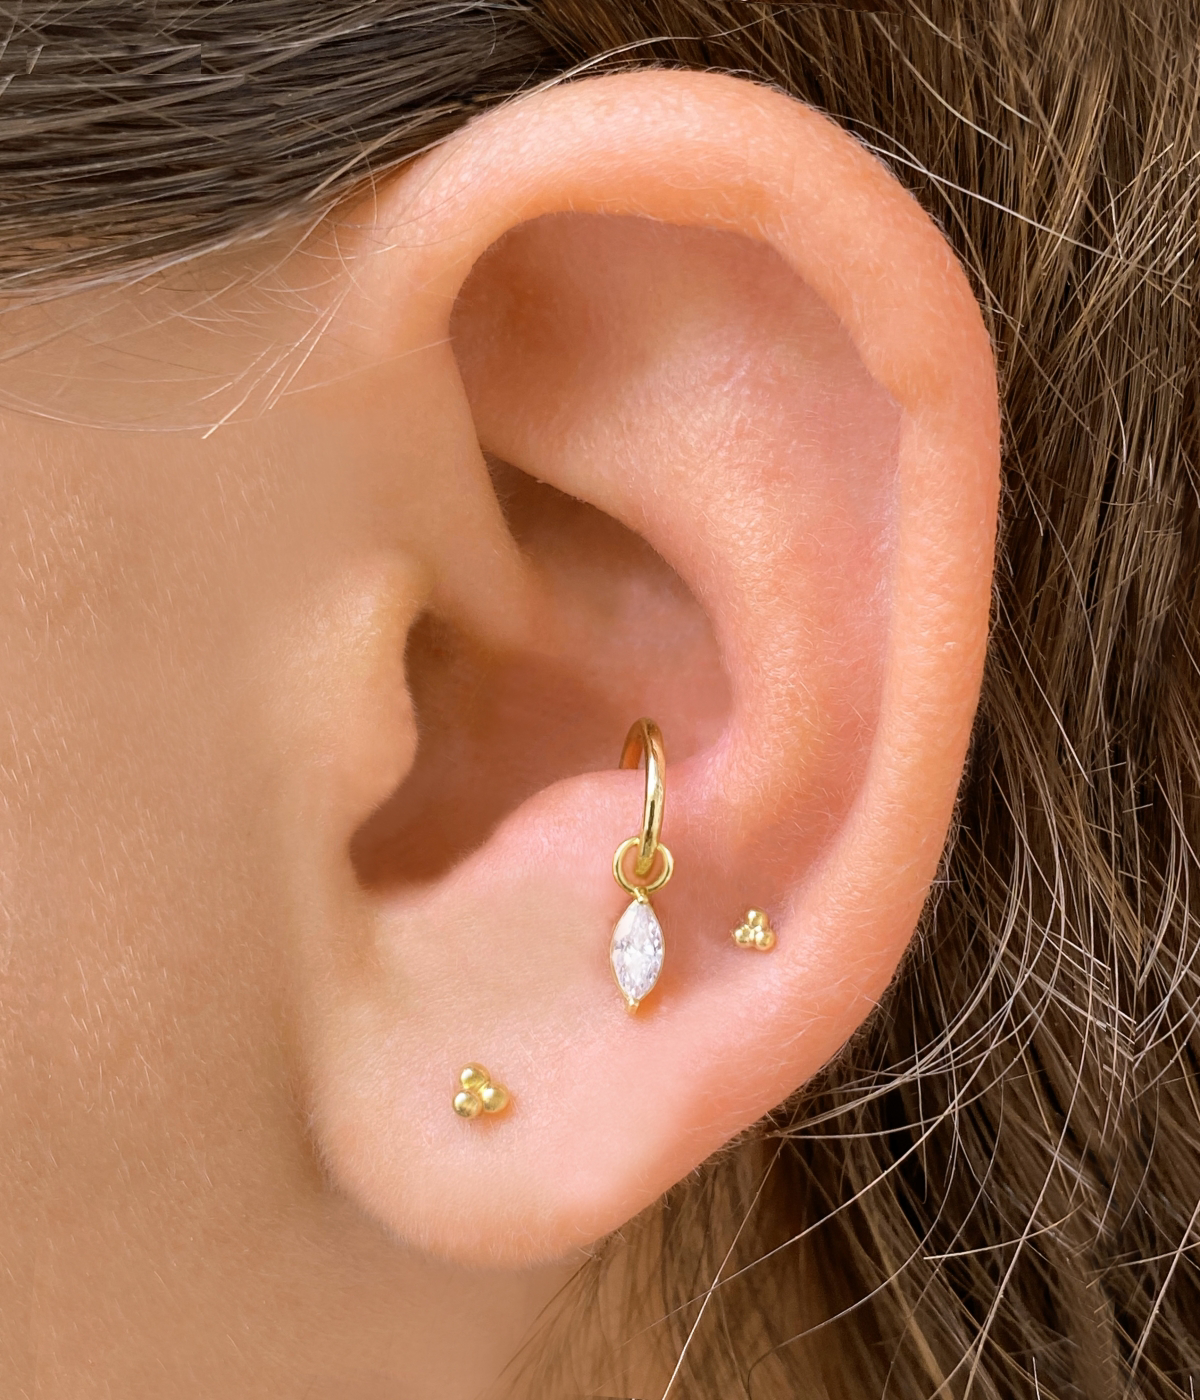
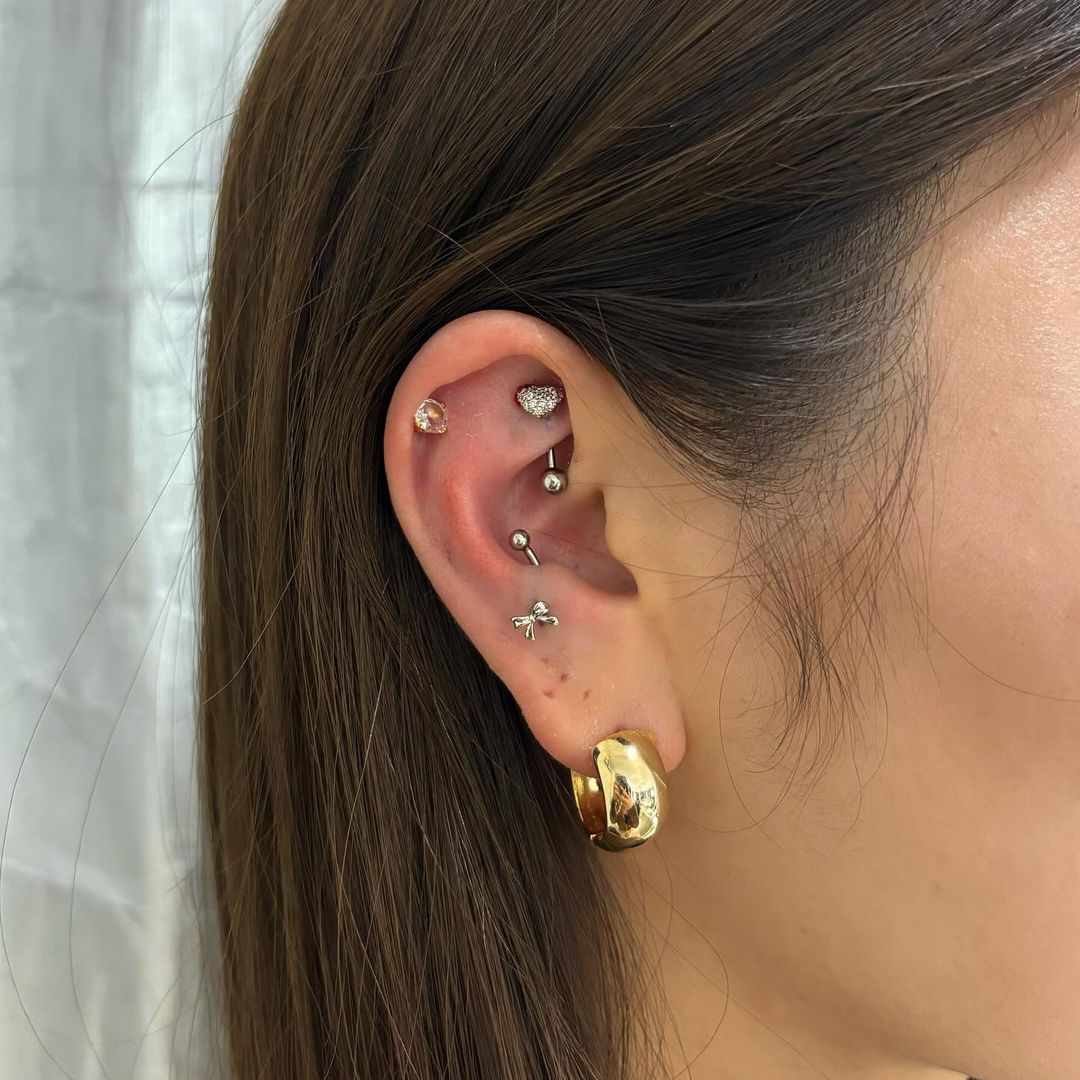
- A snug, perfectly fitted hoop that hugs the cartilage ridge.
- A tiny, sparkling gem that sits flush against the skin.
- Comfortable healing with less risk of snagging on hair or clothes.
The secret? The downsize. After the initial swelling subsides (typically in 4-8 weeks), your piercer will swap the initial, longer bar for a shorter one. This crucial step prevents the jewelry from moving around, which is a major cause of irritation bumps and migration. Don’t skip this appointment!
The essential choice: A tiny, internally threaded labret stud with a decorative end is almost always the best initial jewelry. A hoop, while stylish, moves and rotates too much, causing significant irritation during the long healing phase. Save that seamless ring for when you’re fully, 100% healed—it’ll be worth the wait.
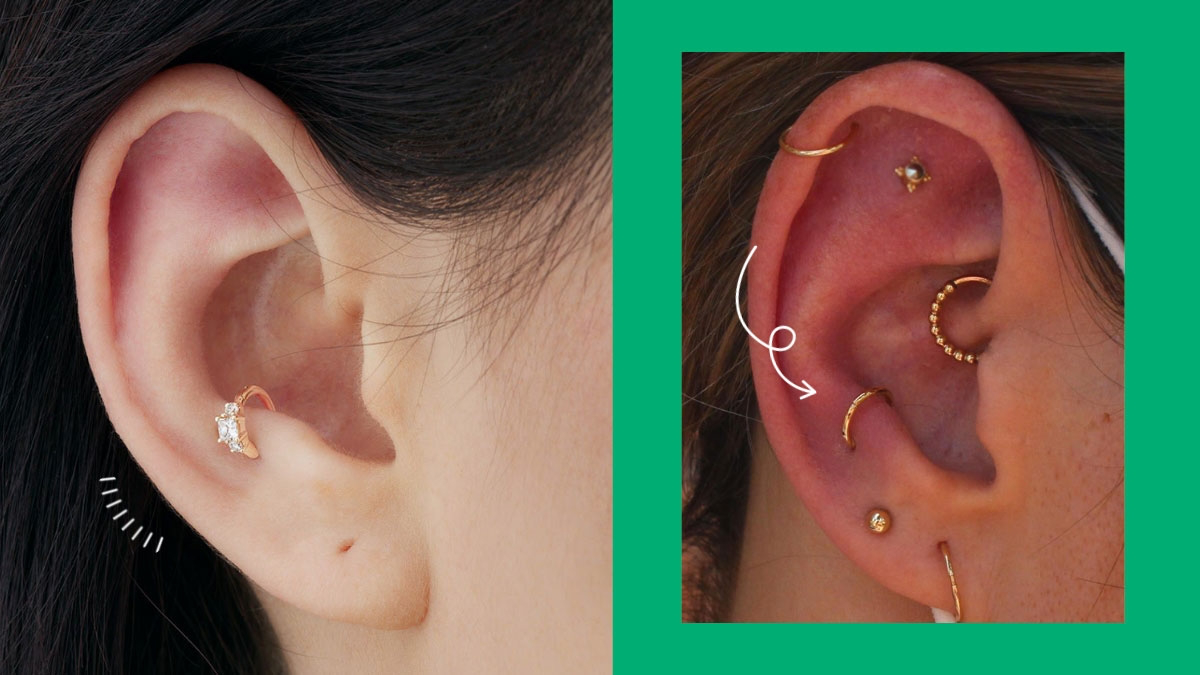
So your piercer said your anti-tragus ridge is too shallow. Don’t be discouraged! It’s a sign of a responsible professional prioritizing your safety. Luckily, there are other unique placements that offer a similar cool, understated vibe:
- Conch: Placed in the inner cup of the ear, it’s incredibly versatile and can be worn with a stud or, once healed, a dramatic hoop.
- Forward Helix: Sits on the forward-facing rim of cartilage above the tragus, perfect for a delicate trio of studs.
- Snug: A horizontal piercing through the inner ridge of cartilage, just above the anti-tragus. It’s another anatomy-dependent choice but offers a very distinct look.


