What’s Really In Your Lipstick? A Cosmetic Chemist Spills All the Secrets
I’ve spent more than twenty years in a lab coat, surrounded by beakers of melted waxes and vibrant powders. My job? To turn that stuff into the perfect lipstick. It’s a fascinating world that most people never get to see. We’re not just mixing colors; we’re playing with chemistry and physics to create something that feels like magic in a little tube.
In this article
- The Building Blocks: What Holds a Lipstick Together
- How to Be a Lipstick Detective at the Drugstore
- From Ancient Stains to the Modern Tube
- Decoding the Finishes: Matte vs. Satin vs. Glossy
- Common Lipstick Problems & A Chemist’s Quick Fixes
- The Big Question: Is a $35 Lipstick Really Better Than a $5 One?
- Safety First (And a Fun, Safe DIY)
- Inspirational Gallery with Photos
Think about it. A lipstick has to be a solid stick in your purse, even on a warm day. But the second it touches your lips, it needs to glide on like butter, leaving behind a rich layer of color. And that color needs to stick around without feeling heavy or dry. Honestly, it’s a huge challenge for such a small product.
When you pick up a tube, you see a pretty shade of red or a perfect nude. Me? I see a complex system of suspended particles in a carefully structured wax-and-oil base. Understanding what’s actually inside gives you a whole new appreciation for it. So, let’s skip the boring trivia and get right into the good stuff—how it’s made, why certain ingredients are non-negotiable, and how you can use this knowledge to become a much smarter shopper.

The Building Blocks: What Holds a Lipstick Together
At its core, a lipstick is basically a water-free system. Imagine a crayon, but one that’s designed to melt at body temperature and leave a beautiful stain. The entire formula boils down to three key players: waxes, oils, and pigments. The specific recipe and ratio of these three things determines absolutely everything—the texture, how long it lasts, and the color payoff.
Waxes: The Structural Backbone
Waxes are what give the lipstick its shape and solidity. Without them, you’d just have a greasy pot of colored oil. We never, ever use just one type of wax; it’s always a precise blend to get the performance just right. This is where a lot of the trial and error happens.
- Carnauba Wax: This is our secret weapon for hardness and heat resistance. It comes from a Brazilian palm tree and has a super high melting point, which stops your lipstick from turning to mush in a hot car. But you have to be careful. Too much carnauba, and the stick becomes brittle and drags on your lips.
- Candelilla Wax: This one is a bit softer than carnauba and helps the lipstick glide smoothly while adding a nice gloss. It’s the perfect team player, helping the formula melt just right on contact with your warm lips.
- Beeswax: A true classic for a reason. It gives the stick a creamy, elastic quality and helps bind everything together. It’s also great at preventing “sweating,” those little beads of oil that can pop up on the surface of the bullet. By the way, creating vegan formulas is a huge part of modern cosmetics, but finding a good beeswax replacement is tough. I remember one vegan batch we made that was so brittle it literally snapped in half during application tests. It took us over a dozen tries to get the glide right using a blend of berry and synthetic waxes!
The balance is everything. A formula designed for a hot, humid climate will have more carnauba wax than one meant for a cooler, drier region. It’s a detail you’d never notice, but it’s crucial for making a product that works everywhere.
Oils: The Glide and Comfort Factor
Oils are what make the lipstick feel good. They dissolve the waxes and carry the pigments, making the whole thing spreadable. The choice of oil is a huge deal for the final feel.
- Castor Oil: This is the undisputed king of lipstick oils. It’s thick, a bit sticky, and has a unique ability to dissolve pigments really well, which allows for that intense, one-swipe color you see in high-quality lipsticks.
- Mineral Oil & Petrolatum: These sometimes get a bad rap online, but from a chemist’s perspective, they’re incredibly safe, stable, and non-allergenic. They create a great barrier that helps lock moisture into your lips.
- Silicone Oils (like Dimethicone): Hello, modern luxury! Silicones give that silky, non-greasy glide that feels so expensive. In long-wear liquid lipsticks, volatile silicones (like isododecane) are the star players. They help the product apply smoothly and then they evaporate, leaving the color locked in place.
- Plant-Based Oils & Butters: Ingredients like shea butter, jojoba oil, and cocoa butter are fantastic for their moisturizing benefits. You’ll find these in lipsticks marketed as “hydrating” or “balmy.” The only challenge is that they can go bad over time, so we always have to add antioxidants like Vitamin E to keep the formula fresh.
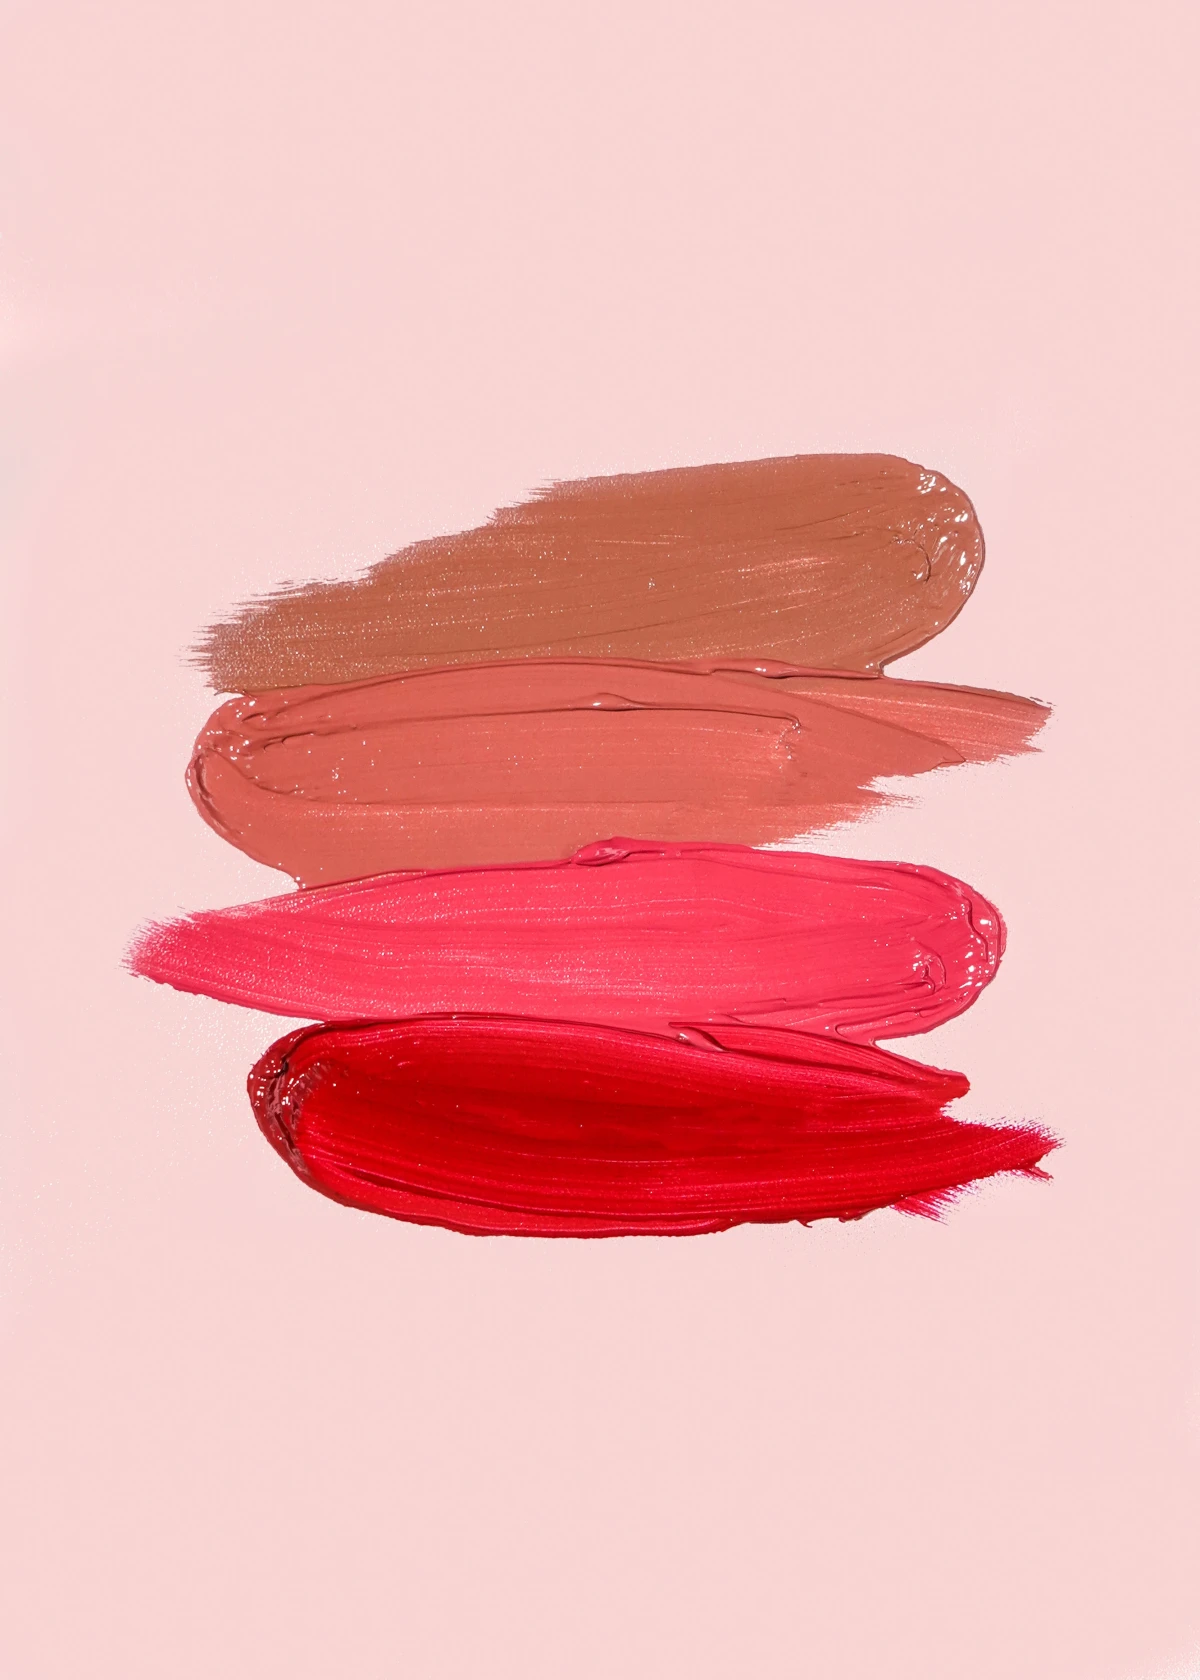
Pigments: The Heart of the Color
Finally, the fun part! Pigments are the finely milled powders that provide the color. Getting them perfectly smooth is critical. In the lab, we use powerful roller mills to grind the pigment clumps into a uniform paste. If this step is rushed, the lipstick will look streaky.
- Iron Oxides: These give us our gorgeous earthy tones—the reds, yellows, and blacks that make up all those beautiful nude and brick-red shades. They are incredibly safe and stable.
- Titanium Dioxide: This is a pure white pigment. We use it to make colors more opaque and to lighten them. Just a touch can turn a deep, dramatic red into a soft, wearable pink.
- D&C and FD&C Colorants: For those super-bright, vibrant pinks and reds that natural minerals can’t achieve, we turn to these synthetic dyes and pigments. They are strictly regulated for safety and allow for an incredible range of colors. For instance, many classic blue-toned reds come from these types of colorants.
How to Be a Lipstick Detective at the Drugstore
Okay, so how does all this science help you when you’re standing in the makeup aisle? Simple. You can learn to read the ingredient list (often called the INCI list).
Here’s a pro tip: The first five or so ingredients make up the bulk of the formula. What you see there tells you almost everything you need to know about how the lipstick will perform.
- If you see Isododecane or another ingredient ending in -siloxane near the top, you’re looking at a long-wear formula. Expect it to set and not budge.
- If Castor Oil or another oil like Polybutene is high on the list, it’s likely a classic crème or glossy lipstick. It will feel comfortable, creamy, and have a bit of a sheen.
- See lots of powders like Silica, Talc, or Kaolin (a type of clay) in the list? That’s a matte lipstick. These ingredients are there to absorb oil and scatter light for that flat finish.
Once you know what to look for, you can predict the feel and wear before you even swatch it. It’s like having a formulator whispering in your ear!
From Ancient Stains to the Modern Tube
While the science is modern, the desire to color lips is as old as time. In ancient civilizations, people used crushed red rocks mixed with animal fat or plant gum to create lip paints. It was a status symbol, but the texture would have been gritty and, unfortunately, some of the ingredients (like white lead) were toxic.
In some ancient cultures, cosmetics were taken to a whole new level. One legendary queen was famous for her crimson lips, a color achieved by crushing cochineal beetles. This process creates a potent and stable red pigment called carmine—a natural colorant that’s still used in food and cosmetics today! For shimmer, they even added pearlescent crystals scraped from fish scales. It was incredibly inventive.
Of course, safety wasn’t a priority back then. People often used pigments derived from mercury or lead, which are highly toxic. It’s a stark reminder of why we now have such strict safety regulations.
For centuries, lip color remained a messy paint or pomade sold in pots. The big game-changer wasn’t chemical, but mechanical: the invention of the swivel-up tube. This simple, elegant piece of packaging made lipstick portable, clean, and easy to apply. It single-handedly turned lipstick from a product used in private to an essential for every handbag.
Decoding the Finishes: Matte vs. Satin vs. Glossy
The finish of a lipstick is all about how it plays with light, which is controlled by the ingredients. Here’s a simple breakdown of what you’re actually buying:
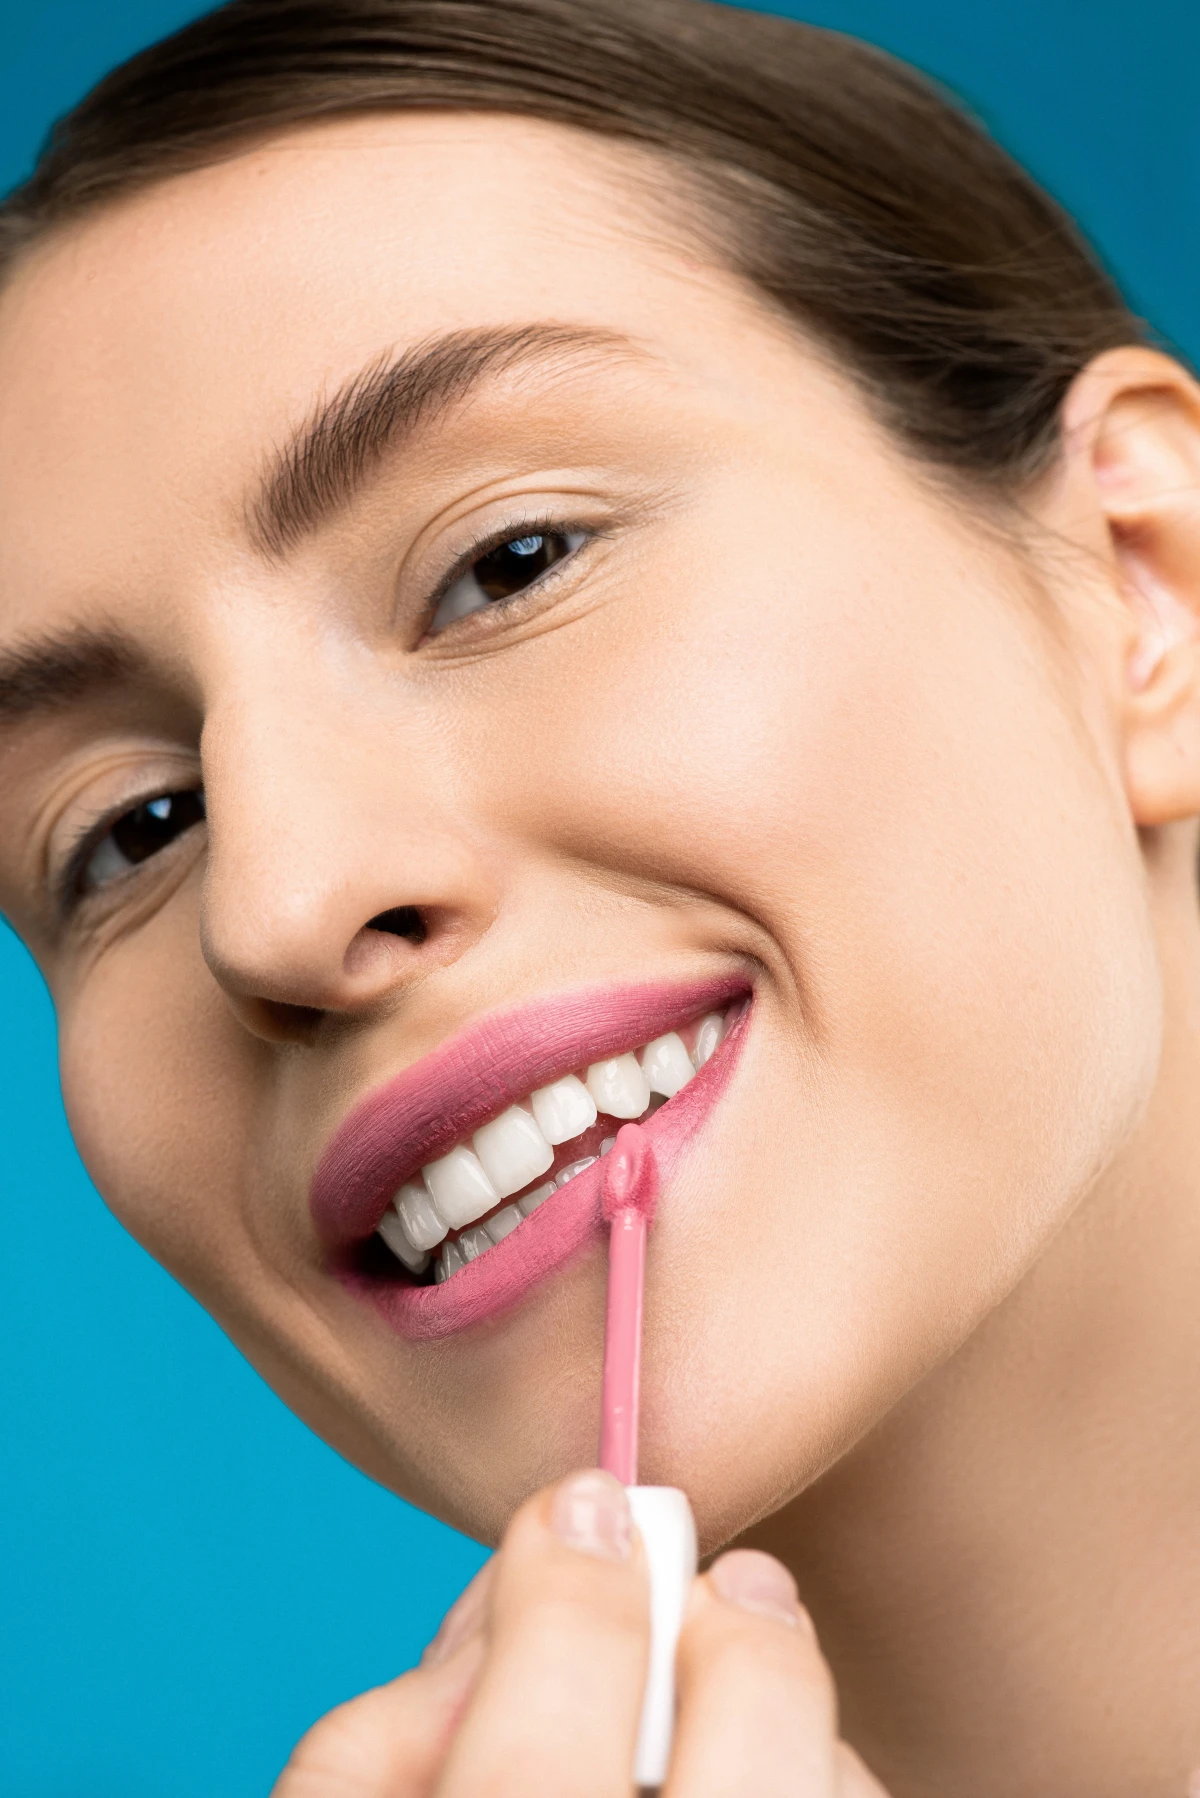
Matte Lipstick
A matte finish is created by loading the formula with more solid powders—not just pigments, but also oil-absorbing ingredients like silica or clay. These particles create a microscopically rough surface that scatters light instead of reflecting it, giving you that flat, shine-free look.
Pro Tip: Matte formulas have less oil, so they can feel drying and cling to dry patches. Always exfoliate your lips with a gentle scrub and apply a thin layer of balm before you put on a matte lipstick. Let the balm sink in for a few minutes first!
Satin or Crème Lipstick
This is your classic, go-to lipstick texture. It has a perfect balance of waxes for structure, oils for comfort, and pigments for color. It’s the best of both worlds, providing a comfortable, slightly sheeny finish with good color payoff and decent wear time. It’s a dependable choice that works for almost everyone.
Glossy Lipstick or Sheers
For that high-shine, wet look, we use oils and polymers that have a high refractive index—meaning they bend light more effectively. Ingredients like polybutene are fantastic for this. The pigment load is often lower to let that shiny base show through.
Pro Tip: A glossy finish is great for making lips appear fuller and plumper because of the way it reflects light.
Common Lipstick Problems & A Chemist’s Quick Fixes
Even with the best formulas, things can go wrong. Here are some common complaints I hear and the science-based ways to fix them.
The Problem: My lipstick “feathers” or bleeds into the fine lines around my mouth.
The Chemist’s Fix: This happens when the low-viscosity (i.e., thin) oils in the formula migrate outward. The solution is simple: create a barrier. Use a waxy lip liner to outline your lips before applying lipstick. The wax in the liner acts as a dam, keeping the oils and pigments exactly where you want them.
The Problem: Long-wear liquid lipstick makes my lips feel like a desert.
The Chemist’s Fix: That tight, dry feeling is the film-forming polymers doing their job. First, make sure your lips are well-hydrated before you start. Second—and this is critical—apply a single, thin layer and let it dry completely for 60-90 seconds without pressing your lips together. Mashing your lips disrupts the film as it’s setting, leading to a flaky, uncomfortable feel. Let the volatile silicones evaporate first!
The Big Question: Is a $35 Lipstick Really Better Than a $5 One?
Ah, the million-dollar question. Is there a real difference, or are you just paying for a fancy name? As a formulator, I can tell you: yes and no.
A drugstore lipstick that costs $5 and a luxury one that costs $35 are both required to pass the same safety tests. The $5 lipstick is not going to hurt you. The difference comes down to the “extras” you’re paying for:
1. The Feel & Ingredients: The luxury lipstick might use more expensive and elegant-feeling emollients and butters that give it a uniquely silky glide. The formula might also be more complex, with ingredients that improve wear time or comfort in subtle ways. 2. Pigment Load: High-end lipsticks often have a higher concentration of pigment. This means you get full, rich color in a single swipe, whereas a cheaper lipstick might require several layers to build up the same intensity. 3. Packaging & Experience: Let’s be honest, part of the joy is the packaging. The heavy, magnetic-click case of a luxury lipstick is part of the experience you’re buying. A lot of the cost is in that beautiful component.
So, is it worth it? That’s up to you. A $5 lipstick can be a fantastic workhorse, but if you value the superior texture, one-swipe color, and the daily luxury of using a beautiful object, then the $35 tube can absolutely be a worthwhile investment.
Safety First (And a Fun, Safe DIY)
As a professional, my number one job is to make sure products are safe. The industry is highly regulated, and ingredients are thoroughly vetted. That whole “lead in lipstick” scare that pops up now and then? It’s based on the fact that lead is a naturally occurring element in the earth, so it can be found in unavoidable, trace amounts in mineral pigments. These levels are incredibly tiny, strictly monitored, and far below any amount that could pose a health risk. You get more exposure from food and tap water.
What’s more of a real concern is personal sensitivity. Some people can be sensitive to fragrances, preservatives, or even natural ingredients like essential oils. If you have sensitive skin, always do a patch test on your arm first!
And while I love encouraging curiosity, real lipstick formulation is not a DIY kitchen project if you plan to share it. Without proper preservatives, homemade cosmetics can grow nasty bacteria. So, leave the complex stuff to the pros, but if you want to play around and see the basic principles in action, here’s a super simple, safe recipe for a tinted lip balm:
Quick DIY Tinted Lip Balm
- 1 teaspoon beeswax pellets (available online or at craft stores)
- 1 teaspoon shea butter or cocoa butter
- 1 teaspoon coconut oil
- A small sliver of an old lipstick for color
Just melt the beeswax, butter, and oil together in a small microwave-safe bowl in 15-second intervals. Once it’s liquid, stir in the sliver of lipstick until it’s fully melted and combined. Carefully pour it into a small, clean pot or tin and let it cool completely. Voila! You’ve just made a simple emulsion.
From a gritty paste of rocks and fat to a high-tech film of polymers, lipstick has had quite the journey. It’s a tiny piece of engineering we carry with us every day. And hopefully, knowing a bit more about the science behind it doesn’t take away the magic—it just adds to it.
Inspirational Gallery with Photos
Did you know that in Ancient Rome, lipstick was a status symbol worn by both high-ranking men and women? However, it was often made from less-than-glamorous ingredients, including red ochre, iron ore, and even fucus—a type of algae—mixed with wax or animal fat.
That velvety, non-drying matte finish everyone loves? It’s a true feat of chemical engineering. While classic mattes relied on a high concentration of powder and wax, which could feel heavy and chalky, modern formulas have evolved.
- They offer intense, single-swipe color saturation.
- They stay put for hours without smudging or feathering.
The secret is often the inclusion of flexible film-formers and special hydrating ingredients like hyaluronic acid spheres or jojoba oil, which provide comfort without compromising the matte effect.
Ever wondered why some lipsticks feel silky smooth while others feel greasy?
Look for silicones like Dimethicone on the ingredient list. Far from being just a filler, this ingredient is key to the modern lipstick experience. It creates a breathable, non-sticky film that helps lock in color and provides that signature ‘slip’ for an effortless glide. It’s the reason a luxury lipstick, like a NARS Audacious or a Pat McGrath Labs MatteTrance, can feel both lightweight and incredibly long-lasting.
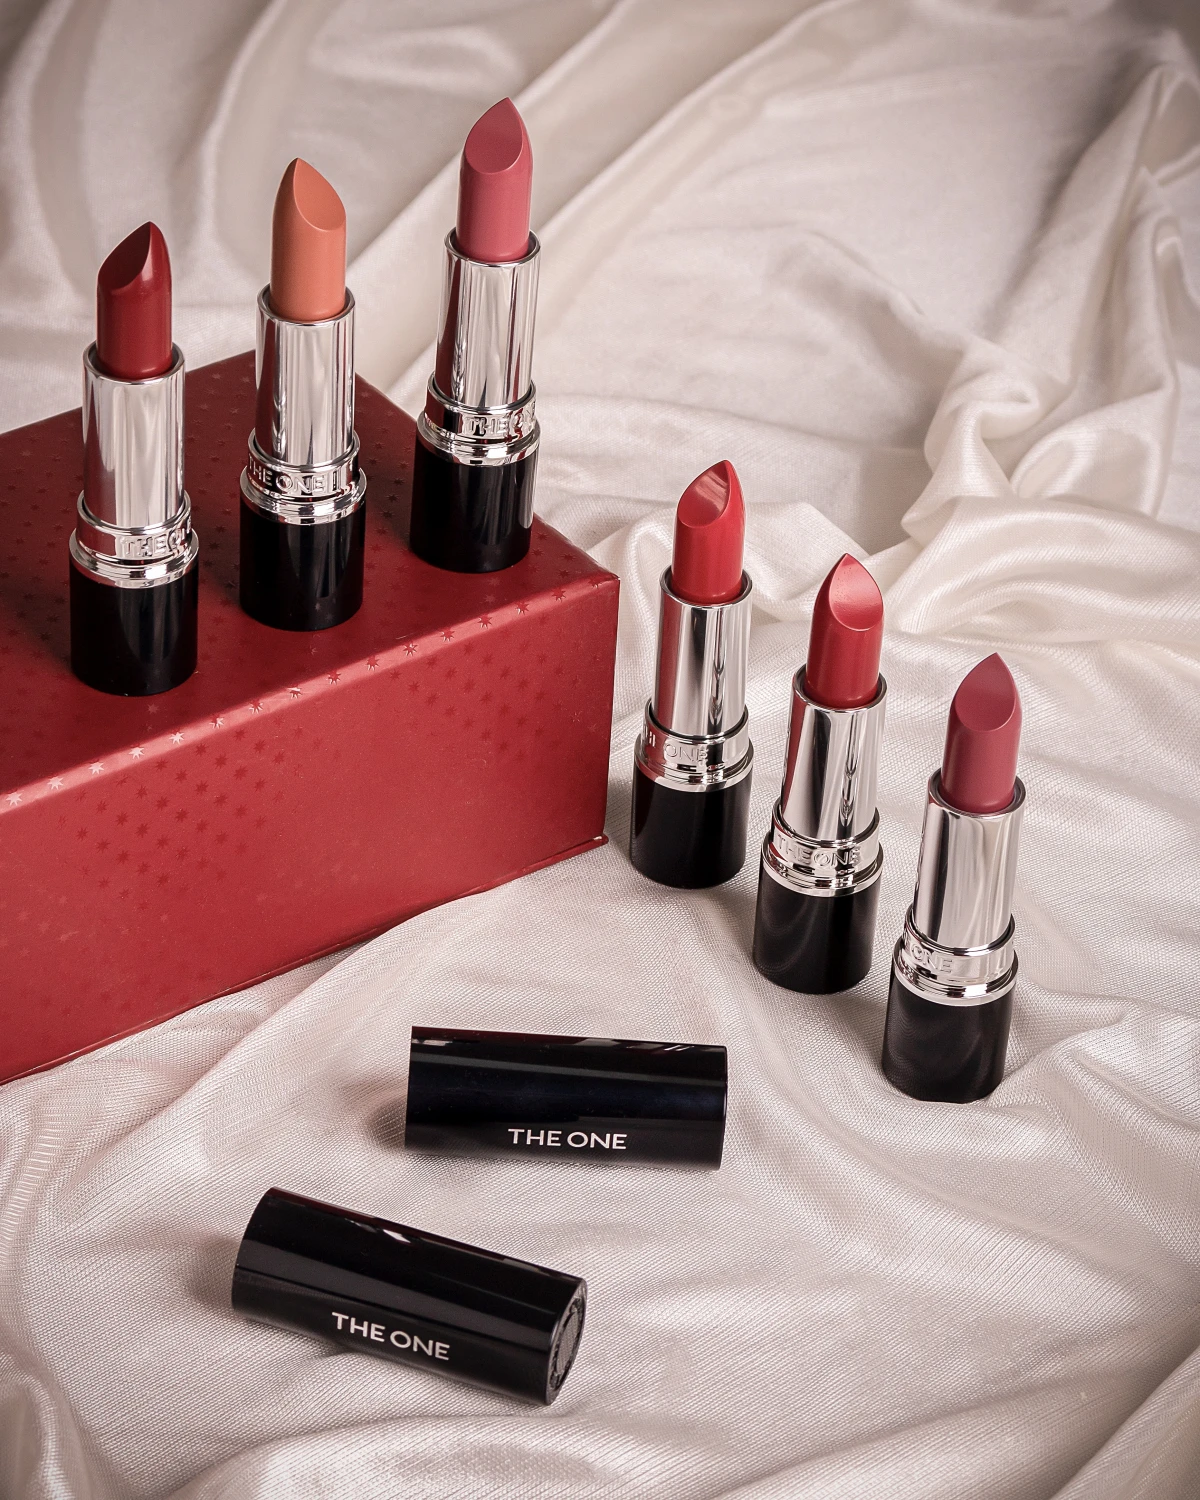
Drugstore Find vs. Luxury Splurge: What’s the real difference?
The $10 Lipstick: Think Maybelline SuperStay Vinyl Ink. It delivers incredible performance using proven, cost-effective ingredients. The focus is on the primary function: color that lasts. The formula is effective, but might feel less complex.
The $50 Lipstick: Think a Tom Ford Lip Color. Here, you’re paying for the total experience. This includes finely milled, higher-purity pigments for unique color depth, more sophisticated and expensive oils (like Murumuru butter or Soja Seed Extract), and of course, the weighty, luxurious packaging.
Often, both will perform well, but the luxury option invests in the sensory details.
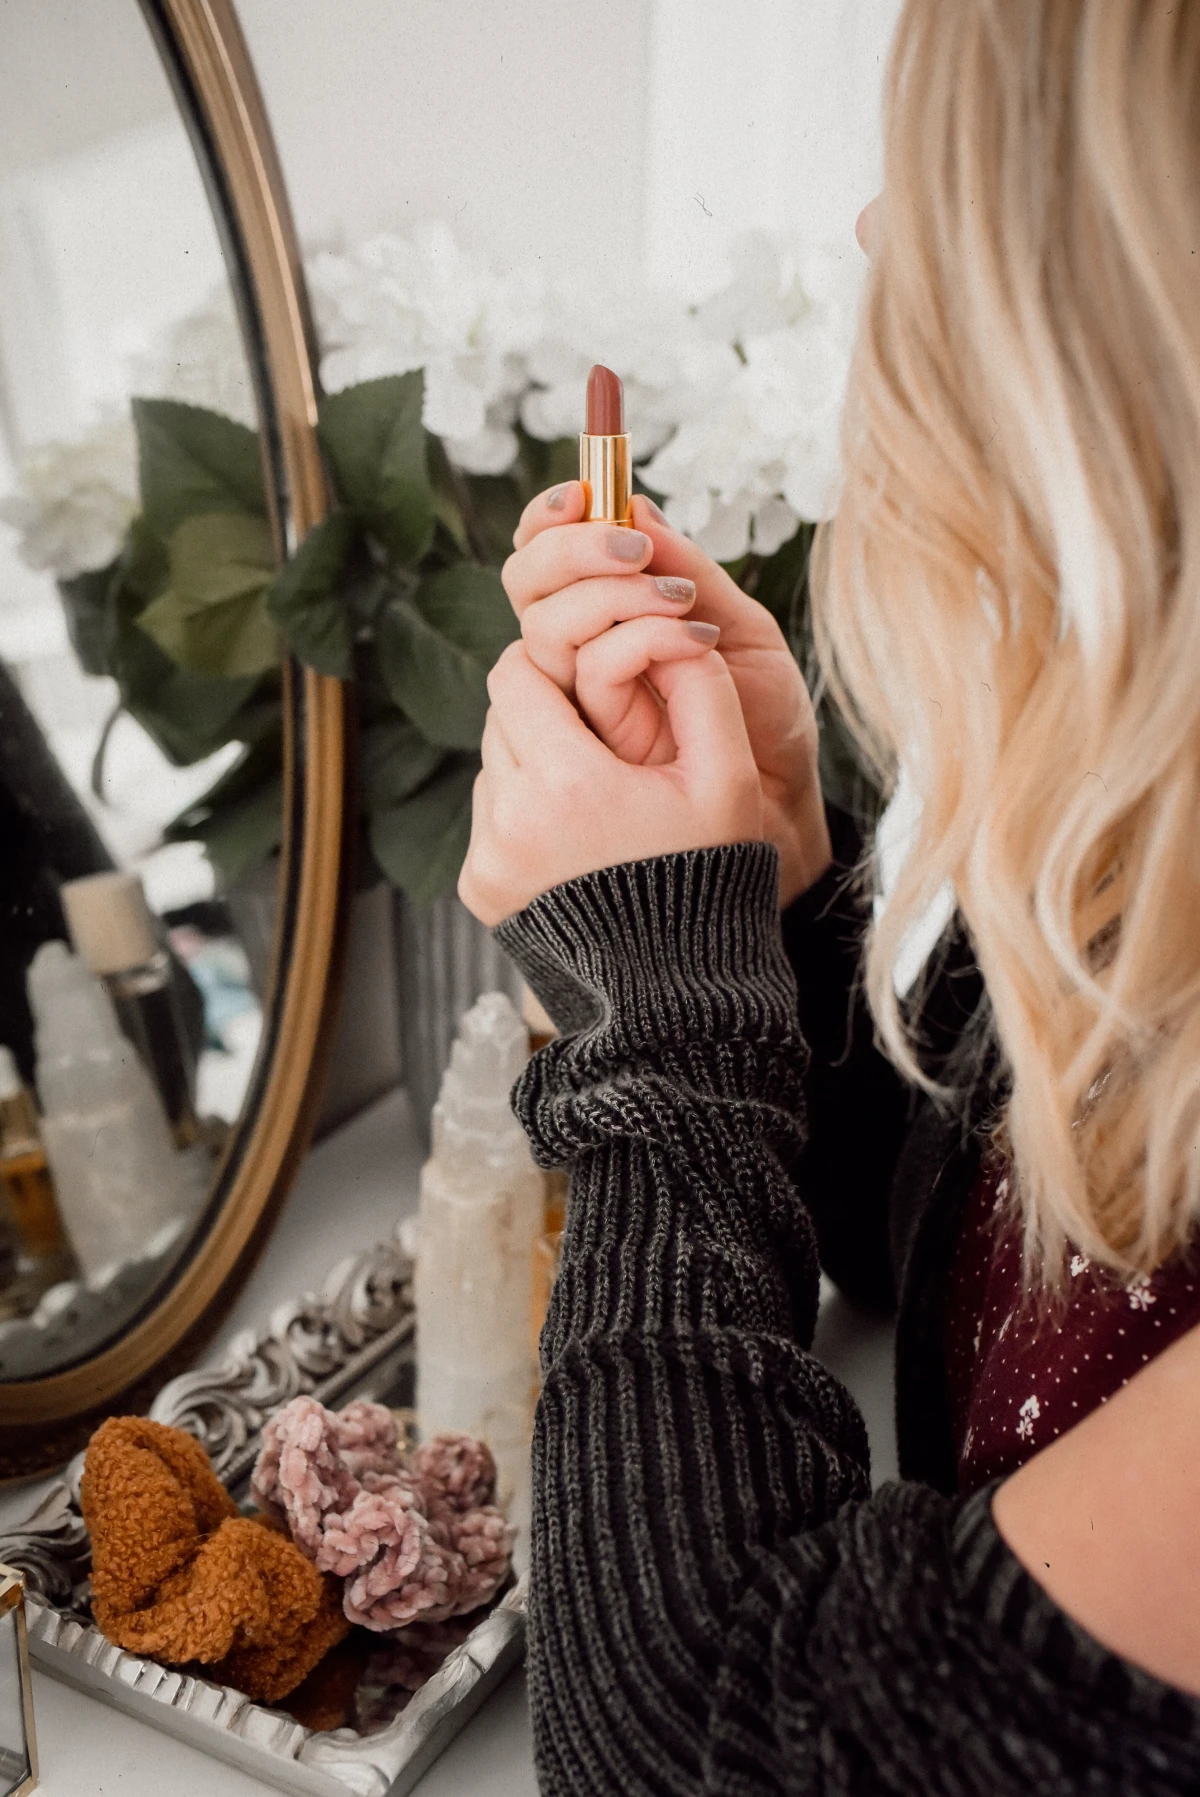
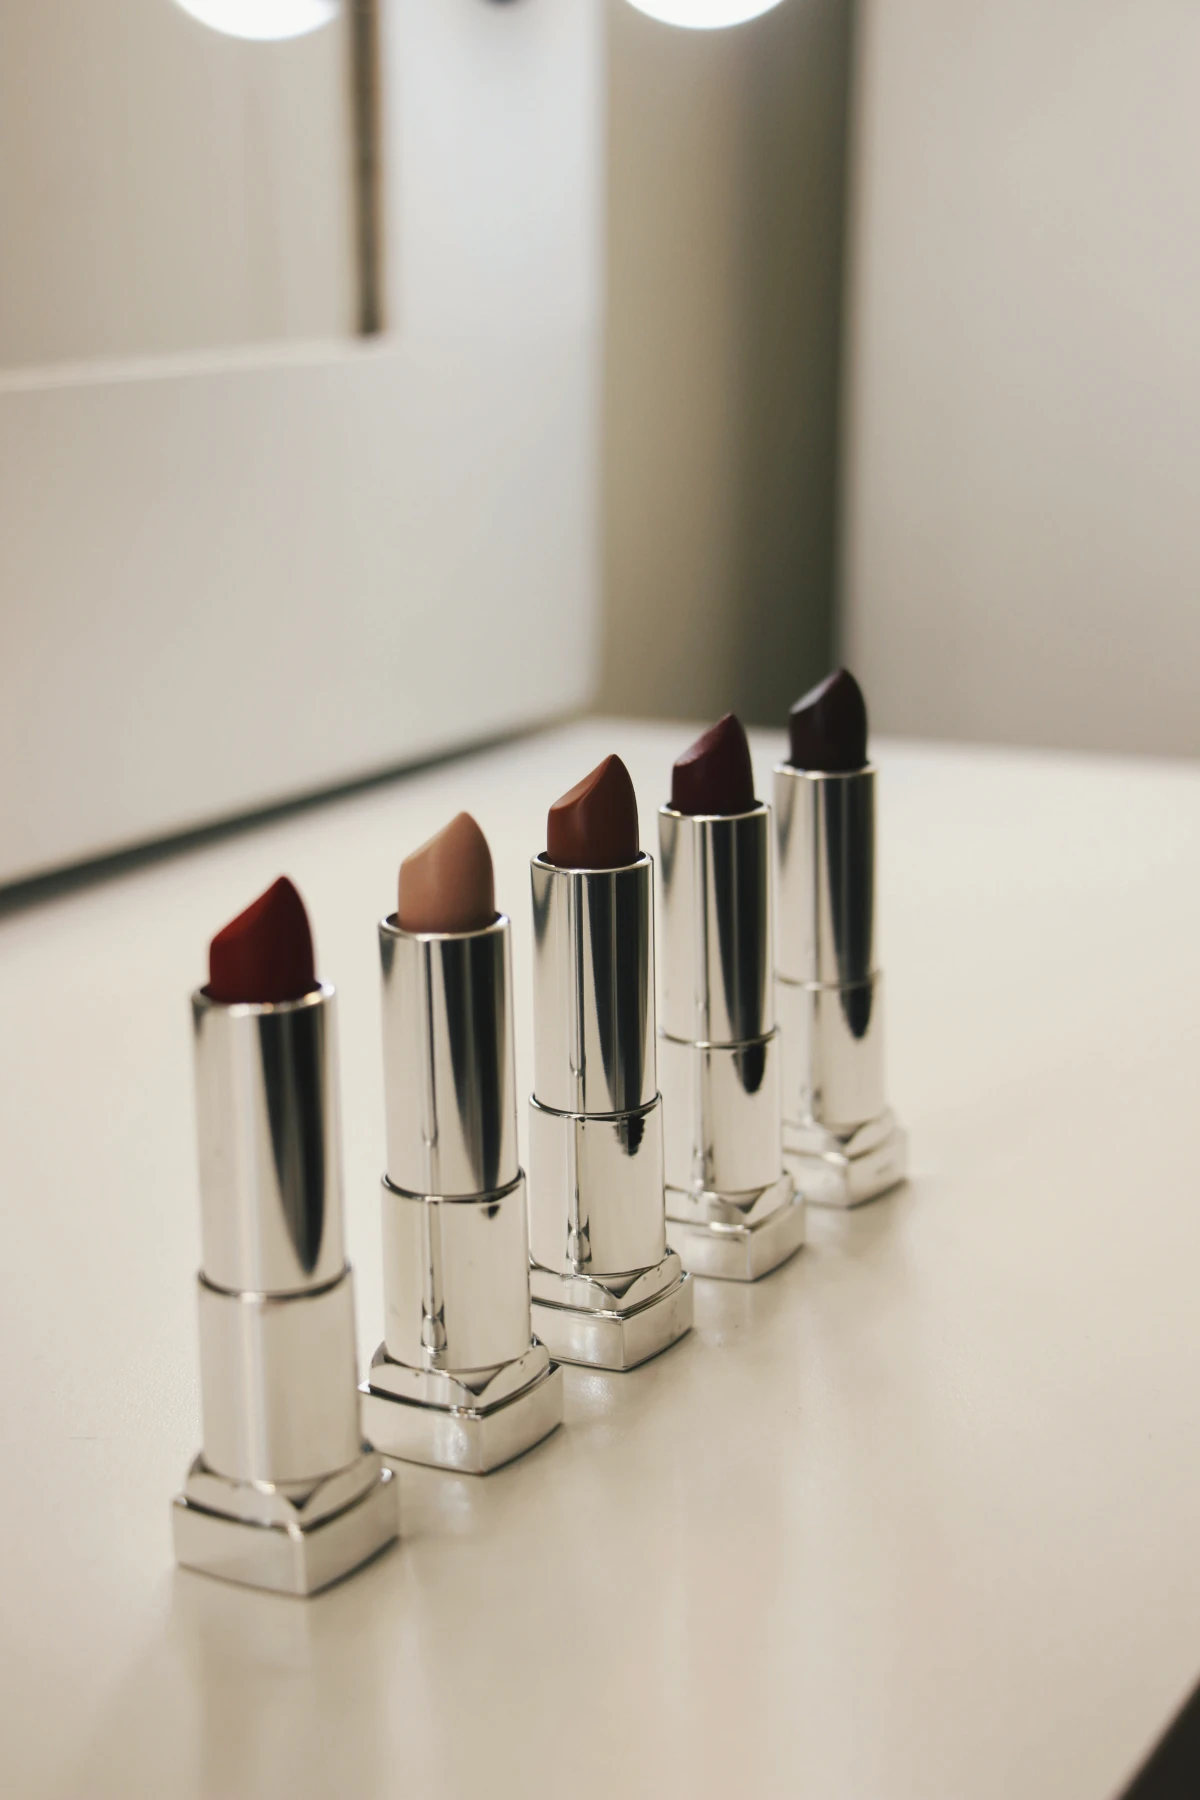
The search for the perfect nude lipstick ends when you understand your skin’s undertones. It’s not about light or dark; it’s about the subtle hue beneath your skin’s surface. A quick look at the veins on your wrist can help: blue veins suggest cool undertones, green suggest warm, and a mix suggests neutral.
- Cool Undertones: Look for nudes with a hint of pink or mauve, like the iconic Charlotte Tilbury Pillow Talk.
- Warm Undertones: Peachy or beige-based nudes will be most flattering. MAC’s Velvet Teddy is a cult classic for a reason.
- Neutral Undertones: You’re lucky! Most shades will work, from rosy beiges to warmer caramels.
Globally, the market for vegan cosmetics is projected to reach $21.4 billion by 2027.
For lipsticks, this trend presents a unique chemical challenge: replacing two historic mainstays. Beeswax is swapped for plant-based alternatives like rice bran or sunflower wax to maintain structure. The bigger hurdle is carmine, a vibrant red pigment made from crushed cochineal insects. Brands like KVD Beauty and Milk Makeup instead use synthetic iron oxides and specially treated mineral pigments to achieve bold, compassionate color.
Pro Tip for a Bulletproof Pout: The secret to all-day wear isn’t just the lipstick—it’s the prep. To prevent feathering and fading, start by tracing the outer edge of your lips with a clear or color-matched lip liner. Then, fill in the entire lip with the liner. This creates a waxy base that color can grip onto. Apply your lipstick, blot gently with a tissue, and then lightly dust a translucent setting powder over the tissue while it’s pressed to your lips. One final coat of lipstick, and your color is locked in for hours.
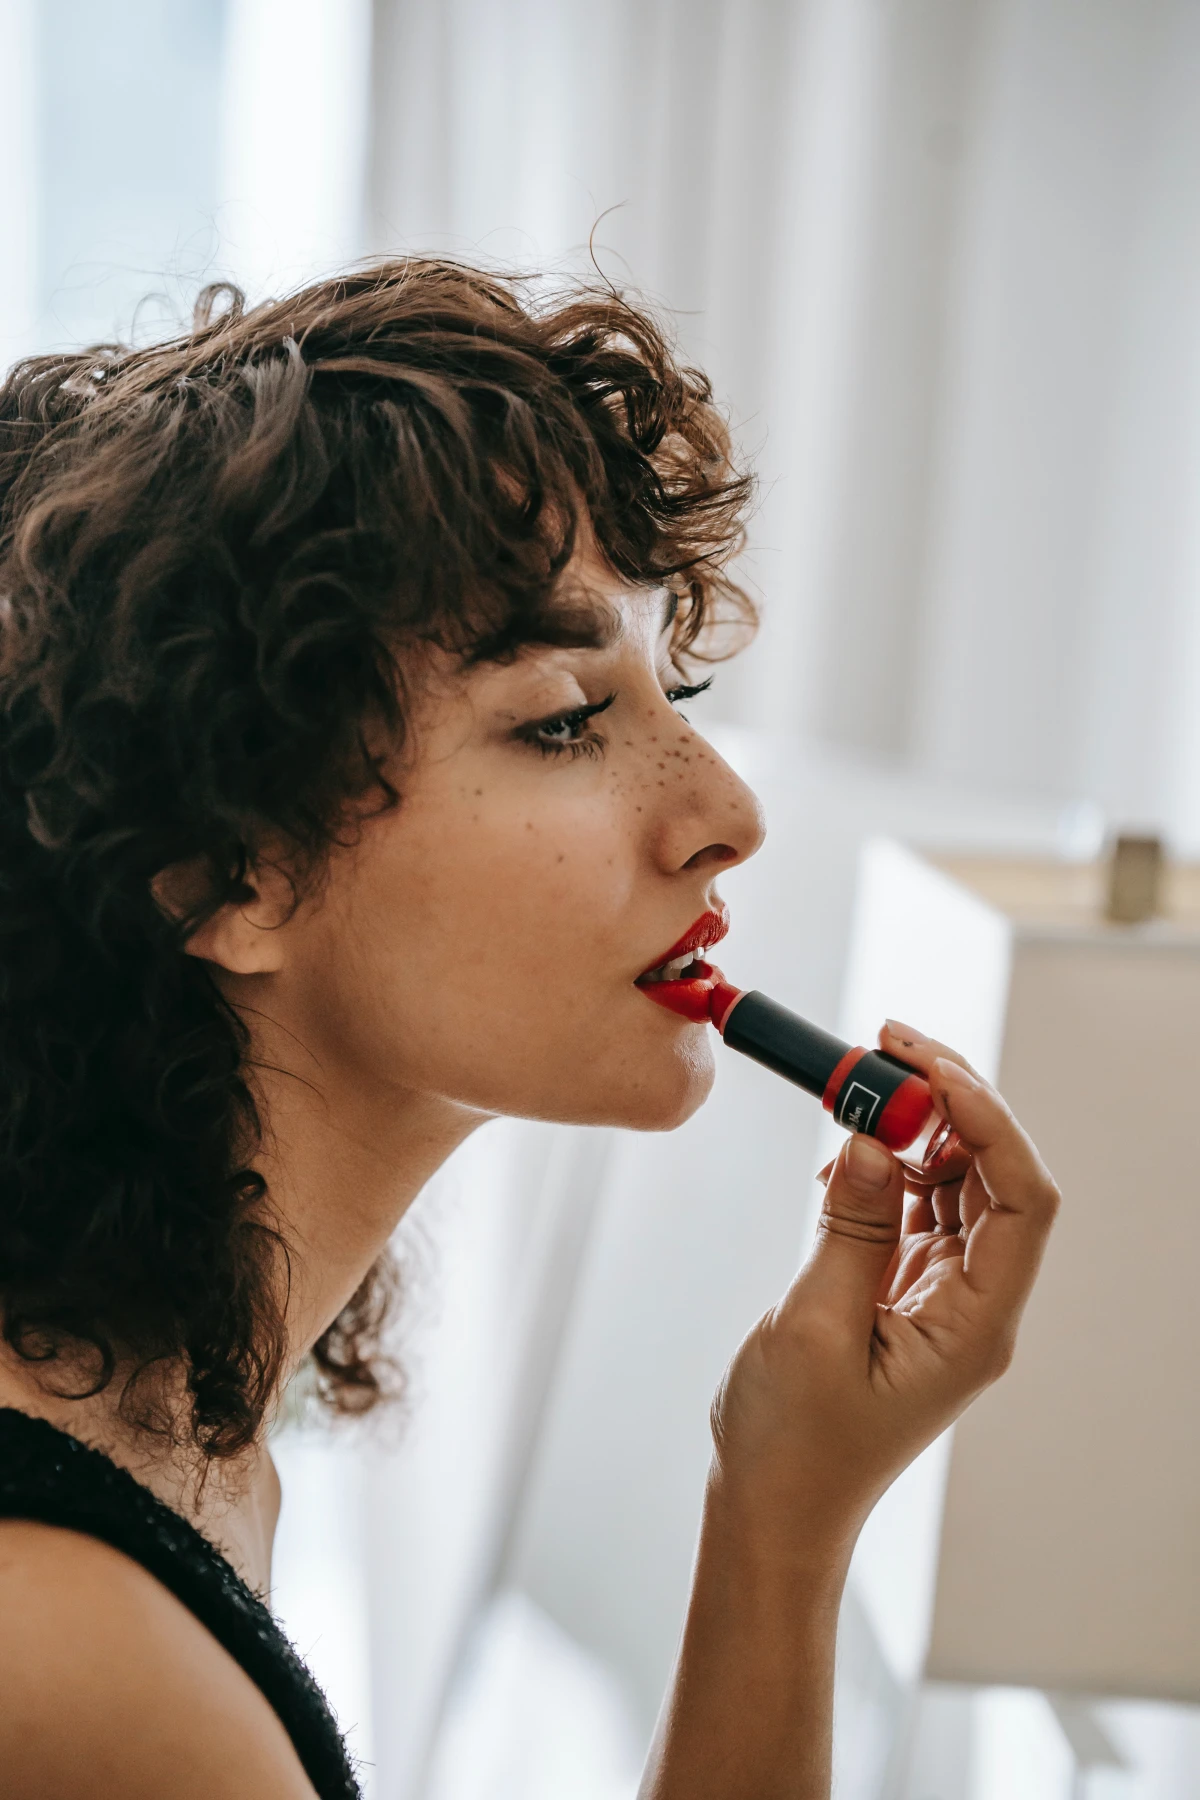
Beyond the chemistry, a swipe of lipstick can be a powerful psychological tool. A bold red, for instance, is more than just a color; it’s an act of confidence. Studies in social psychology have noted its connection to perceived competence and authority—the so-called
- Prevents the dreaded
A note on shimmer and frost: That beautiful pearlescent glow in your lipstick comes from specific light-reflecting minerals. The most common is Mica, a naturally occurring silicate mineral. To create different effects, these tiny, flat platelets are often coated with a micro-thin layer of titanium dioxide or iron oxides. The thickness of the coating determines the color and intensity of the shimmer, from a subtle satin sheen to a full-on metallic frost.


