Old Hollywood Makeup Secrets That Actually Work Today
As a makeup artist for over twenty years, I’ve learned to see beyond the sparkle and really look at the how and why behind iconic looks. You start to deconstruct things, noticing the deliberate choices that create a signature style. And honestly, some of the best tricks come from the golden age of cinema, where a few timeless faces weren’t just wearing makeup—they were practically architects of their own image, understanding their features with incredible precision.
In this article
So many articles will tell you what products a star used, but they miss the point. They don’t explain the principles that made a technique work. I’ve spent ages studying the tools and formulations from that era, and let me tell you, their methods weren’t just quirks. They were based on a solid understanding of light, texture, and how to make a look bulletproof under the harsh eye of a camera. This isn’t about just copying a vintage look. It’s about stealing the genius craft behind it.
The Foundation: It All Starts with the Canvas
The secret to that luminous, perfect-looking skin you see in classic films isn’t just a heavy-duty foundation. In fact, it’s the opposite. The goal was a flawless complexion that still looked like real skin, which meant prepping the surface before a single drop of makeup went on.
The Pro Secret You Can Do at Home: Dermaplaning
One of the most effective, and often whispered-about, practices was facial shaving. Today, we have a fancier name for it: dermaplaning. In my studio, when we need a truly seamless finish for high-definition work, this is still a go-to. The concept is brilliant and way ahead of its time.
So what does it actually do? The process removes two things: the top layer of dead skin cells and all that fine, fuzzy hair on your face (often called ‘peach fuzz’). That fuzz, while mostly invisible, is notorious for grabbing onto foundation and powder, which can make your makeup look a bit cakey or dusty under certain lighting. By whisking it away, you create this incredibly smooth surface. Foundation just glides on and melts right in, reflecting light way more evenly. That’s the real source of that soft-focus, porcelain glow.
Ready to try it? Here’s a practical guide:
You can get a similar effect at home, and it’s not as scary as it sounds. First, you’ll need the right tool. Forget your multi-blade shower razor; you need single-blade facial razors. The ‘Tinkle’ or ‘Schick Silk’ razors are fantastic, and you can get a pack for like $5-$7 on Amazon or at Target.
Plan to set aside about 10-15 minutes your first time, and don’t rush.
- First, wash your face and pat it completely dry. Seriously, bone-dry. The blade can skip or drag on damp skin.
- Pull a section of your skin taut with one hand. With the other, hold the razor at about a 45-degree angle.
- Use light, short, feathery strokes downward, in the direction of the hair growth. Let the blade do the work; no pressure needed.
- When you’re done, apply a simple, soothing moisturizer. Think something gentle and no-frills like CeraVe Moisturizing Cream or La Roche-Posay Cicaplast Balm B5 to calm the skin. Avoid anything with acids or retinol for the next 24 hours.
Heads up! Dermaplaning isn’t for everyone. If you have active acne, rosacea, or really sensitive skin, this is one to skip, as it can cause irritation or spread bacteria. And let’s bust a myth right now: your hair will NOT grow back thicker or darker. Peach fuzz is a different type of hair, and it’ll grow back just as soft and fine as it was before. For most people, doing this once or twice a month is perfect.
The Steamy Finish: A Weird Trick That Works
Here’s a wild one: some old-school stars would reportedly take a hot, steamy bath after their makeup was completely done. I know, it sounds totally backward. We spend all this time and money on setting sprays and waterproof formulas, right?
But there’s some solid science here, especially considering the makeup they were using back then. Foundations and powders used to be heavier and drier. A little bit of warm steam helps to gently meld all the layers of creams and powders together, making them look less like makeup on the skin and more like actual skin. It’s the same reason modern makeup artists finish a look with a dewy setting spray—it takes away that powdery look and gives you a glow that seems to come from within.
A Safer, Modern Approach:
Okay, so I wouldn’t recommend a full-on steam bath today—you’re more likely to melt everything off. A much better way to get the same effect is to use a facial steamer. After you’ve finished your makeup, hold your face about 12-18 inches away from the steam for just 30-45 seconds. That’s it! Any longer is overkill.
Quick Tip: An even easier way is with a good setting spray. Look for one with glycerin. A few spritzes will achieve that same melded, skin-like finish. For a splurge, Tatcha’s Luminous Dewy Skin Mist is gorgeous, but for a save, the Milani Make It Dewy Setting Spray gives you a beautiful glow for around $10.
The Eyes: Enhancing a Natural Gift
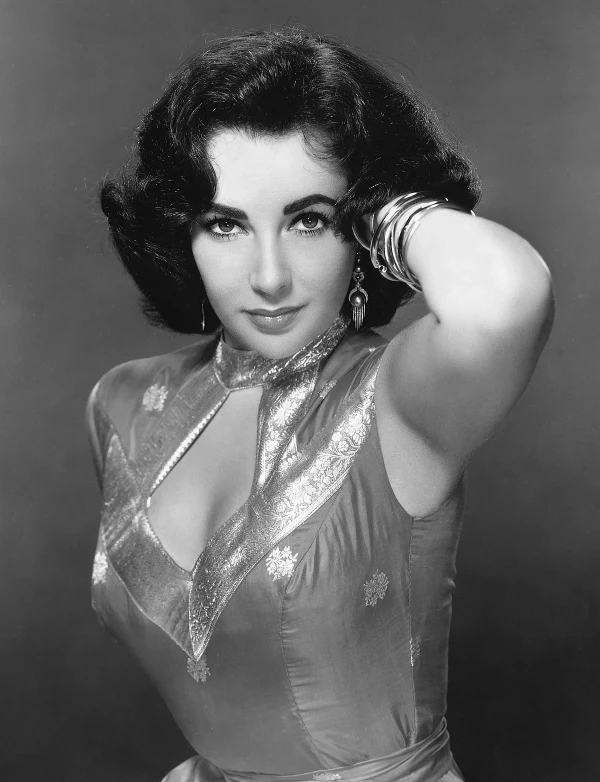
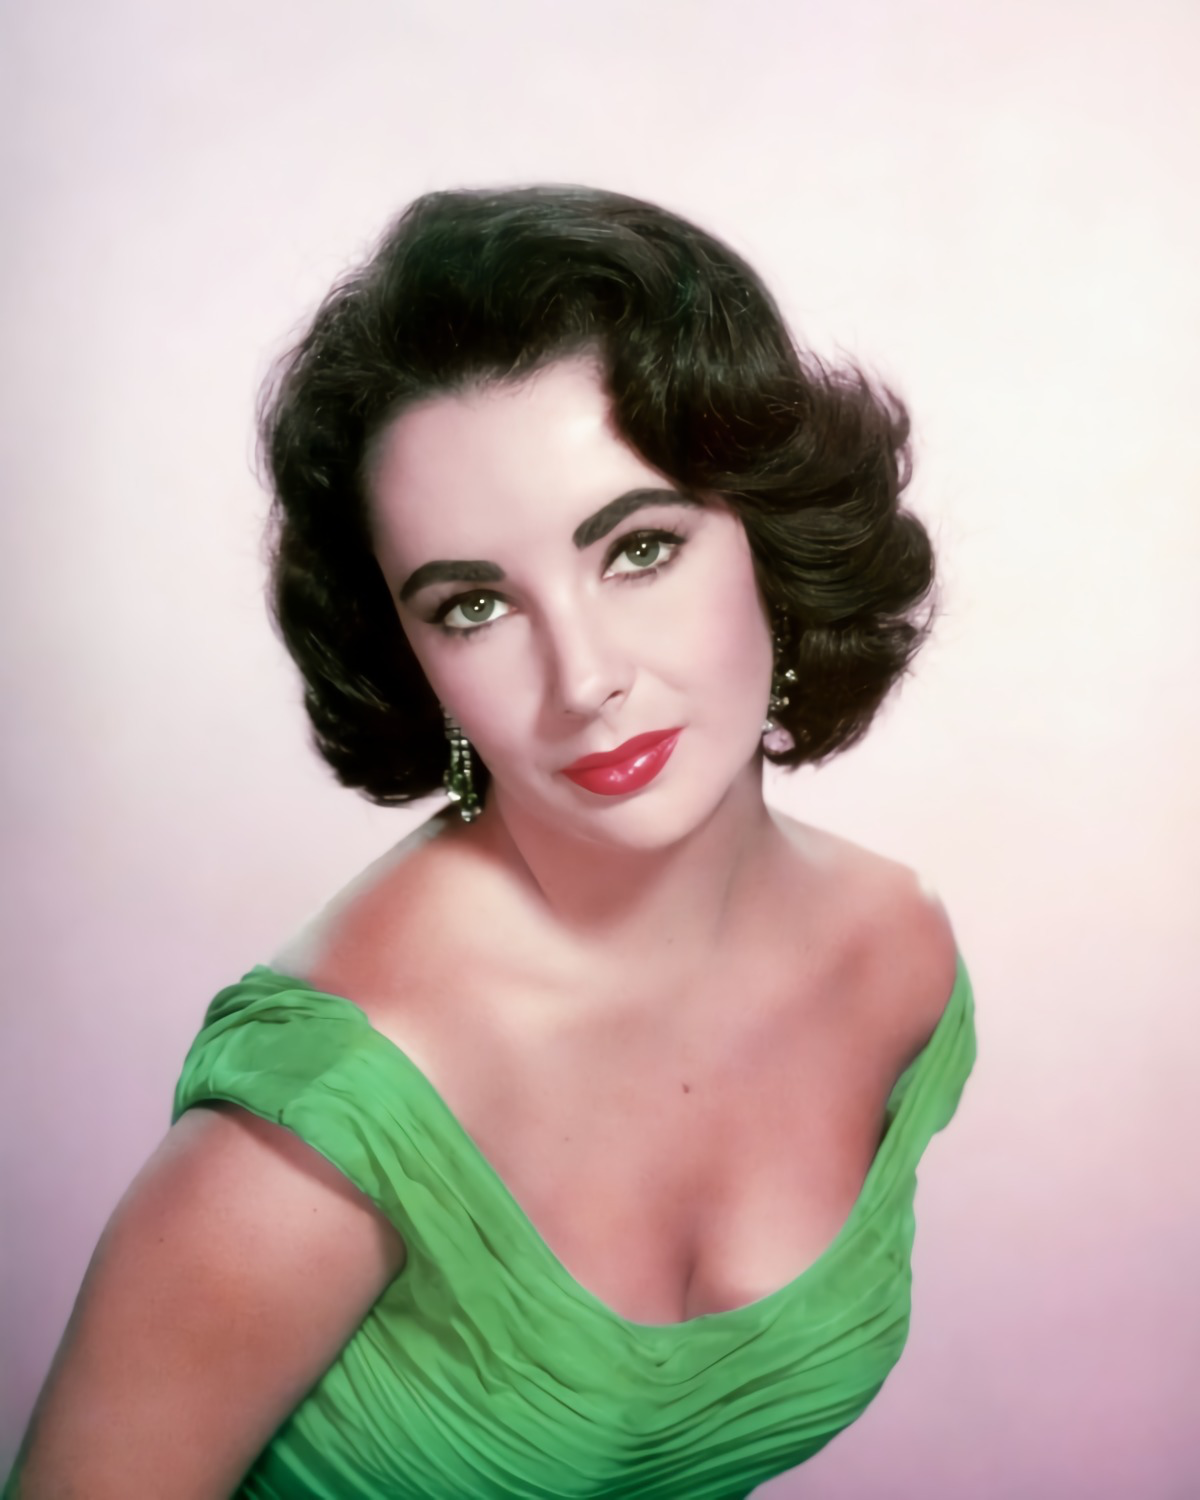
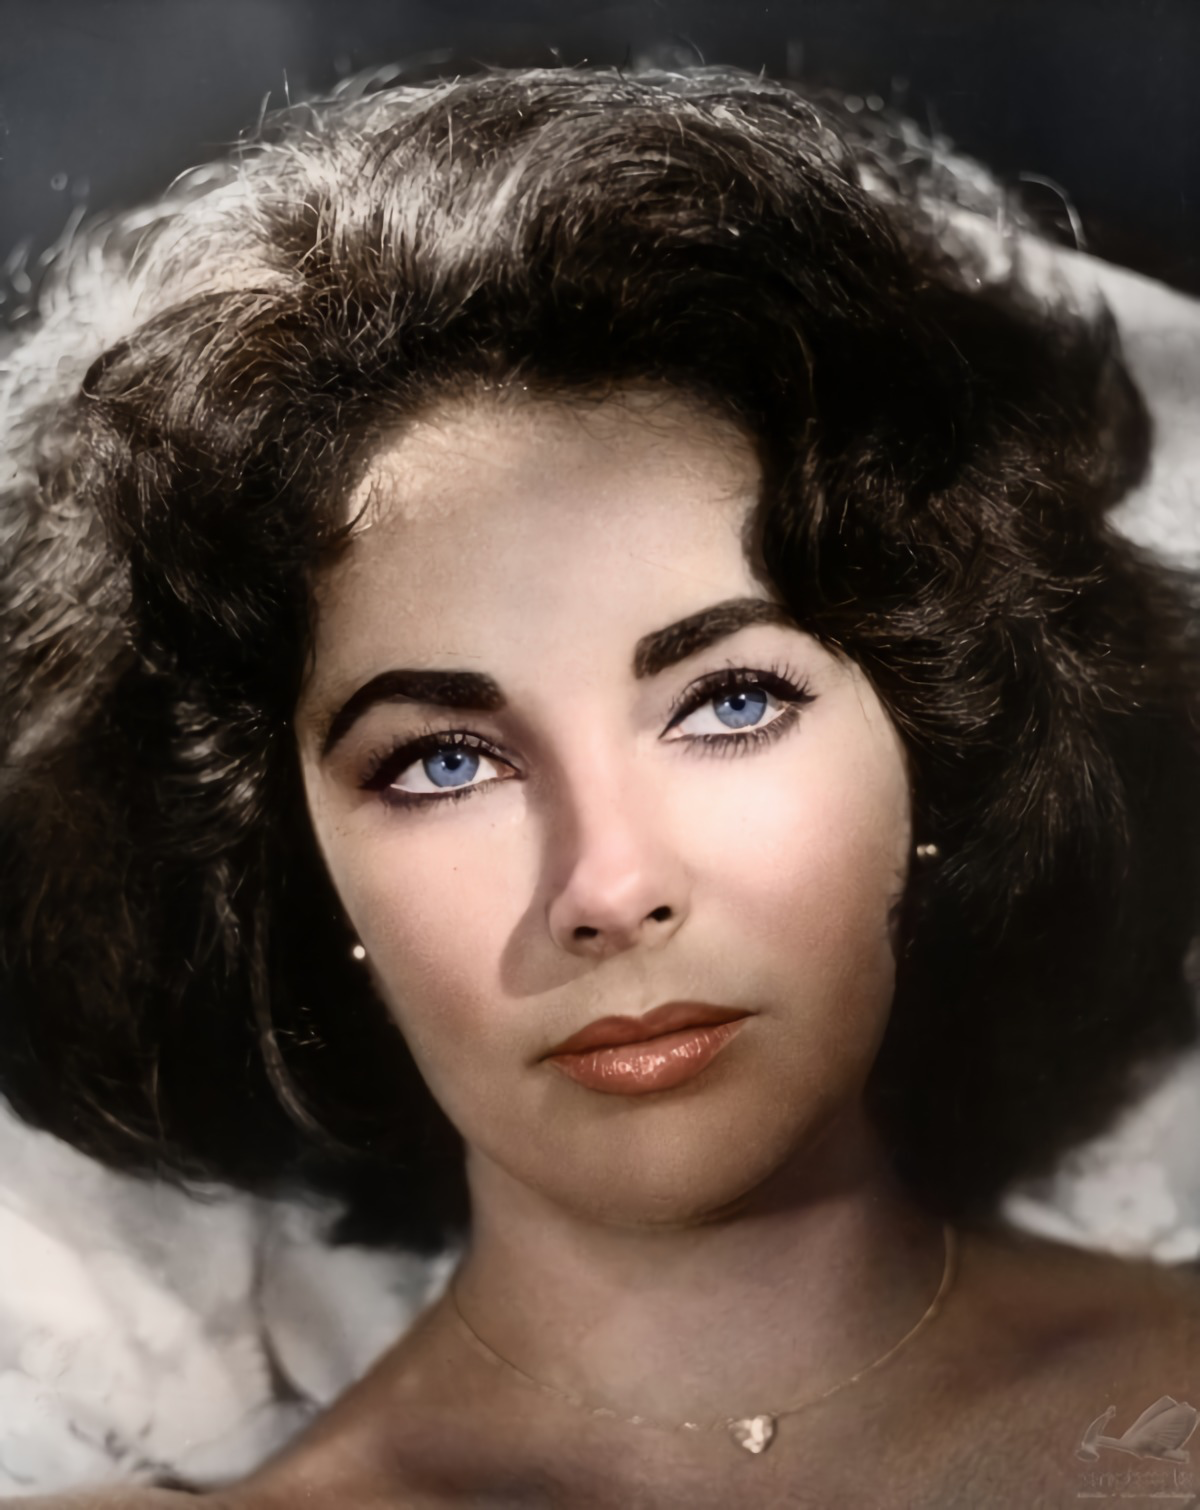
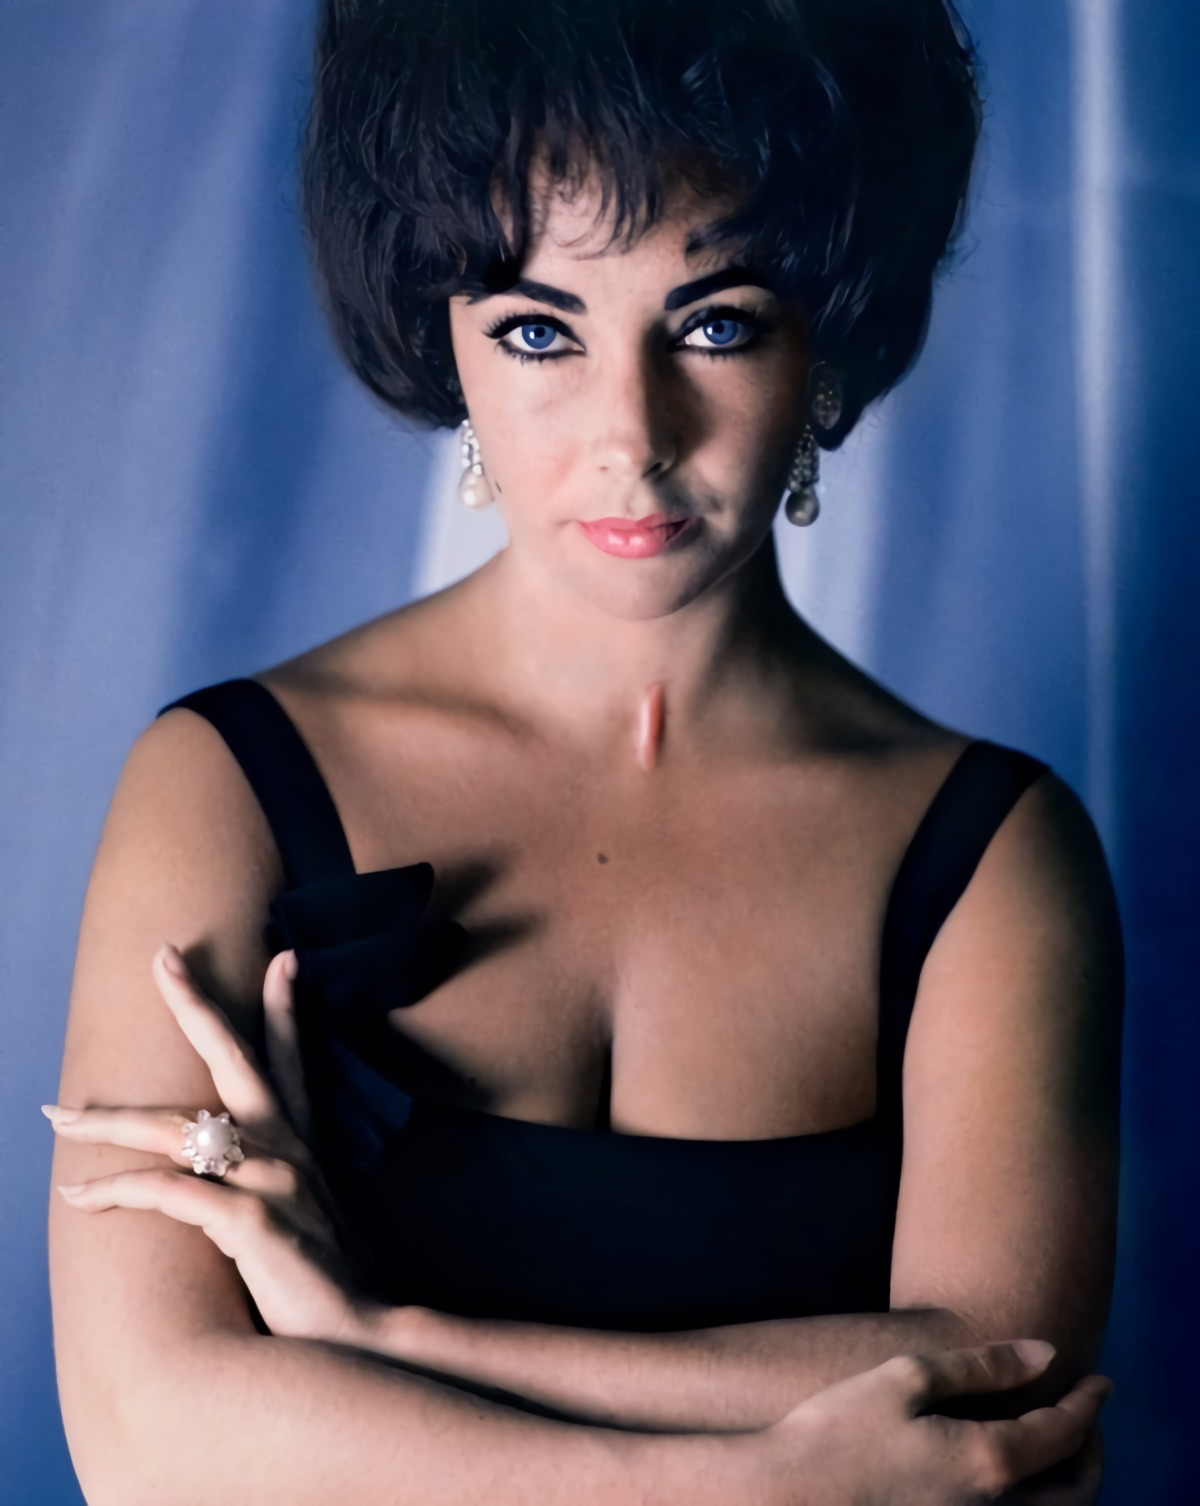
Some people are just born with incredible eyes, and one classic Hollywood star was famous for hers. She had a rare genetic trait that gave her a stunning head start, but what often gets missed is the precise artistry used to shape and define them.
The Famous Double Lash Line
This icon was born with a genetic mutation called distichiasis, which results in a second row of eyelashes. On screen, it created an unbelievably dense, dark lash line without a drop of mascara. It naturally framed her eyes in a way makeup artists dream of.
By the way, from a medical perspective, this condition can sometimes be problematic if the extra lashes grow inward and scratch the eye. But in her case, they grew out perfectly, creating that famously lush fringe. A lucky break!
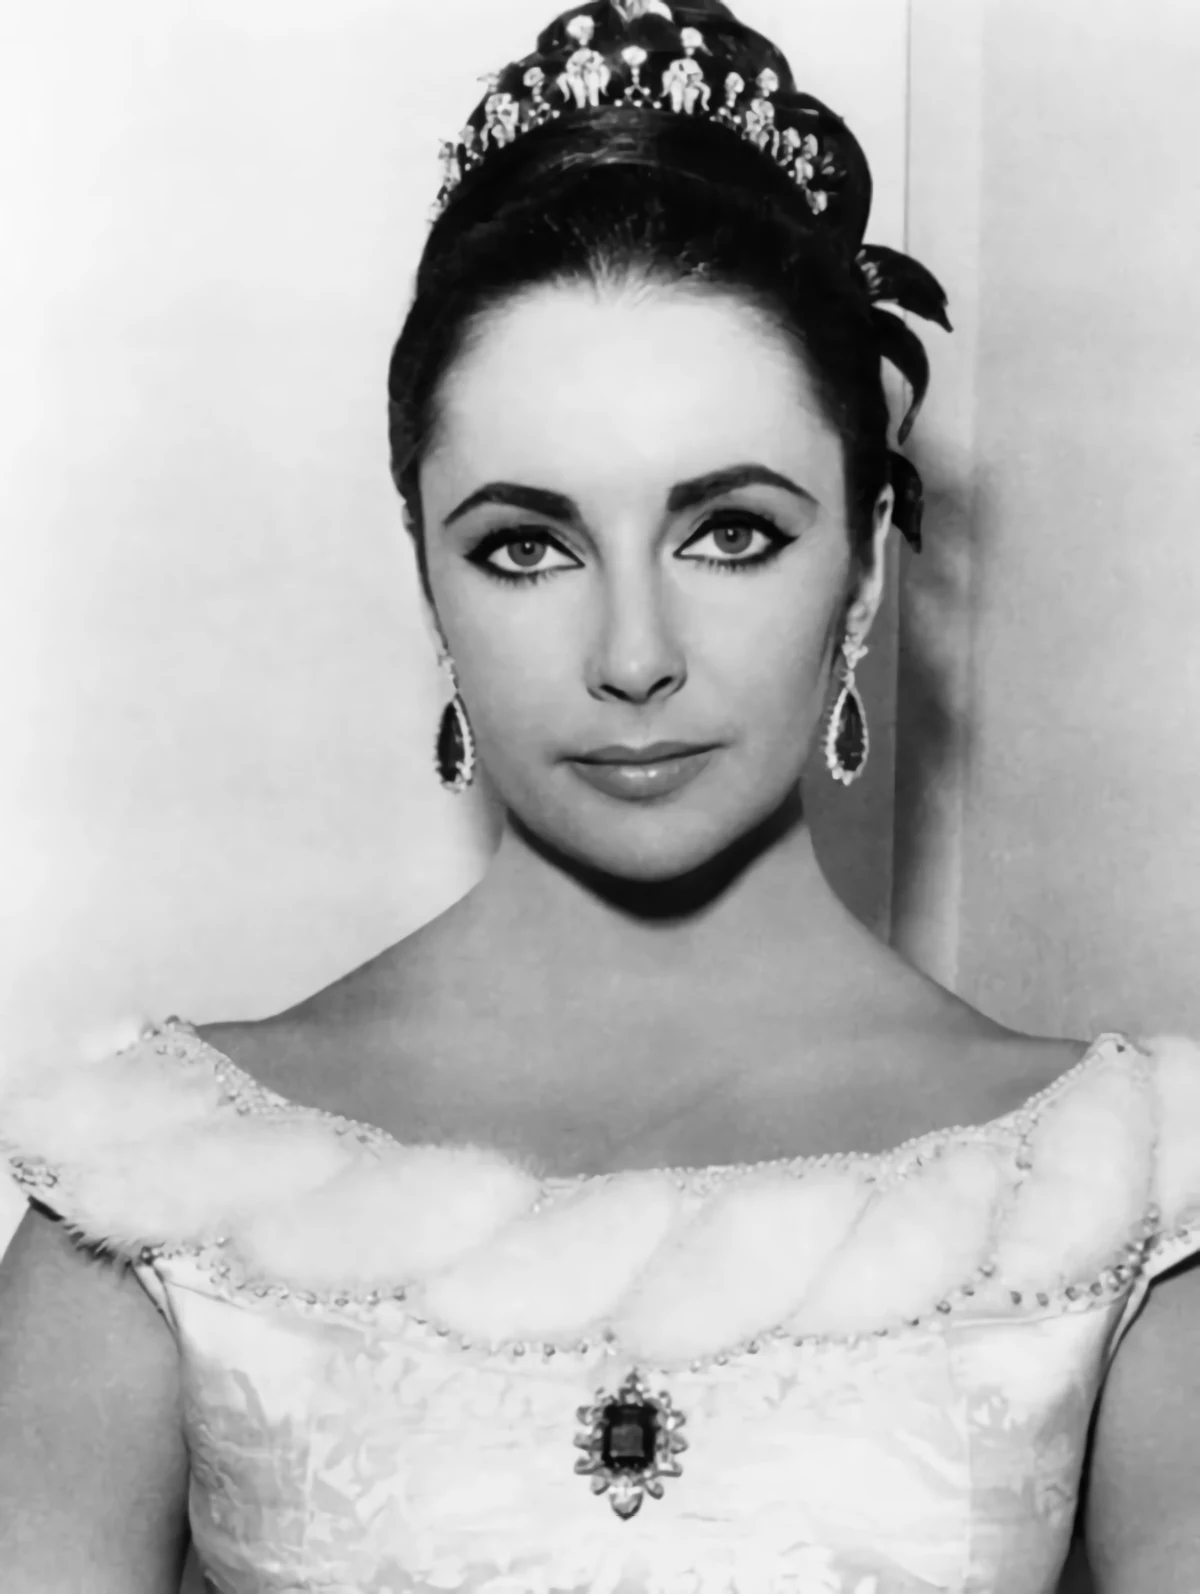
The Makeup: All About Definition
Because her lashes were already so full, her eye makeup was more about subtle definition than creating fake drama. The number one technique was tightlining. This is where you use a soft pencil or a brush with cake eyeliner to deposit color on the upper waterline—that little strip of skin right under your lashes. It fills in any gaps and makes the base of your lashes look like one solid, dark band. You don’t see a liner, you just see the effect of thicker lashes.
After tightlining, a super-thin line of liquid liner would be drawn just above the lash line, tapering to nothing at the inner corner and flicking up ever so slightly at the outer corner. The eyeshadow was usually kept simple, maybe a soft wash of a neutral color. The focus was always on the lash line.
The Brows: The Power of an Artist’s Tool
A signature look often hinges on a strong brow, and the full, defined eyebrows of that era were legendary. The secret wasn’t a fancy makeup product, but a tool borrowed from a completely different world: an artist’s drawing pencil.
Most eyebrow pencils at the time were waxy and could look greasy or drawn-on. But charcoal-based art pencils have a much drier, powdery texture. This allows them to cling to brow hairs and skin without adding any weird shine. The result is a brow that looks strong in shape but incredibly soft in texture. It was a pro move, using the best tool for the job, regardless of which aisle it came from.
Recreating the Look (Without Raiding an Art Store):
Don’t worry, you don’t need to go hunting for a specific German art pencil. The beauty world has caught up. To get that same effect, look for eyebrow pencils with a very dry, firm consistency.
- Splurge: The Shu Uemura Hard Formula pencil is a cult classic for exactly this reason. It has that perfect dry, powdery finish and costs around $25.
- Save: Honestly, you can get an amazing result for less. The NYX Micro Brow Pencil or the e.l.f. Instant Lift Brow Pencil are both under $12 and give you that same control and soft definition.
Technique is key here. Use light, short, upward strokes to mimic hair growth. Then, always brush through your brows with a clean spoolie to blend the product and soften any harsh lines.
The Lips: A Masterclass in Layering
It’s been said that some stars would spend up to half an hour on their lips alone. To most people, that sounds insane. But to a makeup artist, it signals a classic, multi-step technique designed for a perfect, bulletproof lip that lasts for hours.
Here’s the full-on professional method:
- Prep: Start with smooth lips. A quick scrub with a sugar scrub or a soft toothbrush gets rid of flakes.
- Line: Use a sharp lip pencil that matches your lipstick to carefully outline your lips. This is the architecture—it defines the shape and stops the color from bleeding.
- First Coat & Blot: Apply the first layer of lipstick with a lip brush for precision. Then, blot with a single ply of tissue. This removes excess oil and leaves behind a pure pigment stain.
- The Powder Trick: This is the secret sauce. With the tissue still over your lips, lightly dust translucent powder on top. The powder sets that first layer, making it last for ages.
- Second Coat: Apply a second layer of lipstick. This brings back the creamy finish over a completely set base.
- Finishing Touch: A tiny dab of a slightly lighter lipstick or gloss right in the center of the lower lip catches the light and makes your pout look fuller.
The 60-Second Version:
Don’t have time for all that? The single most valuable trick is the ‘blot and powder.’ After applying your lipstick, just blot, powder through a tissue, and you’re good to go. It takes less than a minute and will dramatically improve how long your lipstick lasts.
Pro Tip on Liners: Can’t find a perfect match for your lipstick? No problem. Use a liner that’s one shade deeper to create subtle dimension, or just buy one universal clear lip liner. It works with every single color you own to give you a clean, sharp edge.
Inspiration:
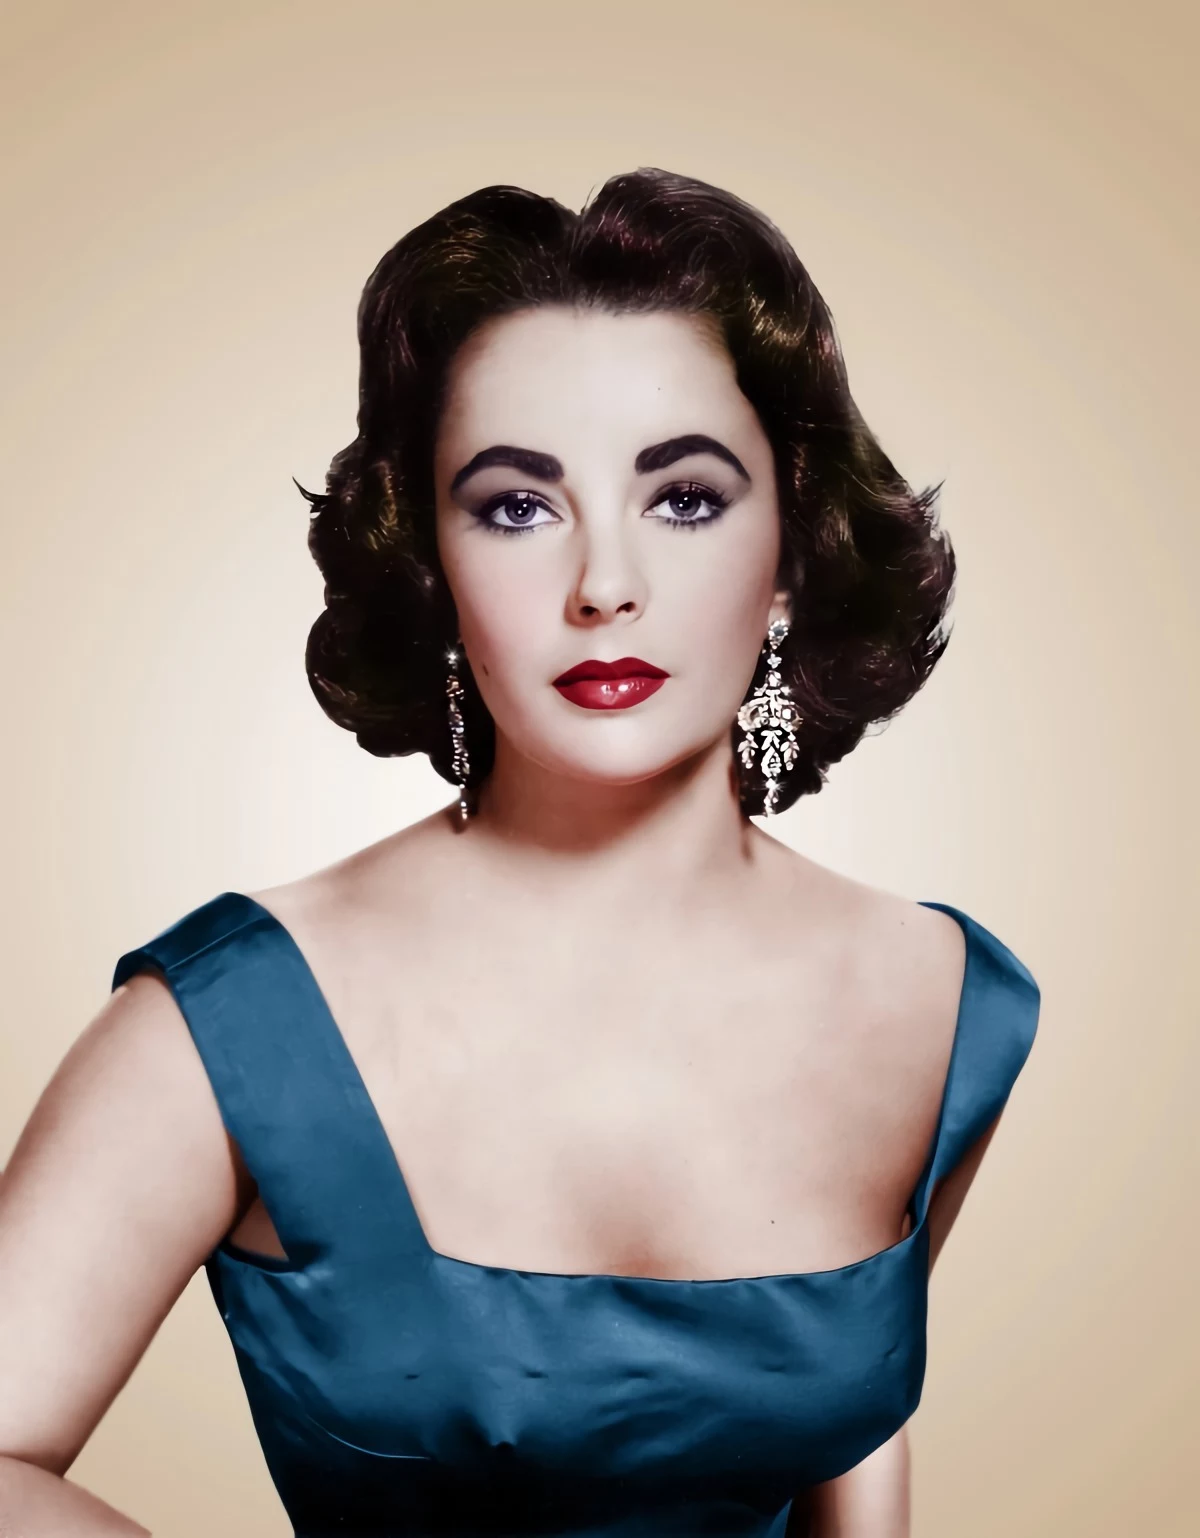
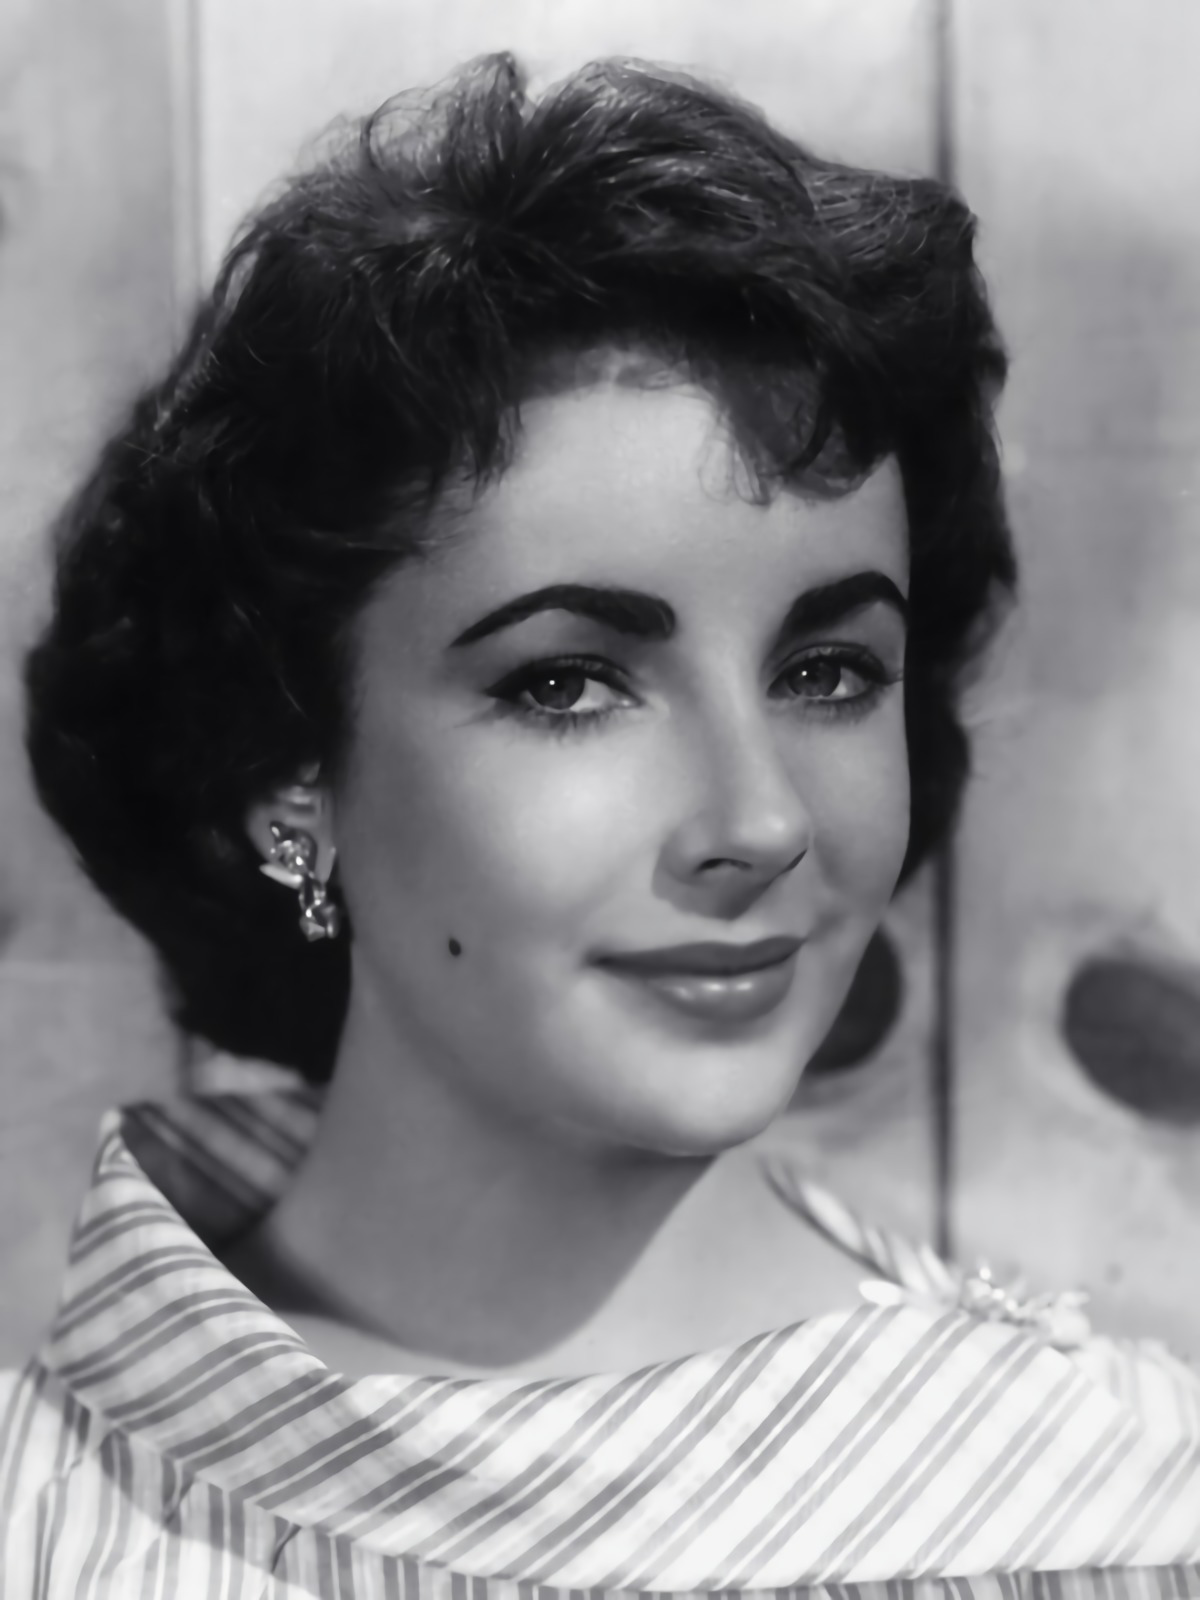
Did Elizabeth Taylor really have two rows of eyelashes?
Yes, it’s true! It wasn’t a makeup trick but a rare genetic mutation called distichiasis. This gave her a naturally thick, dark lash line that cameras adored. To channel that effect today without the genetic luck, makeup artists use a technique called
The most famous on-set skin secret wasn’t a luxury cream, but a drugstore staple: Vaseline.
Marilyn Monroe reportedly used it as a primer to create a soft-focus glow under harsh studio lights. Beyond a facial sheen, it was the go-to for creating a wet-look eyelid or a glossy, tamed eyebrow long before modern brow gels existed. The key was a light touch to catch the light, not create a greasy finish.
The iconic, razor-sharp lips of stars like Joan Crawford were meticulously sculpted, often extending beyond the natural lip line to create perfect symmetry and drama. The trick was using a very dry, waxy pencil and a stiff, flat lip brush for ultimate control.
- Overdraw with precision: Using a pencil a shade deeper than your lipstick (a classic is MAC’s


