The Only DIY Body Scrub Guide You’ll Ever Need
I still remember the first body scrub I ever bought. It was this bright pink goop in a fancy tub, smelling of something that was supposed to be strawberry. The label promised me silky, glowing skin. Instead, it felt like I was rubbing tiny, sharp plastic bits all over my body. My skin ended up red, irritated, and somehow even drier than before. Not great.
In this article
- First Things First: Is It Actually Cheaper?
- The ‘Why’ Behind the Scrub: A Quick Skin Lesson
- The Building Blocks: Picking Your Ingredients
- Need a Quick Fix? Try This Right Now!
- Let’s Get Mixing: Four Go-To Recipes
- How to Use It Like a Pro
- The Not-So-Glamorous Part: Cleanup & Drain Care
- Keeping It Fresh & Safe (This is IMPORTANT!)
- Common Questions & Quick Fixes
- Know When to Call in the Experts
- Inspiration:
That one bad experience sent me down a rabbit hole. I really wanted to figure out what makes a body scrub actually work—not just as a pretty product, but as a genuine treatment for your skin. After years of working in skincare and countless hours messing around with ingredients, I learned that the best scrubs have nothing to do with fancy packaging. It’s all about using the right stuff, the right technique, and actually respecting the skin you’re in.
Making your own body scrubs is about so much more than just saving a few bucks. It’s about total control. You get to pick the texture, the ingredients, and exactly what you want it to do. You can craft something that’s literally made for you. So this guide is all my hard-won knowledge, boiled down. We’re going to get into the nitty-gritty of how it all works, beyond just a simple recipe.
First Things First: Is It Actually Cheaper?
Let’s just get this out of the way. Yes, it’s almost always cheaper, and by a lot. A decent tub of body scrub from a beauty store can easily run you $25, $40, or even more. Honestly, you’re mostly paying for the jar, the marketing, and a whole lot of water and cheap fillers.
A homemade batch, on the other hand? You can make a fantastic scrub for under $5 using ingredients you probably already have, like sugar and olive oil. Even if you want to get a little fancier and buy a nice carrier oil like sweet almond oil (around $10 for a bottle that will last you ages), your cost per scrub is still pennies on the dollar. You get a better product for way less money. It’s a no-brainer.
The ‘Why’ Behind the Scrub: A Quick Skin Lesson
Okay, before we start mixing, let’s talk about what we’re actually trying to do. Your skin is pretty amazing. The top layer is basically a wall of dead skin cells held together by natural fats. It’s your body’s first line of defense. Normally, your body sheds these cells on its own, but sometimes—thanks to age, stress, or just life—that process slows down. The result? Skin that looks dull, feels rough, and pores that get clogged.
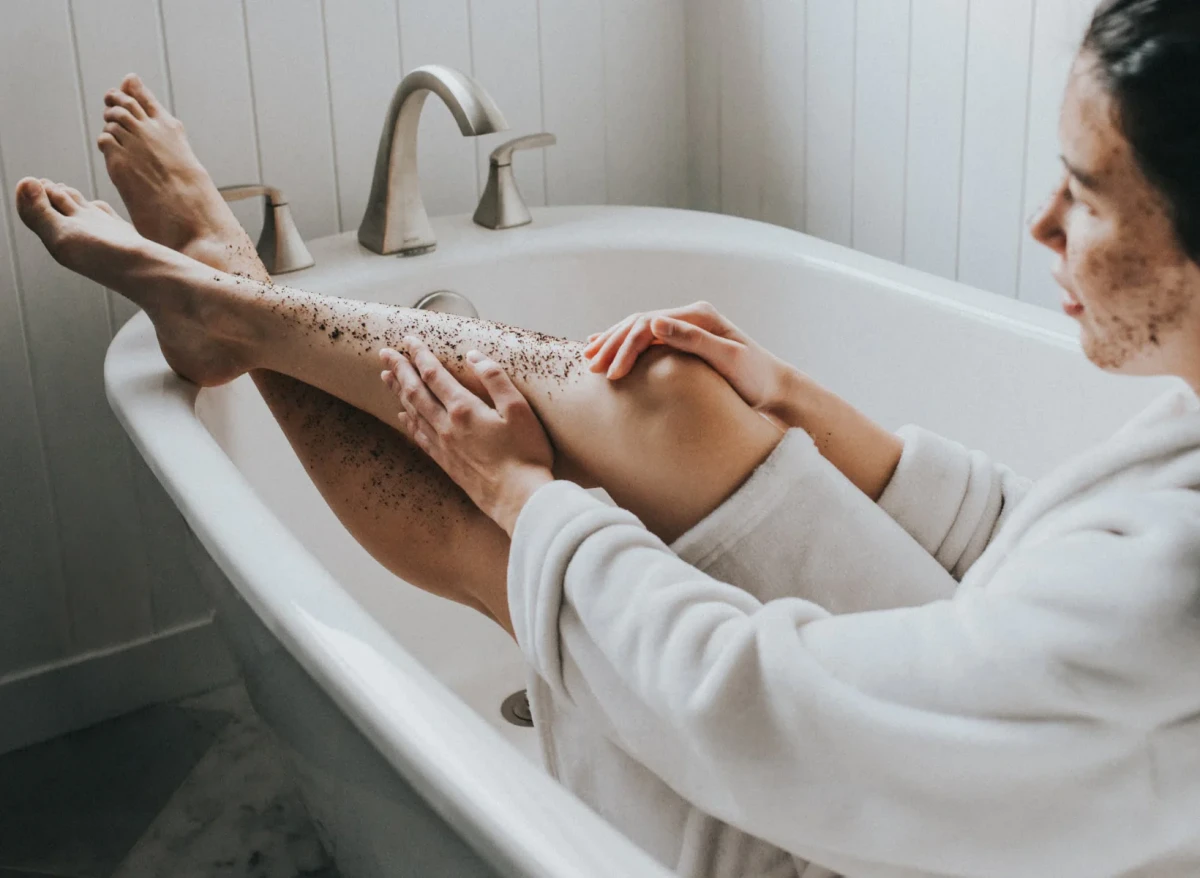
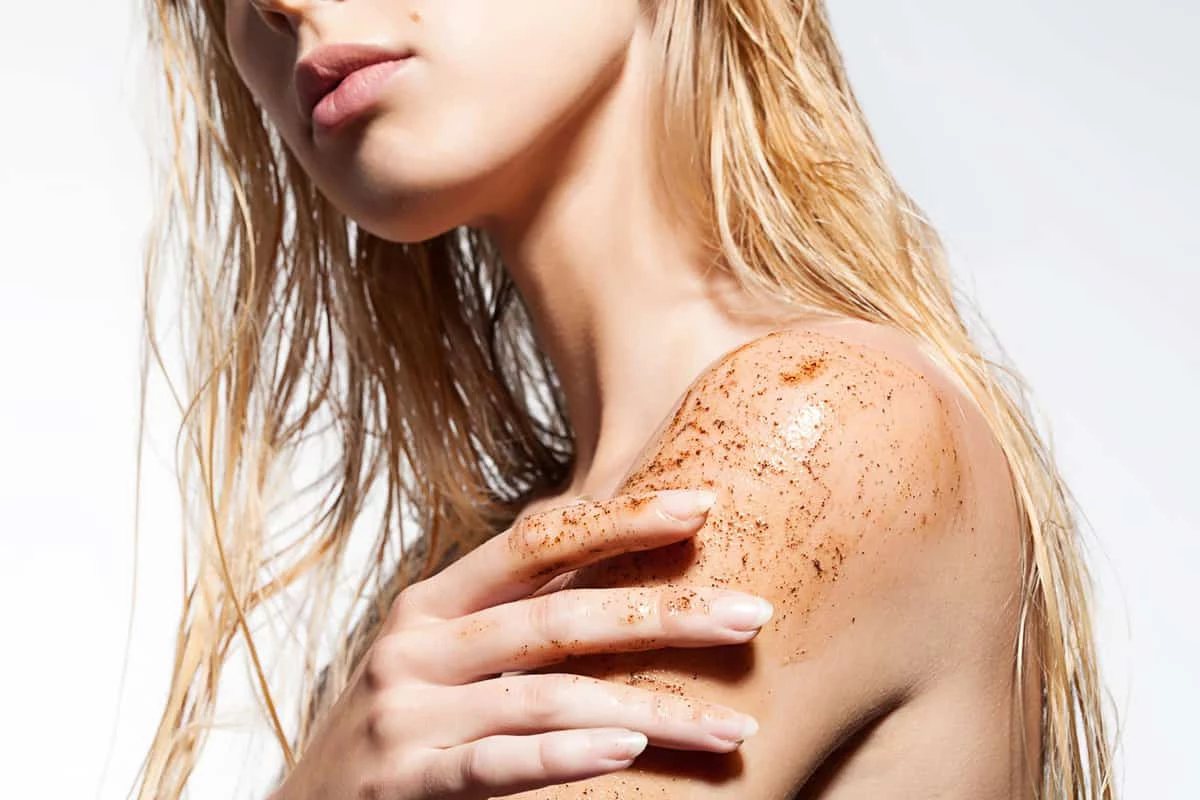
A body scrub is a physical exfoliant. It just gives that natural shedding process a little nudge, manually sloughing off the oldest, loosest cells. When you do it right, you reveal the newer, brighter skin underneath, your skin feels way smoother, and bonus, your moisturizers can sink in and do their job so much better. Think of it like sanding a piece of wood before you stain it. You need a smooth surface for a good finish.
But—and this is a big but—it’s a delicate dance. Over-exfoliating is a real and common problem. If you go too hard or do it too often, you’re not just removing dead cells; you’re stripping away your skin’s protective barrier. This can lead to tiny tears, redness, and major moisture loss. Your skin ends up angry, sensitive, and chronically dry. The goal is to assist your skin, not attack it.
The Building Blocks: Picking Your Ingredients
A great scrub really only has two main parts: the exfoliant (the gritty stuff) and the carrier oil (the slick, moisturizing stuff). Getting these two right for your skin type is the most important step.
Picking Your Grit: A Guide to Exfoliants
The particles you choose will determine how gentle or intense your scrub is. The size, shape, and hardness of the granules are everything.
- Sugars: My personal favorite for most people, especially if you’re just starting out. Sugar crystals are rounder, so they’re less likely to scratch you. Plus, sugar is a natural humectant, which means it pulls moisture into the skin. It gives you a little physical scrub and a tiny bit of chemical exfoliation from its natural glycolic acid. Win-win. Brown sugar is the gentlest, perfect for sensitive skin. White sugar is a good all-rounder. And those big, coarse raw sugar crystals? Save those for tough spots like your heels and elbows.
- Salts: Salts give a different vibe. They can feel very purifying and are packed with minerals. However, salt crystals are sharper and more angular, so they can cause those micro-tears if you’re not careful. Fine sea salt is a solid choice for normal to oily skin. Himalayan pink salt is similar but has a great mineral profile—just be sure to get a fine grind. Epsom salt is less of a scrubber and more of a soother; its main job is to deliver magnesium to ease sore muscles, so it’s best mixed with a finer grain like sugar.
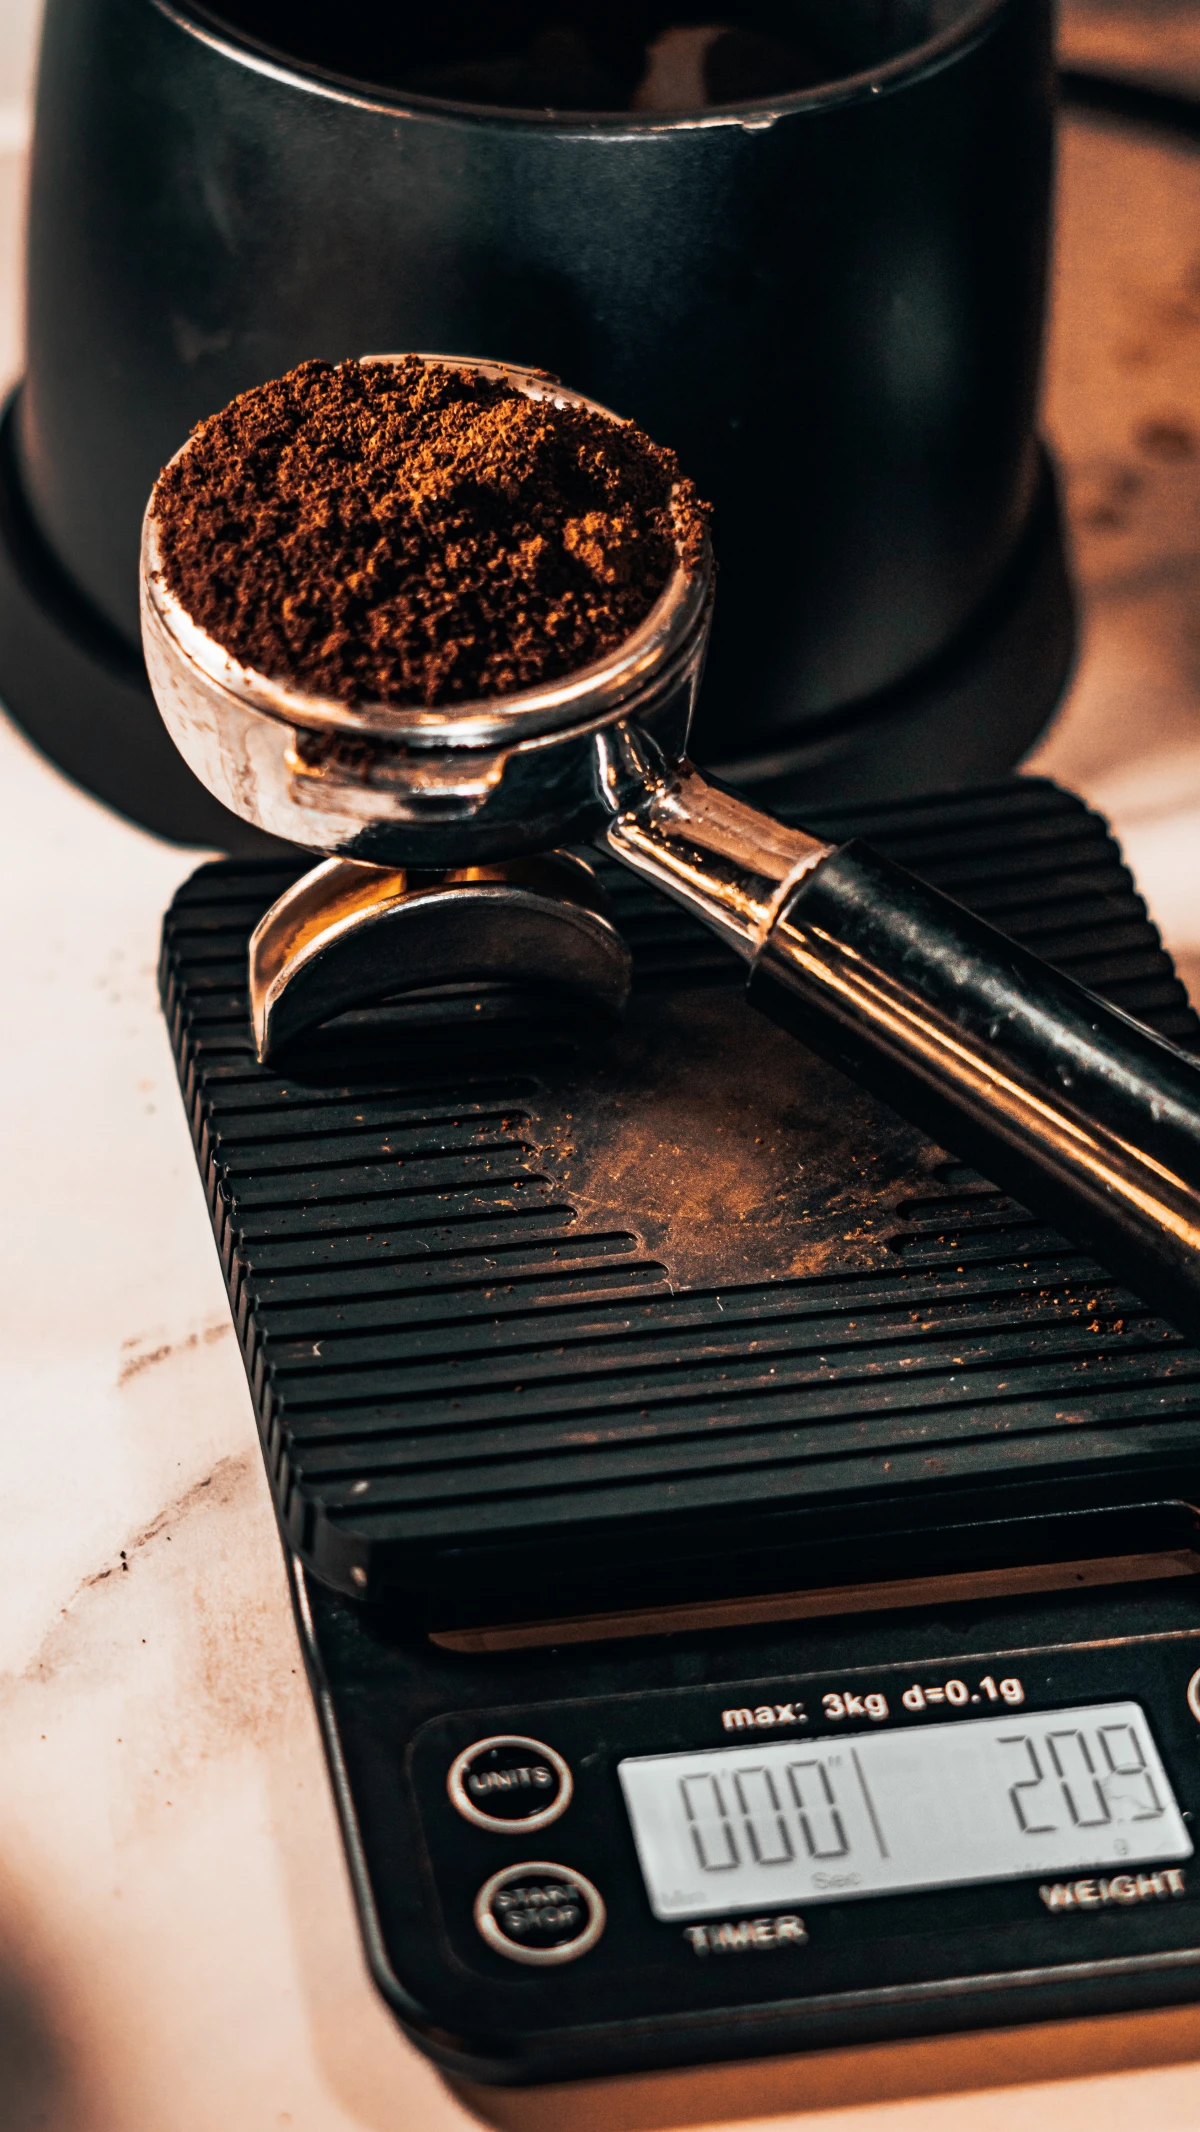
- Coffee Grounds: Oh yeah, coffee is an amazing exfoliant. The grounds are effective but not too harsh, and the caffeine can give your skin a temporary tightening effect that looks fantastic. Quick tip: I always use brewed grounds. They’re softer, and it feels good to be reusing something that would otherwise go in the trash.
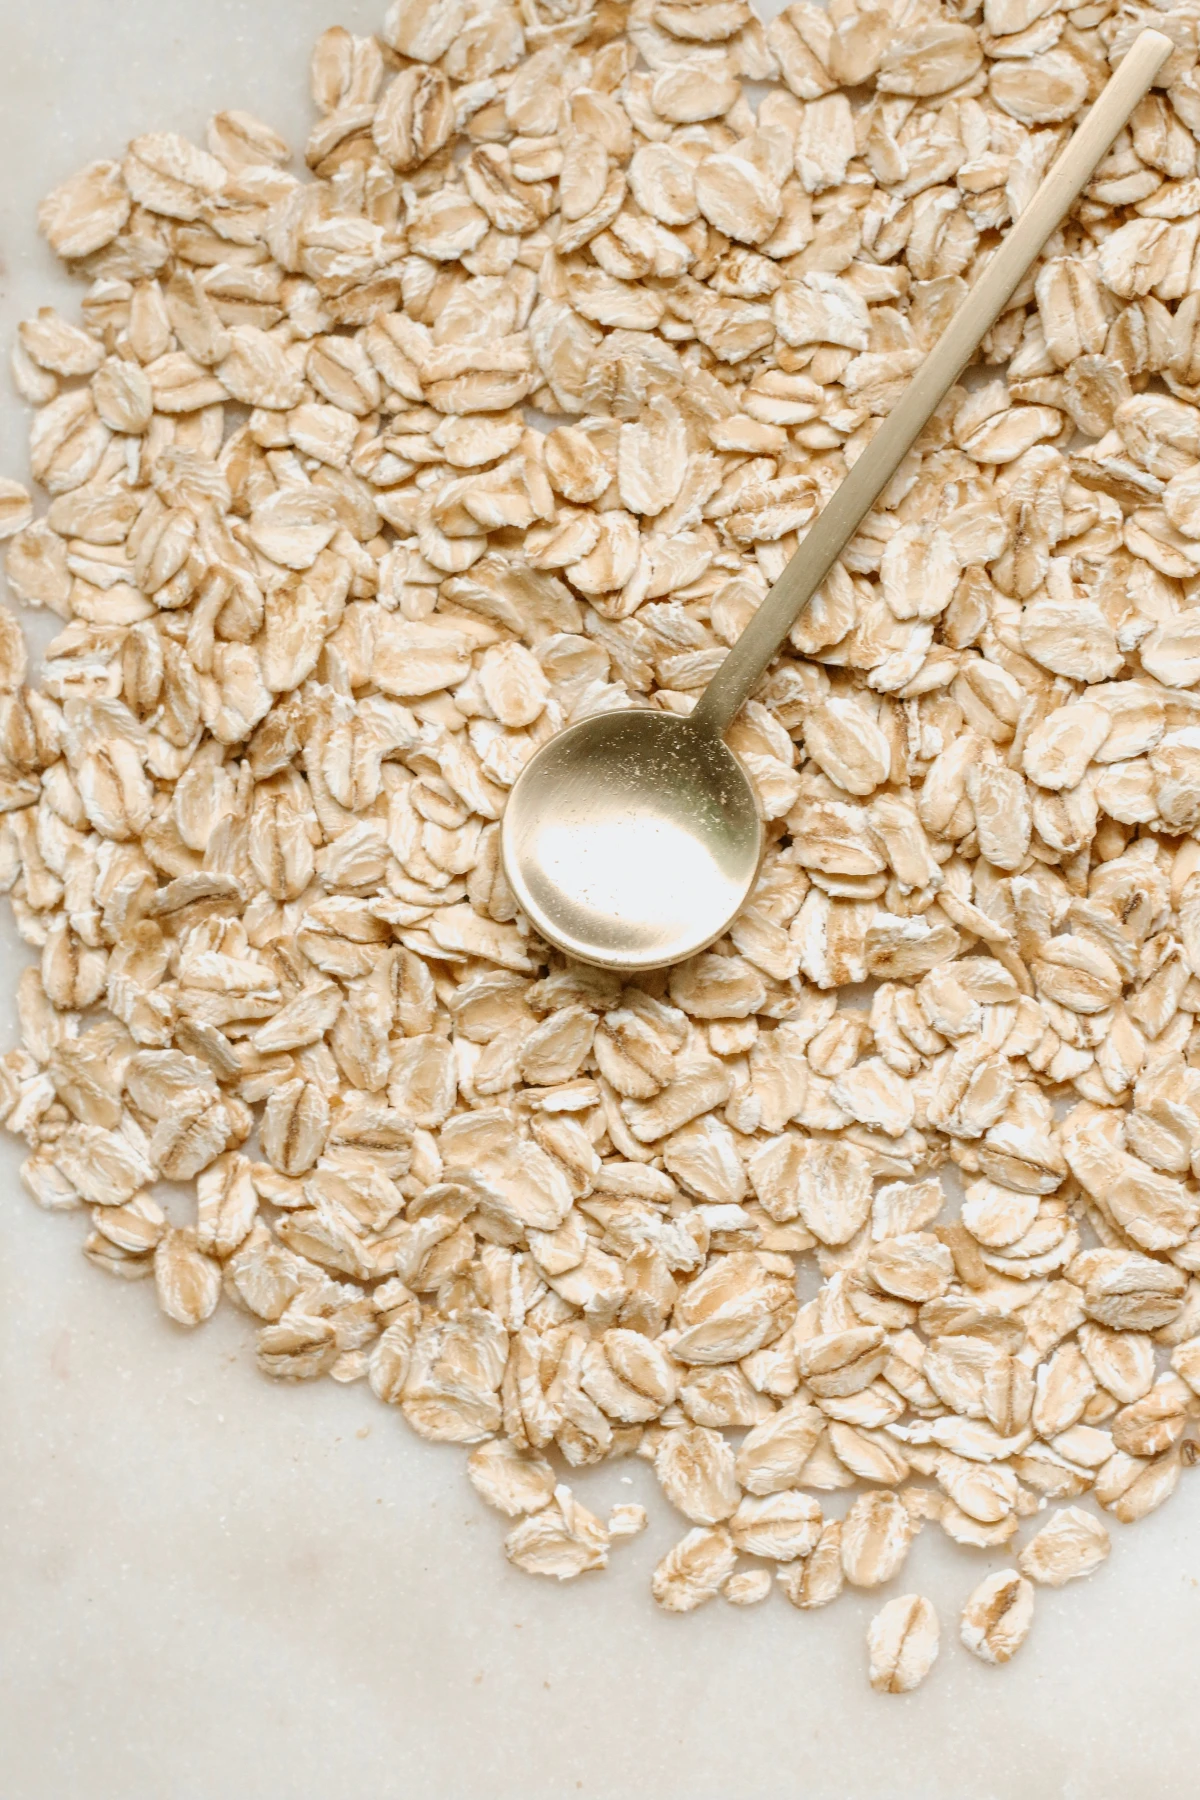
- Ground Oatmeal: This is the undisputed king of gentle. If you have super sensitive or inflamed skin, this is your guy. Oats contain compounds that gently cleanse and soothe. Just toss some whole rolled oats in a coffee grinder or blender until they’re a fine powder.

The Silky Secret: Choosing a Carrier Oil
The oil is what lets the gritty bits glide over your skin instead of scratching it. It also holds the whole mixture together and leaves your skin feeling incredible.
- For a light, non-greasy feel: Jojoba oil is the MVP. It’s technically a liquid wax, and its structure is shockingly similar to our skin’s natural oils, so it absorbs beautifully. Fractionated coconut oil is another great light option—it’s been processed to stay liquid and is less likely to clog pores than the regular stuff. Sunflower oil is a fantastic, affordable choice you can find right in the grocery store. Just look for a “high-oleic” version if you can.
- For a richer, more moisturizing feel: Sweet almond oil is a wonderful all-purpose oil that’s packed with Vitamin E. It’s my go-to for normal or dry skin. And of course, there’s classic olive oil. It’s deeply moisturizing and a staple in traditional skincare for a reason. Because it’s a bit heavier and has a distinct smell, I usually recommend it for very dry skin, but maybe skip it if you’re prone to body breakouts.
Need a Quick Fix? Try This Right Now!
Don’t want to commit to a full batch yet? I get it. Go to your kitchen and try this 1-minute hand scrub. Mix 1 tablespoon of white sugar with about 1 teaspoon of olive oil in your palm. Rub it all over your hands for 30 seconds, rinse with warm water, and pat dry. Instant softness. You’re welcome!
Let’s Get Mixing: Four Go-To Recipes
The classic formula is simple: about 2 parts exfoliant to 1 part oil by volume. This gives you a texture like damp sand. Like it thicker? Go for a 3:1 ratio. Want it looser and oilier? Go closer to 1:1. Always mix your dry stuff first, then drizzle in the oil until you like the feel of it.
1. The Soothing Oat & Honey Scrub (For Sensitive Skin)
This is my top pick for anyone with reactive skin. It’s more of a gentle polish that soothes while it smooths.

- Ingredients: 1 cup Ground Oatmeal, 1/2 cup Brown Sugar, 1/2 cup Jojoba or Sweet Almond Oil, 1 tbsp Raw Honey.
- Why it works: The oatmeal calms things down, the brown sugar gently polishes, the oil mimics the skin’s sebum, and honey adds moisture and antibacterial goodness.
- Heads up: This takes about 5 minutes to mix. This recipe makes enough for about 3-4 full-body applications.
2. The Invigorating Coffee & Peppermint Scrub (For a Morning Boost)
This is designed to wake you up and get your blood flowing. The smell alone is a shot of energy.
- Ingredients: 1 cup Used Coffee Grounds (cool), 1/2 cup Fine Sea Salt, 1/2 cup Fractionated Coconut Oil, 2-3 drops Peppermint Essential Oil.
- Why it works: Coffee provides the scrub and caffeine kick, sea salt purifies, and the light coconut oil won’t feel heavy. Peppermint provides that incredible cooling tingle.
- Heads up: This takes about 3 minutes to mix. But be careful! Peppermint oil is strong. Add it to the oil first, not directly to the salt, and never use more than a few drops. Don’t use this on your face or on broken skin. Makes enough for 3-4 uses.

3. The Muscle-Soothing Magnesium Scrub (For Post-Workout)
This is perfect for a warm shower or bath after you’ve been to the gym or had a long day. It’s a real treat for tired muscles.
- Ingredients: 1 cup Epsom Salt, 1/2 cup Fine Himalayan Pink Salt, 3/4 cup Sunflower or Jojoba Oil, 5-7 drops Lavender Essential Oil.
- Why it works: Epsom salt delivers magnesium to help ease soreness, the pink salt adds minerals, and lavender helps you relax. The slightly higher oil ratio helps the coarse Epsom salts glide smoothly.
- Heads up: Mixes up in 2 minutes. Pro-tip: Massage this on before getting into a warm bath. As you soak, the salts dissolve and create a mineral bath while the oil moisturizes your skin. Makes enough for 2-3 uses.
4. The Brightening Citrus & Rice Polish (An Advanced Blend)
This one is inspired by traditional Asian beauty practices that use rice to soften and brighten the skin. It feels incredibly luxurious.
- Ingredients: 1 cup White Sugar, 1/2 cup Rice Bran Powder (you can find this at Asian markets or online for a few dollars), 1/2 cup Jojoba Oil, Zest of one organic lemon.
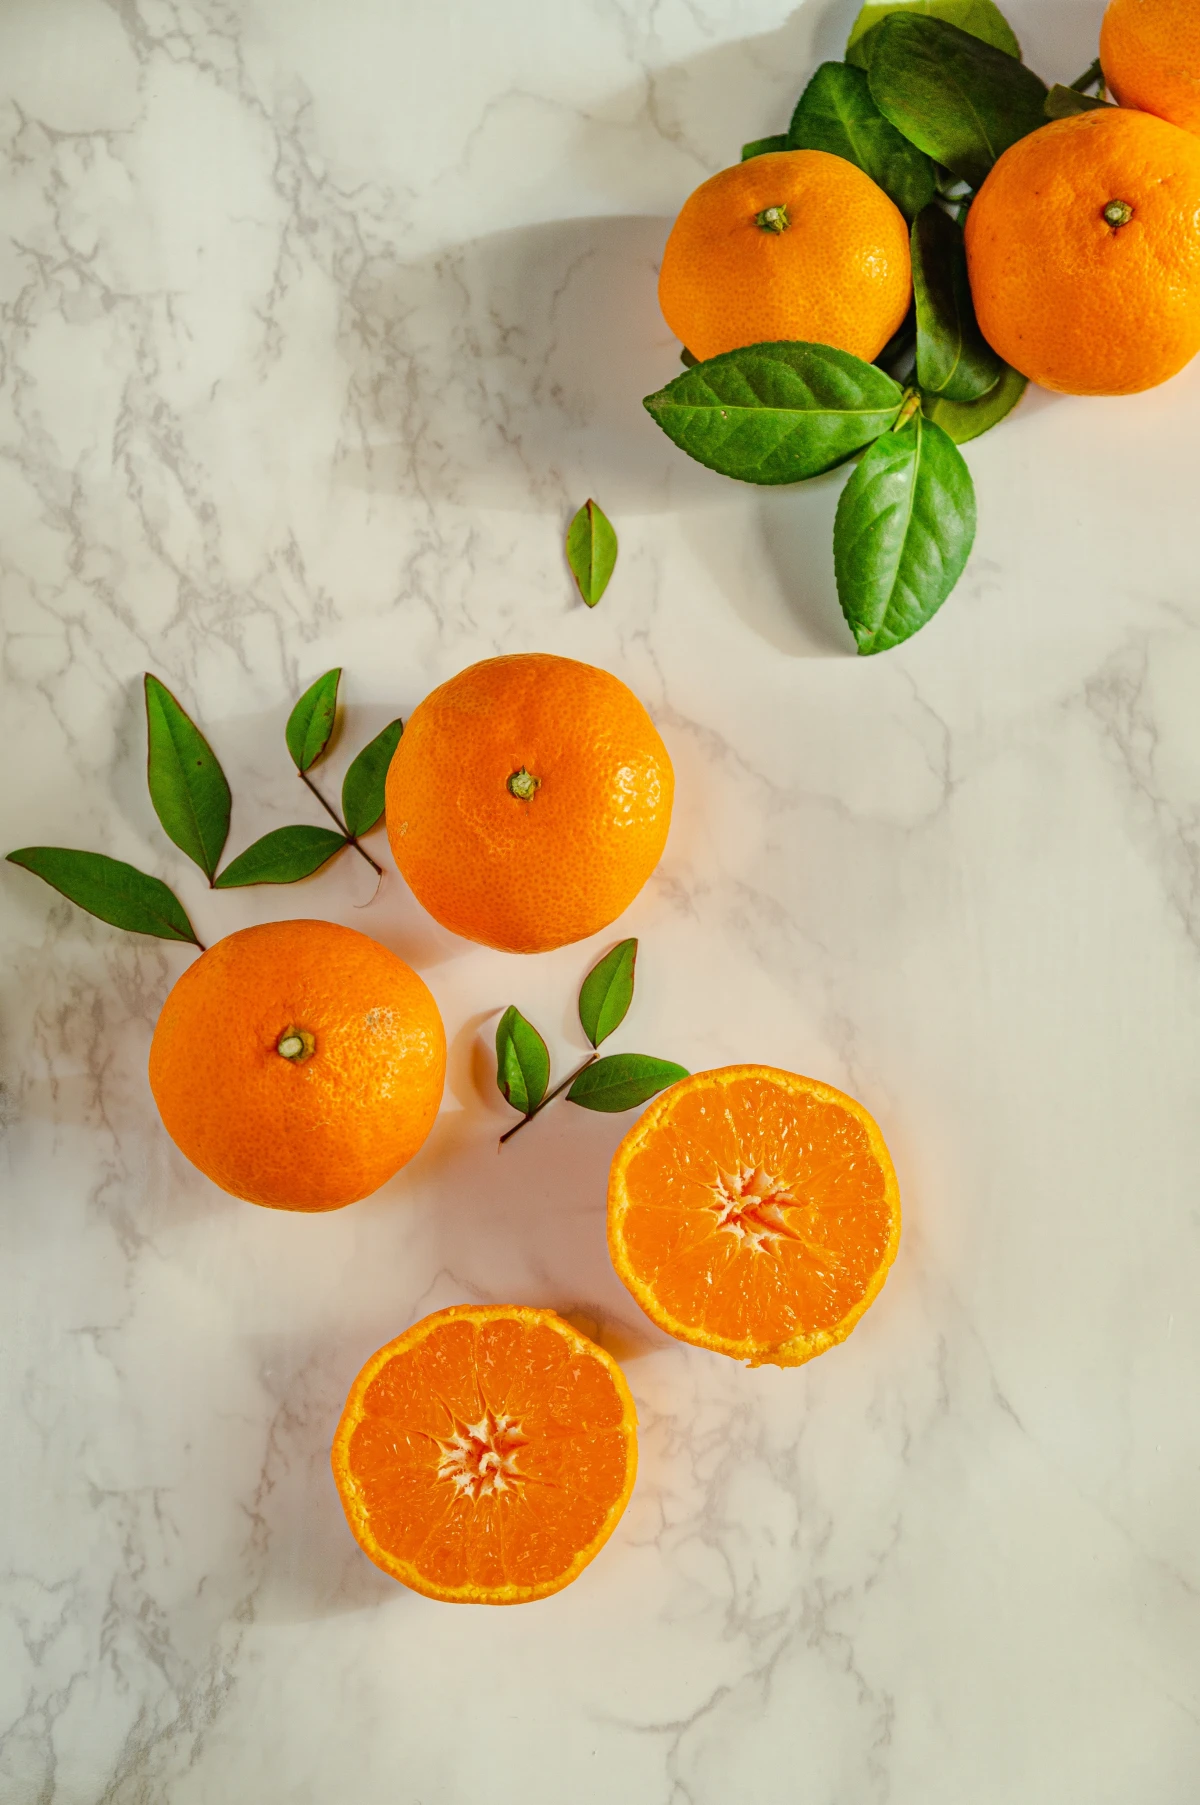
- Why it works: Rice bran powder is packed with antioxidants that gently polish the skin. The sugar does the main scrubbing, and lemon zest adds a fresh scent and brightening enzymes.
- Heads up: A 5-minute mix. IMPORTANT: Citrus makes your skin more sensitive to the sun. Only use this scrub at night, and be sure to use sunscreen on your body the next day. This is non-negotiable. Makes enough for 3-4 uses.
How to Use It Like a Pro
- Get Set Up: Oil-based scrubs can make your tub or shower floor super slippery. Seriously, put down a non-slip mat. Safety first.
- Dampen Your Skin: Hop in the shower and get your skin damp, but not sopping wet. This helps the scrub stick.
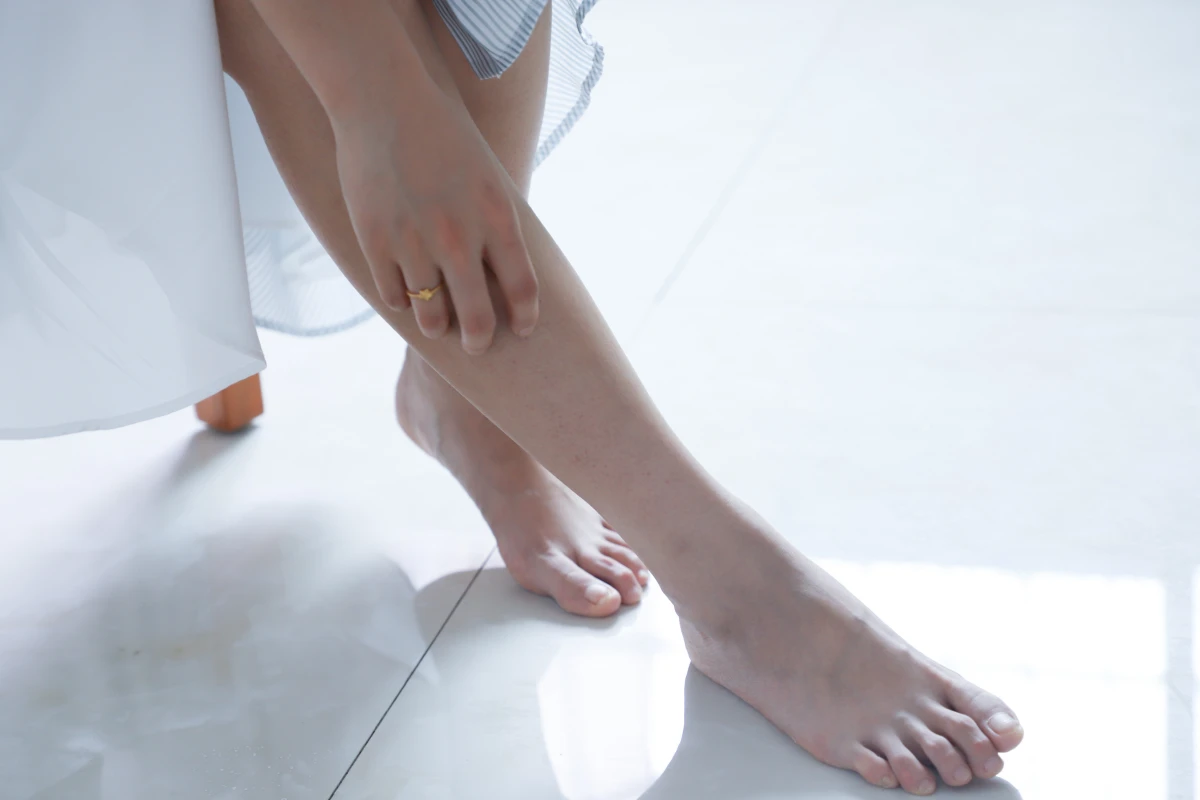
- Work Your Way Up: Start at your feet and work in sections up towards your heart. This is great for circulation. Use gentle, circular motions with the palm of your hand. Let the granules do the work, don’t force it.
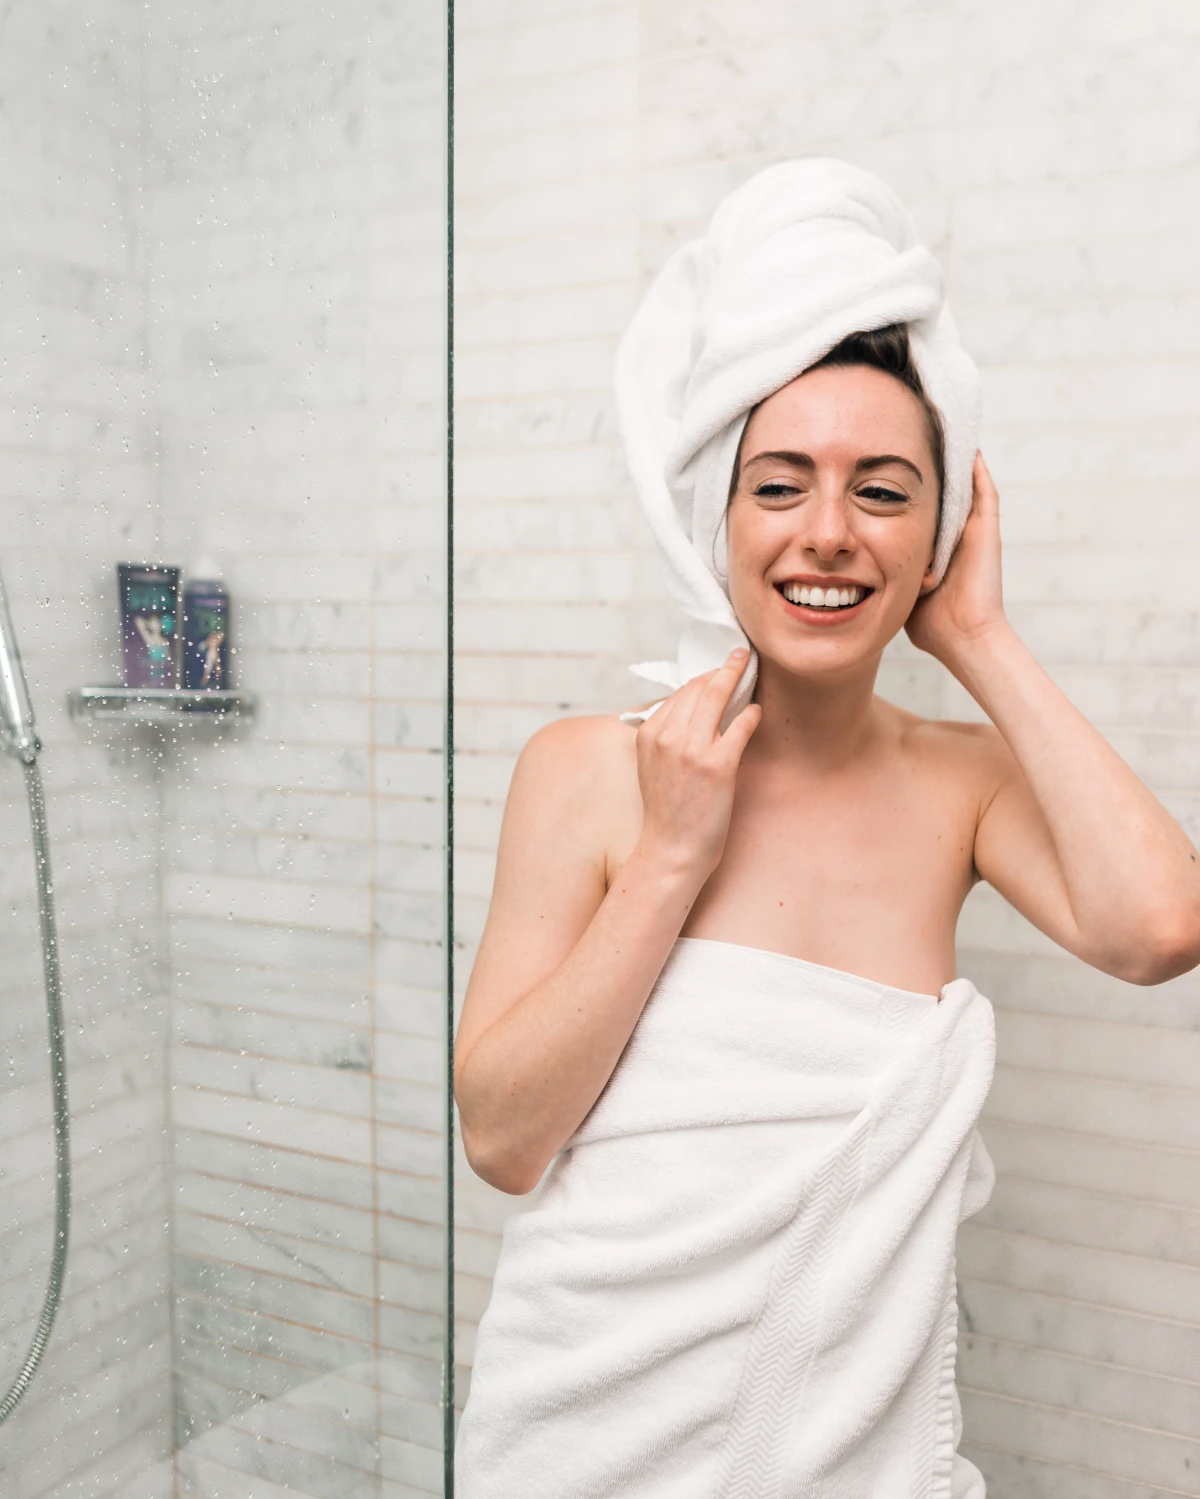
- Rinse and Pat: Rinse off thoroughly with warm water. When you get out, gently pat your skin dry with a towel. Don’t rub! This leaves a fine layer of oil on your skin, which locks in moisture. You probably won’t even need lotion afterward.
The Not-So-Glamorous Part: Cleanup & Drain Care
Okay, real talk. The biggest downside to oil scrubs is the potential for a slippery tub and a clogged drain. Here’s how to deal with it. First, get a simple mesh drain cover to catch all the solid bits. You can find them for a couple of bucks at any hardware store. After your shower, squirt a little dish soap down the drain followed by hot water. The soap helps break down the oils so they don’t build up and cause a clog. Easy.
Keeping It Fresh & Safe (This is IMPORTANT!)
This is where most DIY skincare goes wrong. Any time you mix organic stuff with even a tiny bit of water and don’t add a proper preservative, you’re creating a five-star hotel for bacteria and mold. No, thanks.
- Make Small Batches: The best and safest route is to only make enough for a week or two at a time.
- Keep It Dry: Never, EVER scoop scrub out of the jar with wet hands. That’s how water gets in and starts a science experiment. Use a dry spoon or spatula.
- Store it Smart: Keep your airtight glass jar outside of the shower, somewhere cool and dry like a medicine cabinet.
- The Ultimate Pro-Hack: To avoid all this hassle, make a big batch of just the DRY ingredients (sugar, salt, coffee, etc.) and store that in a sealed jar. Then, each time you shower, just scoop a few spoonfuls into a small bowl and mix in your oil for a perfectly fresh, single-use scrub. It completely solves the spoilage problem!

Common Questions & Quick Fixes
- “Help, my scrub separated!” Totally normal! The heavy bits just settled. Give it a good stir with a clean spoon before you use it.
- “Ouch, this feels too rough!” You probably used a grit that’s too coarse for your skin or not enough oil. Next time, try a finer exfoliant like brown sugar, or simply add a bit more oil to your current batch for extra slip.
Know When to Call in the Experts
Listen, DIY scrubs are amazing for maintaining healthy skin, but they aren’t a magic cure for everything. You should definitely chat with a dermatologist or licensed esthetician if you have:
- Persistent body acne
- Skin conditions like eczema, psoriasis, or rosacea (scrubbing these will make them much worse)
- A condition called Keratosis Pilaris (‘chicken skin’), which often does better with chemical exfoliants
- Any open cuts, wounds, or a fresh sunburn. Just let your skin heal first.
At the end of the day, making your own scrubs is a deeply rewarding little ritual. It connects you to what you’re putting on your body and what your skin really needs. It’s a simple craft, but one with a lot of room to play. By understanding the basics, you can stop just following recipes and start creating something truly perfect for you.
Inspiration:
The American Academy of Dermatology recommends limiting exfoliation to once or twice a week, as over-exfoliating can lead to irritation and damage the skin’s protective barrier.
The secret to a great glow isn’t scrubbing harder or more often. It’s about consistency and gentleness. If your skin feels tight, red, or sensitive after a scrub, you’re likely overdoing it. Listen to your body and give your skin time to regenerate between sessions. True radiance comes from healthy skin, not punished skin.
Ready to move beyond basic sugar and oil?
Think of your base recipe as a blank canvas. A few pinches of the right ‘booster’ ingredients can customize your scrub for specific needs and turn your shower into a true spa experience:
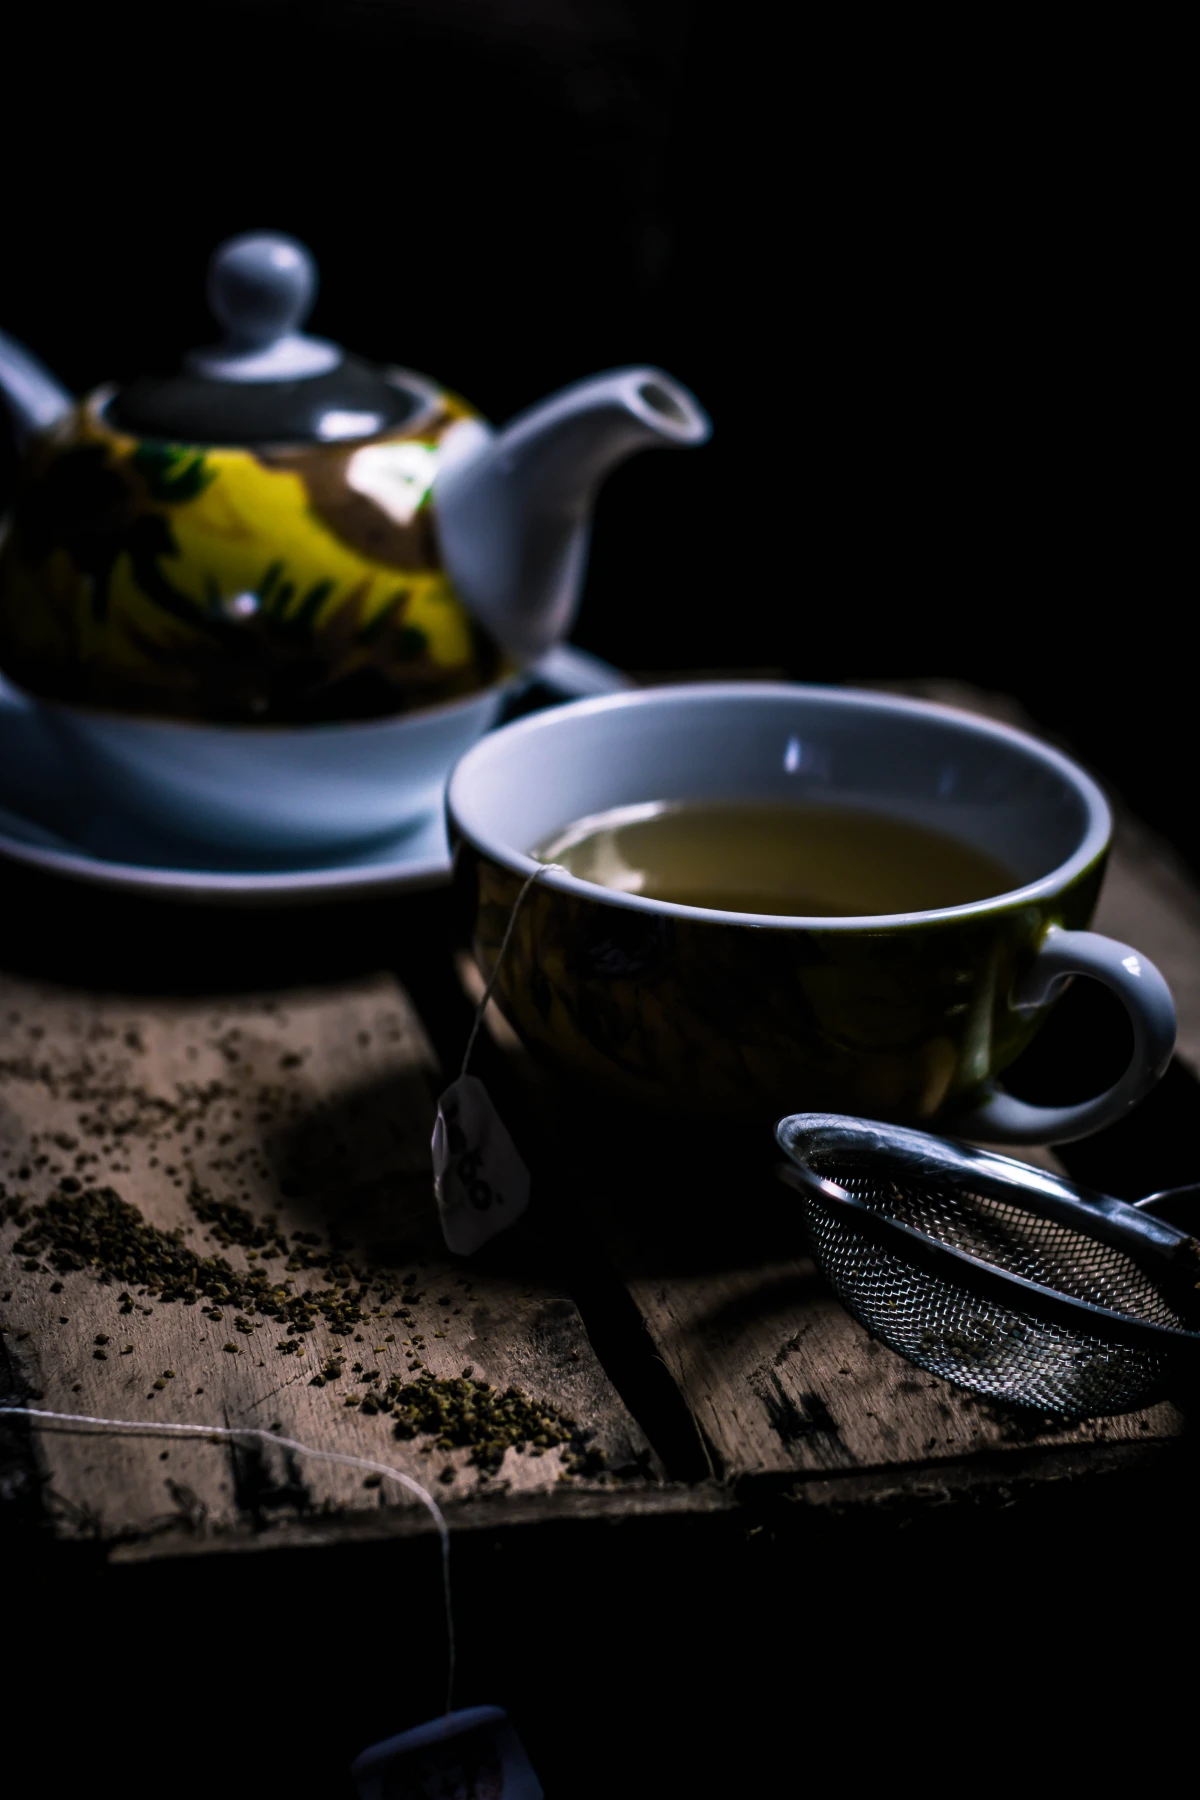
- For an antioxidant kick: Add a teaspoon of high-quality matcha powder to combat environmental stressors.
- For a ‘detox’ feel: A half-teaspoon of activated charcoal powder can help draw out impurities from the pores.
- For an invigorating morning scrub: Use finely ground coffee instead of sugar. The caffeine is famed for its ability to temporarily tighten skin and boost circulation.
Jojoba Oil: This isn’t technically an oil, but a liquid plant wax. Its structure is incredibly similar to our skin’s own natural sebum, making it light, non-greasy, and easily absorbed. It’s a fantastic all-rounder, perfect for sensitive or even acne-prone skin.
Sweet Almond Oil: Rich in Vitamin E, this oil is a classic for a reason. It’s a bit richer than jojoba, offering deep moisture that’s ideal for dry or rough skin, helping to soothe irritation and improve skin tone over time.
For a truly universal scrub, start with jojoba. If you’re targeting very dry patches like elbows and heels, sweet almond oil is your hero.


