Stop Fighting Your Hair: Pro Tricks for Frizz, Volume, and Styles That Actually Last
I’ve spent my entire career as a hairstylist, working everywhere from bustling salons to high-pressure photo shoots. And you know what I’ve learned? The most mind-blowing results almost always come from just nailing the basics. Honestly, so many of those “hair hacks” you see online are just professional techniques that we use every day, but they’re often explained poorly or are missing the why.
In this article
They aren’t magic. They’re just practical solutions based on how hair actually behaves. My goal here is to pull back the curtain on a few of these methods. I want you to understand the logic behind taming frizz or building a ponytail that doesn’t sag by noon. Once you get the principles, you can stop following rigid instructions and start making these techniques work for your hair, whether it’s fine and straight or thick and coily. This is about building real skill.
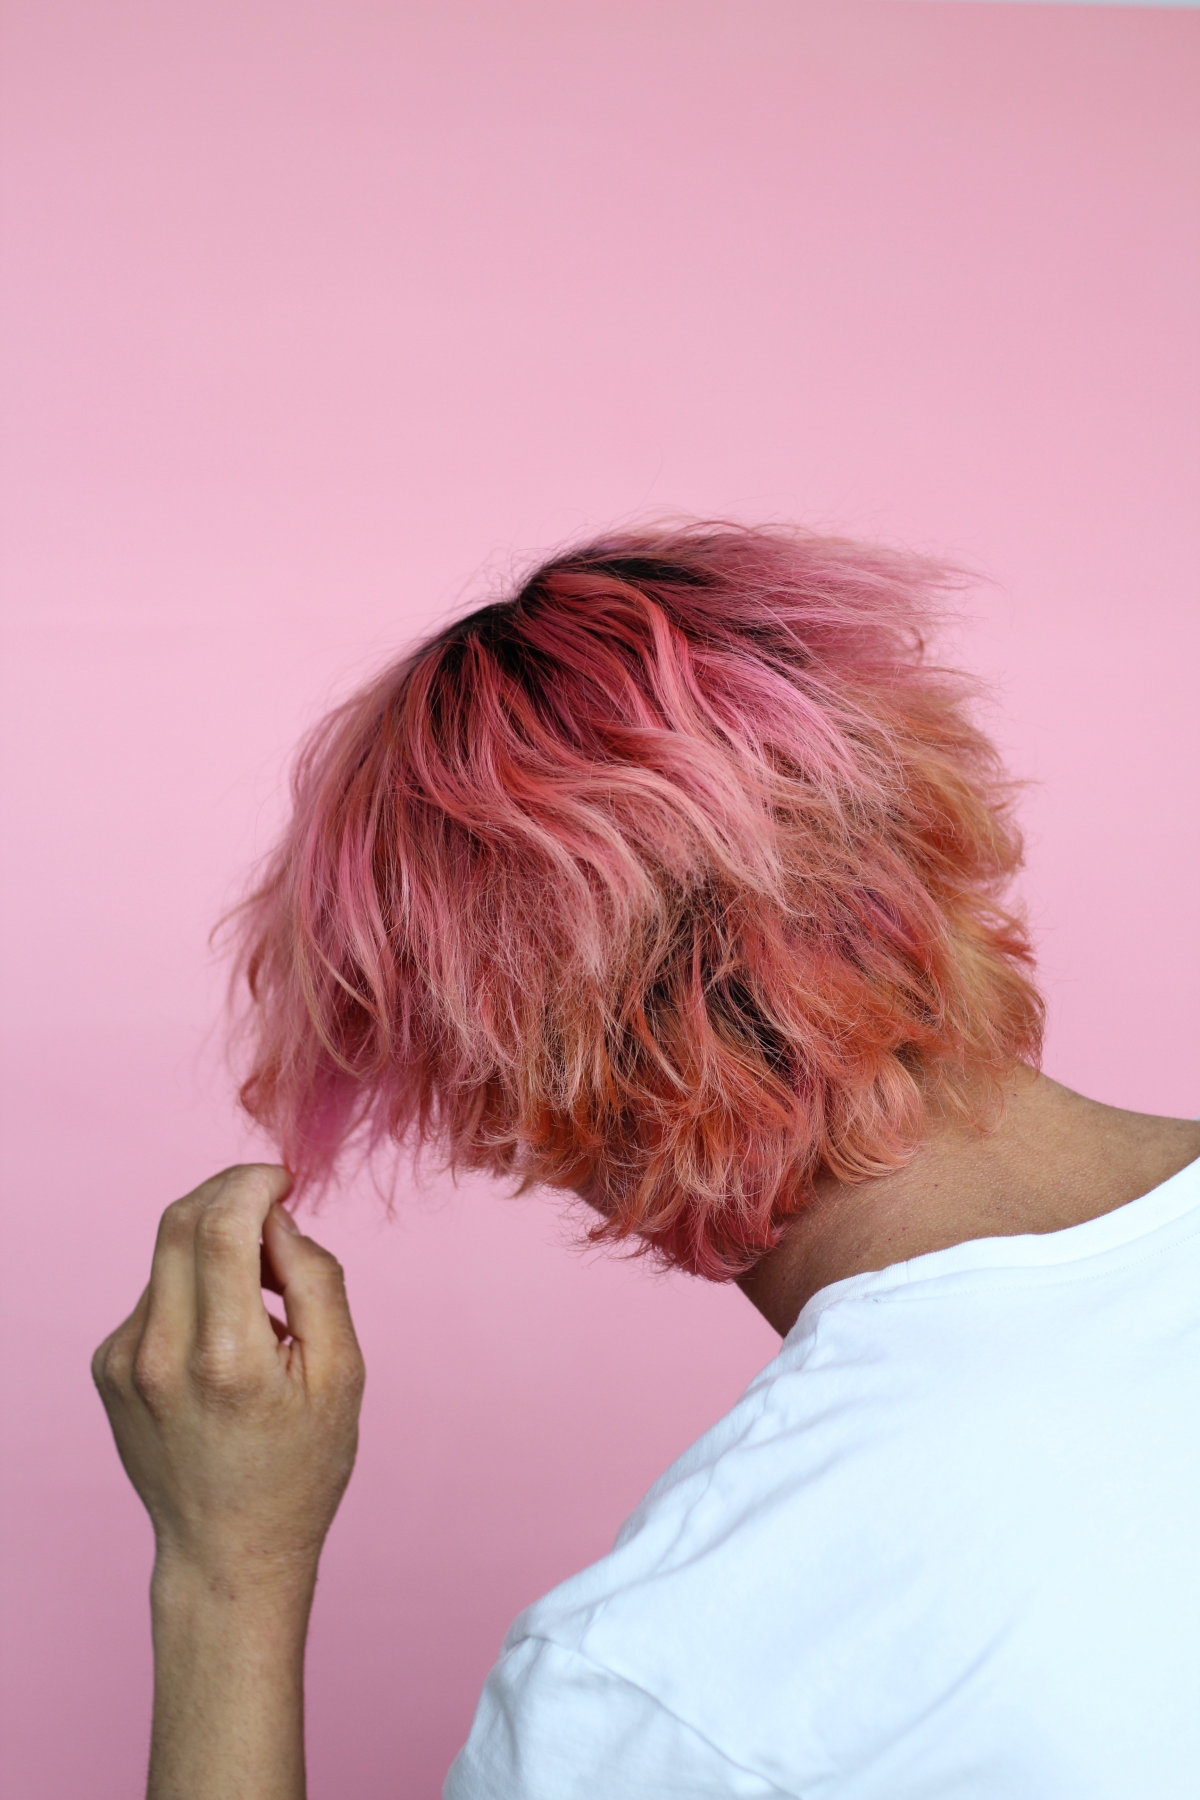
1. The Starting Point: Taming Frizz and Flyaways
Before you can build any style, you need a smooth canvas. And let’s be real, frizz and flyaways are the number one complaint I hear. The cause is usually pretty simple: your hair’s outer layer, the cuticle, is raised up. Think of it like shingles on a roof. When hair gets dry or hits humidity, those shingles lift, creating that rough texture we call frizz. The goal is to smooth them back down.
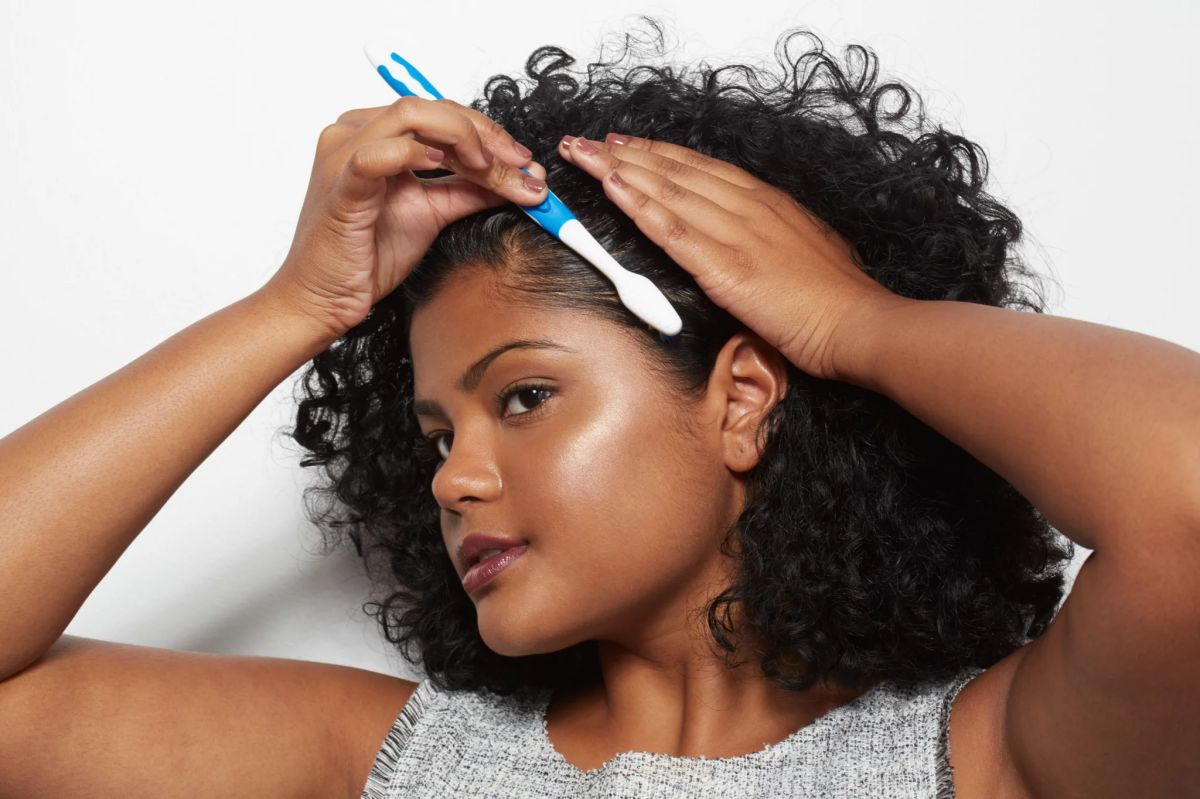
Getting That Polished Surface
You’ve probably seen someone use a toothbrush or a makeup brush with hairspray to wrangle flyaways. It’s a solid technique, but let’s refine it a bit for pro-level results, especially for those sleek looks.
The Right Tools for the Job:
- The Toothbrush Method: Grab a new, soft-bristled toothbrush. Its dense bristles are perfect for targeting small areas like your part or hairline without messing up the rest of your hair. A dedicated edge-control brush, often with boar bristles, works beautifully too and is a great little investment if you do sleek styles often.
- The Makeup Brush Method: A clean, dense powder or kabuki brush can also do the trick. This is less about hardcore control and more about gently laying down a super-fine mist of product for an overall soft, polished finish.
Here’s how you do it:
- First rule: Never spray product directly onto your finished, dry hair. It just creates wet spots and can make your hair look stiff or even greasy.
- Lightly mist your chosen tool (the toothbrush or makeup brush) with a flexible-hold hairspray from about six inches away. You just want the bristles to be coated, not soaking wet.
- Gently brush the flyaways into place with a light, sweeping motion. Brush the hairs back into the main body of your style at the hairline, or gently glide the brush down either side of your part.
A little tip for fine hair: If your hair gets weighed down by literally everything, hairspray might be too much. Instead, try putting a tiny dab of a light pomade or styling cream on the brush. It gives you control without the extra weight.

Quick fix for static: In a real pinch, a dryer sheet can work on static flyaways. But this is an emergency-only move. They can leave a dull residue, so a professional anti-static shine spray is always the better long-term choice.
2. Building a Style That Stays Put
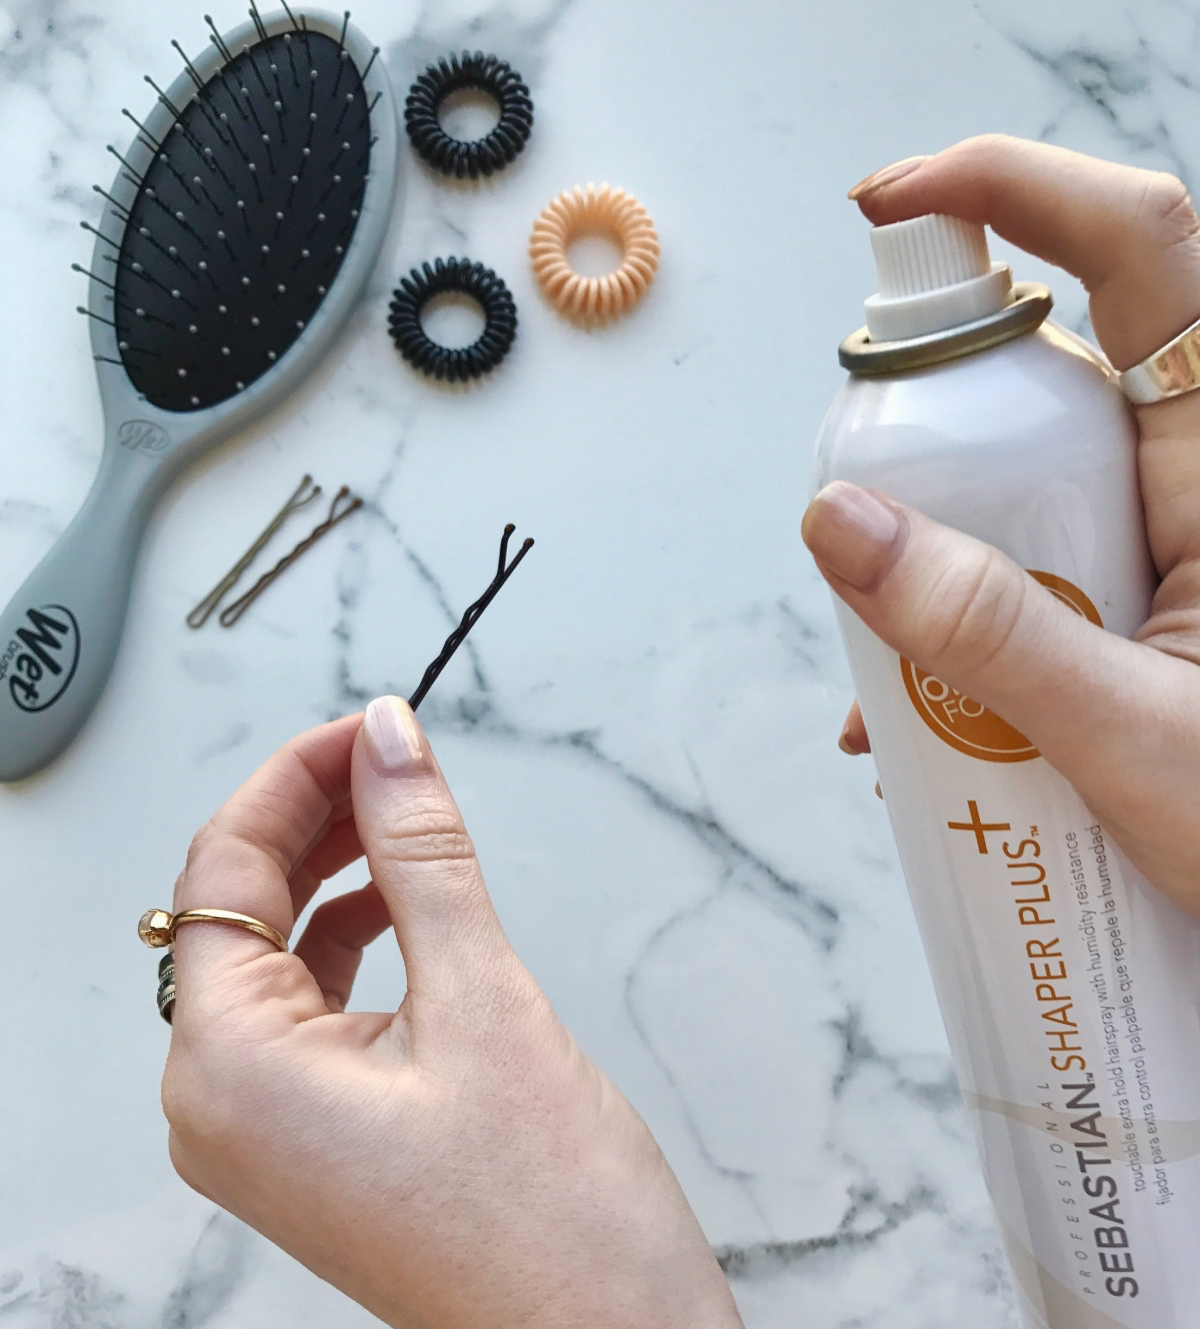
Is there anything more frustrating than spending time on a cute twist or updo, only to have it collapse an hour later? The secret to making it last isn’t a can of super-glue hairspray; it’s about creating a solid foundation with tension and the right tools. It’s time to finally master the bobby pin.
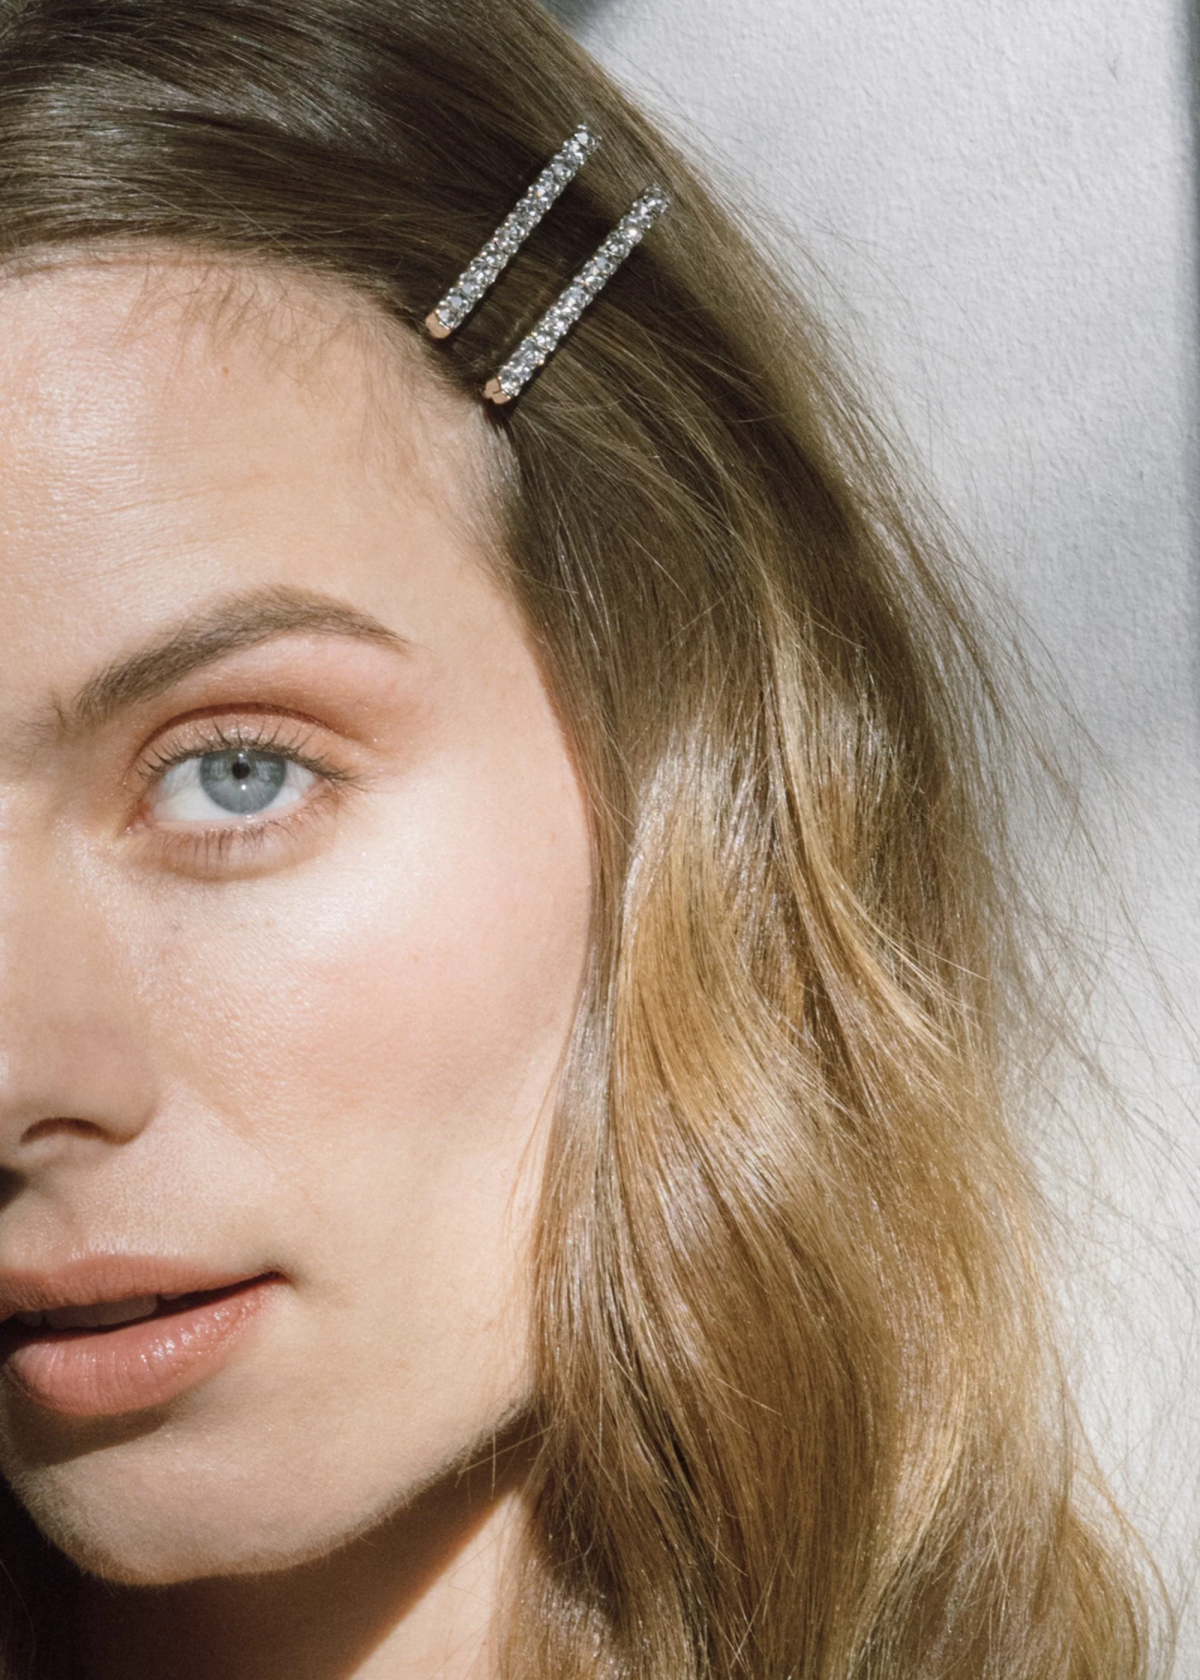
Unlocking the Power of the Bobby Pin
First things first, go through your stash and throw out the old, stretched-out pins. If a bobby pin has a visible gap between the two prongs when it’s just sitting there, it’s lost its tension. Toss it! A good pin should be almost completely closed.

A bobby pin works by using the ridged side to grip the hair while the flat side sits against your scalp. The trick is to anchor it against the direction of the hair you’re trying to secure.
You’ll Need:
- Good-quality bobby pins (not the stretched-out ones!)
The Locking Technique:
- Take the section of hair you want to pin down.
- Point the bobby pin’s opening in the opposite direction of where you want the hair to lay.
- Hook a little bit of the “base” hair (the hair near the scalp you’re pinning into).
- Now, flip the pin 180 degrees so the opening faces the correct direction, and push it in flat against your scalp.
Pause and try it right now. Grab a small piece of hair and a pin. Feel that? That’s the incredible grip you’ve been missing. For really heavy hair, you can create an ‘X’ shape with two locked pins for an unbreakable hold.
Lesser-known trick: If you have silky, fine hair that spits out bobby pins for fun, you need to add some grit. Lay your bobby pins on a paper towel and give them a light mist of dry texturizing spray. I’m talking about a dry, chalky spray like Oribe’s Dry Texturizing Spray if you want to splurge, or something like Not Your Mother’s Double Take for a fantastic, budget-friendly option (around $7 at Target). Let the pins dry for a minute. That slightly sandy texture gives them something to grab onto, and it’s a total game-changer.
The Hidden Anchor for Side-Swept Hair
Ever wonder how people get their hair to stay perfectly swept over one shoulder? It’s not magic; it’s a hidden anchor.
You’ll Need:
- A small, clear elastic band
The Technique:
- Sweep all your hair over to the shoulder you want it on.
- On the exposed side of your neck, grab a small, one-inch section of hair from the very bottom layer.
- Create a tiny, tight ponytail or a small, tight braid with that section and secure it with the clear elastic.
- Now, just let the rest of your hair fall back over it. That little anchor will hold the weight of your hair in place all day. Easy, right?

3. Creating the Illusion of Thicker, Fuller Hair
Let’s be honest, not everyone is blessed with a ton of hair, but we can definitely fake it. This isn’t about teasing your hair into a stiff helmet. It’s about using smart structural tricks to make your hair look way fuller than it is.
How to Build a Better Ponytail
A droopy ponytail is a classic hair problem, especially if your hair is long or heavy. Here are two ways to defy gravity.
The Two-Pin Lift:
- You’ll Need: 1 strong hair tie and 2 bobby pins
Create your ponytail and secure it. Then, take two bobby pins and, holding them vertically, push them down through the top of your hair tie so they point towards the floor. The pins create a little hidden “shelf” for your ponytail to rest on, giving it instant lift and bounce.
The Double Ponytail:
- You’ll Need: 2 hair ties
Part your hair horizontally from ear to ear. Make a ponytail with the top section. Then, gather the bottom section and combine it with the first ponytail, securing them together with a second hair tie. This creates a hidden layer of hair inside that props up the outer layer, making the whole ponytail look twice as thick. It’s my favorite trick for instantly faking volume.

Common Pitfall: Sometimes the part between the two ponytails can show. Quick fix: Before you combine the two sections, gently tease the roots at the very base of the top ponytail. This creates a small cushion of hair that will perfectly hide the part.
Making a Braid Look Fuller with “Pancaking”
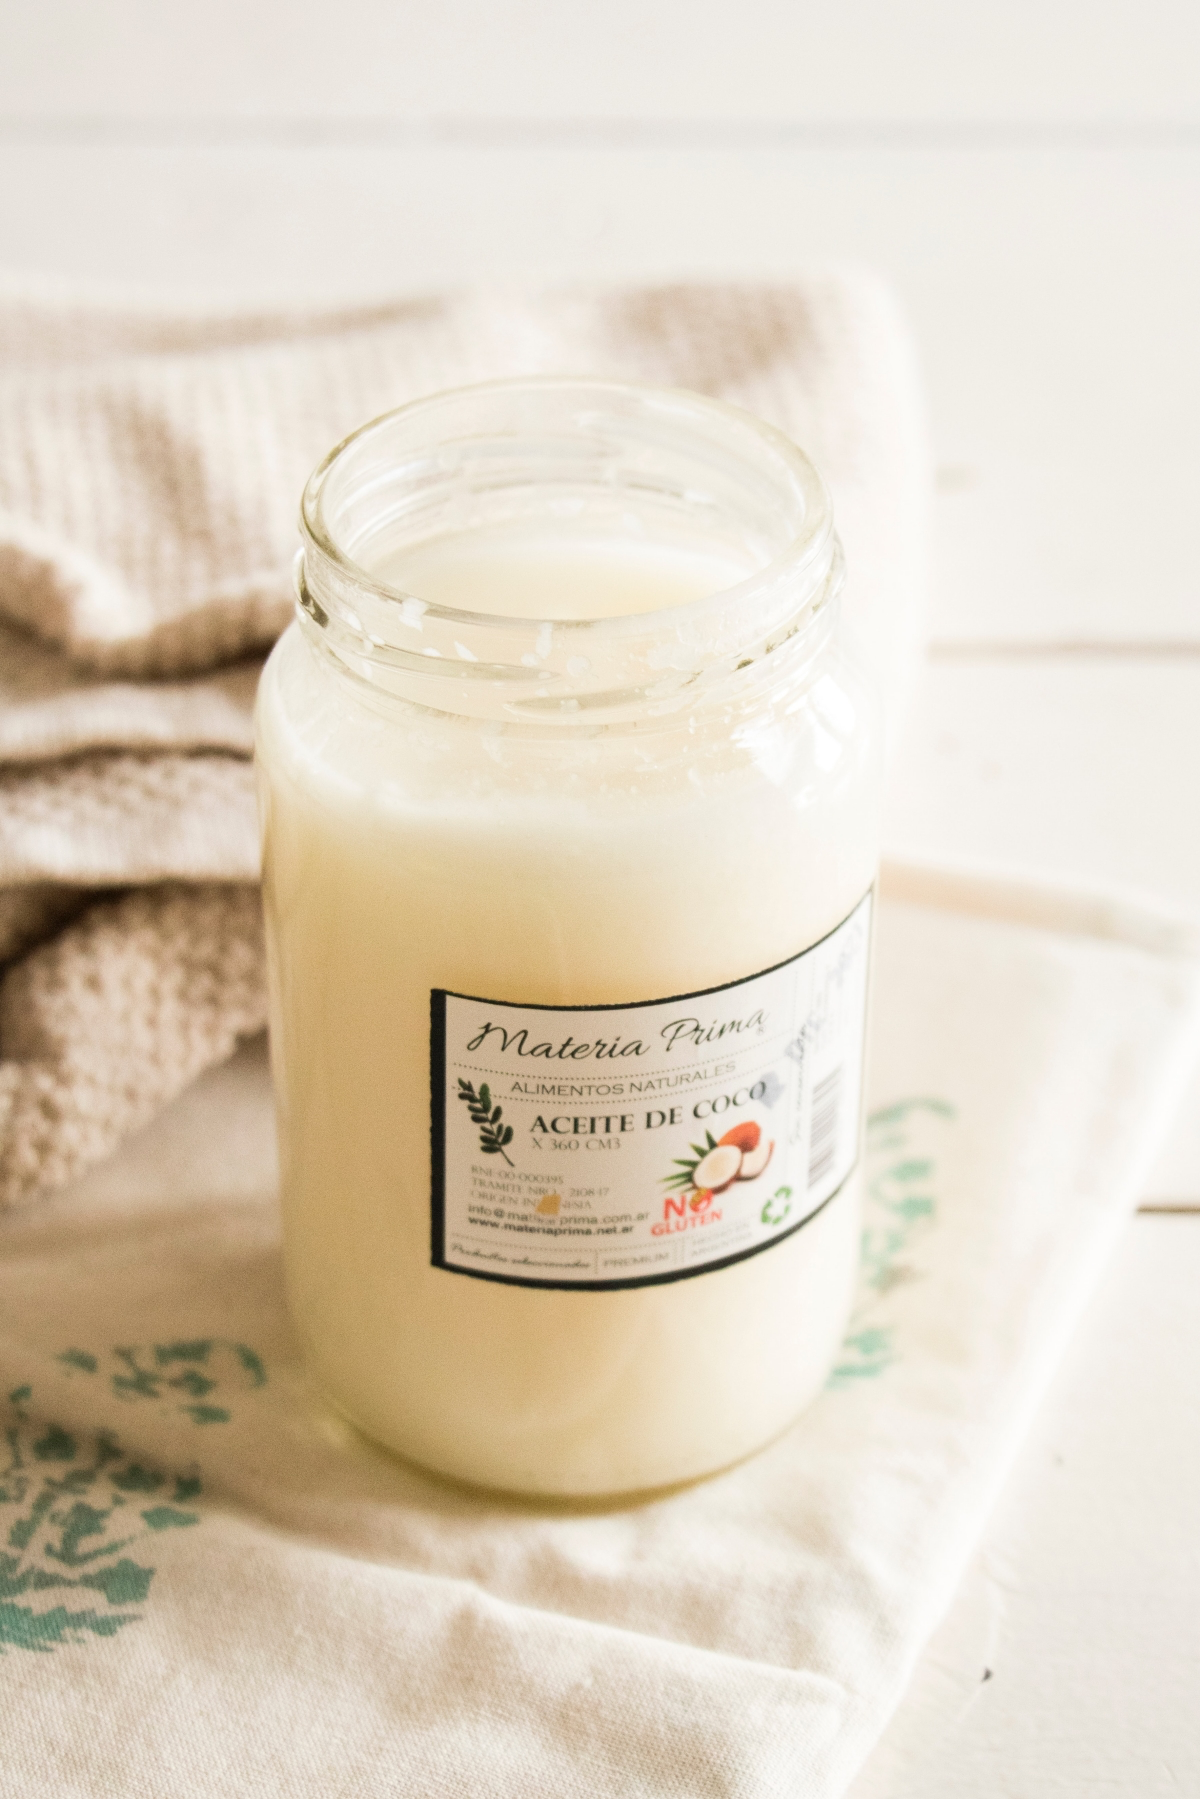
“Pancaking” is just a silly word for pulling a braid apart to make it look thicker and more romantic. It works best on hair with some grip, so start by misting it with that same texturizing spray we talked about.
After you’ve made your braid and secured the end, gently start pulling on the outermost edges of each woven section. Start at the bottom and work your way up. Don’t pull the whole piece, just the very edges. You can go as subtle or as dramatic as you like. But be gentle! It’s easy to pull too hard and have the whole thing unravel. It takes a little practice.
4. The Foundation: Real Talk on Hair Health
All the styling tricks in the world can’t hide unhealthy hair. Let’s clear up two big topics: prepping for color and dealing with split ends at home.
The Truth About Pre-Color Treatments
Okay, let’s talk about the whole “put coconut oil in your hair before your color appointment” thing. The idea is that oil can create a barrier and lead to more even color. In theory, it has some merit, but in my professional experience, it can be a problem. When a client comes in with a head full of oil, I have no idea how my professional color line will react. Often, I have to wash it all out before I can even start, which adds time and money to your service. A better approach? Talk to your stylist. We have professional chelating treatments and bond-builders that are designed to work with our color products. Leave the prep to the pros.

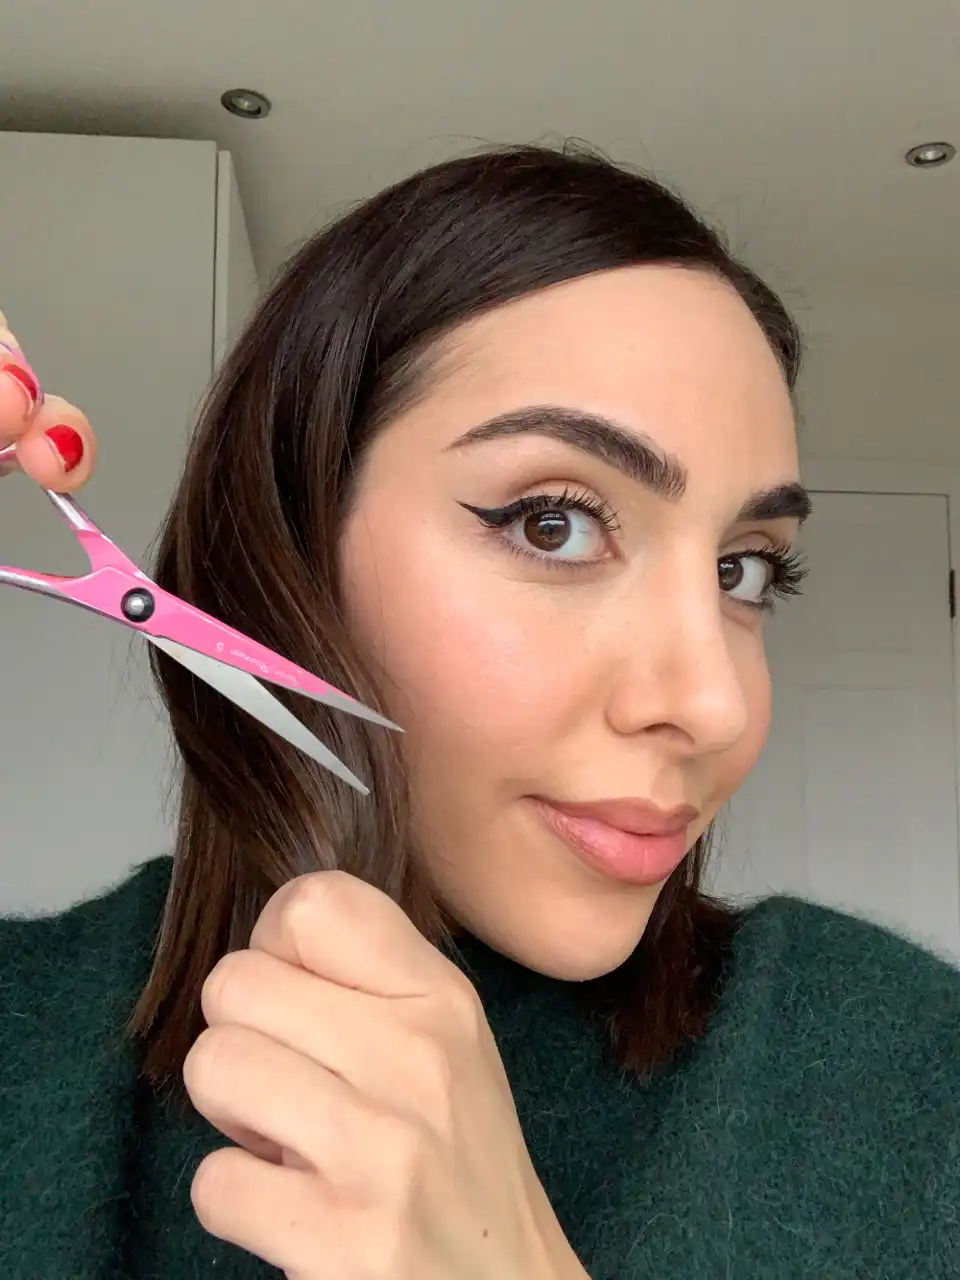
Managing Split Ends (Safely!) Between Cuts
The only real cure for a split end is to cut it off. The technique of twisting your hair and snipping the little ends that poke out is called “dusting.” You take a small, one-inch section, twist it tightly, and then carefully trim only the stray, damaged ends that pop out.
CRITICAL SAFETY WARNING: You absolutely must use real, sharp hair-cutting shears. Please, I’m begging you, do not use kitchen or craft scissors. They will crush and shred the hair shaft, making the split ends even worse. You don’t need to spend a fortune, though. You can find decent starter shears from brands like Equinox or Fromm on Amazon or at a beauty supply store like Sally Beauty for around $25-$40. Just promise me you’ll ONLY use them for hair!
And remember, dusting is just for maintenance. It doesn’t replace a real haircut, which is about creating shape and removing weight properly.

5. The Finishing Touch: Scent Without Damage
Spritzing your favorite perfume in your hair seems harmless, but it’s a big no-no. Most perfumes are loaded with drying alcohols that can make your hair brittle and frizzy over time, especially if it’s color-treated.
The much better option? Hair mists. In recent years, the market for them has exploded for a good reason. They are formulated without harsh alcohols and often contain good-for-your-hair ingredients like UV filters and nourishing oils. It’s a small switch that makes a huge difference to your hair’s health in the long run.
At the end of the day, getting the hair you want is all about knowledge and practice. These are the building blocks we use in the salon every single day. Once you understand the why behind them, you’re in control. So be patient, have fun with it, and always put the health of your hair first. Great hair isn’t a secret—it’s a skill.

Inspiration:
Wondering why your hair feels heavy or greasy just hours after styling?
The culprit is often product placement. Many people apply serums, creams, or oils too close to the scalp. Your scalp naturally produces oils, and when you add product on top, you’re creating a recipe for flat, greasy-looking roots. The golden rule is to apply styling products from the mid-lengths to the ends, where hair is typically drier and needs the most control and moisture. Keep the roots clean and let them breathe!
The secret to long-lasting volume isn’t always hairspray. More than 60% of stylists now consider a texturizing spray a kit essential for creating modern, airy styles.
Unlike hairspray, which can be rigid, a quality texturizer adds grip and separation to the hair strands themselves. This internal structure prevents styles from collapsing. When you’re building waves or an updo, a light mist of a product like Oribe’s Dry Texturizing Spray or Kristin Ess’s Dry Finish Working Texture Spray gives hair a ‘memory’ and plumpness that holds all day without stiffness.
For a quick root lift: Batiste Dry Shampoo. Its powder-based formula is brilliant for absorbing oil and creating a matte, targeted lift right at the scalp. Best for second-day hair or fine hair that falls flat.
For all-over body and grit: Living Proof Full Dry Volume & Texture Spray. This is for creating that effortless, ‘lived-in’ texture throughout the lengths of your hair. It provides airy volume and separation, making hair feel thicker.
Choose based on your goal: targeted anti-grease lift or full-bodied texture.


