Beyond the Halloween Aisle: Pro Makeup Tricks for Unforgettable Characters
I’ve been doing this for a long time—over fifteen years, working on everything from big theatrical shows to the wild world of film sets. For makeup artists like me, Halloween is our Super Bowl. It’s the one night of the year when everyone else gets to play with the same magic we use every day: total transformation.
In this article
Honestly, I’ve seen a dab of grease paint morph someone into a terrifying creature and some clever shading add fifty years to an actor’s face. That’s the real craft I want to pass on to you.
So, this isn’t going to be another list of trendy looks that will be forgotten by next year. Trends die, but solid techniques last forever. My goal is to teach you the core skills the pros rely on. Once you have these down, you can create any character you can dream up, for this Halloween and all the ones to come. We’ll cover picking the right products, applying them correctly, and most importantly, how to get it all off without wrecking your skin. It’s time to ditch those cheap, chalky face paint kits from the seasonal aisle for good.
Prep Work is Everything: Your Skin, Your Tools
Before any color even comes near the face, a pro prepares the canvas. This is, without a doubt, the most skipped step for at-home artists, but it’s the absolute key to a look that lasts all night and feels comfortable. Skipping this part is like trying to build a house on sand. It just won’t hold up.
It Starts with Your Skin
The first rule I ever learned was simple: makeup loves clean, hydrated skin. If your skin is too oily or dry, your masterpiece will slide right off, crack into a mess, or look patchy within an hour. Always start by washing your face with a gentle cleanser.
Next, moisturize. And yes, you have to do this even if your skin is oily. An oil-free gel moisturizer will give your skin the hydration it needs without adding grease. This little trick actually stops your skin from overproducing oil later, which is a total makeup-wrecker.
Then comes the primer. Primer is like a shield for your skin and a magnet for your makeup. It creates a barrier that protects your pores from heavy pigments and adhesives, and it smooths out the surface for a flawless application. For heavy-duty theatrical makeup or grease paints, I always go for a silicone-based primer. It fills in pores and fine lines, creating this incredible, glass-like canvas. If you’re using water-activated paints, stick with a water-based primer to keep the products from clashing and pilling. Trust me, matching your primer to your paint will save you a world of frustration.
Choosing Your Paint: Pro vs. Party Store
Let’s be real: the makeup you grab at the drugstore is not the same stuff we use on set. Consumer products are made for light, daily wear. Professional makeup is engineered to be opaque, vibrant, and tough enough to survive hours under hot studio lights.
Here’s a quick rundown of what you’ll find at a real theatrical supply store:
- Cream-Based Paints (aka Grease Paints): These are the classic, oil-or-wax-based paints you see in pots or palettes. They give you amazing, opaque coverage and blend beautifully. A little goes a very long way. They’re perfect for full-face color changes—think aliens, zombies, or any fantasy creature. The big catch? You absolutely MUST set them with powder, or they will smear everywhere.
- Water-Activated Paints: These look like little cakes of watercolor paint. You use a damp brush or sponge to activate them. They are fantastic for crisp lines, intricate details (like sugar skulls or comic book art), and applying large fields of color. They dry down to a matte, smudge-proof finish. The downside is that they can start to crack if you lay them on too thick, and a lot of sweat can make them run.
- Alcohol-Activated Paints: Now we’re getting into advanced territory. This is the secret weapon for special effects (SFX) pros. Activated with 99% isopropyl alcohol, this stuff is completely waterproof and transfer-proof. We use it for painting on silicone prosthetics or creating tattoos that have to last through anything. Heads up! This is for experienced users only, needs a special remover, and should never be used near your eyes.
Your Pro-Level Starter Kit (on a Budget)
You don’t need a suitcase full of products to get started. A small, smart kit is way more effective. You can build a really solid one for around $75 to $100, and most of it will last for years. Here’s what I’d recommend:
- Sponges: Grab a bag of disposable wedge sponges for applying cream bases. For water-activated paints, a high-density sponge gives a beautiful, streak-free finish. And don’t forget a stipple sponge—it’s amazing for creating textures like five-o’clock shadows or broken blood vessels.
- Brushes: You don’t need to break the bank here. A decent set of synthetic brushes will run you about $20-$40 online or at a beauty supply store. Synthetic fibers are champs with cream and liquid products. Just make sure you have a flat foundation brush, a few fluffy ones for blending, and a couple of super-fine liner brushes for details.
- Setting Powder: This is non-negotiable. A high-quality, colorless translucent powder is your best friend. Look for powders that are finely milled to set makeup without adding texture or changing the color. A shaker bottle of a good setting powder will cost around $15 and will last you ages.
- Setting Spray: The final step. After powdering, a good mist of setting spray locks it all in place. For most looks, a standard makeup setting spray works great. If you need it to be bulletproof for a party, you can find professional-grade barrier sprays online.
By the way, you can find most of these pro-level products at theatrical supply stores or online at specialty retailers like Camera Ready Cosmetics or Frends Beauty Supply. They’re way more accessible than you’d think!
The Core Techniques for Any Character
Okay, with the prep work done, it’s time for the fun part. I’ll walk you through a few core concepts using some classic Halloween ideas. You can mix and match these techniques to build anything you can imagine.
Technique 1: The Full-Color Transformation
This is for any character defined by an unnatural skin tone—an alien, a demon, a cartoon character, you name it. The goal is a perfectly flat, even base color that you can then build dimension on top of.
Let’s imagine we’re creating a “Purple Alien.” After priming, I’d take a damp, high-density sponge and begin stippling on a water-activated purple paint. Stipple, don’t wipe! Wiping creates streaks. I apply one thin, even layer and let it dry completely before deciding if I need another. Building in thin layers is the key to avoiding that awful cracking that happens when the paint is too thick.
Quick tip: Don’t forget to bring the color down your neck, onto your ears, and even onto your chest if your costume is low-cut. Nothing screams “mask” like a floating purple head!
Once the base is opaque and dry, it’s time to set it. I load up a powder puff with translucent powder and press it firmly all over the makeup. Don’t be timid—you want to look like you fell in a bag of flour. Let that sit and “bake” for about 5-10 minutes. The powder is absorbing all the moisture and oil, locking the paint in place. Then, just take a big, fluffy brush and gently sweep all the excess powder away. You’re left with a transfer-proof, matte finish.
But now it looks flat. To bring it to life, we need shadows and highlights. Using a darker purple eyeshadow, I’d add contours in the hollows of the cheeks, at the temples, and along the jaw. To highlight, I’d use a shimmery lilac powder on the high points: cheekbones, brow bone, and the bridge of the nose. Suddenly, you have bone structure on your new purple skin.
Technique 2: Recreating an Era
Playing with looks from different periods is all about understanding the key shapes and textures of that style.
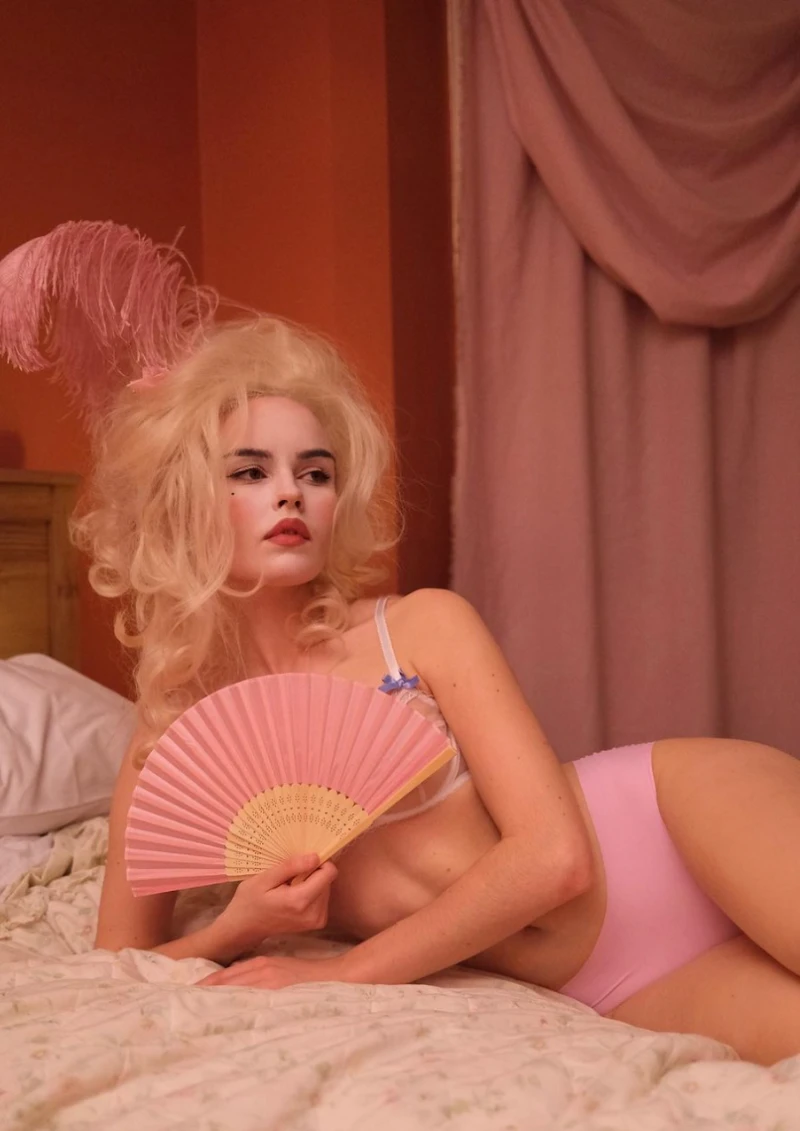
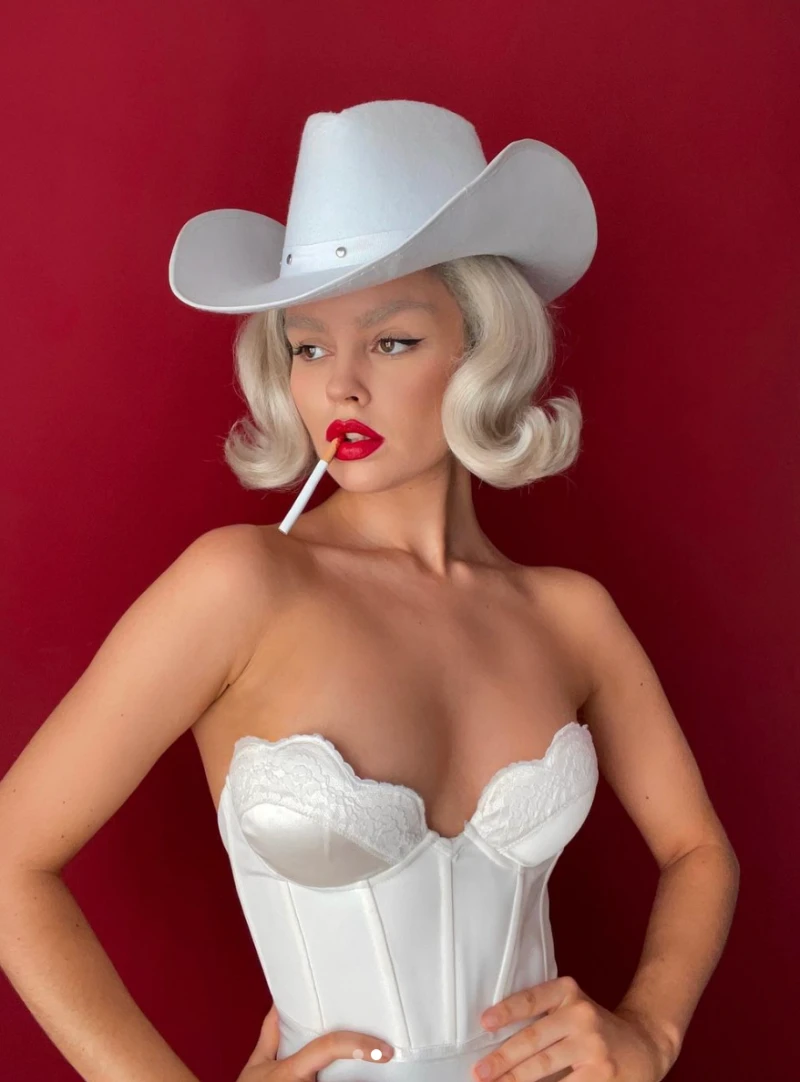
For a classic courtly look—think powdered wigs and high society—the vibe was a very pale, matte face. We can get that look safely with a foundation a few shades lighter than your skin, set heavily with a white or translucent powder. But the blush is the real star. It was a bold, unblended circle of pink or red placed right on the apples of the cheeks. It was a statement! Finish it off with a small beauty mark drawn on with a black or brown eyeliner pencil.
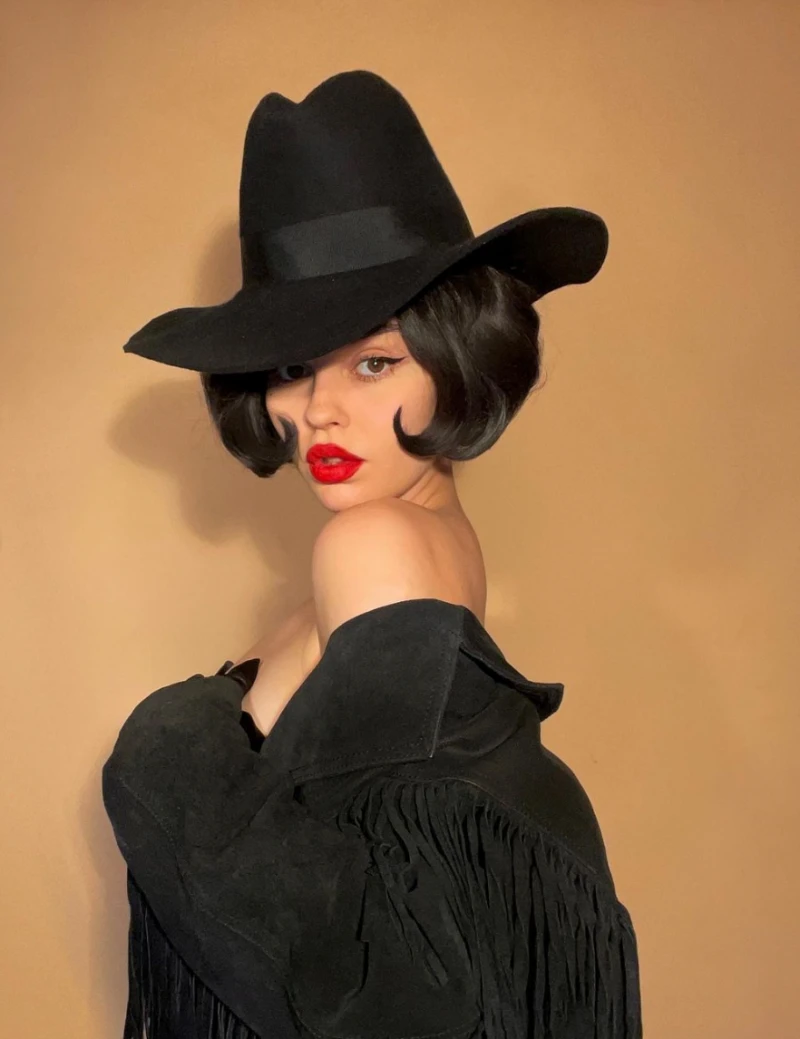
Or how about a classic bombshell vibe from a few decades back? That look is all about the brows and lips. The brows were much thinner and highly arched. If you have fuller brows, you can try the glue stick trick. It sounds weird, but it works. Just take a regular, non-toxic school glue stick (the purple kind that dries clear is perfect) and run it over your brow hair, pushing it flat against the skin. Let it dry completely, powder it, and then cover it with a full-coverage concealer. Now you have a blank canvas to draw on any brow shape you want!
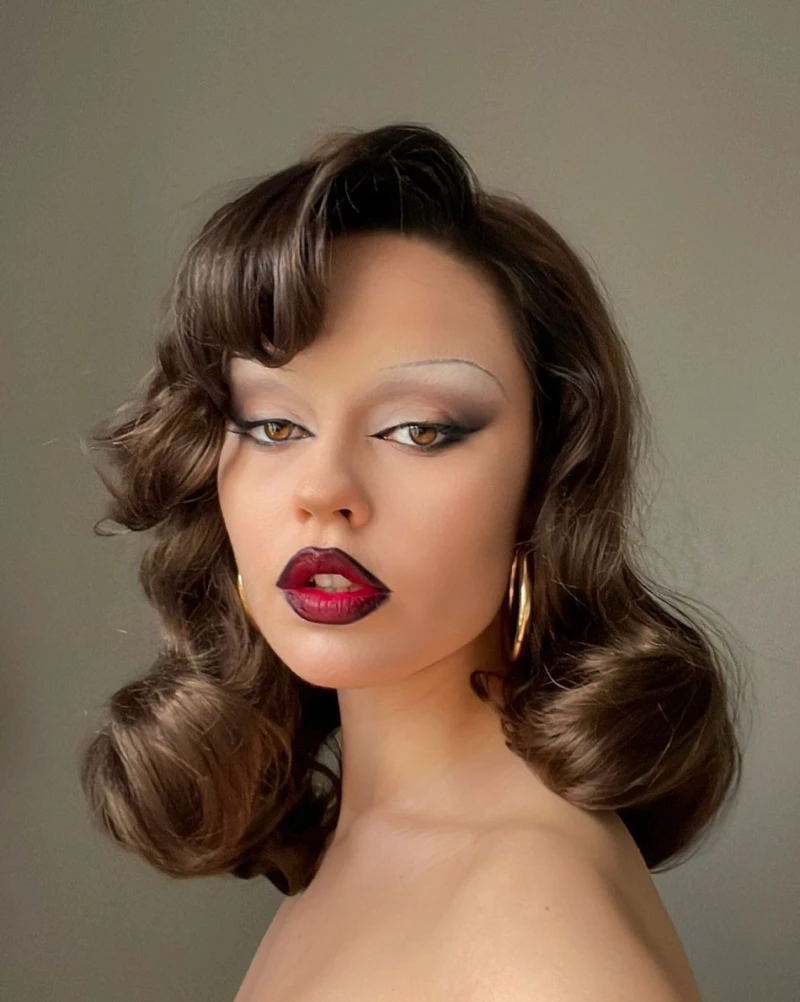
The lips were just as iconic: a dark, brownish lip liner was used to over-line the natural lip shape, which was then filled in with a much paler, often frosty nude lipstick. That contrast is what creates the illusion of a super full pout.
Technique 3: Nailing that Dark, Dramatic Look
Gothic and vampiric looks are a Halloween staple, but the challenge is keeping them sharp and clean, not smudged and muddy. For a perfect vampiric lip that won’t bleed, start by exfoliating your lips with a sugar scrub. Then, use a clear wax lip liner just outside your natural lip line to create an invisible wall. Next, fill in your entire lip with a sharp, dark lip liner. This acts as a primer. Finally, apply your dark lipstick with a brush for precision. Blot with a tissue, and apply a second coat. It won’t budge.
The Great Un-Masking: How to Get It All Off Safely
Okay, this is HUGE. You’ve created an incredible, bulletproof look… now how do you remove it without scrubbing your face raw? The removal is just as important as the application.
A common mistake is just grabbing a makeup wipe and going to town. That’s not going to cut it for this level of makeup and can seriously irritate your skin.
- For Cream & Grease Paints: Your hero here is oil. Start with an oil-based cleanser or even just plain coconut or olive oil. Massage it all over your face to break down the waxy paint. You’ll look like a mess, but trust the process. Wipe away the oily sludge with a soft cloth or cotton pads, and then follow up with your regular gentle face wash to get rid of any residue. This is called the double-cleanse method, and it’s a lifesaver.
- For Water-Activated Paints: This is the easy one. A good amount of warm water and your normal face wash will take most of it off. A gentle makeup remover on a cotton pad can help with any stubborn spots.
- For Alcohol-Activated Paints: Do NOT just scrub at this stuff. It won’t work, and you’ll hurt your skin. You need a specialized remover designed for these paints, often sold by the same brands that make them. In a pinch, products designed to remove medical adhesive can also work. Apply the remover and let it sit for a minute to dissolve the paint before gently wiping it away.
No matter what, be gentle with your skin afterward. Always finish with a good moisturizer to soothe and rehydrate.
At the end of the day, the goal is to have fun and get creative. Once you understand how these products and techniques work together, you’re not just copying a look—you’re an artist creating a character from scratch. So go play!
Inspirational Gallery with Photos
Alcohol-Activated Paints: The undisputed champion for durability. Brands like Skin Illustrator offer palettes that are sweat-proof, water-proof, and smudge-proof once applied. They are activated with 99% isopropyl alcohol, making them ideal for long nights or creating effects that need to last through action.
Water-Activated Paints: Think of the vibrant, opaque colors from brands like Mehron’s Paradise Makeup AQ. They are easier to apply and blend, much like watercolor, and are perfect for large areas of color. They are not waterproof, but offer great comfort and are easier to remove.
For durability, go alcohol. For vibrant color and ease of use, choose water-activated.
Did you know? Mascara wands can grow bacteria after the very first use, and cream-based products can become a breeding ground for germs within months. A
Looking for unique inspiration beyond the usual ghouls and ghosts? Turn to the art history books.
- Cubism: Recreate a Picasso-esque portrait with fractured planes, asymmetrical features, and bold, abstract linework.
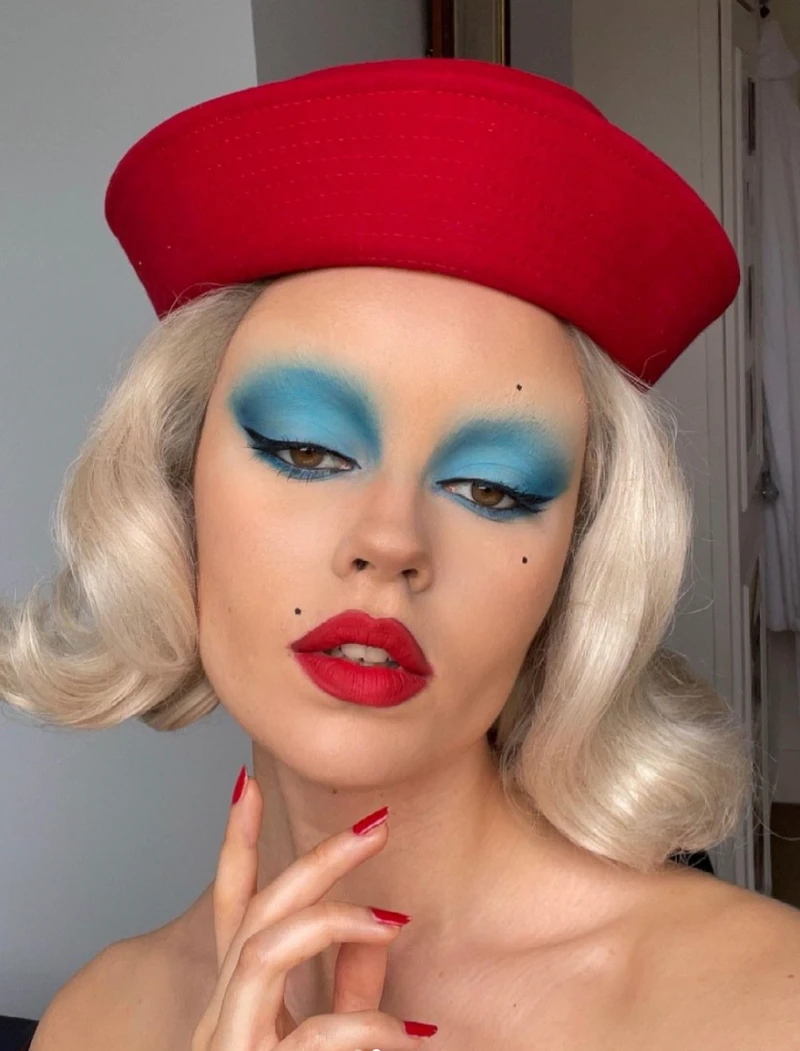
- Pop Art: Think Roy Lichtenstein’s comic book heroines, using bold black outlines and Ben-Day dots to become a living piece of art.
- Rococo Portraits: Embrace the pale skin, flushed cheeks, and elaborate beauty marks of 18th-century French court for a look of ghostly elegance.
The single biggest amateur mistake: loading on a thick, single coat of face paint. This leads to a mask-like finish that cracks the moment you move your face. The pro secret is building in thin, translucent layers. Let each layer dry completely before adding the next. This technique creates depth, dimension, and a finish that moves with your skin, not against it.
Is it possible to achieve a professional look without a Hollywood budget?
Absolutely. The key is to invest strategically. Splurge on one or two high-performance
The color wheel is an SFX artist’s best friend. A fresh bruise isn’t just a purple splotch.
To create a believable injury, you need to mimic the stages of healing. Start with a base of reddish tones for the initial impact. Then, stipple on deep purples and blues where blood would pool. The final, most realistic touch comes from adding faint yellows and greens around the edges, simulating the breakdown of hemoglobin as the bruise
Your tools are an investment, so treat them that way. For brushes caked with greasepaint or silicone adhesives, a simple soap-and-water wash won’t cut it. You need a professional-grade cleaner. Products like Cinema Secrets Brush Cleaner or Parian Spirit dissolve heavy pigments instantly without damaging the bristles. Simply dip, wipe on a paper towel, and they’re clean, conditioned, and disinfected in seconds—ready for your next transformation.
- A finish that won’t transfer onto your costume or your friends.
- Makeup that withstands sweat, humidity, and the heat of a crowded party.
- Colors that stay as vibrant at midnight as they were at 7 PM.
The secret? A final lockdown with a barrier spray. After your last powder puff, a light mist of a professional sealant like Kryolan’s Fixing Spray or Mehron’s Barrier Spray creates an invisible, flexible film that makes your work virtually bulletproof.
Forget expensive prosthetics for creating gruesome textures. Your kitchen and craft drawer hold the secrets:
- Flaky, Decaying Skin: Apply a thin layer of liquid latex to the skin, place a single ply of separated tissue paper over it, and add another layer of latex. Once dry, gently tear holes in it for a realistic peeling effect.
- Deep Wounds: Mix coffee grounds or uncooked oats into scar wax or a thick gel like 3rd Degree Silicone to create clotted, textured gore that looks shockingly real.


