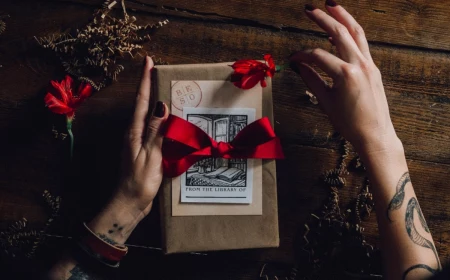
Forget Flimsy Crafts: How to Make Gifts That Actually Last
I’ve spent more years than I can count in my workshop, surrounded by the honest smells of sawdust, leather, and oil. In that time, I’ve watched a lot of crafty trends come and go, especially online. You know the ones—those five-minute crafts that look great in a sped-up video but feel cheap and flimsy in your hand. They’re made for a photo, not for a life.
In this article
A true handmade gift is something else entirely. It’s an object with a job to do, built with intention, that only gets better the more it’s used. It tells a story in its grain, its stitches, and even its tiny imperfections.
Now, let’s get one thing straight right away: making a gift yourself is almost never about saving money. To be frank, buying quality materials and the right tools can easily cost more than just grabbing something from a big-box store. The real value is in your time, the skill you learned, and the simple fact you cared enough to make it. You’re telling someone, “I spent hours making this just for you.” A plastic gadget can’t say that.
This guide isn’t about shortcuts. It’s about doing things the right way, with respect for the materials and the person you’re giving it to. We’ll walk through a few projects and focus on the real techniques that make something last a lifetime.
First Things First: Choosing Materials With a Purpose
Before you ever make a cut, your project’s fate is being decided by your choice of materials. The biggest mistake nearly everyone makes at first is grabbing the cheapest option. Trust me, poor materials will fight you every step of the way and lead to a disappointing result, no matter how good you are. Think of it like cooking: the best chef in the world can’t make a masterpiece with wilted, bland ingredients.
So what does that mean in practice?
- For leatherwork, it means skipping those bags of thin, plastic-coated “craft leather” scraps. They tear, they don’t age well, and they just feel… sad. You’re looking for full-grain vegetable-tanned leather, which has character and strength.
- For woodworking, it means looking past the warped, knotty pine at the home improvement store. You want a stable, closed-grain hardwood like maple or walnut that will hold up to daily use.
A good supplier is happy to share what they know. So don’t be afraid to touch things and ask questions. It’s the first step to developing an eye for quality.
Project 1: The Leather Key Fob – Your Intro to Lasting Craft
A simple leather key fob is the perfect first project. It’s small, doesn’t require a ton of tools, and teaches you the absolute bedrock skills of leatherworking. A well-made one can last for decades, picking up a beautiful, rich patina from the oils in your hands.
Budget & Shopping List
To get started from scratch, you should budget between $75 and $150. This will get you a basic starter kit with all the essential tools and a decent-sized piece of leather to practice on. Online shops like Tandy Leather or Weaver Leather Supply are fantastic resources, and their beginner kits take all the guesswork out of it. When buying leather, ask for a piece of 4-5 ounce full-grain vegetable-tanned shoulder or panel. You don’t need a whole, expensive hide to get started.
The Tools and Materials
- Leather: A piece of 4-5 oz (that’s about 1.6-2.0mm thick) full-grain vegetable-tanned leather.
- Cutting Tool: A razor-sharp utility knife. Seriously, it needs to be sharp.
- Cutting Mat: A self-healing mat to protect your table and your blade.
- Stitching Tools: A stitching groover, a 4mm pricking iron (or stitching chisel), and a mallet. These are for making your stitch holes neat and professional.
- Needles & Thread: Two blunt-tipped harness needles and some 0.8mm waxed polyester thread (Ritza 25 is a popular brand). The wax is key—it protects the thread and helps lock your stitches.
- Edge Tools: An edge beveler and a wood slicker for burnishing. This is the secret to those smooth, glassy edges.
- Hardware: A solid brass or nickel key ring and a Chicago screw to hold it all together.
The Process: Building it Right
1. Cut with Confidence: Measure and mark a rectangle on your leather, maybe 1 inch wide and 8 inches long. Using a metal ruler as a guide, make one or two firm, confident passes with your knife. Don’t saw at it. A clean cut is a hallmark of good craftsmanship.
2. Prepare for Stitching: Use the groover to carve a shallow channel about 1/8th of an inch from the edge. This protects your stitches from wear. Then, use your pricking iron and mallet to mark your stitching holes along that groove. Just mark them for now; don’t punch all the way through.
3. The Unbeatable Saddle Stitch: This is the most important part. Unlike a sewing machine stitch that can unravel, the saddle stitch is two threads working together, making it incredibly strong. Measure out a length of thread about four times the length of your stitch line and thread a needle on each end. Clamp your leather in a stitching pony (or even carefully in a vise with some padding). Push one needle through the first hole, even out the thread, and then pass the second needle through the same hole from the opposite direction. Pull both threads tight. That’s the rhythm: one needle through, second needle through, pull tight. Keep your tension consistent!
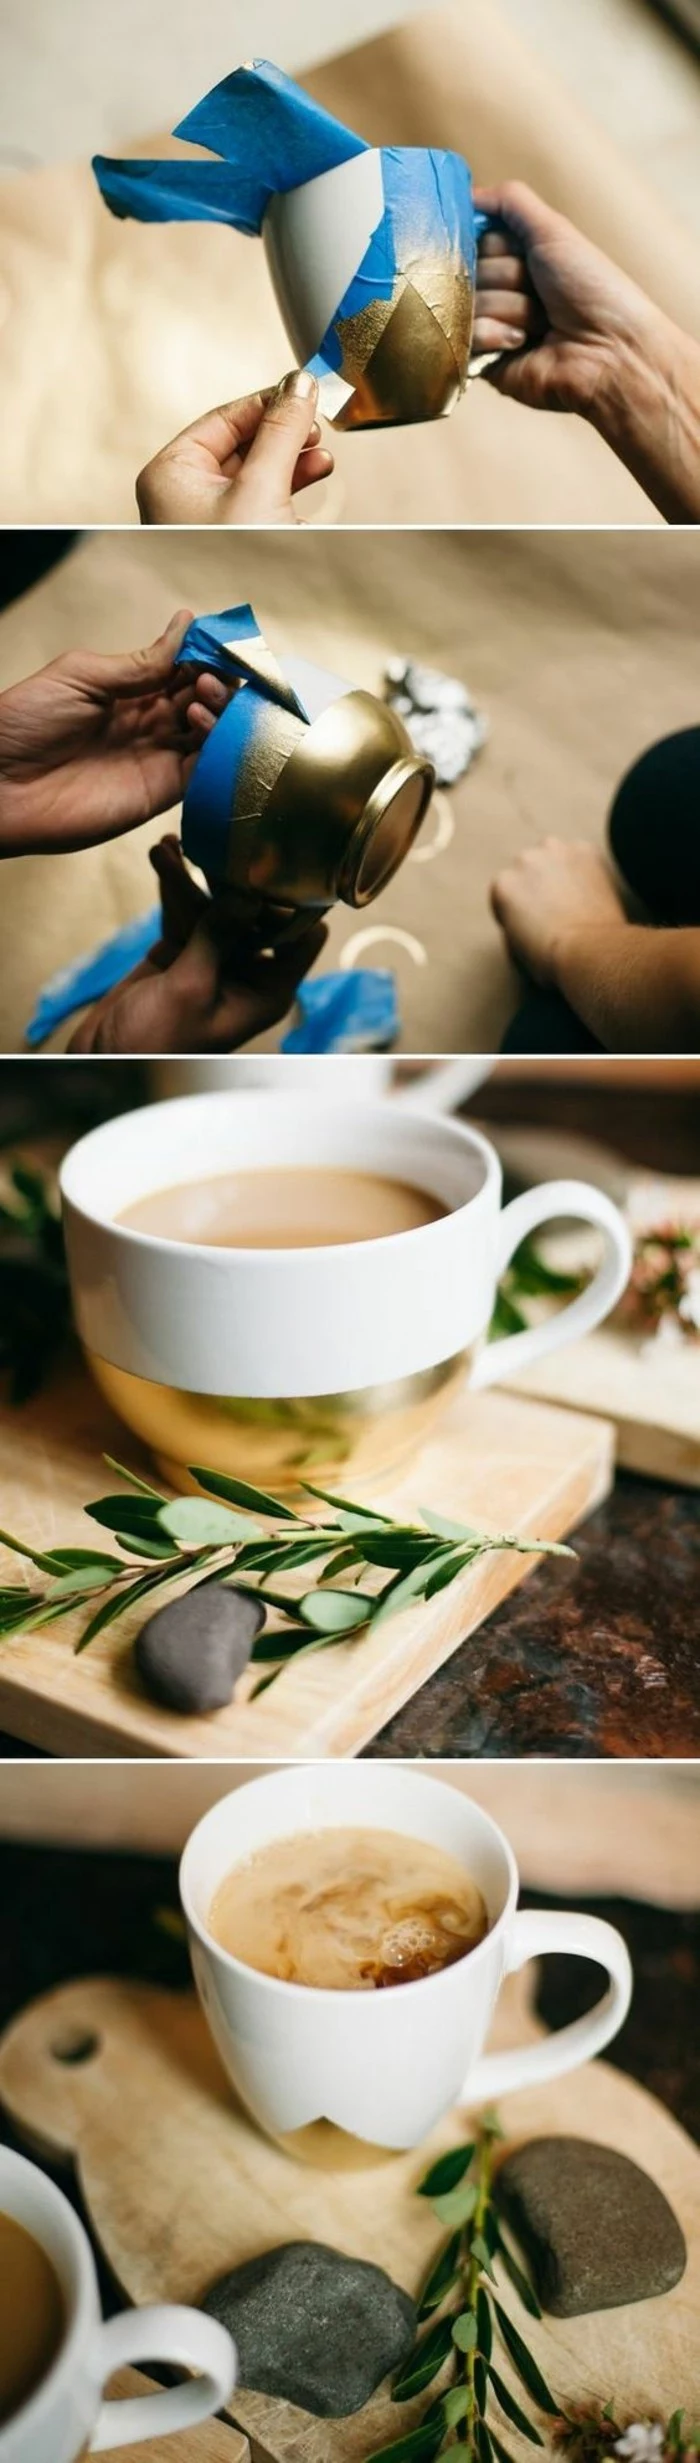
4. Finish Your Edges: A fuzzy, raw edge screams “amateur.” First, use the edge beveler to knock off the sharp corners. Then, dip a finger in some water and dampen the edge. Now for the magic: rub the wood slicker back and forth vigorously along the damp edge. The friction and pressure will compress the leather fibers into a smooth, dark, professional-looking seal. This is called burnishing.
5. Add the Hardware: Fold the leather strap through your key ring and secure it. I like using a Chicago screw because it’s clean and allows the owner to swap out the ring later if they want.
Heads up! This project should take about two to three hours if you’re taking your time. And please, be careful. A sharp knife is essential, but it demands respect. Always cut away from your body and keep your other hand far from the blade’s path. I learned that lesson the hard way with a nasty gash in my thumb years ago. It’s a mistake you only make once.

Project 2: The End-Grain Cutting Board – A Weekend Masterpiece
An end-grain cutting board is more than just a place to chop veggies; it’s a functional piece of art for the kitchen. It’s made by gluing blocks of wood together so the grain points up, which is much kinder to your knives and makes the board somewhat “self-healing.” It’s a bigger commitment, but the payoff is huge.
Budget & Time Commitment
Okay, this one is an investment. The hardwood alone (like maple, cherry, or walnut) can run you $50 to $100 at a specialty lumberyard. And this isn’t a quick afternoon project; plan for a full weekend, mostly because of glue drying times. The results are absolutely worth it, though.
What If I Don’t Have a Full Woodshop?
This project is much easier with power tools like a table saw and a planer. But don’t despair if you don’t have them! Here’s the work-around: many lumberyards will mill wood to your exact dimensions for a fee (maybe $40-$60), which handles the most difficult and dangerous steps. To flatten the final board at home, you can build a simple router sled. It’s a fantastic technique for getting perfectly flat surfaces without a thousand-dollar planer.
The Process: A Lesson in Wood Science
1. First Glue-Up: Start with perfectly square, straight strips of hardwood, maybe 1.75 inches square. Arrange them in a pattern you like, apply a waterproof, food-safe glue like Titebond III to the sides, and clamp them together. Use enough clamps for even pressure, but don’t squeeze so hard that you create a starved glue joint. Let it dry for a full 24 hours.
2. The Magic Cross-Cut: Once the panel is dry, clean it up and make it flat. Then, take that panel and cross-cut it into 1.5-inch thick strips. This is the key step that turns all those strips sideways and exposes the end grain.
3. Final Glue-Up: Now, turn each of those new strips 90 degrees so the end grain is facing up. Arrange them in an offset, brick-like pattern for strength. This is going to be another messy glue-up. Embrace it.

4. Flatten and Sand… Then Sand Some More: Use your router sled or planer to get the board perfectly flat. Then, begin the sanding process. Start with a coarse 80-grit paper and work your way up to a fine 220-grit. Here’s a pro tip: After your final sanding, lightly spray the board with water. This is called “raising the grain.” The cut wood fibers will swell and feel fuzzy once dry. Sand them off one last time with 220-grit. Now your board will stay silky smooth, even after it gets wet.
5. The Satisfying Finish: This is the best part. Pour a generous amount of food-grade mineral oil onto the board. The end grain is thirsty, and you’ll see the color and depth of the wood just pop. Keep adding oil until it stops soaking in. Let it sit overnight, wipe off the excess, and then buff in a final coat of beeswax or a pre-made board butter for a water-resistant, satin finish. And please, never use cooking oils like olive oil—they will go rancid and ruin the board.

A common mistake here is not using enough glue or clamps. You want to see a little bit of squeeze-out along every single seam. That’s how you know you have a strong bond that will last for years.
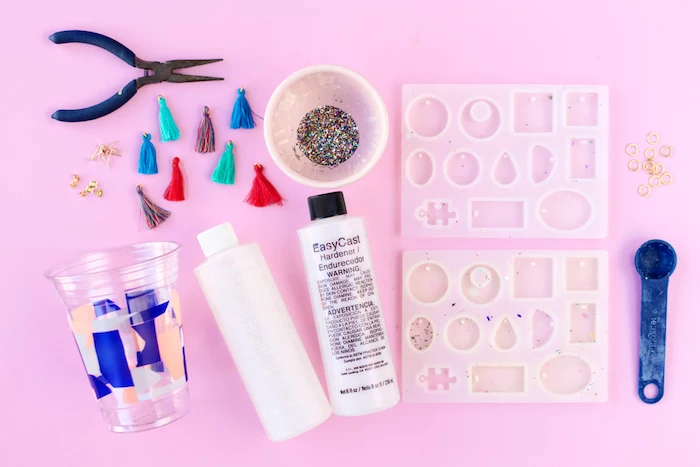
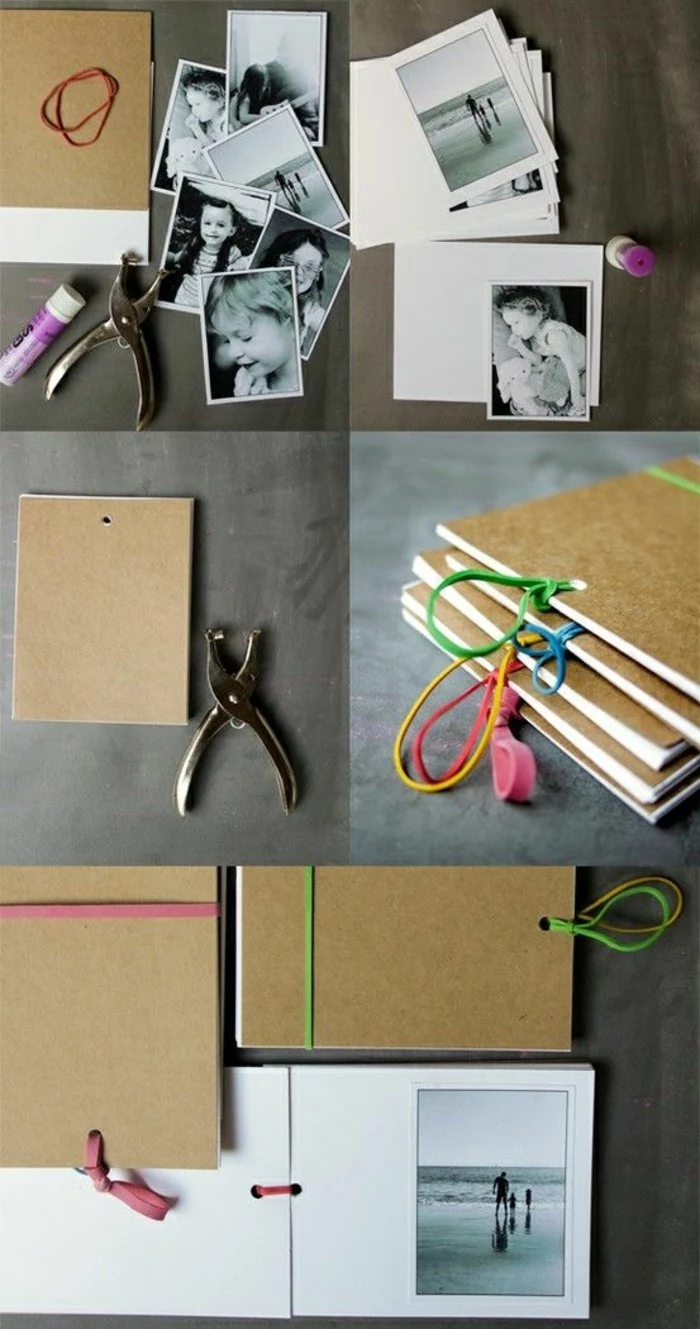
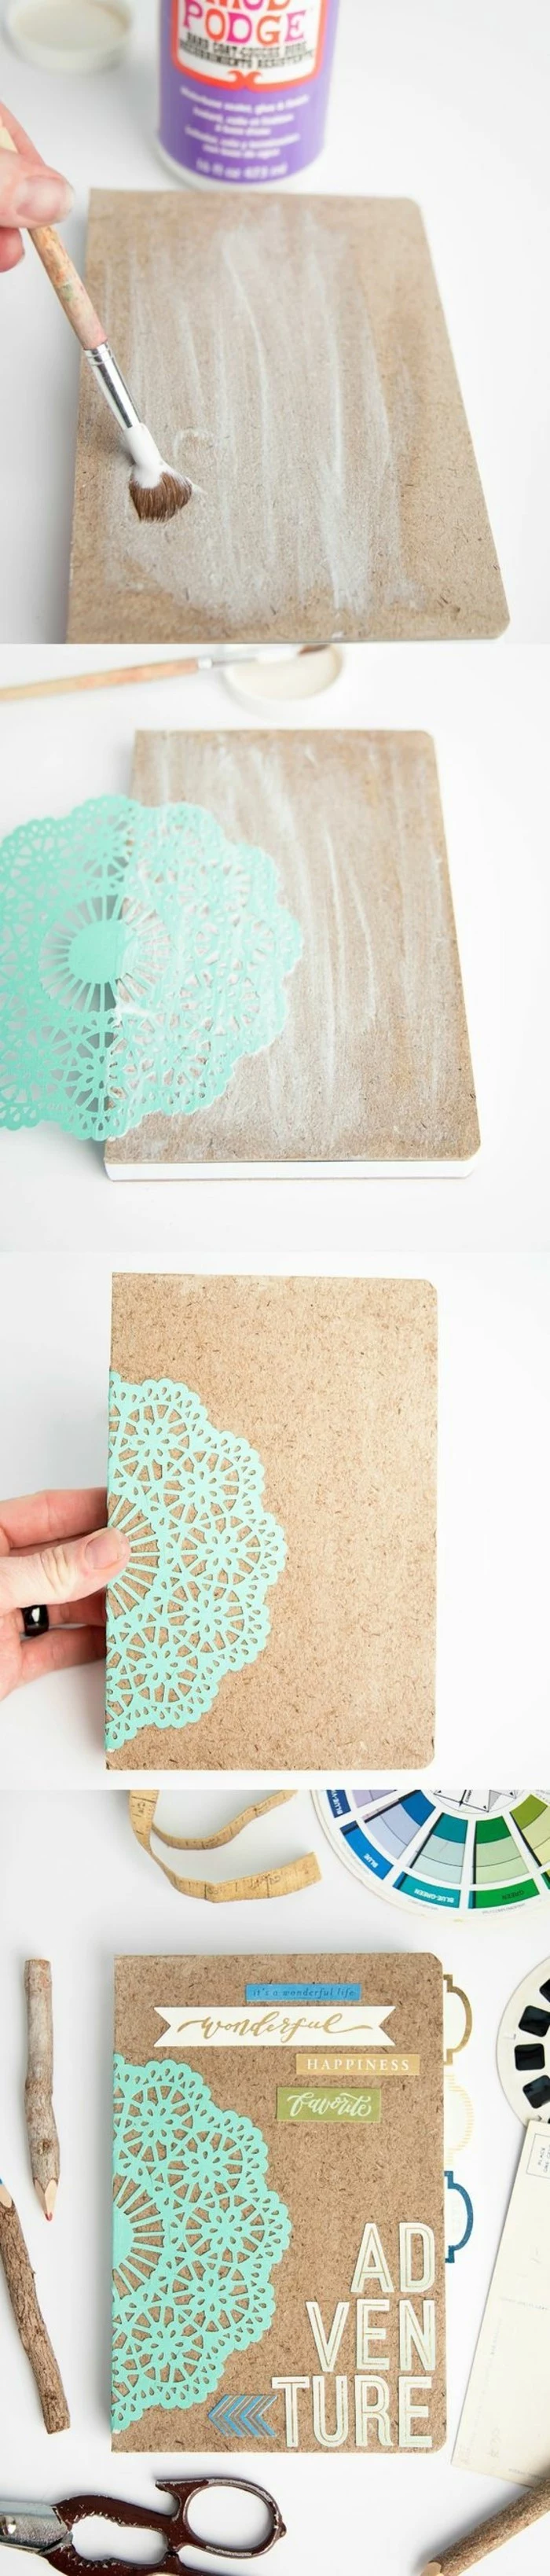
Project 3: Block-Printed Linen Tea Towels – Art on a Kitchen Table
A set of custom-printed tea towels is a wonderfully personal gift that adds a splash of character to a kitchen. It’s an accessible project that combines design and craft, and you can do it right on your kitchen table.
Budget & Time Commitment
This is easily the most budget-friendly project of the three. You can get everything you need—a few 100% linen towels, a carving block, a basic set of tools, and ink—for under $60. Art supply stores like Blick or online retailers have everything you need. This is a perfect afternoon project.
The Process: From Carving to Curing
1. Design and Carve: Sketch a simple, bold design on paper. Remember, you’re carving away the parts you don’t want to print, so your design will be in reverse on the block. A soft rubber block like a “Speedy-Carve” is perfect for beginners. Use carving tools to carefully remove the negative space. Always push the tool away from you!

2. Ink the Block: Squeeze a small bit of water-based textile ink (NOT acrylic paint) onto a sheet of glass. Use a small rubber roller, called a brayer, to roll the ink into a thin, even layer. You’re listening for a faint hissing sound—that means it’s the right consistency. Roll the ink onto your carved block.
3. Make the Print: Lay a pre-washed and ironed linen towel on a slightly padded surface (a piece of felt works great). Carefully place your inked block onto the fabric and press down firmly and evenly. I like to use the back of a wooden spoon, rubbing in circles on the back of the block, to ensure a good transfer. Lift it straight up to avoid smudging.
4. Heat-Set the Ink: This is the step everyone forgets! Your print is not permanent until you heat-set it. Let the ink air dry completely (usually 24 hours), then cover the design with a scrap cloth and iron it on a high, no-steam setting for a few minutes. This locks the ink into the fabric fibers, making it washable.

From my experience, the biggest pitfall is using too much ink. My first attempts were a blurry, blobby mess. You want a crisp, slightly rustic print, not a thick mess. Always do a few test prints on scrap fabric first to get your technique down.
The Final Touch: Presentation & Care
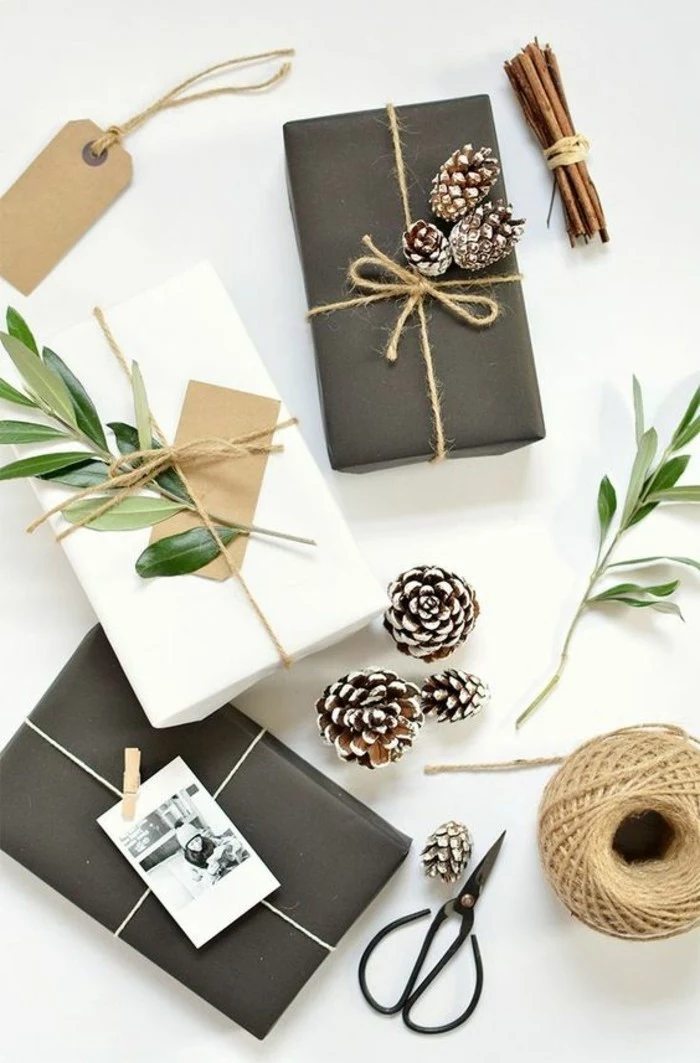
Don’t just toss your beautiful work in a generic gift bag. The presentation is the final step of the craft. Wrap the cutting board in simple butcher paper and tie it with twine. Fold the tea towels neatly and bind them with a scrap piece of leather or a nice ribbon.
And here’s the most important part: include a small care card. It elevates your gift from a simple object to a future heirloom. You could write something like:
- For the cutting board: “Hand wash only with a little soap and water (never in the dishwasher!). When it starts to look dry or faded, just wipe on some more food-grade mineral oil to bring it back to life.”
- For the key fob: “This veg-tan leather will get darker, softer, and more beautiful with use. That’s not a flaw—it’s the story of its life with you.”
Making something by hand is a slow, thoughtful act. It takes patience. But the result is a gift embedded with your time and care, and that says more than words ever could.
Inspiration Gallery


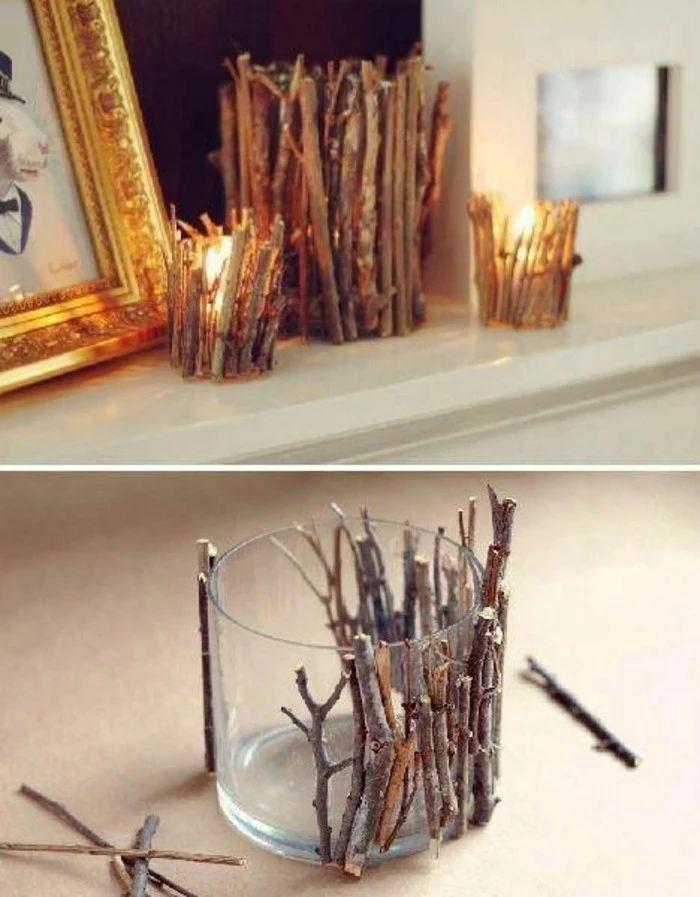
The forgotten final step: Burnishing. For leather projects, running a simple wooden burnisher or even a piece of canvas briskly along the cut edges melts the fibers together, creating a smooth, dark, and sealed edge. It’s the single detail that elevates a project from “homemade” to “handcrafted.”

- A smooth, polished finish.
- Increased durability against fraying.
- A professional, darker edge that frames the piece.
The secret? A simple process called burnishing, which uses friction to seal the raw edges of your leather. All you need is a bit of water or gum tragacanth and a wooden slicker.
What’s the best way to add color to wood without hiding the grain?
Forget thick, paint-like stains. Look for aniline dyes, which are transparent colorants that penetrate the wood fibers themselves rather than sitting on top. Brands like Keda Dye offer powdered kits you mix with water or alcohol, allowing you to control the intensity. The result is a deep, vibrant color that lets the natural beauty of the maple or ash shine through.


“The details are not the details. They make the design.” – Charles Eames
This is the craftsman’s mantra. It applies to the thread you choose as much as the wood. For a durable fabric or leather gift, don’t just grab any old polyester. A bonded nylon thread like Gütermann’s Mara 30 or a waxed linen thread from Ritza 25 (the ‘Tiger’ thread) will resist abrasion and won’t rot, ensuring your stitches last as long as the material they hold together.
When venturing into woodworking, it’s tempting to buy a cheap, all-in-one kit of chisels. Resist. It’s far better to invest in one or two high-quality chisels from a reputable brand like Narex or Ashley Iles. A quality chisel holds its edge longer, is easier to sharpen, and gives you a clean, satisfying cut that cheap steel simply can’t replicate.

The Hardware Test: Solid Brass vs. Plated Steel
For a bag, a belt, or a keychain, the metal hardware is a critical touchpoint. Plated steel hardware is cheap but will quickly chip and rust. Solid brass (or stainless steel) costs more but develops a rich patina over time and will never corrode. It’s the difference between a gift that looks good for a month and one that looks better in a decade.


Don’t just give the gift; give the knowledge to care for it. A small, handwritten card explaining how to care for the item adds immense value and shows forethought.
- For a wooden cutting board: “Wash by hand and re-apply a food-safe mineral oil when it looks dry.”
- For a leather wallet: “Will soften and darken with use. Condition with a product like Smith’s Leather Balm once a year.”
- For a wool blanket: “Hand wash cold with a wool-specific soap, lay flat to dry.”

Fact: Most ‘craft leather’ sold in bags of scraps is chrome-tanned leather, often the thinnest and weakest part of the hide, finished with a plastic-like coating.
This is why it tears easily and refuses to develop a beautiful patina. For a gift that ages gracefully, you need vegetable-tanned leather. It’s firmer at first but will soften with use, absorbing oils from your hands and developing a unique character over time. Look for suppliers like Tandy Leather or Weaver Leather Supply who specify the tanning method.
Consider the Japanese aesthetic of Wabi-Sabi—the appreciation of imperfection. A handmade gift is not meant to look like it came from a factory. A slightly uneven stitch, the subtle mark of a tool, or the unique grain of a piece of wood are not flaws. They are the fingerprints of the creator, telling the story of the time and care invested in its making.


A Common Mistake: Sanding with the grain, then stopping too soon. For a truly silky-smooth finish on wood, don’t stop at 120-grit sandpaper. Progress methodically up to at least 220-grit. Then, for an extra touch of class, lightly wet the wood (this is called “raising the grain”), let it dry, and sand one last time with your finest grit. This prevents the wood from feeling fuzzy after the first finish coat is applied.
Thinking of knitting a gift that will be worn and washed often, like socks or a sweater? Pay attention to the yarn’s construction.
High-Twist Merino: The fibers are spun together more tightly, making the yarn more durable and less likely to pill. A great choice for hard-wearing items.
Single-Ply Wool: Luxuriously soft and beautiful, but its loose structure makes it prone to pilling and stretching. Better suited for delicate items like shawls.
Ultimately, a high-twist yarn ensures your hours of work don’t turn into a fuzzy mess after a few uses.

Is it possible to upcycle materials without the result looking cheap?
Absolutely, if you choose your base materials wisely. Instead of plastic containers, think about high-quality ‘waste.’ An old, 100% wool sweater can be felted and cut to make incredibly warm mittens or coasters. A pair of worn-out, high-quality denim jeans (like Levi’s or Wranglers) provides sturdy fabric perfect for a durable tote bag or stylish patches. The key is to start with a material that already has integrity.


- Stabilize Your Fabric: Iron on a fusible interfacing to the back of thinner fabrics before embroidering. This prevents puckering and gives your stitches a solid foundation.
- Use a Hoop: Always keep your fabric taut in an embroidery hoop while stitching. It’s the only way to ensure even tension.
- Don’t Skimp on Floss: Use quality six-strand floss from brands like DMC or Anchor. It has a better sheen, is less likely to fray, and its colors are lightfast.


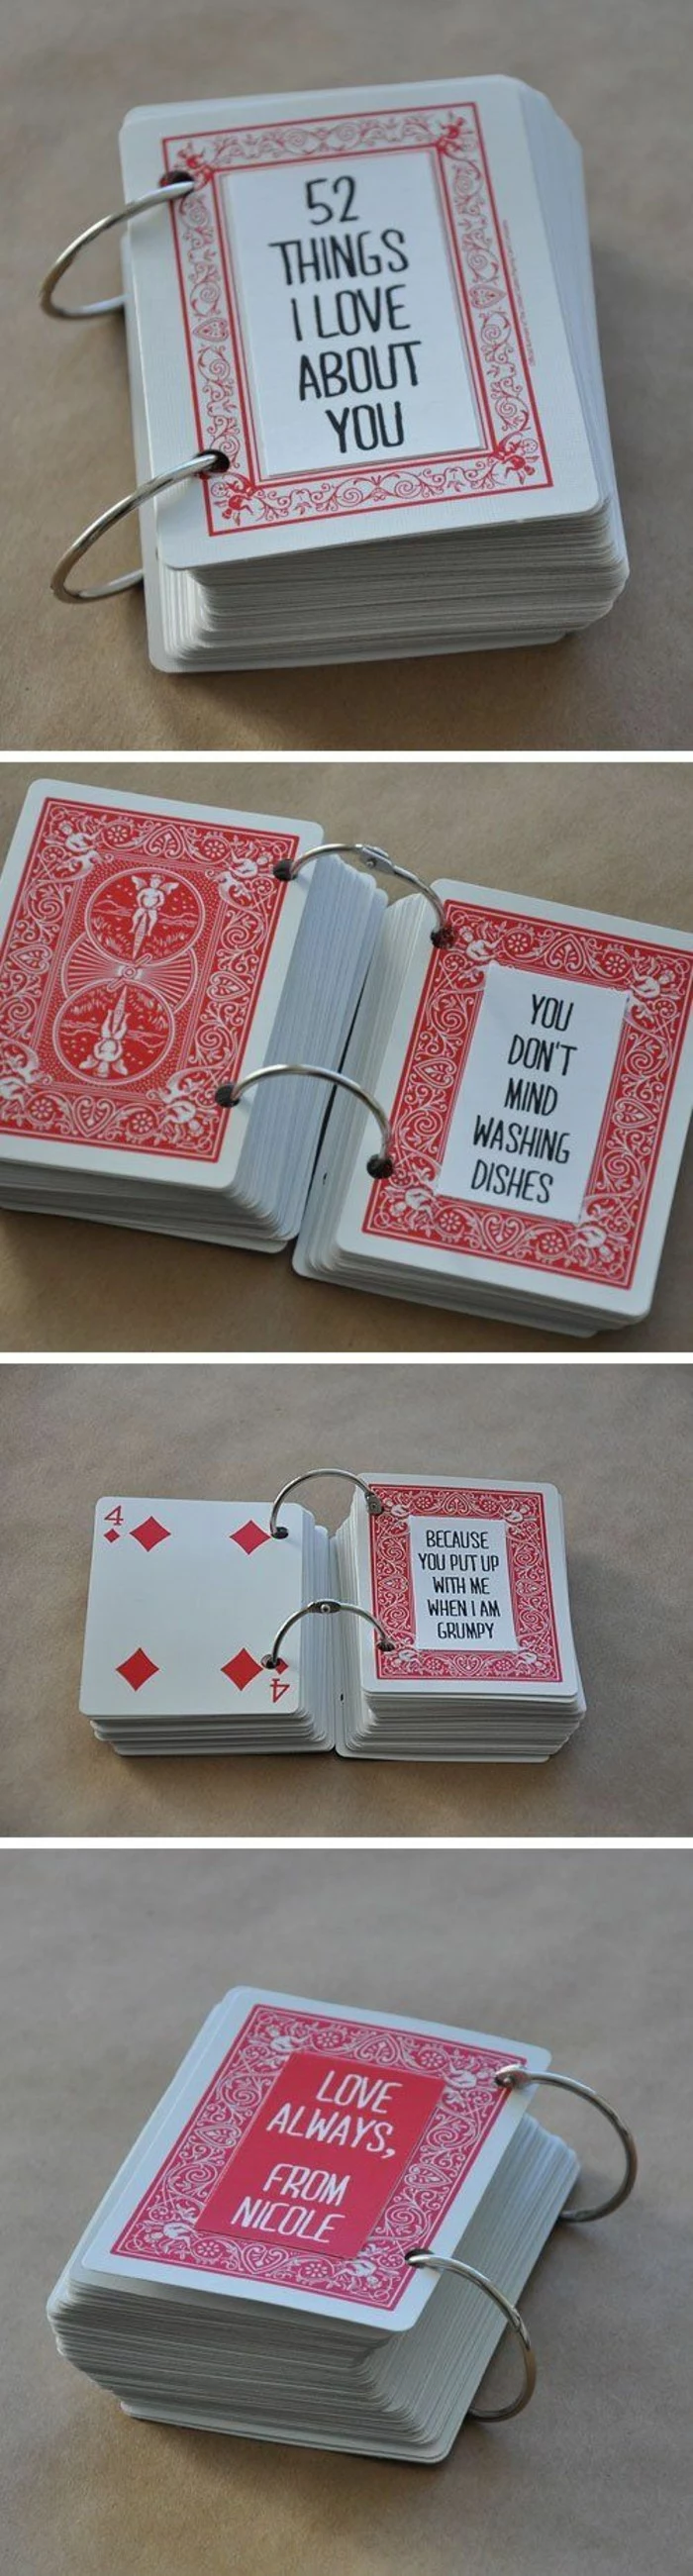
Thinking about a personalized touch? Instead of a loud, centered name, consider a subtle detail. A small, stamped initial in the corner of a leather wallet, a meaningful date embroidered on the inside cuff of a glove, or a small, carved symbol on the underside of a wooden box. Understated personalization feels more intimate and timeless.

Over 60% of fabric fibers are now synthetics, derived from fossil fuels. These plastics can take hundreds of years to decompose.
Creating a gift from natural, durable materials like wool, linen, or high-quality leather isn’t just a kind gesture; it’s a small act of sustainability. It’s a vote for items that are meant to be kept, repaired, and cherished, not discarded when a trend fades.

The quality of a gift often lies in what you can’t see. For pottery, this means a properly vitrified clay body. When fired to the correct temperature, clay particles fuse together, making the piece non-porous and waterproof even without glaze. This is why a cheap, low-fired terracotta pot sweats water while a high-fired stoneware mug from a potter like Heath Ceramics holds your coffee without issue. It’s the unseen science that creates function and durability.

Oil Finish: Penetrates the wood, giving it a natural, matte look and feel. It’s easy to apply and repair (just wipe on more oil) but offers less protection against water and scratches. Perfect for decorative objects. Try a Tung oil or a blend like Odie’s Oil.
Varnish/Polyurethane: Forms a hard, protective film on the surface. Offers excellent durability against moisture and wear but can look more ‘plastic’ and is harder to repair if scratched. Ideal for high-use items like coasters or small trays.

A truly great gift often solves a tiny, daily annoyance for its recipient. Think about their routine. Do they always lose their keys? A hand-stitched leather valet tray for the entryway. Is their desk a mess of cables? A handsome block of walnut with routed channels for cable management. A gift that brings a small moment of order and ease to someone’s day is a gift that will be used and appreciated daily.

- DMC Perle Cotton #8
- Valdani 3-Strand Cotton Floss
- Linen Thread (18/3 weight)
What do these have in common? They are all ‘non-divisible’ threads, meaning you use them as-is without splitting strands. This makes them perfect for visible mending projects like Japanese Sashiko or for adding bold, decorative running stitches that are both beautiful and incredibly strong.

A single drop of super glue can permanently stain leather, and a slip of a knife can ruin hours of work.
This highlights the importance of a proper work surface. Don’t work on your dining table. A self-healing cutting mat protects your surfaces and your blades. A simple, heavy piece of granite or marble offcut from a countertop maker provides an ideal, perfectly flat surface for tooling leather or setting rivets.
Is there a ‘good, better, best’ for wood?
Yes. For small, handleable gifts, focus on hardwoods.
Good: Poplar. It’s cheap and easy to work with, but it’s soft and dents easily. It’s best if the project will be painted.
Better: Maple or Cherry. These are classic North American hardwoods. They are strong, have a beautiful grain, and machine very well. Cherry will darken beautifully with age.
Best: Walnut or Olivewood. These have a deep, rich color and stunning grain patterns that need no stain. They make the material itself the star of the show.
A jewelry maker’s secret weapon: A pair of nylon-jaw pliers. Unlike standard steel pliers that will mar, scratch, and dent soft metals like sterling silver or copper wire, the nylon jaws provide a firm grip without leaving a single mark. It’s an inexpensive tool that makes the difference between a professional finish and a mangled-looking piece.

The space between your stitches matters. In leatherwork, a longer stitch length (around 4-5mm) often looks more elegant and high-end than a short, busy stitch. Use a stitching chisel or a pricking iron (from brands like Kyoshin Elle or Sinabroks) to pre-punch your holes. This not only makes sewing easier but guarantees perfectly spaced, angled stitches that are a hallmark of fine leather goods.

Did you know that the word “sincere” may derive from the Latin “sine cera”—meaning “without wax”? Roman sculptors would sometimes hide cracks in marble with colored wax. A “sincere” sculpture was one with no hidden flaws.
Let your handmade gift be “sine cera.” Don’t hide a mistake with glitter or a glob of glue. Either embrace it as part of the item’s character or take the time to fix it properly. Honesty in craftsmanship is a value the recipient will feel, even if they can’t articulate it.

Don’t overlook the simple joy of a well-made tool. While making a gift, you’re also building your own skills and toolkit. The satisfaction of using a beautifully balanced Japanese handsaw or a sharp, hefty gouge is part of the process. The gift is the outcome, but the experience of creating it with quality tools is a gift you give yourself.