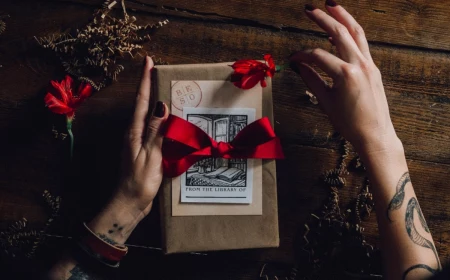
Handmade Gifts That Don’t Suck: A Pro’s Guide to Quality Crafting
I’ve spent a huge chunk of my life working with my hands—wood, metal, clay, you name it. And in all that time, I’ve learned one simple truth: making something that lasts is about more than just following a tutorial. It’s about really getting to know your materials and putting honest-to-goodness effort into the process. That’s what gives a gift real weight.
In this article
So many people think “handmade” means a quick, cutesy project that falls apart in a week. But a gift made with genuine skill tells a totally different story. It says you valued someone enough to invest your time and learn something new just for them. It’s a powerful message.
Forget the disposable DIY stuff. This guide is about building real skills and making things that are designed to endure. Let’s dive in.
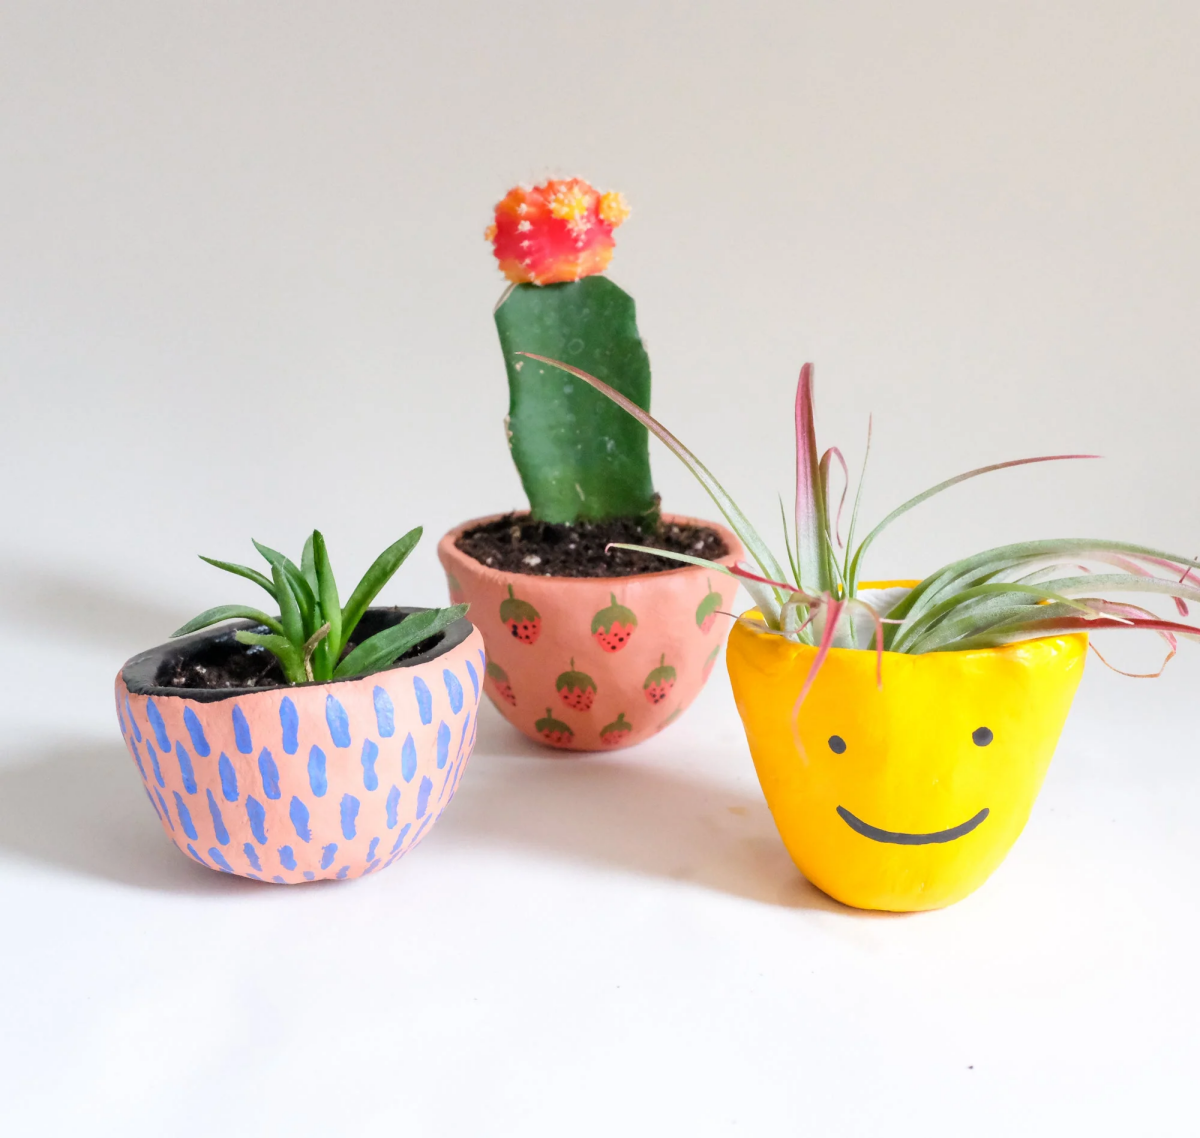
Project 1: Turning Basic Pots into Works of Art
A plain terracotta pot from the garden center is the perfect blank canvas. It’s a fantastic starter project because it teaches the single most important lesson in crafting: preparation is everything. I learned this the hard way, by the way. I once painted a gorgeous pot for my mom, skipped the sealing step to save time, and was absolutely mortified when the paint peeled off after one good rainstorm. Never again.
Why You Can’t Just Slap Paint on a Pot
Terracotta is basically a sponge. It’s super porous, which is great for plant roots because it lets them breathe. But for paint? It’s a disaster. Water from the soil will seep right through the clay and literally push the paint off from the inside out. All your hard work will be for nothing.
Sealing is the non-negotiable first step. A good sealer creates a waterproof barrier between the clay and your paint. You have to seal both the inside and the outside. The inside seal stops water from getting in, and the outside seal gives your paint a stable surface to grab onto.
Pro-Level Pot Painting Techniques
Trust me, doing the prep work is 90% of the job. A beautiful finish depends entirely on what you do before you even think about your design.
Here’s what you’ll need:
- Terracotta pot (Tap it gently—a clear ringing sound means no hidden cracks. You can find these for a few bucks at Home Depot or any garden store.)
- 220-grit sandpaper
- Denatured alcohol or just plain soapy water
- Clear, waterproof sealer (A water-based polyurethane works great. A quart will cost about $15-$25 but will last for dozens of projects.)
- Acrylic gesso or a quality primer
- Artist-grade acrylic paints (Don’t use the cheap craft stuff; it fades.)
- A few different-sized brushes
- Clear topcoat with UV protection (essential if it’s going outside)
Your Game Plan:
This is a perfect weekend project. The hands-on time is only a couple of hours, but you’ll have to account for drying time between steps.
- Prep the Surface: Lightly sand the whole pot, inside and out. You’re just scuffing it up to give the sealer something to grip. Wipe all the dust off with a damp cloth and let it dry completely.
- Seal It Up: Apply two thin, even coats of sealer to the entire inside of the pot. Let it dry between coats. Then, flip it over and do the same to the outside and the bottom. Seriously, don’t skip the bottom!
- Prime for Pop: Once the sealer has cured (give it a full 24 hours to be safe), brush a coat of primer on the exterior. This makes your paint colors look vibrant instead of muddy.
- Get Creative: Now for the fun part. Paint your design using thin layers. A single thick coat is way more likely to crack over time.
- Protect Your Work: Let your design dry for another 24 hours, then apply two thin coats of a clear topcoat with UV protection. This is your shield against sun and moisture.
Quick Tip: Now that the pot isn’t breathable, what should you plant in it? Stick with plants that don’t mind their roots being a bit less airy. Think succulents, snake plants, or a classic pothos. Avoid anything that’s super prone to root rot.
Getting Started Budget: If you have nothing, expect to spend around $40-$60 on sandpaper, a good sealer, primer, and a starter set of quality paints and brushes. The good news is these supplies will last you for many more projects.
Project 2: Crafting High-Quality Scented Candles
Anyone can melt some wax, but making a candle that burns cleanly, smells amazing from start to finish, and won’t crack its container is a real science. We’re going to avoid the common pitfalls—like that sad wax tunnel down the middle of the jar—by focusing on what matters: the right wax, the right wick, and the right temperature.
Choosing Your Wax: A Quick Rundown
The type of wax you choose completely changes the game. There’s no single “best” wax, it all depends on what you want.
- Paraffin Wax: This is the traditional choice. It’s known for having an excellent “scent throw,” meaning it fills a room with fragrance really well. It’s a petroleum byproduct, though, which is a turn-off for some. Cost-wise, it’s pretty affordable.
- Soy Wax: A super popular choice for beginners! It’s made from soybeans, so it’s a natural, renewable resource that burns slowly and cleanly. The scent throw is a bit softer and more subtle than paraffin. It’s a fantastic, mid-priced option.
- Beeswax: The luxury option. It’s all-natural, burns forever, and has a lovely, faint honey scent all on its own. It’s also the priciest of the bunch, so maybe save this for a really special gift.
- Coconut Wax Blends: These are the new kids on the block and my personal favorite. The wax is incredibly creamy, burns clean, and has an amazing scent throw. It’s usually blended with a bit of soy or other waxes for stability. It’s on the pricier side, but the results are worth it.
Candlemaking Like a Pro
Precision is your best friend here. Get a digital kitchen scale and a thermometer. Guessing is a recipe for a bad candle.
Here’s what you’ll need:
- Natural wax flakes (Soy or a coconut blend are great to start with. You can buy these online from specialty suppliers like CandleScience or The Flaming Candle.)
- Properly sized wicks (The supplier’s website will have a guide to match wick size to your container’s diameter. Don’t skip this!)
- High-quality candle fragrance oil (Not just any essential oil; it needs to be made for candles.)
- Heat-proof containers
- A double boiler setup (or a pot inside a larger pot of water)
- Digital thermometer and a kitchen scale
- Wick centering tool or just a couple of clothespins
The Step-by-Step:
- Measure Everything: First, figure out how much wax you need. An easy trick: place your empty jar on the scale, zero it out, then fill it with water. The weight of the water is roughly the weight of wax you’ll need. Then, calculate your fragrance. A good rule is 6-10% fragrance oil by wax weight. So for 16 oz of wax, you’d use about 1 oz of oil.
- Melt Gently: Melt your wax in the double boiler to about 185°F. This specific temperature helps the fragrance oil bind properly to the wax.
- Add Fragrance: Take the pot off the heat, add your fragrance oil, and stir gently but thoroughly for two full minutes. Don’t rush this! This is what ensures a strong scent.
- Pour at the Right Time: Let the wax cool to about 135°F before pouring. Pouring too hot can cause cracks or sinkholes. Pour slowly into your pre-wicked container.
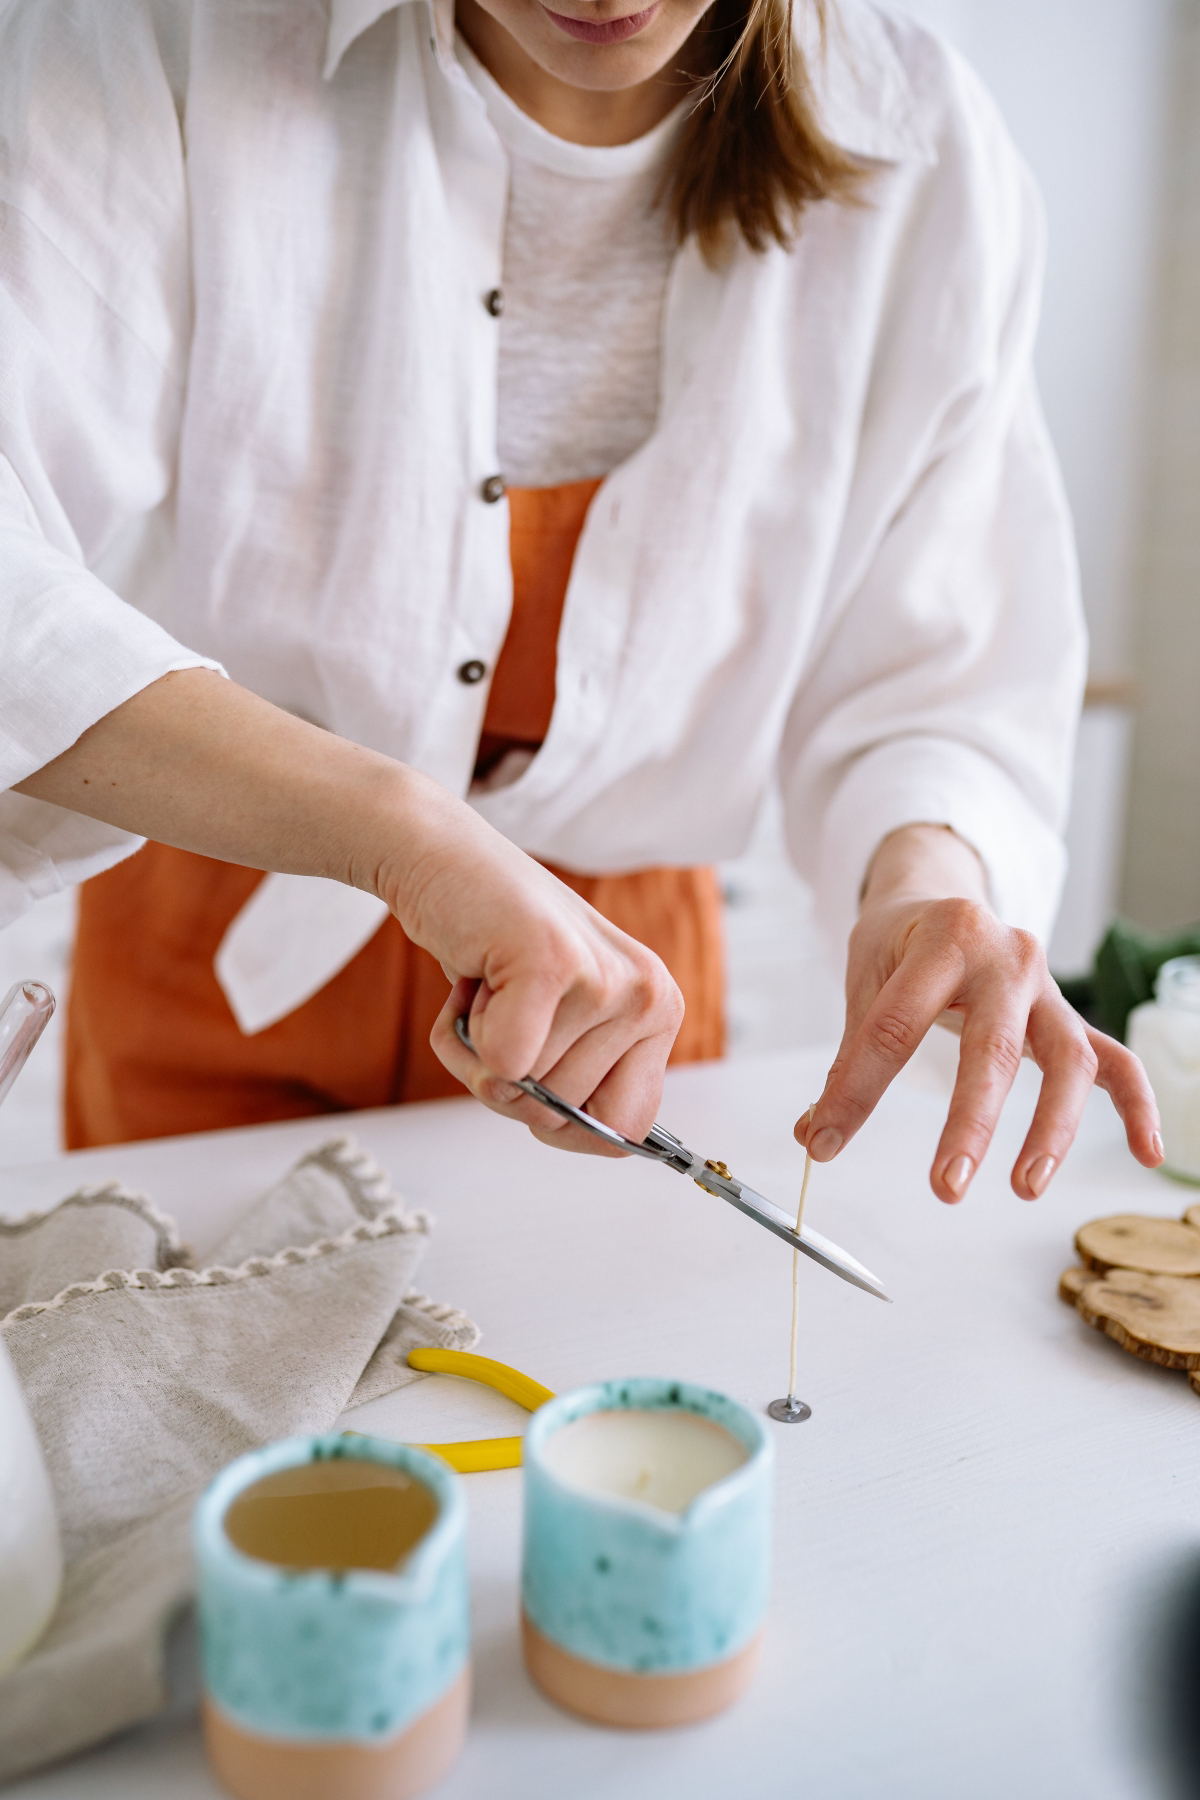
- Center the Wick: Use your clothespins or tool to hold the wick dead center while the wax cools.
- The Secret Step: Cure! Don’t skip this! Let your candle cure in a cool, dark place for at least one to two weeks before lighting it. This allows the fragrance to fully integrate with the wax, making the scent way stronger when you finally burn it.
Getting Started Budget: Plan on spending around $50-$70 for a solid starter kit. This will get you a melting pot, thermometer, scale, and enough wax, wicks, and fragrance for your first batch of 4-6 candles.
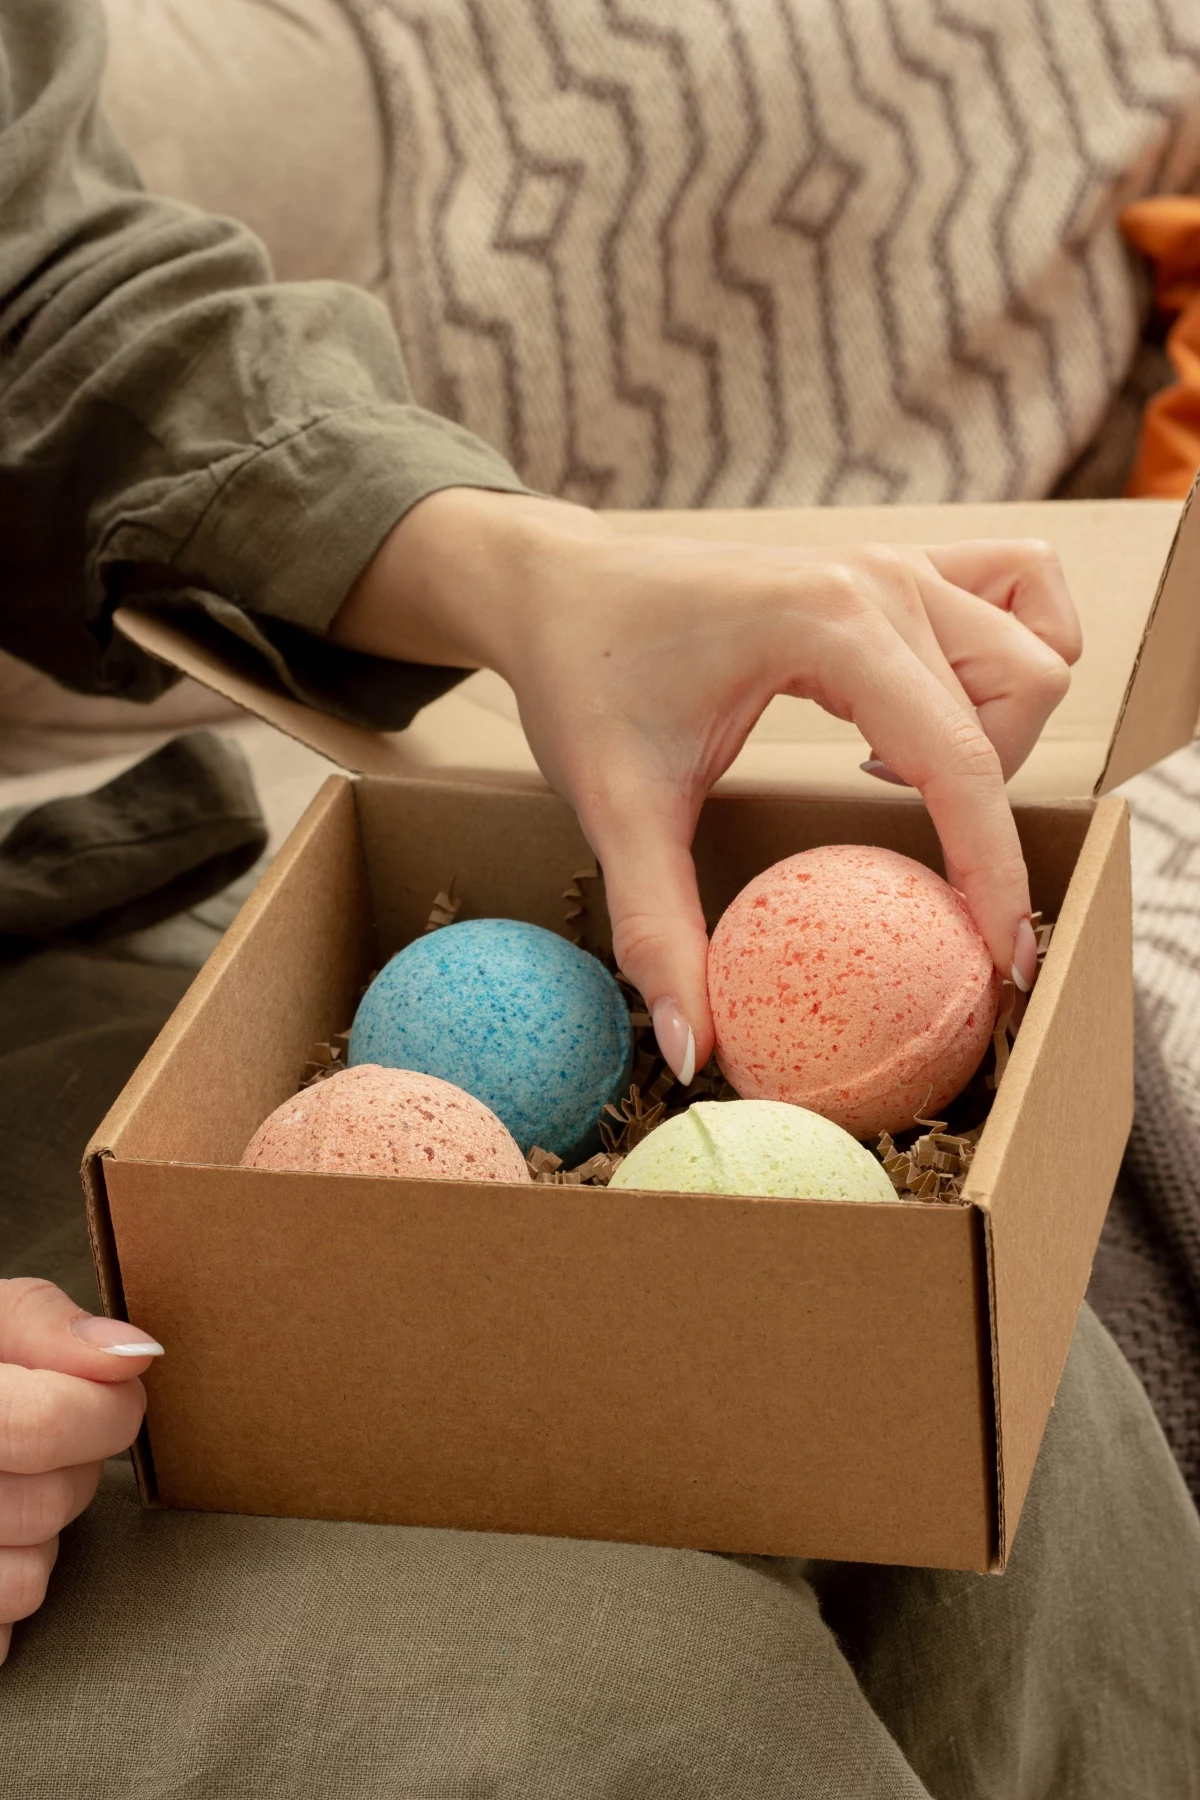
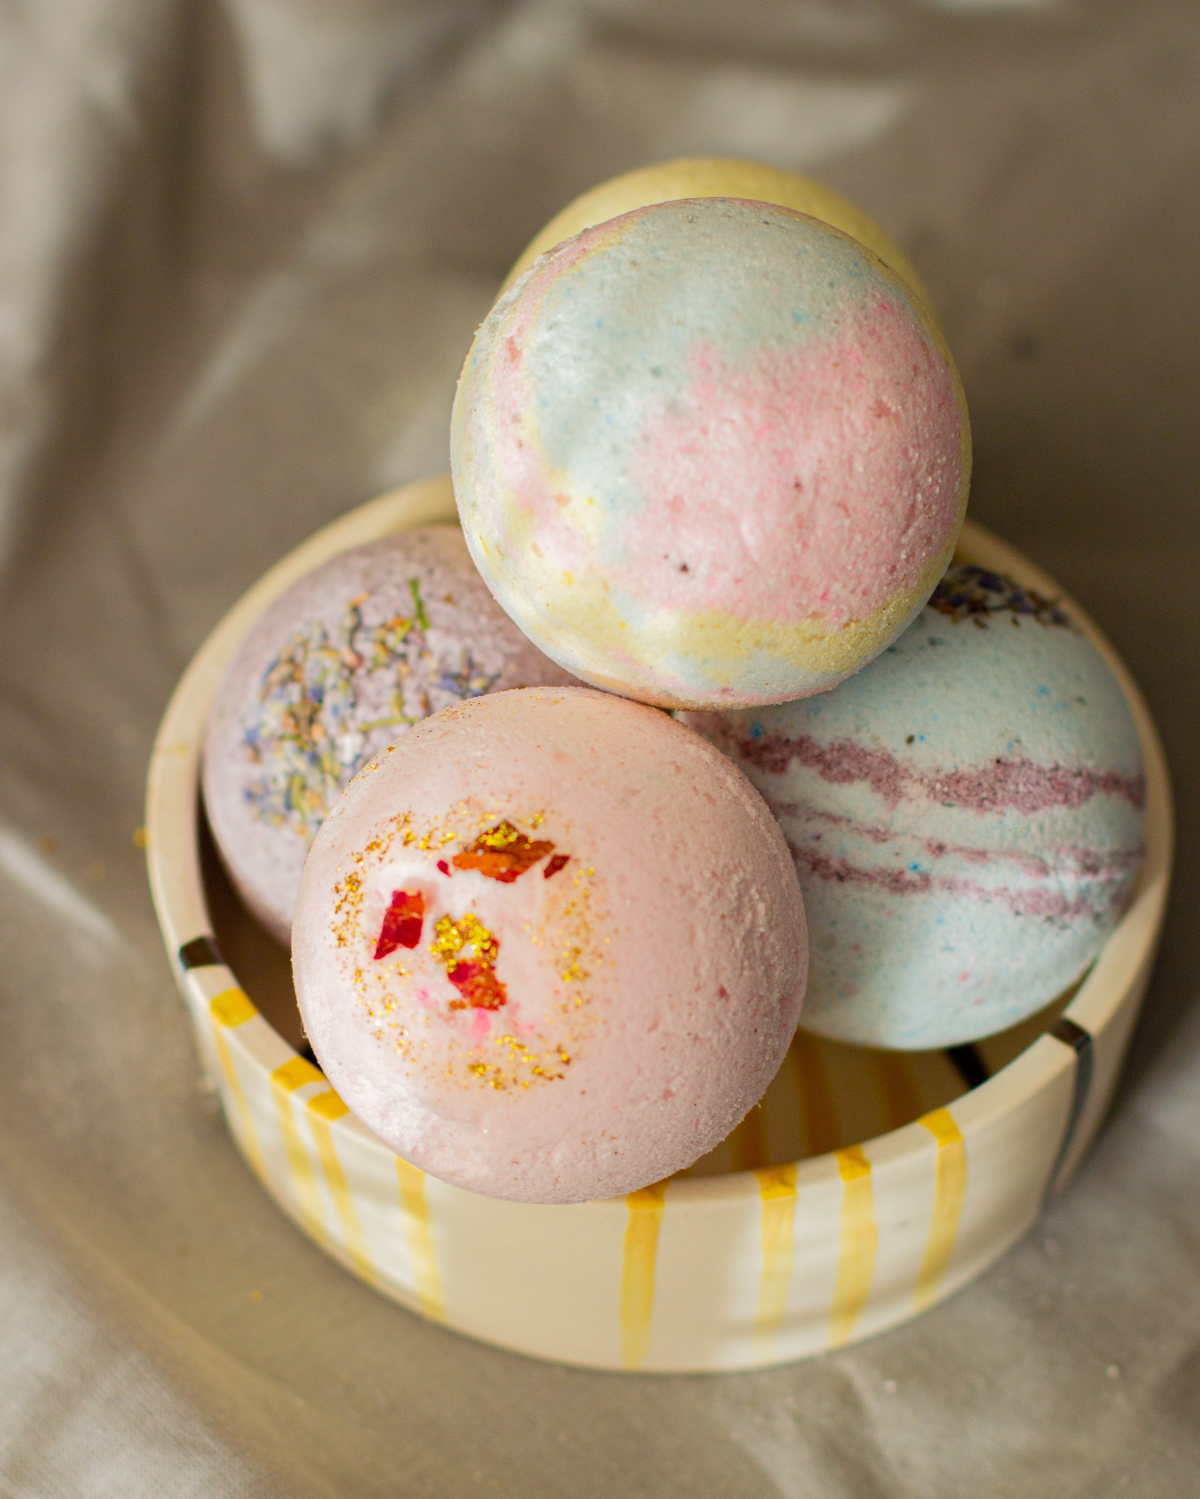
Project 3: Formulating Bath Bombs That Wow
A great bath bomb is basically a little ball of chemical engineering. The goal is a rock-hard bomb that fizzes like crazy, smells incredible, and leaves the tub clean and your skin soft. A common beginner mistake is using food coloring—please don’t do it! It’s water-based, which can prematurely activate your bomb mixture, and it’s literally designed to stain… which it will happily do to bathtubs and skin.
The Science of the Fizz
The magic is a simple acid-base reaction: citric acid + baking soda + water = awesome fizzing. The trick is binding it all together without adding water. We use liquids like high-proof rubbing alcohol or witch hazel because they evaporate quickly. The pro-level secret? An emulsifier like Polysorbate 80. Without it, the oils and colors in your bomb just float on top of the water in a greasy, tub-staining slick. Polysorbate 80 makes everything disperse beautifully in the water.
A No-Fail Bath Bomb Recipe
This is like baking. Measurements need to be exact. Use a kitchen scale, not measuring cups.
What You’ll Need:
- Kitchen scale, mixing bowl, and gloves
- Bath bomb molds (the stainless steel sphere ones are best)
- Dry Ingredients: 200g Baking Soda, 100g Citric Acid
- Wet Ingredients: 10g light oil (like sweet almond), 5g Polysorbate 80, 5g skin-safe fragrance oil
- Witch hazel in a small spray bottle
- Skin-safe colorant (micas are great. You can find all this stuff at online shops like Bramble Berry or Bulk Apothecary.)
The Process:
- Mix Dries: Whisk the baking soda and citric acid together. If you’re using a powdered colorant (mica), add it now.
- Mix Wets: In a separate small bowl, combine your oil, Polysorbate 80, and fragrance.
- Combine Carefully: Very slowly drizzle the wet mixture into the dry ingredients, whisking constantly. The goal is to avoid any fizzing.
- Get the Consistency Right: The mixture should feel like barely damp sand. When you squeeze a handful, it should hold its shape firmly. If it’s too crumbly, give it a tiny spritz of witch hazel and mix again. Go slow!
- Mold It: Overfill both halves of your mold, then press them together firmly. Scrape off the excess around the seam.
- Dry and Harden: Gently unmold and let it dry for 24-48 hours in a cool, dry place. Humidity is the enemy, so if you live in a damp climate, a dehumidifier in the room is a huge help.
Getting Started Budget: Your initial supply run might cost around $40-$50, but it will make dozens of bath bombs. The recipe above makes about 3-4 medium bombs, bringing your per-bomb cost to under $2—a massive savings over the $8+ you’d pay at a store! And heads up: always warn the person you’re gifting these to that the tub might be a little slippery from the oils.
Galerie d’inspiration

What’s the best way to finish a wooden gift?
The finish is just as important as the woodworking itself—it protects your work and defines its final look and feel. For small projects like a jewelry box, a carved spoon, or a picture frame, your choice of finish matters immensely.
For a natural feel: A penetrating oil finish, like pure Tung oil or a food-safe mineral oil (like those from Walrus Oil or Howard), soaks into the wood fibers. It provides a warm, matte finish that feels incredible to the touch and really makes the grain pop. It’s the perfect choice for anything that will be handled often or come into contact with food.
For maximum durability: A film finish like a water-based polyurethane (Minwax Polycrylic is a popular choice) creates a hard, protective shell over the wood. It’s far more resistant to scratches and moisture, making it ideal for items like coasters or decorative boxes that need to withstand wear and tear. It offers a more “polished” look, available in sheens from matte to high gloss.