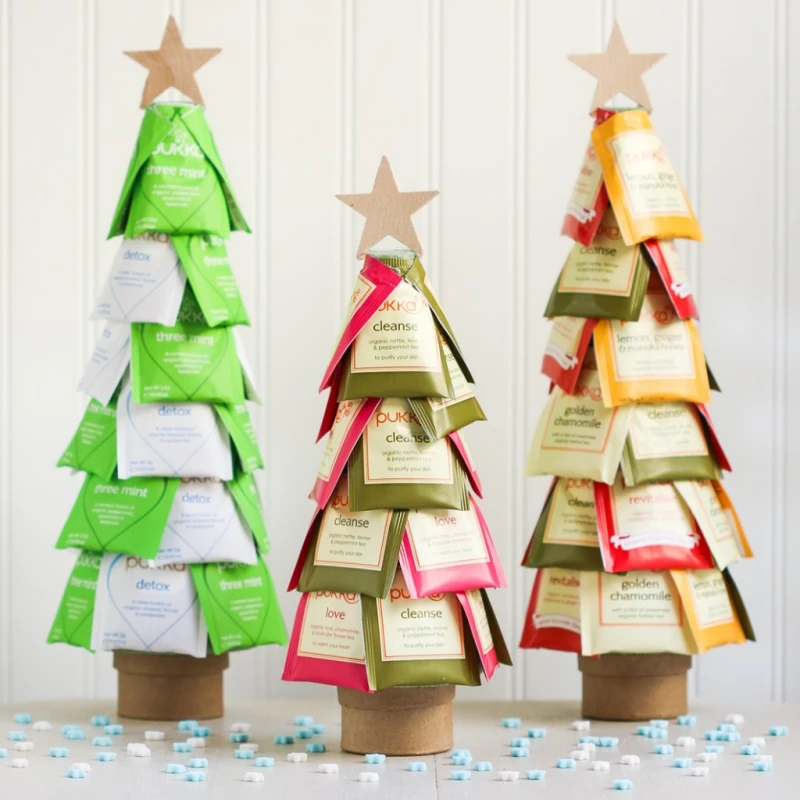
Real Handmade Gifts: 3 Lasting Projects You Can Actually Make
When the weather starts to turn, my workshop gets that familiar holiday smell—a mix of pine, beeswax, and a little citrus. I’m not running a factory here; I’m a craftsperson. The gifts I make are about pouring my skills, time, and care into something real. That’s the true heart of a handmade gift. It’s not really about saving a few bucks (though sometimes that’s a nice bonus). It’s about putting a piece of yourself into an object.
In this article
A lot of folks get excited about making gifts but end up feeling let down. They follow some quick online tutorial, and the result feels flimsy or looks rushed. You know why? Because crafting something with quality takes more than a shopping list. You have to get to know your materials—why one wood works better than another, or what’s actually happening chemically when soap cures.
So, this isn’t going to be a list of trendy, disposable crafts. Instead, I’m going to walk you through three classic projects I love to make: a glowing citrus marmalade, traditional cold-process soap, and a simple, hand-carved wooden scoop. These are gifts that last. They show real effort and skill, and I’ll share the pro techniques I’ve learned, the science behind them, and the safety rules that are absolutely not negotiable. This is the good stuff, from my workshop to yours.

1. The Art and Science of a Perfect Jar of Marmalade
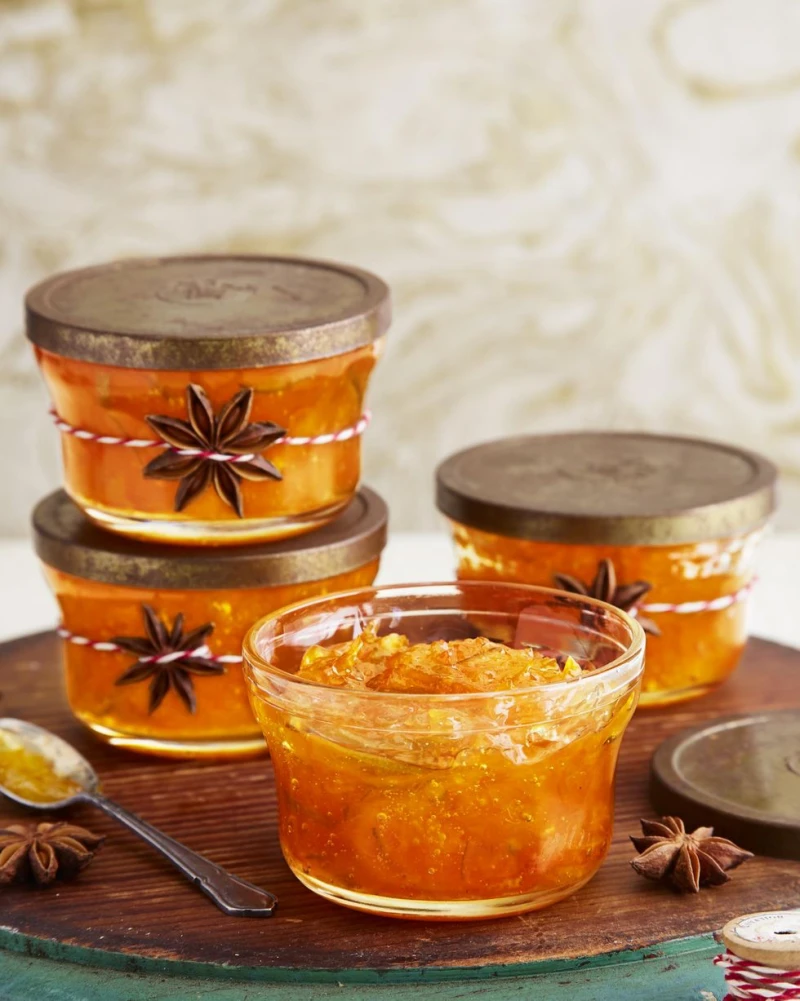
A jar of homemade marmalade is a beautiful thing. It should glow when the light hits it, with a taste that perfectly balances sweet, bitter, and tart. Honestly, store-bought jam just can’t compete. But making a great, shelf-stable marmalade is a science. If you get it wrong, you end up with sugary soup or, worse, a jar of bacteria. Get it right, and you’ve got a gift that’s like a jar of sunshine for months to come.
The Key Ingredients and Why They Matter
Making marmalade that actually sets properly boils down to three things: pectin, sugar, and acid. Understanding how they dance together is the secret.
- Pectin: This is a natural fiber found in fruit, especially in the white pith and seeds of citrus. When you heat it with sugar and acid, pectin forms a web that traps liquid and creates that perfect jelly-like texture. Using the whole fruit is the traditional way, and it gives you all the pectin you need.
- Sugar: It’s not just for sweetness! Sugar is a preservative. It pulls water out of microbial cells, stopping them from growing. It’s also essential for helping that pectin web form. You need a specific concentration—around 60-65% sugar content in the end product—for a good set and safe preservation. This is why you have to measure with a scale, not cups.
- Acid: Citrus is already acidic, but a little extra lemon juice often helps. Acid helps pull the pectin out of the fruit and creates the right pH for gelling. It also brightens the flavor and stops certain bacteria.
My Go-To Beginner’s Marmalade Recipe
Forget guessing. Here’s a small-batch recipe to get you started. To make about 4-5 small (8oz) jars, you’ll need a kitchen scale—it’s non-negotiable for consistency.
Your shopping list will look something like this: 500g Seville oranges (or other thin-skinned oranges), 500g granulated sugar, and 1 large lemon. You’ll also need canning jars with new lids, which you can get at most grocery or hardware stores for about $12 a dozen.
The Two-Day Method for Amazing Results: The pros don’t rush this. On day one, prep the fruit. Slice your oranges paper-thin (a mandoline is great for this, but a sharp knife works too). Put the sliced fruit and juice in a large, non-reactive pot. Bundle all the seeds into a cheesecloth bag—this is your pectin powerhouse—and toss it in. Add about 1 liter of water, cover, and let it sit overnight. This step softens the peel and extracts the maximum amount of pectin. It makes a huge difference.

On day two, bring the pot to a simmer and cook until the peel is very tender. Then, add your sugar and the juice from your lemon. Stir until the sugar dissolves completely. Now, bring it to a rolling boil and start testing for the set point.
Testing for the Set: A thermometer is useful (you’re aiming for around 220°F / 104.5°C), but the cold plate test is foolproof. Before you start cooking, pop a few small plates in your freezer. When you think it’s ready, spoon a little bit onto a cold plate. After a minute, push it with your finger. If it wrinkles, it’s done. If it’s runny, cook for 5 more minutes and test again.
- Time & Cost: Plan on about 3-4 hours of active time spread over two days. The ingredients for a batch this size should run you less than $15. Not bad for five beautiful, handmade gifts!
Let’s Talk Safety—This Is Not Optional
Improperly canned food carries a risk of botulism. It’s rare, but you have to take it seriously.
- Sterilize Everything: Your jars, lids, funnel, and ladle must be sterilized. A hot cycle in the dishwasher works great, or you can boil them in water for 10 minutes. Keep them hot until you’re ready to fill.
- Water Bath Canning: To make it shelf-stable, you have to process the filled jars. Place sealed jars on a rack in a big stockpot, cover with at least an inch of water, and bring to a rolling boil. Process for 10 minutes. This forces air out and creates a strong vacuum seal as the jars cool.
- Check Your Seals: After 24 hours, press the center of each lid. It shouldn’t pop or move. If it does, the seal failed. Just stick that jar in the fridge and eat it within a few weeks.
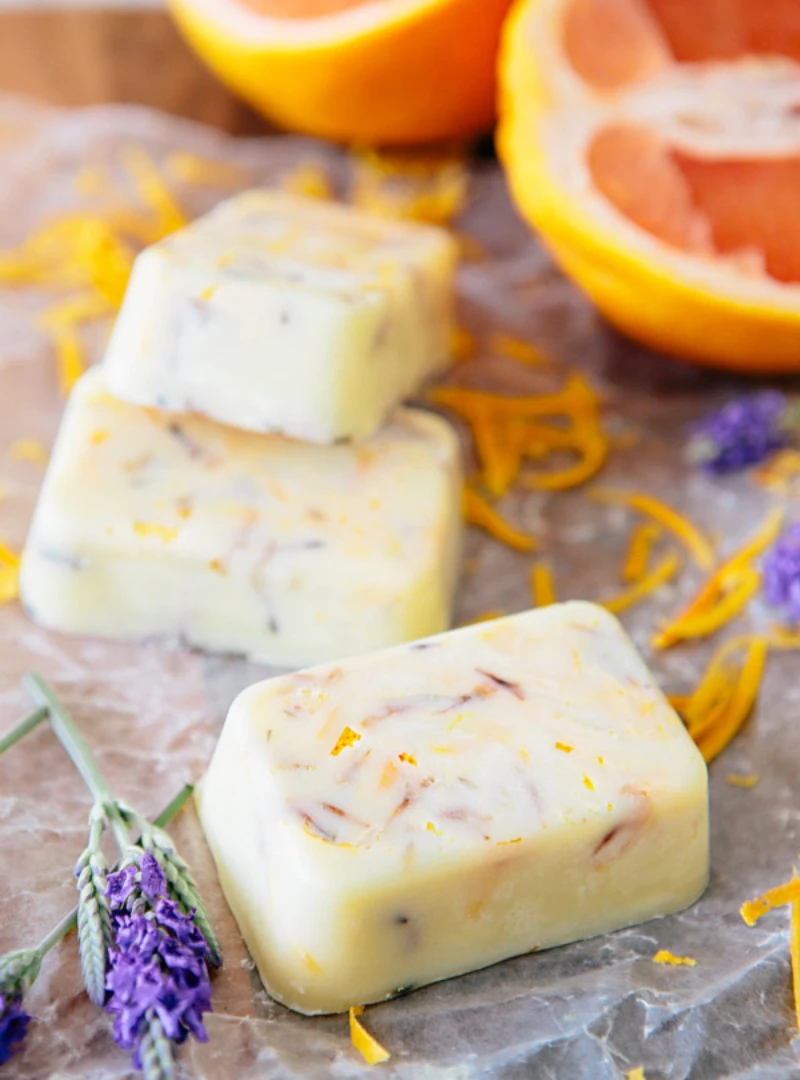
2. Crafting a Bar of Luxurious Cold-Process Soap
Handmade soap is a game-changer. It’s worlds away from the harsh detergent bars you find in stores. Real soap is made from oils and fats transformed by a chemical reaction called saponification. It’s a gift that’s both useful and feels incredibly luxurious. But I’m going to be straight with you: this craft involves a caustic chemical, and safety has to be your number one priority.
The Magic of Soap Chemistry
At its core, you’re mixing an alkali (sodium hydroxide, or lye) with fats (like olive oil and coconut oil). The lye transforms the fats into soap and glycerin. Glycerin is a humectant that draws moisture to your skin—it’s the good stuff! Big companies often remove it to sell separately, which is why their soap can be so drying. In your handmade bar, all that lovely glycerin stays right where it belongs.
Heads Up: Working with Lye Safely
Let’s be very clear: Lye is dangerous. It can cause serious chemical burns. But you can absolutely do this safely by following the rules. I’ve made thousands of bars this way without a single accident.

- Dedicated Gear: Use equipment ONLY for soap making. No aluminum. Stick to stainless steel, heat-proof glass, or heavy-duty plastic (look for the #5 recycling symbol).
- Get Your PPE On: This is non-negotiable. Wear long sleeves, chemical splash goggles (not safety glasses!), and rubber gloves.
- Ventilation is Key: Mix your lye solution in a well-ventilated space—outside, or next to an open window with a fan pointing out. The fumes it creates for the first minute are no joke. Don’t breathe them in.
- THE GOLDEN RULE: Always Add Lye to Water. Never, ever do it the other way around. Adding water to lye can cause a volcanic reaction. Pour the lye crystals slowly into cool, distilled water while stirring gently. The mixture will get very hot. Let it cool down in a safe spot, away from kids and pets.
The Most Important Tool: A Lye Calculator
You cannot guess or eyeball this. Every single oil requires a different amount of lye to turn into soap. The solution? An online lye calculator. They are free and easy to use. You simply plug in the exact weight of each oil you’re using, and it tells you the precise amount of lye and water needed. I like the one from SoapCalc, but there are many good ones. Using a lye calculator is the biggest factor for safety and success.
My Favorite Beginner-Friendly Soap Recipe
A great bar of soap balances hardness, lather, and conditioning. This recipe is a winner. For a 1lb batch (which makes about 4-5 bars), you’ll use a 5% superfat (which you’ll set in the lye calculator):
- 204g (45%) Olive Oil
- 136g (30%) Coconut Oil
- 114g (25%) Shea Butter
The lye calculator will tell you exactly how much lye and water to use for those oils. You’ll blend your cooled lye-water into your melted-and-cooled oils with a stick blender until it reaches ‘trace’—the point where it’s thick like thin pudding. Then you pour it into a mold (a silicone loaf pan works great).
Curing is Crucial: After 24-48 hours, you can cut your soap into bars. But it’s not ready! The bars need to cure in a cool, dry place with good airflow for 4 to 6 weeks. This allows the saponification to finish and the water to evaporate. A fully cured bar is milder, harder, and lasts way longer. Patience is an ingredient here.

- Time & Cost: The initial investment in a scale, stick blender, safety gear, and oils might be around $60-$80, but that will make many, many batches of soap. You can find 100% lye at hardware stores or online from soap suppliers like Bramble Berry or Nurture Soap. The active soap-making process takes about 2 hours, but the real time commitment is the 4-6 week cure.
3. The Simple Joy of a Hand-Carved Wooden Scoop
In a world full of plastic, a small, hand-carved wooden scoop is a thing of beauty. It can be used for coffee, flour, or bath salts, and it connects the user to the material in a way no factory-made utensil can. This is a wonderfully meditative project that requires just a few basic hand tools.
Choosing Your Wood and Tools
For a food-use scoop, you want a closed-grain hardwood like cherry, maple, or walnut. These won’t trap food particles. My personal favorite is cherry—it carves beautifully and gets a gorgeous deep color with age. You can buy carving blocks online from places like Woodcraft, or find a seasoned (dry) fallen branch. Green wood will crack as it dries, so avoid it.
You really only need two knives: a straight carving knife and a hook knife for the bowl. And your knives must be razor-sharp. A dull knife is a dangerous knife because you have to force it. Quick tip: Don’t be intimidated by sharpening! A simple leather strop and some honing compound (about $25 online) is all you need to keep your edge perfect. It takes two minutes before you start carving.
The Carving Process
1. Blanking It Out: First, draw the side and top profiles of your scoop onto your woodblock. Using a small handsaw (a coping saw is perfect), cut out the rough shape. This is called creating the ‘blank,’ and it removes most of the waste wood so you don’t have to carve it all away.
2. Hollowing the Bowl: Now, grab your hook knife. This is the fun part. Starting in the middle of the scoop’s bowl, make small, slicing cuts across the grain. Don’t try to take out huge chunks. Work your way from the center to the edges, creating a smooth, even hollow.

3. Shaping the Outside: Switch to your straight knife to shape the handle and the outside of the bowl. This is where your own artistry comes into play. Make long, slicing cuts, always carving away from your body. The little facets left by the knife blade are part of the charm, so don’t feel like you need to sand it perfectly smooth.
The Final Touch: A Food-Safe Finish
Since this might touch food, you need a food-safe finish. The simplest and best is an oil that cures, like pure tung oil or pure linseed oil (not the boiled kind from the hardware store, which has additives). You can also just use a mix of mineral oil and beeswax. Slather it on, let it soak in for an hour, then wipe off every bit of excess. Let it cure for a few days, and you’re done.
- Time & Cost: A quality starter knife and hook knife will be your main investment, probably around $70-$90 total, but they are tools for life. Your first scoop might take you anywhere from 3 to 6 hours. It’s a slow, rewarding process.
A Final Thought on Giving Real Gifts
When you craft a gift, you’re investing your most valuable asset: your time. Whether you’re waiting for marmalade to set, soap to cure, or slowly shaving wood to find a shape, you’re embedding your focus and intention into an object. That’s a powerful thing.
And by the way, don’t worry about machine-like perfection. The tiny imperfections are the marks of the hand that made it—they give it character. When you give your gift, share the story behind it. That connection is something money can never buy.
Inspiration:
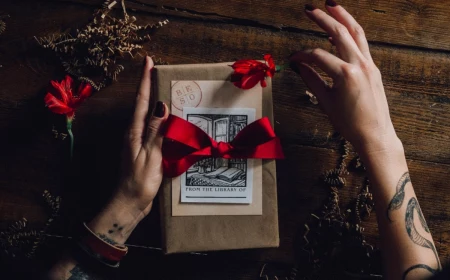
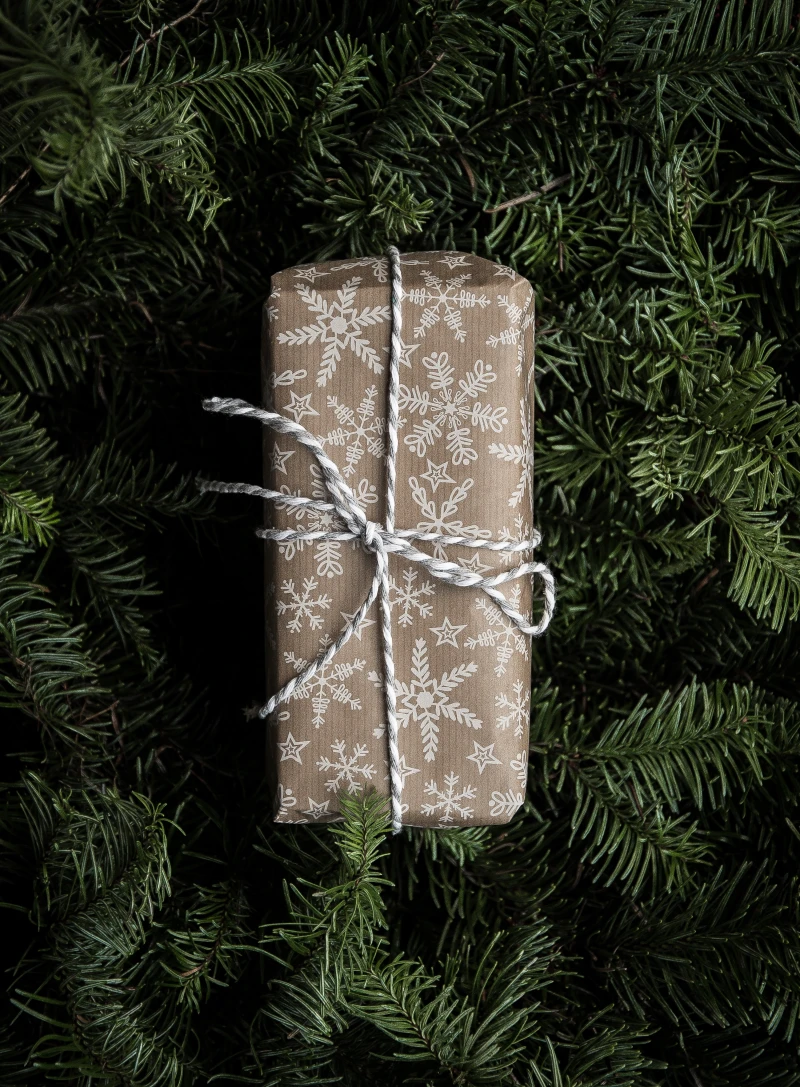
The final touch that transforms your creation from a project into a true gift is the presentation. Think beyond standard wrapping paper to reflect the care you’ve put inside.
- Fabric Wrapping: Use the Japanese Furoshiki technique with a beautiful linen or cotton cloth, which becomes part of the gift itself.
- Natural Accents: Tie your package with undyed linen ribbon and tuck in a sprig of dried rosemary or a cinnamon stick.
- Custom Tags: A simple cardstock tag, stamped with a custom wax seal, adds a level of classic elegance.
According to a recent Pinterest Business report, searches for “unique handmade gift ideas” have increased by over 80% in the last year.
This isn’t just about saving money; it’s a cultural shift. People are actively seeking gifts with a story and a soul—something that can’t be found in a mass-market catalog. Your hand-carved spoon or jar of marmalade is part of a larger movement towards meaningful consumption.
Want a beautiful pantry gift without the precise science of setting marmalade?
Consider crafting an infused olive oil. The key is choosing your method. For delicate herbs like basil or tarragon, use a cold infusion: simply bruise the fresh leaves and steep them in a quality extra virgin olive oil (like a bottle from California Olive Ranch) for a week in a cool, dark place, then strain. For robust ingredients like chili, garlic, or rosemary, a gentle warm infusion works best. Heat the oil and aromatics in a saucepan over low heat for about 5-10 minutes until fragrant—do not let it simmer! Cool completely before bottling. It’s a simple process that yields a deeply impressive, gourmet result.
A common pitfall: The temptation to over-personalize. While it comes from a good place, a cutting board with giant laser-engraved initials might not fit your recipient’s minimalist kitchen aesthetic. True thoughtfulness lies in crafting something beautiful that aligns with their style, not just in marking it with their name.
For the wooden scoop project, choosing the right wood is crucial.
Cherry Wood: A classic choice for kitchenware. It’s relatively easy to carve, has a fine, straight grain, and a beautiful reddish-brown color that deepens over time with oiling. It imparts no flavor to food.
Hard Maple: Denser and more durable than cherry. Its pale, creamy color provides a clean, modern look. It’s a bit tougher to carve by hand but is exceptionally long-lasting and non-porous.
For a first carving project, cherry offers a more forgiving and satisfying experience.