Beyond the Tutorial: How to Make Home Decor That Looks Genuinely Professional
I’ve spent a good chunk of my life in a workshop, and let me tell you, the smell of fresh-cut pine and curing paint never gets old. Over the years, I’ve realized that making something beautiful for your home isn’t just about following a set of instructions you found online. It’s about getting to know your materials and understanding why one method works and another one just… doesn’t. A lot of guides show you a quick project, but I want to pull back the curtain on the actual craft behind it.
In this article
The first thing I always teach anyone new to the workshop is this: a project made with good technique can last for generations. But one that’s rushed with cheap materials might not even make it through the season. We’re going to walk through a few core projects, but more importantly, we’re going to cover the principles the pros use to make things that are not just pretty, but built to last.
First Things First: Understanding Your Materials
Before you even think about picking up a tool, you have to know what you’re working with. Honestly, a maker’s most powerful skill is their knowledge of materials. It’s what stops you from making frustrating mistakes and is the secret to a fantastic final product.
Choosing the Right Wood for Small Projects
So, you’re at the hardware store staring at a wall of lumber. It’s not all the same. For small decorative things like stools, shelves, or picture frames, your choice really matters. Wood is generally broken down into two camps: softwoods and hardwoods.
Softwoods, like pine or cedar, are usually cheaper and way easier to work with. Pine is a fantastic choice for beginner projects because it sands like a dream and takes paint really well. The trade-off? It’s soft (shocking, I know) and can get dented if you’re not careful. You can find basic pine boards at places like Home Depot for just a few dollars per foot.
Then you have hardwoods, like oak, maple, or walnut. These are the heavy hitters—denser, more durable, and more expensive. Oak has a beautiful, pronounced grain that looks incredible with just a clear stain. Maple is smoother and lighter, giving you a perfect canvas for paint. While they cost more and can be a bit tougher to cut and drill, their durability is totally worth it for any piece that’s going to get regular use.
Oh yeah, quick tip: no matter what wood you choose, look closely at the grain. That pattern shows you which way the tree’s fibers grew. You ALWAYS want to sand and stain parallel to the grain. Going against it creates tiny scratches that are a nightmare to get rid of. This is one of those little things that separates amateur work from the good stuff.
Decoding Fibers for Textiles and Dyes
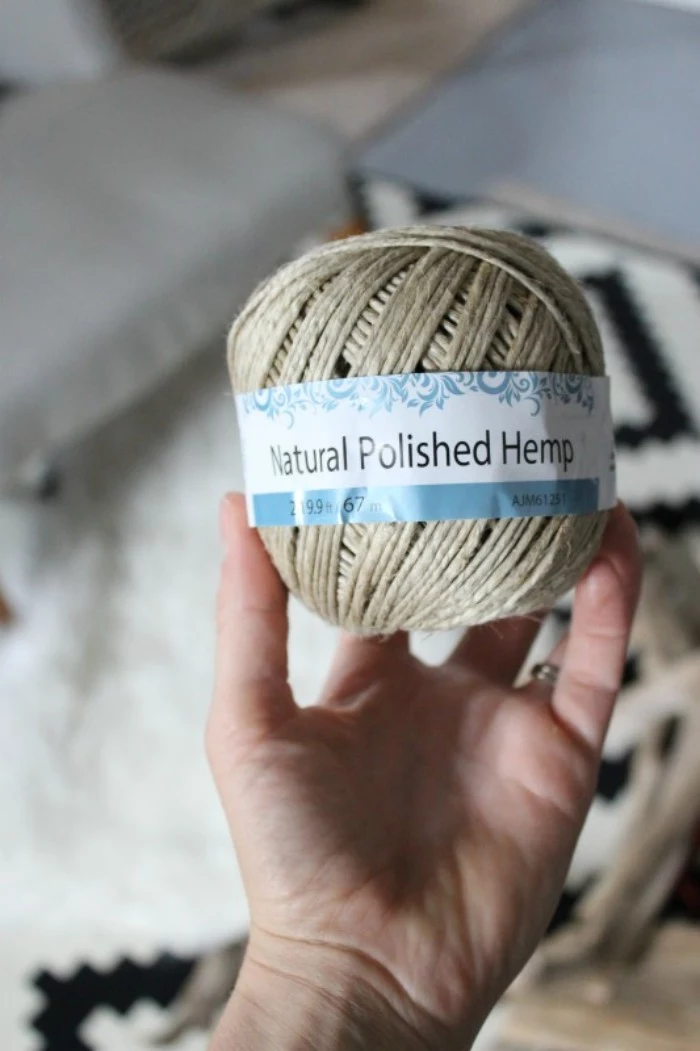
If you’re working with yarn for something like a wall hanging or tassels, the type of fiber is everything, especially if you plan on dyeing it. Just like wood, fibers fall into two main groups: natural and synthetic.
Natural fibers come from plants or animals. Cotton is a plant fiber and it’s super absorbent, which makes it absolutely perfect for soaking up liquid dyes. Wool works well too, but it can shrink if you’re not careful with heat. For most decorative projects, I’d point you toward 100% cotton yarn. You can grab a big skein at any craft store for about $5 to $10, and the colors come out so vibrant and consistent.
Synthetic fibers like acrylic or polyester are basically a type of plastic. They’re designed to repel water, which means your standard fabric dye won’t do much. The color will look pale and sad, and it’ll wash right out. To color synthetics, you need a special kind of disperse dye, which is a lot more complicated to use. To be frank, just stick with natural fibers like cotton to save yourself the headache.
Project Deep Dive: Finishing and Repurposing Wood
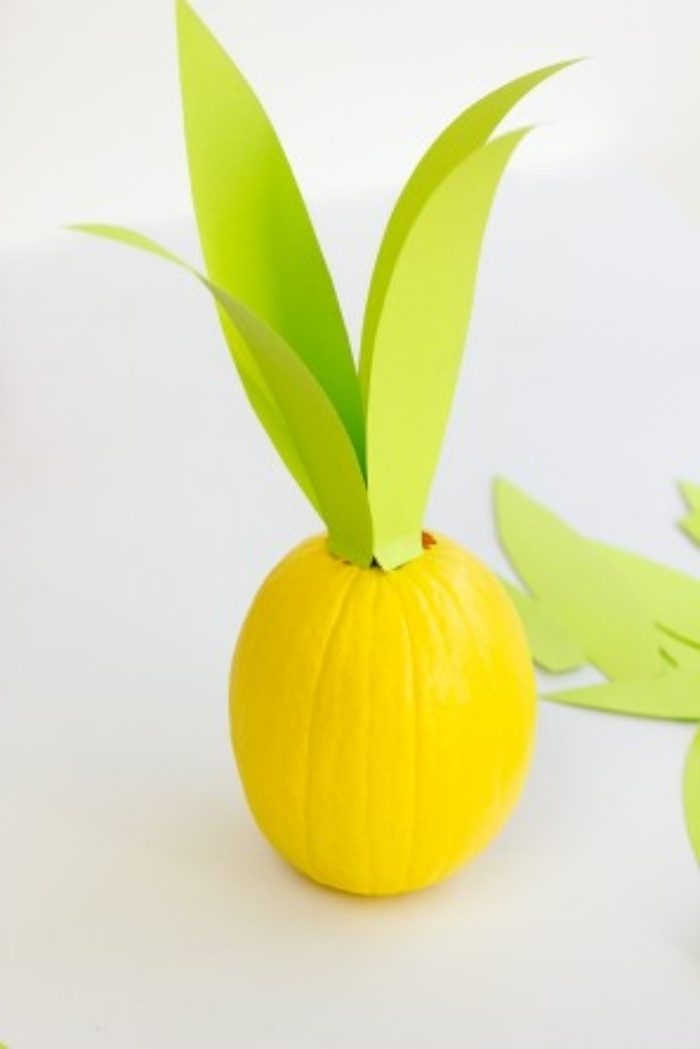
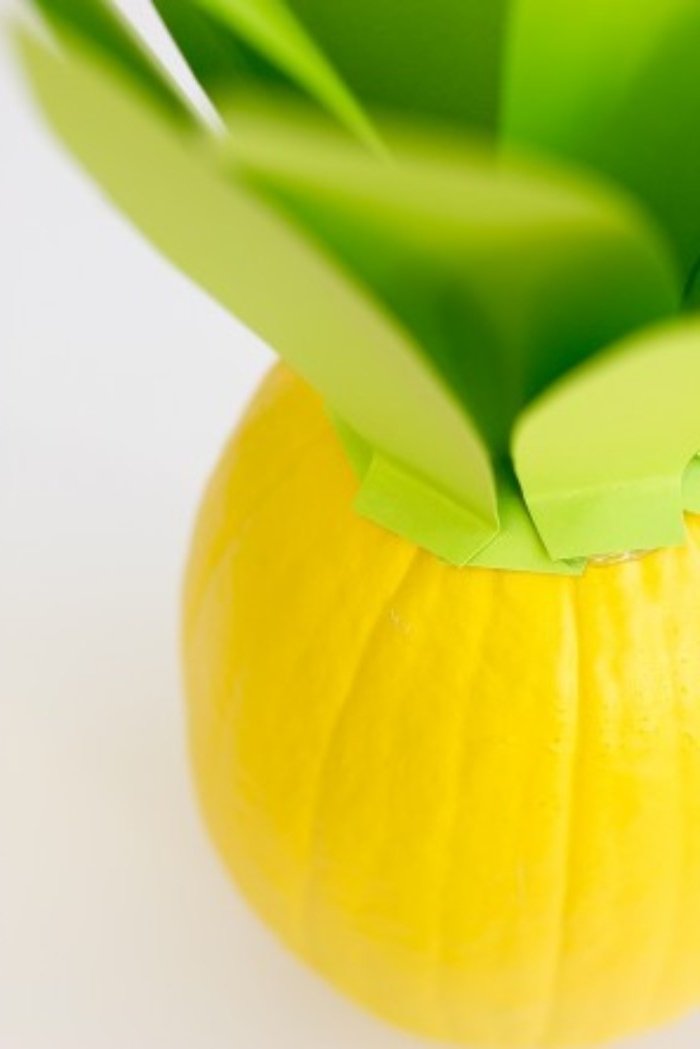
Alright, let’s put this knowledge to work. We can take a simple, unfinished wooden stool or even a piece of found driftwood and turn it into something that looks high-end. The magic is all in the prep work and the final finish.
Step 1: Why Prep Work is Everything
A flawless finish starts with a perfectly prepped surface. Pros spend way more time sanding and preparing than they do actually painting. Don’t rush this part!
Before you start, let’s talk shopping. Here’s a rough idea of what you’ll need for a small stool project:
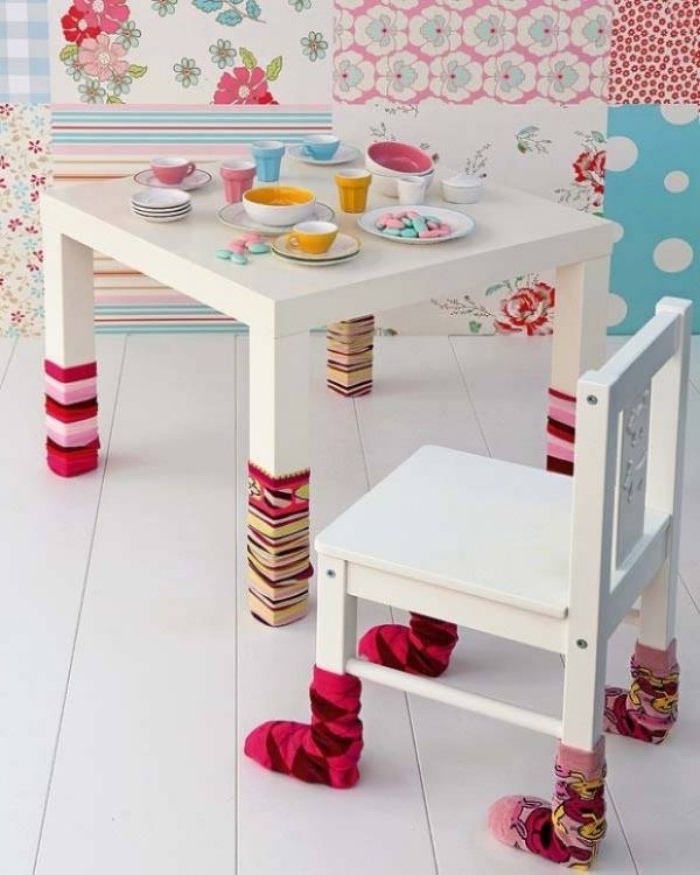
- Unfinished Pine Stool: You can find these at craft stores or even places like IKEA. They usually run between $15 and $30.
- Sandpaper Assortment Pack (80 to 220-grit): This should only cost about $5.
- A can of spray primer: About $8. A shellac-based one is great for blocking wood grain.
- Quality Latex Paint: A small sample pot is all you need, which is around $5-$7.
- A can of Polycrylic Topcoat: This will be about $12.
- Total Estimated Cost: You’re looking at around $45 to $62 for a piece you’ll have forever.
Time Needed: Plan on this being an easy weekend project. It’s about 3-4 hours of active work, but it’s spread out over a day or two to let everything dry properly.
Okay, back to sanding. For a raw wood stool, I start with 120-grit sandpaper to get rid of any machine marks, then move to 180-grit, and finish with a super-fine 220-grit for a silky-smooth surface. And remember, always sand with the grain!
Heads up! Wood dust is no joke. Always wear a good N95 dust mask when you’re sanding. If you can, do it outside. I once got a tiny speck of sawdust in my eye and it was painfully irritated for a week. Safety glasses are not optional, trust me.
After sanding, you have to get rid of ALL the dust. A vacuum with a brush attachment works great, but for a truly pro finish, follow up with a tack cloth. It’s a sticky piece of cheesecloth (you can find it in the paint aisle for a couple of bucks) that picks up every last particle.
Step 2: Painting and Adding Your Personal Touch
If you’re painting, you need to use a primer first. Primer isn’t just white paint; it’s designed to seal the wood so your top coat goes on evenly, and it blocks any weird wood tannins from bleeding through and staining your color. A spray can primer is quick and effective for a small piece.
Once the primer is dry, it’s time for the fun part. For furniture, a good quality acrylic latex paint is my choice. It’s durable and cleans up with water. Pro tip: apply two thin coats instead of one thick, gloppy one. It dries harder and looks much more professional.
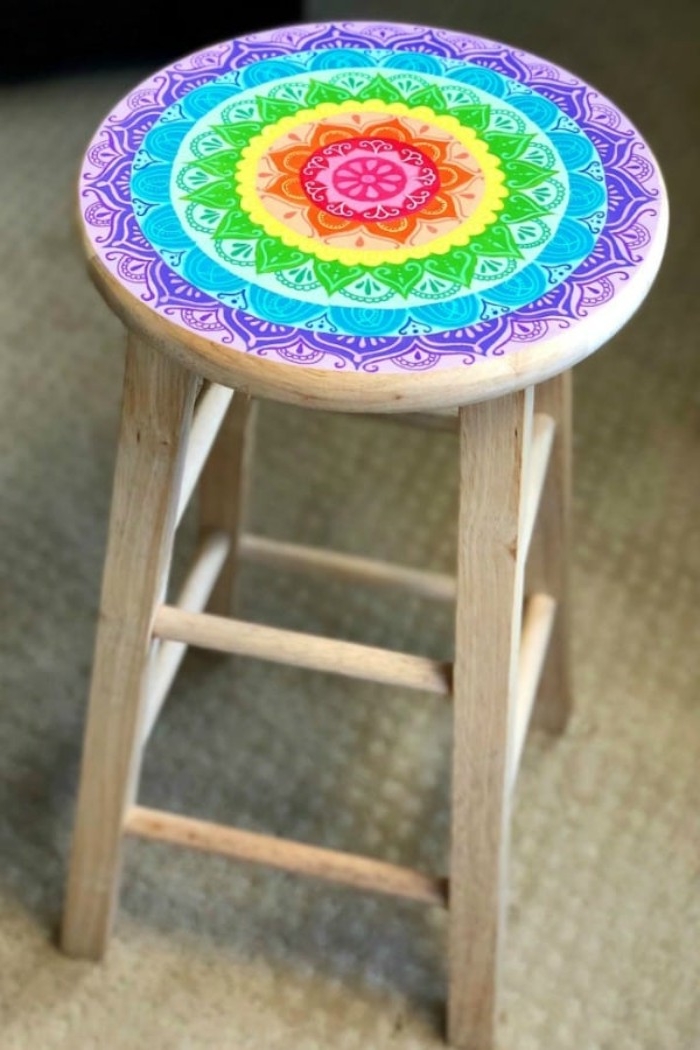
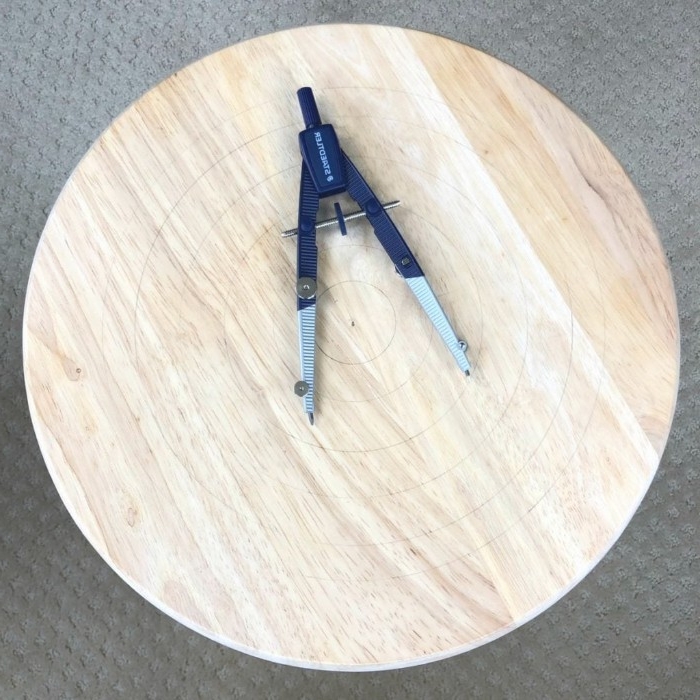
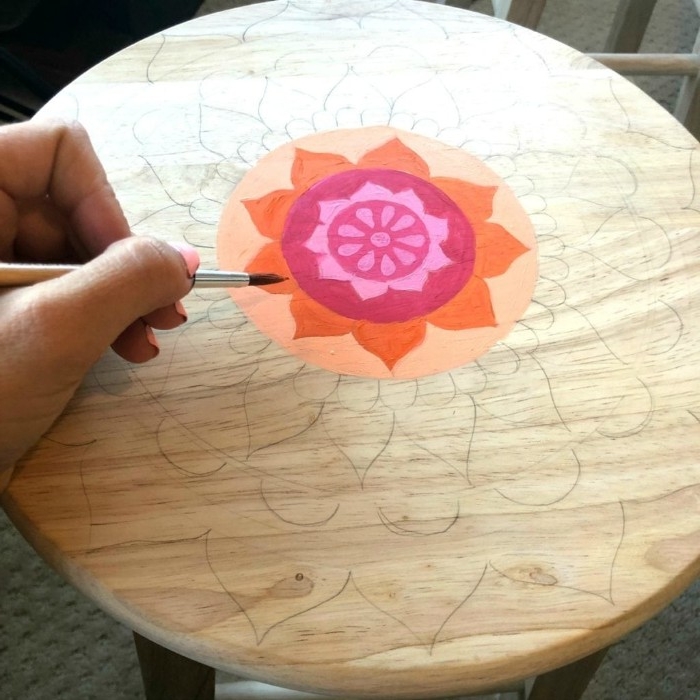
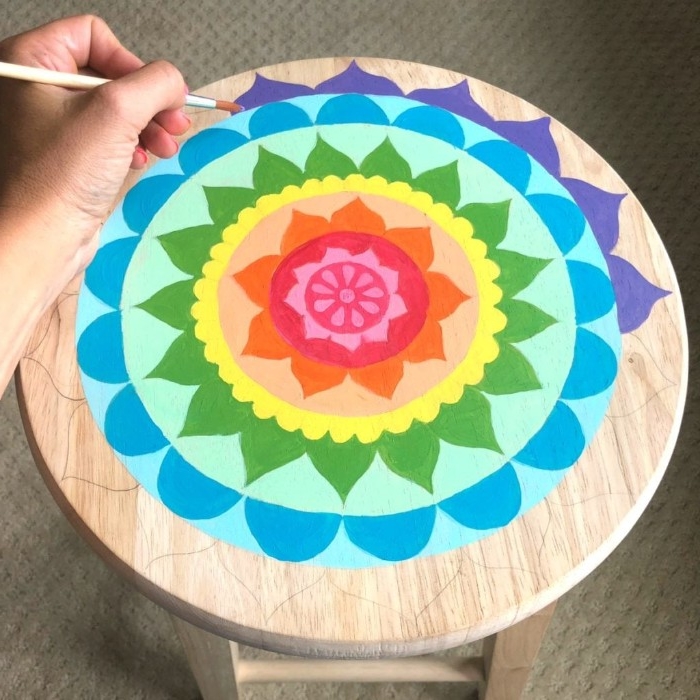
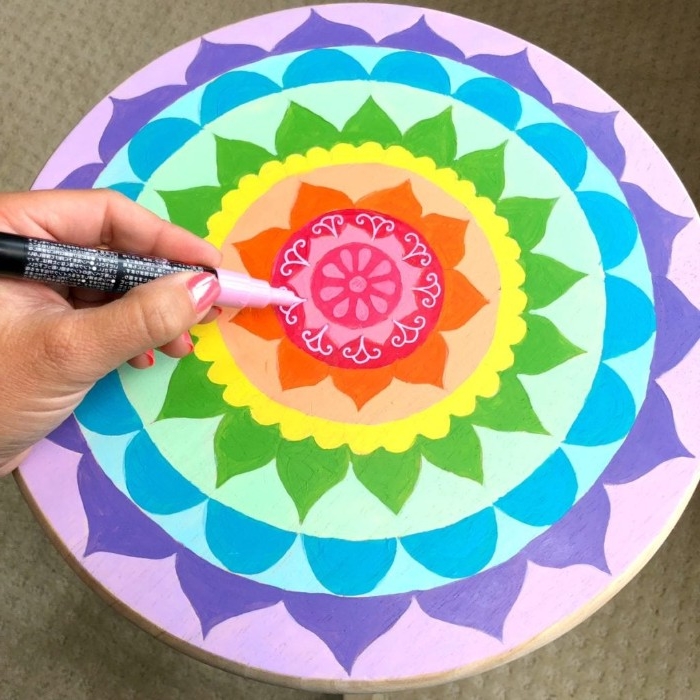
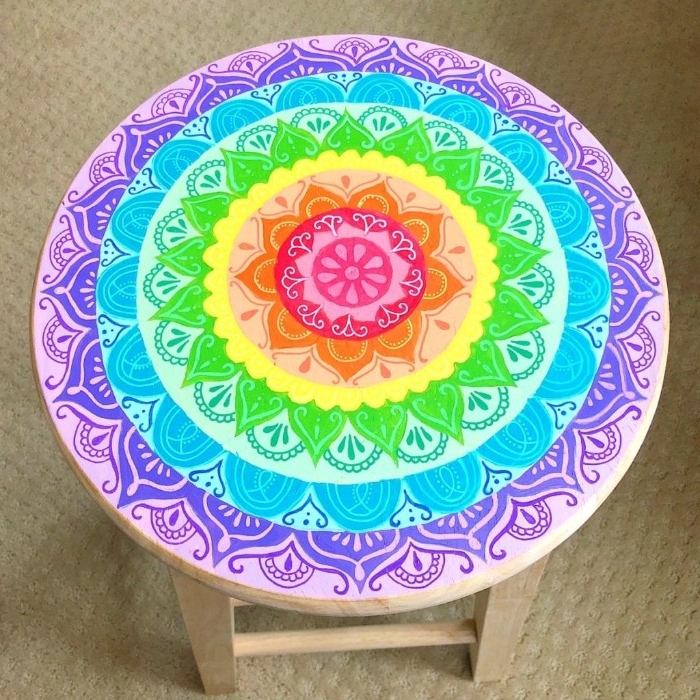
Want to add a cool design, like a mandala? You can use graphite paper to transfer a printed pattern, or just freehand it with a pencil. Acrylic paint pens are amazing for this—they give you so much control. If you’re using a brush, invest in a decent small artist’s brush. The cheap ones shed bristles right into your paint, and that will ruin a perfectly smooth finish.
Step 3: Sealing Your Work So It Lasts
Paint alone isn’t tough enough for something that will get used or touched. You need a clear topcoat to protect it. Choosing the right one can be confusing, so here’s the breakdown:
- Polycrylic: This is my go-to for anything painted. It’s a water-based finish that dries completely clear and, most importantly, it doesn’t yellow over time. It’s perfect for keeping your whites white. It’s not the most heat-resistant finish, but for a decorative stool or shelf, it’s ideal. Two coats is usually enough.
- Oil-Based Polyurethane: This stuff is incredibly durable and a great choice for stained wood or high-traffic surfaces. The big downside is that it has a natural amber tint that gets more yellow as it ages. It will definitely give light-colored paint a creamy, aged look, which you may or may not want.
- Finishing Wax: Wax gives you a beautiful, soft, satin sheen that feels amazing to the touch. However, it’s the least durable option by far. It offers a little water resistance but needs to be reapplied every so often. It’s best for pieces that will be admired but not handled much.
By the way, if all this sounds like too much, here’s a quick win. Your 15-Minute Project: Grab a cheap, unfinished wooden picture frame from a craft store. Sand it smooth with 220-grit paper, hit it with one coat of your favorite color of spray paint, and let it dry. Instant home decor upgrade!
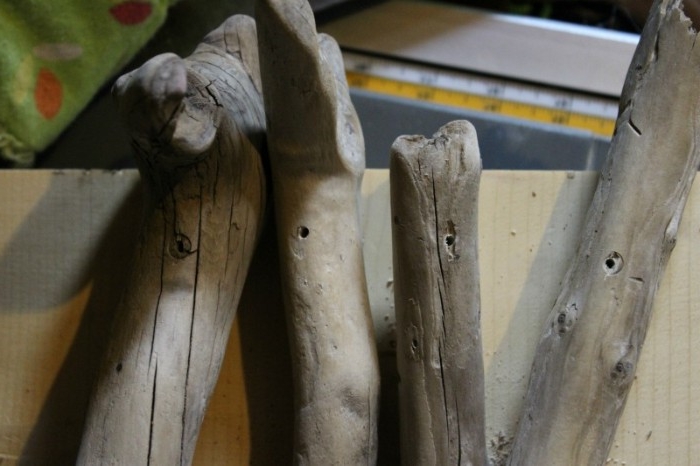
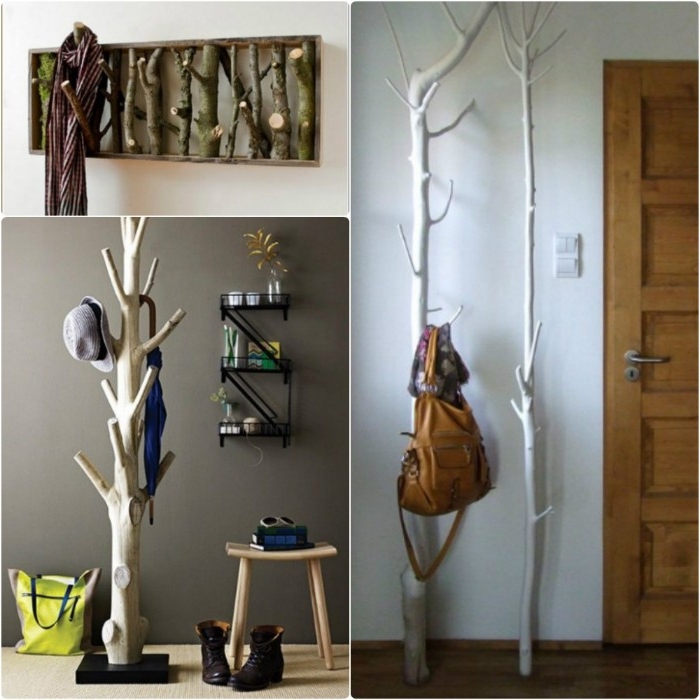
Working with Found Driftwood
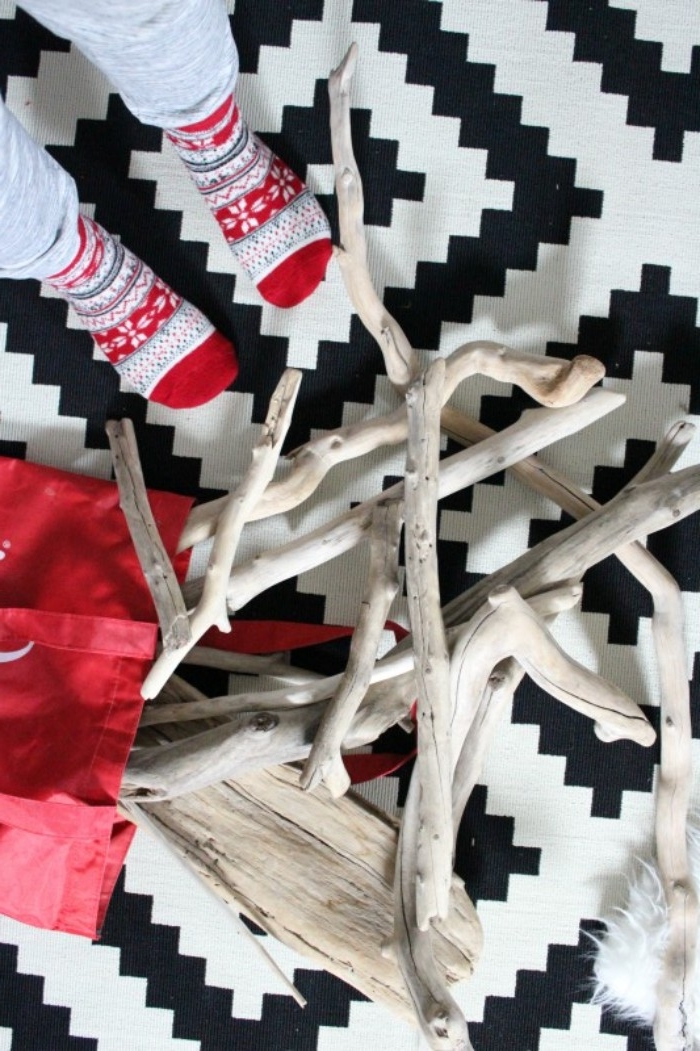
Bringing a piece of driftwood inside adds such a cool, natural vibe, but you have to prep it right. That piece of wood has been through a lot out there!
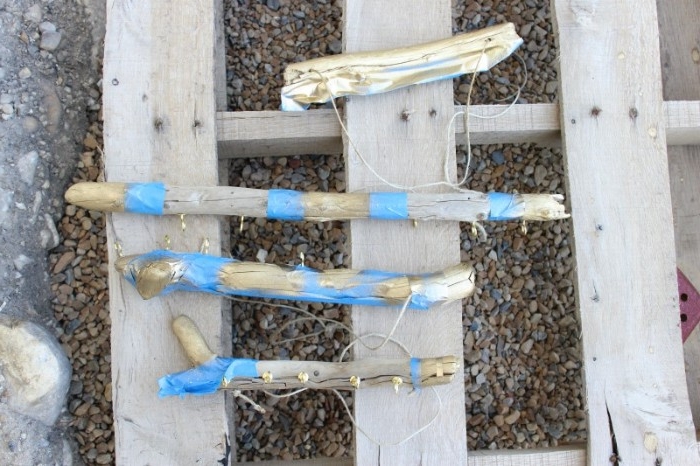
First, scrub it down with a stiff brush and soapy water to get rid of all the sand and grime. Then, you have to sanitize it. I’ve seen people bring in wood that later sprouted mold or—in one very memorable case—had a whole family of bugs emerge. Yikes. To kill anything living in there, you can boil a small piece in a big pot for an hour. For larger pieces, soak it for a day in a solution of one part bleach to nine parts water. A 5-gallon bucket from the hardware store works perfectly for this. After its bath, let it dry completely in the sun for a few days.
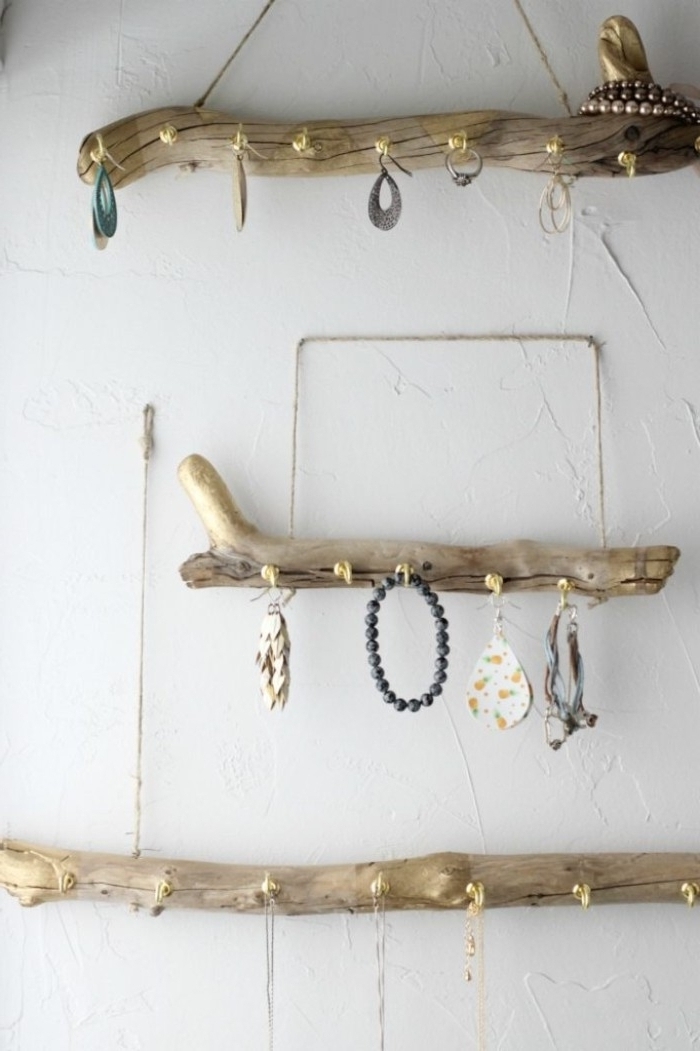
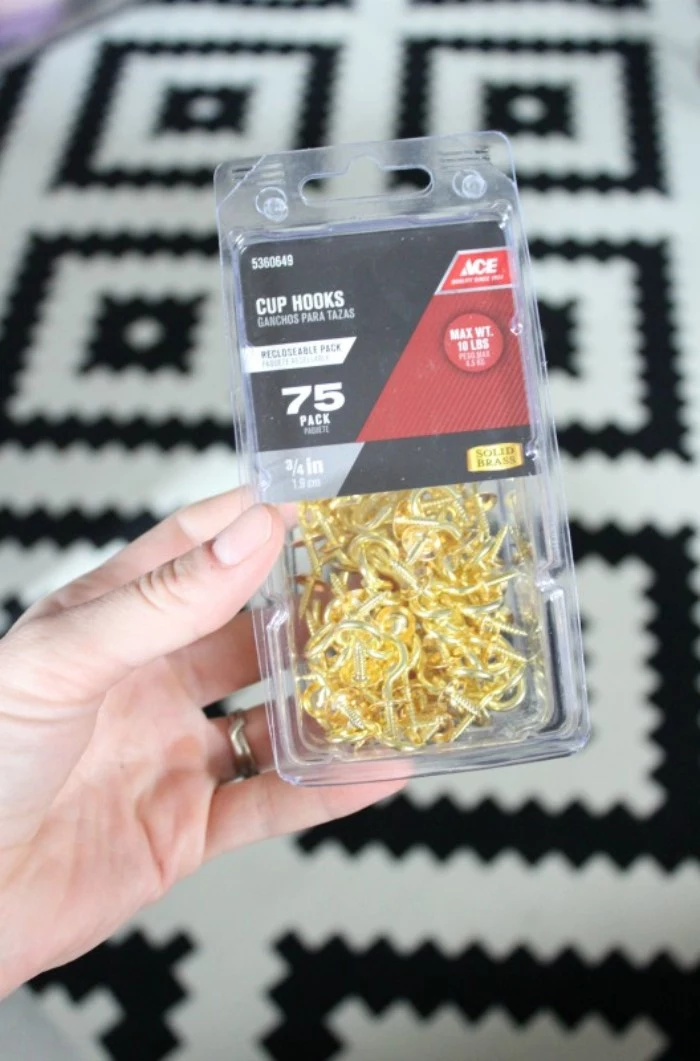
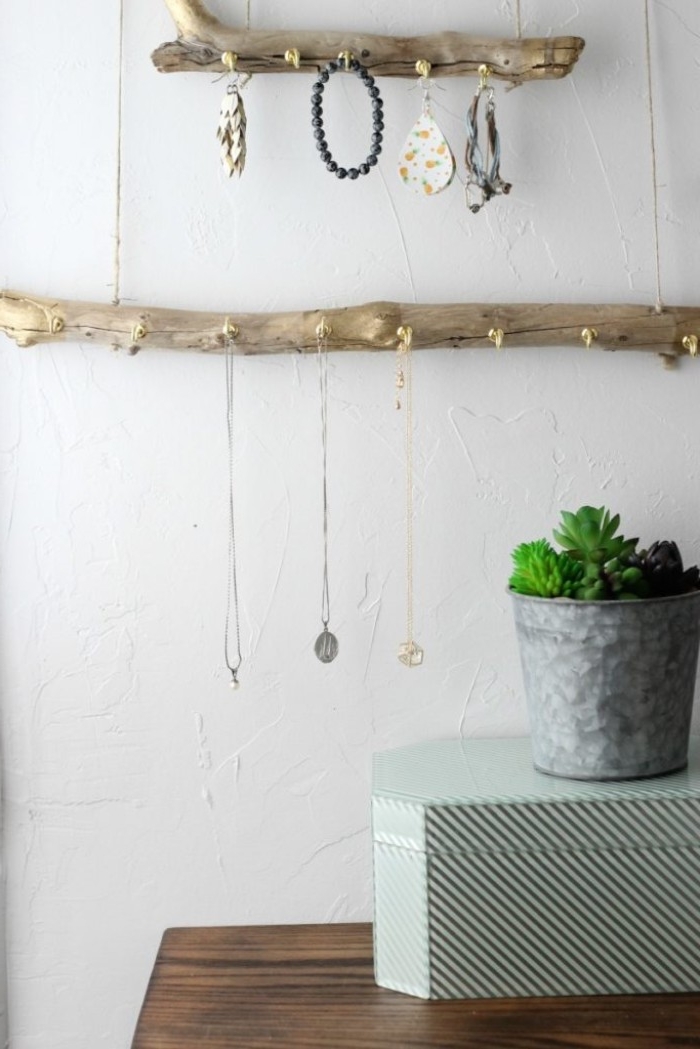
Once it’s clean and bone-dry, you can finish it just like any other wood. A clear satin polycrylic will protect it without making it look overly glossy. A quick tip for adding hardware, like hooks for a jewelry stand: always drill a pilot hole first. That’s a hole just a little bit smaller than your screw, and it keeps the wood from splitting.

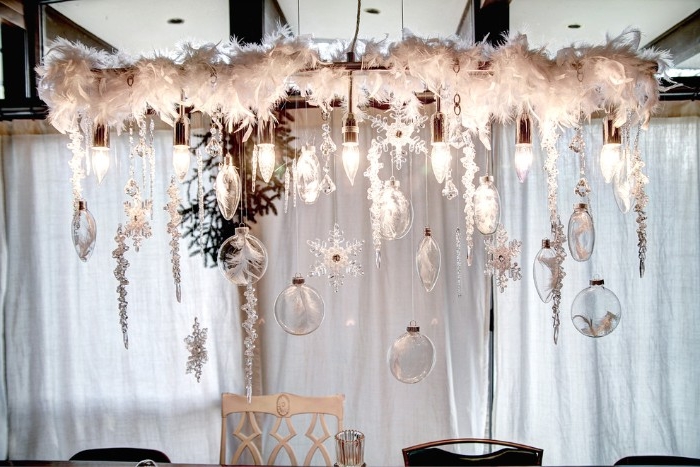
Project Deep Dive: Crafting with Fibers and Dyes
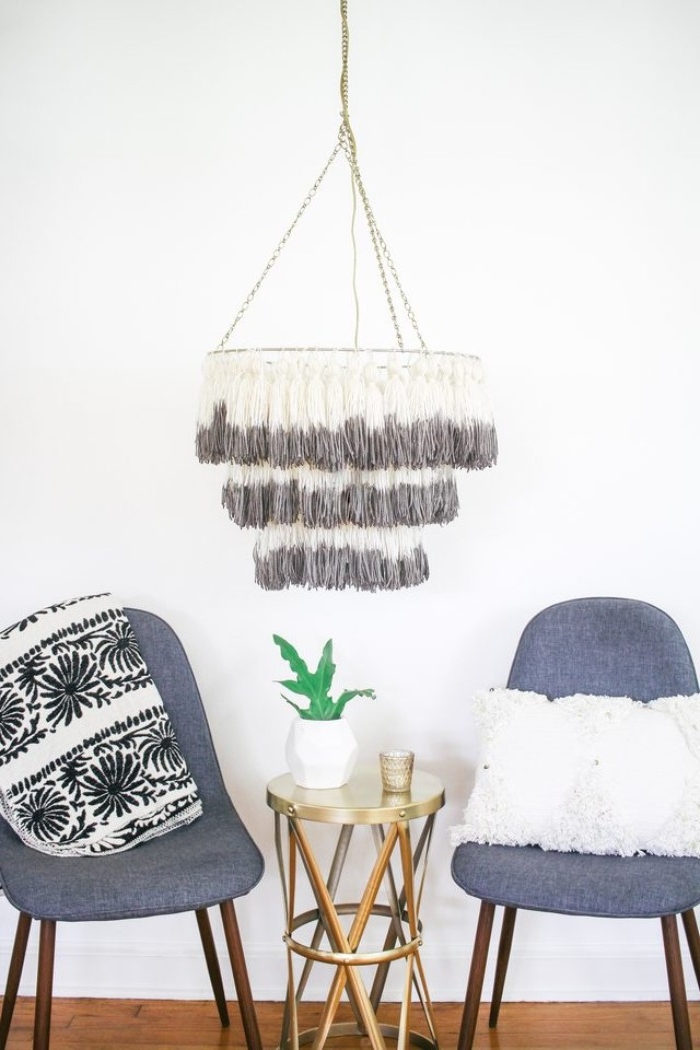
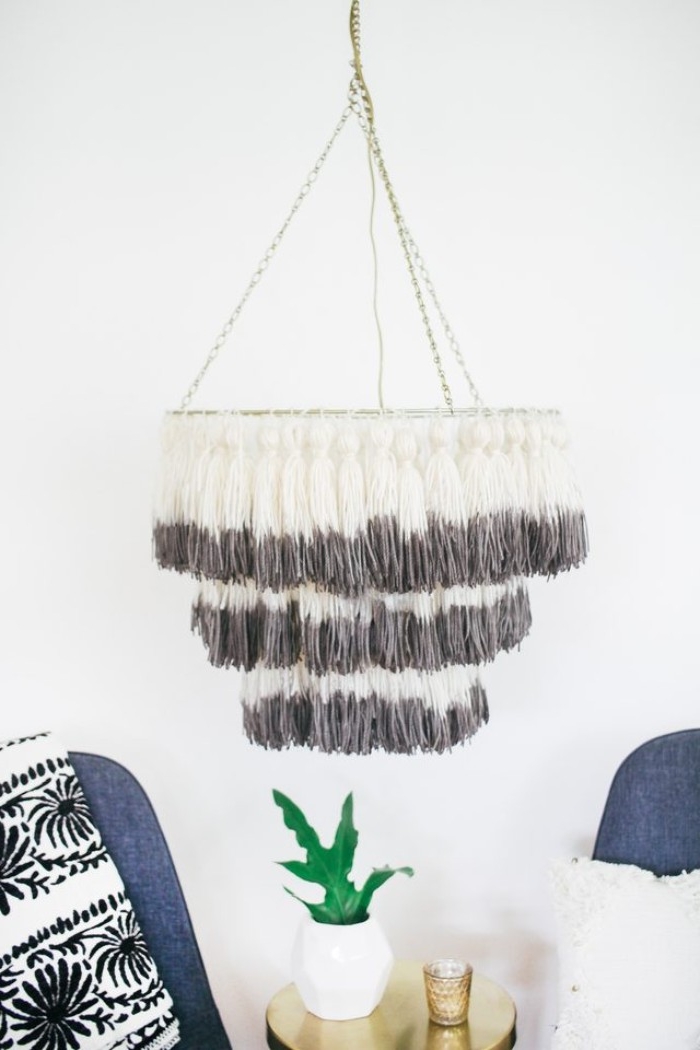
A project like a tassel chandelier is a bit more involved, but the results are absolutely stunning when you do it right. This is where your understanding of fibers really pays off.
Time Needed: Heads up, this one is more of a commitment! Set aside a weekend for this project, as it’ll probably take about 5-6 hours of total work time, including making all the tassels and putting it together.
Step 1: Making Tassels That Look Uniform
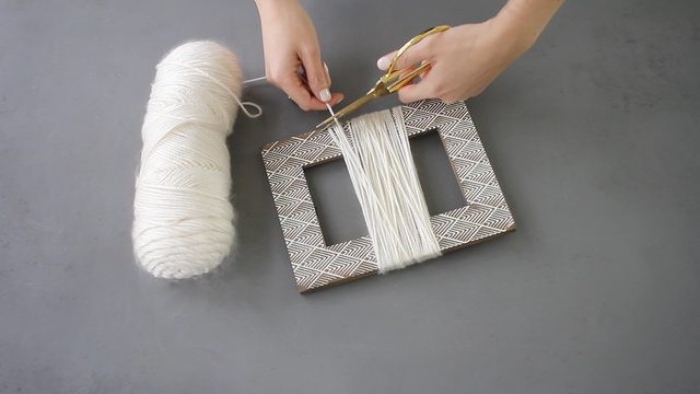
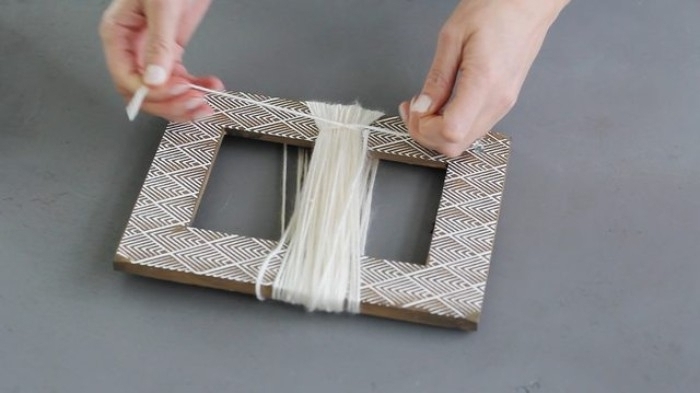
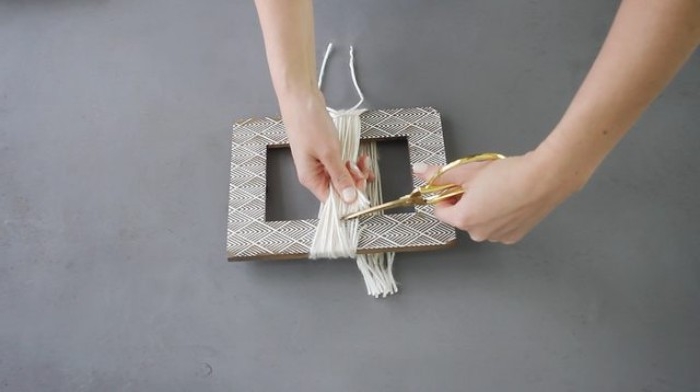
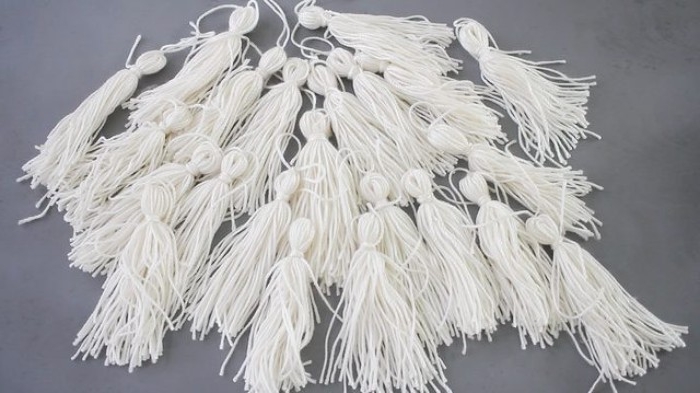
The secret to a professional-looking tassel project is consistency. Every single tassel needs to be the same length and fullness. The best way to do this is to make a simple jig. Just use a stiff piece of cardboard or a small book that’s the height you want your finished tassel to be.
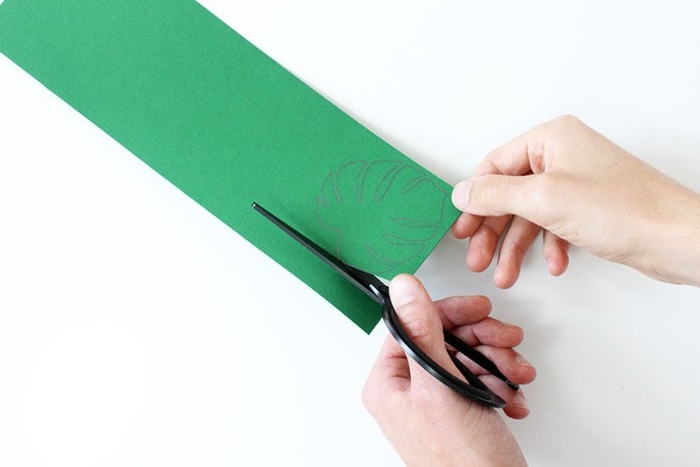
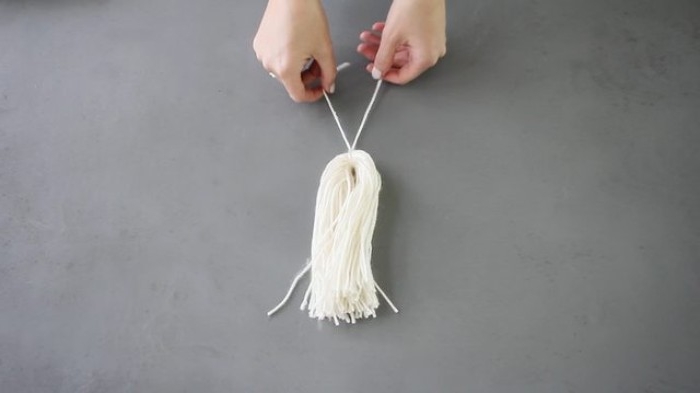
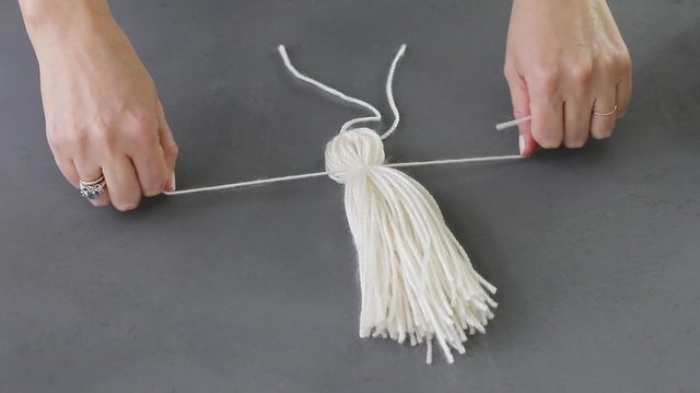
Wrap your 100% cotton yarn around the jig—for a nice, full tassel, I usually do about 60 to 80 wraps. Once you’re done wrapping, slide another piece of yarn under the loops at the top and tie a tight knot. Then, just slide your scissors along the bottom of the jig and snip all the loops. To finish it off and create that classic tassel “head,” wrap another piece of yarn tightly about an inch from the top. There’s a specific knot I love for this called the constrictor knot; it’s way more secure than a regular knot. To be honest, it’s easiest to learn by watching—just search for “how to tie a constrictor knot” on YouTube and you’ll find plenty of simple video tutorials. Finally, trim the bottom ends so they’re perfectly even. A sharp pair of fabric scissors is a must for a clean cut.
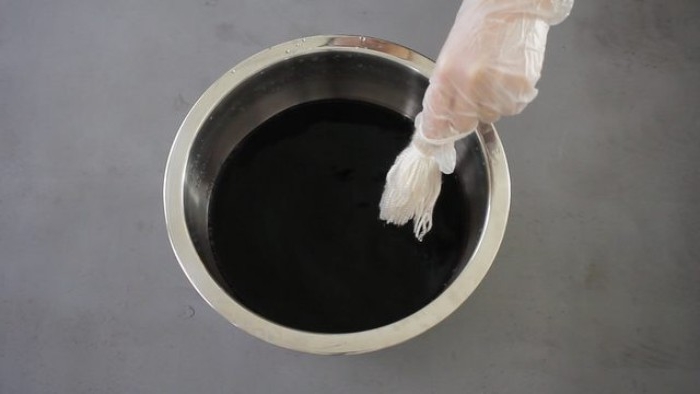
Step 2: The Simple Science of Dyeing Cotton
This is where that material science comes in handy. In a container you don’t use for food (like an old bucket), mix your liquid fabric dye with hot water according to the package directions. Now for the secret ingredient: a fixative. For cotton, this is usually just regular salt or something called soda ash. The dye package will tell you which one to use. The fixative is what actually allows the dye to form a permanent chemical bond with the cotton fibers. Without it, your color will be weak and will run if it ever gets wet.
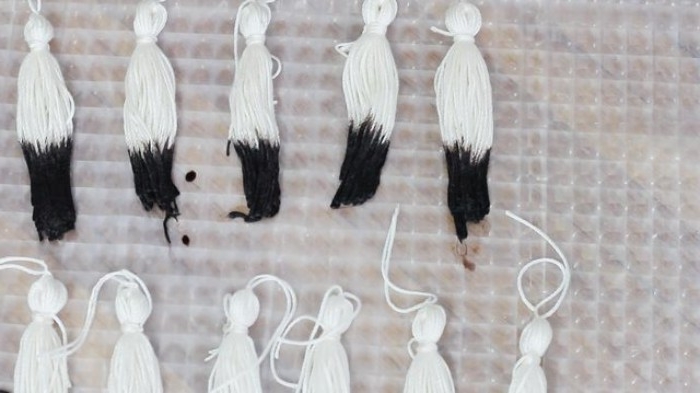
Carefully dip the bottom of each tassel into the dye. To create a cool gradient or ombré effect, you can dip it for a short time, lift it out an inch, wait a bit, and repeat. Let the dyed tassels hang to dry completely for a day or two, and make sure to put a drop cloth underneath to catch drips.
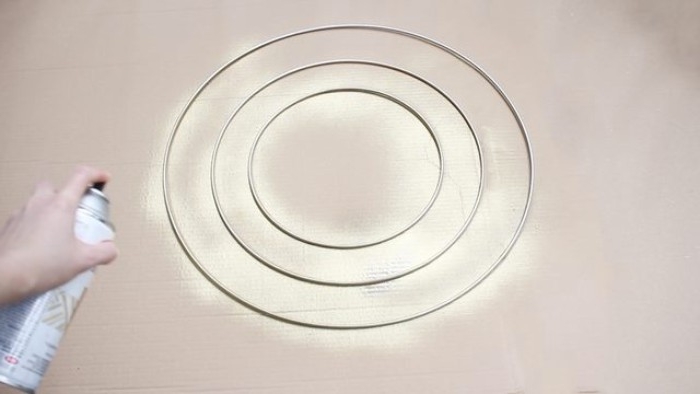
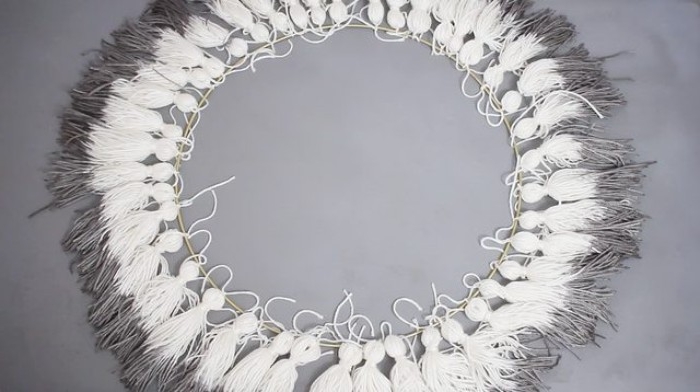
Step 3: Assembling the Chandelier
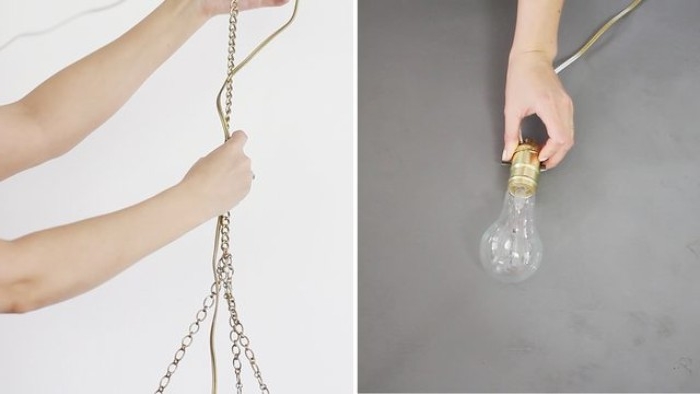
For the frame, you can use metal macrame hoops or even wooden embroidery hoops from a craft store. I find the metal ones are a bit sturdier. Tie your finished tassels onto the hoops, placing them close together for a full, lush look. You can connect multiple tiers of hoops with more yarn or a small, decorative chain from the hardware store. Just make sure the connections are all the same length so it hangs level—use a measuring tape for this, don’t just eyeball it!
OKAY, SERIOUSLY IMPORTANT NOTE: This is a decorative chandelier. It is NOT a light fixture. Yarn is flammable. Never, ever assemble this around a hot, exposed lightbulb. If you want to light it up, you must use a proper pendant light cord set where the bulb hangs far below the shade, and ONLY use a low-heat, low-wattage LED bulb. Any direct wiring should be handled by a licensed electrician. Ignoring this is a serious fire risk.
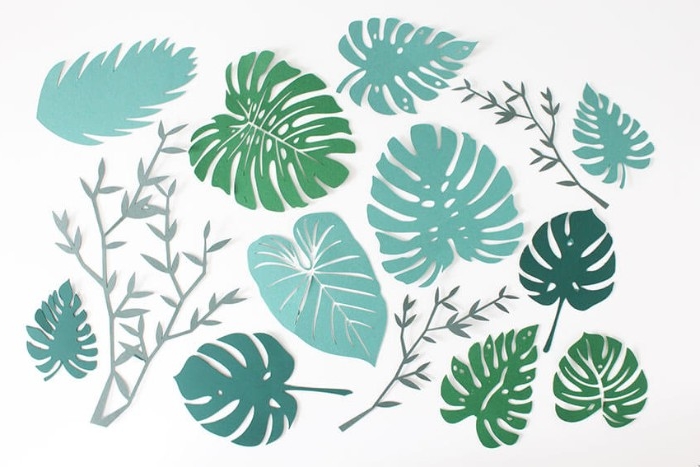
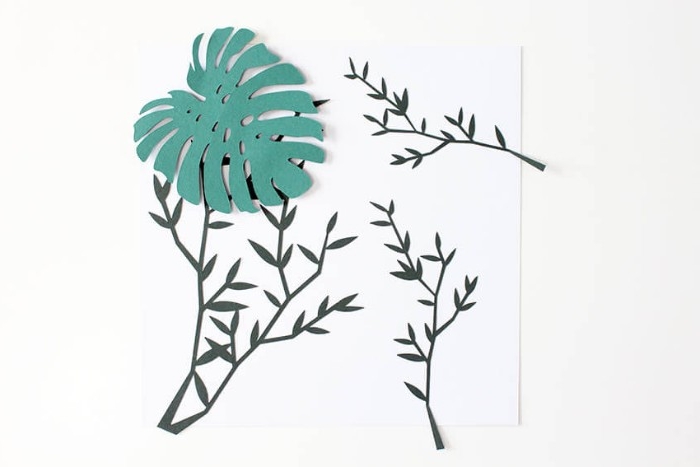
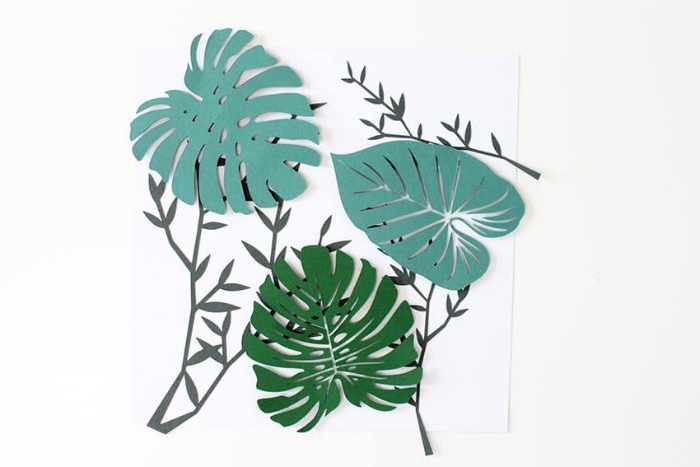
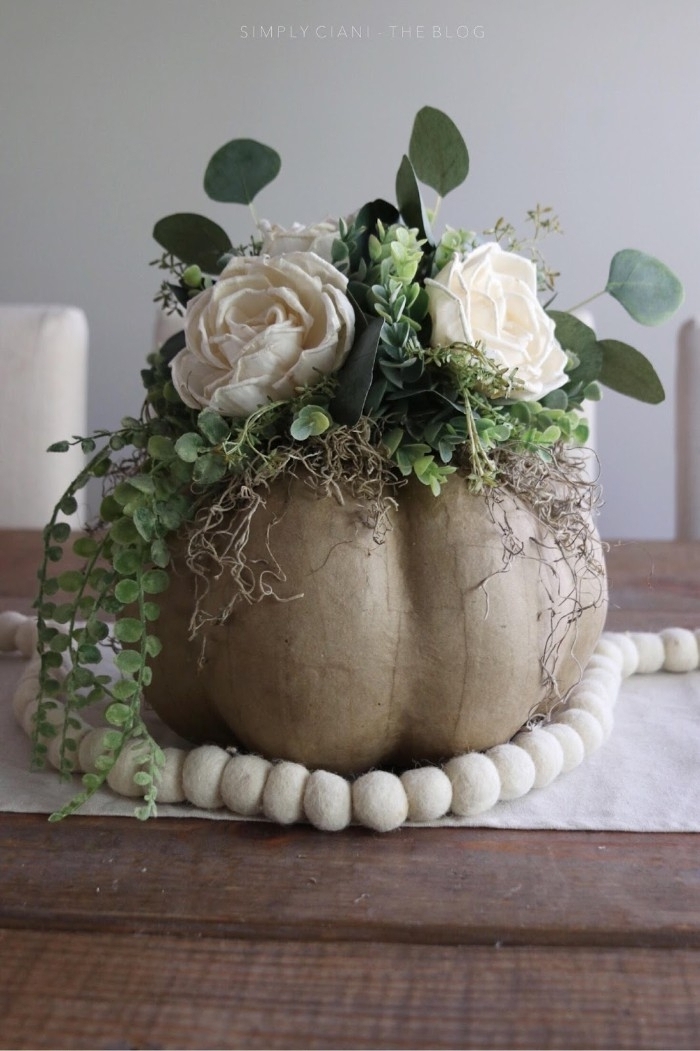
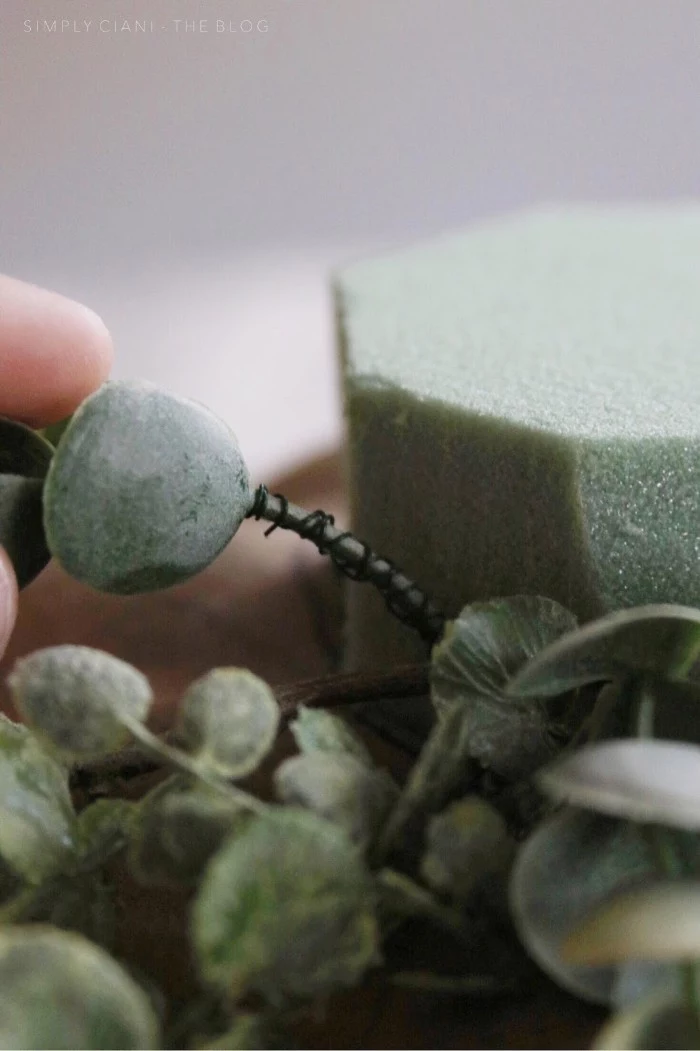
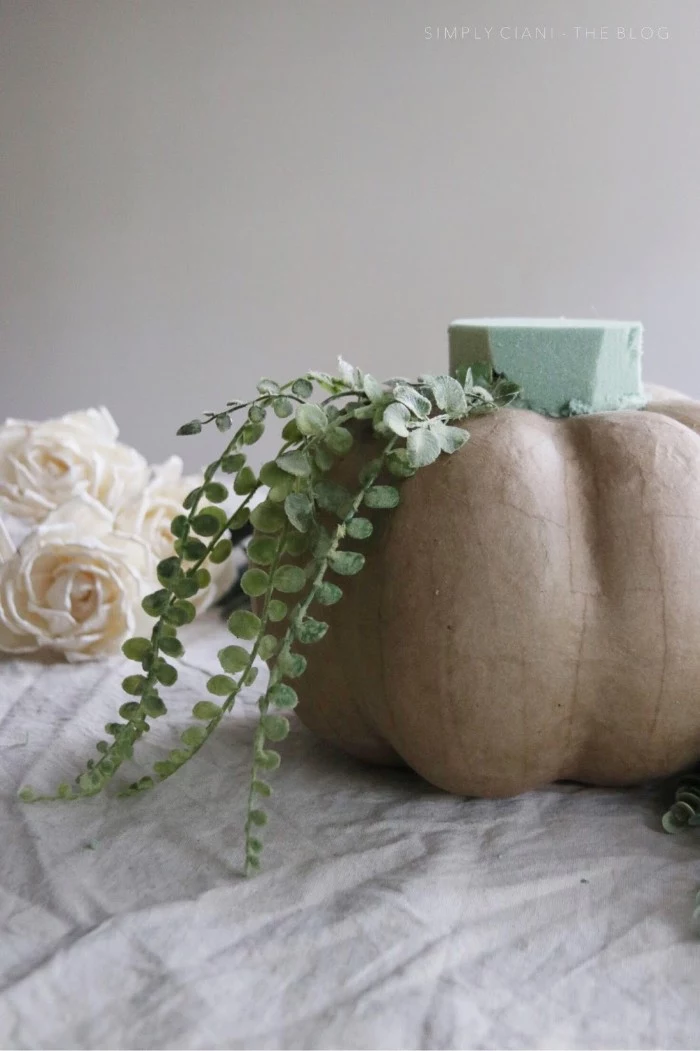
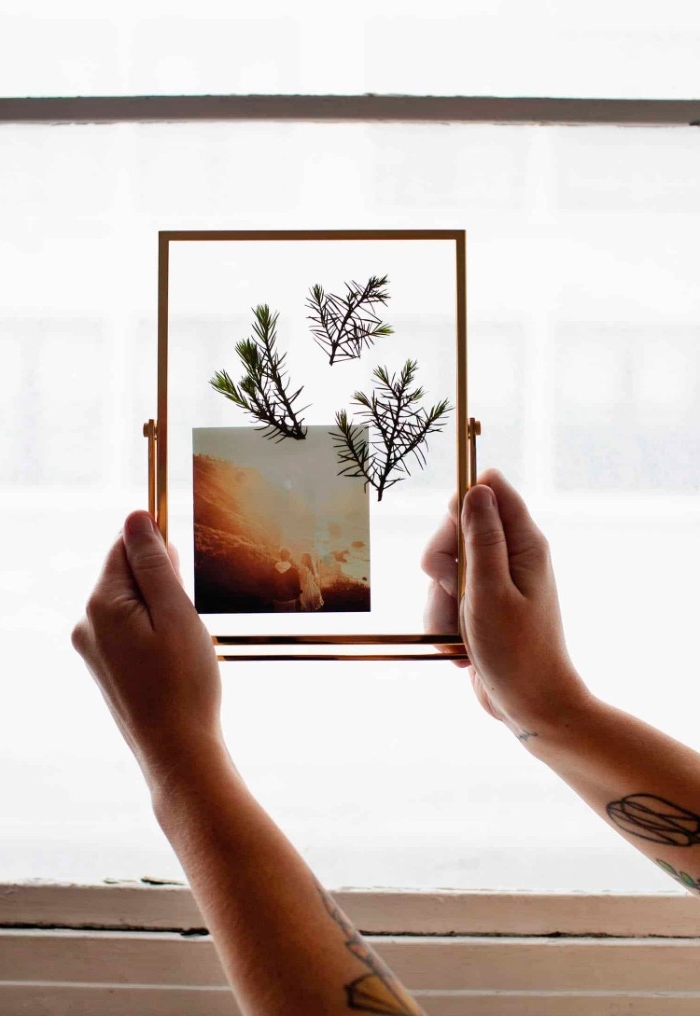
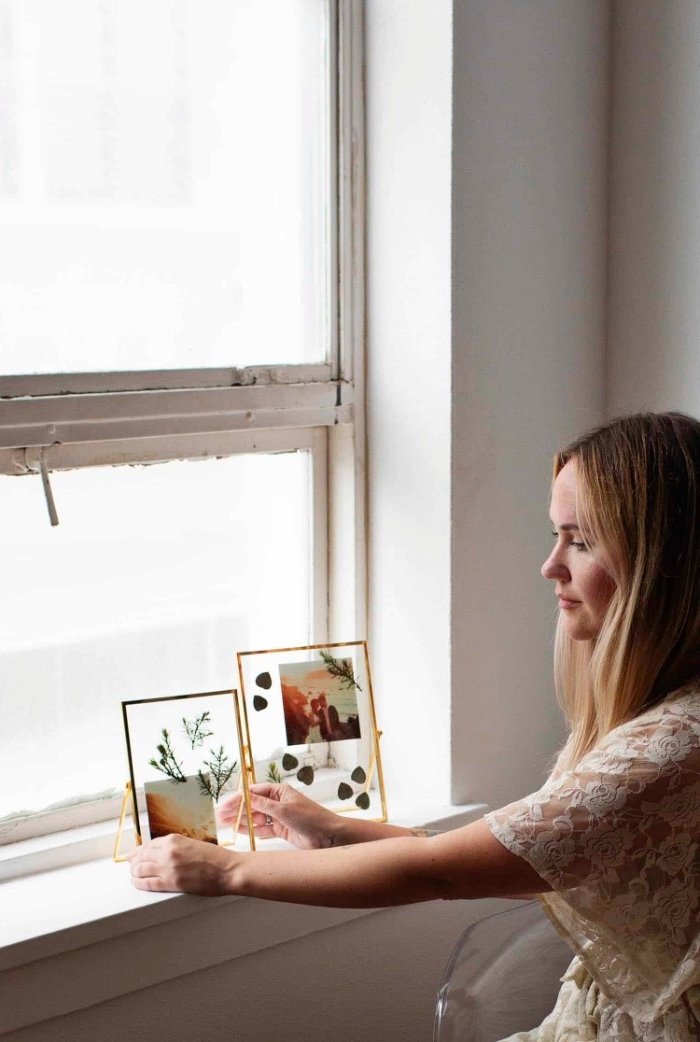
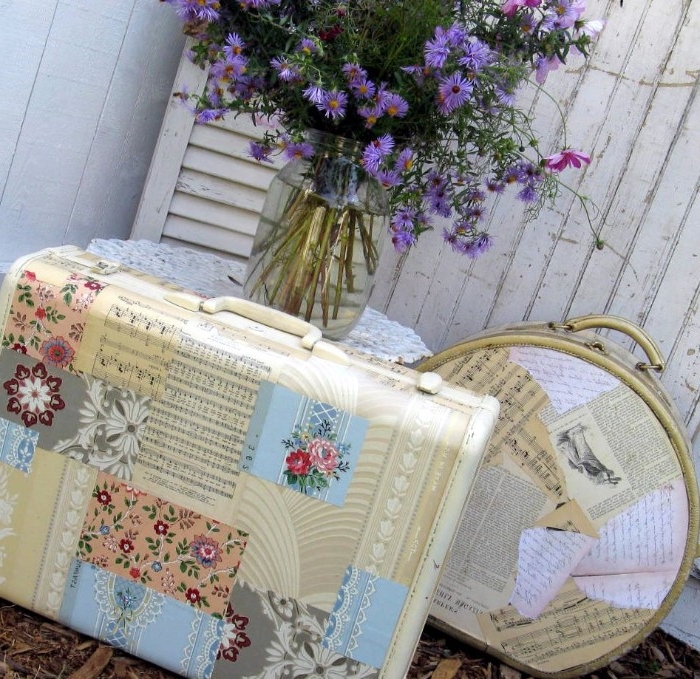
Project Deep Dive: Preserving and Framing Botanicals
Working with delicate materials like flowers is all about having a gentle hand and a lot of patience. The goal is to lock in their color and shape for years to come.
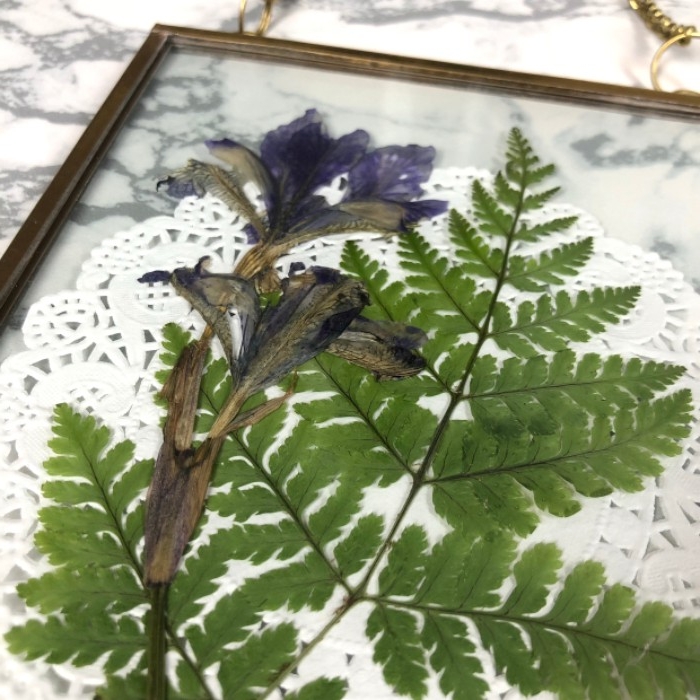
The Right Way to Press Flowers
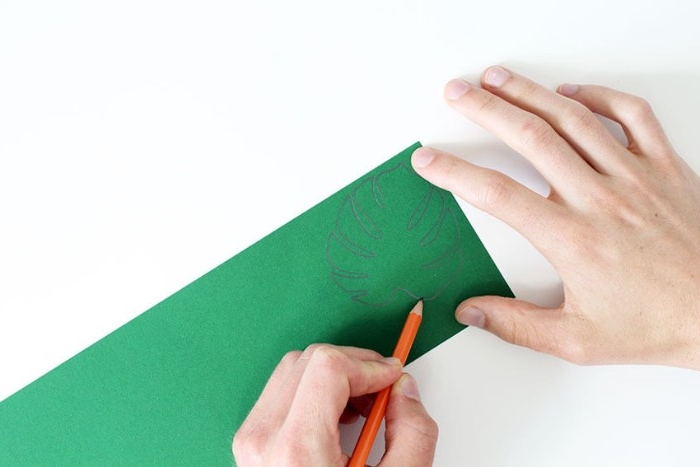
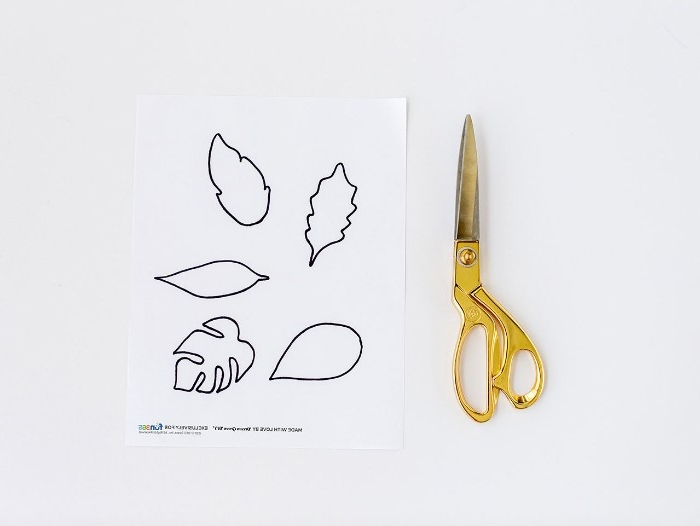
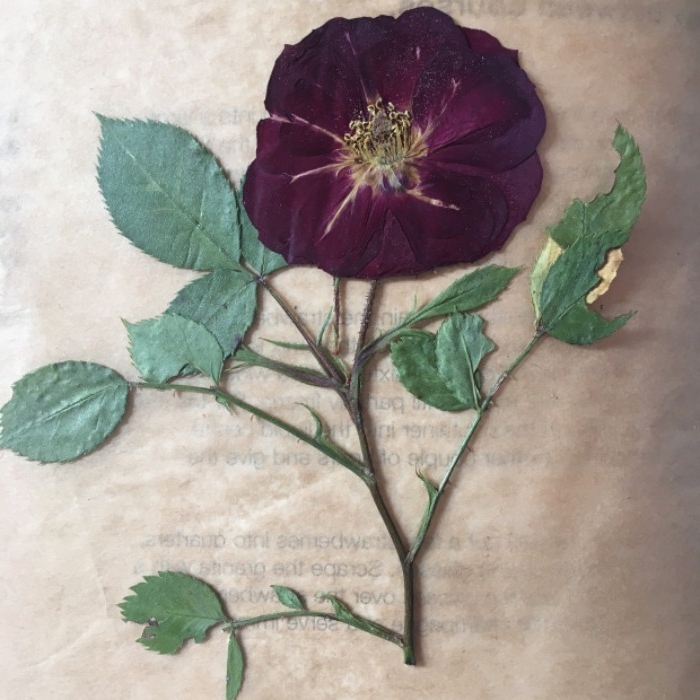
Success starts with choosing the right flowers. Blooms that are naturally flat and don’t hold a lot of water, like violets, pansies, and ferns, work best. Thick flowers like roses or lilies are really tough to press without them turning brown or getting moldy. (If you want to use a rose, it’s better to press the individual petals.)
The old-school method of pressing them in a heavy book works, but you need to place the flowers between two sheets of absorbent paper, like coffee filters, to pull the moisture away. A dedicated flower press is even better. The key here is patience. Leave them undisturbed for at least two to three weeks. They should feel totally dry and papery when they’re done.
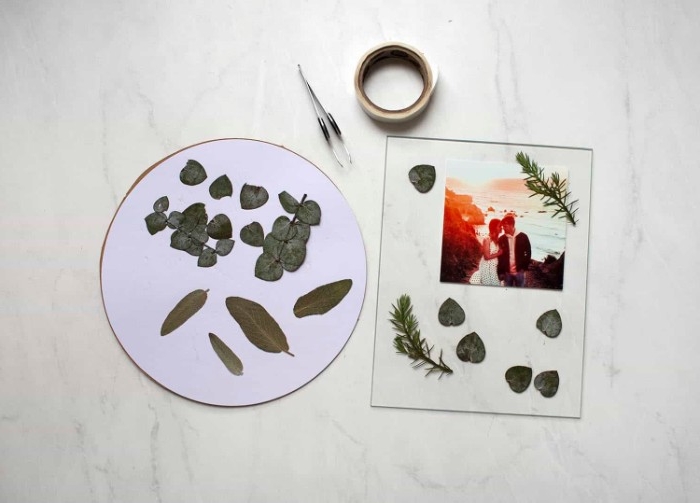
Mounting Your Flowers to Make Them Last
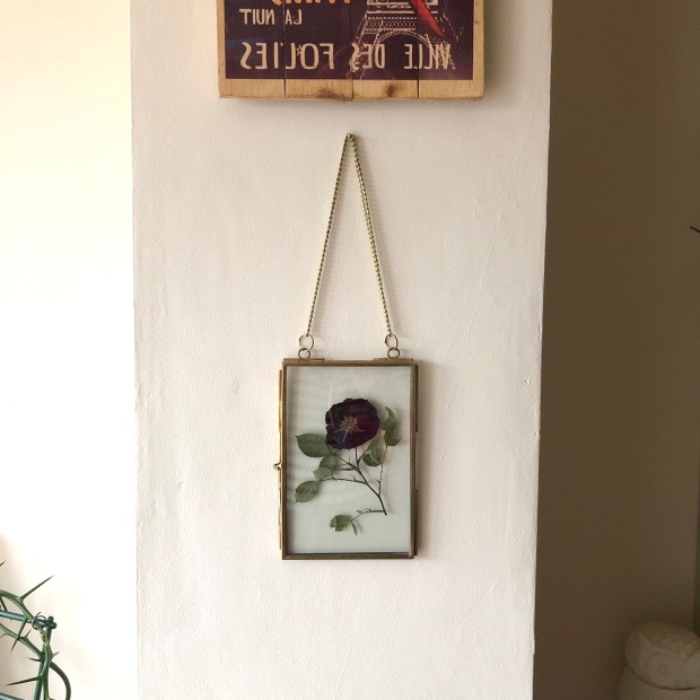
When you frame your pressed flowers, you’re basically creating a little piece of archival art. To make it last, use acid-free paper and glue, which you can find in the scrapbooking or fine art section of most craft stores. Regular paper and craft glue contain acids that will yellow over time and can cause the delicate flowers to degrade.
Arrange your flowers on the paper with tweezers, and then use tiny dabs of the acid-free glue on the back of the stems to hold them in place. A floating frame, where the flowers are sandwiched between two panes of glass, looks especially beautiful. One last thing: keep this kind of art out of direct sunlight. The UV rays will fade the beautiful colors over time, a lesson I learned the hard way when a piece I made for a client faded after being hung in a sunny window.
Final Thoughts from the Workshop
Making things for your own home is just a deeply satisfying process. It connects you to your space in a way that buying something from a store never can. The real key to leveling up from simple crafts to quality pieces is to embrace the whole journey. Get to know your materials. Respect your tools. And take the time to do the prep work.
Not every project is going to be perfect. I have a whole shelf in my workshop dedicated to my own failures—a warped board, a botched paint job, a finish that peeled right off. These aren’t mistakes; they’re lessons. They teach you about patience, about humidity, and about why it’s a good idea to actually read the directions on the can of varnish. So be patient with yourself, and enjoy the feeling of making something beautiful and durable with your own two hands.
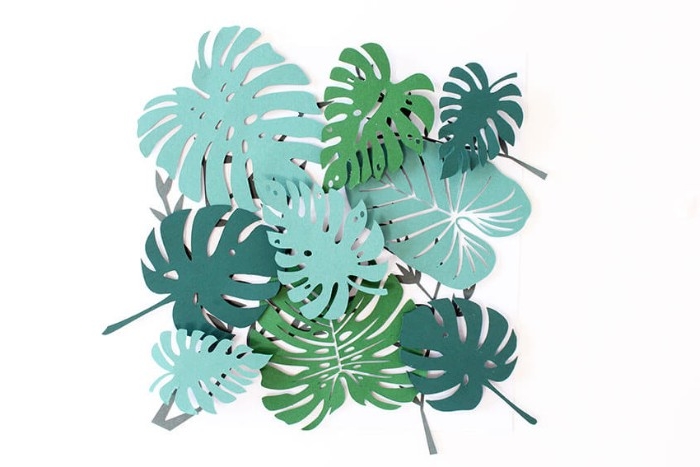
Inspiration Gallery
That final, touchably smooth finish on a piece of wood doesn’t come from a single pass with sandpaper. Pros work in stages. Start with a medium grit (like 120) to smooth out imperfections, then move to a finer grit (220) to erase the scratches from the first pass. For a finish that feels like silk, wipe the wood with a damp cloth to raise the grain, let it dry, and then do one last, light sanding with 220-grit before applying your stain or sealer.


The bitterness of poor quality remains long after the sweetness of low price is forgotten.
This quote, often attributed to Benjamin Franklin, is the unofficial motto of any serious maker. Investing in a quality hardwood like oak or walnut over cheaper pine for a high-traffic item, like a stool or side table, means you’re not just making decor; you’re crafting a future heirloom.

Option A: Wood Glue. Perfect for most wood-to-wood joints. A product like Titebond II is water-resistant and creates a bond that’s often stronger than the wood itself. It requires clamping and about an hour of dry time.
Option B: Epoxy. The solution for joining different materials (like wood to metal) or filling gaps. It’s waterproof and incredibly strong but requires precise mixing and has a more limited working time.
Choosing the right adhesive is as critical as the cut.

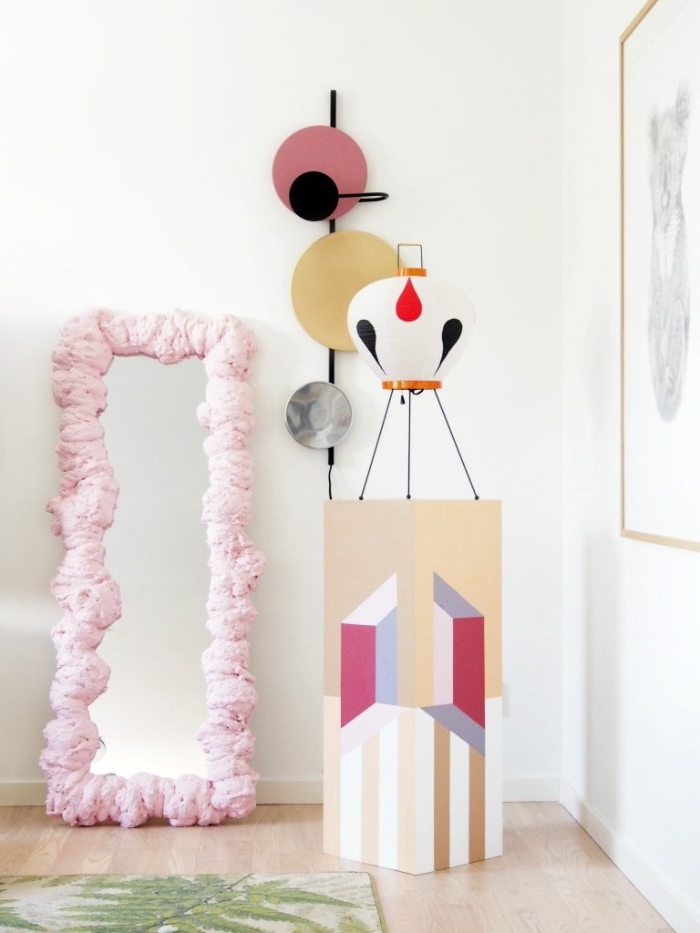
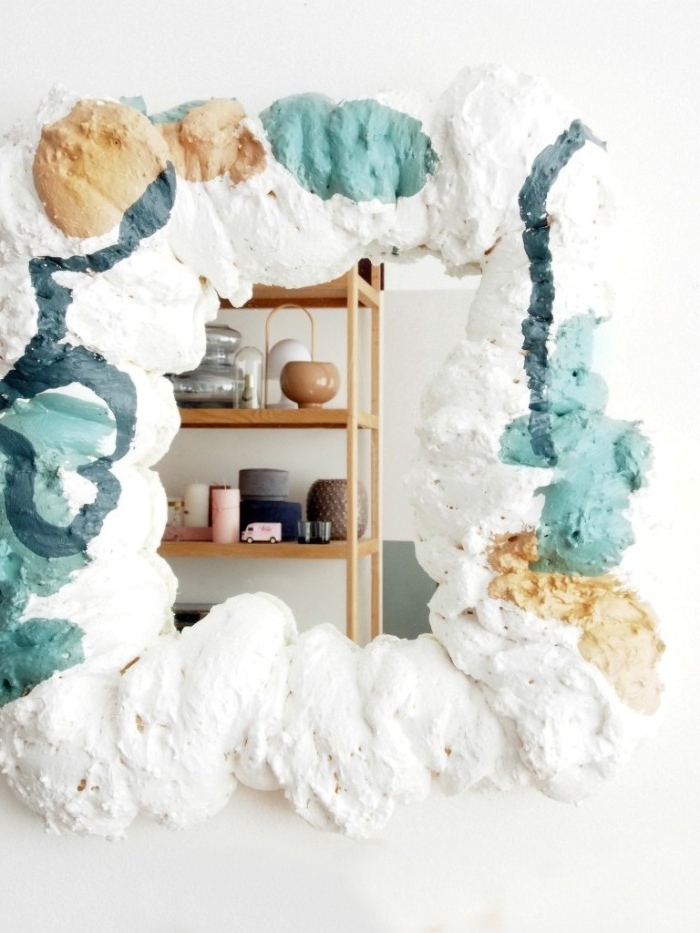
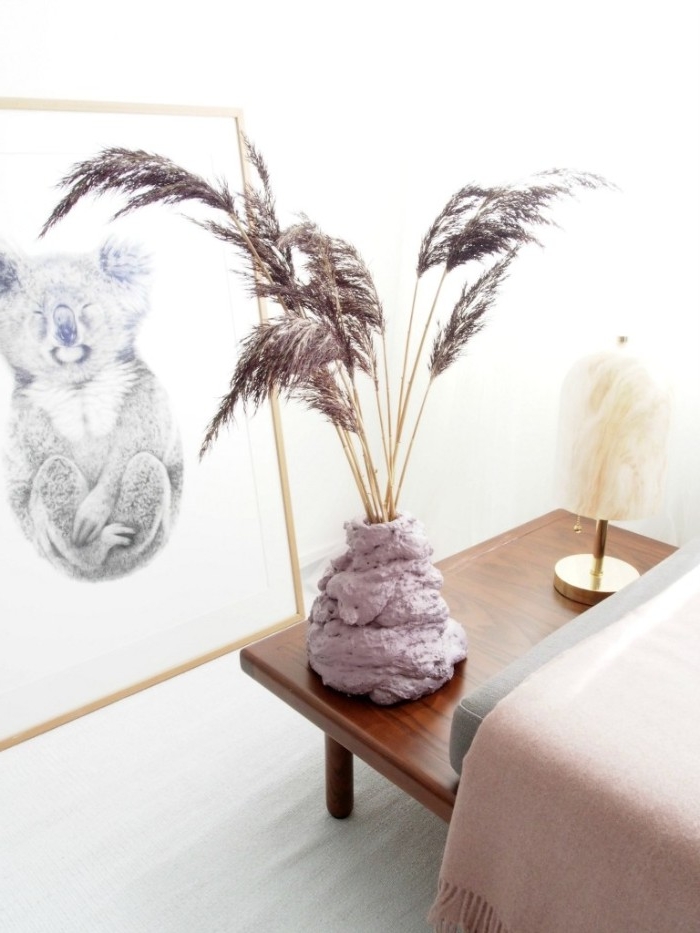
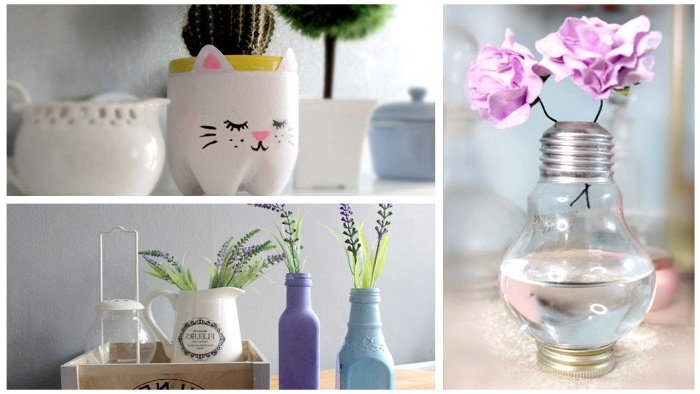
How do I get that trendy, textured look on an old ceramic vase?
It’s easier than you think! Mix a small amount of plaster of Paris or even unsanded tile grout into a sample pot of matte latex paint (any brand will do). The goal is a thick, pancake-batter consistency. Apply it with a stiff brush in random, dabbing motions to build up texture. Let it dry completely before deciding if it needs a second coat for a truly rustic, handcrafted feel.
A project’s success is often decided before you even open the main can of paint. That’s where primer comes in.
- It seals the surface: Prevents porous materials like raw wood or MDF from soaking up all your expensive paint.
- It promotes adhesion: Helps paint stick to glossy or tricky surfaces, preventing peeling later on.
- It ensures color accuracy: A coat of Zinsser B-I-N Shellac-Based Primer will block dark wood tones or old stains from bleeding through and muddying your beautiful new color.
The number one giveaway of a DIY project? A streaky, uneven paint job. The secret isn’t just the paint, but the applicator. Investing in a quality brush, like a 2-inch angled brush from Purdy or Wooster, will give you dramatically better control for cutting in edges and leave far fewer brush marks than a cheap, generic alternative.
- Achieve a deep, rich, one-coat color that enhances the natural wood grain.
- Get a durable, water-resistant finish that’s easy to repair if scratched.
- Avoid the plastic-like feel of polyurethane.
The secret? A hardwax oil. Professionals are increasingly turning to products like Rubio Monocoat or Osmo Polyx-Oil. They bond with the wood fibers themselves rather than sitting on top, creating a beautiful and resilient matte finish that feels as good as it looks.
A study by the University of Surrey found that enriching your home with natural elements like wood can reduce stress and increase feelings of well-being.
This goes beyond just having plants. When you choose to work with natural wood for your projects, you’re not just adding a decorative object; you’re introducing a material that has a proven positive psychological impact. The grain, the texture, and the warmth of wood connect our modern homes back to the natural world.

Is it possible to make new brass hardware look authentically old?
Absolutely. You can create a beautiful, aged patina in minutes. First, clean the brass piece thoroughly to remove any lacquer. Then, submerge it in a solution of brass ager (available at hardware stores) or a homemade mix of vinegar and salt. The brass will begin to darken almost immediately. Pull it out when it reaches your desired shade, rinse with water, and seal with a light coat of wax polish to protect the finish.
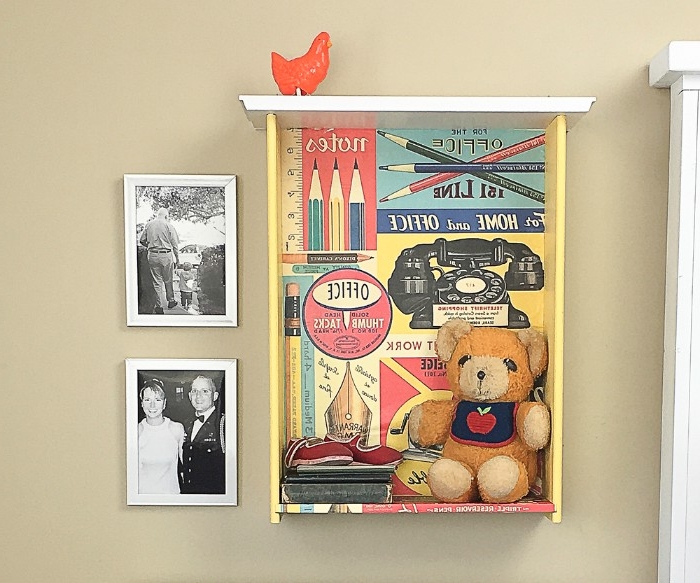
To give your homemade shelves, cabinets, or wall art a professional-looking installation, consider using a French cleat system. It’s simply two interlocking pieces of wood cut at a 45-degree angle. One is mounted to the wall, the other to your object. It’s incredibly strong, ensures the item is perfectly flush against the wall, and makes hanging heavy pieces a breeze.
Don’t skip the prep work: The most common failure in DIY upholstery, like a bench cushion or headboard, is using low-density foam. It’s cheaper, but it will compress and flatten within months. For seating, always opt for a high-density foam with a thickness of at least two inches. It will hold its shape and provide professional-level comfort and longevity.
- Pre-wash your fabric: Always wash and dry fabric before cutting and sewing for items like pillow covers or curtains. This prevents shrinking and warping after the project is complete.
- Press your seams: Use an iron to press every seam open as you sew. This simple step is what gives homemade textile projects a crisp, store-bought look.
- Use the right needle: A denim needle for heavy canvas or a ballpoint needle for knits will prevent skipped stitches and snags.
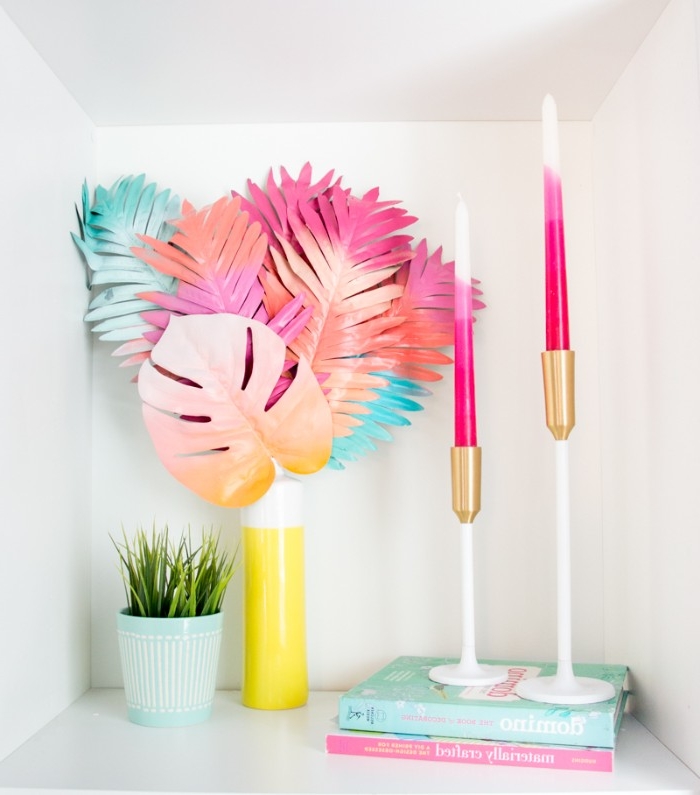
The next time you’re styling a shelf or console table, think like a designer and use the 60-30-10 rule, but for objects. Your largest item (like a vase or lamp) should take up about 60% of the visual space. A medium-sized grouping (like a stack of books) takes up 30%. Finally, small accent objects (a candle or small bowl) fill the last 10%. This creates a balanced, uncluttered, and intentional look.
Most two-part epoxies have an exothermic reaction as they cure, meaning they generate heat. In thick pours (over 1/2 inch), this can cause rapid overheating, yellowing, or even cracking.
This is why ‘deep pour’ epoxy formulations exist. If you’re creating a popular ‘river table’ or embedding objects in thick resin, be sure to buy a product specifically designed for it, like TotalBoat ThickSet or an equivalent. Using standard epoxy for a deep pour is a recipe for a ruined project.
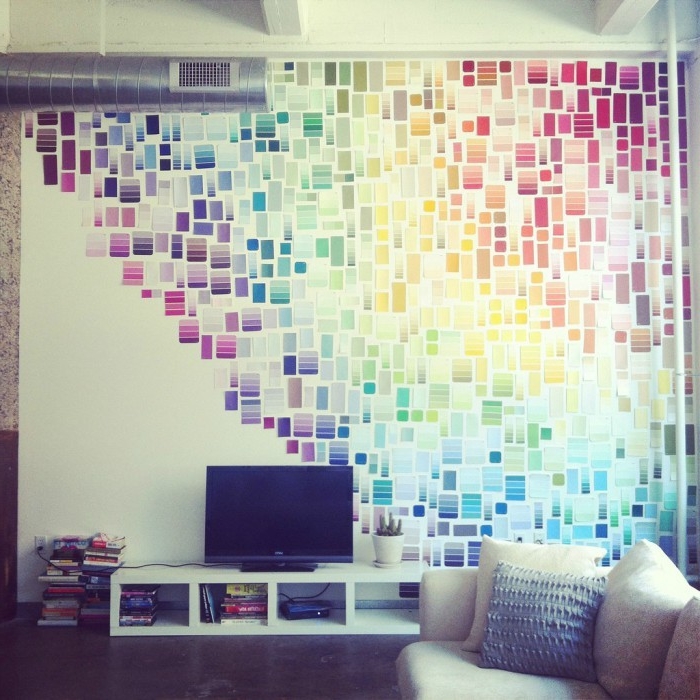
Real Limewash: Made from slaked lime and natural pigments, it penetrates the surface to create a soft, uniquely chalky finish with subtle variations in color. Brands like Portola Paints offer authentic limewash. It’s breathable and beautiful.
Faux Limewash: A technique using regular matte latex paint. Apply one base coat. Then, use a second, slightly different shade (or the same color diluted) and apply it with a wide, coarse brush in random, crisscrossing ‘X’ patterns.
The faux technique gives a similar aesthetic for a fraction of the cost and effort, perfect for a feature wall.

Looking for inspiration to mend a chipped ceramic? Explore the Japanese art of *Kintsugi*. This centuries-old technique repairs broken pottery by mending the areas of breakage with lacquer dusted or mixed with powdered gold, silver, or platinum. It treats the breakage and repair as part of the object’s history, rather than something to disguise. DIY Kintsugi kits are available online and offer a powerful way to turn an accident into a beautiful feature.
Want to elevate a simple project? Focus on the edges. A router with a 1/4-inch roundover bit can take the sharp, homemade-looking edge off a piece of wood and give it a soft, professionally manufactured profile. For a more modern look, a 45-degree chamfer bit creates a clean, crisp bevel. It’s a small detail that makes a huge difference in the final feel of the piece.

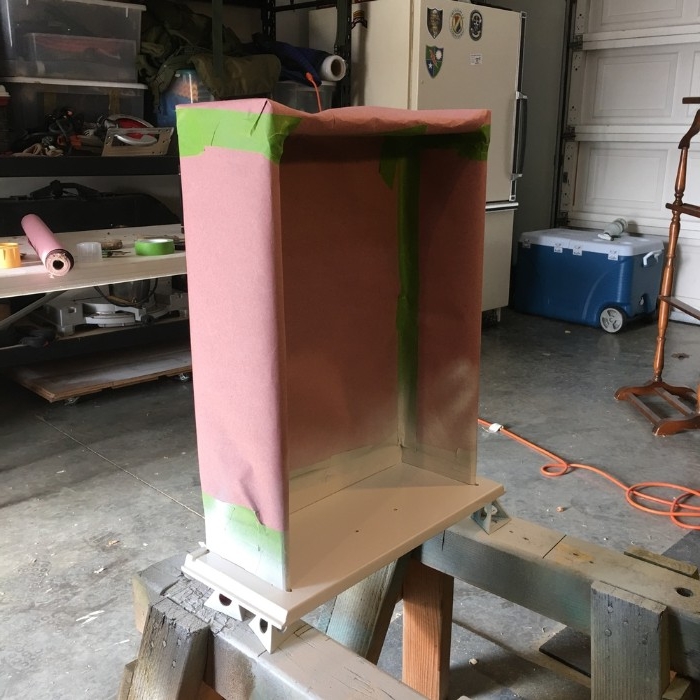
- A perfectly crisp, hand-painted pattern on a piece of furniture.
- Clean, sharp lines where two colors meet.
- No bleeding or smudging under the tape.
The secret? Seal the tape’s edge. After applying your painter’s tape (FrogTape is excellent for this), paint over the edge of the tape with the *original base color* of the furniture. This tiny bit of paint seals the edge. Once it’s dry, paint with your new color. When you peel the tape away, the line will be flawless.
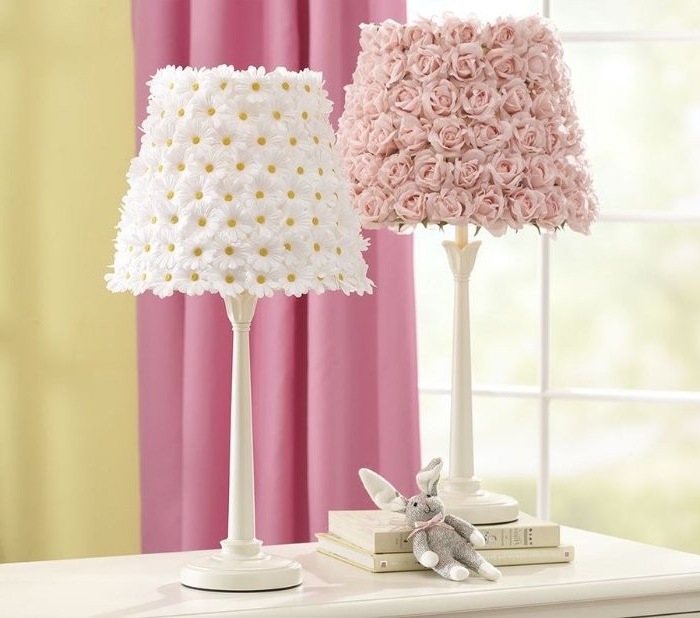
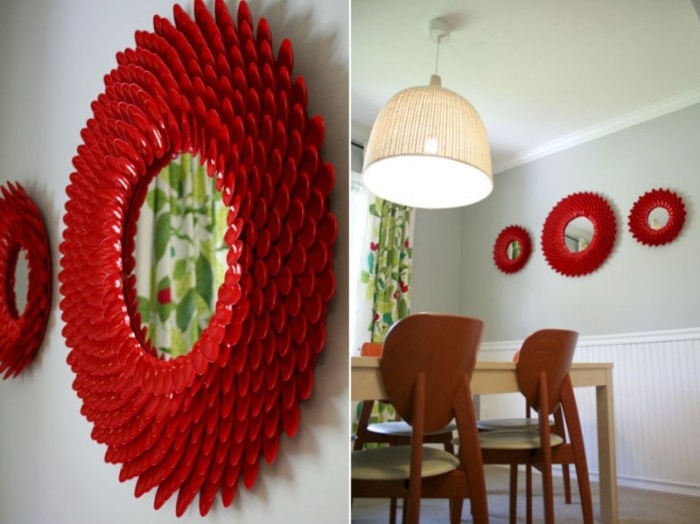
A fatal flaw in many DIY lighting projects: The color temperature of the bulb is ignored. When making a custom lampshade or fixture, the material you choose will interact with the light.
- A warm-toned wood veneer shade paired with a ‘daylight’ bulb (5000K) can look sterile and strange.
- A crisp white fabric shade with a ‘warm white’ bulb (2700K) will cast a cozy, inviting glow.
Always test your material with the intended bulb before finalizing the project.
How do the pros make floating shelves that can actually hold weight?
They don’t rely on standard L-brackets. The key is using heavy-duty floating shelf hardware, which consists of long steel rods mounted on a solid backplate. The plate is screwed directly into the wall studs, and the shelf (with corresponding holes drilled into the back) slides securely onto the rods. This method, offered by brands like Sheppard Brackets, provides immense strength and a truly seamless look.

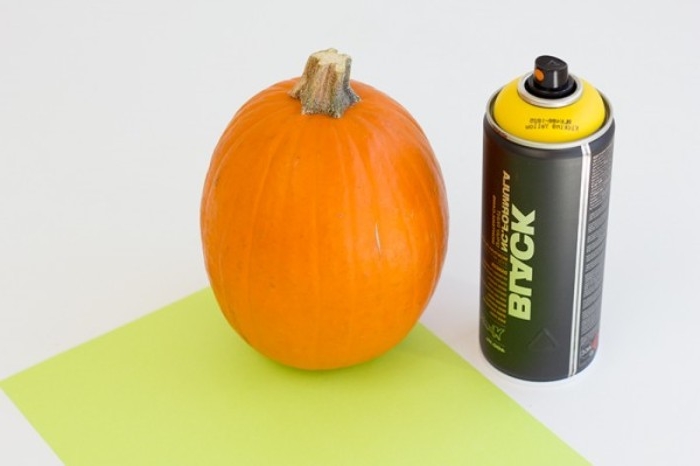
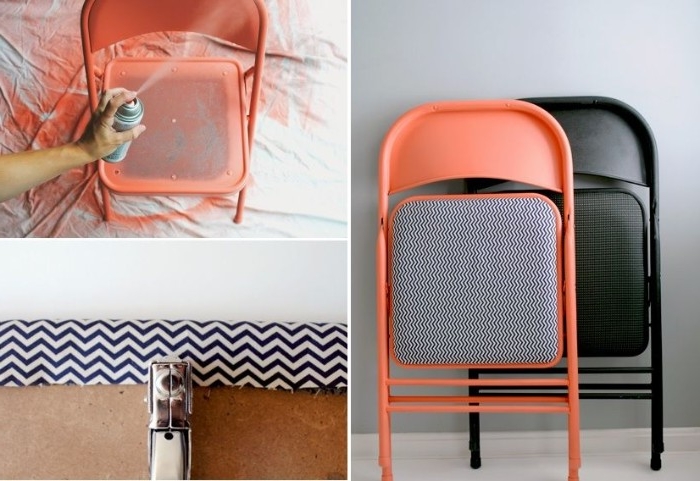
To get a truly professional finish when spray painting, don’t just stand in one spot and blast away. Keep the can moving in a steady, sweeping motion, starting the spray *before* you get to the object and releasing it *after* you’ve passed it. Overlap each pass by about 50%. This technique, combined with several thin coats instead of one thick one, is the key to avoiding drips and getting an even, factory-like finish.


Ever wonder why professional decorators’ arrangements stay perfectly in place? They often use ‘museum wax’ or ‘quake hold’ putty.
It’s a small, tacky secret. A tiny, pea-sized ball of this clear, removable putty on the bottom of a vase, picture frame, or decorative object will hold it securely to the shelf. It prevents items from shifting or being knocked over easily, keeping your styled vignettes looking perfect.
Critical oversight: Forgetting to account for ‘kerf’. The kerf is the thickness of your saw blade, which turns a tiny portion of the wood into sawdust with every cut. If you need two 12-inch pieces from a 24-inch board, simply cutting it in the middle will leave you with two pieces that are slightly too short (by about 1/8 inch). Always measure and mark each piece individually to account for the material lost in the cut.
Want to create large-scale custom art without the gallery price tag? Learn to stretch your own canvas. All you need are four canvas stretcher bars (which create the frame), a canvas stretching tool, and a staple gun.
- It allows you to create art in any custom size to perfectly fit a specific wall.
- Buying raw canvas in a roll is far more economical than purchasing pre-stretched canvases, especially for large pieces.
Before starting a project with reclaimed wood, invest in a simple, handheld metal detector. Old pallet wood, barn boards, or construction offcuts can hide broken nails or staples just below the surface. Running one of these inexpensive tools over the board can save you from a ruined saw blade or router bit, a costly and frustrating mistake.


