The Ultimate Guide to Making Perfect, Pillowy Fluffy Slime
I’ve made more batches of slime than I can count. I’m talking hundreds. I’ve made it with kids buzzing with excitement in classrooms, with parents in workshops, and, yes, late at night in my own kitchen, chasing that perfect, fluffy texture.
In this article
And let me tell you, I’ve seen it all. I’ve witnessed slime turn into a stringy, sticky web that clings to everything. I’ve seen batches seize up into a hard, rubbery rock in minutes. But I’ve also seen that look of pure magic on a kid’s face when they stretch a perfect, pillowy cloud of fluffy slime between their hands. That’s what this is all about.
Making great slime isn’t about crossing your fingers and hoping for the best. It’s about knowing what’s actually happening inside that mixing bowl. It’s kitchen science, really. Once you get the ‘why,’ the ‘how’ becomes a piece of cake. This guide isn’t just a recipe—it’s everything I’ve learned from my mistakes so you don’t have to make them.
First, a Little Science (The Fun Part, I Promise)
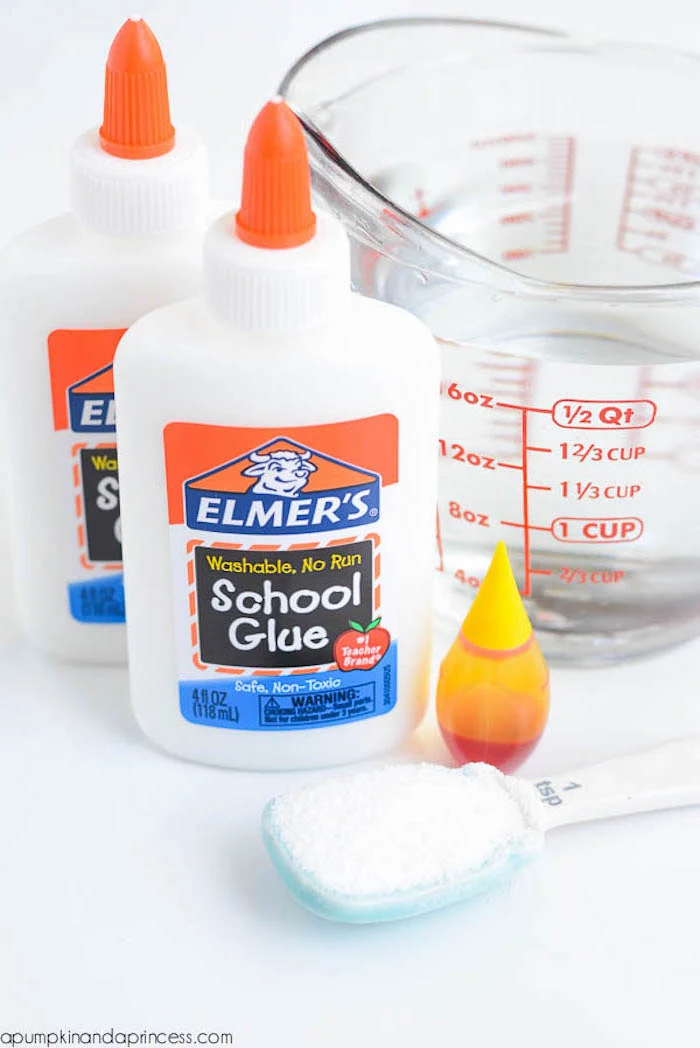
Before we even think about mixing, let’s get what we’re working with. At its core, slime is a cool lesson in chemistry. The main ingredient, your everyday white school glue, is full of something called polyvinyl acetate, or PVA. The easiest way to picture it is to think of long, separate strands of spaghetti floating around in water.
Your ‘activator’ is the magic ingredient that makes everything happen. It introduces borate ions into the mix. These ions are like tiny bridges that start grabbing onto those spaghetti strands, linking them all together into a huge, flexible net. This new structure is a polymer, and it’s what gives slime that unique, non-Newtonian fluid property—it flows like a liquid but you can hold it like a solid.
Knowing this is your secret weapon for troubleshooting. If your slime is a sticky mess, it means not enough of those spaghetti strands are connected. You need a little more activator. If it’s stiff and snaps instead of stretching? You got overexcited and added too much activator, making the net too tight. Every step from here on out is just you controlling that reaction.

Safety, Ingredients, and What This Will Cost
Okay, let’s talk about the most important part: safety. Your well-being comes first, so we’re going to be smart about this.
A big question that always comes up is about Borax. It’s a powerful and effective activator, no doubt. But it’s a chemical that needs to be handled with respect—it should never be eaten, and you should always, always wash your hands thoroughly after using it. Adult supervision is a must. Some people also have sensitive skin, and I’ve seen a mild rash pop up after a long session. It fades quickly with soap and water, but it’s something to be aware of.
Here’s the deal, though: most so-called ‘borax-free’ recipes aren’t. They have to use the same family of chemicals (borates) to create the slime reaction. Let’s look at the common activators:
- Contact Lens Solution: This is my go-to for home projects. The good ones contain boric acid and sodium borate, which are in the borate family. They’re just in a much lower, buffered concentration that’s considered safe for eye contact, which makes people more comfortable. Heads up! You have to check the label. If it just says ‘saline solution,’ it’s a no-go. It won’t work.
- Liquid Starch: This is another option, especially popular in some regions. It also contains sodium borate. Its availability can be hit-or-miss depending on where you live.
The main takeaway is that the chemistry needs borates. We’re going to use the contact lens solution method because it’s reliable, easy to find, and super user-friendly.
Your Shopping List & Budget:
Getting the supplies won’t break the bank. Here’s a quick rundown of what you can expect to pay:
- White PVA Glue (4 oz): about $1-$3. A reliable school glue is worth it; some budget brands have less PVA and can lead to disappointment.
- Foamy Shaving Cream: about $2-$4. Get the cheap, basic foam, not the fancy gel kind.
- Baking Soda: You probably have this already, but a box is around $1.
- Contact Lens Solution: A store-brand bottle is usually $4-$8 and will last for many, many batches. Just check for boric acid on the label!
Total cost for your first batch should be under $15, with plenty of leftover materials for more.
The Workshop-Tested Fluffy Slime Recipe
After tons of trial and error, this is the recipe that works. I’ll give you exact measurements, but also pay attention to the feel of it. The whole process should take about 15-20 minutes from start to play.
Here’s What You’ll Need:
- A medium-sized plastic or glass mixing bowl
- A spatula or sturdy spoon
- Measuring cups and spoons
- 1/2 cup (4 oz) of white PVA school glue
- 1.5 cups of basic foamy shaving cream
- 1/2 teaspoon of baking soda
- 1 tablespoon of contact lens solution (the kind with boric acid!), plus a little extra for kneading
- A few drops of food coloring (optional)
- An airtight container for storage
Step 1: Get the Base Ready
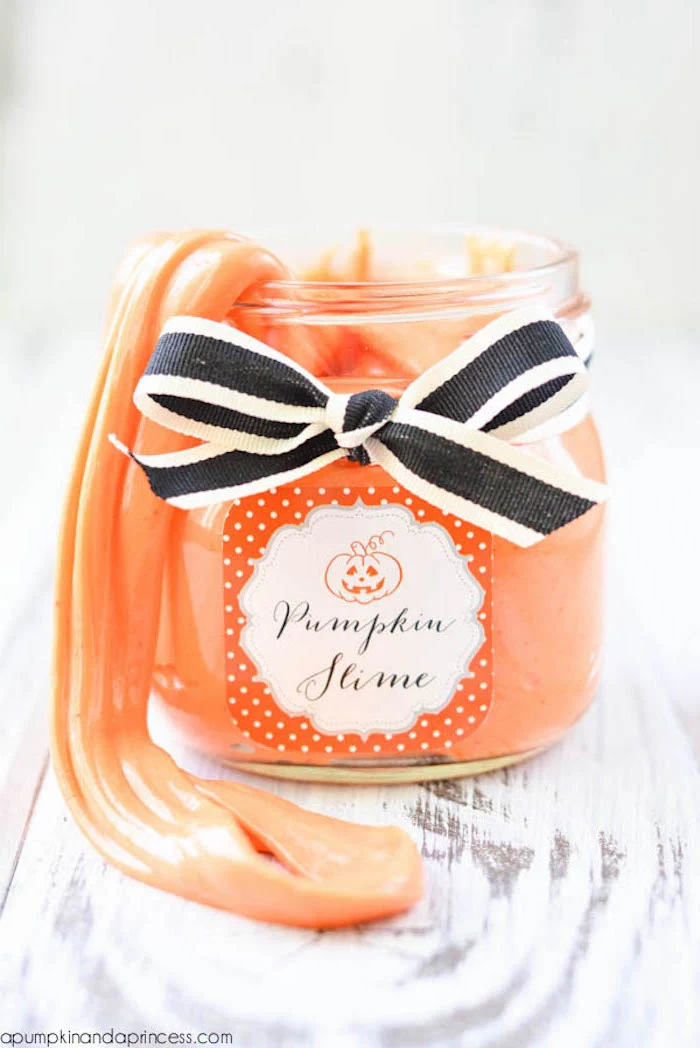
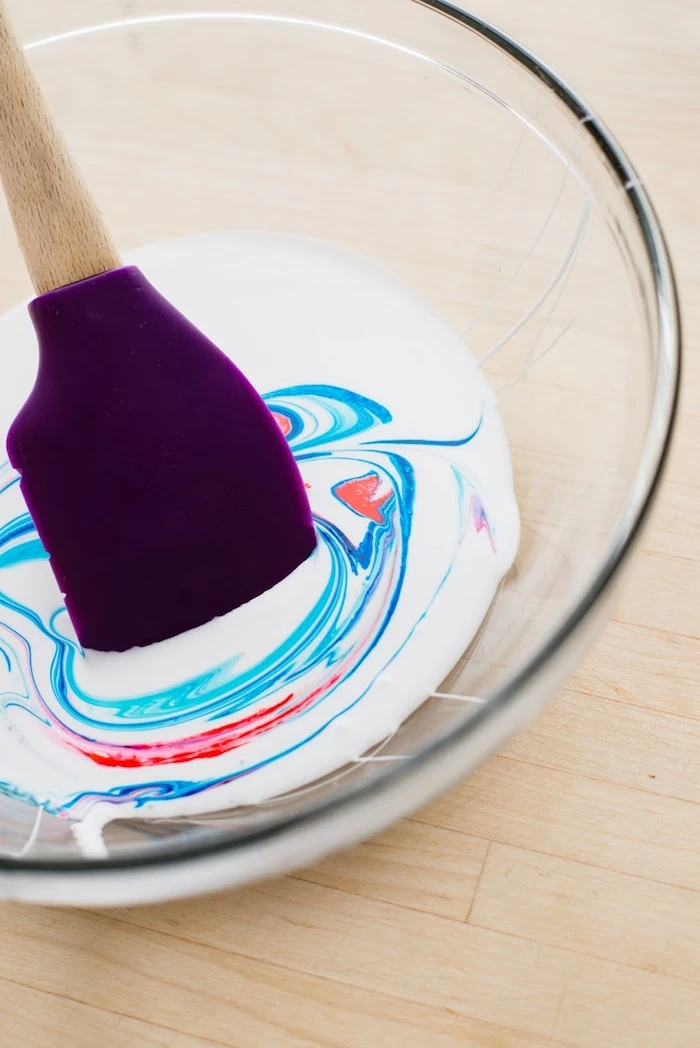
Pour exactly 1/2 cup of glue into your bowl. If you’re adding color, now is the time to do it. Mix it right into the glue to get a nice, even color. A few drops is all you need—remember, the white shaving cream will make the final color much lighter.
Step 2: Add the Baking Soda
Sprinkle 1/2 teaspoon of baking soda over the glue and mix it in until it’s totally dissolved. You shouldn’t feel any grittiness. This little step helps the slime firm up and makes the activation smoother.
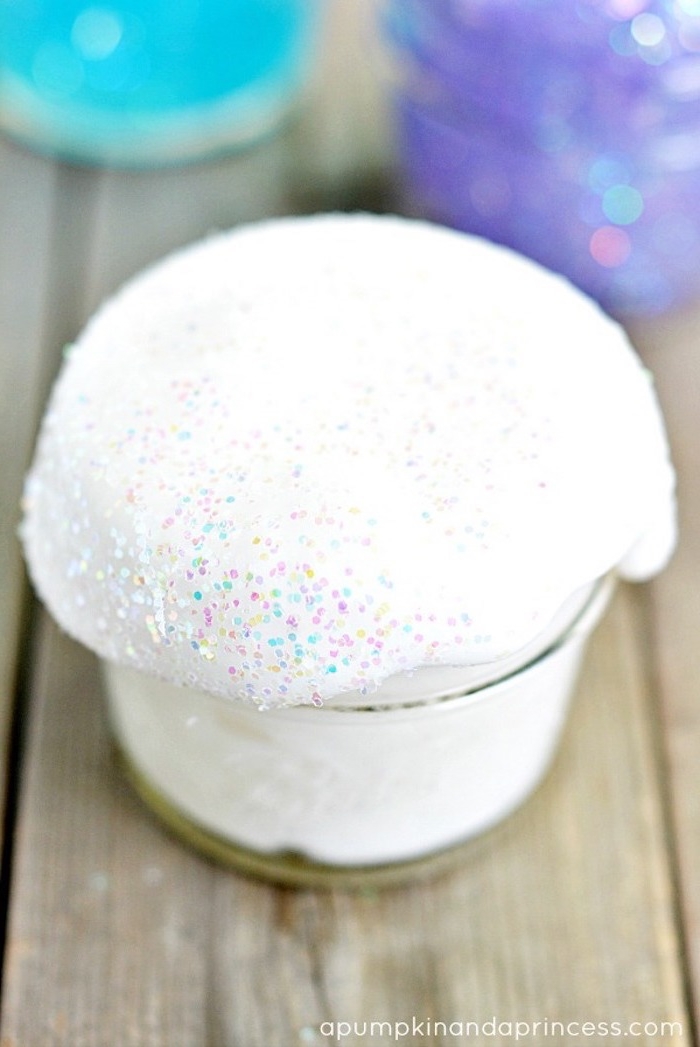
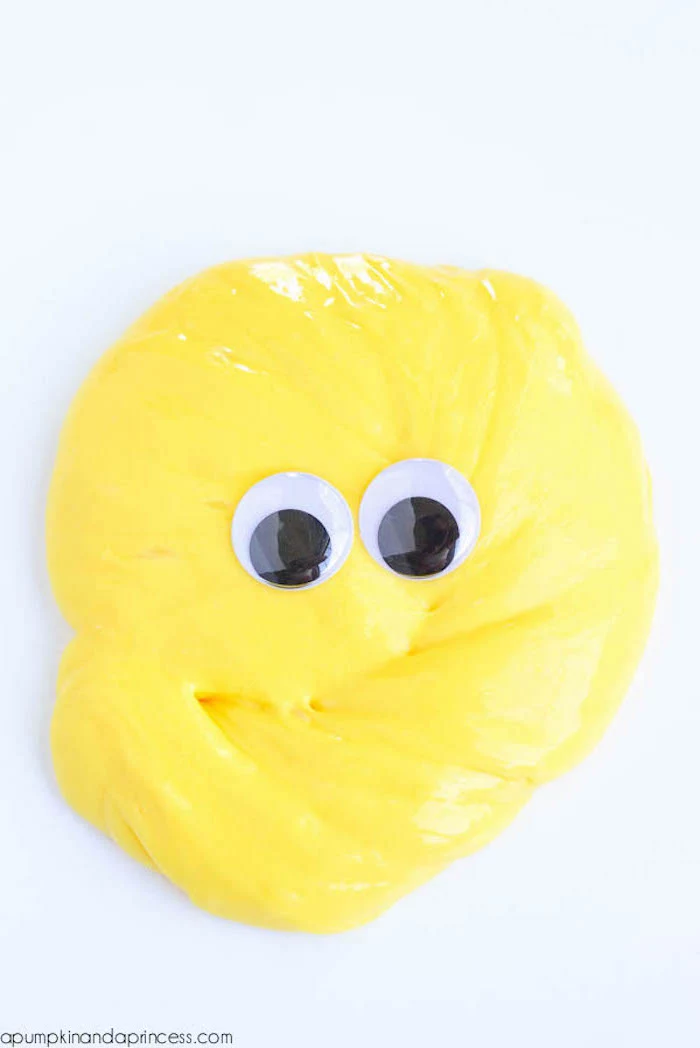
Step 3: Fluff It Up!
Now for the fun part. Add 1.5 cups of shaving cream. Don’t stir like a maniac! You want to gently fold the shaving cream into the glue to keep all that airiness. Keep folding until it’s just combined and looks like marshmallow fluff. If you over-mix here, you’ll deflate your fluff.
Step 4: Activation Time
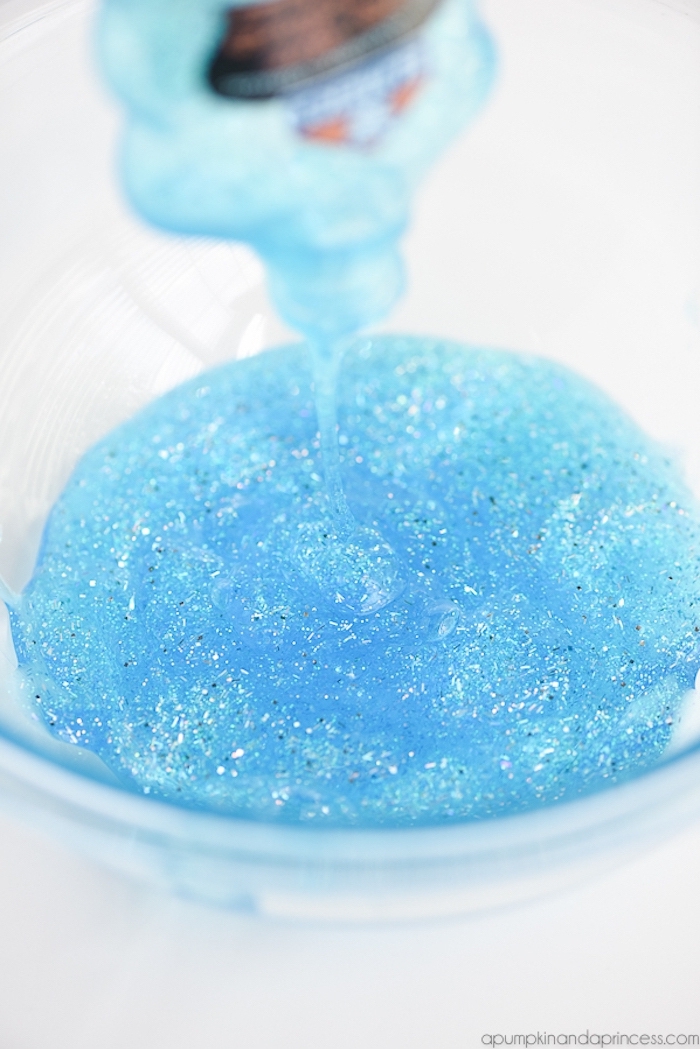
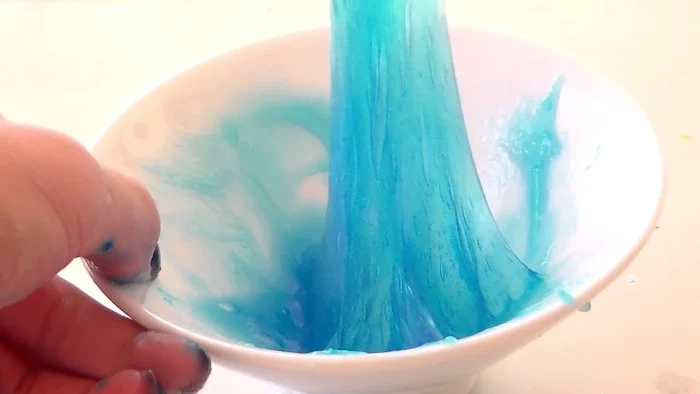
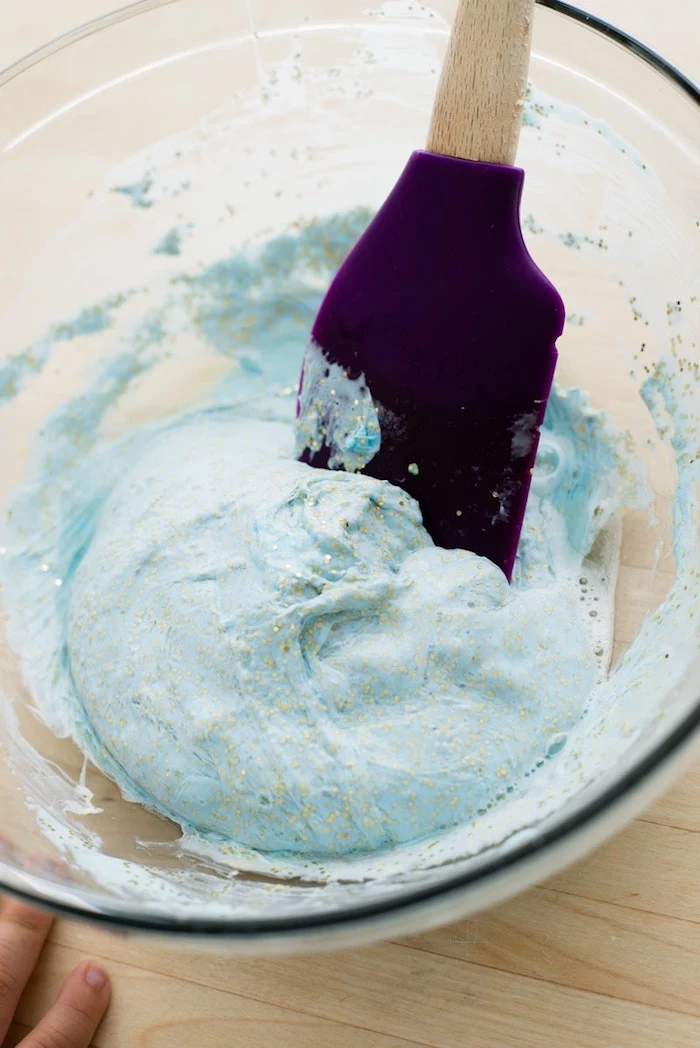
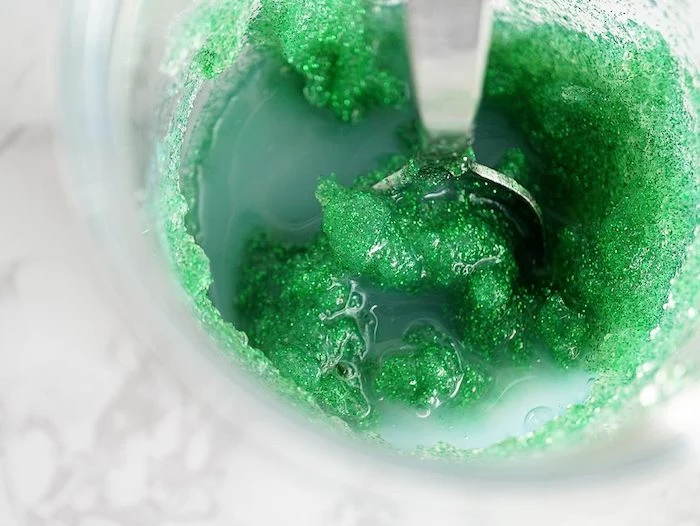
This is the moment of truth. Add about half of your tablespoon of contact solution and start stirring. You’ll see the mixture immediately start to thicken and pull away from the sides of the bowl. That’s the polymer network forming!
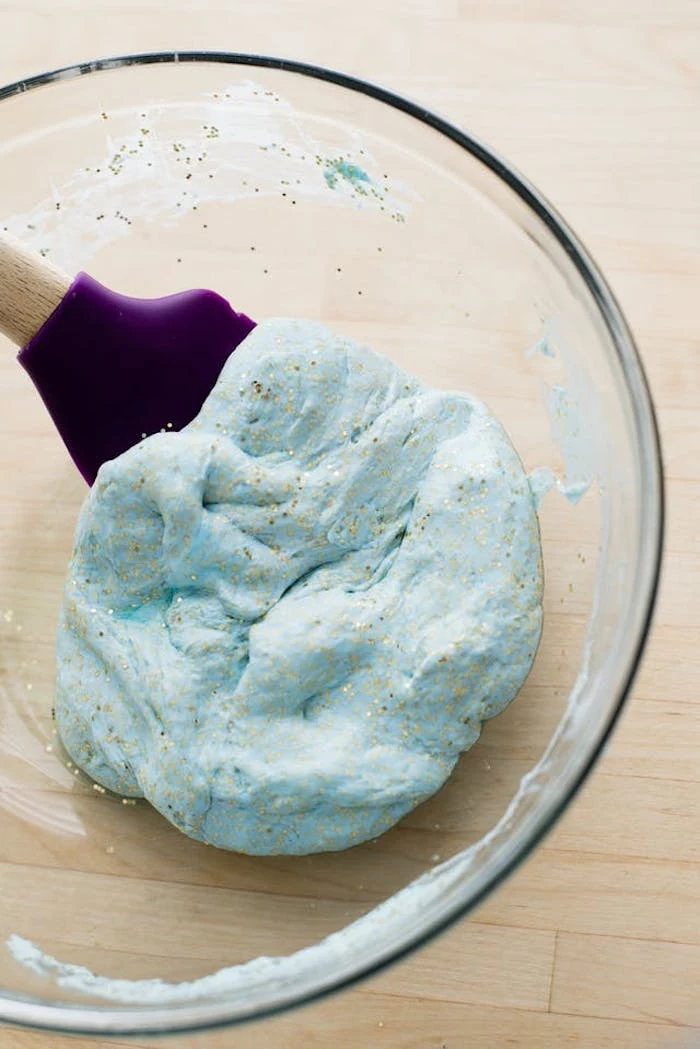
Keep stirring, and once that’s mixed in, assess the texture. Still super sticky? Add the rest of the contact solution and keep mixing. You’re looking for the moment it forms one big blob that mostly pulls off the bowl and spoon.
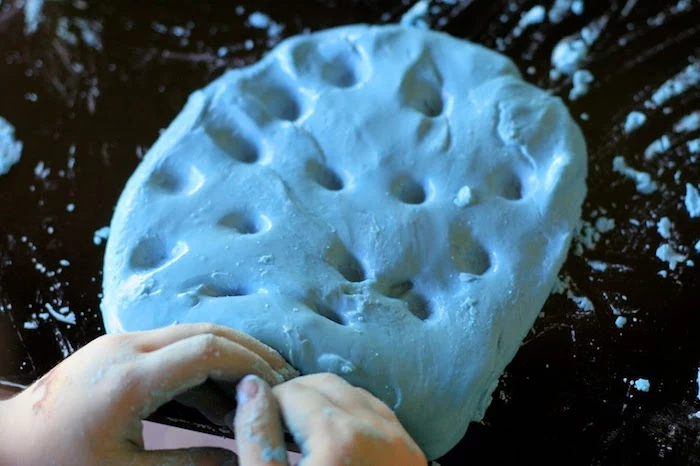
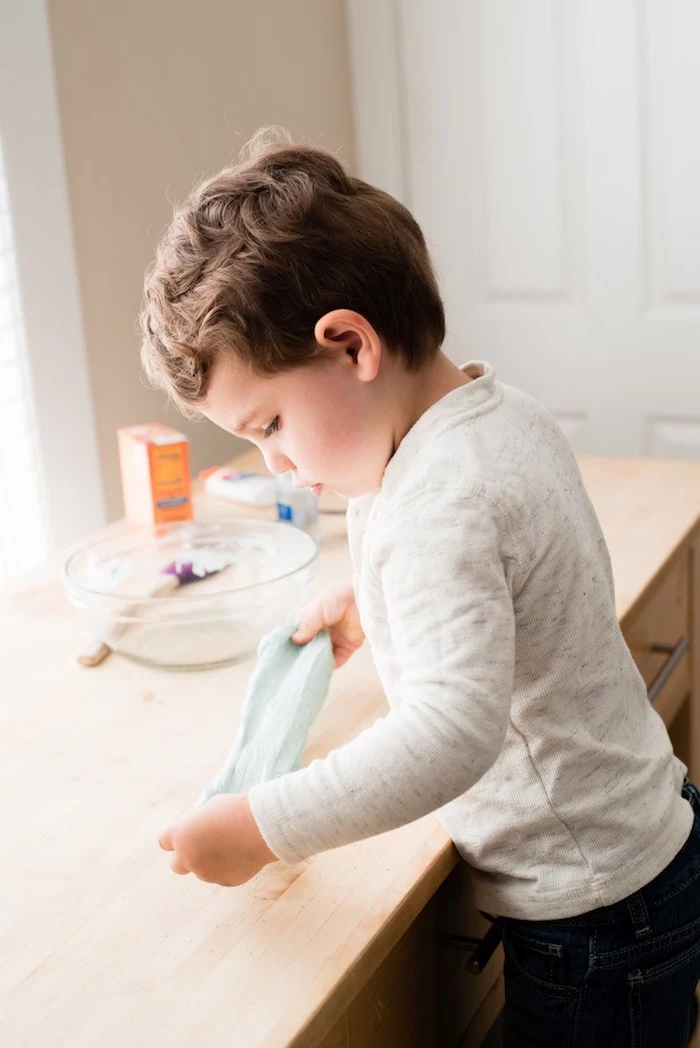
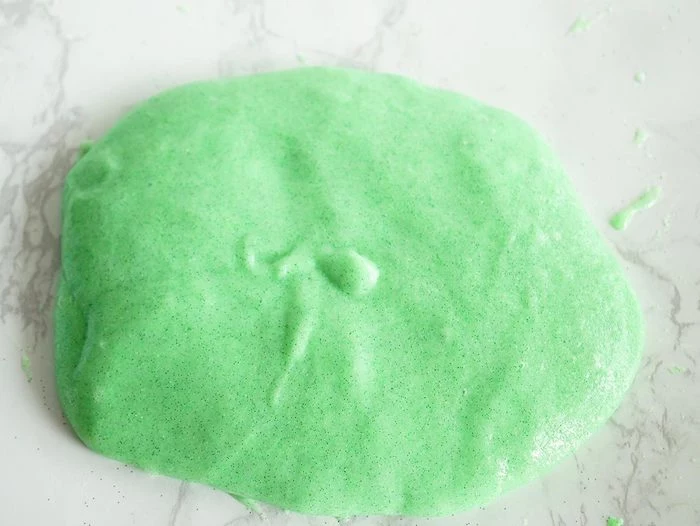
Step 5: Knead It Out
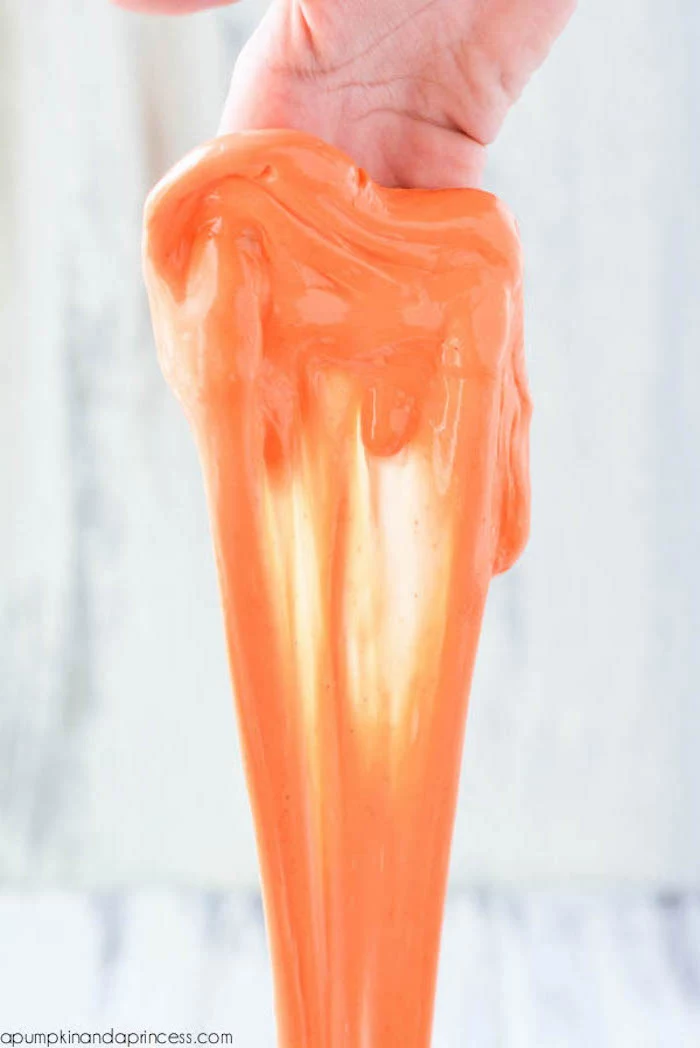
Before you dive in, put a tiny bit of contact solution on your hands. This prevents the slime from sticking to you. Now, plop the slime onto a clean counter or craft mat. It will still feel a bit sticky—that’s normal!

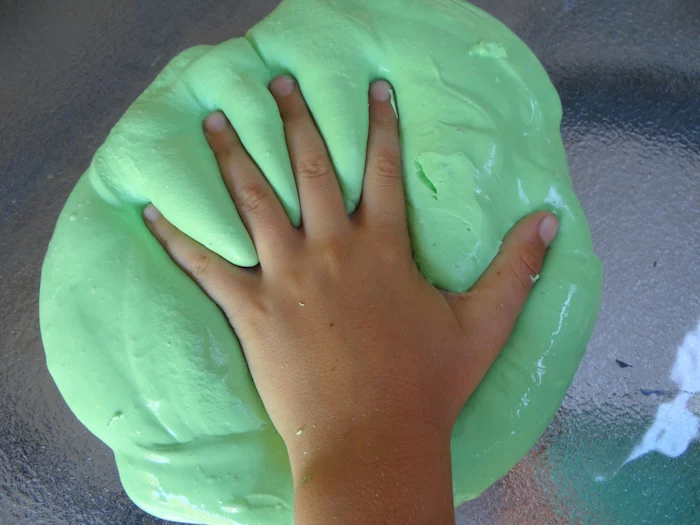
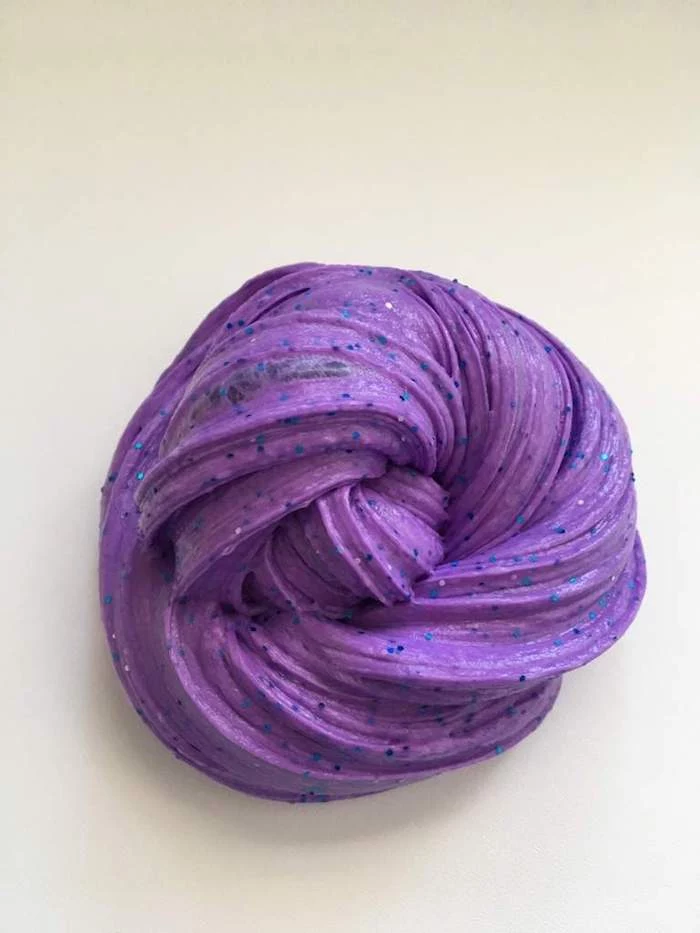
Start kneading it like dough. Fold, stretch, and press it. This isn’t just mixing; you’re physically strengthening the slime’s structure. After a minute or two of kneading, you’ll feel it transform. It will become smooth, stretchy, and way less sticky. When it’s done, you’ll have a snowball-sized blob of satisfyingly pokable, pillowy slime.
Slime ER: How to Fix Common Problems
Even pros have an off day. Here’s how to fix the most common slime-mergencies.
Problem:
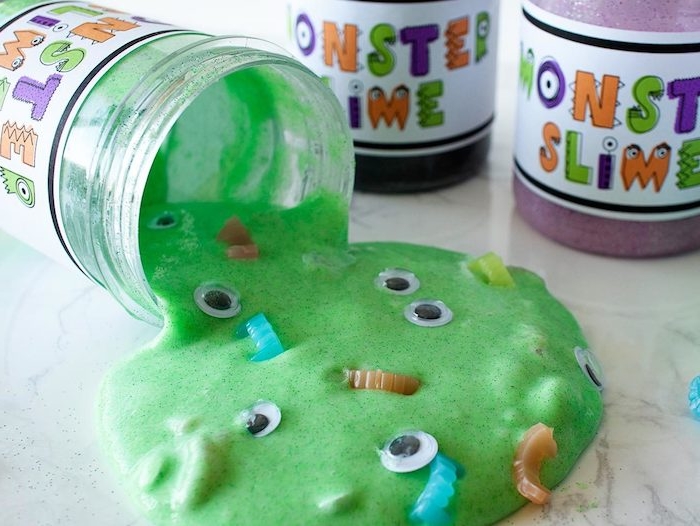
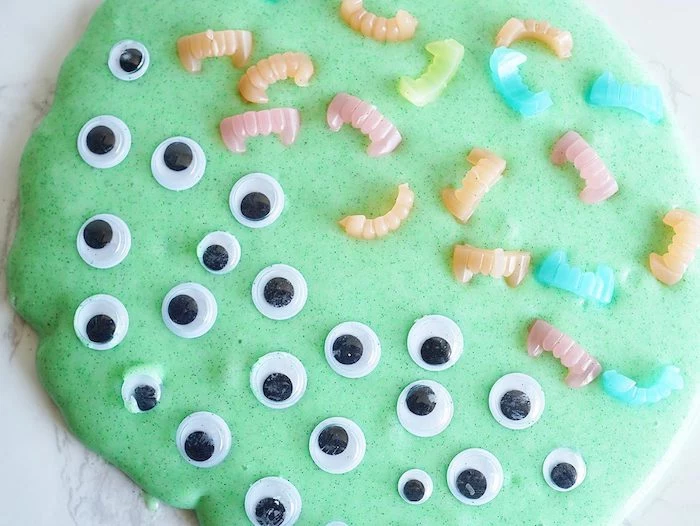
Inspiration Gallery

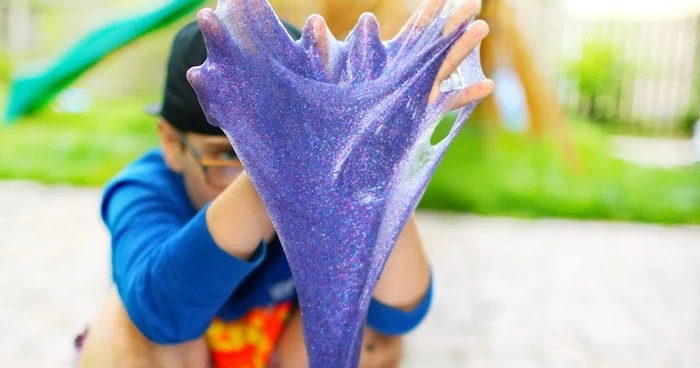
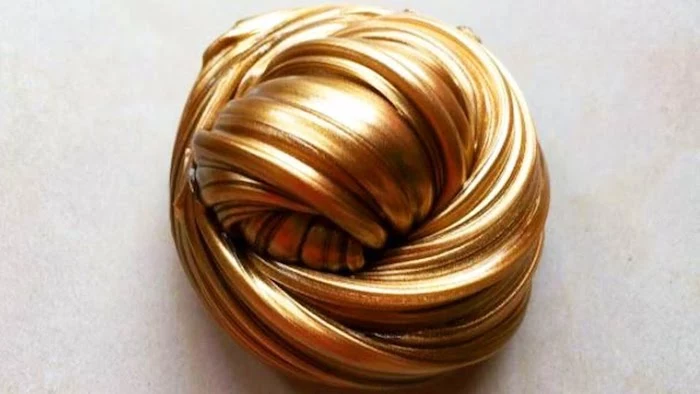
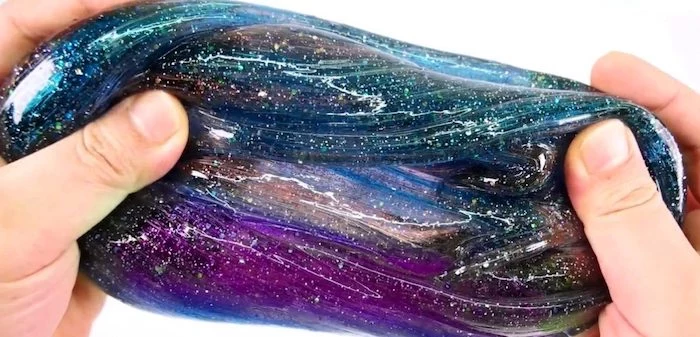
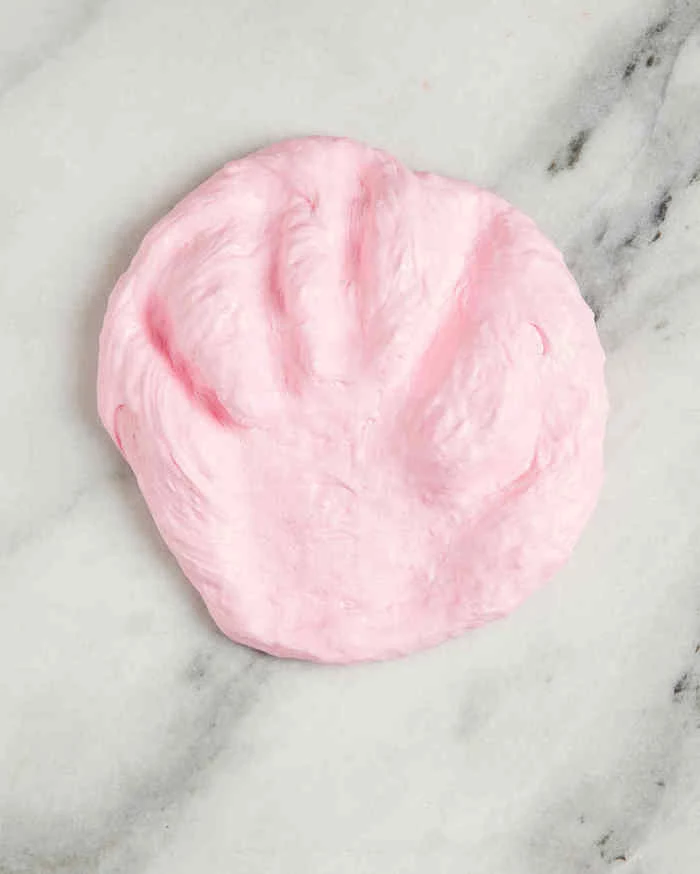
The secret to that signature

- Keep a spray bottle of vinegar and water handy for quick cleanup on surfaces. The acid helps break down the slime’s stickiness.
- For slime in hair or on clothes, work in a small amount of oil (like coconut or vegetable oil) to loosen the polymer’s grip before washing.
- Always use a non-porous mixing bowl, like glass or plastic, to prevent staining and make washing up a breeze.
Crucial detail for no-borax recipes: Not all contact lens solutions work! Check the ingredients list for boric acid and sodium borate. These are the borate ions needed to activate the PVA in the glue. Without them, your mixture will remain a goopy mess. Bausch + Lomb’s Renu or Equate’s Saline Solution are reliable choices.

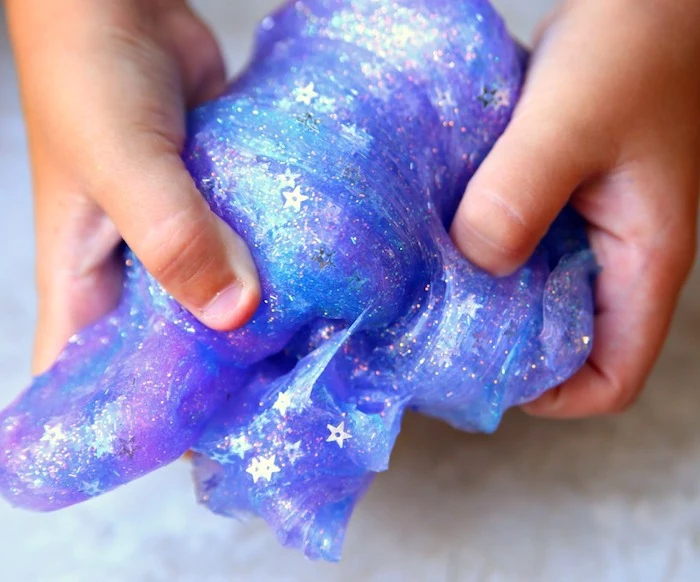
The crinkling, popping, and squishing sounds of slime are a huge part of its appeal, fueling the massive ASMR (Autonomous Sensory Meridian Response) trend on platforms like YouTube and TikTok, where slime videos garner billions of views.
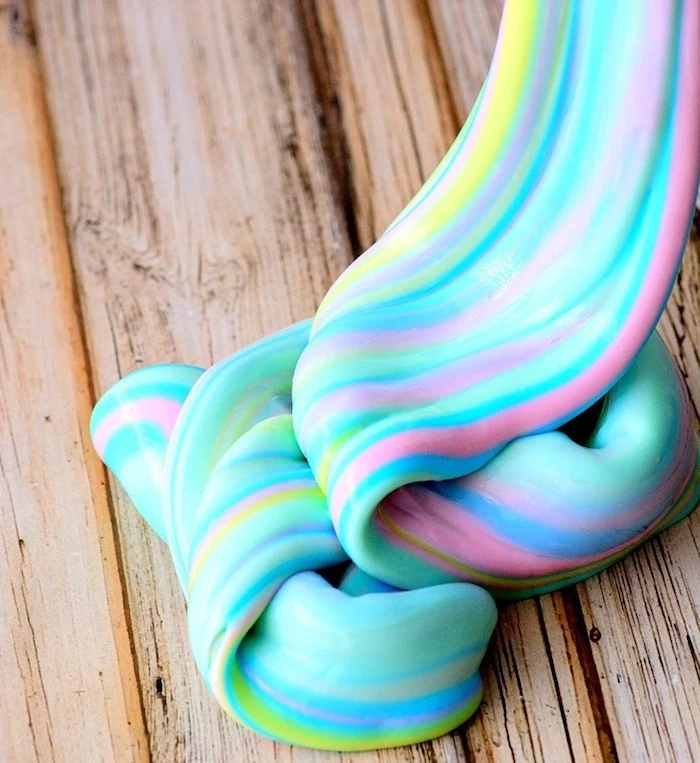
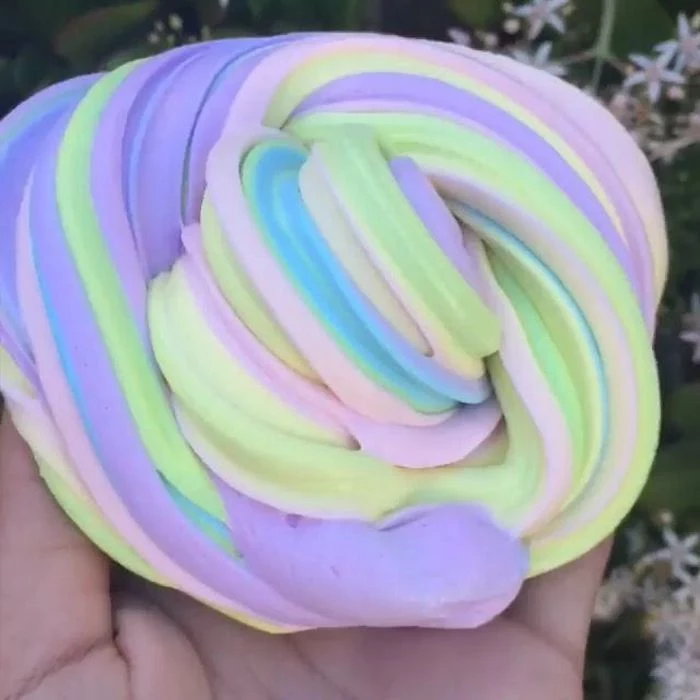
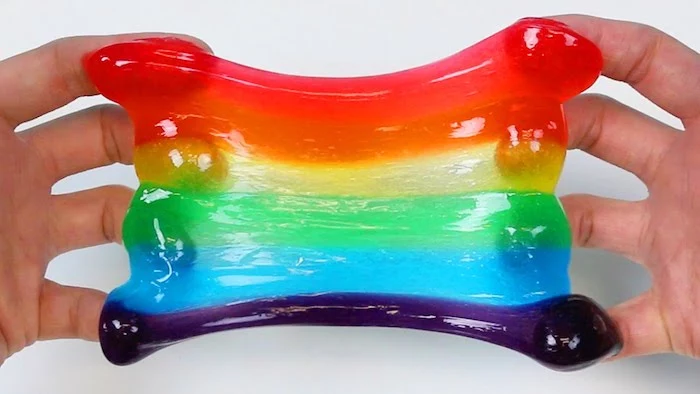
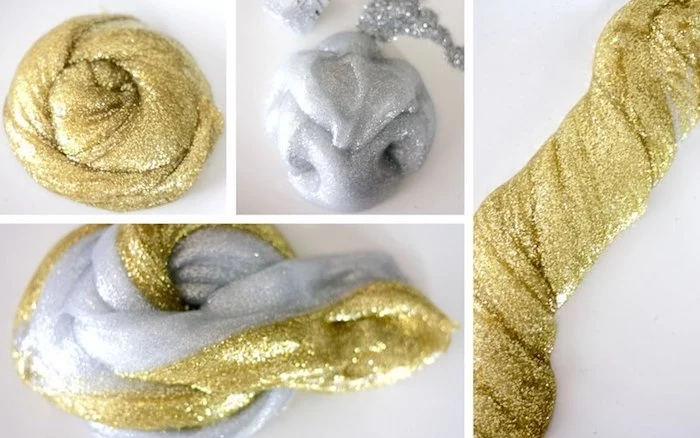
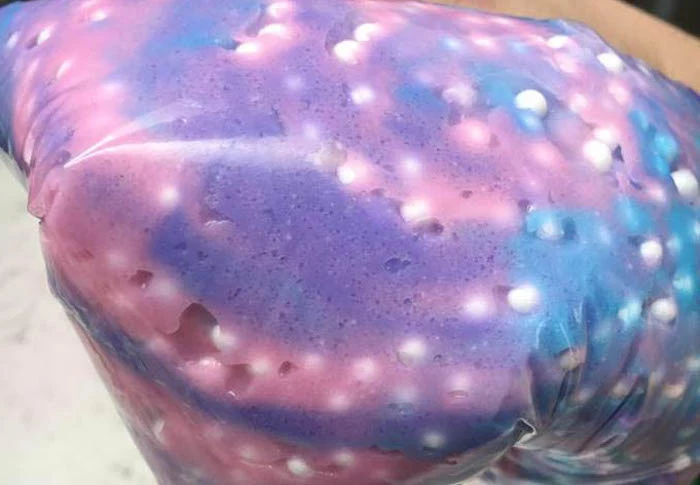
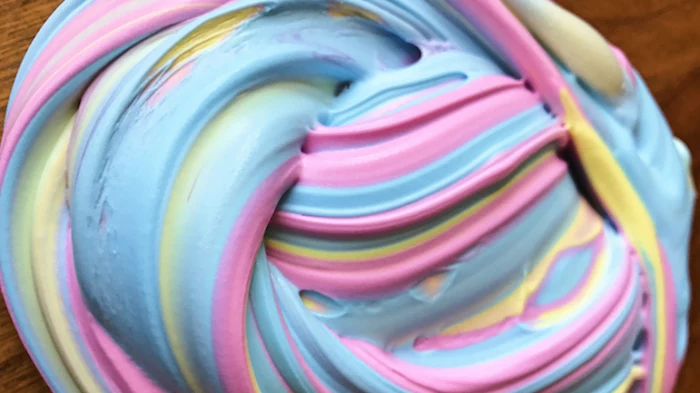
Want to go beyond single-color slime? A little color theory goes a long way. To avoid creating a murky brown, follow these tips:
- Always add food coloring or pigment to the white glue *before* introducing the activator. This ensures even distribution.
- For pastel shades, use just one or two drops of coloring. Remember, the white glue and shaving foam will lighten the final color.
- To make a swirl, create two separate batches of colored slime and then gently twist them together at the end.
Help! My perfect fluffy slime deflated and got sticky after a day. What happened?
This is completely normal! The air bubbles from the shaving cream eventually pop, reducing the volume. To revive it, simply knead in another small pump of shaving foam. If it’s become sticky, add a few drops of your activator (like contact solution) and work it in until it’s no longer tacky to the touch. It will be almost as good as new!

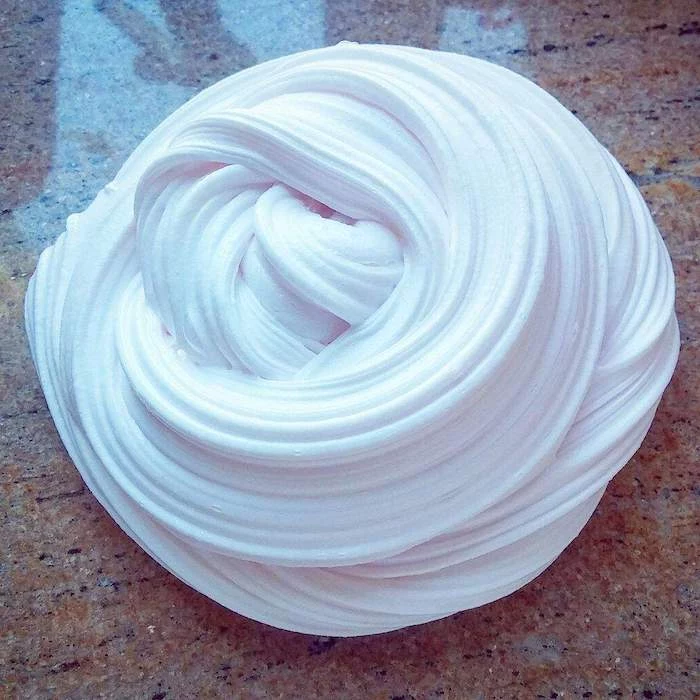
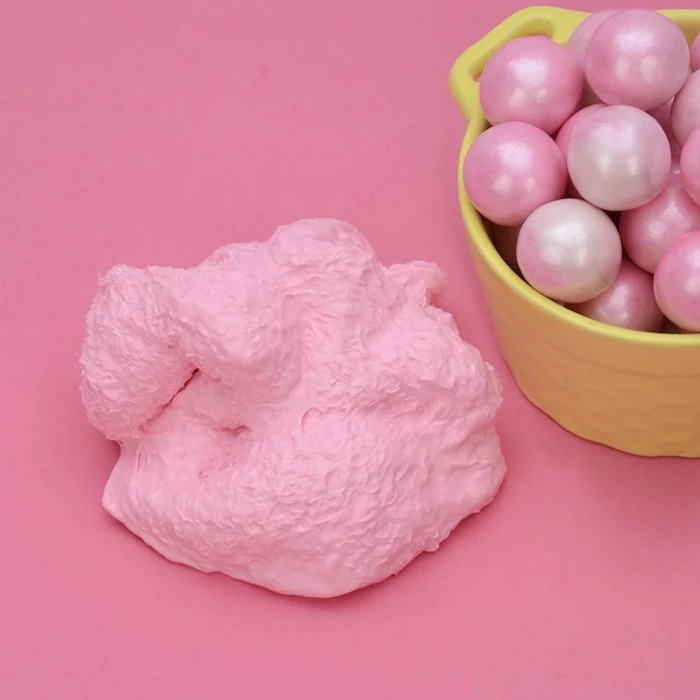
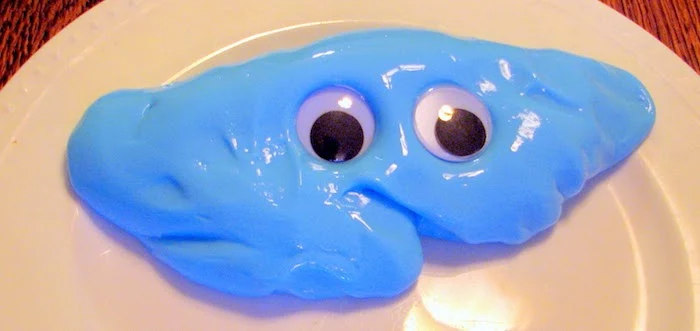
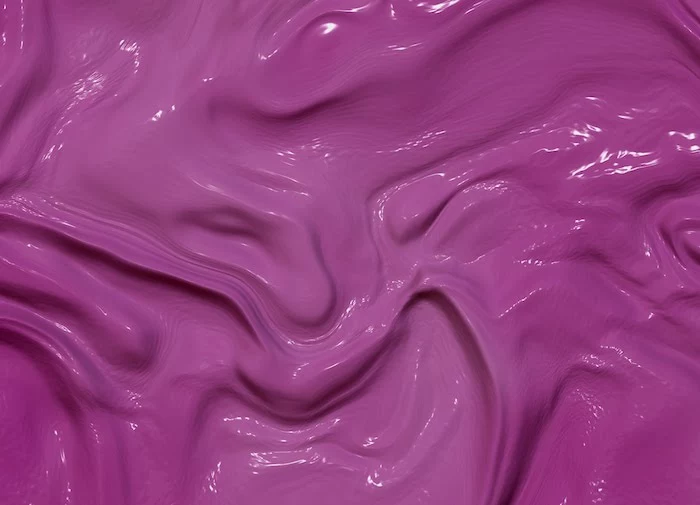
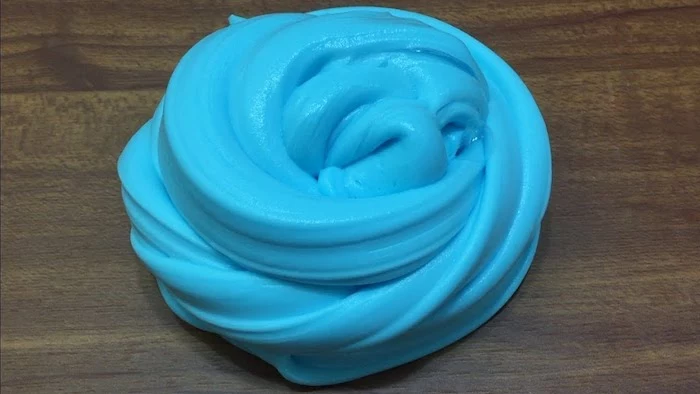
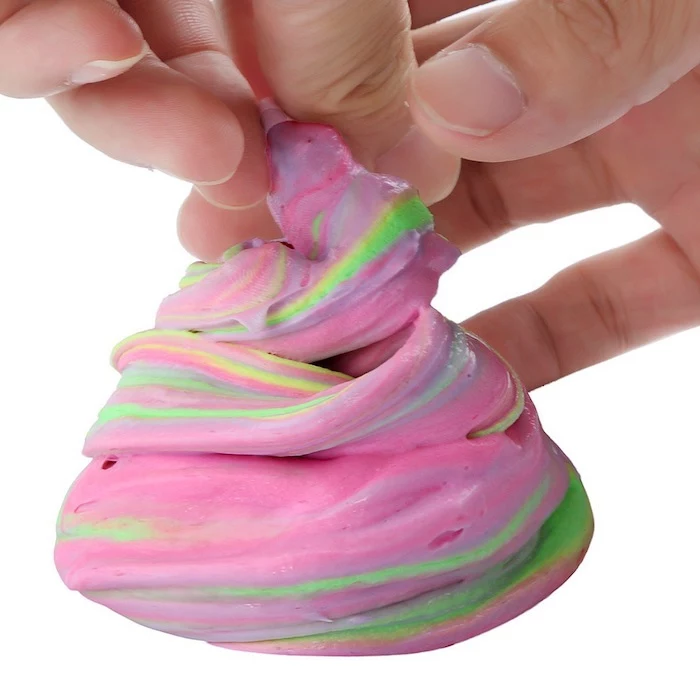
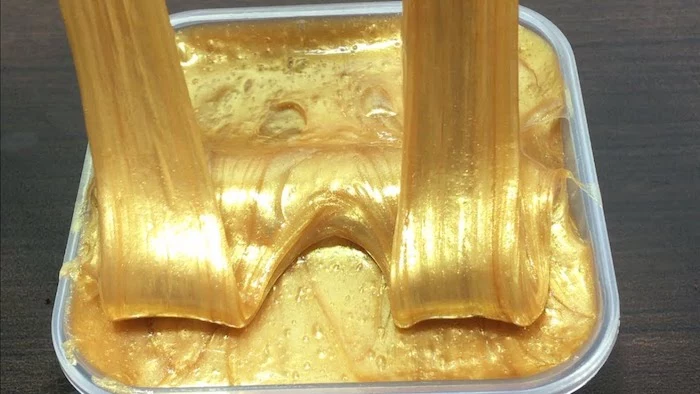
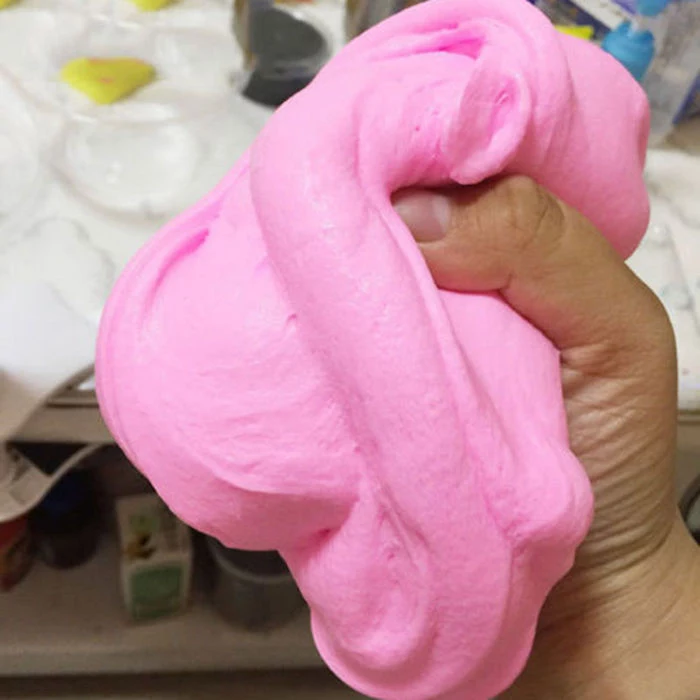
White Glue: Your go-to for opaque, fluffy, and
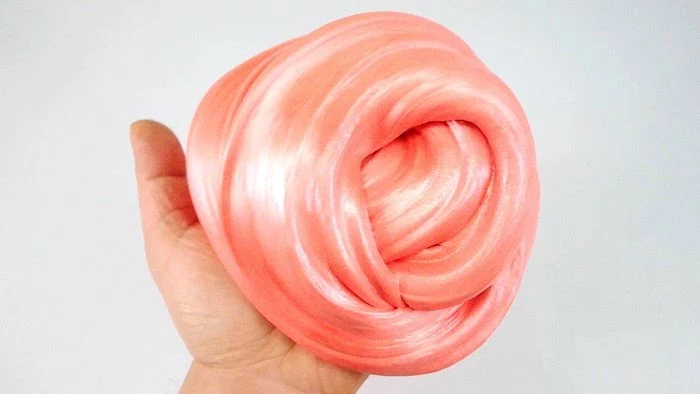
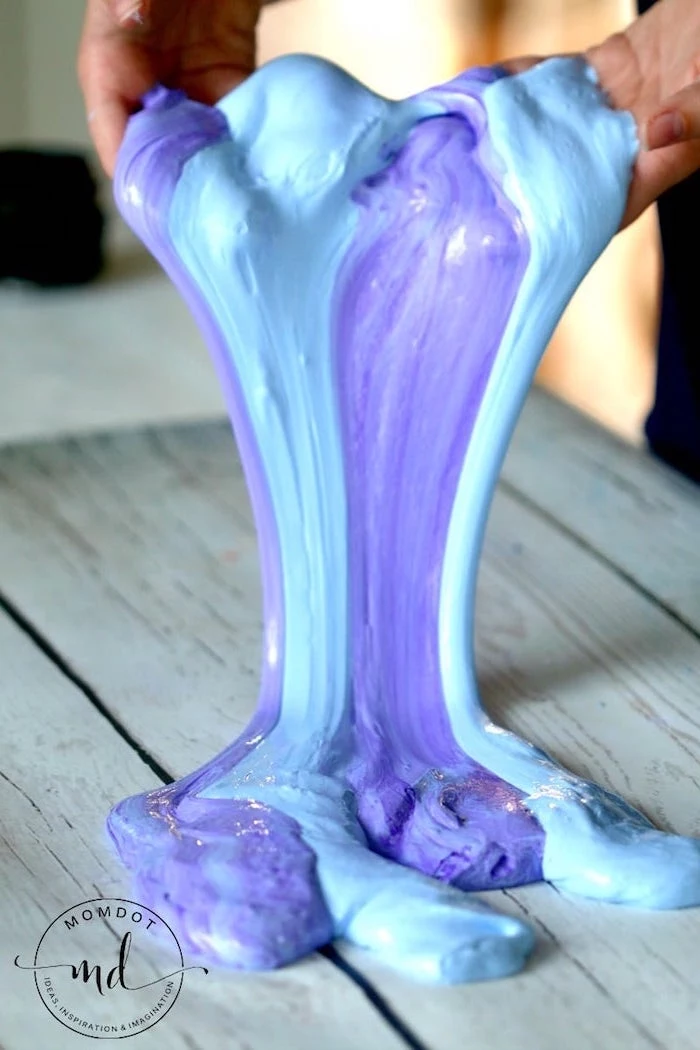
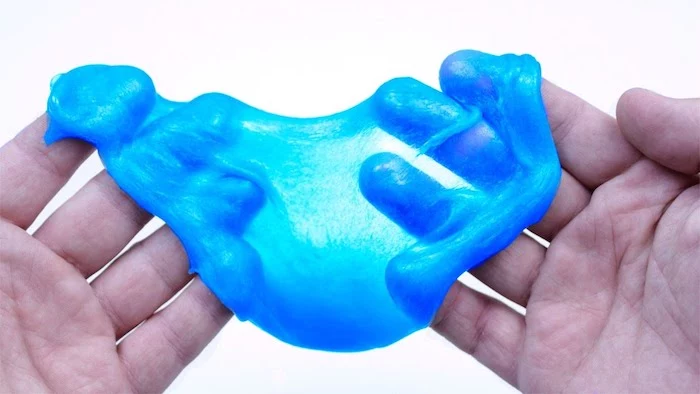
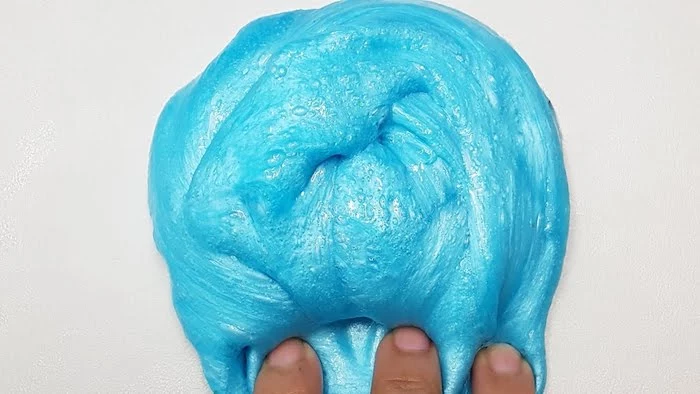
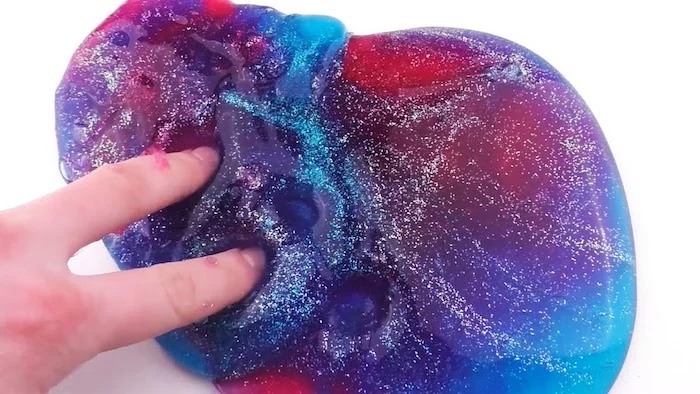
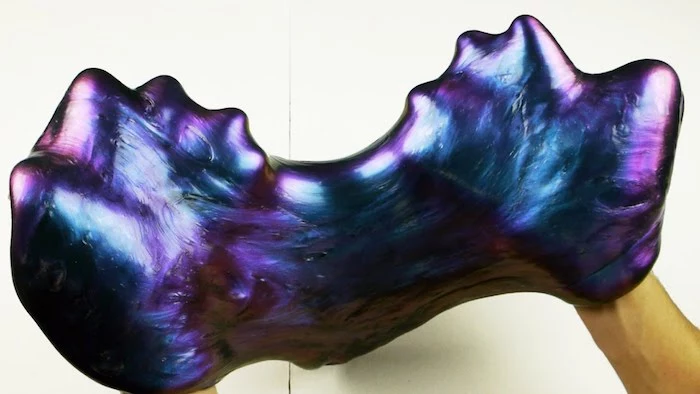
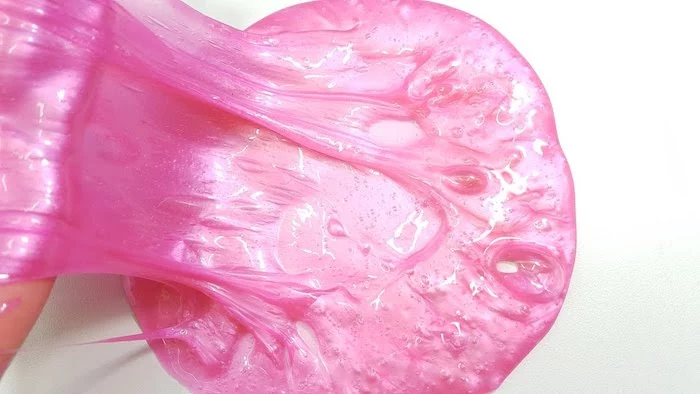
Slime is a non-Newtonian fluid.
This scientific term simply means its viscosity changes under stress. When you pour it or let it sit, it flows like a thick liquid. But when you squeeze it or punch it quickly, it acts like a solid. This unique property is precisely what makes it so fascinating to handle and play with.
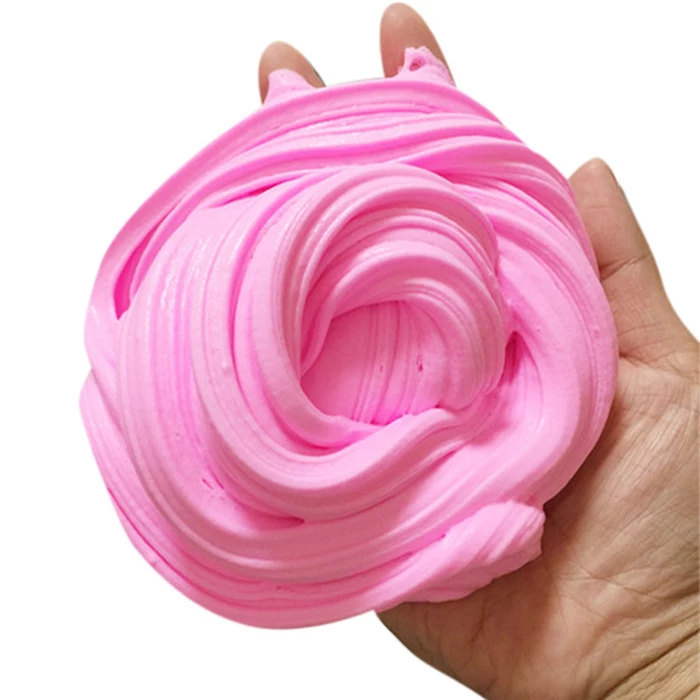
- Creates a uniquely soft, dough-like texture.
- It’s incredibly spreadable and less sticky than other slimes.
- It holds its shape perfectly for satisfying swirls.
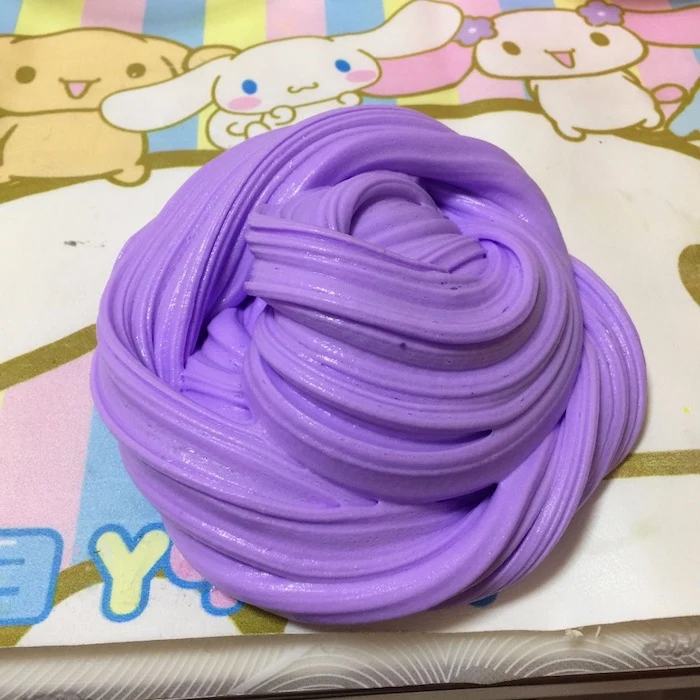
The secret? This is

Engage more than just touch and sight. Adding a scent elevates the sensory experience. A few drops of vanilla, peppermint, or fruit extract from the baking aisle can transform your creation. For a calming effect, try a drop of lavender essential oil. Just be sure to add it before activating!
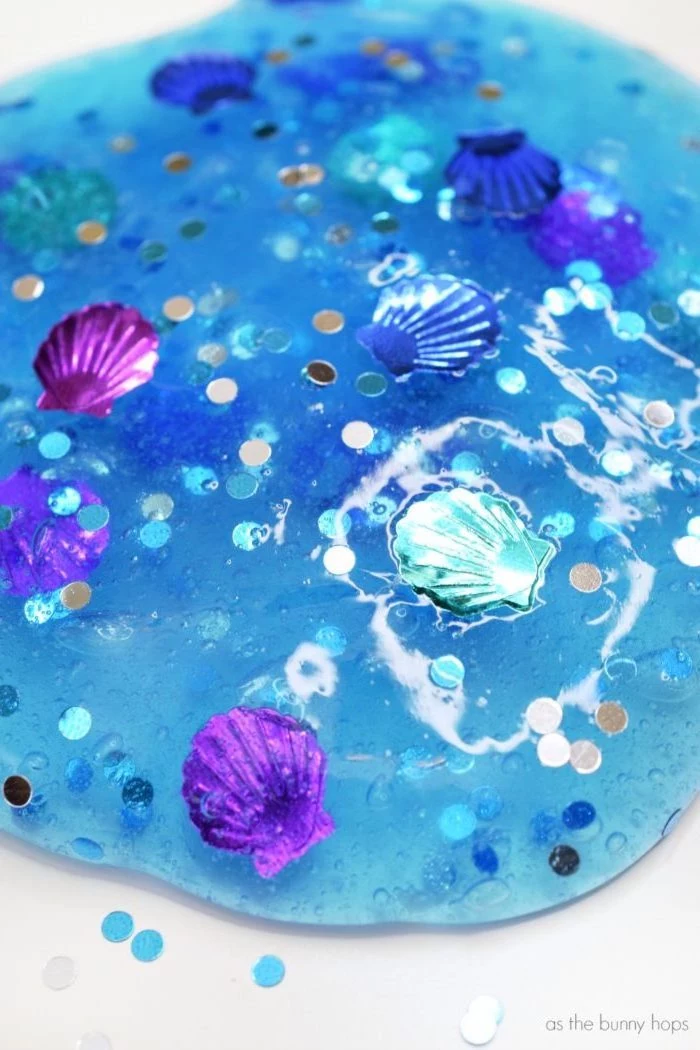
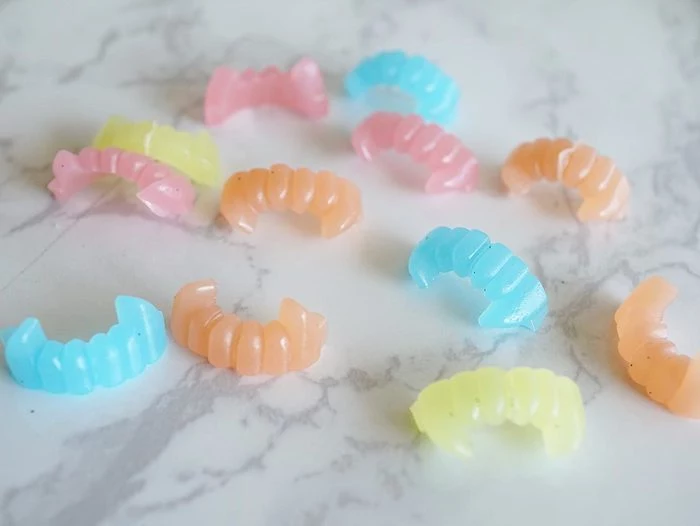
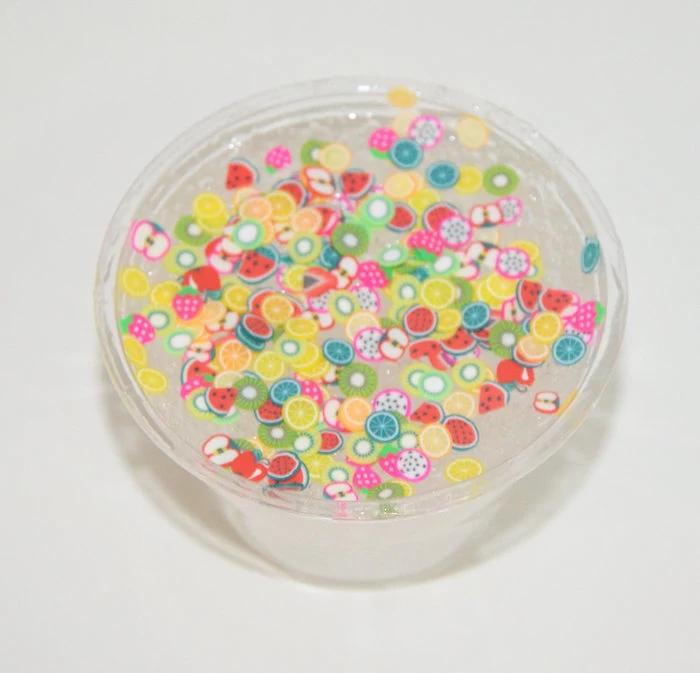
Thinking about a texture upgrade? Beyond glitter, consider these fun add-ins:
- Polystyrene foam beads (for classic


According to the American Chemical Society, while the borate ions used in slime activators are generally safe for skin contact in diluted forms, they should never be ingested.
This means adult supervision is non-negotiable, especially with younger children. Always ensure hands are washed before and after playing, and store activators like borax powder safely out of reach.
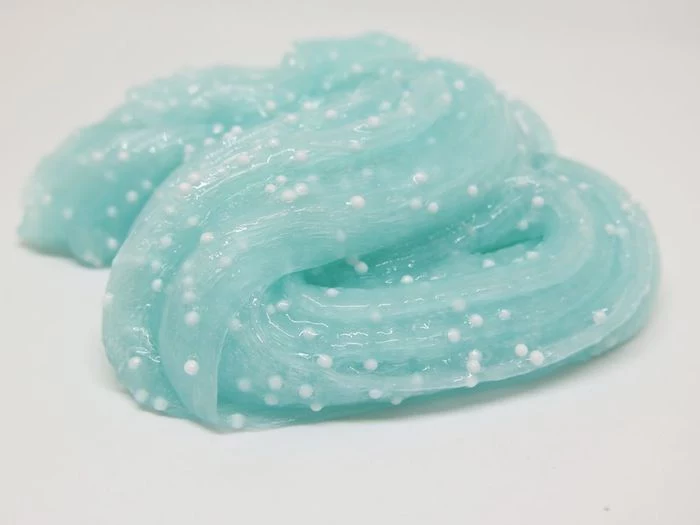
What’s the difference between fluffy slime and ‘cloud’ slime?
While both are soft, their texture is distinct. Fluffy slime, made with shaving cream, is airy and puffy like marshmallow fluff. Cloud slime, on the other hand, uses a special ingredient: instant snow powder (a superabsorbent polymer). When mixed in, it creates a dense, drizzly, and super-soft texture that feels like wet sand and pulls apart like cloud wisps.


Borax Solution (1 tsp borax in 1 cup warm water): This is the most potent and cost-effective activator, creating a very stable slime quickly. However, it requires careful handling and precise measurement to avoid over-activating.
Contact Lens Solution: A gentler, more forgiving activator. It’s great for beginners as it’s harder to over-activate the slime, but you’ll use more product, making it a bit pricier. Ensure it contains boric acid.
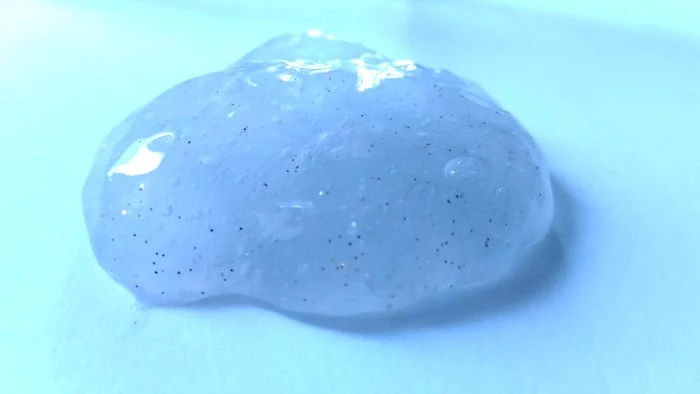
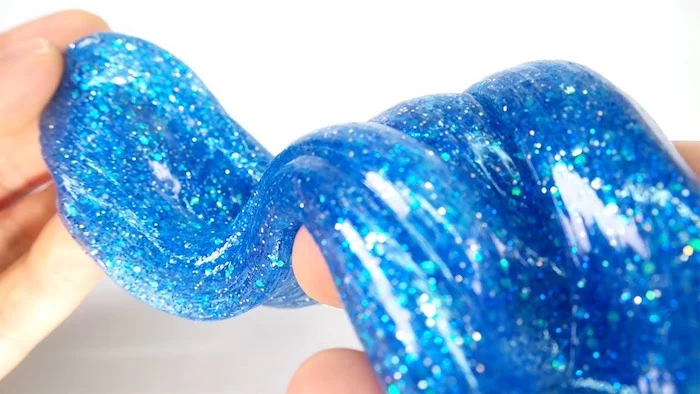
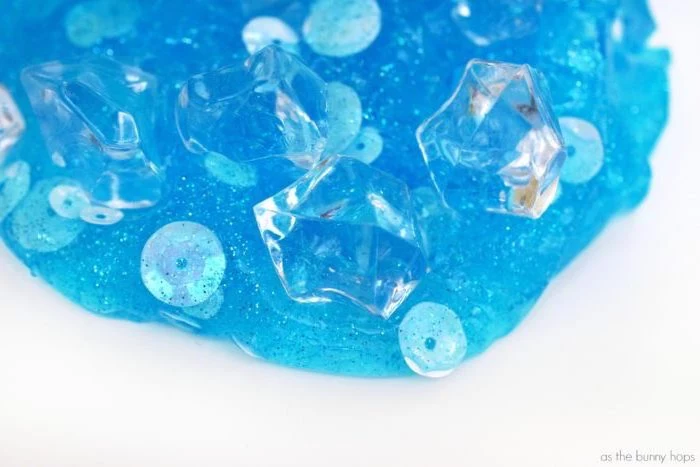
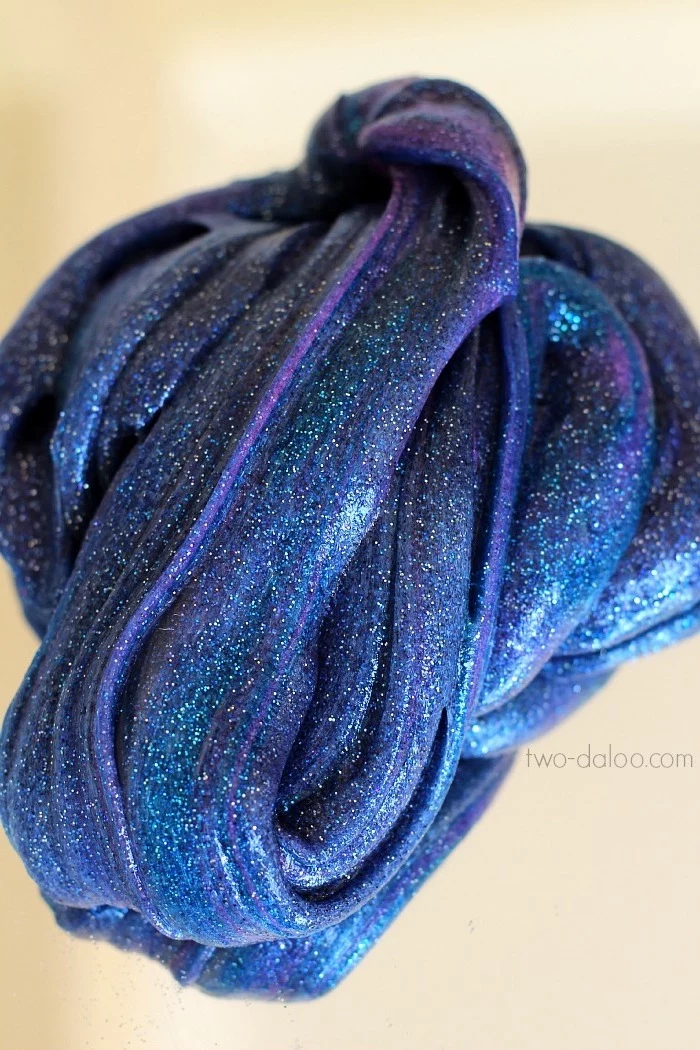
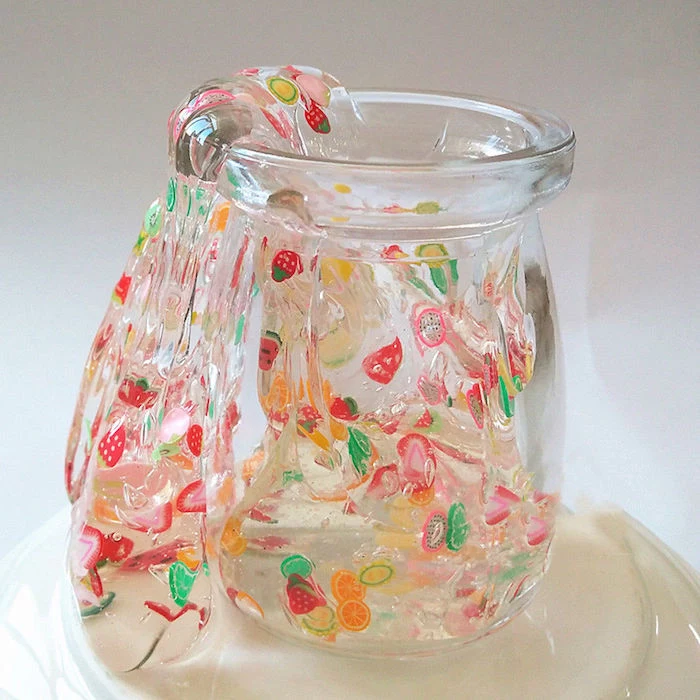
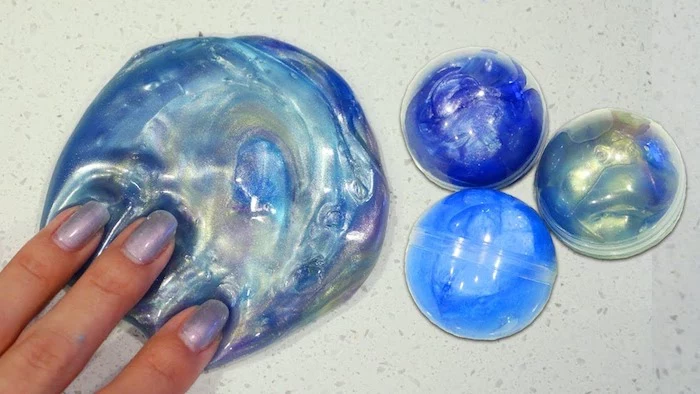
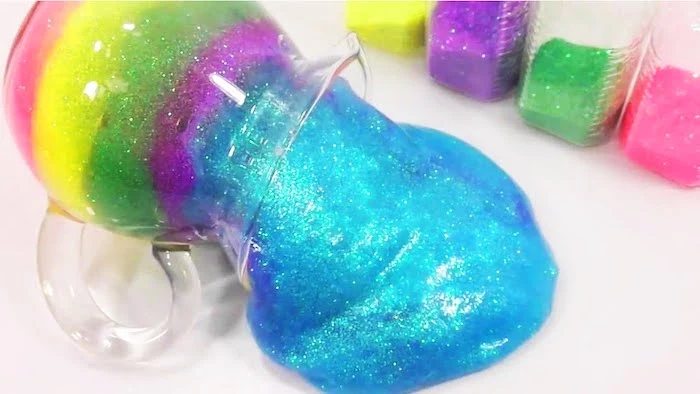
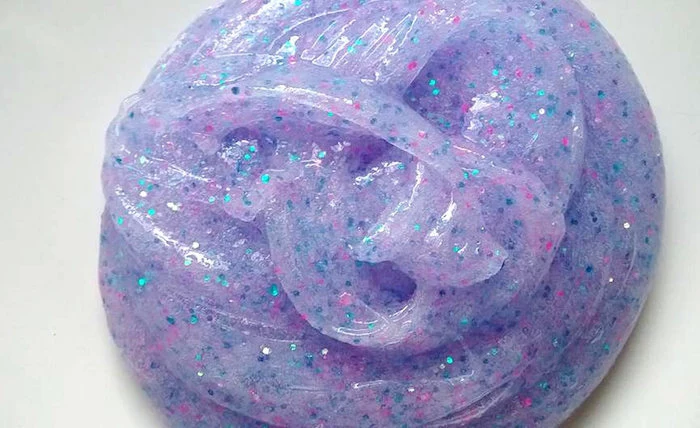
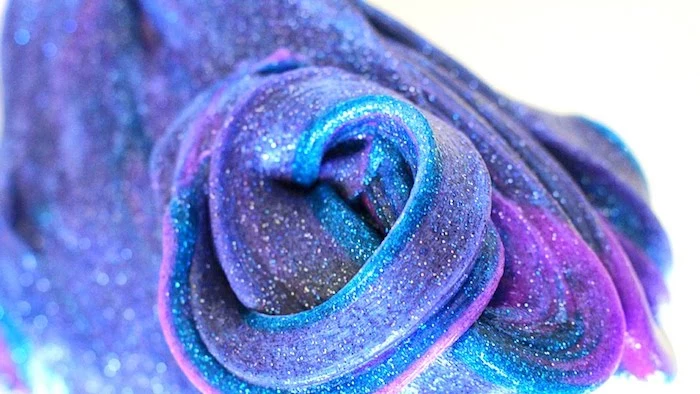
To create a mesmerizing


- It stretches far without breaking.
- It’s glossy and makes amazing bubbles.
- It’s the perfect base for crystal-clear effects.
The secret? Patience! After making a slime with clear glue, store it in an airtight container for 2-7 days. This allows all the tiny air bubbles created during mixing to rise and pop, leaving you with a perfectly transparent, glass-like slime.


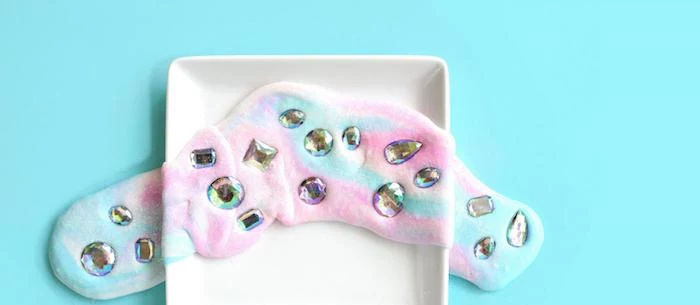
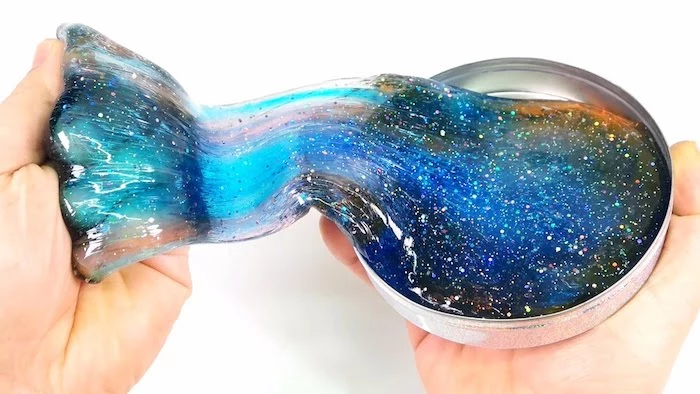
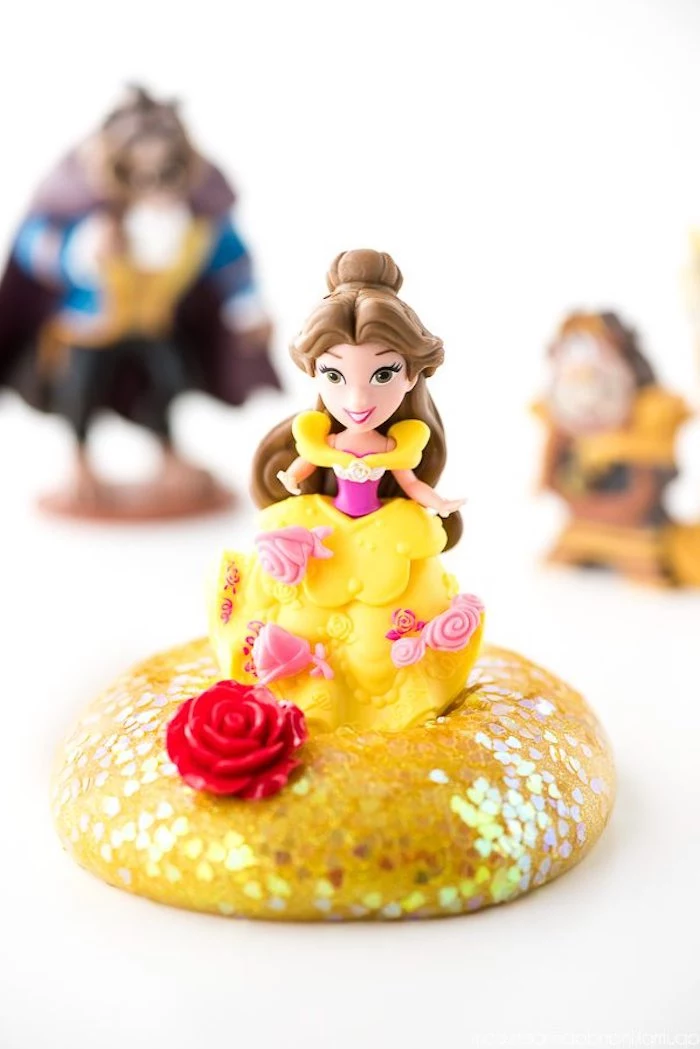
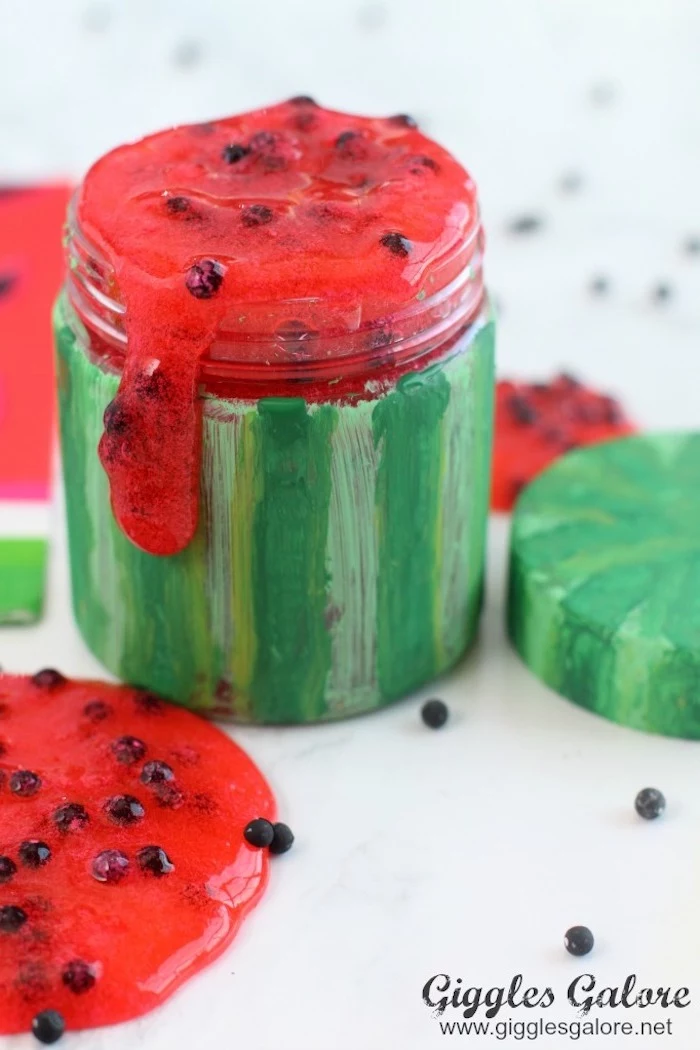
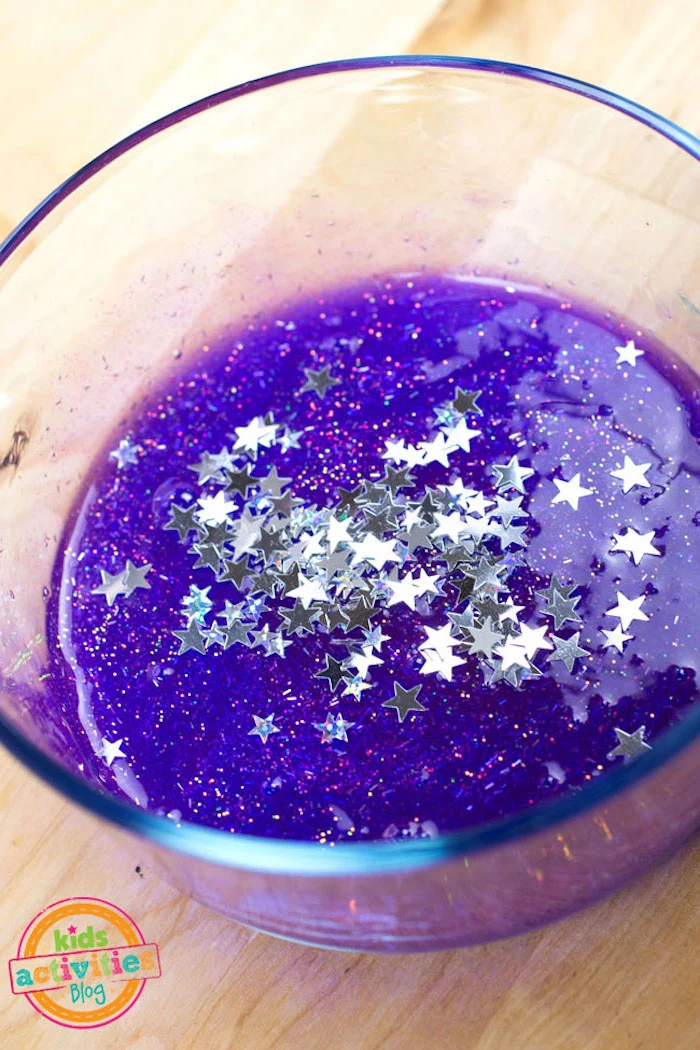
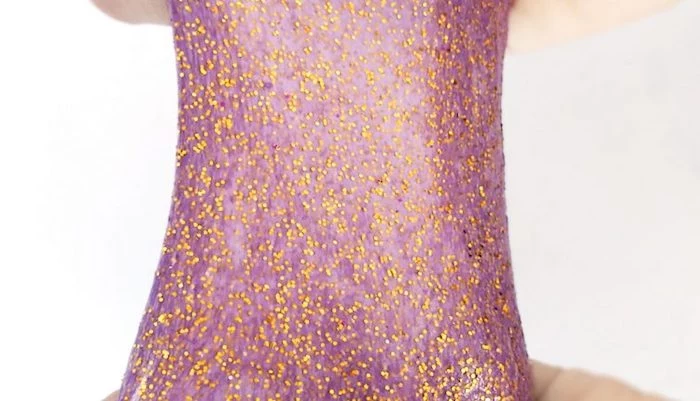
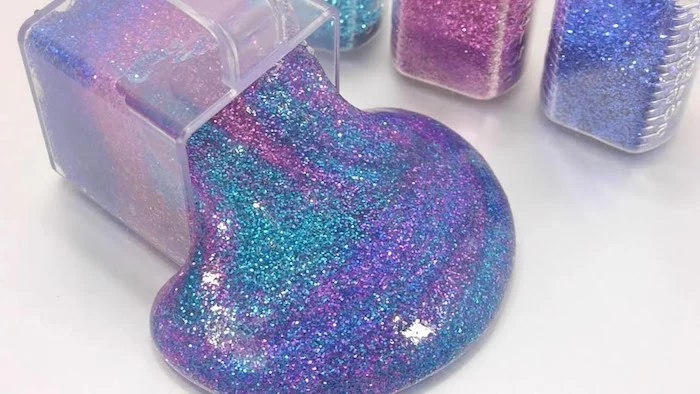
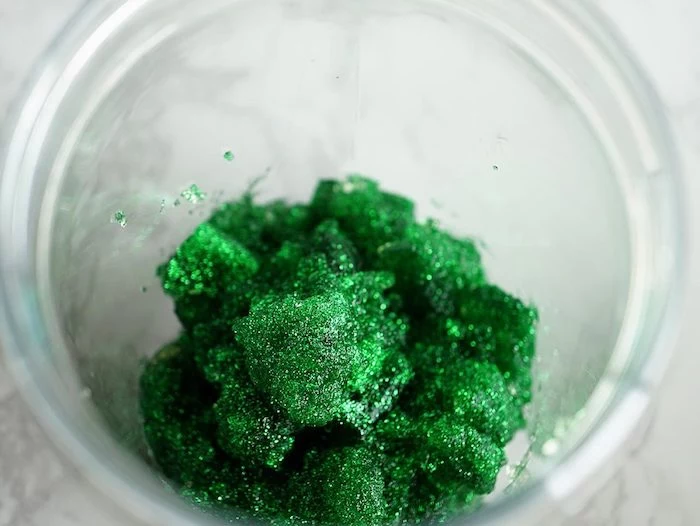
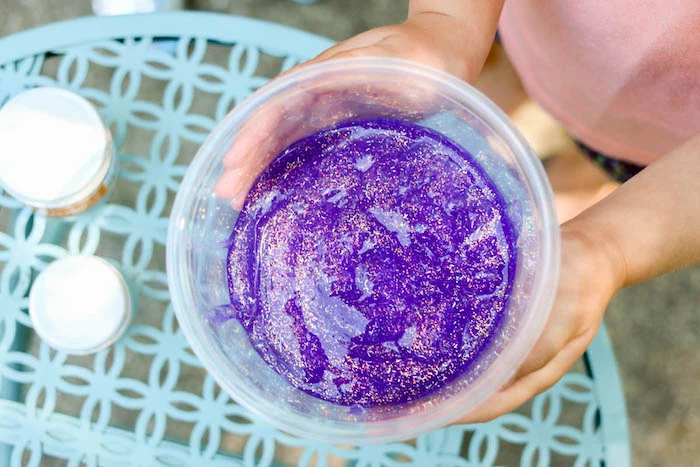
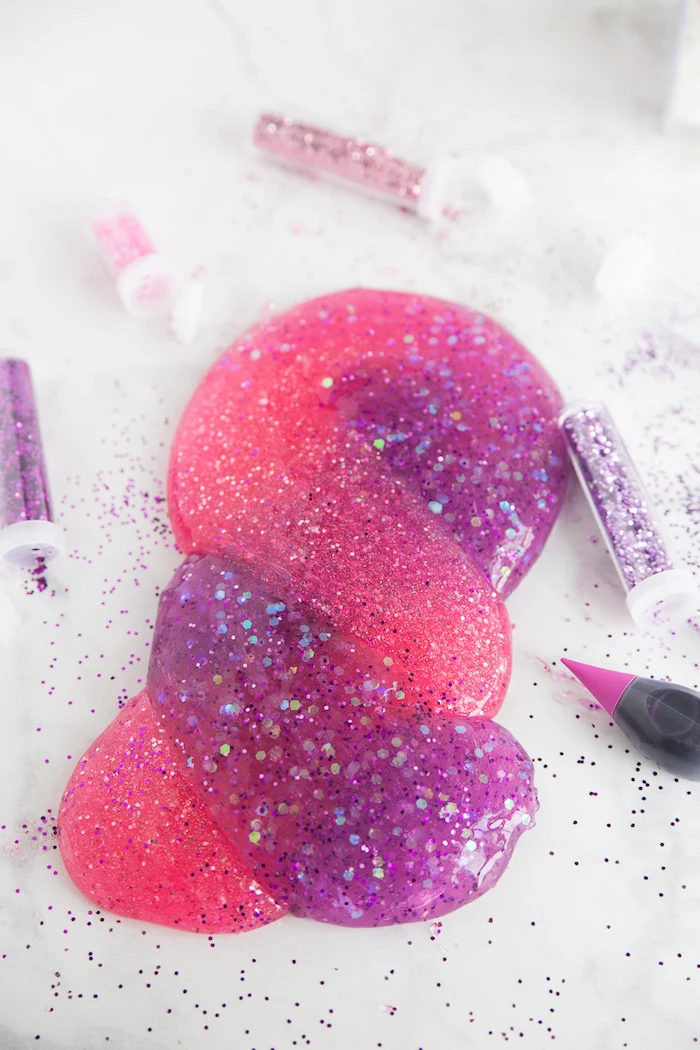
A word on glitter: To avoid a sparkly explosion all over your play area, the trick is in the timing. Mix your glitter—fine, chunky, or shaped—directly into the glue *before* adding a single drop of activator. The glitter becomes trapped within the polymer network as it forms, leading to maximum sparkle in the slime and minimal mess on your hands and table.
Proper storage is the key to longevity. Your worst enemies are air and dust. Invest in some good quality airtight containers, like screw-top deli containers or small Tupperware. This will prevent your slime from drying out and turning into a rubbery puck. For extra-special clear slimes, a well-sealed container is essential to maintain clarity.

Can you make slime without borax or contact solution?
Yes, though the texture is different. One popular borax-free recipe involves mixing cornstarch with dish soap until a doughy, putty-like consistency forms. It’s less stretchy than traditional slime but is a fantastic option for very young children or if you’re out of traditional activators. It feels more like play-dough’s slimy cousin!
- Using lotion that contains alcohol, which can break down the slime. Opt for a simple, alcohol-free moisturizer if you want to add softness.
- Adding water to a sticky slime. This will often make it stickier! The correct fix is always a tiny bit more activator.
- Kneading on a porous surface like an unfinished wooden table, which can absorb the slime and be difficult to clean.

The term ‘slime’ was first commercialized as a toy product by Mattel in 1976. It was green, came in a mini trash can, and was made primarily from guar gum.


Planning a slime-making party? Make it easy on yourself. Prepare individual kits for each child in a ziplock bag containing a small bottle of pre-measured glue, a tiny container of color, and some glitter. You can then go around and add the activator for them. A disposable plastic tablecloth is your best friend!


A key to stretchiness: Don’t underestimate the power of kneading. Once the slime starts to pull away from the bowl, take it out and use your hands. Stretch it, fold it, and work it for at least 5-7 minutes. This process aligns the polymer chains, transforming a lumpy blob into a smooth, elastic, and satisfyingly stretchy final product.

If your slime becomes stiff and rubbery from over-activation, don’t throw it out. A simple fix is to run it under warm water and knead it gently, or work in a small amount of lotion or a drop of glycerin. This helps relax the polymer bonds, restoring some of its lost stretchiness.
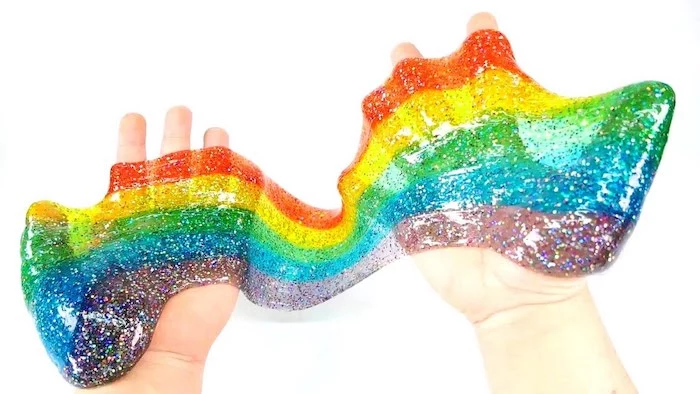
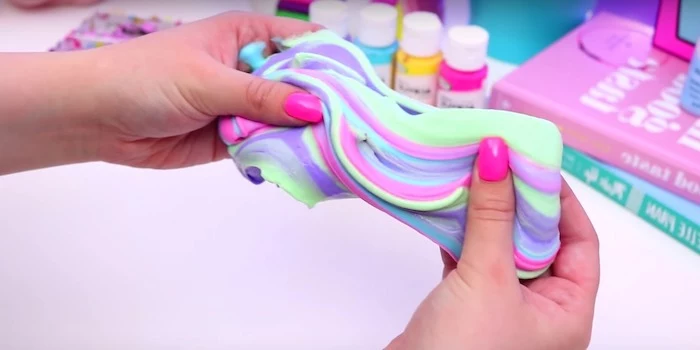
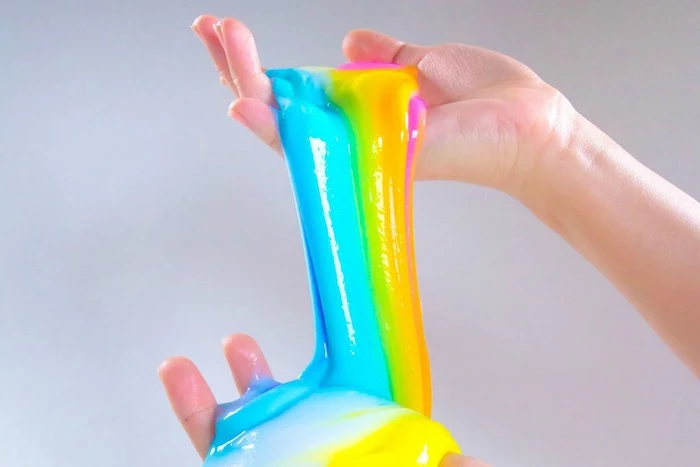
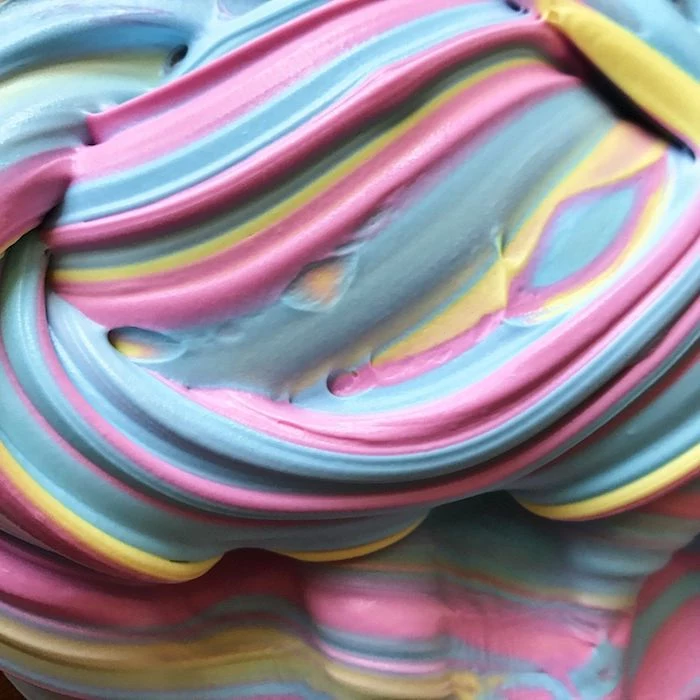
My colors always turn out muddy. What am I doing wrong?
This usually happens when you mix complementary colors (like purple and yellow, or red and green). To create rainbow or unicorn slime without it turning brown, make sure your individual colored slimes are fully activated and no longer sticky before you twist them together. This way, they will marble together beautifully instead of mixing completely.