How to Draw Elephants That Feel Real: An Artist’s Guide
I’ve been drawing for what feels like a lifetime, tackling everything from slick architectural designs to intimate portraits. But I always, always come back to wildlife. And honestly, no animal is a more rewarding challenge than the elephant.
In this article
My first real attempt? A complete disaster. I just drew what I thought I saw: a big, lumpy gray blob with a tube for a nose. The result was flat and lifeless, like a sad balloon animal. It taught me the most important lesson of all: to draw an elephant, you have to understand it first. You need to see past the skin and feel the bones, the muscles, and the story of its life.
So, this isn’t going to be one of those “draw this in 5 easy steps” things. We’re going deeper. We’re going to explore the animal’s real structure and the techniques you need to bring it to life on paper. Let’s get our hands dirty with some real observation and craft.
First Things First: Your Toolkit
Before we get into the anatomy, let’s talk tools. You don’t need to spend a fortune, but having the right gear makes a world of difference.
For most of my work, I rely on a basic set of graphite pencils. A simple set from a brand like Faber-Castell or Staedtler will run you about $15 to $20 and give you the range you need. You’ll want a few different hardnesses, from a hard pencil like a 2H (for light initial sketches) to a soft one like a 6B (for deep, rich shadows).
Paper-wise, something with a bit of texture, or “tooth,” is great for capturing the skin. A pad of Strathmore Bristol paper is a fantastic choice and usually available at any art supply store or online. For erasers, a standard kneaded eraser is a must-have. It’s gentle on the paper and you can shape it to a fine point to lift out small highlights. It’ll only set you back a few dollars.
The Real Work Begins Before You Draw
The single biggest mistake I see aspiring artists make is jumping straight into details. They try to draw the wrinkles on the skin without understanding the body underneath, and the drawing always falls flat. An elephant’s sheer power and surprising grace come from its incredible biological design. Knowing that design is your foundation.
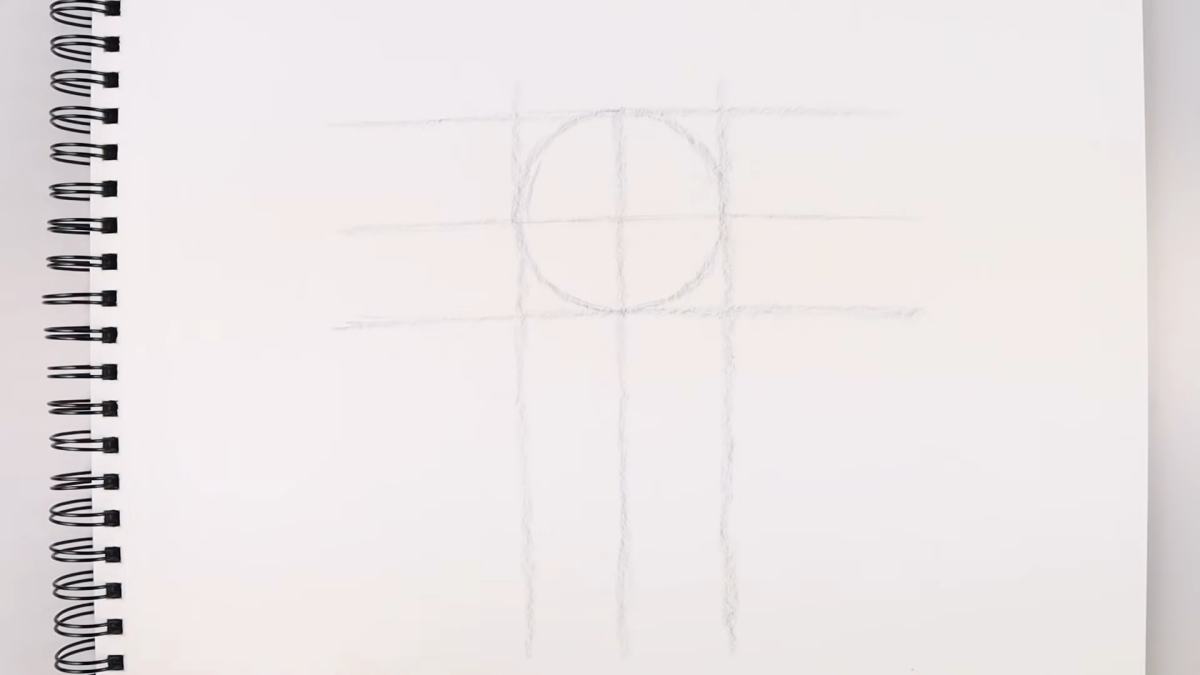
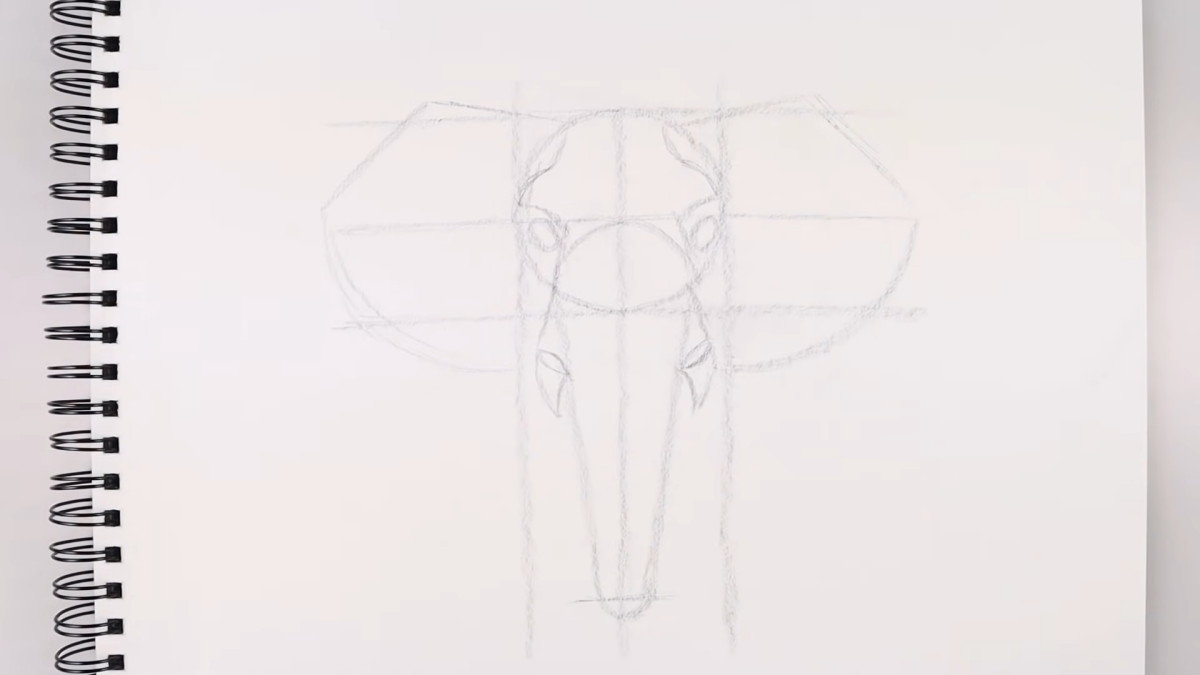
So, where do you even start? With big, simple shapes.
Before you draw a single detail, block in the basic forms. Think of the main body as a huge, slightly squashed oval. The head is a smaller, rounder shape connected to it. The legs aren’t just lines; they’re massive cylinders. Spend a few minutes just sketching these basic geometric forms. This helps you get the proportions right and gives your elephant a sense of weight from the very beginning.
The Skeleton: A Foundation of Power
An elephant’s skeleton is an absolute masterpiece of natural engineering. Their legs are nothing like a horse’s or a dog’s. They are thick, columnar pillars positioned almost straight down from the body, built to support immense weight. When you’re sketching, try to feel that weight.
Their leg bones don’t have a lot of bend at the knee and elbow, which gives them a straighter, more rigid posture when standing still. This is why their walk has that distinctive, stately shuffle. It’s all about stability.
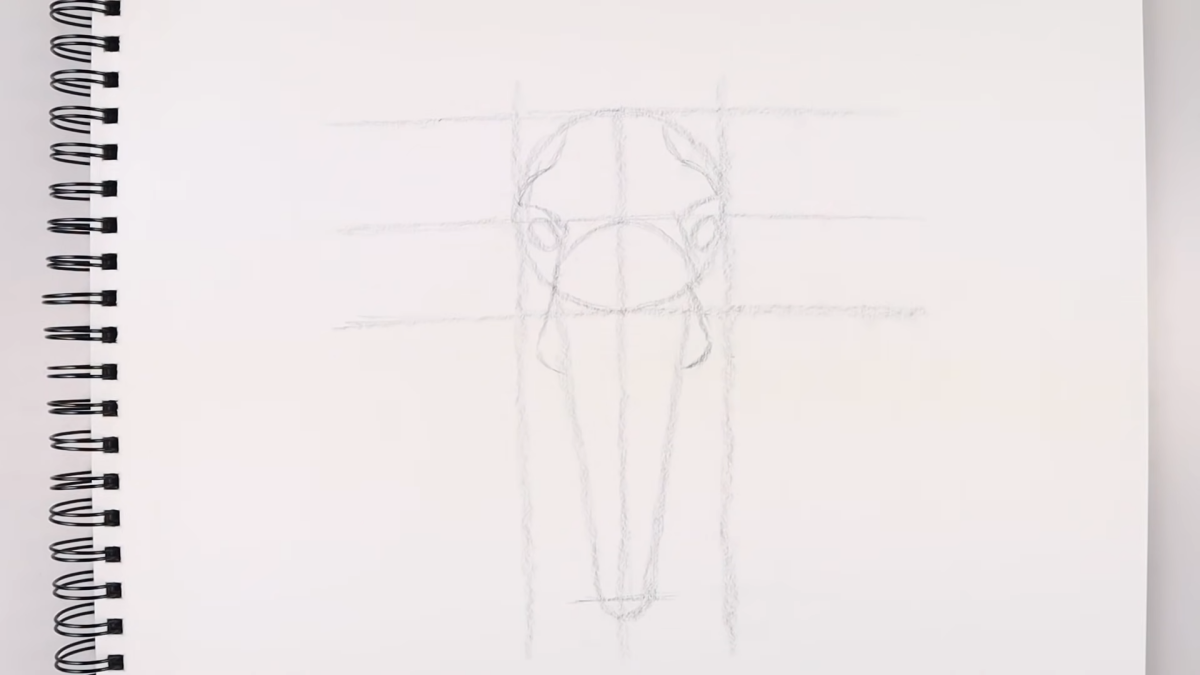
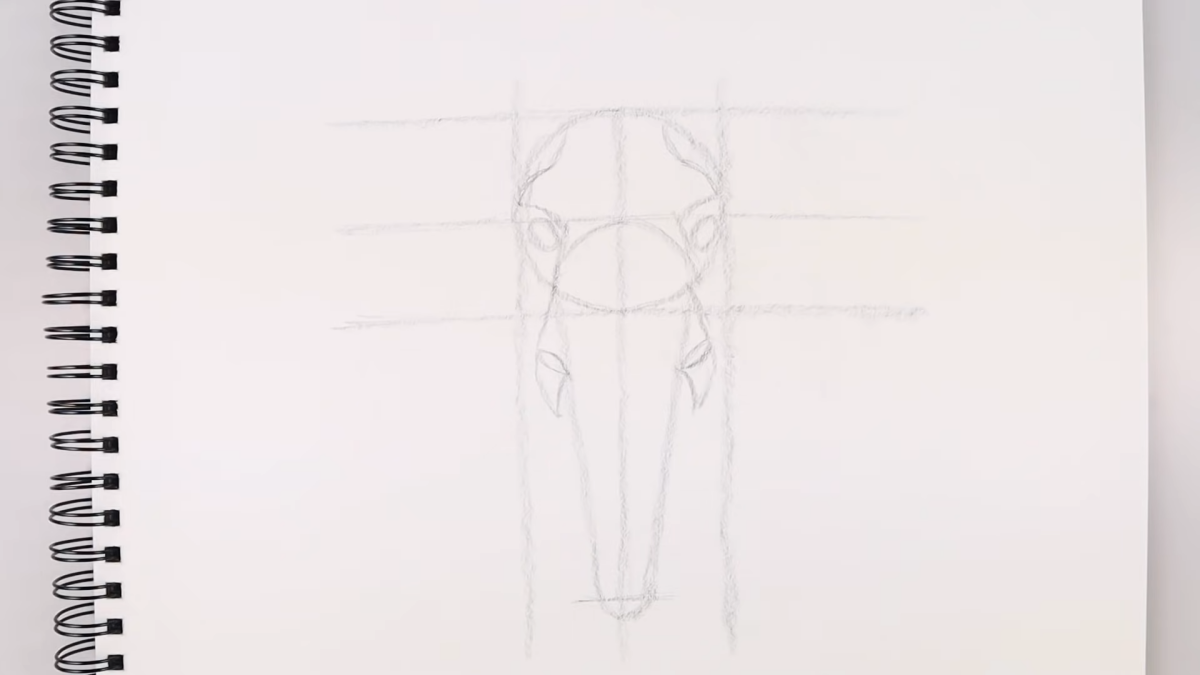
The skull is also fascinating. It’s not a solid chunk of bone. To save weight, it’s full of honeycomb-like air pockets. For an artist, this means you’re drawing a large, domed shape, but the features within it are set in specific ways. The eye sockets, for example, are surprisingly small and set farther back than you’d probably guess.
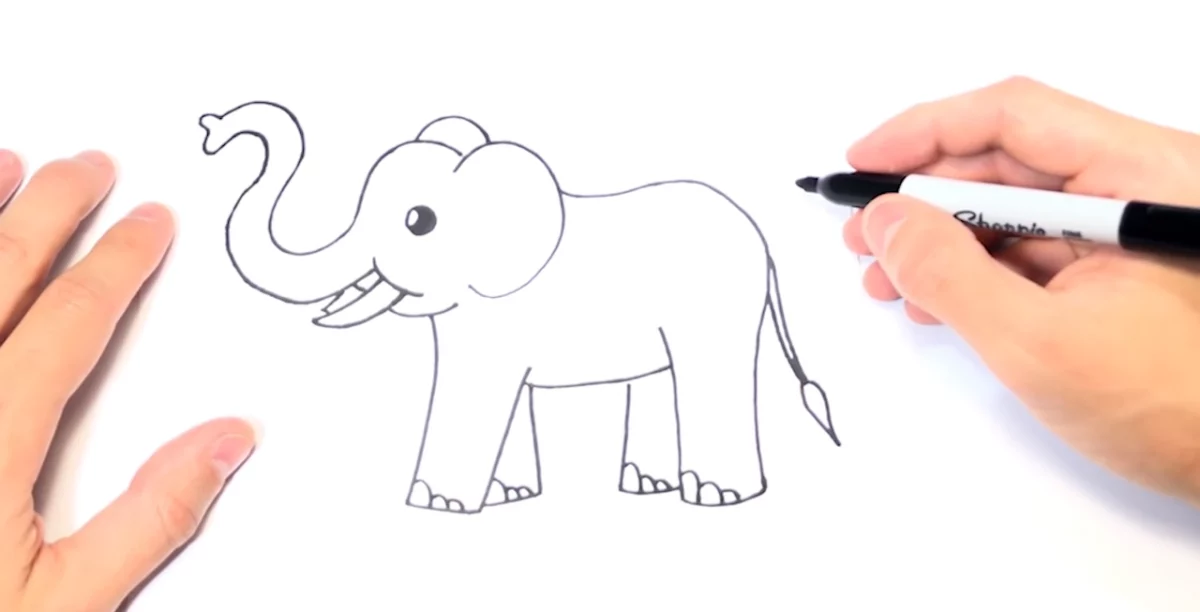
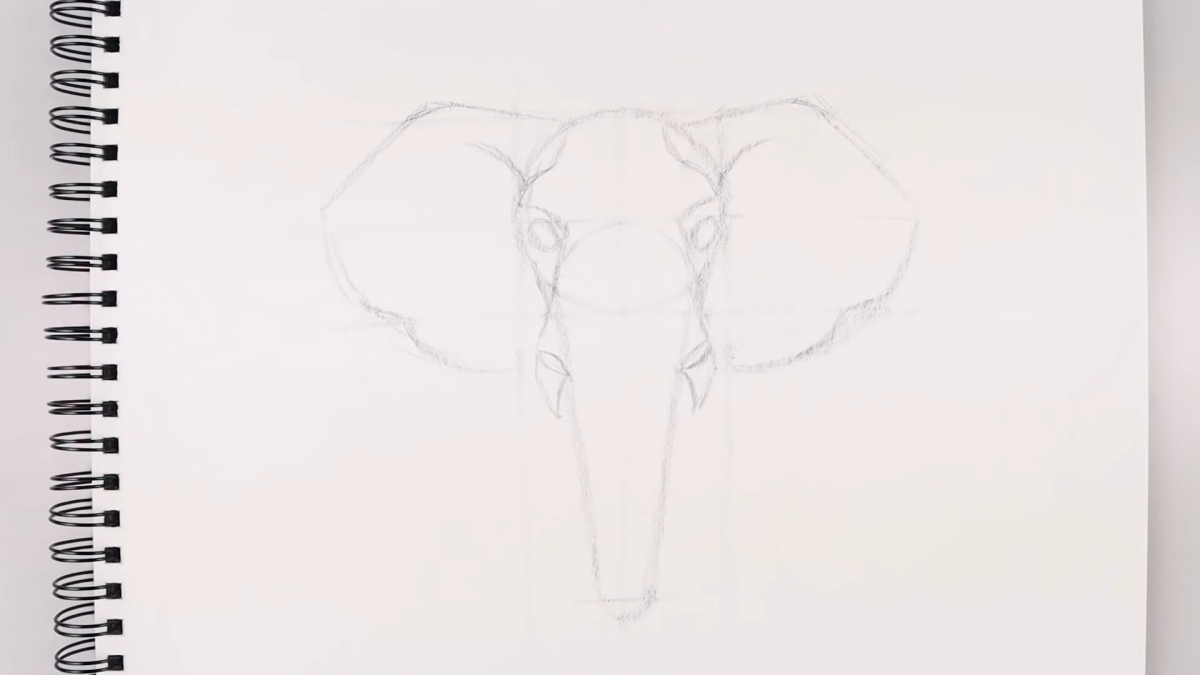
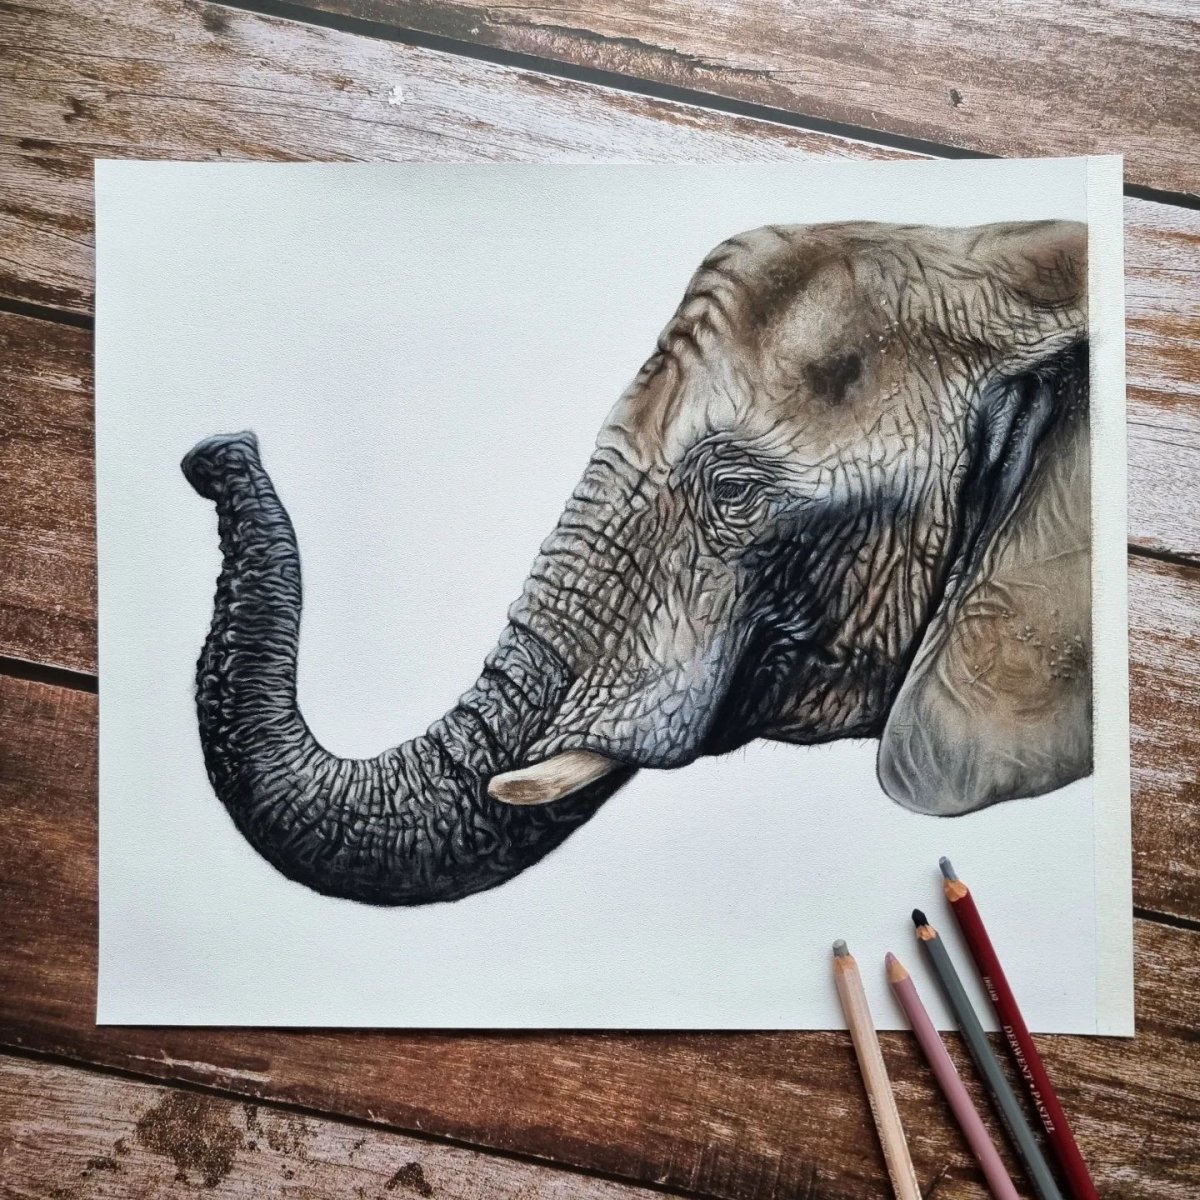
The Trunk: It’s So Much More Than a Nose
Calling the trunk a nose is a massive understatement. It’s actually a fusion of the nose and the upper lip, and it contains zero bones. Instead, it’s powered by an estimated 40,000 individual muscles, giving it an incredible range of motion. It can be a rigid battering ram one moment and delicate enough to pick up a single blade of grass the next.
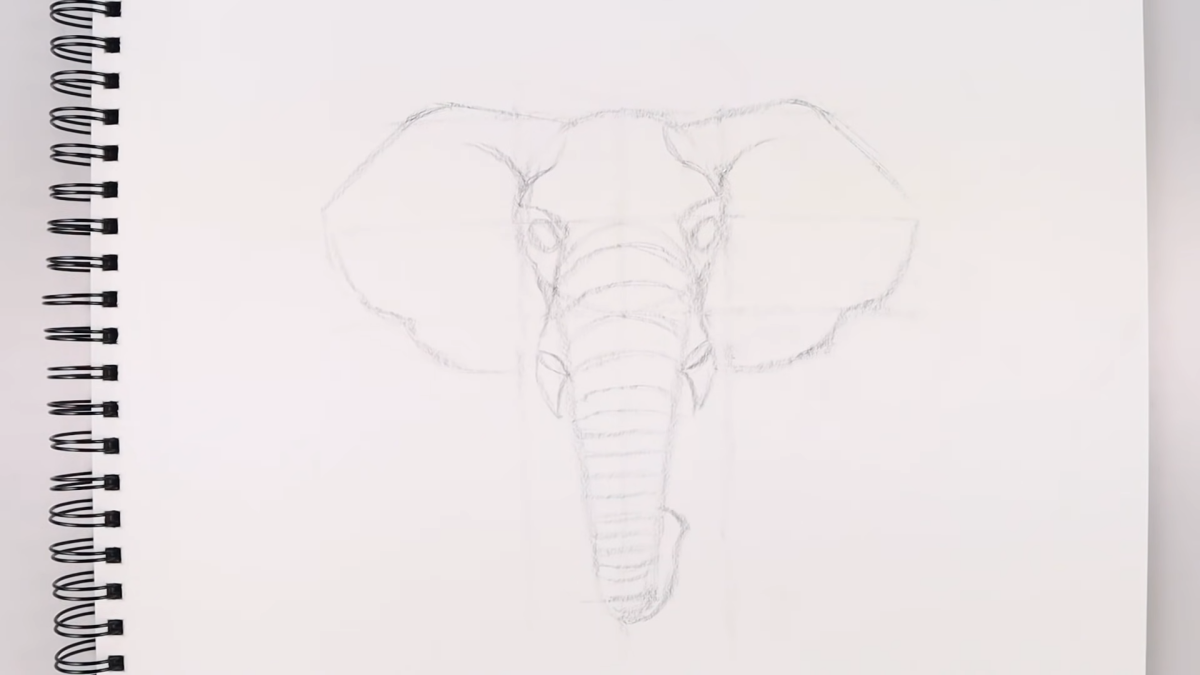
So, when you draw it, never make it a simple, smooth tube. It tapers, it twists, and it creases. It has real volume. Watch how it compresses and stretches. Think of it more like a muscular, flexible arm. By the way, those rings and wrinkles aren’t just for show—they are what allows the trunk to bend and compress so effectively.
The Skin: Drawing a Map of a Life
Oh, that skin. It’s one of the toughest textures to get right. It’s not just a mess of random wrinkles. Those deep cracks are a functional cooling system; they trap moisture, which then evaporates slowly to help the elephant stay cool. Genius, right?
These patterns of lines follow the form of the body, wrapping around the shape of the legs and radiating from stress points like the knees and elbows. To draw this texture, you have to think in three dimensions. The lines aren’t just drawn on the surface; they feel like they’re carved into it.
Here’s a quick tip for tackling it:
- Lay down a base tone. Using a medium-soft pencil (like a 2B), gently shade the entire area to establish a mid-gray value.
- Carve in the lines. Take a harder, sharper pencil (like an H or 2H) and press firmly to draw the main wrinkle patterns. You’re not just drawing a line; you’re almost indenting the paper to create the feeling of a crack.
- Add the depth. Switch to a very soft, dark pencil (a 4B or 6B) and carefully darken the insides of the cracks you just drew. This creates the shadow inside the fissure and makes the skin look genuinely thick and three-dimensional.
Quick heads-up: The texture isn’t uniform. The skin behind the ears is often thinner and softer, while the skin on the back and knees is incredibly thick and tough.
Pro Tip: You Need Good References
You can’t draw what you can’t see. Finding high-quality reference photos is non-negotiable. Don’t just grab the first low-res image from a quick search. I often use sites like Unsplash and Pexels, which have high-resolution, free photos from talented photographers. There are also fantastic communities online, like the “Wildlife Reference Photos for Artists” group on Facebook, where people share incredible, clear images specifically for artists to use.
Know Your Elephant: African vs. Asian
Drawing a “generic” elephant is an amateur move. The two main species are very different, and knowing those differences will instantly make your work look more professional. To be frank, they feel like two completely different animals to draw.
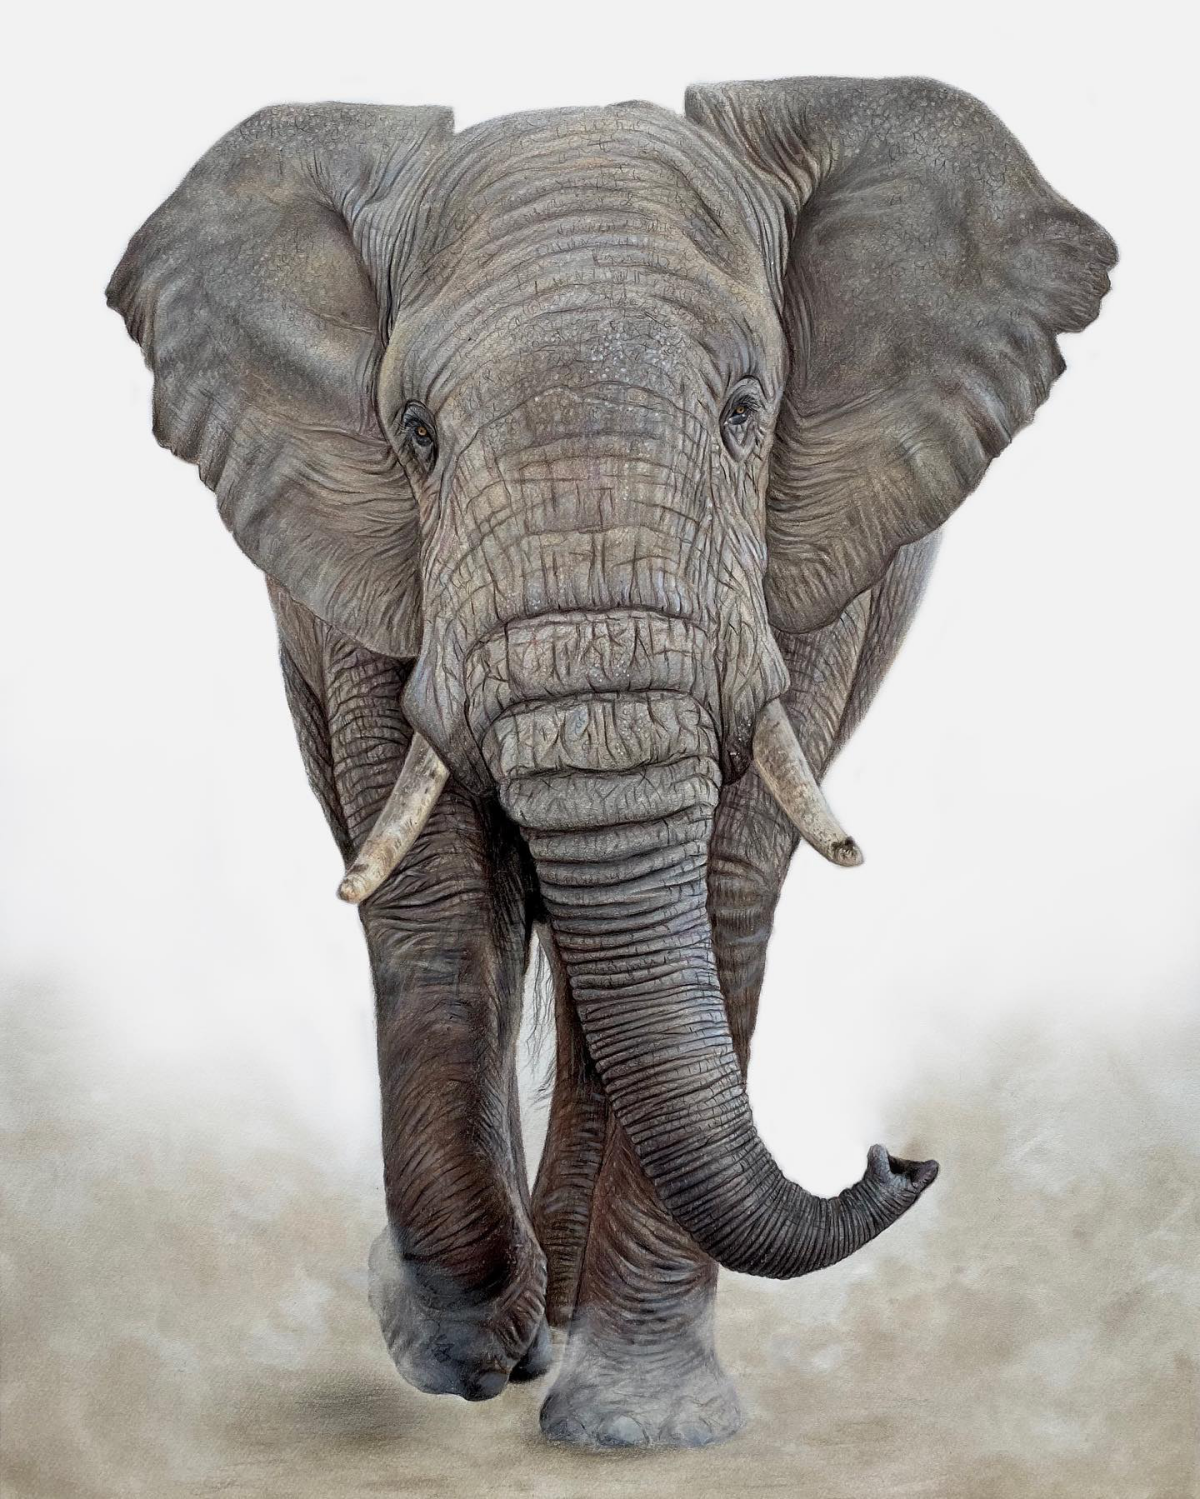
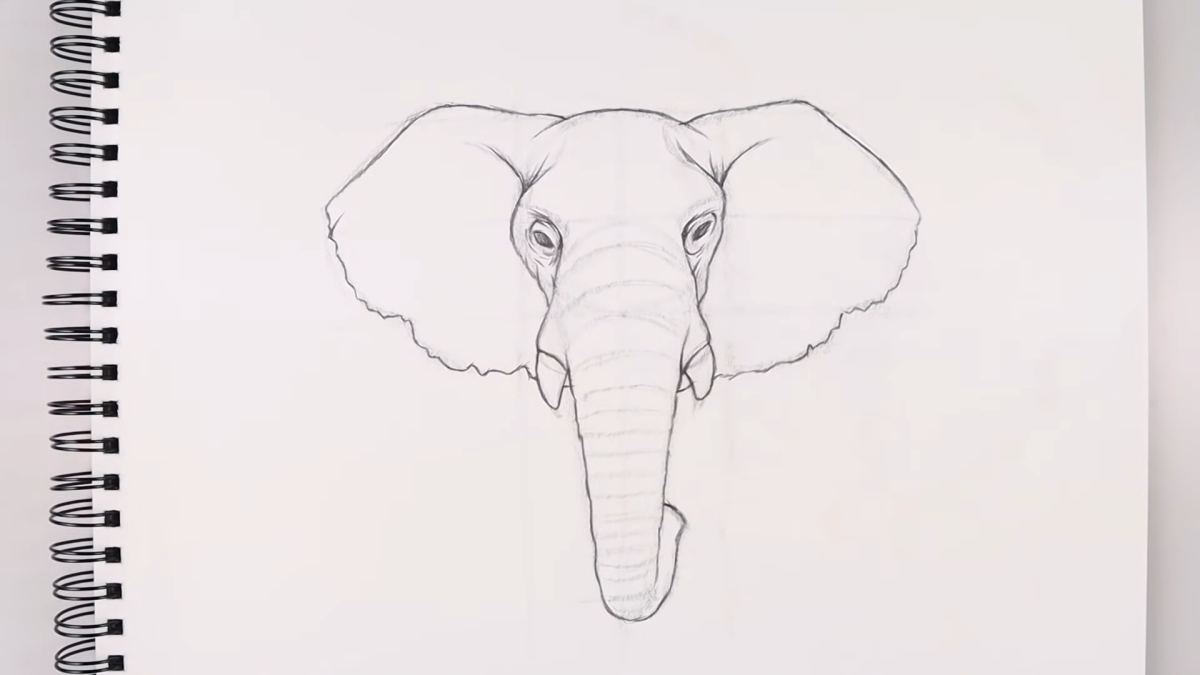
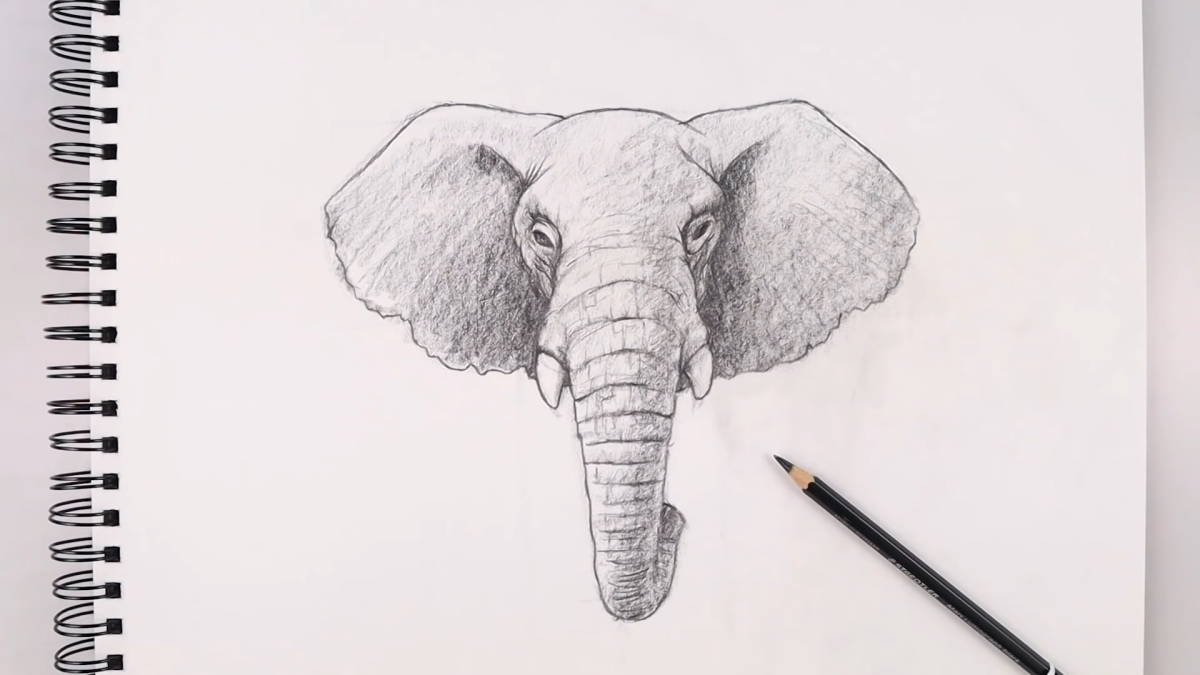
- Ears are the big giveaway. African elephants have massive ears, roughly shaped like the continent of Africa itself. They’re packed with blood vessels and act like giant radiators to cool the animal down. Asian elephants, on the other hand, have much smaller, more rounded ears. This one feature completely changes the silhouette.
- Look at the head shape. An African elephant has a smooth, single-domed skull. But an Asian elephant has a distinct twin-domed head, with a visible indent running down the middle. It’s subtle, but it’s a dead giveaway once you know to look for it.
- Check the back. The back of an African elephant has a noticeable dip in the middle (it’s concave). In contrast, an Asian elephant’s back is arched upwards (convex). If you get this main line wrong, the whole posture of the animal will feel off.
- And the trunk tip. This is a detail I love because it shows how closely you need to look. An African elephant’s trunk has two distinct, finger-like projections at the tip for grasping. The Asian elephant has only one.
Your Turn: A 5-Minute Sketch Challenge
Ready to feel the difference? Pull up a reference photo of an African elephant and an Asian elephant side-by-side. Set a timer for 5 minutes. In that time, sketch ONLY the ear and head shape of each one. Don’t worry about details. This quick exercise is the fastest way to get the fundamental differences into your muscle memory.
A Common Pitfall and How to Fix It
I see this all the time: a beautifully rendered elephant that looks like it’s floating in space. The fix is simple but crucial: grounding shadows.
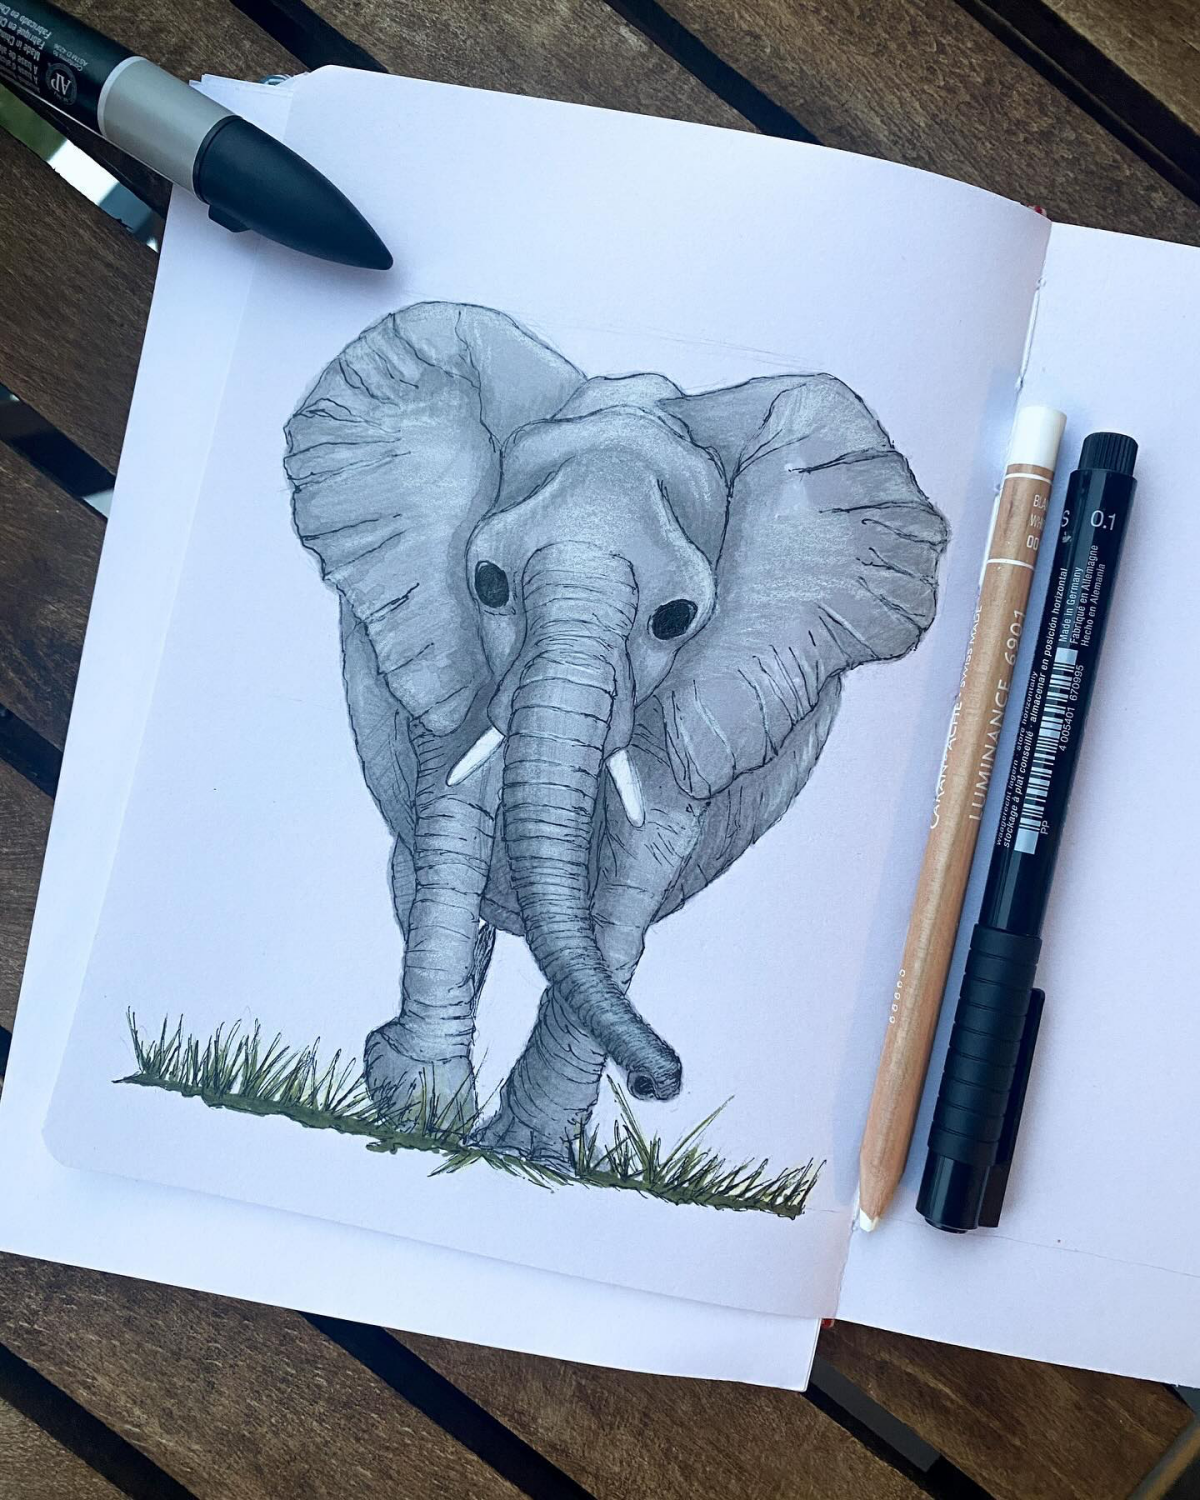
An animal this heavy creates a very dark, definite cast shadow right where its feet touch the ground. Use your softest pencil to create a dark, confident shadow directly under each foot. This will instantly anchor your elephant to the ground and give it the weight and presence it deserves. It’s a small detail that makes a world of difference.
Galerie d’inspiration
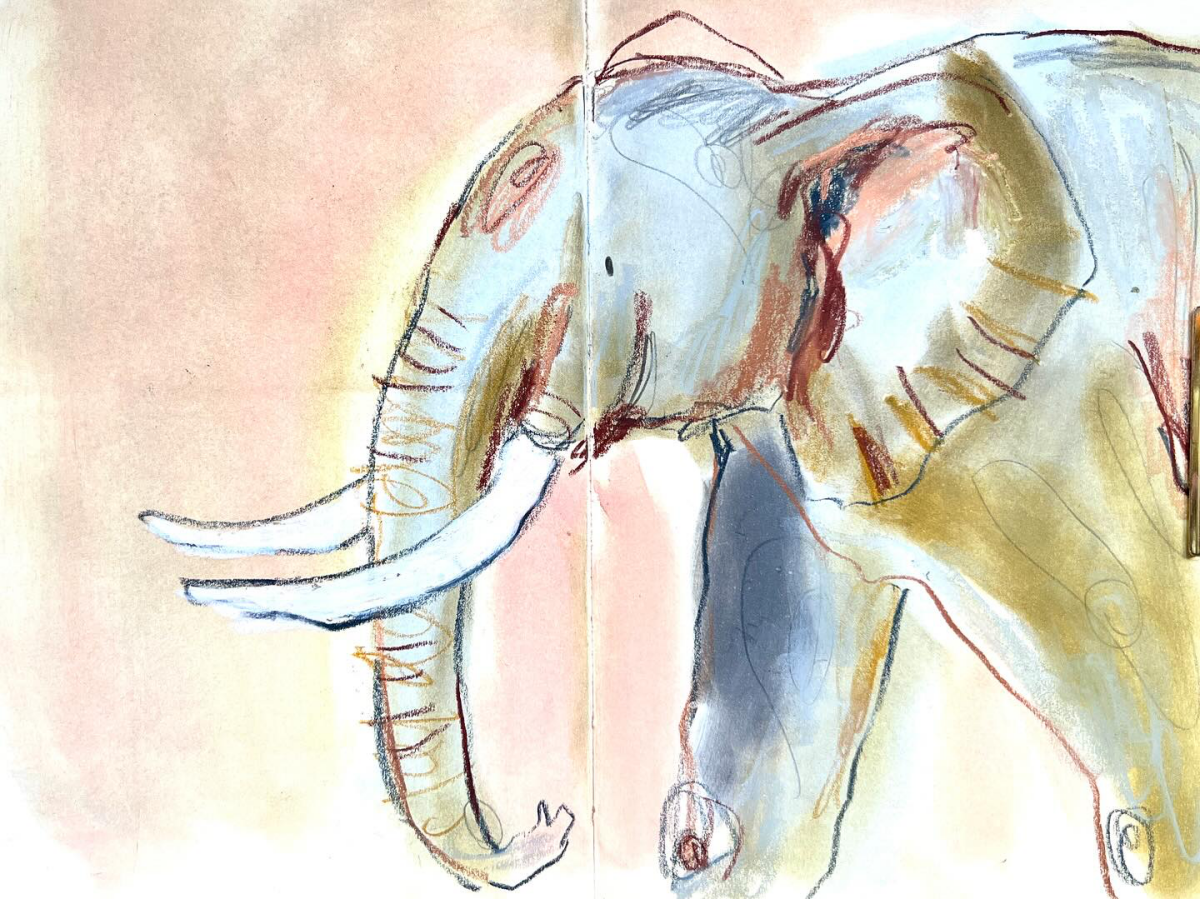
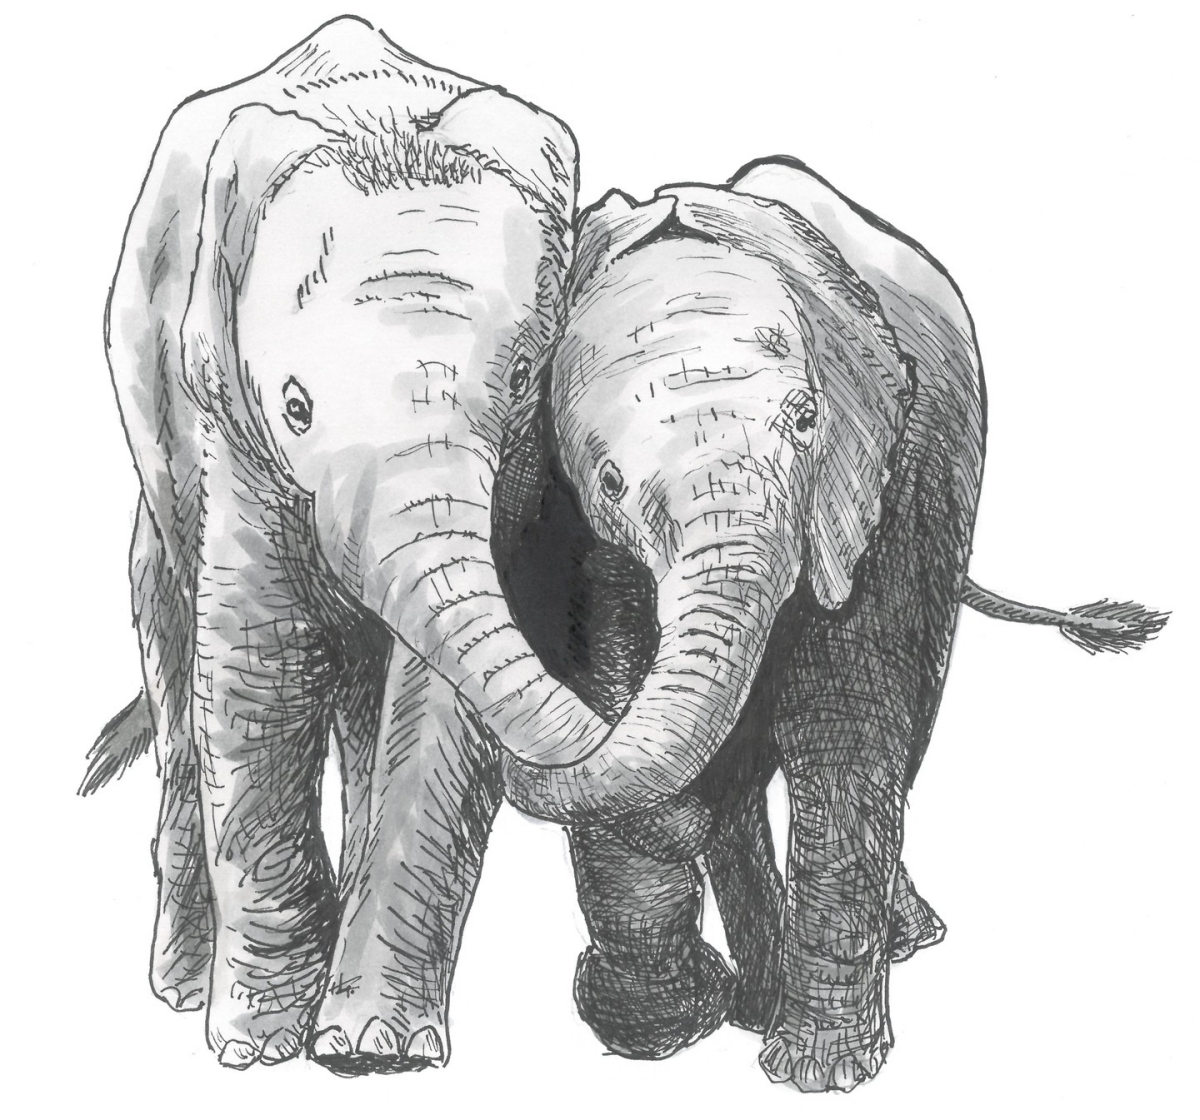
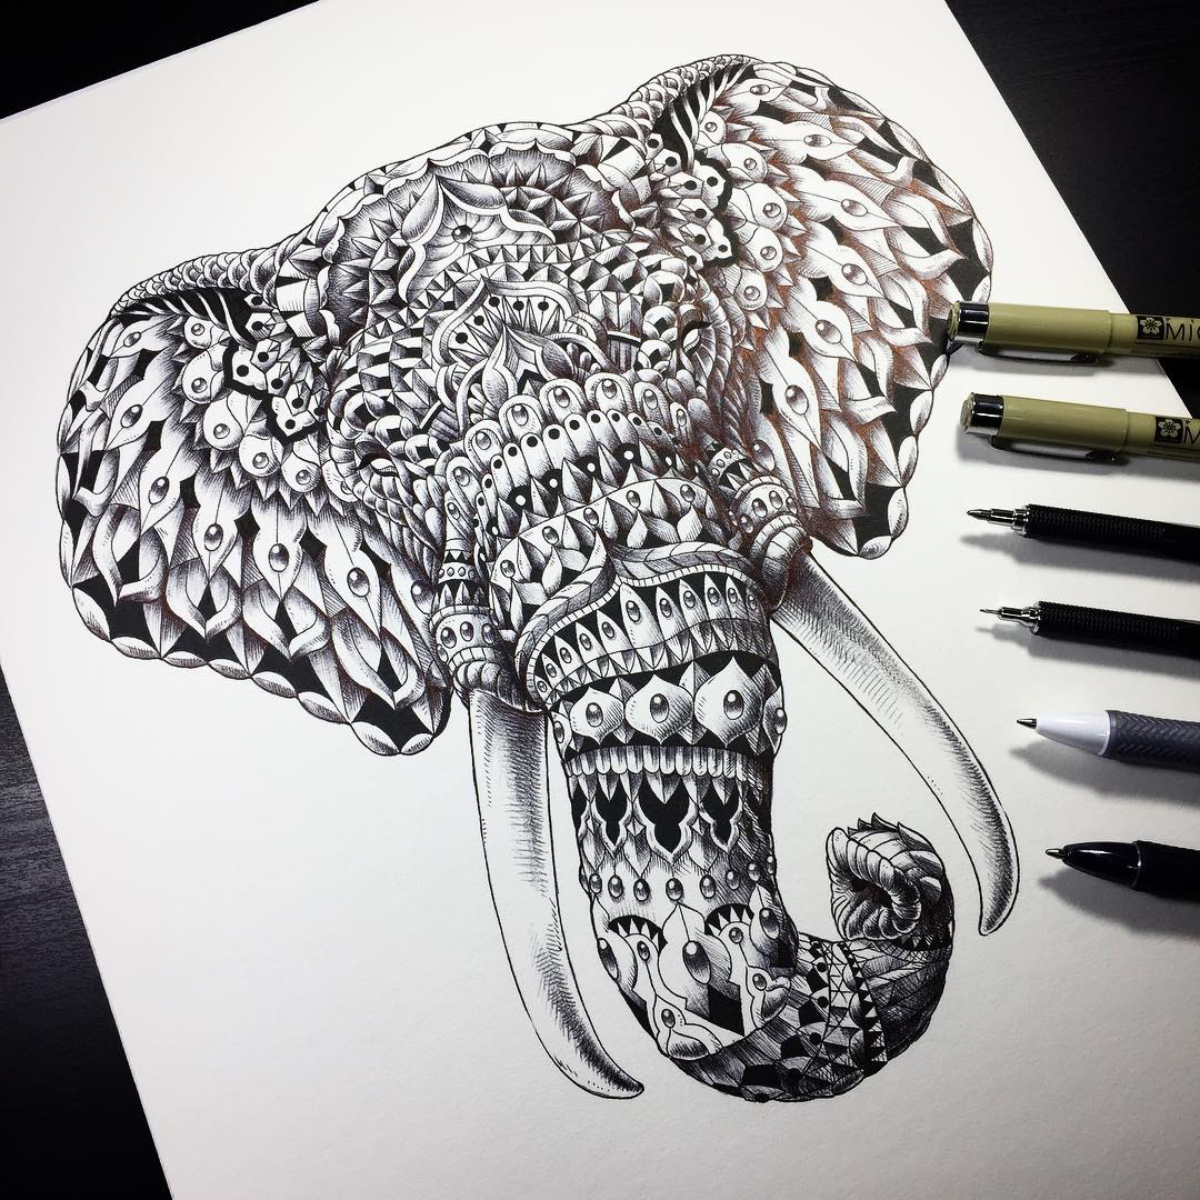
Don’t just draw the wrinkles; draw the story they tell. An old bull elephant’s skin is a roadmap of its life, marked by battles, migrations, and age. Use varied lines – deep, gouged marks near joints and finer, cross-hatched patterns on looser skin. This approach transforms a simple texture study into a powerful narrative.
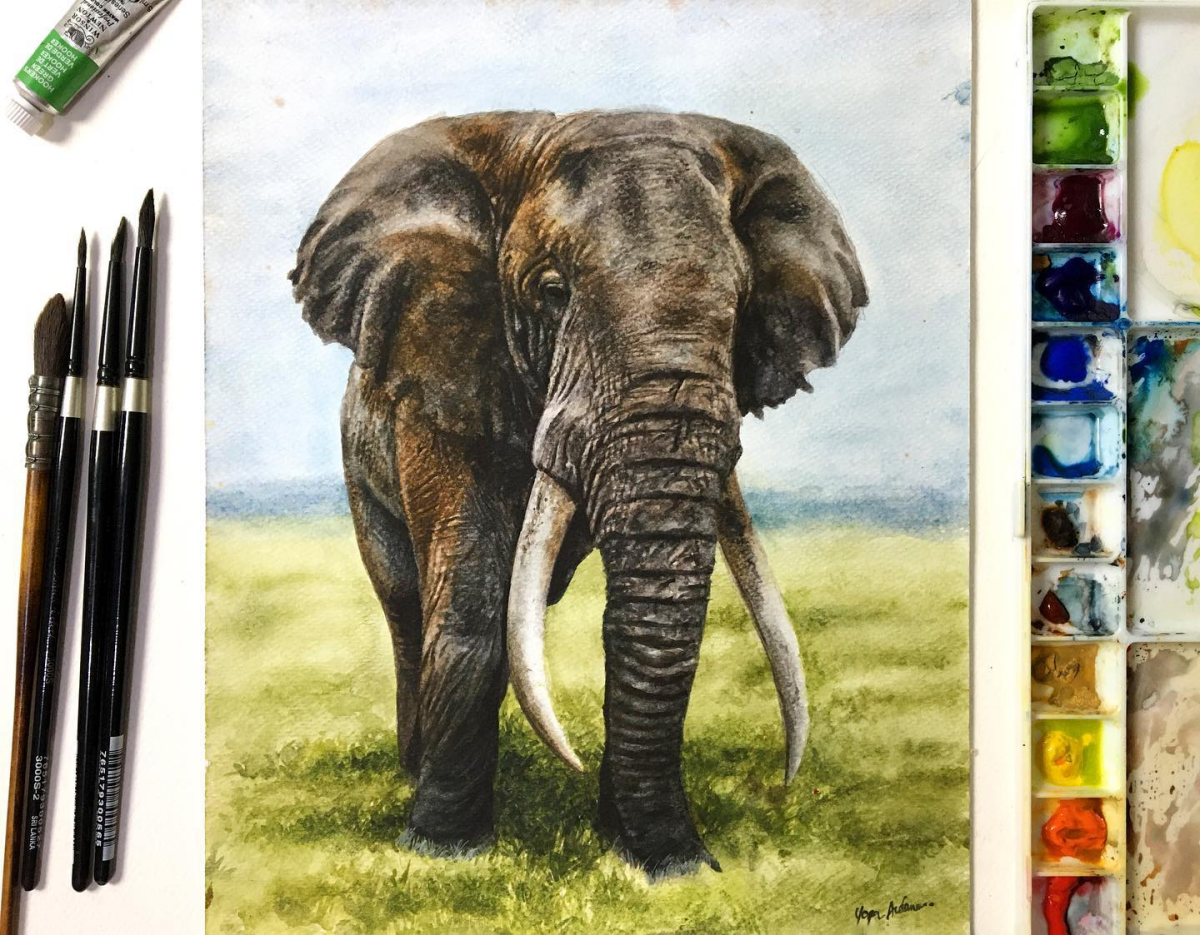
- Create a soft, atmospheric background with a wet-on-wet watercolor wash, using colors like Payne’s Gray or a muted indigo.
- While the paper is still damp, drop in hints of warmer tones like Burnt Sienna where light might reflect from the ground.
- Let this layer dry completely before starting on the elephant itself. This gives your subject a world to exist in, not just a blank page.
Elephants can recognize themselves in a mirror, a trait shared only with great apes, dolphins, and magpies.
When you draw an elephant’s eye, you’re not just drawing a biological feature; you’re capturing the window to this deep self-awareness. Look at references of their eyes up close. Notice the long lashes, the gentle curve of the eyelid, and the profound, almost human-like depth. A tiny, well-placed highlight can bring this entire consciousness to life.
How do I make my elephant feel genuinely massive and heavy?
The secret is in the feet and the shadows. Anchor your elephant to the ground with strong, dark contact shadows directly where the feet meet the earth. Don’t be timid here; use a soft 6B or 8B graphite pencil to create a deep, believable anchor. The weight isn’t just in the body’s volume, but in its interaction with the ground it stands on.
The right eraser is a drawing tool, not just a corrector. For creating the fine, crackled highlights in an elephant’s skin texture, a standard kneaded eraser is too broad. Invest in a precision eraser like the Tombow Mono Zero. Its fine tip allows you to ‘draw’ light back into your graphite, perfectly mimicking the sun-bleached, high points of the hide.

- A feeling of immense power.
- A sense of quiet grace.
- A texture you can almost feel.
The secret? Willow charcoal on pastel paper. The soft, dusty nature of willow charcoal is perfect for blending large areas of shadow, while the paper’s tooth (try Canson Mi-Teintes) grabs the pigment beautifully, helping you build up that iconic, rugged skin texture layer by layer.
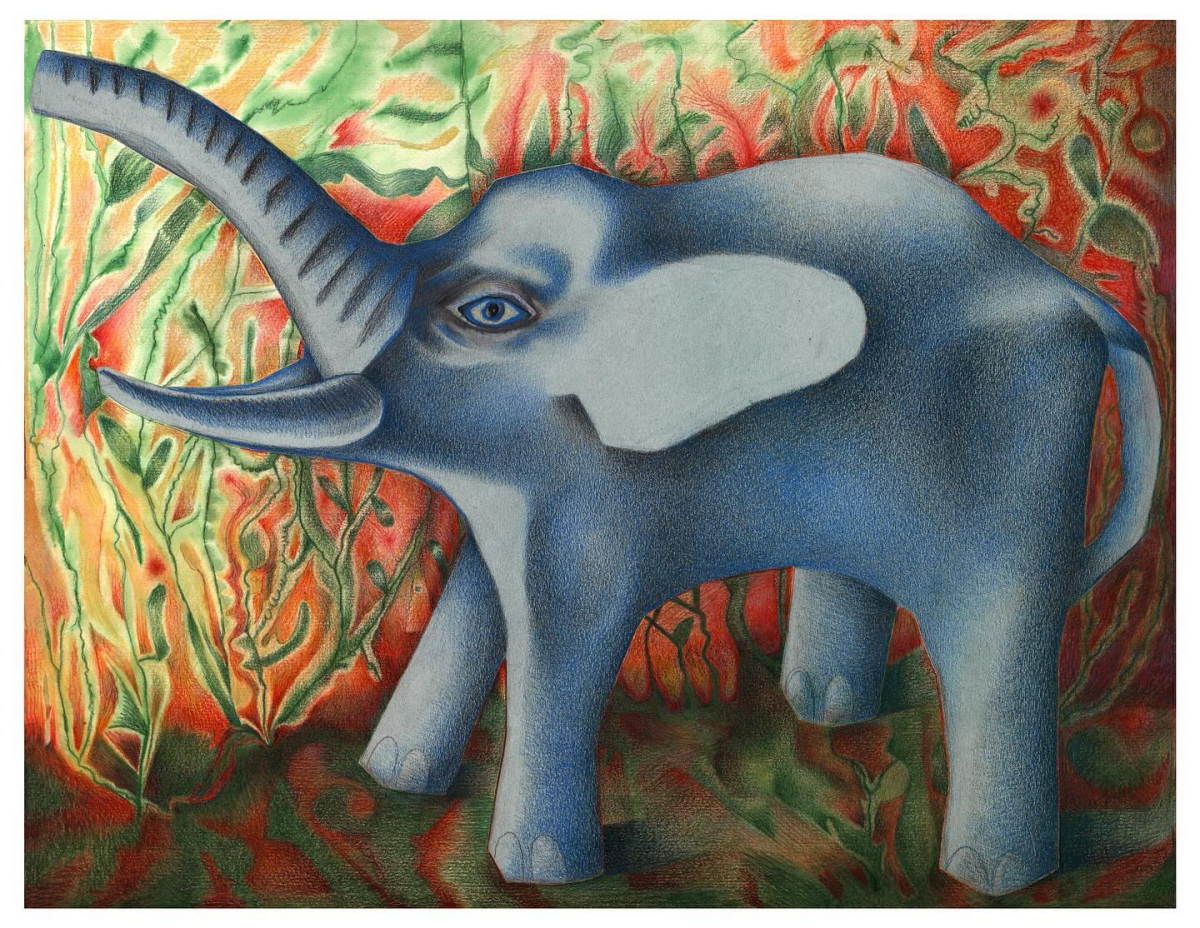
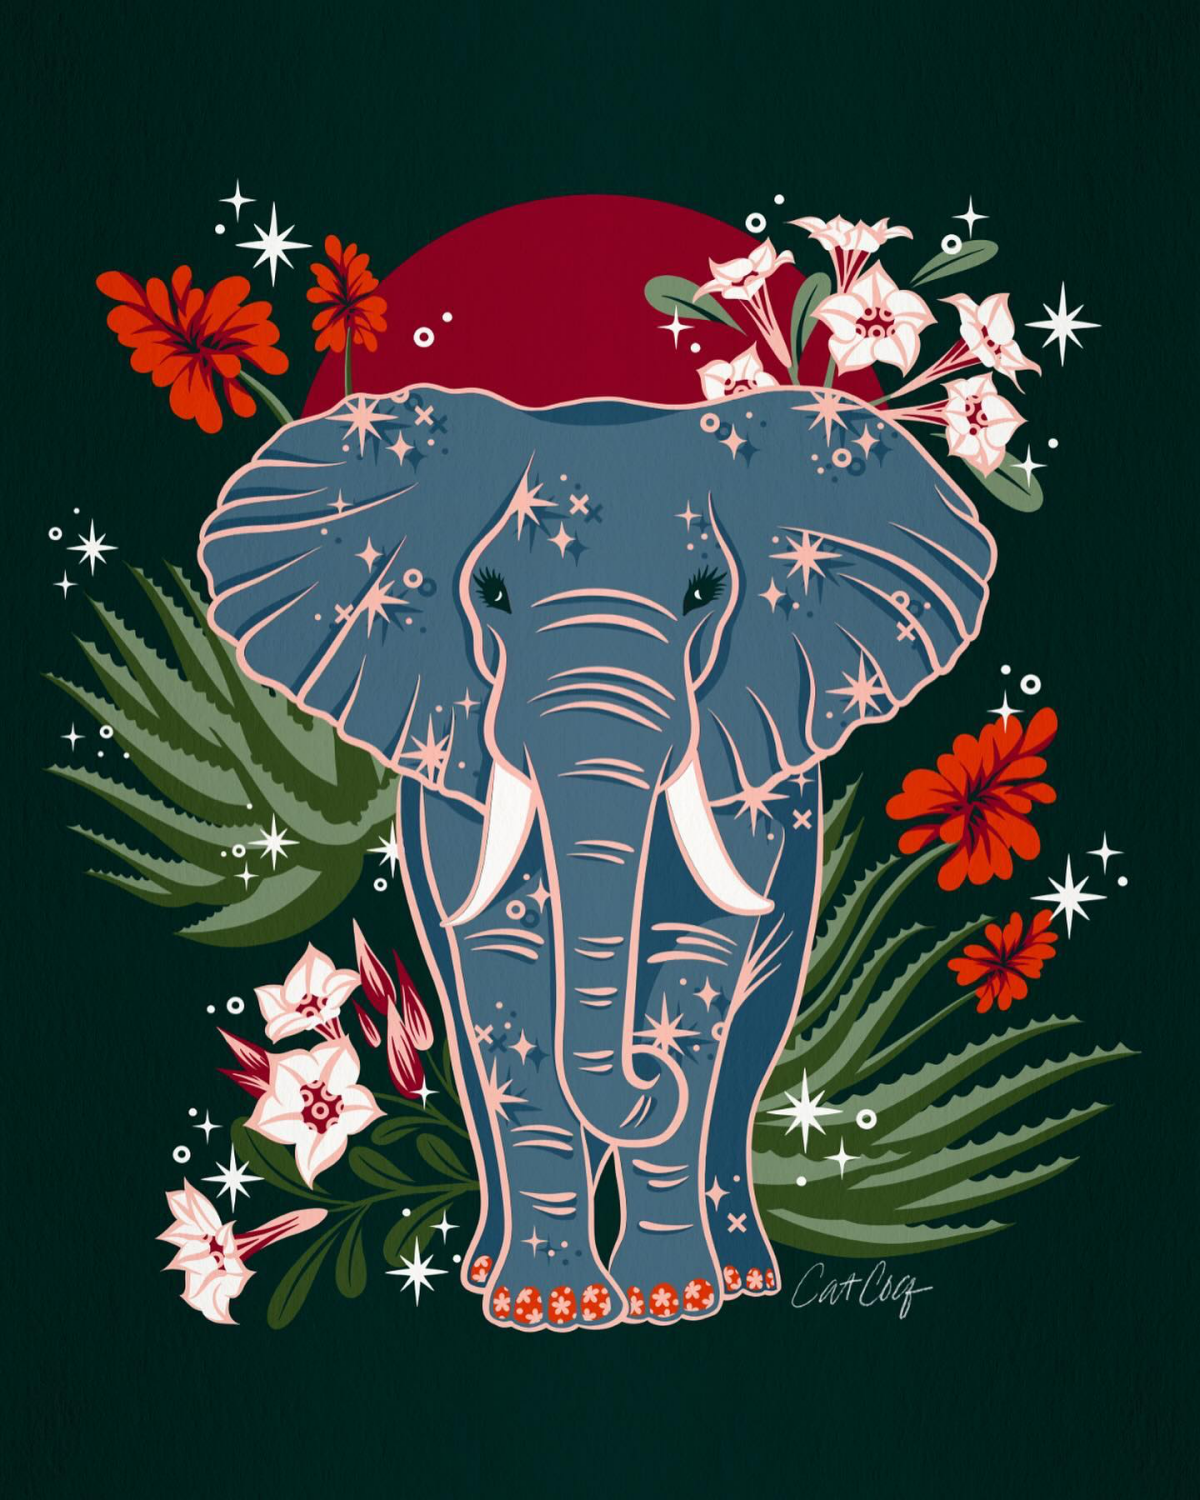
Move beyond gray. While elephants are famously gray, their skin reflects the world around them. In a sunset, it will catch warm oranges and pinks. In a forest, it will absorb cool greens and blues. Experiment with adding subtle glazes of color to your drawing. A light wash of Daniel Smith’s Quinacridone Gold or a soft touch of a Polychromos colored pencil in Dark Sepia can add incredible realism and mood.
Rembrandt sketched an elephant named Hansken in 1637, capturing her with a raw, observational honesty that was centuries ahead of its time.
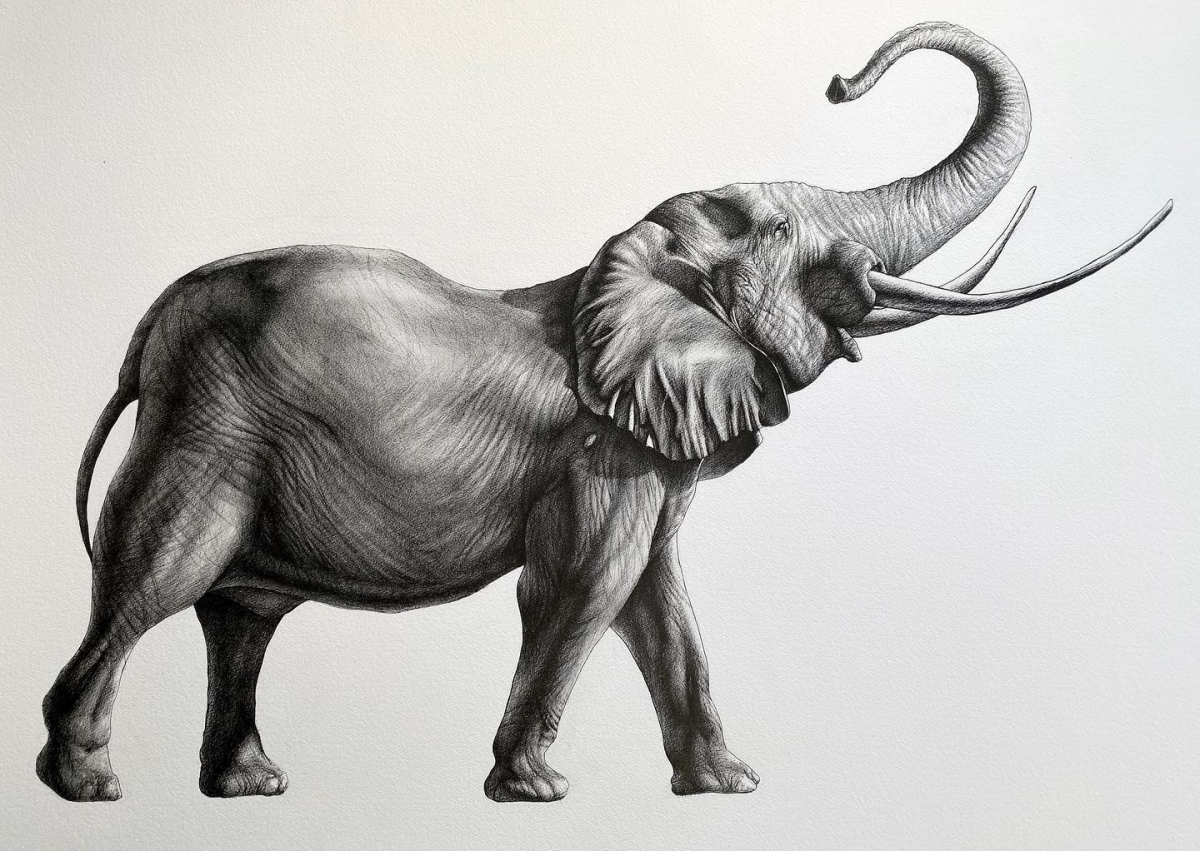
The trunk is not a simple tube. It’s a complex fusion of muscle and nerve, containing over 40,000 individual muscles. To draw it convincingly, think of it as a series of connected, slightly squashed cylinders that can bend, twist, and curl. Pay close attention to the overlapping folds of skin, as these are what sell the illusion of its flexibility and power.
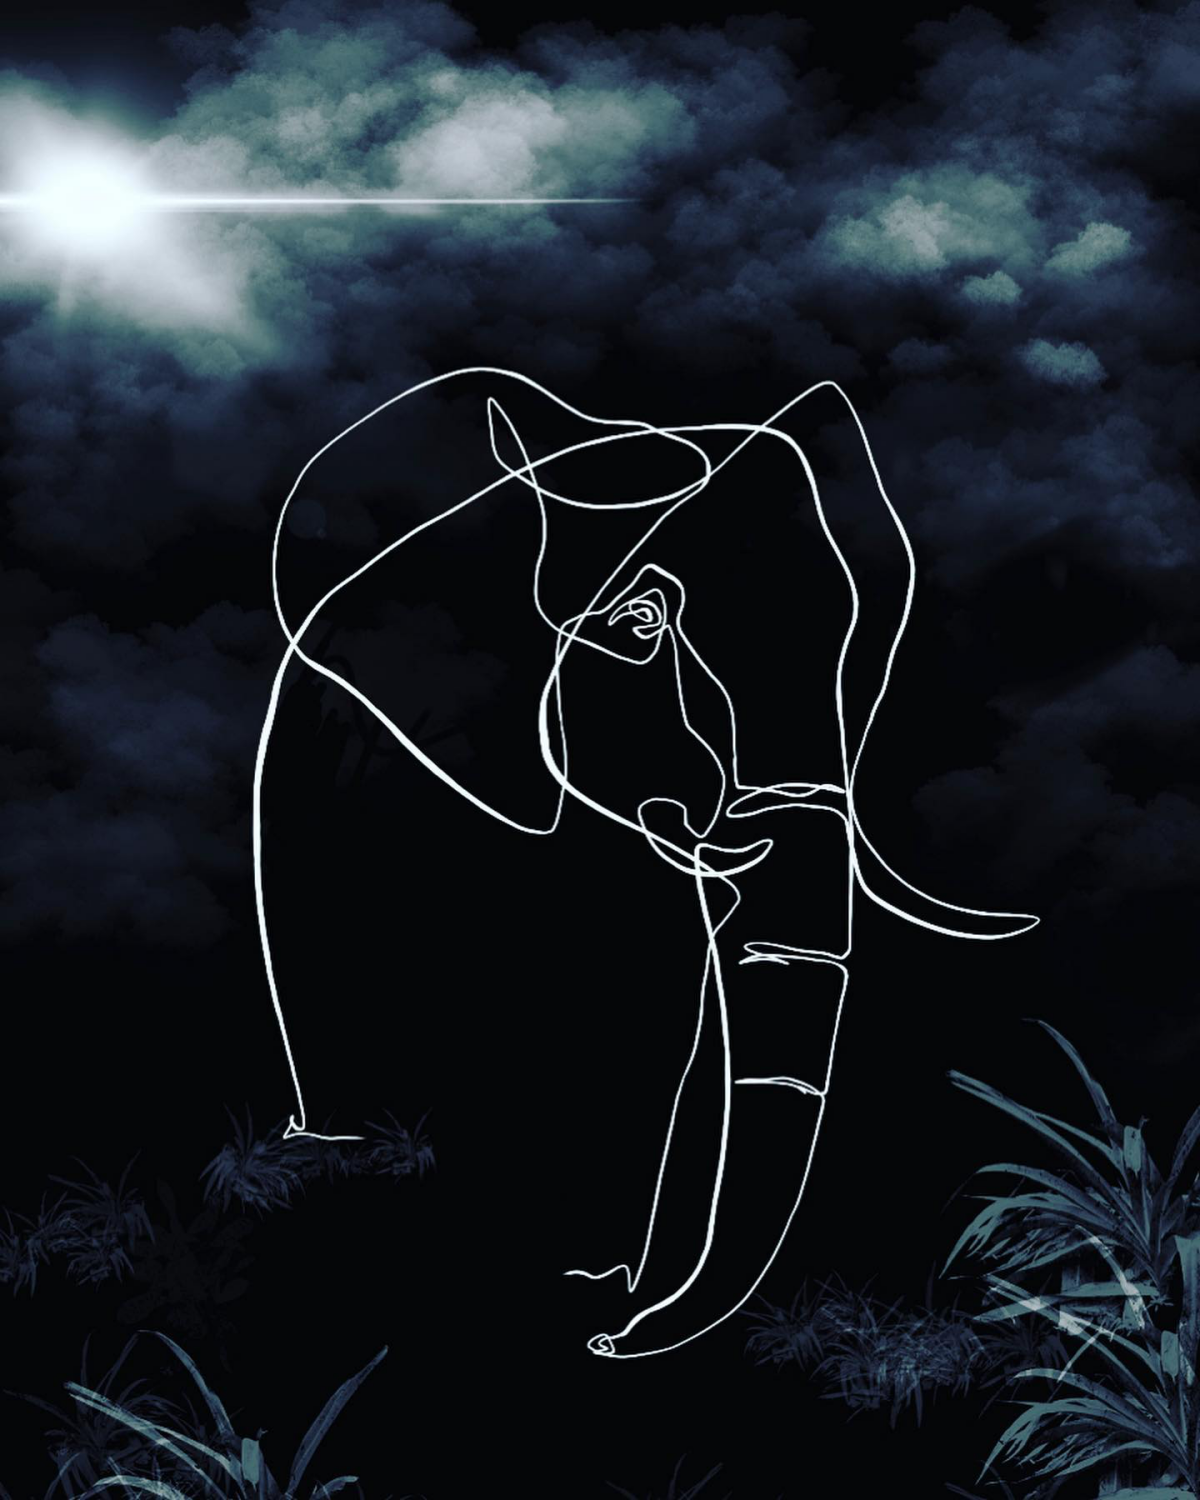
For dramatic compositions, think about what you leave out. Drawing just the powerful head and the start of the trunk, letting it fade into the white of the paper, can be more impactful than a full-body portrait. This use of negative space forces the viewer’s eye to focus on the detail and emotion you’ve rendered, creating a sense of intimacy and monumentality at the same time.
Drawing tusks? Remember they aren’t just bone-white. They are worn, stained, and scarred.
- Start with an off-white or light ivory tone, not pure white.
- Use subtle, horizontal lines to suggest grain and growth rings.
- Add chips or cracks near the tip. A touch of yellow ochre or raw umber near the base where it meets the lip suggests staining and age. This level of detail makes them feel like authentic, well-used tools.
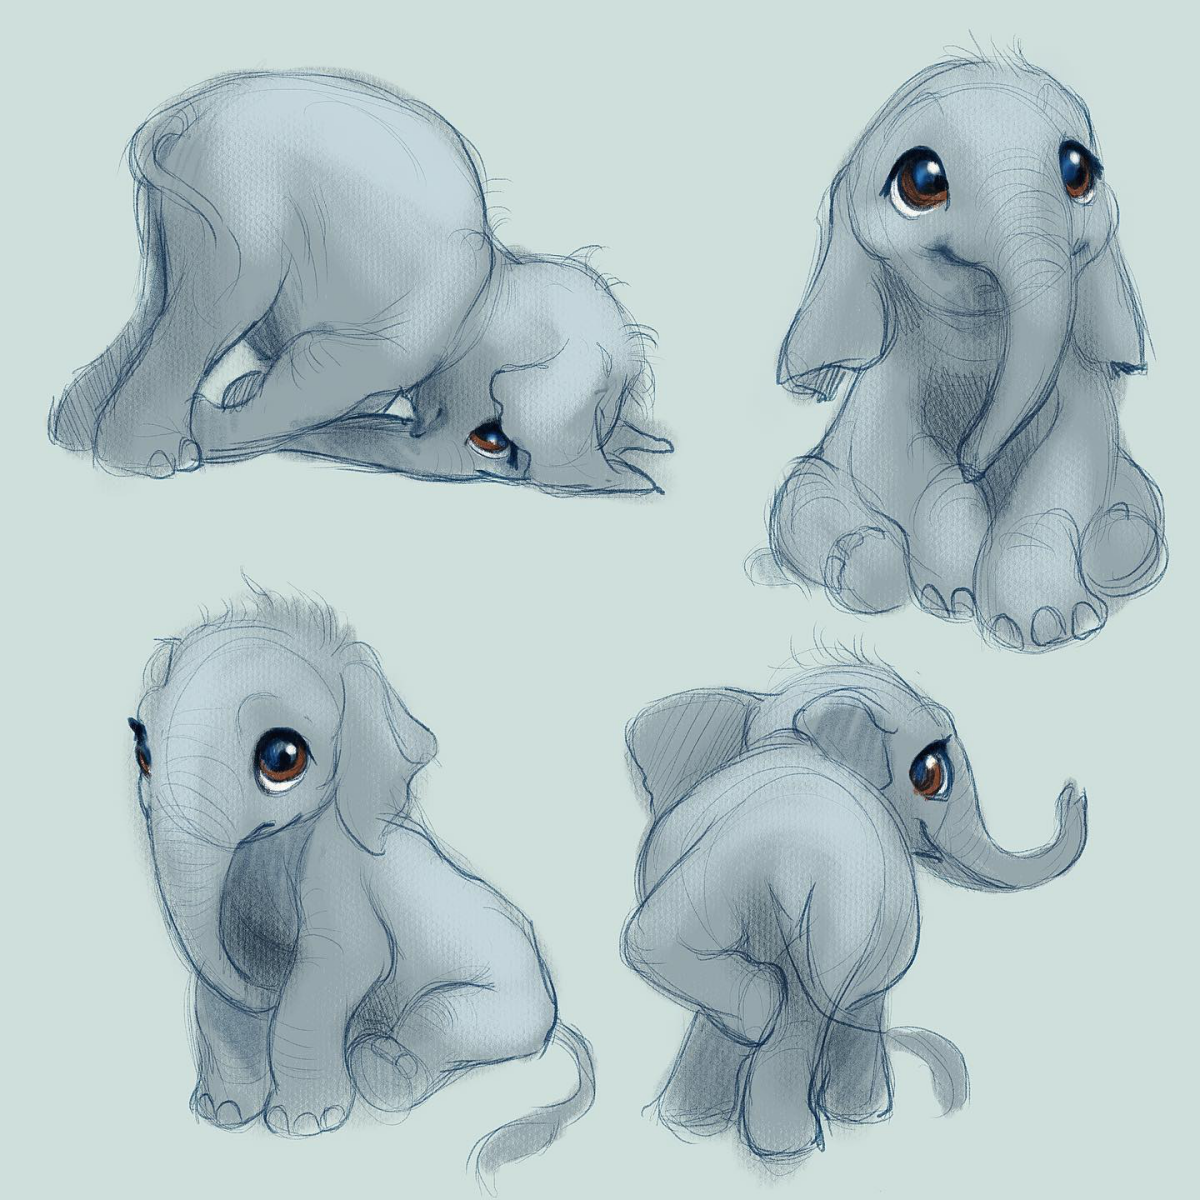
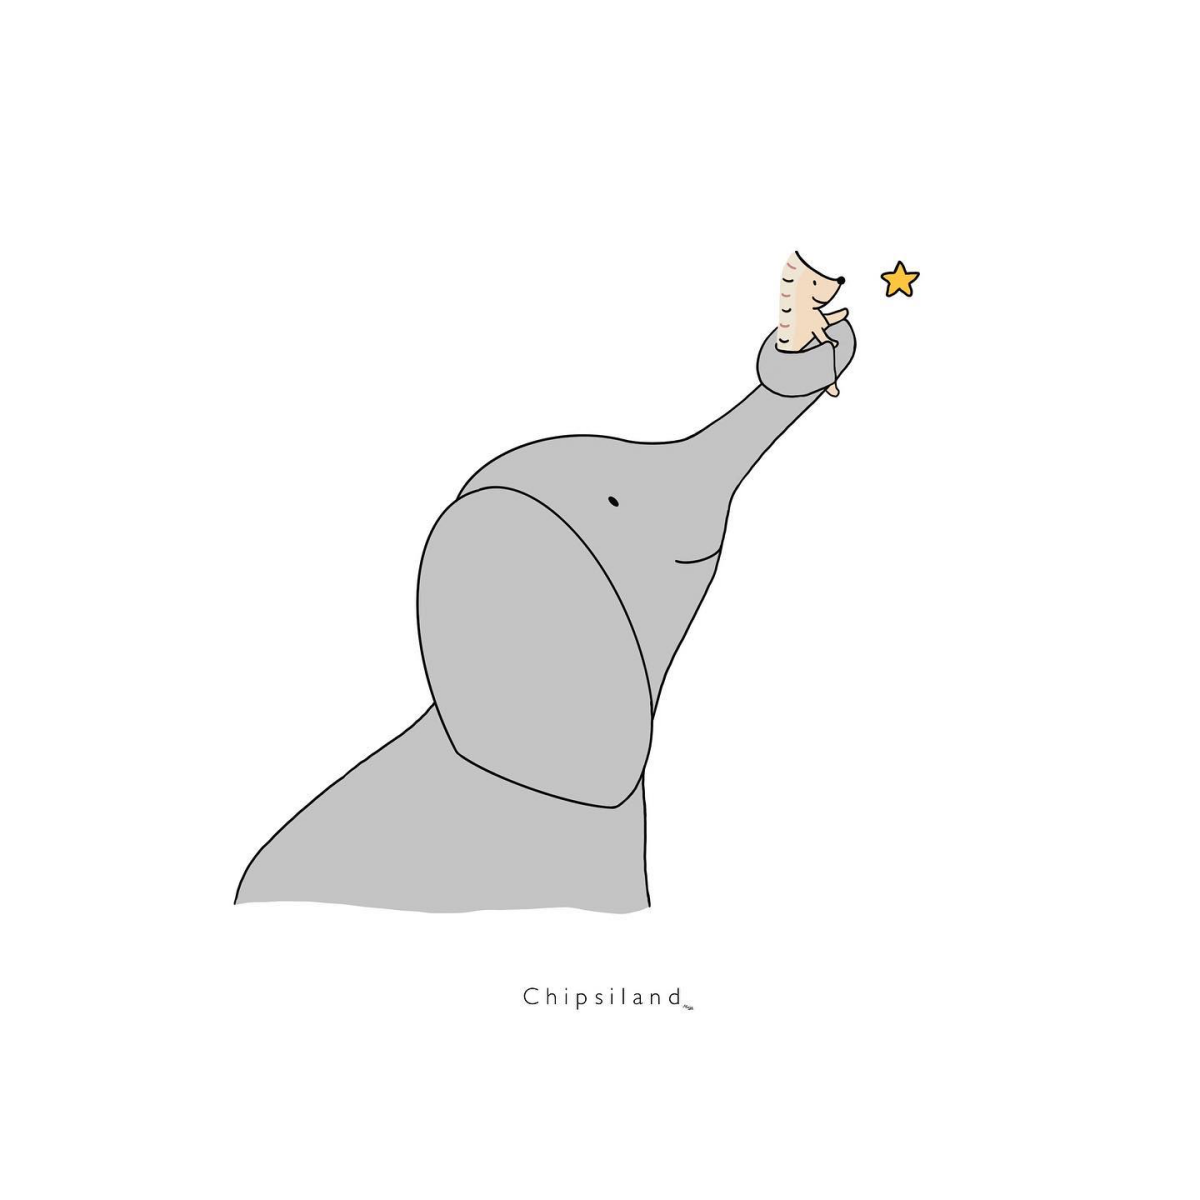
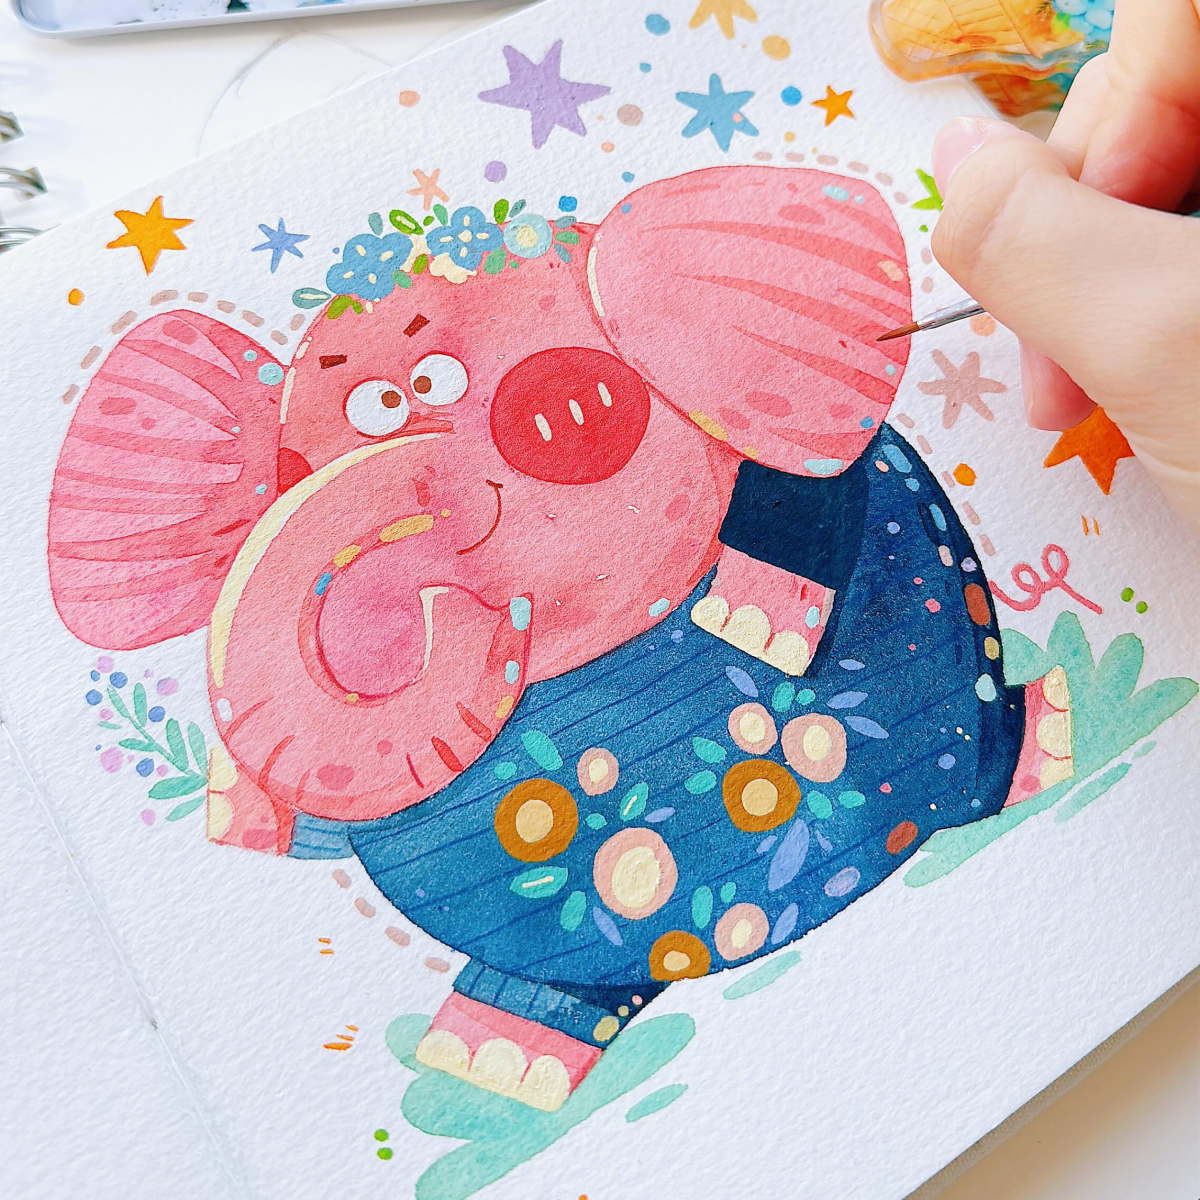
I want a more expressive, less realistic style. What can I try?
Explore ink. Grab a bottle of India Ink and a dip pen or even a simple bamboo stick. Forget perfect lines. Embrace drips, splatters, and bold, gestural marks. An elephant’s form is so iconic that it can handle a huge amount of abstraction. This technique focuses on capturing the animal’s energy and spirit rather than its exact anatomy.
Toned Paper: Ideal for artists who want to work in both darks and highlights from the start. A Strathmore Toned Tan or Gray pad provides a mid-value, so you can build shadows with charcoal and add highlights with a white chalk pencil. It cuts your drawing time and adds instant depth.
White Paper: The classic choice. It provides maximum contrast, making darks appear deeper. Best for pure graphite or ink work where the brilliance of the paper itself is used for the brightest highlights.
For elephant skin, toned paper often has the edge, as it naturally mimics the animal’s dusty, non-white appearance.
Don’t underestimate the power of a blending stump. After laying down your initial graphite tones with a 2B or 4B pencil, use a paper stump to gently smooth the transitions. Use a circular or cross-hatching motion to work the graphite into the paper’s tooth. This is the key to creating those soft, subtle value shifts on the broad planes of the elephant’s body before you add the fine details of the skin.
An elephant’s skin can be up to 1.5 inches thick on its back and head, but behind its ears, it’s as thin as paper.
This anatomical fact is a goldmine for an artist. It means you shouldn’t use the same texture all over. Render the skin on the back with deep, rugged marks. But when you get to the delicate areas behind the ears, switch to lighter lines and softer shading to convey that vulnerability and sensitivity.

- It creates an instant sepia-toned, vintage feel.
- It’s a fantastic way to practice value and form without worrying about color.
- It connects you to a timeless, organic process.
The secret? Painting with coffee or black tea. Brew a few very strong cups, allowing one to be dark and another more diluted. Use them just like watercolors to paint your elephant. The result is surprisingly rich and aromatic.
To draw a moving elephant, focus on the rhythm of its gait. An elephant’s walk is a diagonal sequence – the front right and back left legs move together, then the front left and back right. Capturing this diagonal weight shift, even subtly through the angle of the hips and shoulders, will instantly transform a static drawing into one filled with ponderous, rhythmic life.
A common mistake: Making the ears look like flat, leathery flaps. An elephant’s ears are incredibly complex, filled with a web of veins that help cool its body. Instead of just shading them a uniform gray, hint at this vascularity. Use faint, reddish-brown or bluish undertones in your shading to suggest the blood vessels beneath the surface, especially where the light might shine through the thinner parts.
Want to cover large areas with soft, even tone quickly? Look into PanPastels. These are professional-quality artist pastels in a unique pan format. You can apply them with special foam applicators. For an elephant drawing, a color like Neutral Grey Extra Dark is perfect for blocking in the main shadow shapes on the body before refining with pencils. It’s a huge time-saver and creates a beautiful, blendable base.
Are Asian and African elephants different to draw?
Absolutely. The biggest tells are the ears and the head. African elephants have enormous ears shaped like the continent of Africa, and a single-domed head. Asian elephants have smaller, more rounded ears and a distinctive twin-domed head with an indent running down the middle. Choosing your species before you start is key to an accurate drawing.
- Lift out soft highlights in charcoal.
- Create subtle gradients in graphite.
- Clean up smudges without damaging the paper surface.
The tool? A kneaded eraser. Unlike a standard eraser that removes graphite through friction, a kneaded eraser lifts it. You can shape it to a fine point for detail work or flatten it to lift broad areas. For an artist drawing elephants, it’s as essential as the pencil itself.
Preserve your masterpiece. Graphite and especially charcoal can smudge easily. Once your drawing is complete, it needs to be sealed. A workable fixative, like Krylon’s Workable Fixatif, allows you to spray a light protective coat but still go back and make changes. For a final, permanent seal, use a product like Grumbacher Final Fixative. Always spray in a well-ventilated area, holding the can about 12 inches away and using light, even strokes.
The digital canvas offers unique advantages for capturing an elephant’s texture. In apps like Procreate on an iPad, you can create your own texture brushes. Try layering a photo of concrete or cracked earth into a brush’s ‘grain’ setting. Then, when you draw, the brush will automatically impart a complex, organic texture that’s perfect for skin, saving hours of manual rendering.
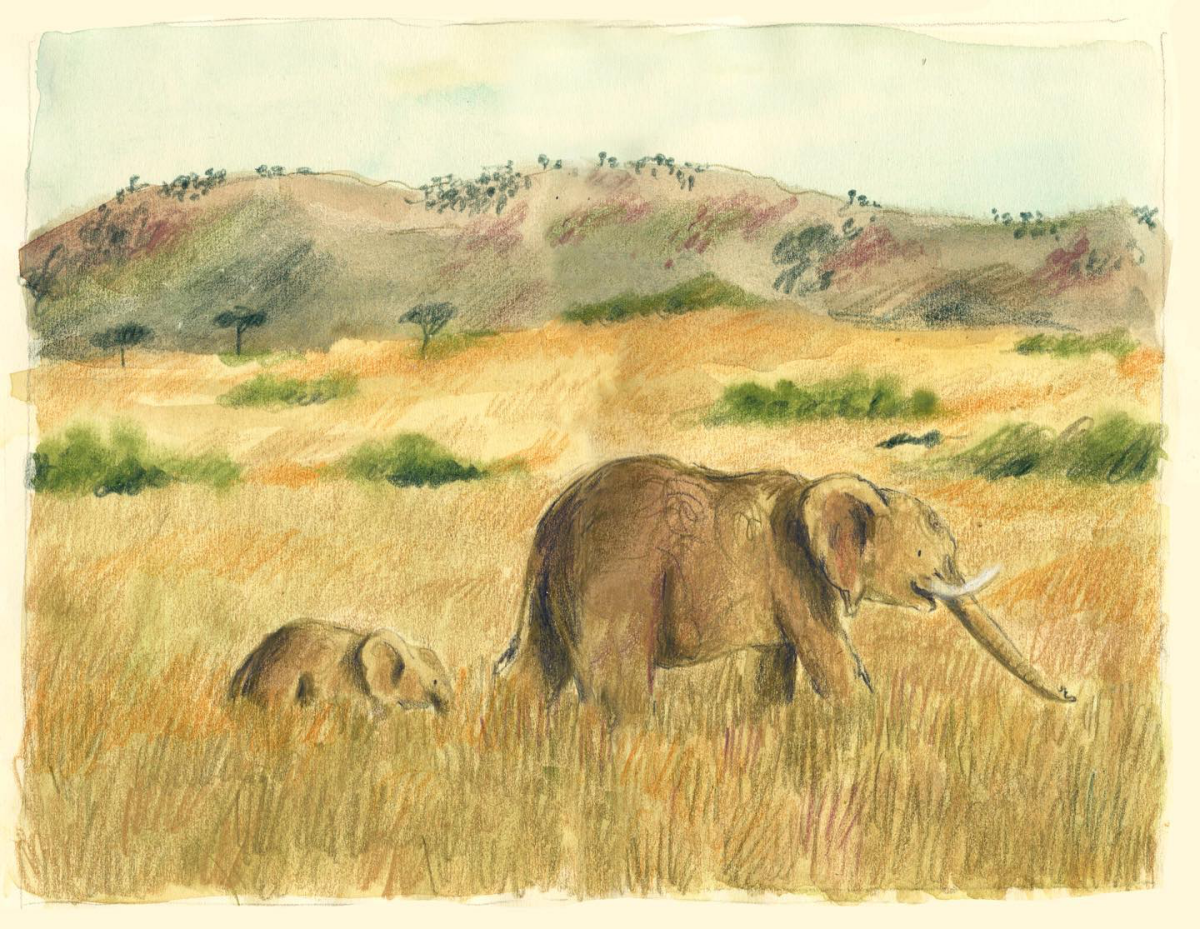
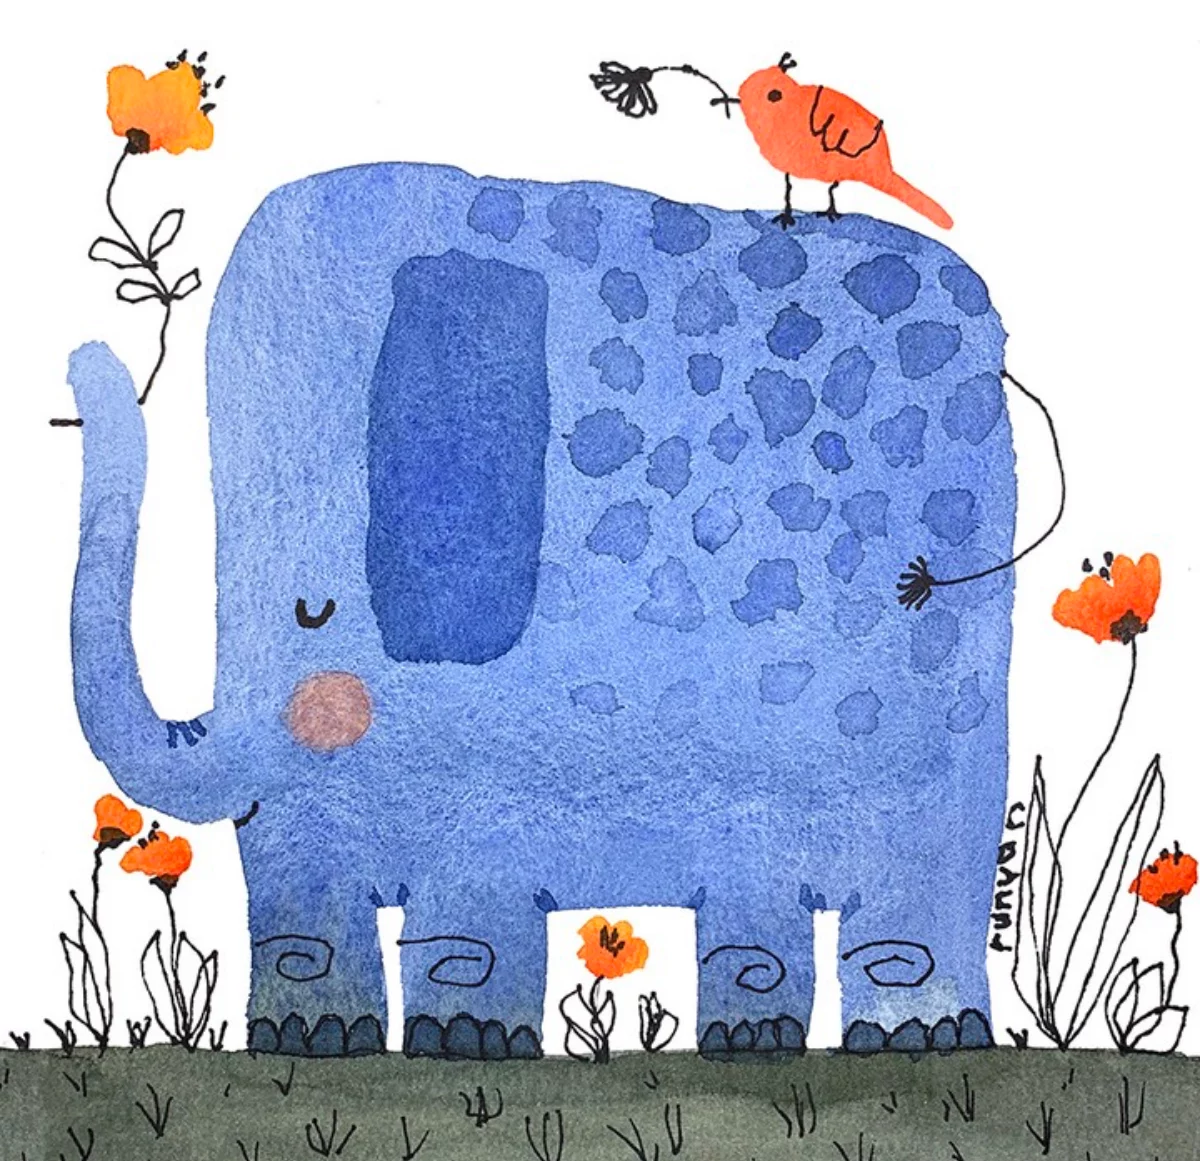
Think beyond a single subject. Contextualize your elephant. Placing a small egret on its back or drawing it near a baobab tree does more than just fill the page. It establishes scale, grounding your magnificent subject in its ecosystem and telling a richer story about its life and relationships.


