The Brutally Honest Guide to Getting a Double Helix Piercing
Alright, let’s talk about one of the most popular and, let’s be real, most troublesome piercings out there: the double helix. As a piercer, I’ve seen hundreds of these, and while they look amazing when they’re done right, I’ve also seen so many people struggle through a really rough healing process.
In this article
So many clients come to me from other shops with angry, bumpy piercings, totally frustrated. They were often told it would be as easy as an earlobe piercing. I’m here to tell you right now: it is not. Not even close. This is your definitive guide to understanding what you’re actually getting into, from someone who’s seen the good, the bad, and the bumpy.
First Things First: Why This Piercing is So Fussy
Before we even think about needles, we need to talk about your ear’s anatomy. That outer rim you want to decorate is made of auricular cartilage. Unlike your soft, squishy earlobe, cartilage is dense tissue with a major disadvantage: it has almost no direct blood supply. It’s what we call “avascular.”
Think of it this way. Healing an earlobe is like watering a plant in rich, fertile soil. Blood flows right to it, bringing all the good stuff to heal it up in 6-8 weeks. Healing cartilage? That’s like trying to grow the same plant on a rock. It has to get all its nutrients from the tissue around it, which is why a helix piercing takes a solid six months to a year, and sometimes even longer, to fully heal. Understanding this biological fact is the key to having the patience you’ll need.
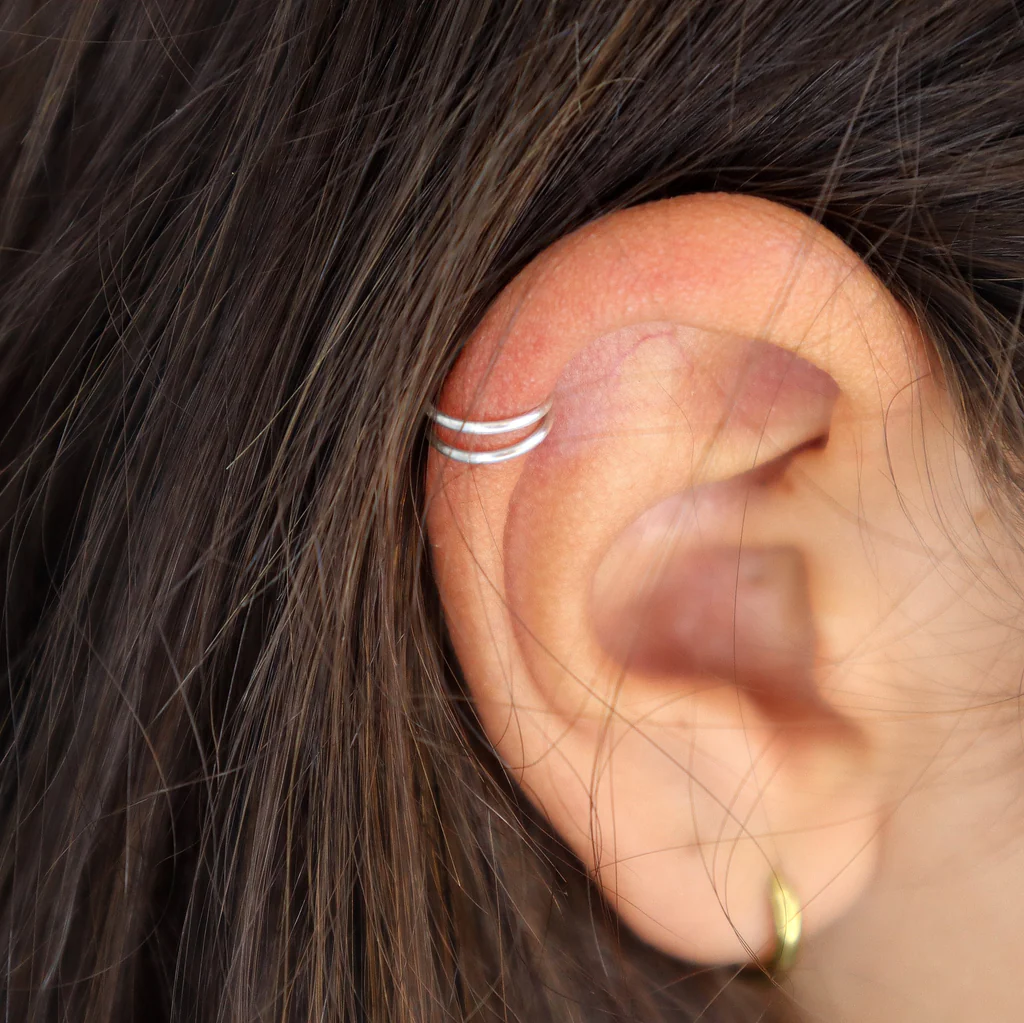
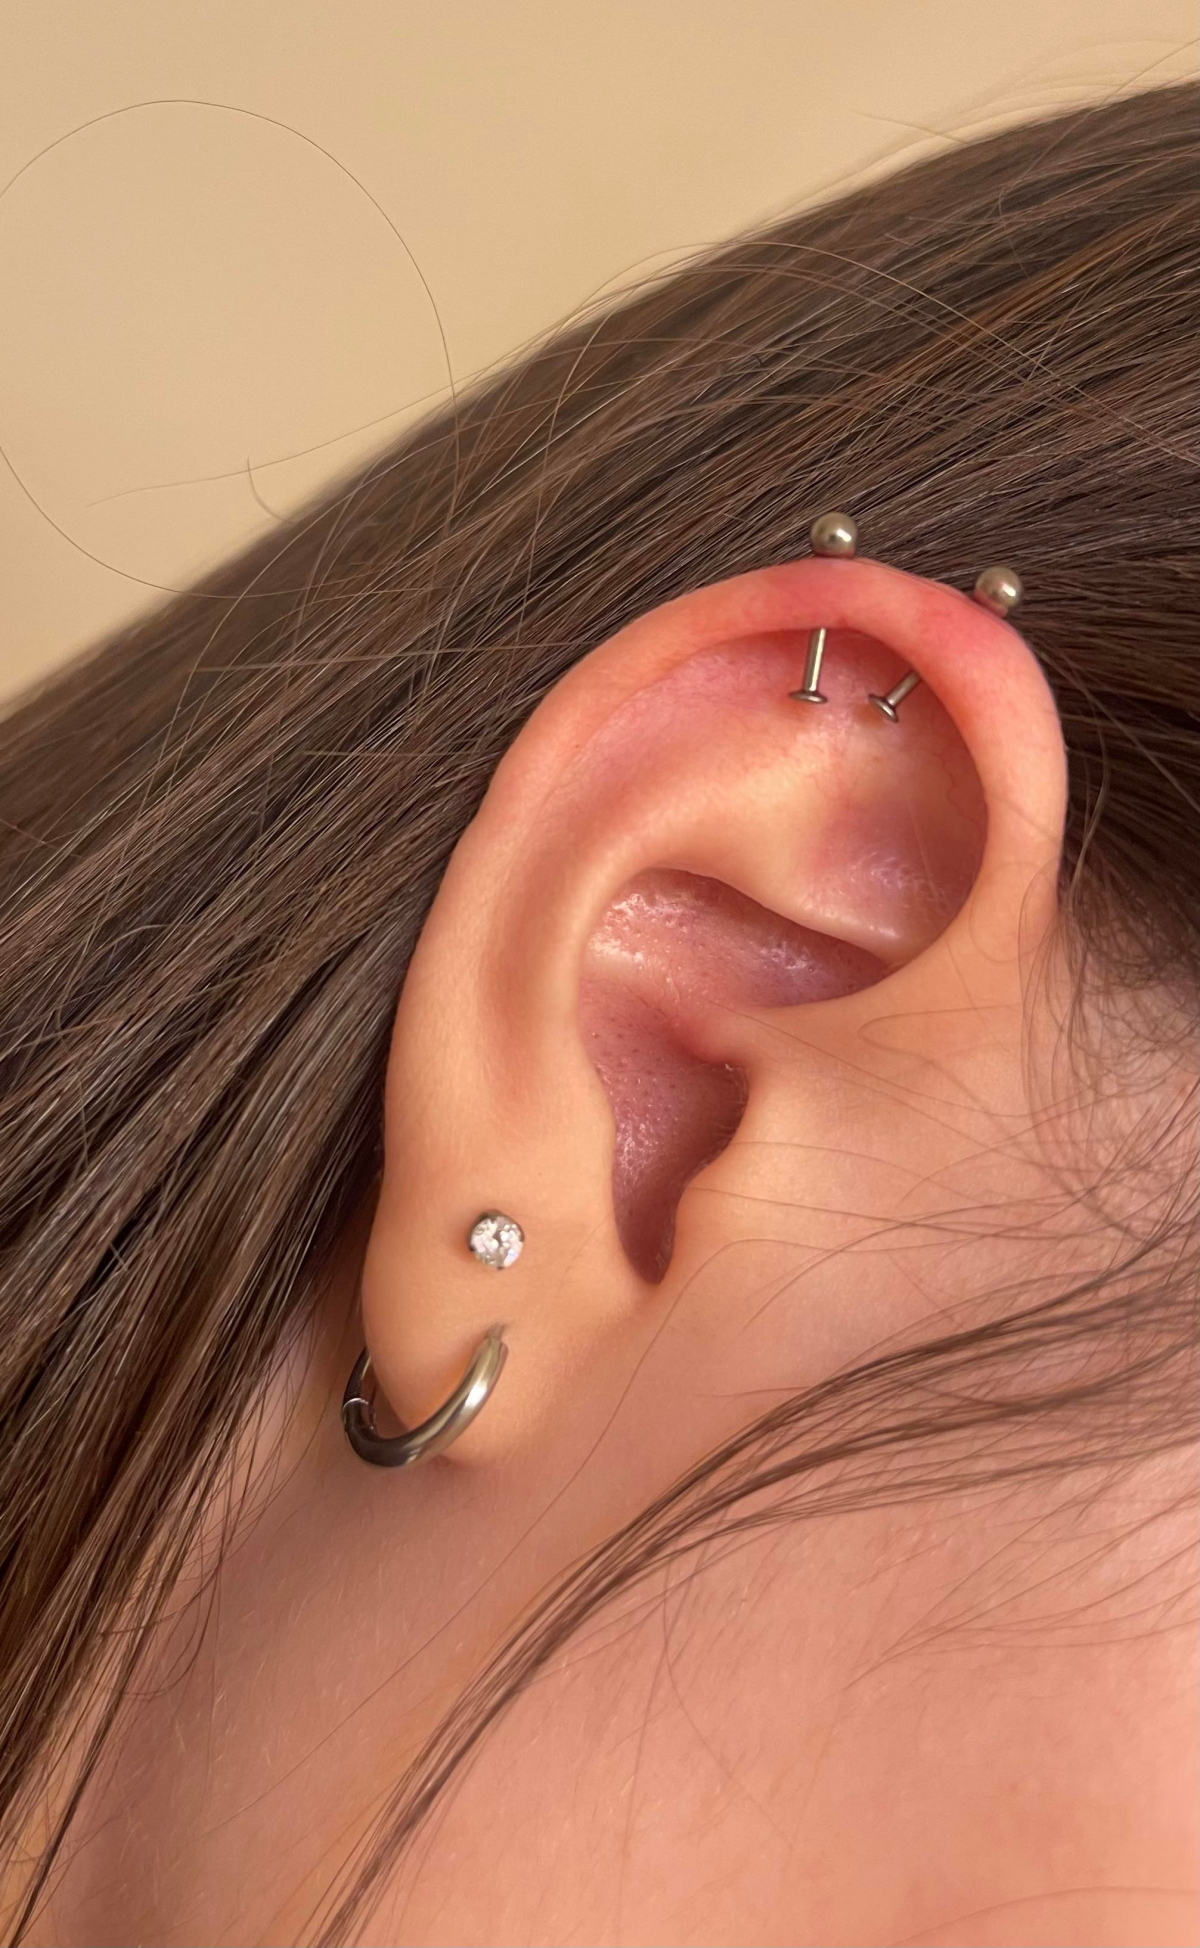
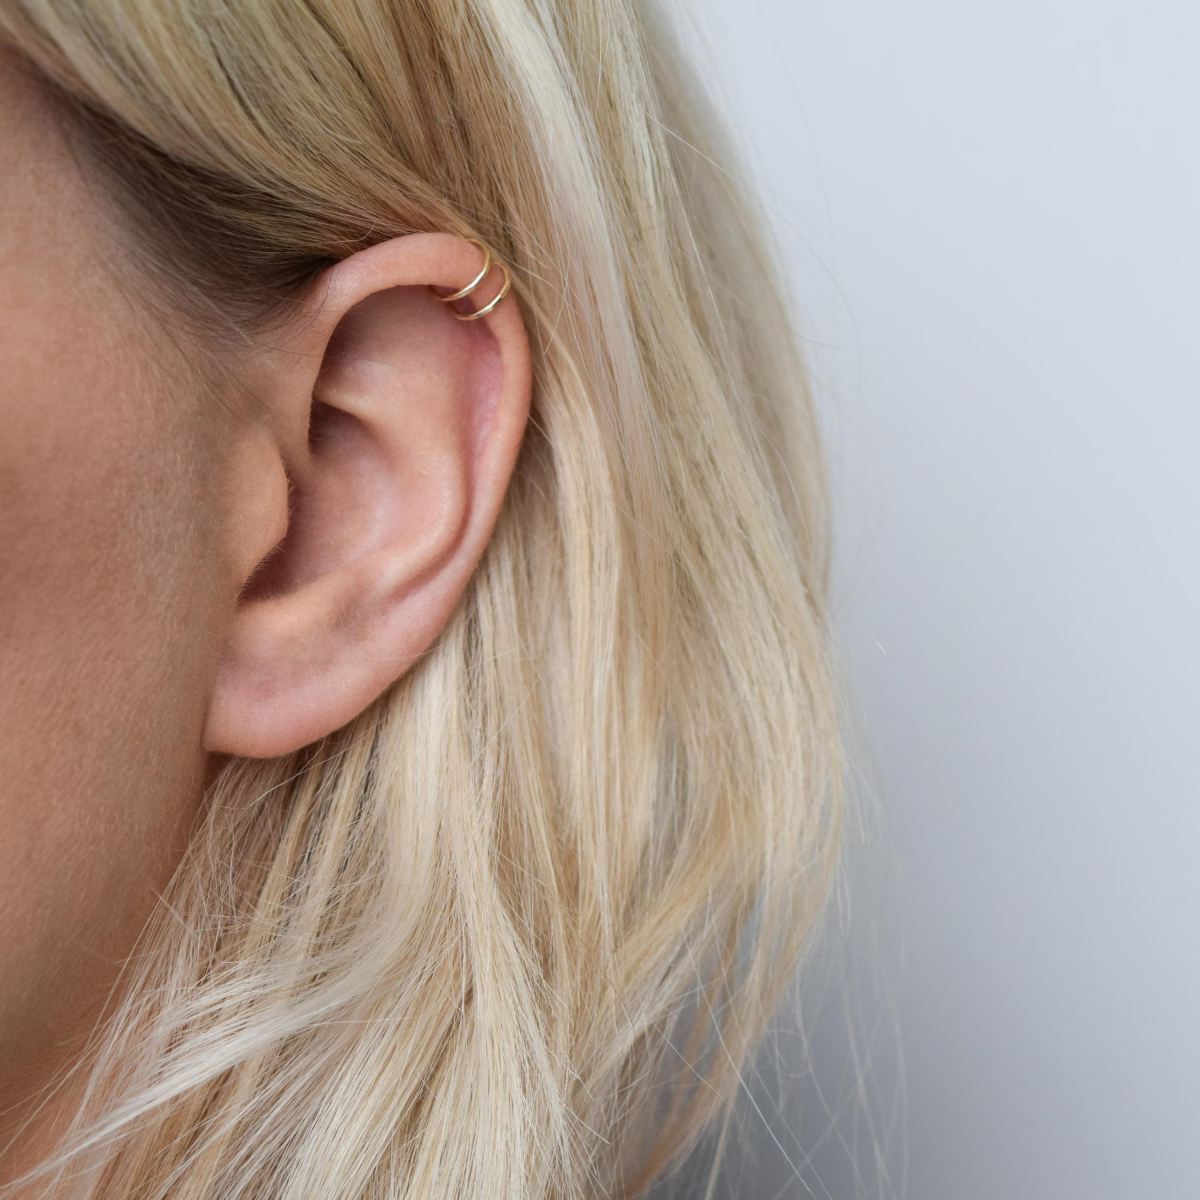
A “double helix” just means two piercings along that cartilage rim. But good placement is an art. A great piercer doesn’t just poke two holes. We’re looking at the unique curves of your ear. Is the ridge prominent or flat? Is there enough room for the backs of two studs so they don’t press into each other or the side of your head? This initial check is a critical step that, honestly, gets skipped way too often.
The Piercing Appointment: What to Expect (and What to Run From)
A professional piercing is a sterile, precise procedure. If the place feels more like a fast-food joint than a clean studio, that’s your first red flag.
The appointment starts with a chat. We’ll figure out the look you want, and then I’ll check your ear’s unique landscape. I’ll mark the proposed spots with a sterile, single-use skin marker, and you’ll get the final say in the mirror. We have to plan not just for how it looks now, but how it will sit after it swells and after we downsize the jewelry later.
Then comes the serious part: sterilization. Everything that touches you—the needle, the jewelry, the gauze—should come from a sealed pouch that was run through an autoclave (a medical-grade steam sterilizer). Your piercer will open it right in front of you while wearing sterile gloves. No exceptions. If you don’t see this happening, walk out.
Heads up! Cartilage must ONLY be pierced with a hollow needle. Never, ever let anyone near your cartilage with a piercing gun. Guns use blunt force to shatter the cartilage, which causes a ton of trauma, insane swelling, and a massive risk of bumps and scarring. It’s an outdated, dangerous practice.
A pro uses a brand-new, razor-sharp needle that cleanly separates the tissue, creating a neat little channel for the jewelry. It’s so much less traumatic for your body. So, how much does it hurt? Most people describe it as a quick, sharp pinch—maybe a 4 out of 10 on the pain scale—that’s over in a second. We’ll do one, then the other, and the worst part is done.
A common question: Should I get both done at once? It’s a trade-off, really.
- Getting both at once: The big pro here is you only have one healing period to worry about. The major con? You’ll have zero sides to sleep on for a while, which can be a real pain.
- Getting one now, one later: This gives you a “good side” to sleep on, making life easier. But it also means you’ll be going through the whole healing and aftercare process twice.
There’s no wrong answer, it just depends on your lifestyle and patience level.
Jewelry: The Make-or-Break Factor for Healing
The jewelry you get pierced with isn’t just for looks; it’s a medical implant that lives in your body for months. The material and style are everything.
For materials, you want stuff that’s certified for internal use. Your best bets are:
- Implant-Grade Titanium: This is the gold standard. It’s nickel-free, lightweight, and incredibly biocompatible. Don’t be fooled by jewelry just labeled “titanium”—it needs to be implant-certified (look for ASTM F-136).
- Solid 14k or 18k Gold: It has to be solid, not plated. Plating can flake off and expose you to cheap, irritating metals. Stick to yellow or rose gold, as white gold often contains nickel, a common allergen. Look for brands that specialize in body jewelry, as they use body-safe alloys.
- Niobium: Another very safe, biocompatible elemental metal that’s great for initial piercings.
What about surgical steel? Honestly, I’d skip it for a new piercing. The term isn’t medically regulated for jewelry, and it can contain a surprising amount of nickel. It’s a gamble you don’t need to take.

For the style, a flat-back labret stud is the undisputed champion for healing a helix. The flat disc on the back sits flush, reducing snags, while the removable top on the front gives you style options. I know you want a hoop—everyone does. But I strongly advise against starting with one. They move around way too much, dragging bacteria into the piercing and causing those dreaded irritation bumps. You can have your hoop, but you have to earn it by waiting until the piercing is 100% healed (around the one-year mark).
The Step Everyone Forgets: Downsizing!
Remember how we use a longer post to allow for swelling? Well, after about 4-8 weeks, that swelling will go down, and the extra length becomes a problem. It snags on hair, clothes, and pillows, which is the #1 cause of irritation bumps. You MUST go back to your piercer for a downsizing appointment. They’ll swap the long post for a perfectly fitted shorter one. This is a quick, vital step to keep your piercing stable for the rest of its long healing journey. Expect a small service fee for the check-up, usually around $10-$20, plus the cost of the shorter post.
The Healing Marathon: Aftercare and Daily Life
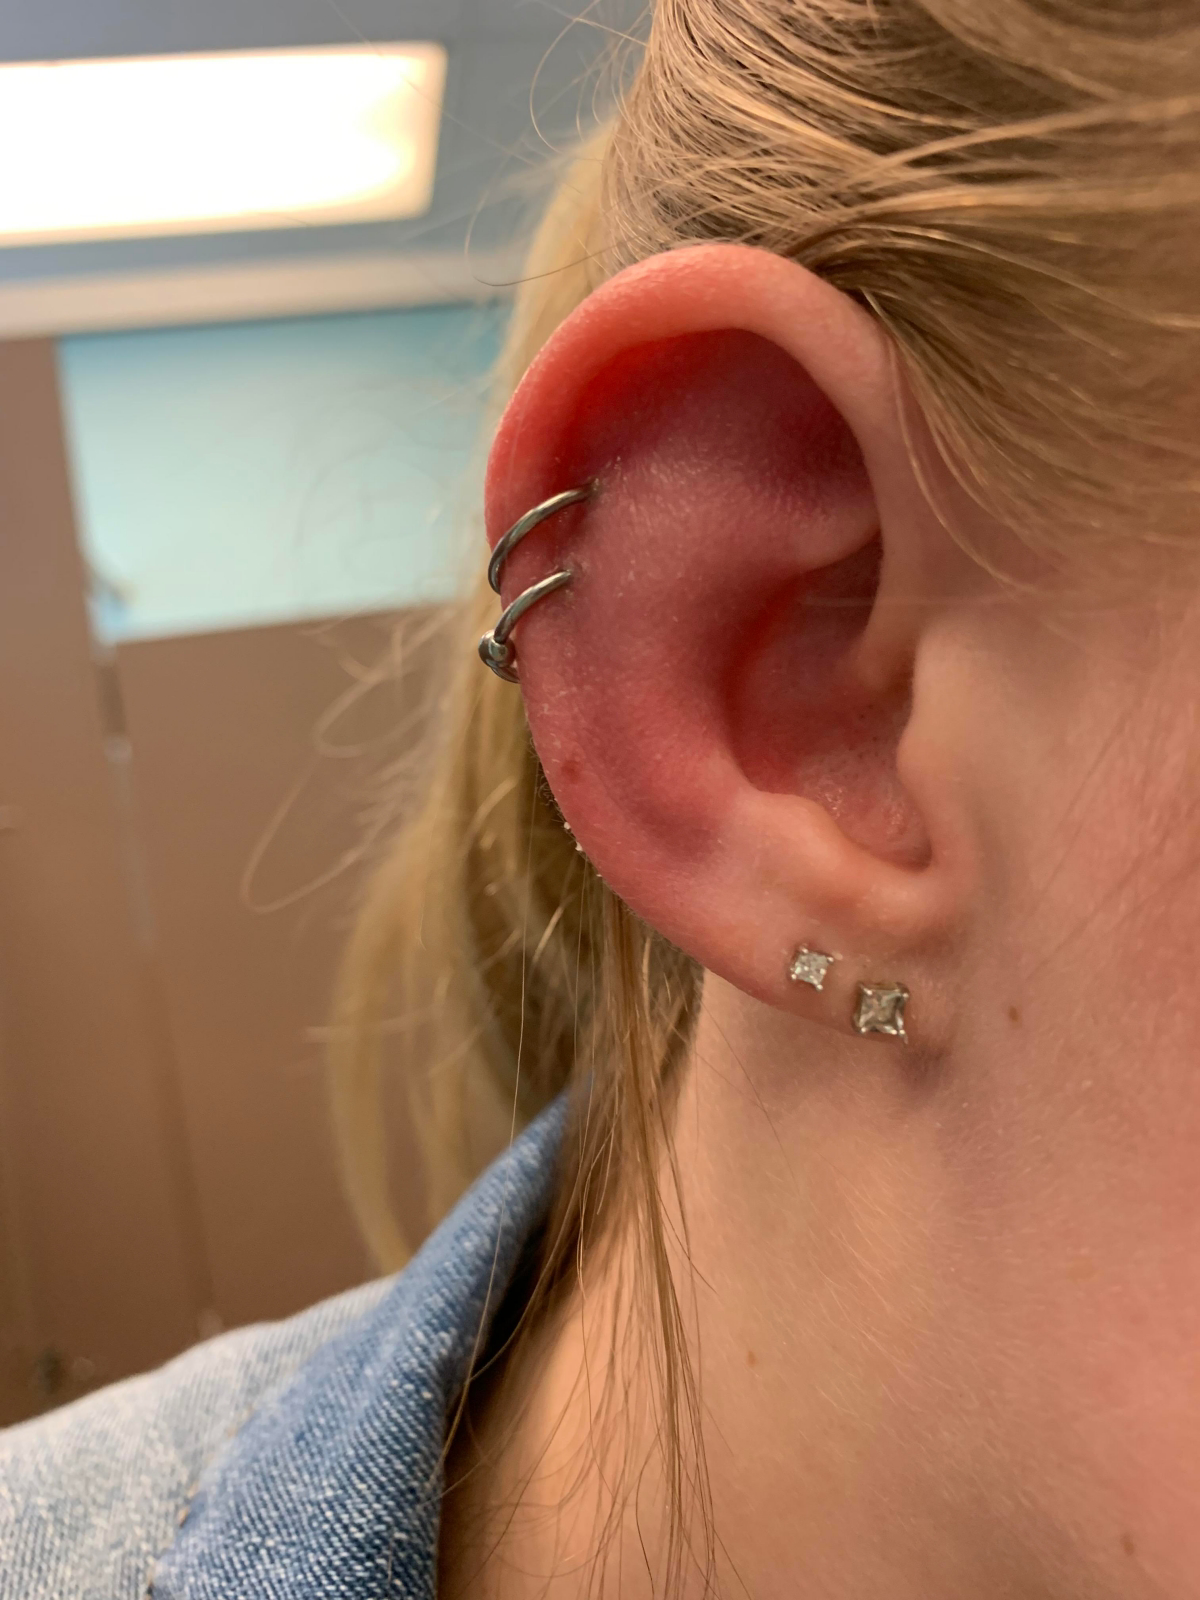
Patience is everything. Your piercing might feel okay after a month, but the tissue inside is still incredibly fragile. The motto here is LITHA: “Leave It The Heck Alone.”
Your only job is to keep it clean. Your aftercare shopping list is simple:
- Sterile saline spray: Get one from a pharmacy that contains ONLY 0.9% sodium chloride and water. This should cost about $12-$15.
- Non-woven gauze pads: You can get a big box for about $5. Avoid cotton balls or Q-tips, as their fibers can get stuck.
- A travel pillow: This donut-shaped pillow will be your new best friend and costs about $20. More on that in a second.
Twice a day, just spray the front and back of the piercings with saline, then gently pat the area dry with a fresh piece of gauze. That’s it. Don’t twist the jewelry. Don’t use alcohol or hydrogen peroxide (they’re way too harsh). And avoid pools and hot tubs for at least a few months.
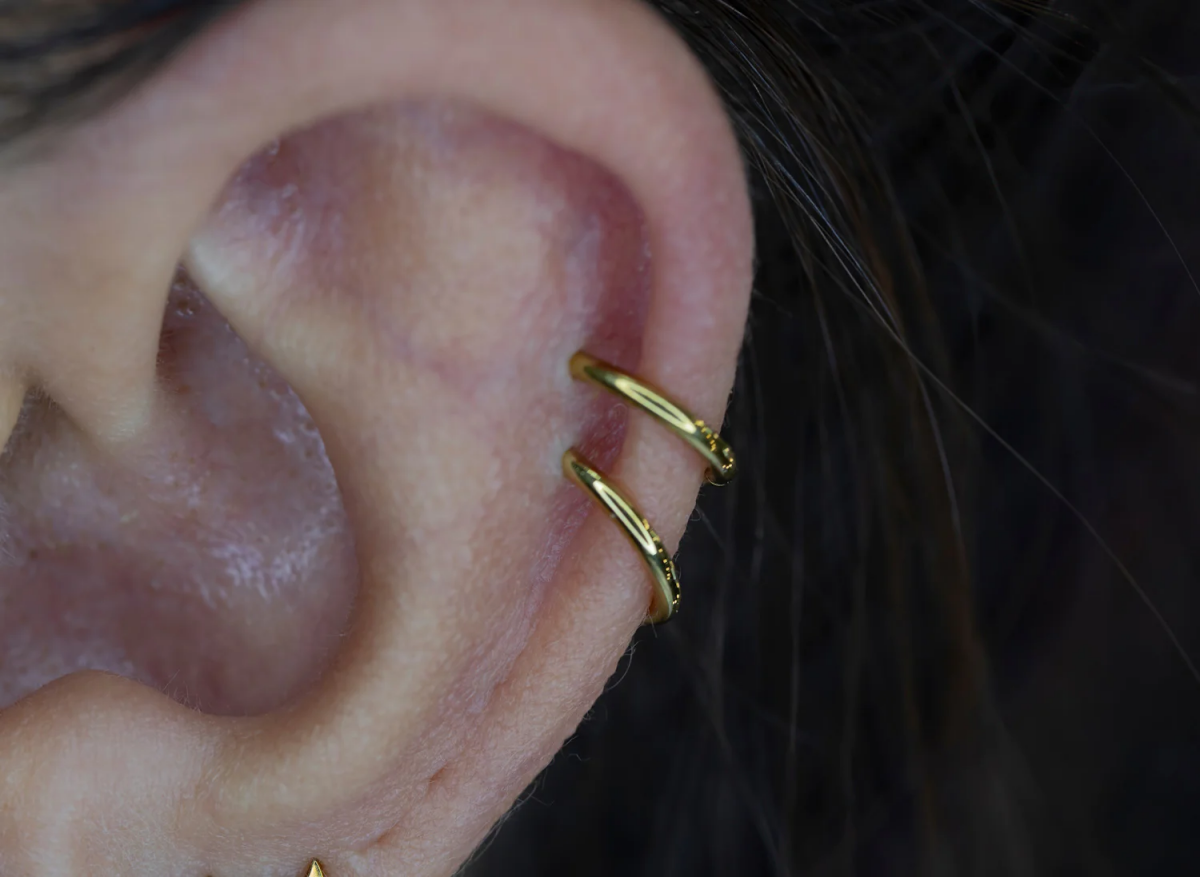
A quick word on “crusties” (that yellowish stuff that forms). That’s just dried lymph fluid and it’s a normal part of healing. Let the warm water in your shower soften them up. If they don’t fall off on their own, you can gently wipe them away with saline-soaked gauze. Never, ever pick at them when they’re dry!
Your New Best Friend: The Travel Pillow
I cannot stress this enough: DO NOT SLEEP ON YOUR NEW PIERCING. The constant pressure will cause bumps, shifting, and a world of pain. This is where the travel pillow comes in. Sleep with your ear in the hole of the pillow. This clever trick takes all the pressure off and is genuinely the single best thing you can do for your healing helix.
Life doesn’t stop for a healing piercing. Here are some quick fixes for common problems:
- The Problem: My face mask loops keep catching on the jewelry. The Fix: Get a mask extender or “ear saver.” It’s a simple strap that hooks the loops behind your head instead of around your ears.
- The Problem: My hair is constantly tangled in it. The Fix: For the first few months, try hairstyles that keep your hair pulled back and away, like a side braid or a tight bun on that side.
- The Problem: My glasses keep bumping it. The Fix: Be extremely mindful when putting on and taking off your glasses. Some people find that slightly adjusting how their glasses sit can help, but mostly it’s just about being careful.
Help! Is This Bump Normal?
Okay, let’s clear up the confusion between the three things people worry about most. It’s crucial to know the difference, because the treatment is completely different.
An Irritation Bump is by far the most common issue. It’s a small, fluid-filled bump right next to the piercing hole. It’s not an infection; it’s your body’s way of screaming, “Something is annoying me!” The cause is almost always pressure (sleeping on it), movement (snagging it), or moisture. The fix? Find and eliminate the irritation. Go see your piercer. Usually, a simple jewelry downsize or a change in habits (hello, travel pillow!) will make the bump go away on its own.
An actual Infection is a serious medical issue. The signs are unmistakable and very different from an irritation bump. You’re looking for thick, opaque green or yellow pus (not clearish fluid), redness spreading far from the piercing, the area feeling hot to the touch, and deep, throbbing pain. You might also have a fever. If you see these signs, DO NOT take the jewelry out. That can trap the infection. See a doctor immediately for antibiotics.
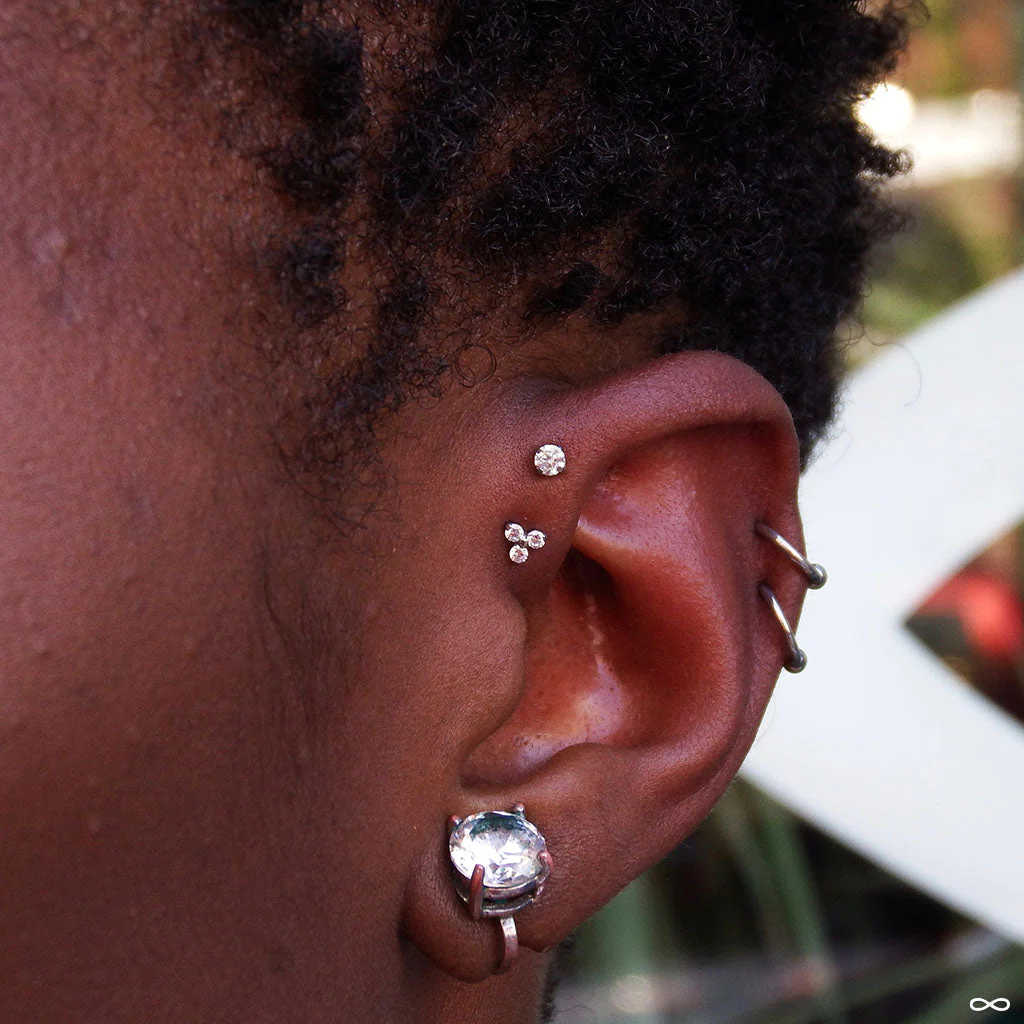
A Keloid is a specific type of scar that’s genetic and relatively rare. If you or your immediate family have a history of them, you’re at higher risk. Unlike an irritation bump that stays localized, a keloid grows well beyond the original piercing site, is often hard and shiny, and doesn’t go away without medical intervention. If you’re not prone to keloids, that bump on your piercing is almost certainly just an irritation bump.
How Much Should This All Cost?
A quality piercing isn’t cheap, and if you see a price that seems too good to be true, it is. You’re paying for a skilled service, sterile equipment, and safe jewelry.
Expect to pay for the service and the jewelry separately. The piercing fee for a double helix can range from $70 to $120. Then comes the jewelry. A basic, implant-grade titanium labret from a reputable company will likely run you $40-$60 each. So, for a double helix with high-quality basics, you should budget for $150 to $250, plus the cost of aftercare supplies. If a shop advertises a “$40 double helix,” run. They’re cutting corners on safety and jewelry quality, and you’ll pay for it later with a painful, problematic piercing.
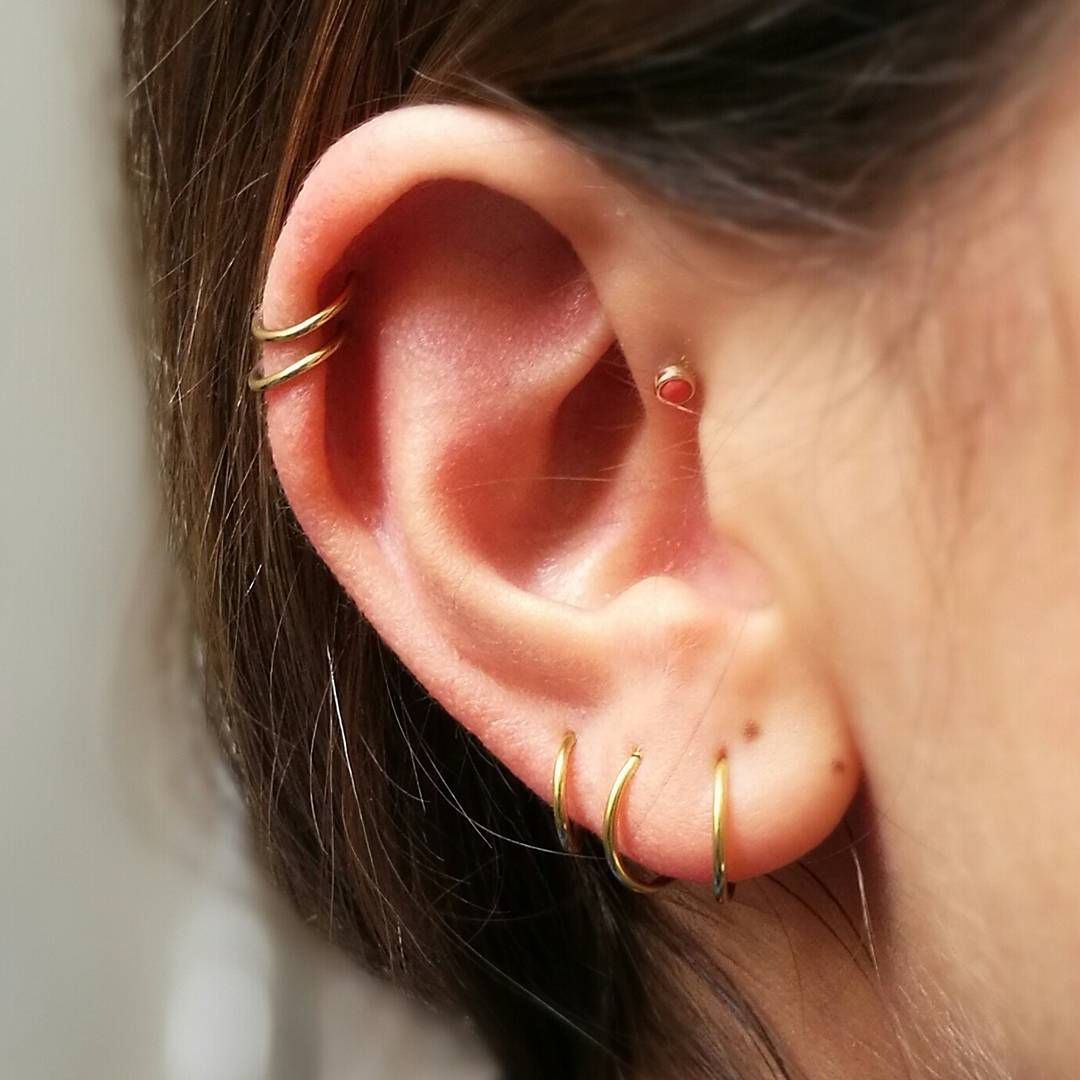
A double helix is a commitment. It demands an investment of money and a whole lot of patience. But if you start with a skilled professional, use the right jewelry, and respect the long healing process, you’ll end up with a beautiful set of piercings that you can enjoy for a lifetime.
Galerie d’inspiration

Implant-Grade Titanium (ASTM F-136): This is the gold standard for initial piercings. It’s completely biocompatible, meaning your body is less likely to react to it. It’s lightweight, nickel-free, and comes in a high-polish finish that aids healing.
Surgical Steel (316LVM): While common, it’s not the best choice for a fussy helix. It contains nickel, a frequent allergen that can cause irritation bumps and delay healing, even in people who don’t have a known sensitivity.
For a smooth healing journey, always insist on implant-grade titanium from the start.
- Avoid sleeping on the pierced side for several months.
- Stop twisting or turning the jewelry.
- Keep headphones, hats, and hairspray away from the area.
The result? You’re letting your body heal without constant physical irritation, which is the primary cause of those dreaded piercing bumps.
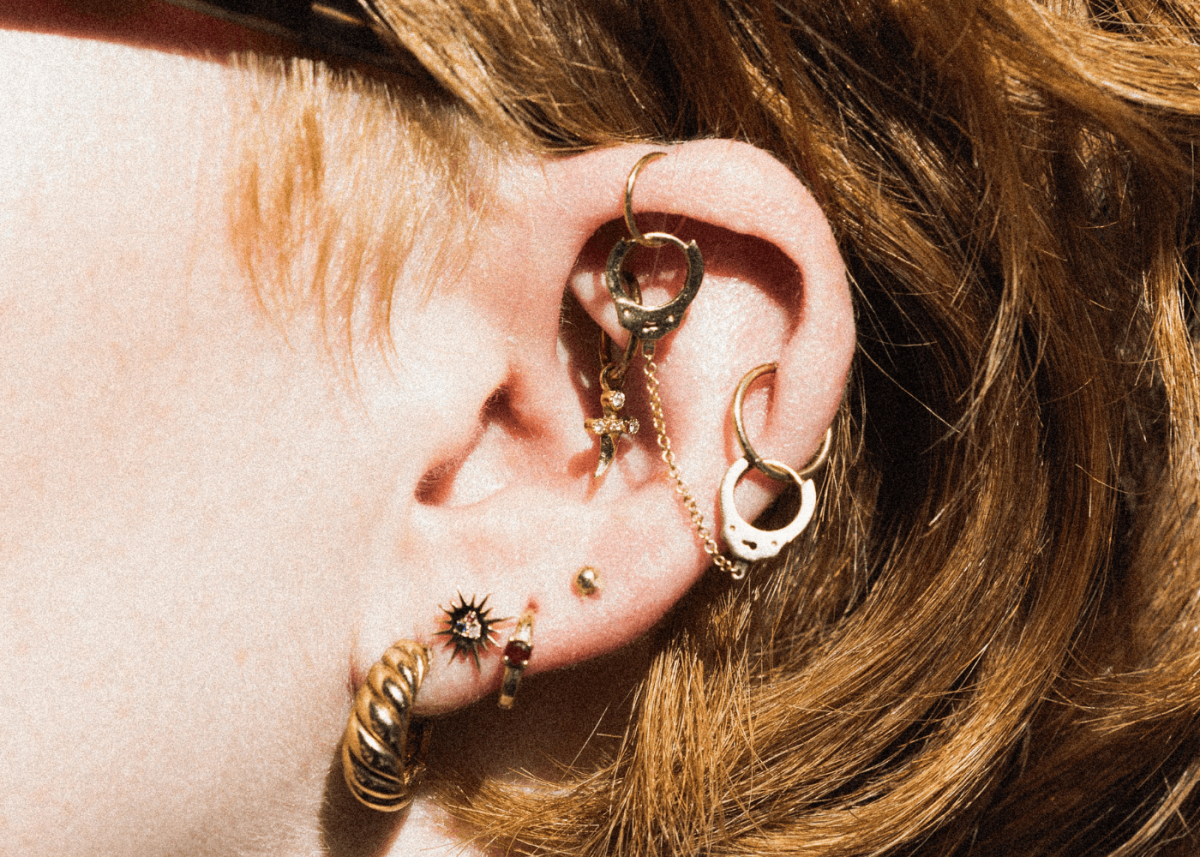
More than 30% of cartilage piercings experience complications, often due to improper aftercare or jewelry.
This isn’t to scare you, but to empower you. The most common issue is the dreaded
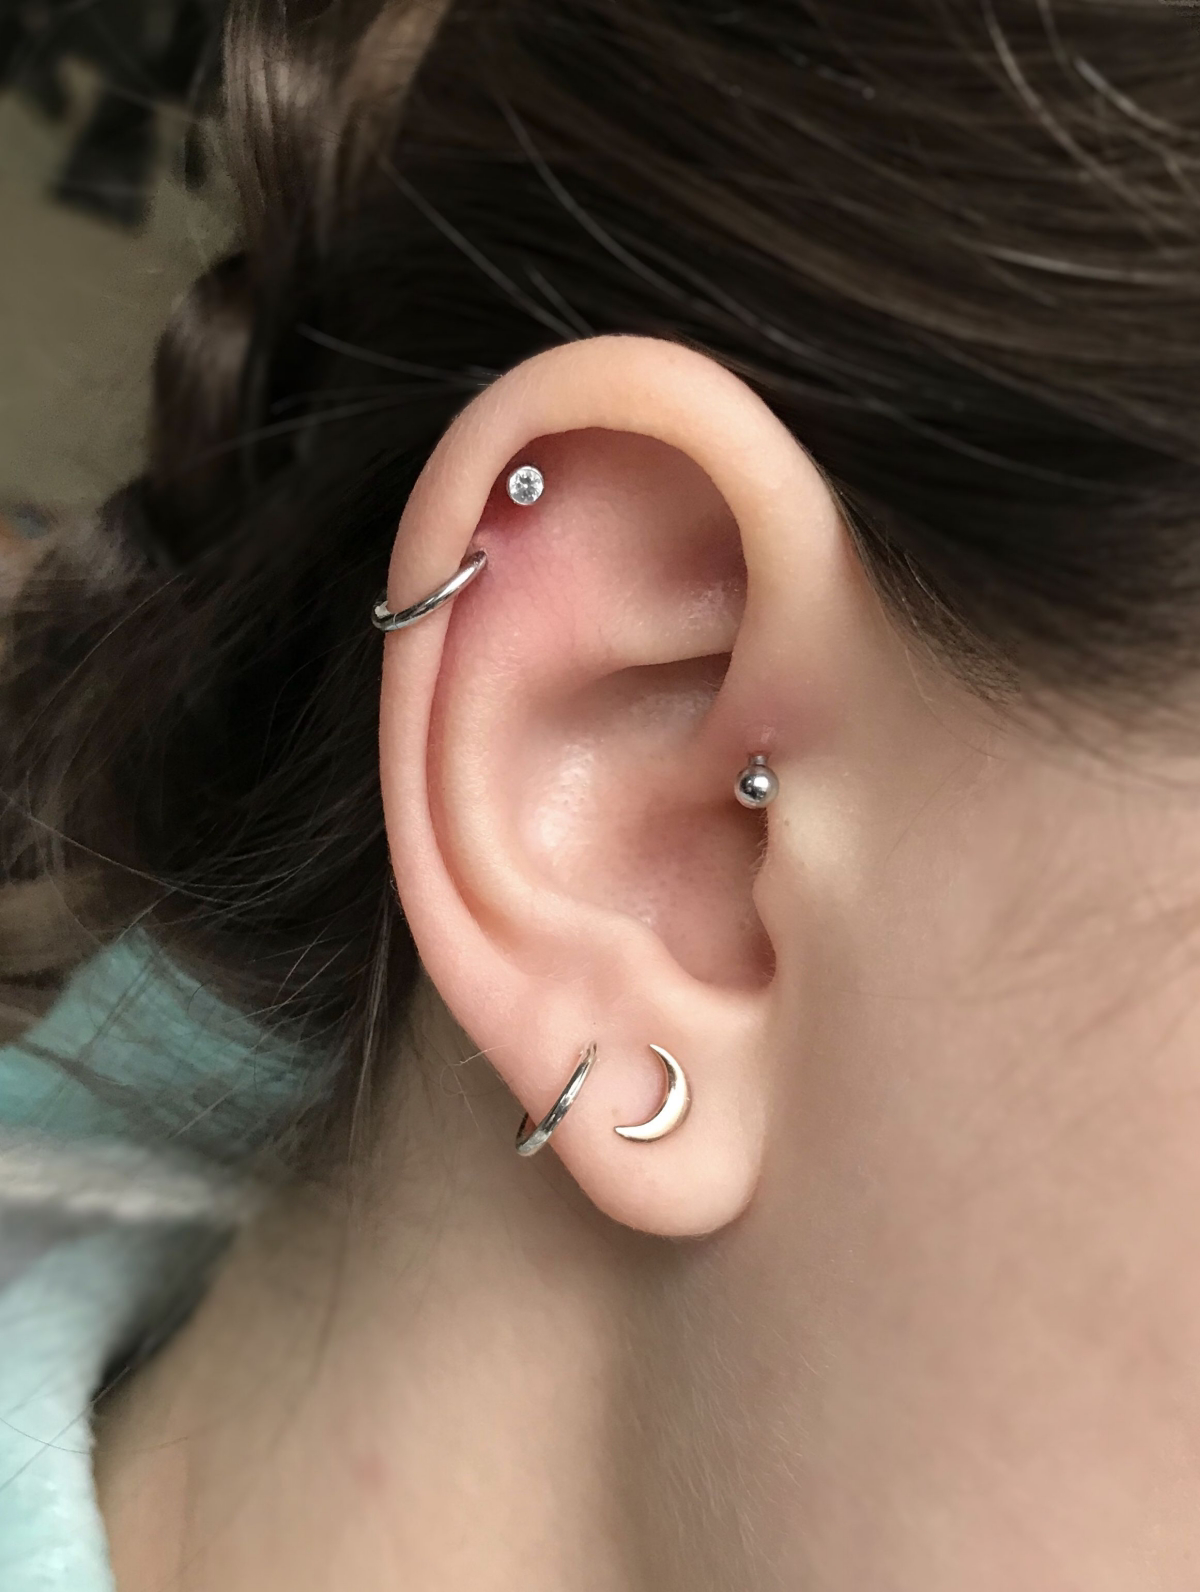
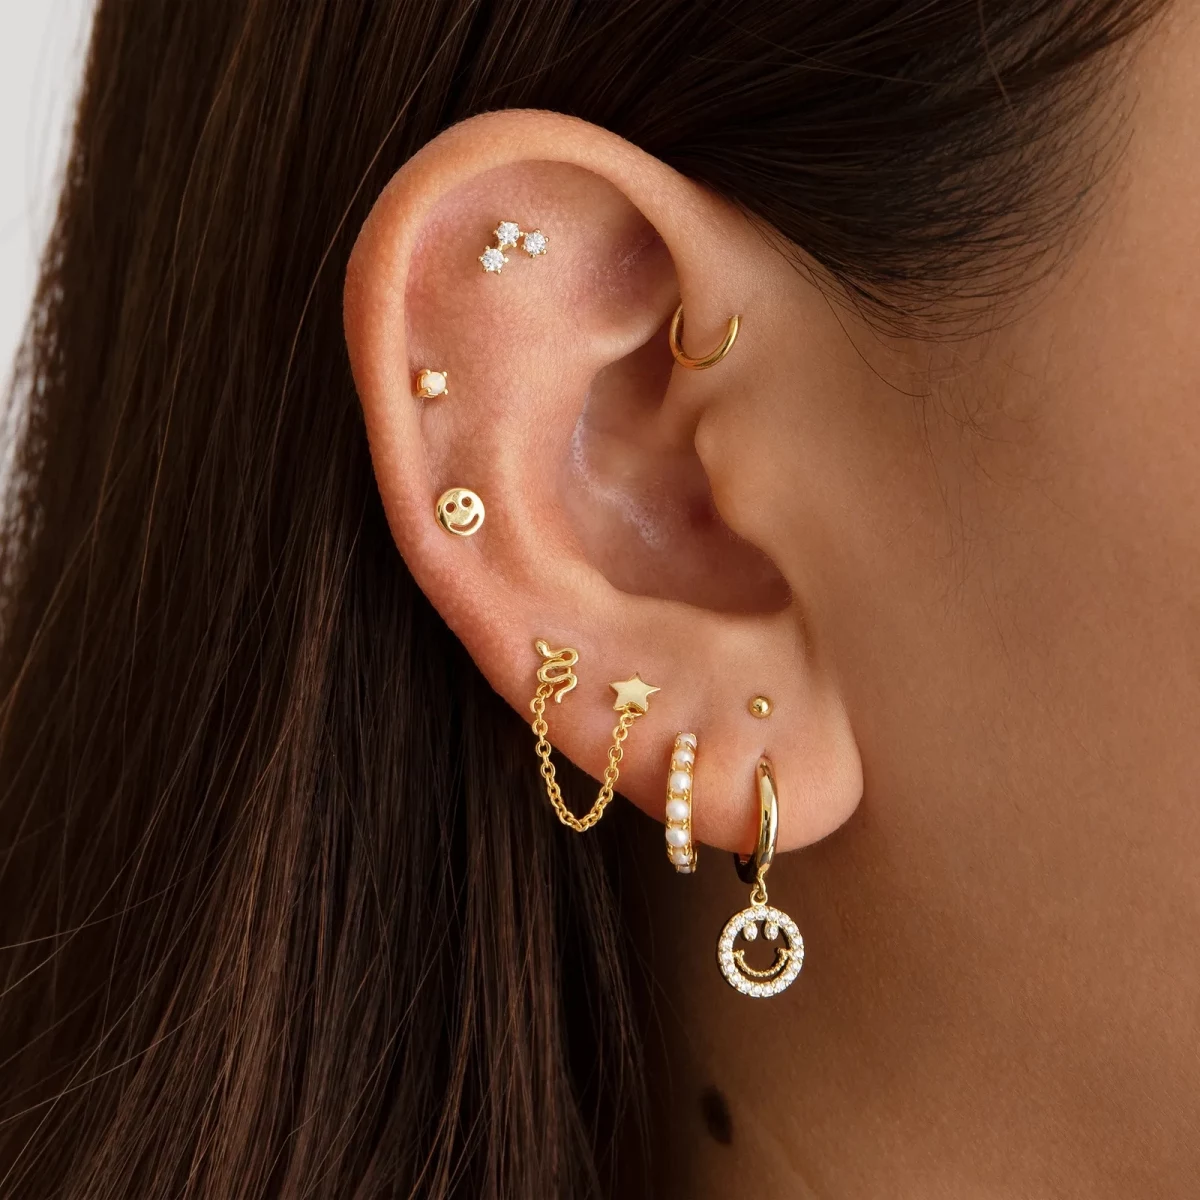
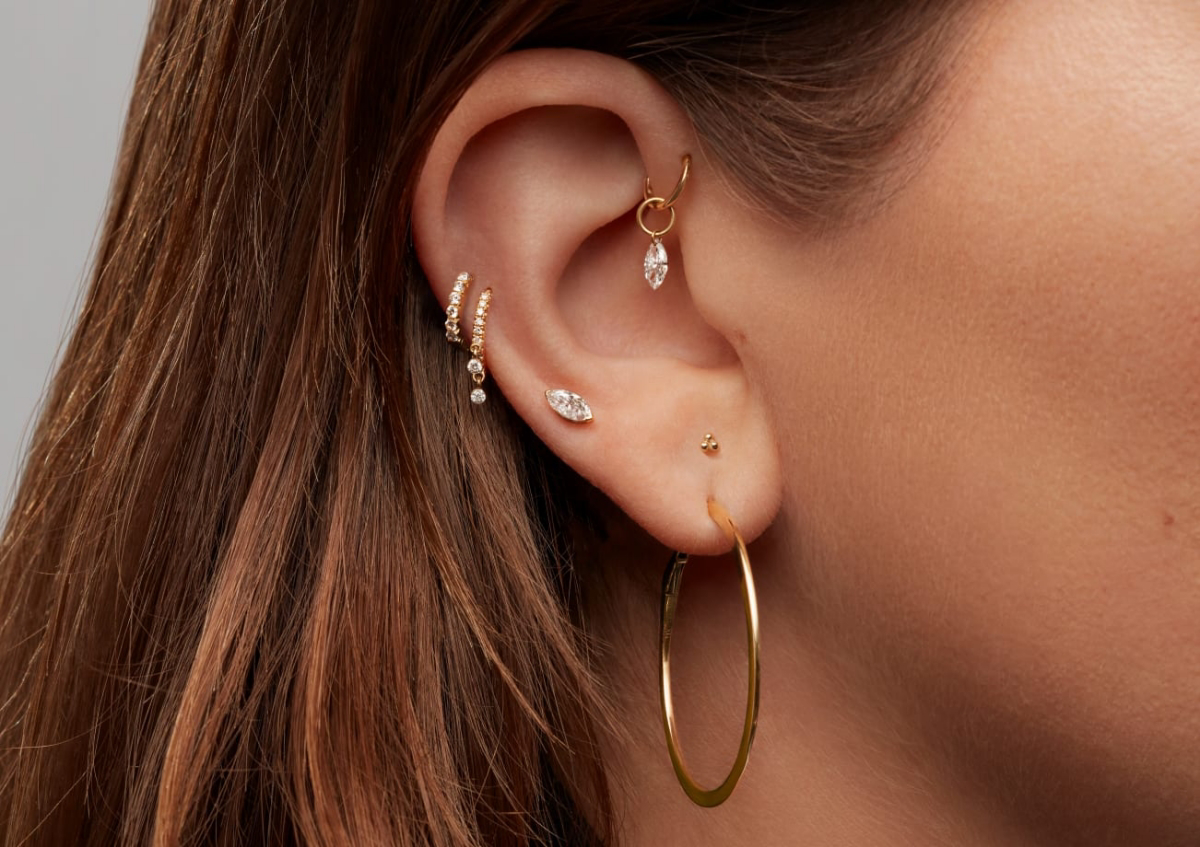
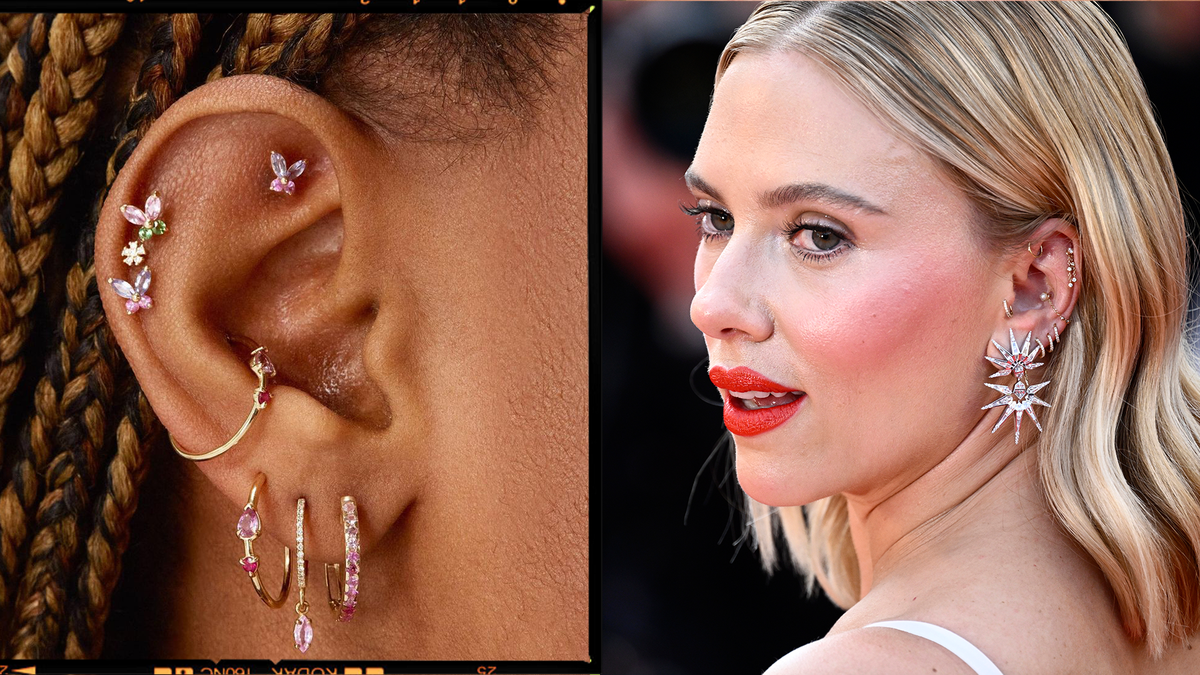
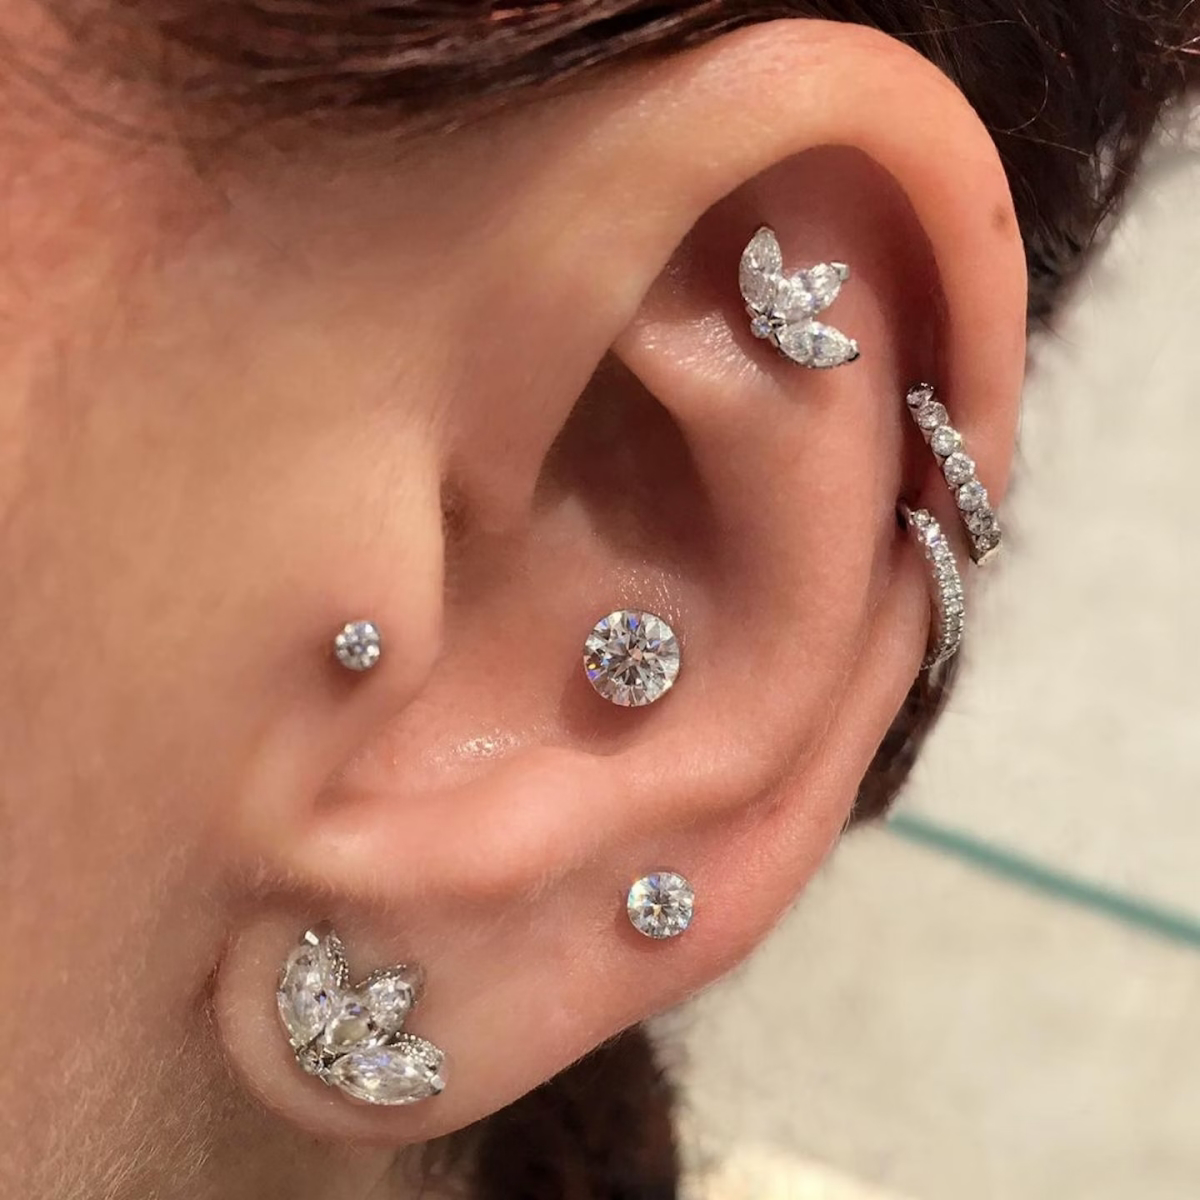
Your double helix is a statement, but it’s also a team player in the popular “curated ear” trend. Once fully healed, it serves as a perfect anchor for a larger ear styling project. Think of it as the foundation. You can later add a conch, a tragus, or delicate lobe piercings to create a cohesive and personal constellation. High-end brands like BVLA and Maria Tash offer tiny, threadless ends in gold and diamonds, allowing you to build a collection that tells a unique story right on your ear.
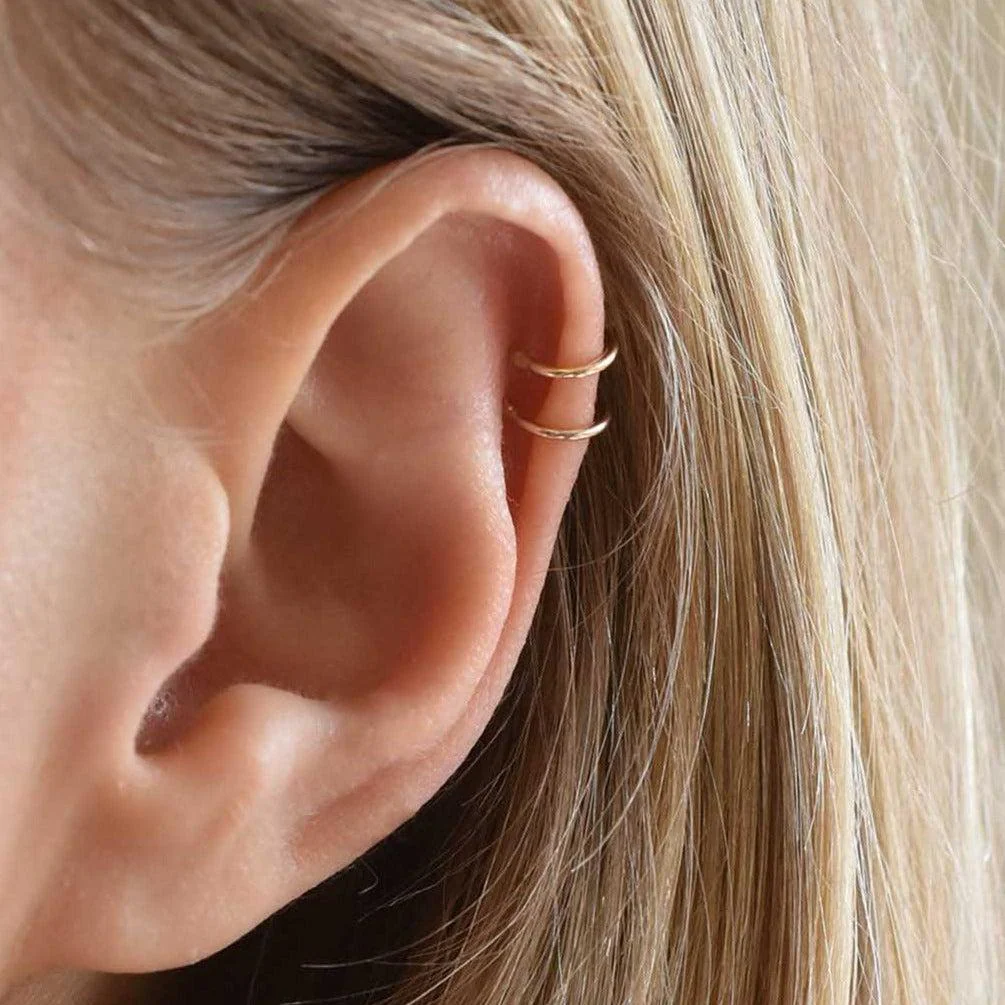
The number one question after the piercing? How on earth am I supposed to sleep?
Sleeping on a new helix is a recipe for irritation and swelling. The pressure can change the angle of the piercing and create bumps overnight. The solution is simple but effective: get a travel pillow. By sleeping with your ear in the donut hole, you can lie on your side without putting any pressure on the piercing. It’s a game-changer for the entire 6-12 month healing period.
- A sterile saline wound wash spray (0.9% sodium chloride).
- Non-woven sterile gauze pads for gentle drying.
- A travel pillow for sleeping.
- Patience. Seriously, it’s the most crucial item.


