Thinking About a Double Nostril Piercing? Read This First
So, the double nostril piercing has caught your eye. I get it. It’s a beautifully balanced look, whether you’re going for one on each side or two on the same. It looks so simple, right? Just two little sparkles. But as someone who’s spent a lot of time on the other side of the needle, I can tell you there’s a bit more to it than just getting poked twice.
In this article
- Is Your Nose Ready? Anatomy Matters More Than You Think
- Choosing Your Style: What ‘Double Nostril’ Actually Means
- The Big Day: What a Good Piercing Appointment Looks Like
- The Most Important Choice: Your First Piece of Jewelry
- The Healing Journey: A 6-to-12-Month Marathon
- Uh Oh… Is This Normal? Handling Bumps and Other Worries
- The Reality Check: Cost and Finding a Pro You Can Trust
- Galerie d’inspiration
Honestly, getting this piercing right is all about planning. It’s not just about the look you want today, but about setting yourself up for easy healing and a result that complements your unique face. We’re talking about creating visual symmetry, which is a real art form. Let’s walk through the conversation we’d have if you were sitting in my studio chair, so you can go into this feeling confident and prepared.
Is Your Nose Ready? Anatomy Matters More Than You Think
Before any ink marker or needle comes out, a good piercer will take a serious look at your nose. The spot we pierce, the nostril wing (or ala), is a flexible bit of cartilage, and everyone’s is different. The thickness, the curve, how it joins your cheek—all of these little details play a huge role.
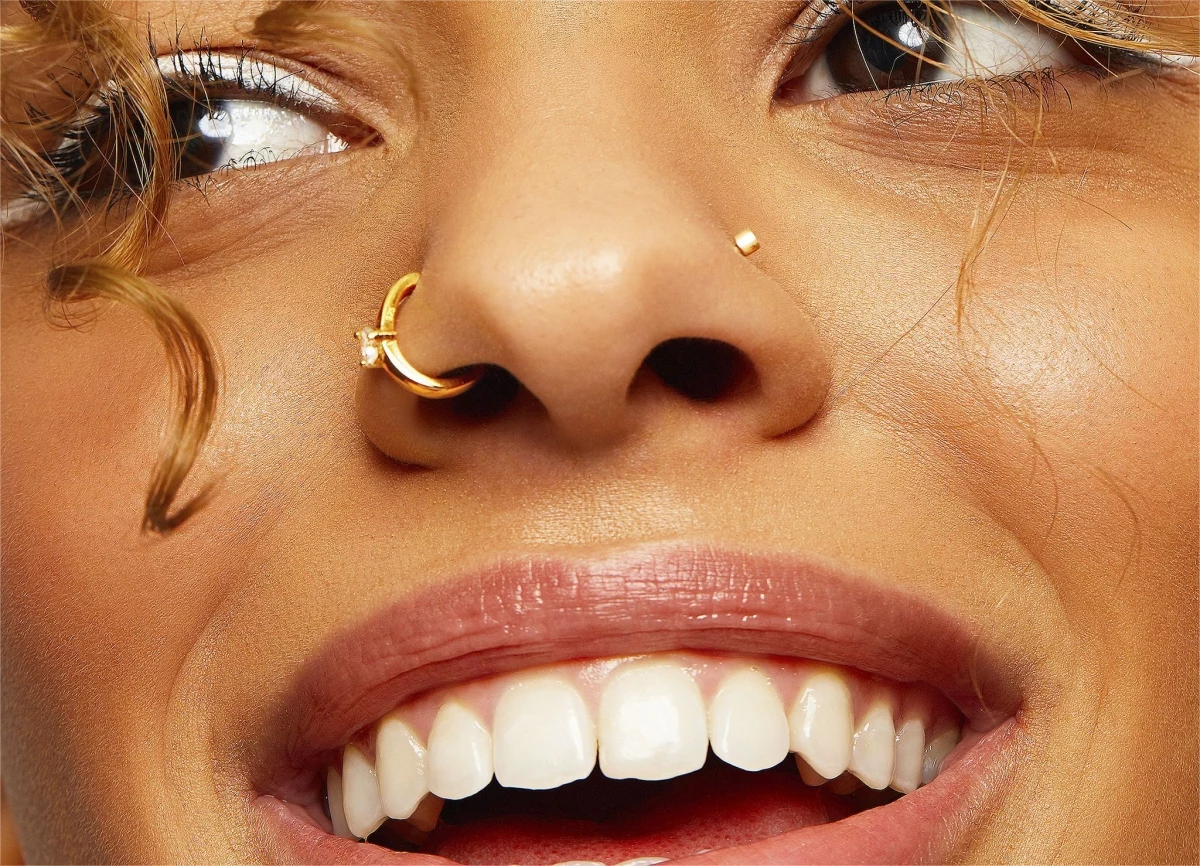
Most of us have what piercers call a “sweet spot,” a slightly thinner area in the curve of the nostril that’s a bit easier to pierce and tends to heal nicely. But what if you don’t? Some people have very firm cartilage, while others have a deep crease where their nostril meets their face. These aren’t dealbreakers at all, but they are things a pro has to account for. They’ll be checking for a few key things:
- Nostril Thickness: This is a big one because it determines the length of your first piece of jewelry. If the post is too short, it can sink into the tissue when it swells (ouch). Too long, and it’s a snag-magnet.
- Your Unique Shape: Is your nostril flat or sharply curved? This affects the final placement so it sits flush and looks intentional.
- Hidden Veins: A piercer will use a strong light to get a look at the tissue. We can’t see every tiny capillary, but we can often spot larger blood vessels to avoid. Hitting one isn’t a catastrophe, but it can lead to some dramatic bleeding and bruising that’s best avoided.
- Facial Symmetry: Fun fact: almost nobody’s face is perfectly symmetrical. One nostril might sit a tiny bit higher or have a different curve. The goal isn’t perfect anatomical placement; it’s visual balance. This might mean the dots are marked in slightly different spots to create the illusion of perfect symmetry.

Choosing Your Style: What ‘Double Nostril’ Actually Means
“Double nose piercing” can mean a few different things, so knowing the lingo helps you get exactly what you’re picturing.
Paired Nostril Piercings
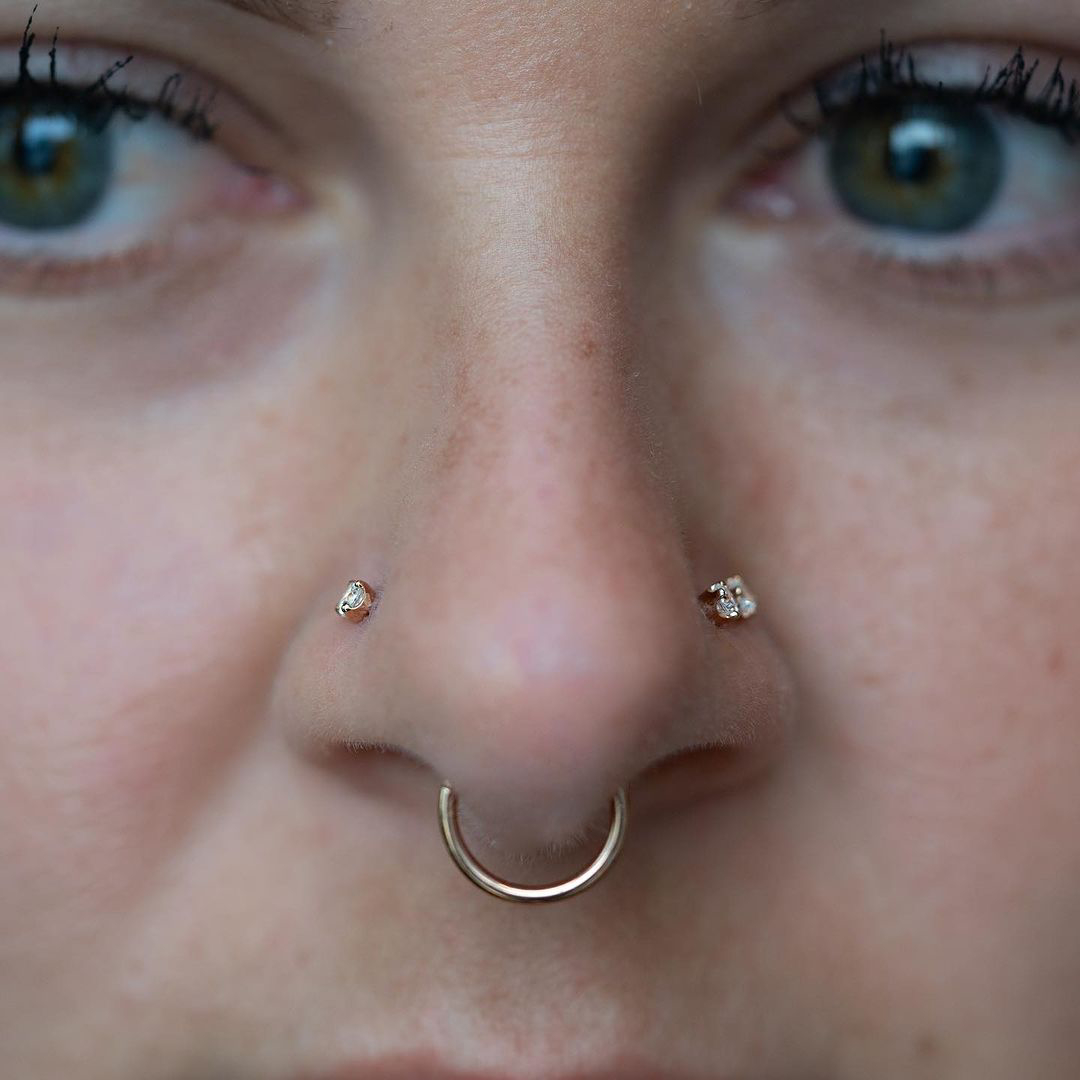
This is the classic—one piercing on each side, meant to mirror each other. The biggest challenge here is getting that placement just right. Your piercer will mark you with a sterile skin marker and then hand you a mirror. Seriously, take your time with this. Look from the front, from both sides. Smile big, then relax your face. Your face moves, and the piercings need to look good in motion, not just when you’re still. This marking process can take longer than the piercing itself, and that’s a good sign.
Same-Side Double Nostril Piercing
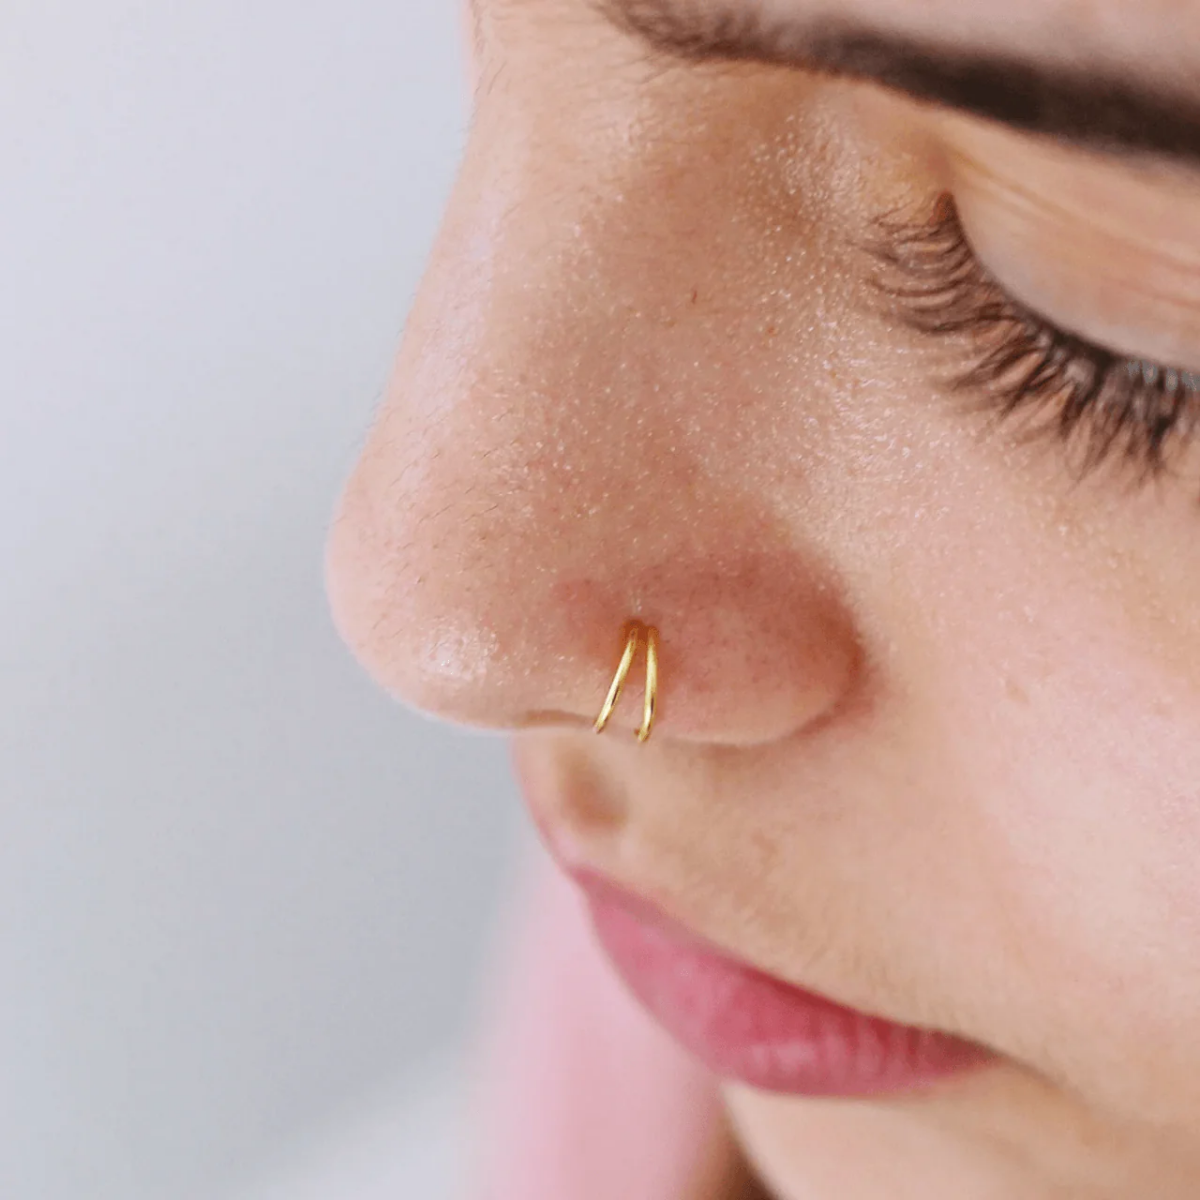
This is two piercings on the same nostril. Spacing is absolutely everything. Too close, and they’re impossible to clean properly and the jewelry tops might clash. Too far apart, and they lose that cohesive, paired look. They can be stacked vertically or angled along the nostril’s curve, depending on how much real estate you have.
High Nostril Piercings
Heads up: this is a more advanced style. These are placed way up on the nasal bridge, much closer to the bone. Healing can be a real test of patience because they’re in a more exposed spot, and swelling can be more significant. Jewelry is also limited; you’ll need a long stud to start and won’t be able to wear a hoop. I usually steer people away from this for their first nose piercing. It’s a commitment!
The Big Day: What a Good Piercing Appointment Looks Like
Knowing what to expect can help you spot a great studio. The whole process should feel professional, clean, and never, ever rushed.
After you fill out some paperwork, you’ll select your jewelry. It absolutely must be made of implant-grade material. The piercer will then sterilize it in an autoclave (a machine that uses pressurized steam). If they just pull jewelry out of a display case and head for your nose, that’s a massive red flag. Walk away.
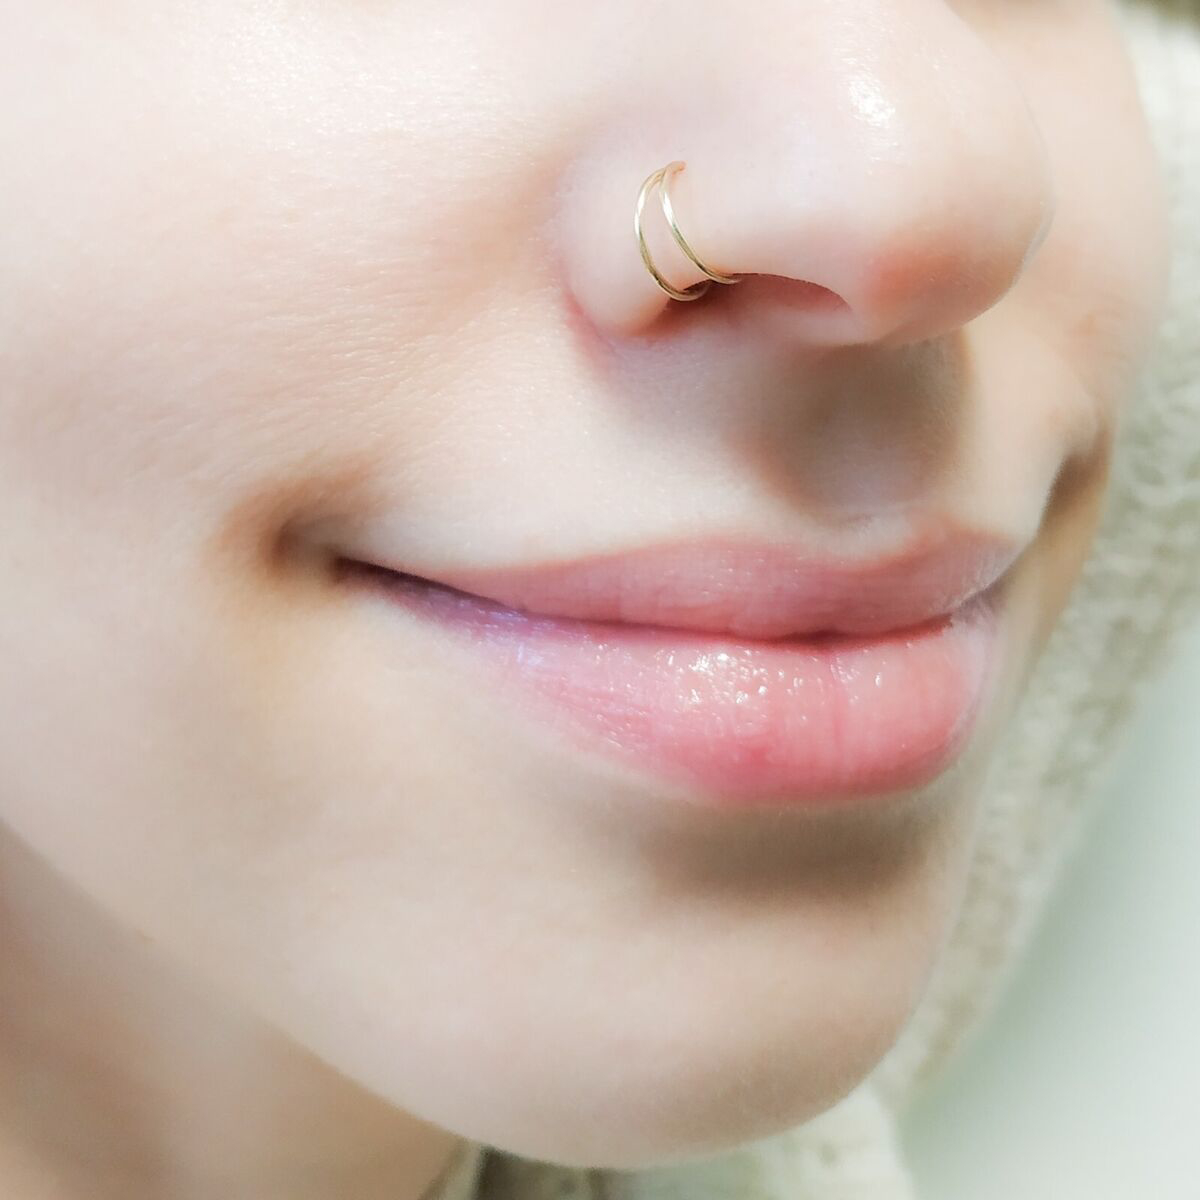
Next, your nose will be cleaned with a skin antiseptic, and then comes the careful marking we talked about. Once you give the final okay, it’s time for the piercing. You’ll be told to take a deep breath in and then breathe out. The piercing happens on the exhale. And the pain? Honestly, it’s a sharp, quick pinch. The number one thing that surprises people is that your eyes will water, a lot. It’s an involuntary reflex from the nerves in your nose; it doesn’t mean it hurts more than you can handle. The second one will feel pretty much the same.
A note on piercing guns: NEVER let anyone near your nose with one. They use blunt force, which shatters cartilage, and they can’t be properly sterilized. A professional will only ever use a brand-new, sterile, hollow needle.
The Most Important Choice: Your First Piece of Jewelry
The jewelry you get on day one is critical. Its material and style will make or break your healing process.

For materials, you want something biocompatible. The gold standard for this is implant-grade titanium—the same stuff used for surgical implants inside the body. It’s nickel-free and won’t cause issues. Solid 14k or 18k gold (never plated!) is another excellent, nickel-free option. I’d advise against “surgical steel” for a new piercing. It’s a vague term and often contains nickel, a very common allergen. It’s just not worth the risk.
For the style, a flat-back labret stud is your best friend. This is a post with a flat disc on the inside of your nose and a decorative top on the outside. They are incredibly secure and stable. Why not a hoop? A hoop moves around constantly, dragging germs into your fresh piercing. Its curve also puts pressure on the channel, which is the number one cause of those dreaded irritation bumps. You’ll need to wait until you’re fully healed—think 9-12 months—before you can safely switch to a hoop. Nostril screws or L-bends aren’t great for initial healing either; they can spin and fall out way too easily.
The Healing Journey: A 6-to-12-Month Marathon
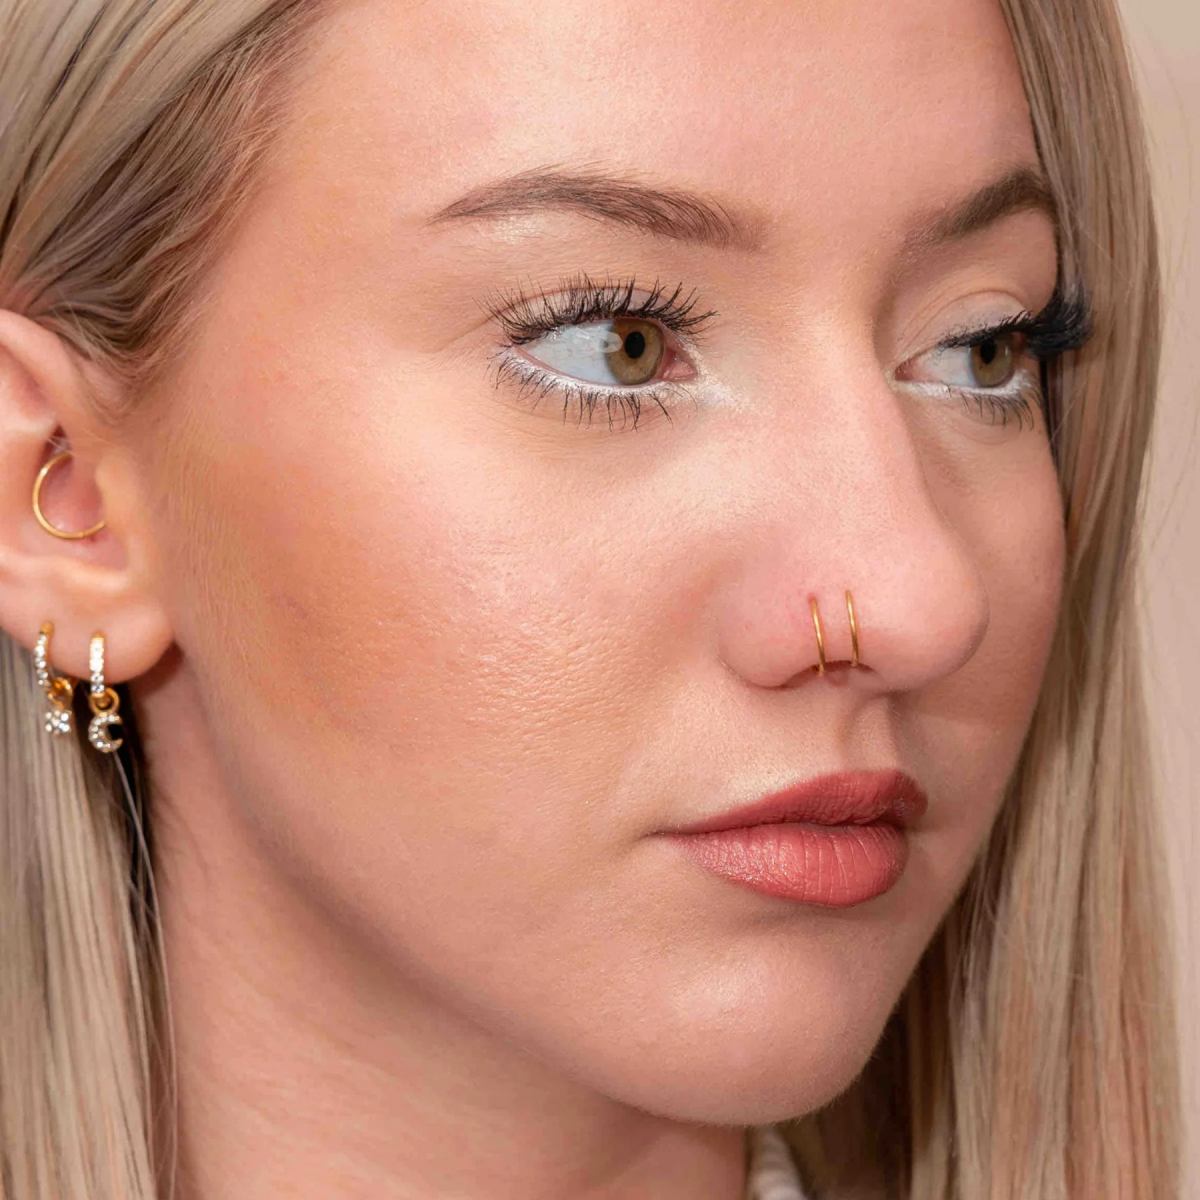
Healing cartilage is a marathon, not a sprint. And with a double piercing, your body is working overtime. Patience is key. The full healing time is usually between 6 and 12 months. It might look and feel fine on the outside much sooner, but the tissue inside is still fragile.
To get ready, here’s a little prep shopping list:
- Sterile Saline Wound Wash: You can find this at any pharmacy for about $10-$15. Look for one that contains ONLY 0.9% sodium chloride and water.
- Non-Woven Gauze Pads: Don’t use cotton balls or swabs; their fibers can get caught in the piercing. A pack of gauze pads is around $5.
- A Travel Pillow: This is a lifesaver. You can’t sleep on your new piercings, and this lets you put your ear in the hole while keeping your face elevated. You can grab one for about $20.
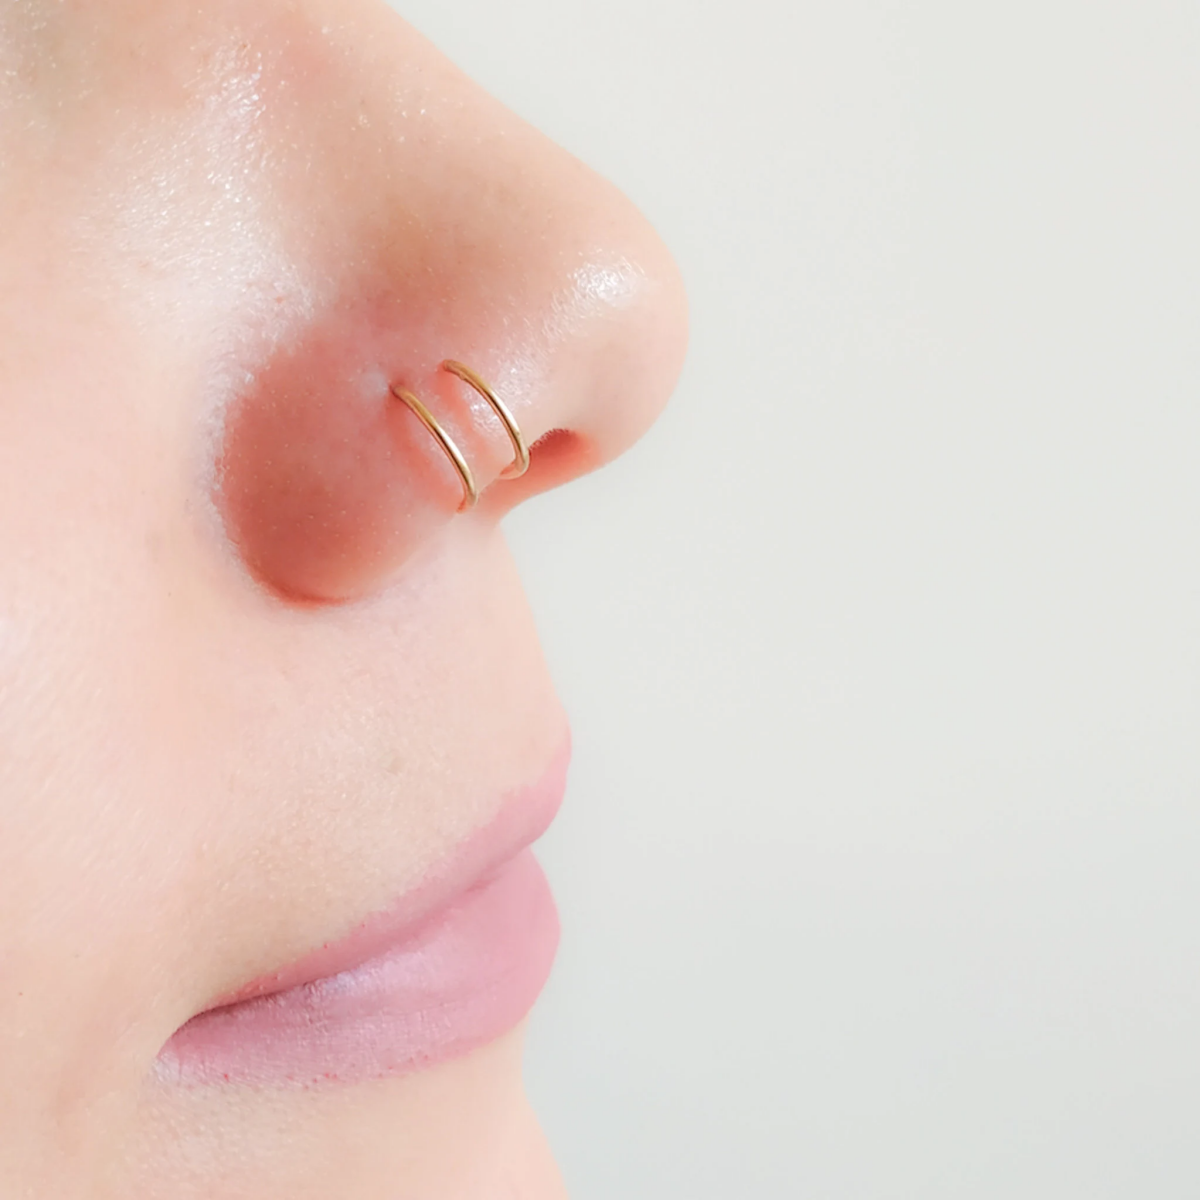
For aftercare, keep it simple. Spray the outside of the piercing with your sterile saline solution twice a day, let it soak for a minute, and then gently pat it dry with a piece of gauze or even a hairdryer on the cool setting. Let warm water run over it in the shower to rinse away any crusties. That’s it! Do not twist it, touch it, or slather it with tea tree oil, alcohol, or soap. Those things are way too harsh.
Oh yeah, and some real-world advice:
- Blowing your nose: This feels impossible at first! The trick is to gently press the unpierced nostril closed and blow softly through the open, pierced side. Clean up with saline spray afterward. Never pinch both sides!
- Makeup & Skincare: Keep all foundations, powders, and thick creams away from the immediate piercing area during healing. If you get some on it by accident, clean it off gently with saline and gauze.
- Face Masks: These can be a major irritant. Try using a plastic mask bracket (a little frame that sits under your mask) to create space, or opt for a looser-fitting surgical-style mask while it’s healing.

Uh Oh… Is This Normal? Handling Bumps and Other Worries
It’s pretty common to hit a snag during healing. The key is not to panic and to figure out what’s really going on.
Is it an Angry Bump or a Scary Infection?
Nine times out of ten, that little bump that pops up next to your piercing is just an irritation bump. It’s your body’s way of saying, “Hey, something is bothering me!” It’s usually caused by moisture, pressure (like sleeping on it), or movement (like snagging it). The solution is to figure out the cause and eliminate it. Keep up your simple saline cleaning, be patient, and it will go away.
An actual infection is much rarer and more serious. Here’s how to tell the difference:
- Irritation Bump: A small, localized pinkish bump right at the piercing site. It might ooze some clear or slightly white-ish fluid (lymph). It’s annoying but not dangerous.
- Infection: The redness is spreading and dark. The area is very hot to the touch. You’ll see thick, smelly, green or dark yellow pus. You might even have a fever or feel sick.
If you suspect a real infection, do not remove the jewelry. That can trap the infection inside. See a doctor right away for antibiotics, and check in with your piercer.
So, how do you know when it’s really healed? You’ll know it’s ready for that hoop you’ve been eyeing when you’ve had zero tenderness, no discharge (crusties), and no flare-ups for several weeks straight. The channel itself should feel smooth if you (very gently) move the jewelry during cleaning.
The Reality Check: Cost and Finding a Pro You Can Trust
A quality piercing is an investment. Bargain shopping can cost you way more in the long run. Expect the cost to be broken into two parts: a piercing fee (for the service) and the jewelry cost.
The service fee for each nostril piercing usually runs between $40 and $80, depending on the studio. For jewelry, a basic, implant-grade titanium stud will likely be between $30 and $50. So, for a double piercing, you should realistically budget somewhere between $140 and $260. Some of the top-tier, professional-grade jewelry brands with genuine gemstones can cost much more, but they are absolutely worth it for a happy piercing.
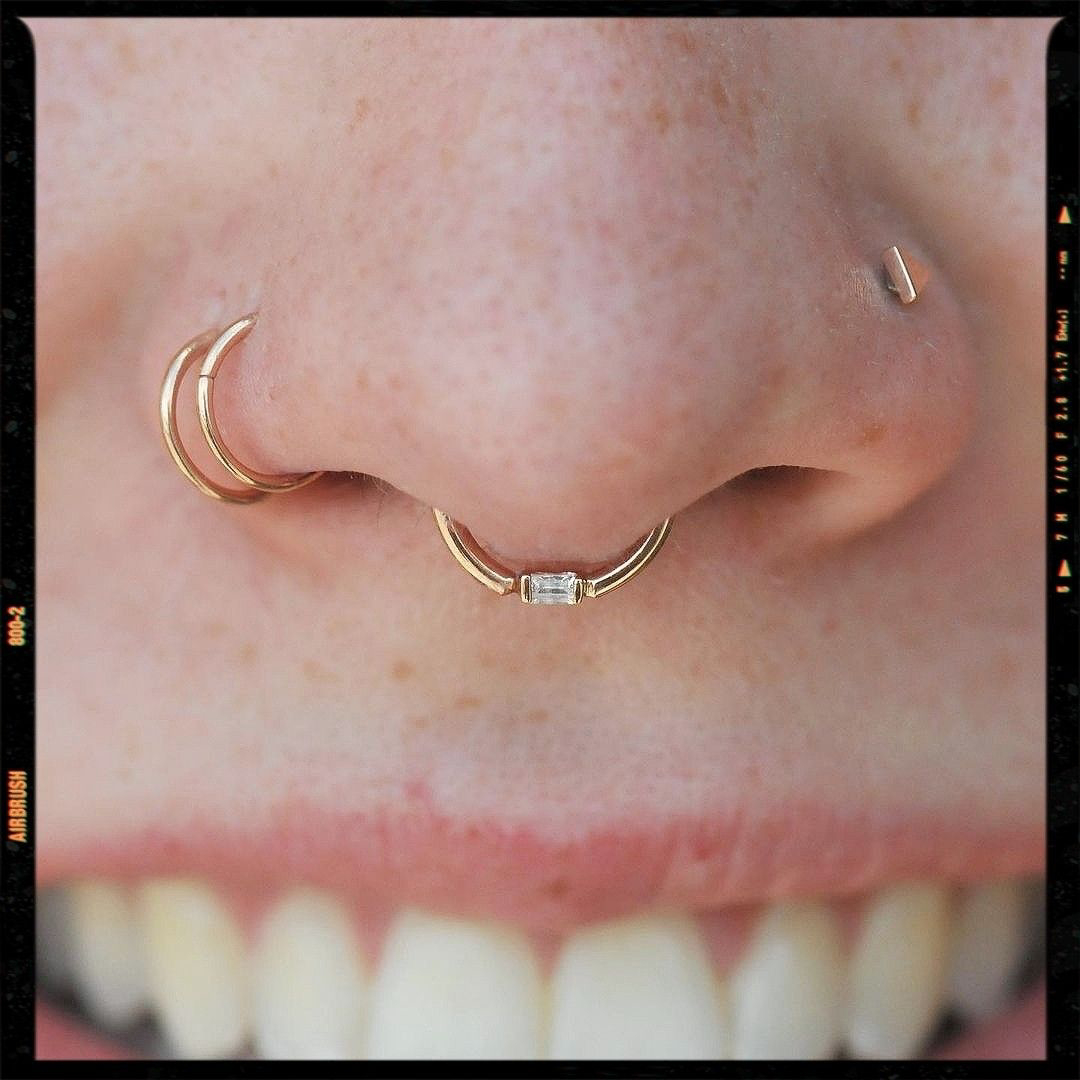
To find a great piercer, look at online portfolios. Don’t just look for fresh, shiny piercings—look for photos of healed work. That’s the sign of a true professional. The studio should be spotless, and they should be happy to show you their autoclave and its latest test results. Trust your gut. A real pro will prioritize your health and safety above all else.
Galerie d’inspiration
Will healing two piercings be twice as difficult?
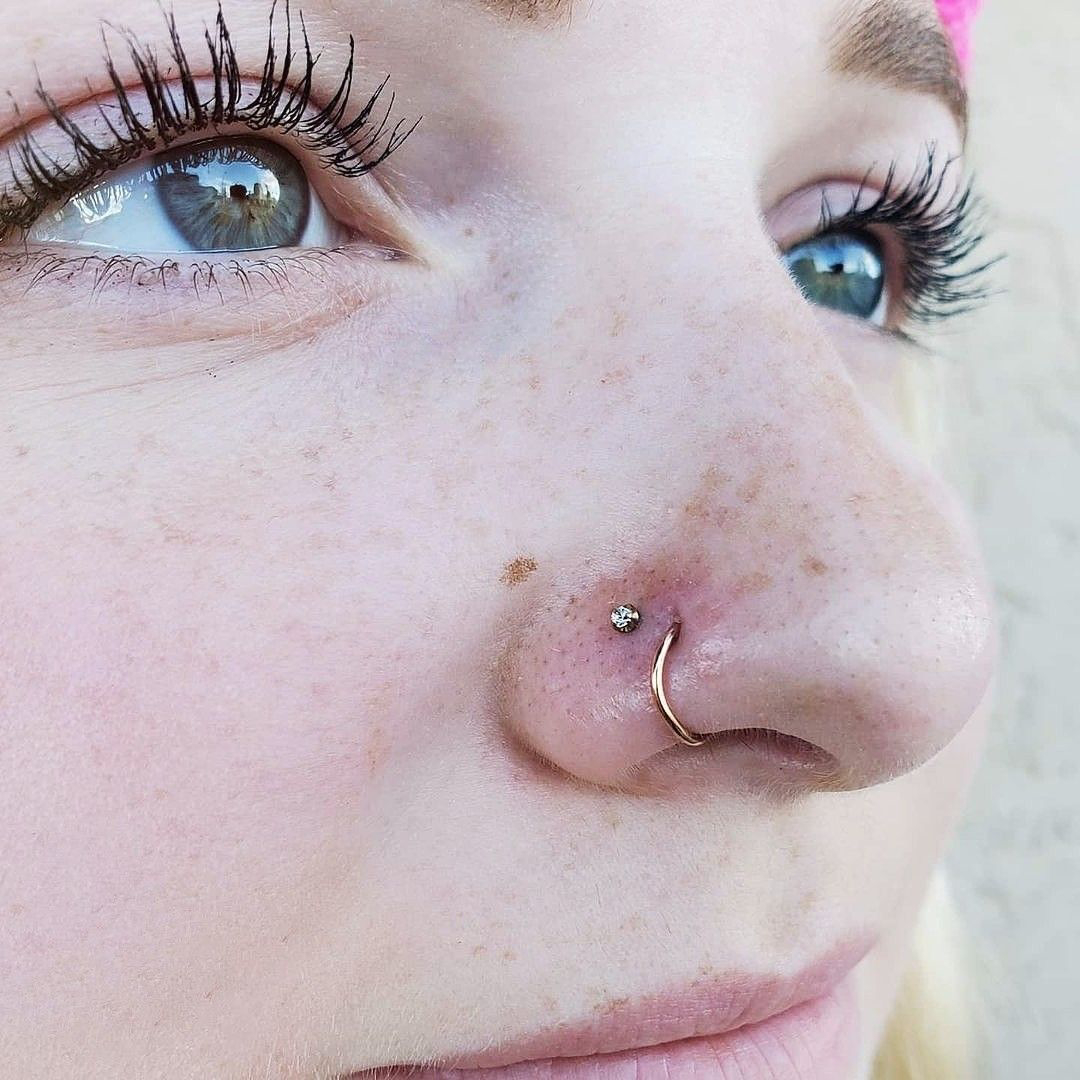
Not necessarily, but it does demand double the diligence. Your body is healing two separate wounds in close proximity, so you might experience slightly more swelling and tenderness than with a single piercing. The timeline isn’t drastically longer, but your margin for error is smaller. Being meticulous with your aftercare, avoiding sleeping on that side, and being hyper-aware of snagging them on clothing or towels is non-negotiable for a smooth, simultaneous heal.
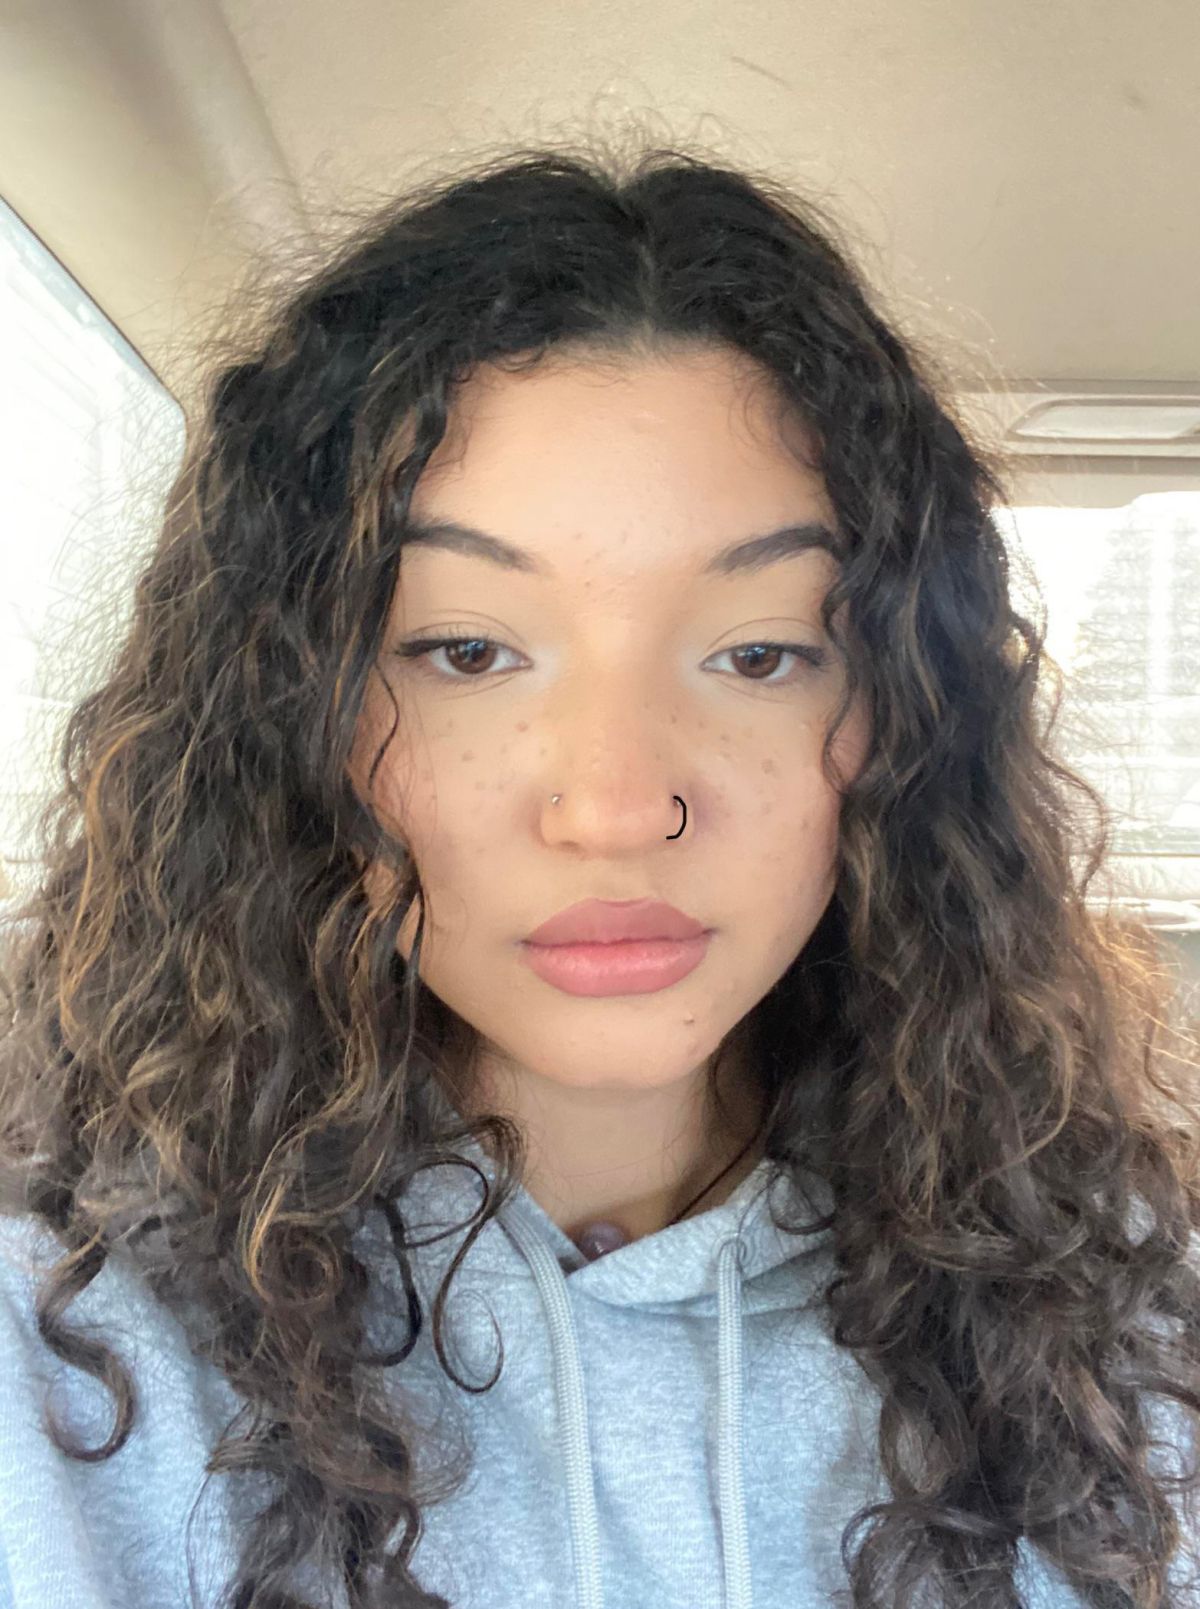
- Create a subtle, cohesive story with two matching minimalist studs.
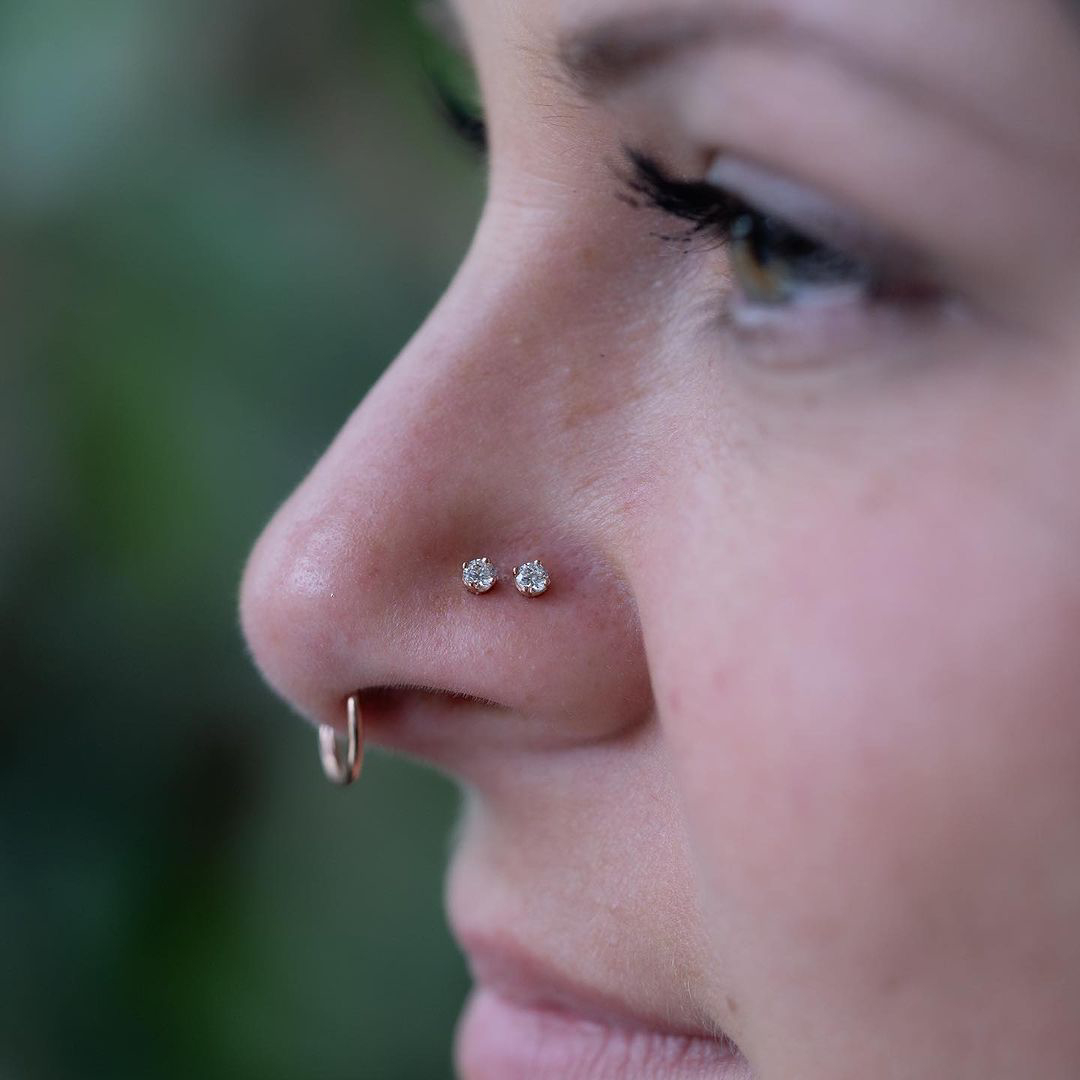
- Play with texture by pairing a smooth ball-end stud with a sparkling prong-set gem.
- Achieve a perfect balance with identical, delicate seamless rings in both piercings once fully healed.
The secret to a stunning result? Thinking of them as a pair from the very beginning. The goal isn’t just two separate piercings, but a single, intentional design that enhances your features.
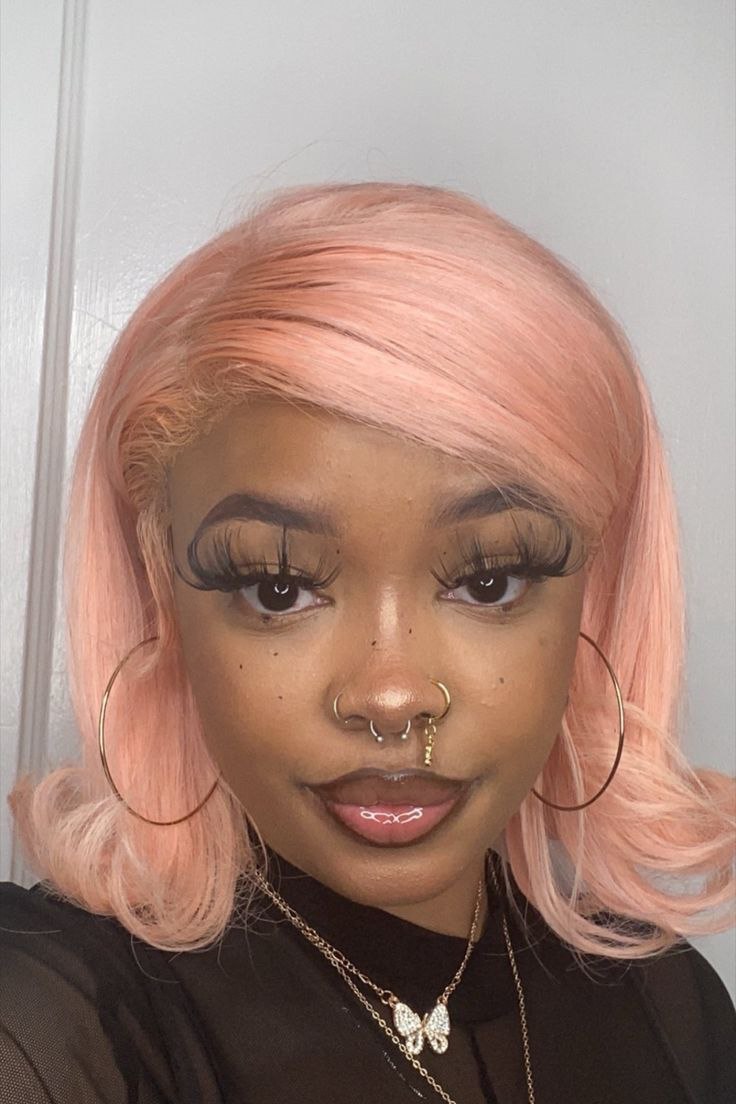

Implant-Grade Titanium (ASTM F-136): This is the piercer’s top choice for initial jewelry. It’s completely nickel-free, lightweight, and highly biocompatible, meaning your body is extremely unlikely to have a negative reaction. It’s the safest bet for a smooth start.
14k or 18k Solid Gold: A beautiful, classic option, but reserve it for when you’re fully healed. Ensure it’s nickel-free and solid, not plated, as the plating can wear away and expose irritating base metals. It’s slightly heavier and can be a factor for those with very sensitive skin.
Once you’re past the initial healing phase (typically 6+ months), the fun begins. The most popular evolution is graduating the front piercing to a snug hoop while keeping a stud in the back. This creates a beautiful and dynamic layered effect. Brands like BVLA or Anatometal offer high-quality, perfectly-sized rings and decorative ends to create a truly custom and luxurious look.


