The Honest Guide to Getting a Helix Piercing (and Not Messing It Up)
So, you’re thinking about getting a helix piercing. Good choice. It’s that cool, versatile piercing on the upper cartilage of your ear, and honestly, it looks great on just about everyone. I’ve been in the piercing world for a long, long time, and I’ve seen trends come and go, but the helix is forever. It’s a classic.
In this article
- First, Why Your Cartilage is a Big Deal
- Finding a Pro and Budgeting for Quality
- The Piercing Process: What to Expect on the Day
- The Reality of Healing: Patience is Everything
- Jewelry 101: Material and the All-Important Downsize
- Troubleshooting: Is It Angry or Actually Infected?
- Final Thoughts
- Galerie d’inspiration
But here’s the deal: a lot of people dive in without realizing it’s a serious commitment. It’s not like getting your lobes done. I’ve seen the amazing, the bad, and the downright gnarly. My goal here is to give you the real-talk I give my own clients—the stuff you need to know to end up with a piercing you love, not one that causes you months of grief.
First, Why Your Cartilage is a Big Deal
Before we even think about pretty jewelry, we have to talk anatomy. Your earlobe is soft, squishy, and full of blood vessels, which is why it heals up so fast. Your helix, that upper rim of your ear, is the total opposite. It’s cartilage, and the key thing to know is that it’s “avascular.”
In plain English, that means it has very little blood supply. This one fact changes everything. Less blood flow means healing is a slow, marathon-like process. Your body has to work way harder to build that new tunnel of skin (called a fistula) and fight off any potential germs. This is also why the tool used to make the hole is non-negotiable.
A pro piercer will only use a sterile, single-use, hollow needle. It’s razor-sharp and glides through the cartilage, removing a tiny piece of tissue to create a perfectly clean, smooth channel. This is the gentle-as-possible approach that sets you up for successful healing.
And then there’s the piercing gun. Let’s be blunt: never, ever let a piercing gun near your cartilage. It doesn’t pierce; it traumatizes. It uses blunt force to ram a dull stud through your ear, shattering the cartilage on a microscopic level. This causes way more swelling, pain, and opens the door to nasty complications like irritation bumps and permanent scarring. Plus, those plastic guns can’t be properly sterilized in an autoclave, which is a huge red flag for hygiene. Just don’t do it.
Finding a Pro and Budgeting for Quality
The success of your piercing is almost 100% dependent on the person you choose to do it. A cheap piercing is never a good deal. You’re not just paying for a hole; you’re paying for expertise, cleanliness, and high-quality materials that won’t betray you later.
When you’re checking out a studio, here’s what to look for:
- It should be obsessively clean. I’m talking spotless. No clutter, no dust, just cleanable, non-porous surfaces.
- Ask about their autoclave. This is the machine that sterilizes tools with steam and pressure. A great studio will proudly show you their recent spore test results, which prove the machine is working perfectly.
- Watch them work. The piercer should open all needles, jewelry, and gauze from sealed, sterile packages right in front of you. Gloves are a must, from start to finish.
- Check their portfolio for healed work. Anyone can take a pretty photo of a brand-new piercing. The real mark of a pro is how their piercings look 6-12 months down the line. Ask to see healed examples!
A quick tip: You can usually find a list of vetted members on the website for the main professional piercing organization. It’s a great place to start your search for a reputable local artist.

So, what’s this actually going to cost? It’s more than just the piercing fee. It’s an investment. Here’s a realistic breakdown so you’re not caught off guard:
- Piercing Service Fee: Expect to pay between $30 and $60 for the piercer’s time and expertise. This does not include the jewelry.
- Initial Jewelry: This is where quality is key. A basic, implant-grade titanium stud will likely start around $40 and go up from there for gold or fancier designs.
- Aftercare Spray: A can of sterile saline solution will run you about $12 to $20.
- The Downsize Post: After a month or two, you’ll need a shorter post. The new post itself usually costs between $15 and $25.
All in, you should probably budget around $100 to $150+ for the initial piercing and all the necessary supplies. Saving a few bucks upfront isn’t worth months of pain and potential doctor’s visits.
The Piercing Process: What to Expect on the Day
Once you’ve found your piercer, the process itself is pretty calm and professional. Good to know: Make sure you’ve eaten a decent meal within a few hours of your appointment to keep your blood sugar stable. It really helps prevent feeling lightheaded.
First, you’ll have a consultation. We’ll talk about your lifestyle. Do you wear glasses? Ride a motorcycle? We need to pick a spot that looks good and works with your daily life. We’ll mark the spot with a sterile skin marker, and we won’t move forward until you are 100% happy with the placement.
Next is the setup. You’ll see your piercer wash their hands, put on gloves, and lay out all the sterile equipment. Everything is opened right there in front of you—total transparency is a sign of a true professional.
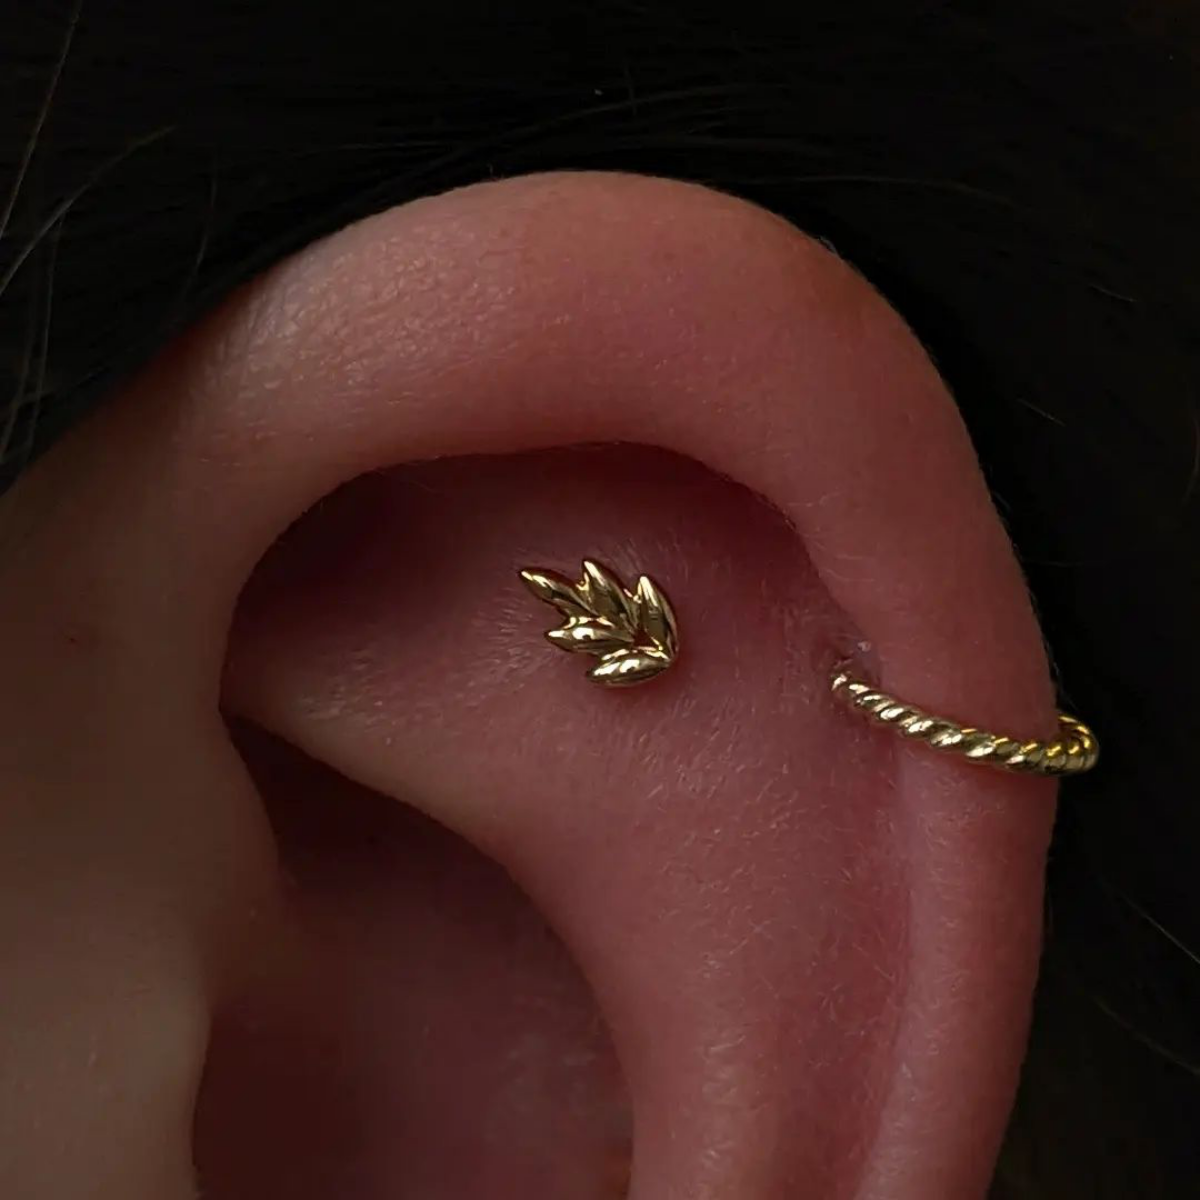
For the main event, they’ll clean the area thoroughly. Then, they’ll coach you to take a deep breath in and exhale slowly. The piercing happens on the exhale. It’s a quick, sharp pinch that lasts for just a second. A warm, throbbing feeling right after is totally normal. The piercer then smoothly inserts the jewelry and secures the flat-back. The whole poke-and-jewelry part takes just a few minutes.
The Reality of Healing: Patience is Everything
Let’s be real about the pain. Most people rate it a 4 to 6 out of 10. It’s intense for a moment, but it fades fast. The real challenge isn’t the initial pain; it’s the healing marathon. A helix piercing can take anywhere from 6 to 12 months to fully heal, and sometimes even longer.
It heals from the outside in, so it might look fine long before it’s truly stable on the inside. This is where most people get into trouble, thinking they’re healed when they’re only halfway there.
The Golden Rule of Aftercare: LITHA
The best aftercare philosophy is simple: Leave It The Hell Alone. Your only job is to keep it clean and avoid irritating it. That’s it.
Your one and only cleaning product should be a sterile saline spray. Look for one that contains only 0.9% sodium chloride and water, with no other additives. You can find these at any reputable piercing studio or most pharmacies for around $15.
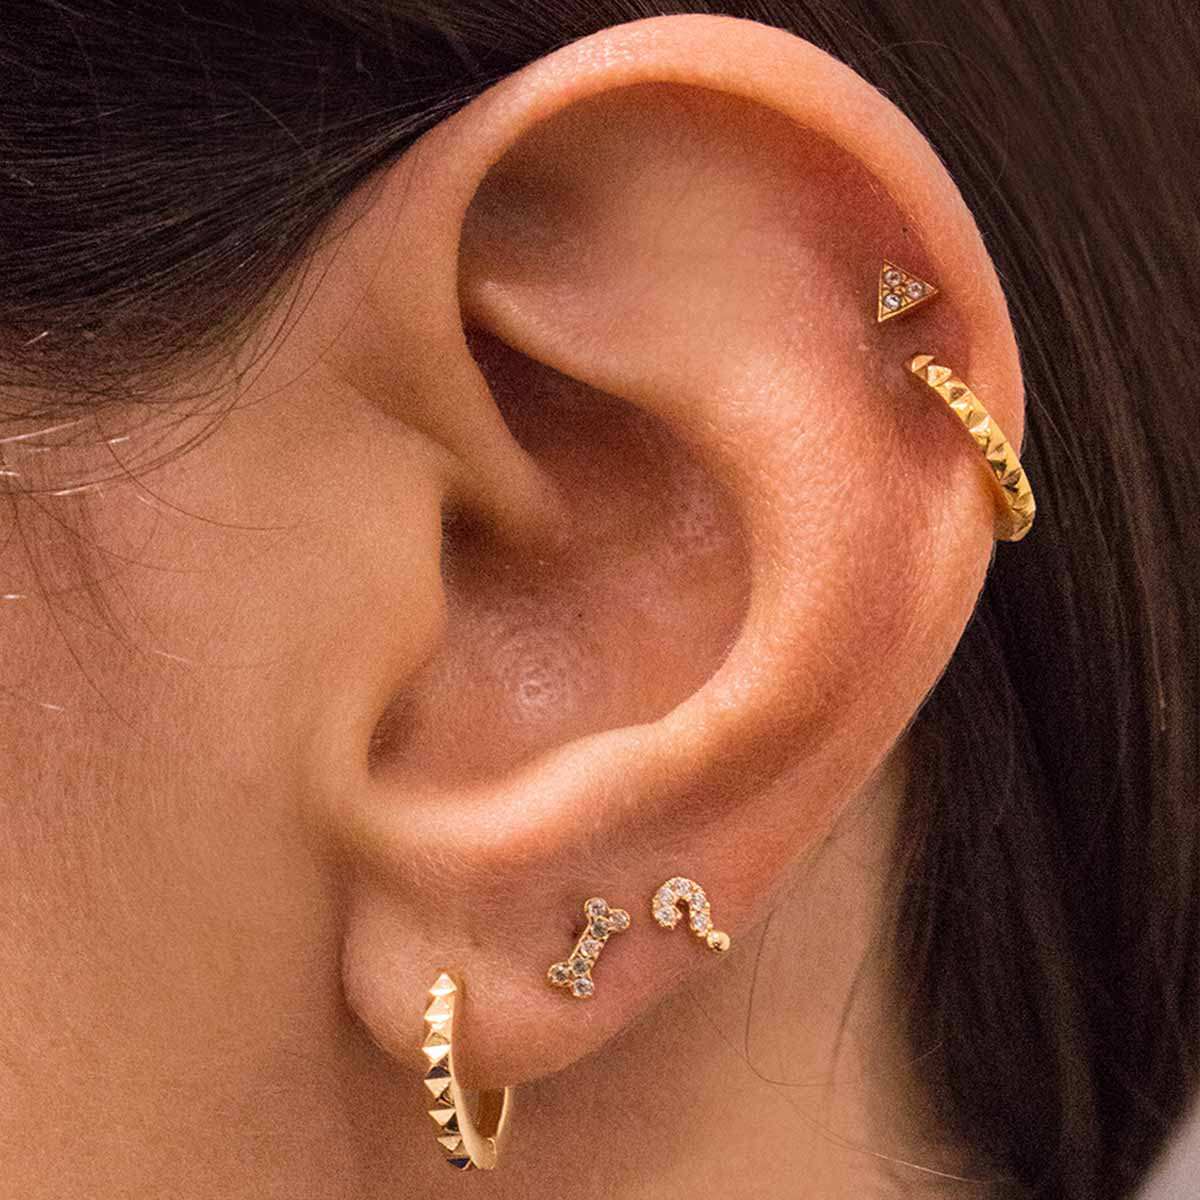
Twice a day, just spray the front and back, let it soak for a minute, and then gently pat it dry with a clean paper towel or non-woven gauze. You can even use a hairdryer on the cool, low setting. Moisture is the enemy of a happy cartilage piercing, so getting it fully dry is crucial.
Things to Absolutely AVOID:
- Twisting the jewelry. This is old, terrible advice. It just tears the fragile healing tissue.
- Harsh chemicals. No alcohol, hydrogen peroxide, or antibacterial soaps. They’re way too aggressive and do more harm than good.
- Sleeping on it. This is the #1 cause of problems. The pressure will make your piercing angry and crooked. Get a travel pillow and sleep with your ear in the hole. Seriously, this trick is a game-changer. I had a client who fought an irritation bump for months. The second she finally got a travel pillow, it vanished in two weeks. It’s that important.
- Dirty water. Avoid pools, hot tubs, lakes, and oceans for the entire healing process.
What about daily life? Long hair can be a menace; try to keep it tied up and away from the piercing as much as possible. As for headphones, over-ear or on-ear headphones are a no-go for a while. Earbuds are usually okay, but you have to be super careful not to bump the piercing when you put them in or take them out.

Jewelry 101: Material and the All-Important Downsize
The jewelry you’re pierced with is essentially a medical implant, so the material quality is paramount. The only safe options for a fresh piercing are:
- Implant-Grade Titanium (ASTM F-136). This is the best choice. It’s nickel-free, lightweight, and super biocompatible.
- Niobium. Another excellent, pure elemental metal that’s very safe.
- 14k or 18k Solid Gold. It must be solid (not plated) and a specific alloy that’s nickel-free and designed for body jewelry.
Oh, and that term “surgical steel”? It’s mostly a marketing gimmick. It can contain a lot of nickel, a common allergen that causes huge problems. A good piercer won’t use it for a fresh piercing.
Don’t Skip Your Downsize! We pierce you with a slightly longer post to accommodate initial swelling. After 4 to 8 weeks, that swelling will be gone, and the long post will start to get snagged on everything, causing irritation. You need to go back to your piercer to have them swap it for a shorter post that fits snugly. This is probably the most critical follow-up step for long-term success. It usually costs about $15-$25 for the new post, and it’s worth every penny.
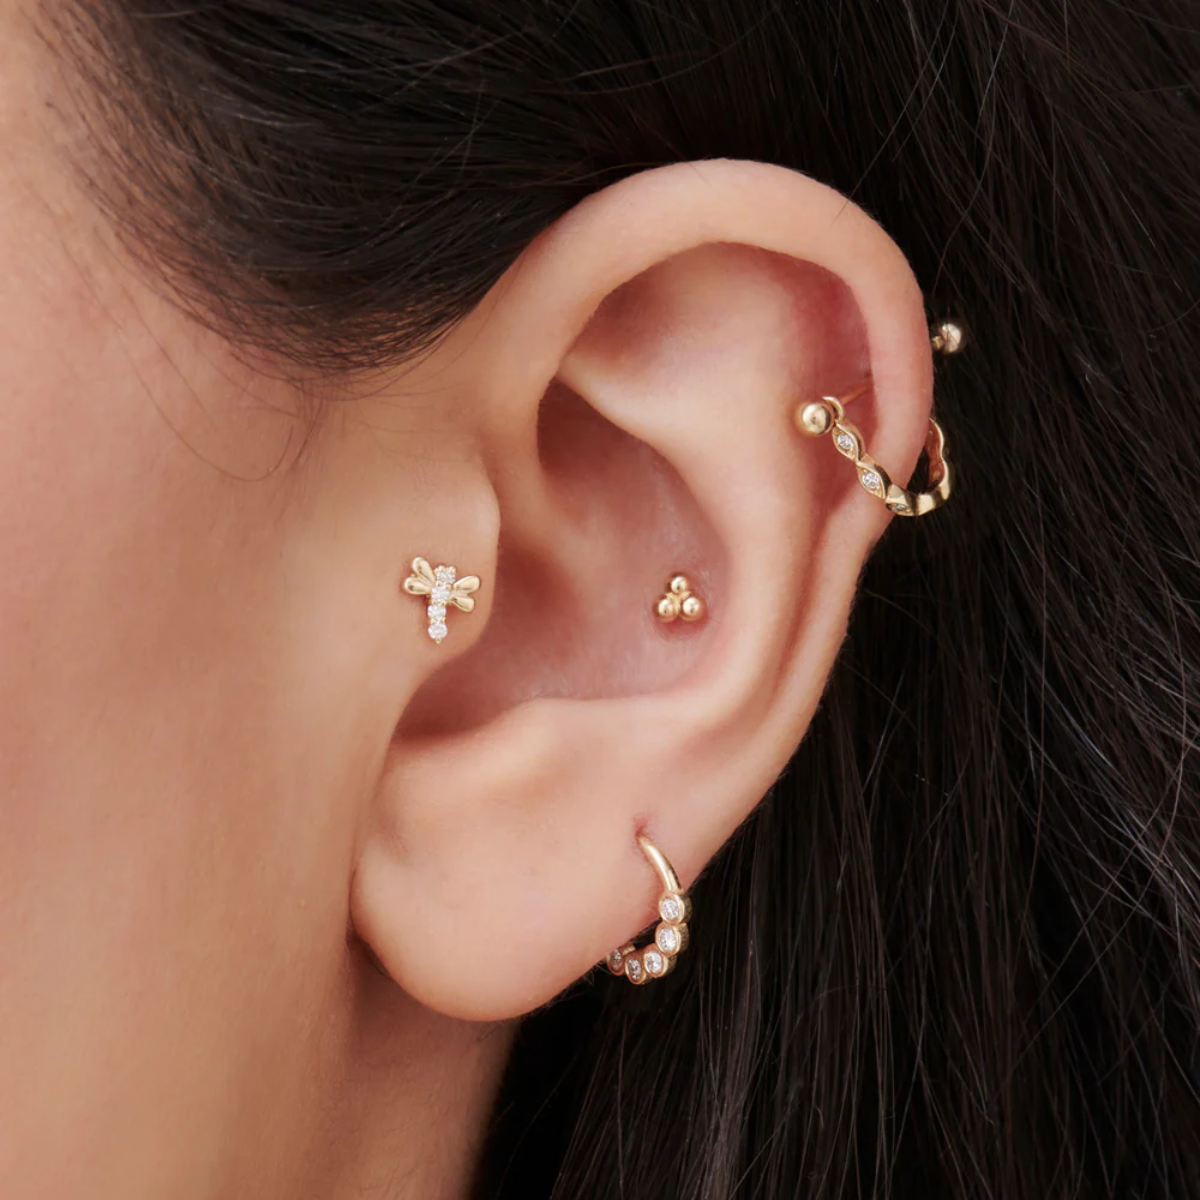
Troubleshooting: Is It Angry or Actually Infected?
At some point, your piercing will probably get a little angry. It’s important to know the difference between simple irritation and a genuine infection.
It’s Probably Just an Irritation Bump. Most of the time, that scary little red lump that appears next to your piercing is just an irritation bump. It’s not an infection; it’s a localized bubble of inflammation. It’s your piercing’s way of screaming, “Hey, something is bothering me!” The cause is almost always moisture, movement (from snagging), or pressure (from sleeping on it). To fix it, you have to play detective, figure out the cause, and eliminate it. Once the irritant is gone, the bump will slowly disappear.
(By the way, these are not keloids. Keloids are a rare genetic condition that requires a dermatologist. These common bumps are called hypertrophic scars, and they go away when you treat them right.)

Signs of a Real Infection. An actual infection is a serious medical issue and looks very different. The signs are much more dramatic:
- Thick, smelly, greenish or dark-colored pus (not the normal clearish or yellowish lymph fluid).
- Redness that spreads far away from the piercing site.
- The area is noticeably hot to the touch.
- Increasing, throbbing pain and swelling.
- You might even run a fever or feel generally unwell.
If you have these symptoms, DO NOT take the jewelry out. That can trap the infection inside. See a doctor right away for antibiotics. You can work with your piercer after to manage the piercing as it recovers.
Final Thoughts
A helix piercing is an awesome piece of body art, but it’s a partnership between you and your body. It demands patience, good advice, and a little bit of your attention every day. Find a piercer you trust, invest in good jewelry, and please, be patient with the healing process. If you do, you’ll have a piercing that you’ll love for a lifetime.
Galerie d’inspiration
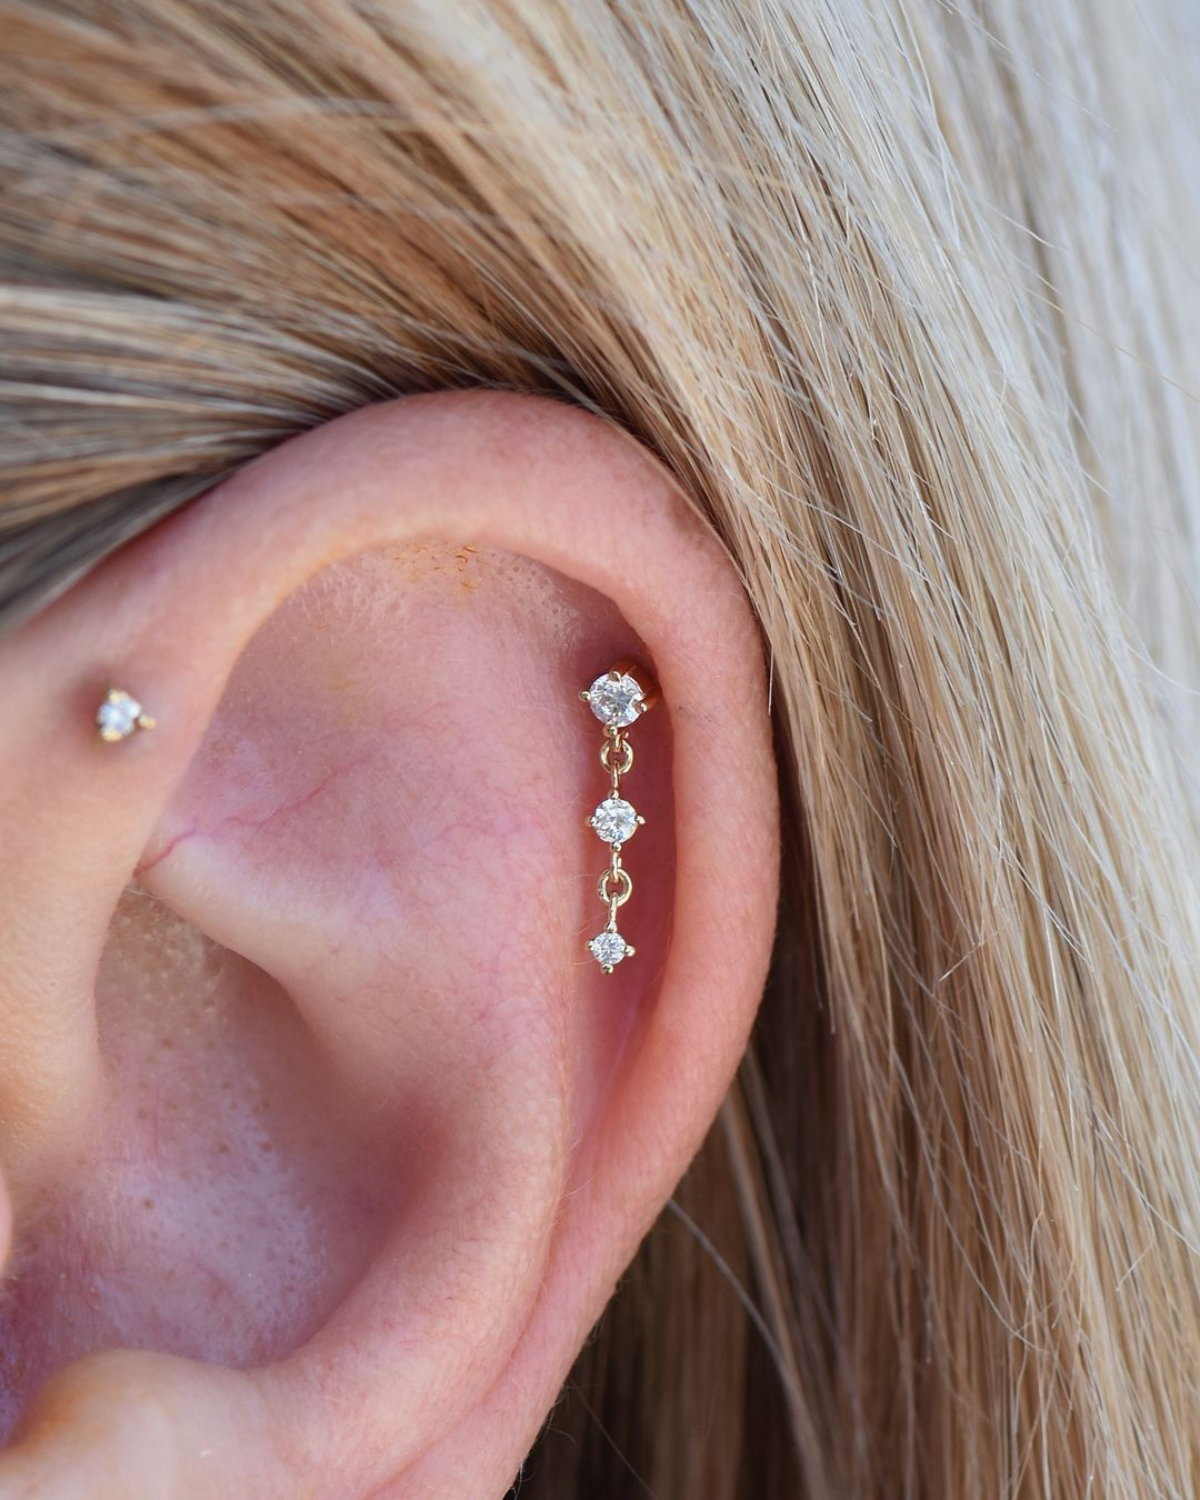
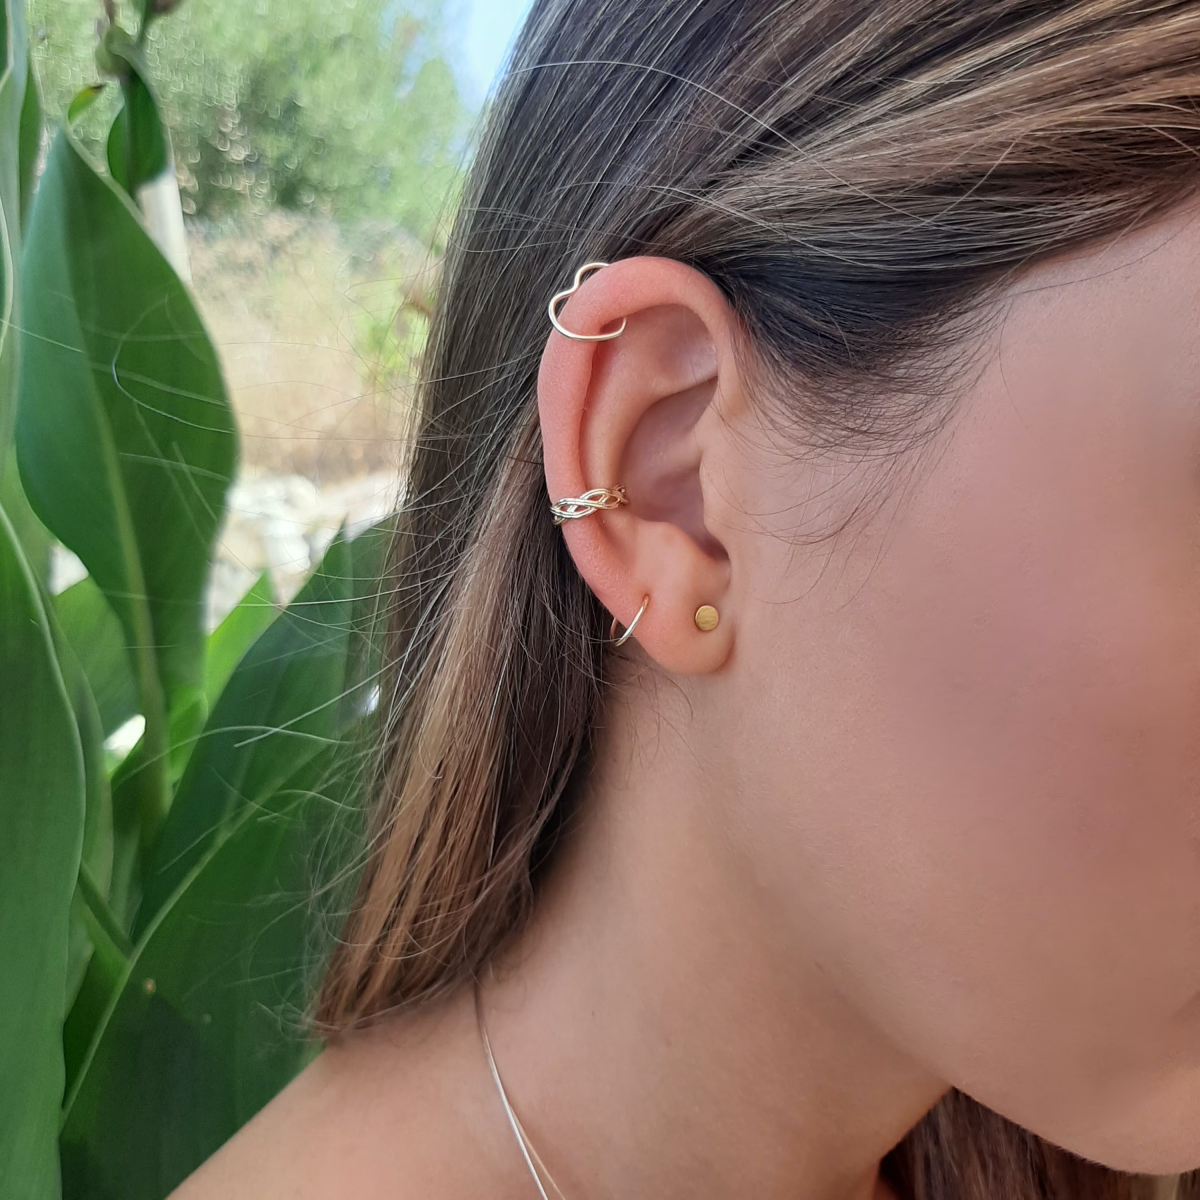
Jewelry Material Matters: When you get your initial piercing, you won’t be choosing based on style alone. The material is key for healing. Your piercer will likely recommend one of these two options.
Implant-Grade Titanium (ASTM F-136): This is the gold standard. It’s nickel-free, lightweight, and the same material used for medical implants, so allergic reactions are extremely rare. It’s your safest bet for a smooth healing journey.
14k or 18k Solid Gold: Not all gold is created equal. It must be solid, not plated, and specifically alloyed to be biocompatible (nickel-free). Brands like BVLA and Maria Tash specialize in this. It’s a pricier but beautiful option for sensitive skin.
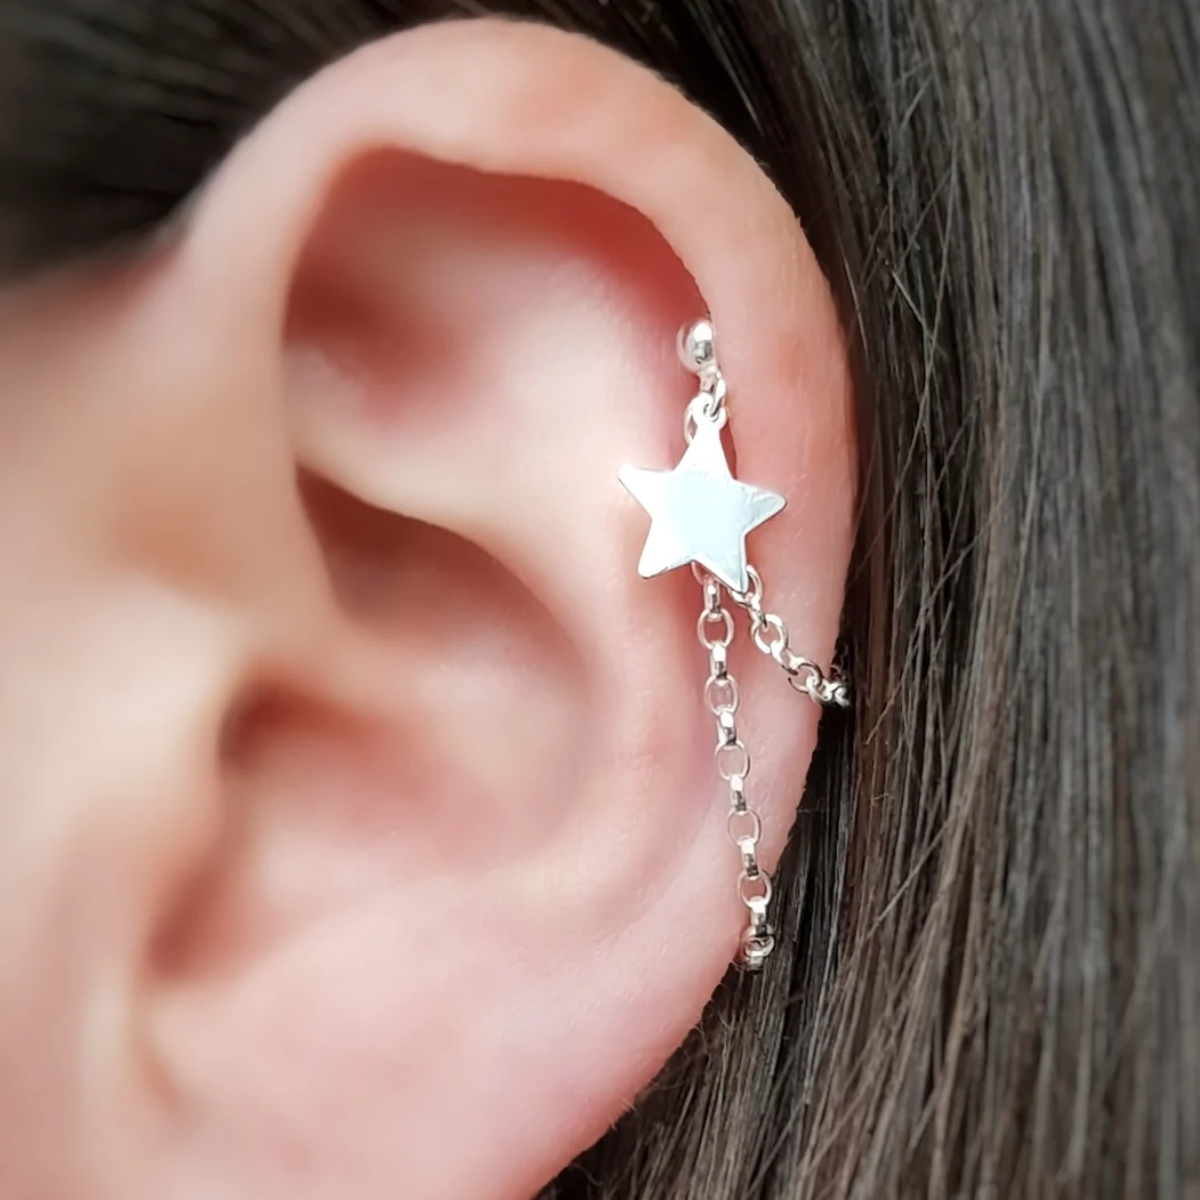
A helix piercing can take anywhere from 6 to 12 months—or even longer—to fully heal internally.
Patience is your best accessory. That six-month mark is when it might feel healed, but the internal fistula is still delicate. This is the crucial period where changing jewelry too early or sleeping on it can cause irritation bumps to flare up. Resist the urge to swap in that cool hoop you bought; give your body the full year it needs to build a resilient, healthy piercing.
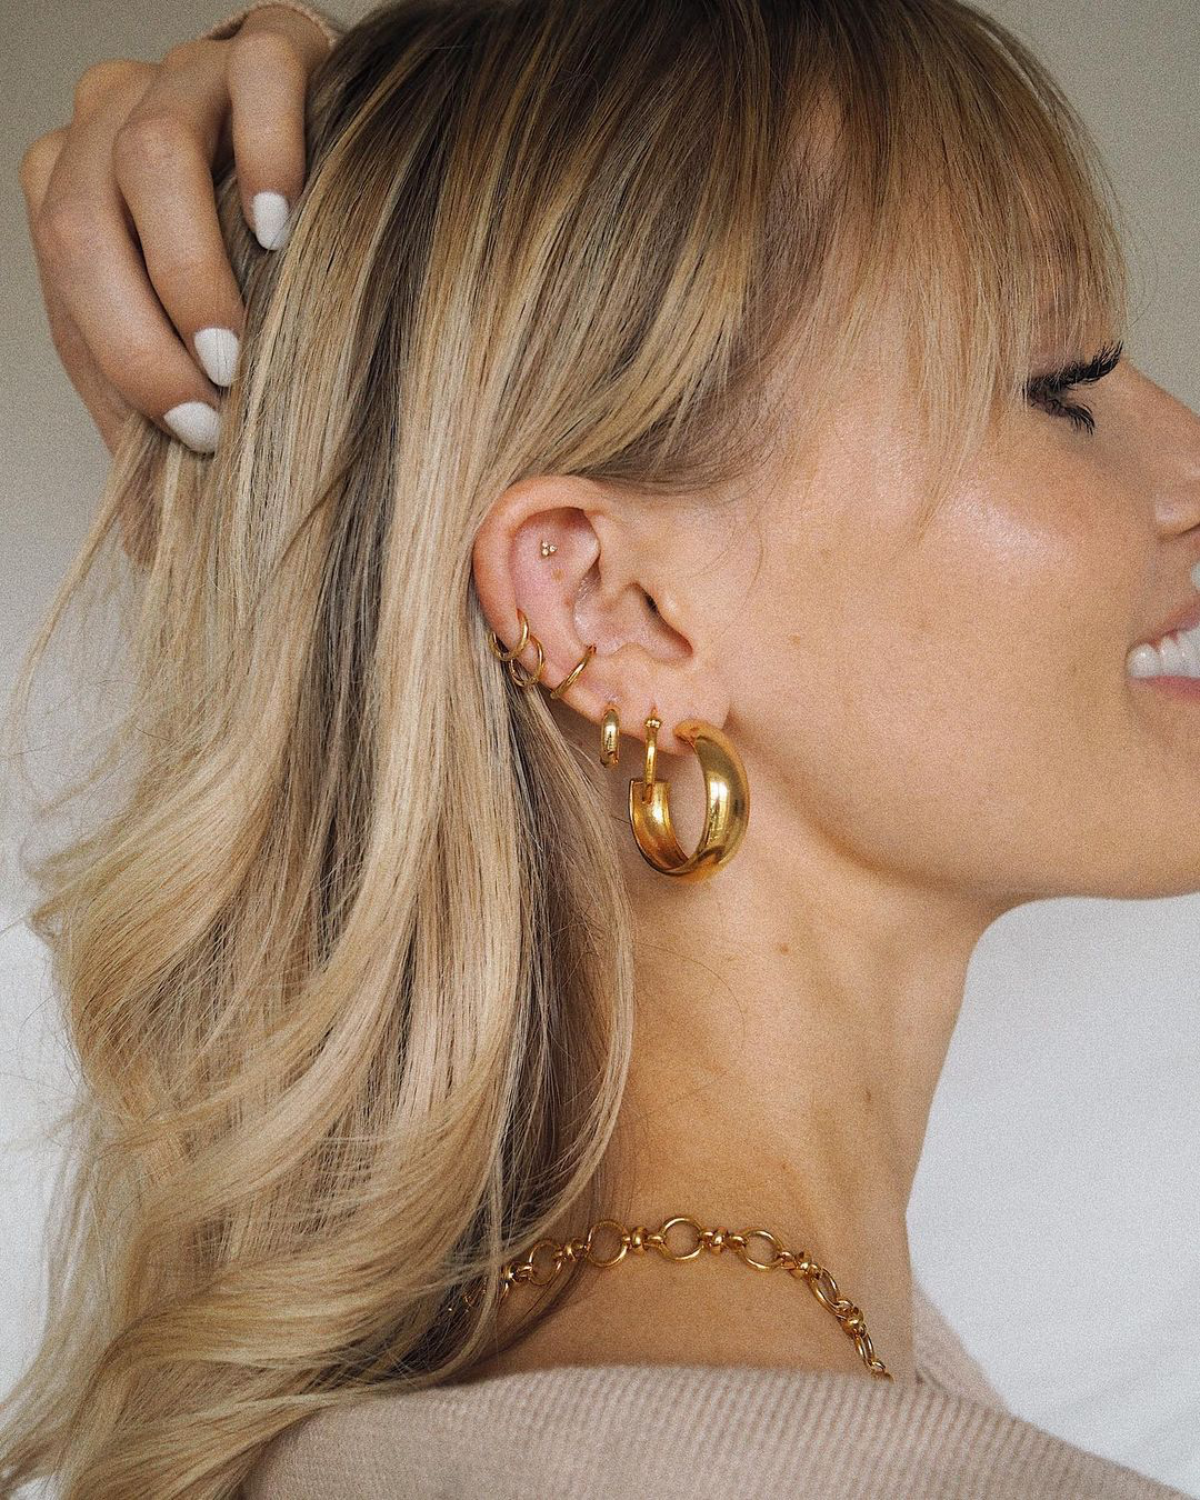
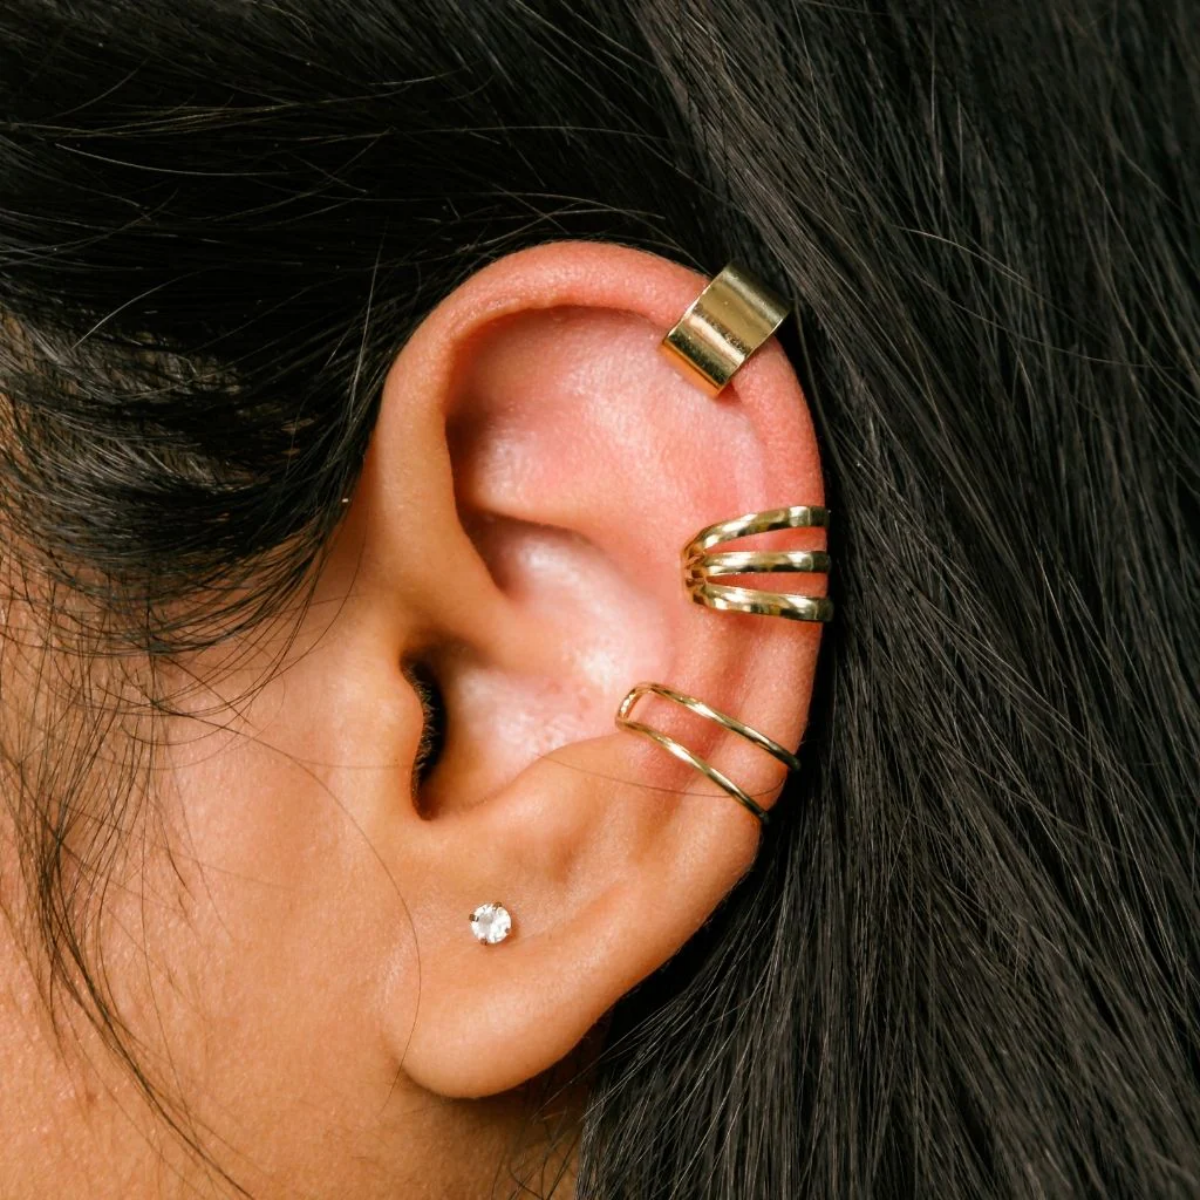
Love the stacked, decorated look but scared of the commitment?
You’re in luck. The rise of the
- Avoid using cotton swabs or balls, as fibers can get caught in the piercing.
- Never apply alcohol, hydrogen peroxide, or harsh antibacterial soaps; they damage healing tissue.
- Resist the urge to twist or turn your jewelry. This was old advice and is now known to cause irritation.
- Try your absolute best not to sleep on the piercing. A travel pillow with a hole in the middle can be a lifesaver.

That initial piece of jewelry isn’t just for looks; it’s a healing tool. For a helix, your piercer will almost always use a flat-back labret stud. Why not a hoop? A hoop moves around too much, dragging bacteria into the wound and changing the angle of the piercing channel, which can lead to bumps and a difficult, angled heal. The flat back rests flush against your ear, minimizing snags on hair and clothing, giving your new helix the stability it needs to heal perfectly straight.
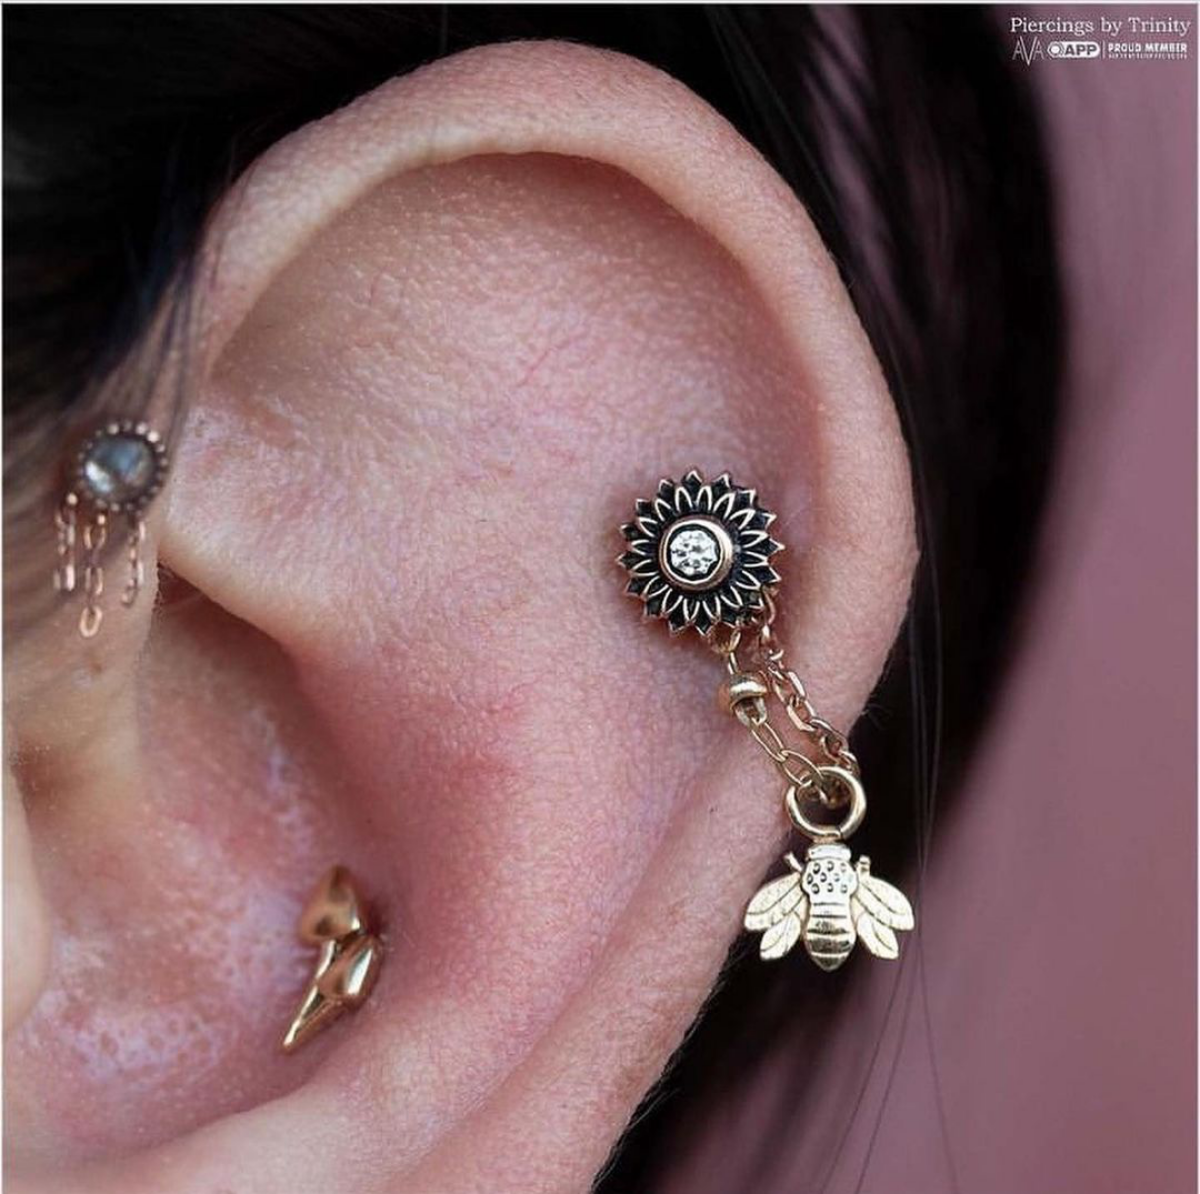
- It can anchor a delicate cascade of descending hoops.
- It serves as the perfect top point for a dramatic chain connecting to your lobe.
- It allows for a statement piece that draws the eye upward.
The secret? Ear curation.
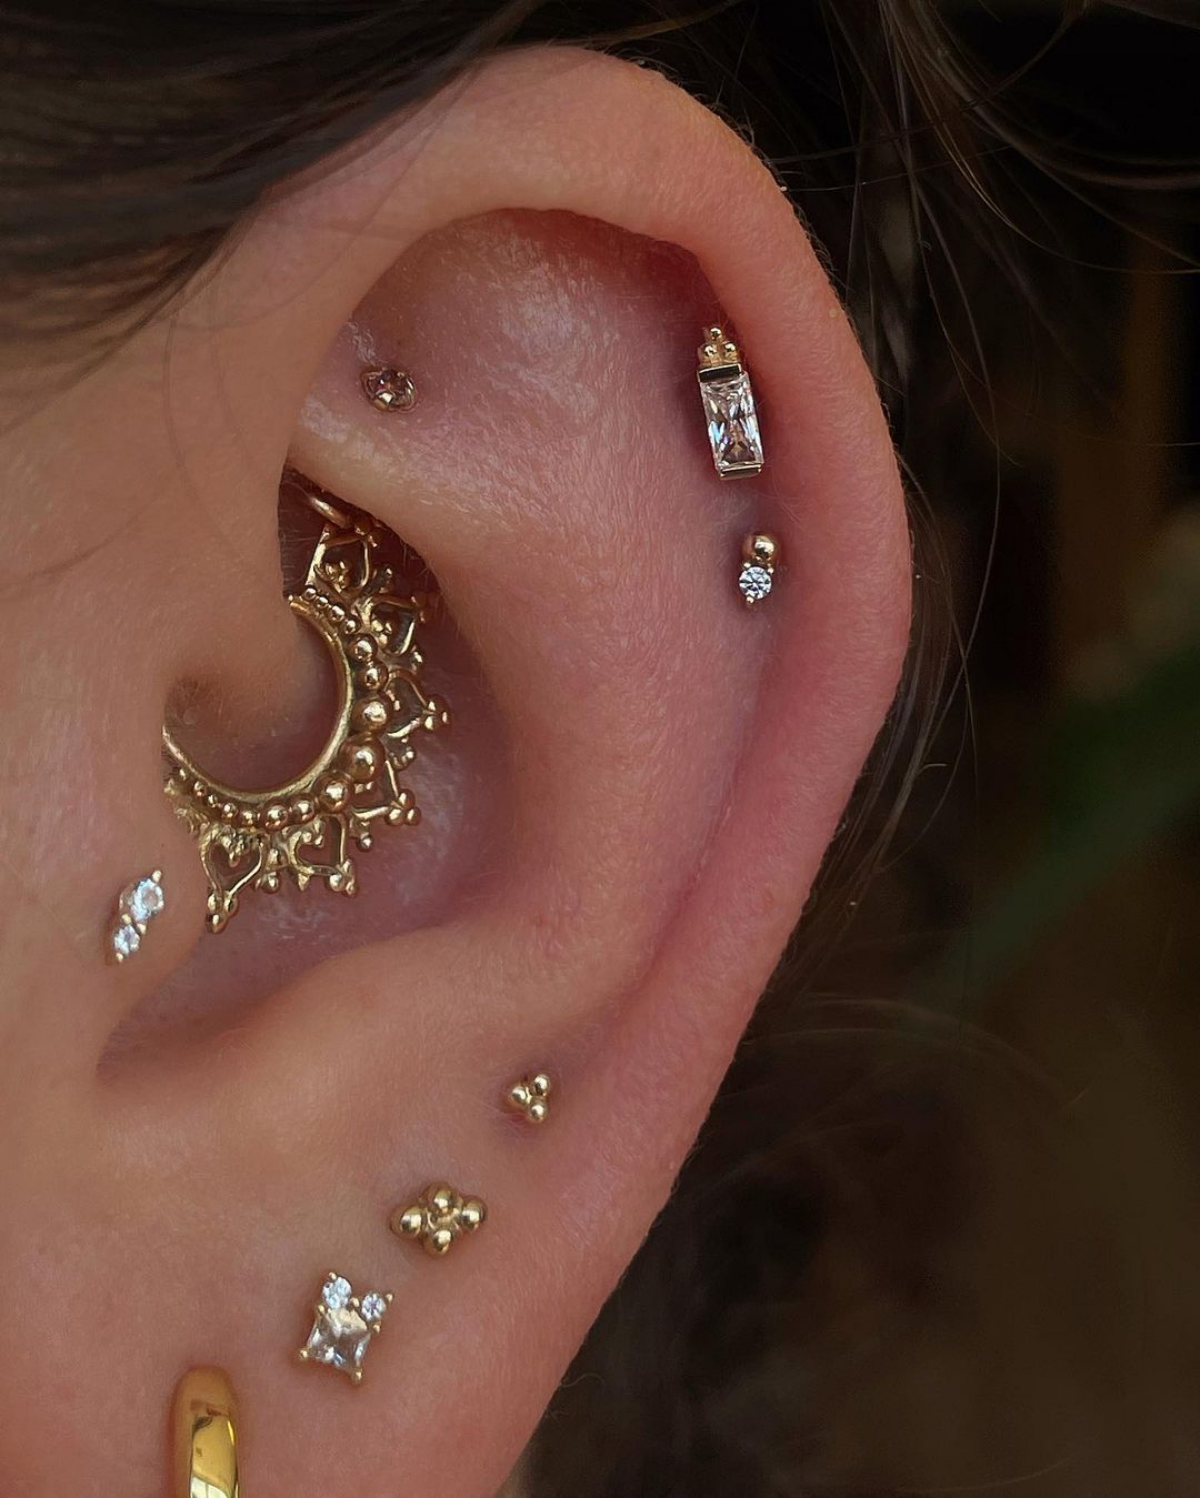
Think of your ear as a canvas. A helix piercing is often the first step in a bigger plan. Piercing artists now work like designers, helping you map out a constellation of piercings—adding a conch, a tragus, or forward helixes over time—that creates a balanced, personalized, and stunning aesthetic. Your helix is just the beginning.


