Thinking About a Winter Hair Color? Read This Stylist’s Guide First.
You know, after years of standing behind the salon chair, I can feel the seasons shift without even glancing at a calendar. The change happens when my clients’ Pinterest boards suddenly fill up with deep, cozy reds, rich chocolatey browns, and those striking, icy blondes. There’s just something about that crisp winter air that makes us crave a fresh start, right? It’s the season for chunky sweaters, warmer drinks, and, almost always, a new hair color to match the mood.
In this article
But let’s be real for a second. A new hair color is so much more than a fleeting trend. It’s a real commitment. It’s a bit of chemistry, a bit of art, and a whole lot of partnership between you and your stylist. My philosophy has always been simple: I want you to walk out with stunning color, yes, but also with healthy hair and a game plan for keeping it that way.

So, let’s pull back the curtain and talk about what it really takes to get some of these gorgeous winter looks, from the first chat to your daily routine at home.
The First Step: The Consultation Is Everything
Honestly, the single most important part of any color transformation is the consultation. This is where we set ourselves up for success. It’s not a sales pitch; it’s a strategy session. We need to talk about your goals, your daily routine, and—this is the big one—your hair’s complete history. Skipping this chat is the fastest way to a color you’ll regret.
Your Hair Never Forgets
Your hair is like a diary; it holds a record of everything it’s been through. That box dye you used two years ago? Oh yeah, it’s probably still hanging out in your ends. The at-home gloss you tried last month? It definitely matters. I always ask my clients to be brutally honest about what they’ve done to their hair. There’s zero judgment here! It’s all about safety and making sure we get a predictable, beautiful result.
This is exactly why a strand test is non-negotiable for any new color client. I’ll take a tiny, hidden piece of your hair and apply the formulas we plan to use. This little test tells me everything: how your hair will lift, if there are sneaky bands of old color hiding, and how much your hair can truly handle. I once had a client who swore her hair was totally natural. The strand test, however, told a different story. Her mid-lengths lit up to a strange, muddy orange, revealing a box dye she’d completely forgotten about. That five-minute test saved her from a full head of patchy, damaged hair.
A Quick Guide: Finding a Stylist Who Gets It
Finding the right pro is half the battle. So, how do you spot a good one?
- Green Flags: They insist on a thorough consultation before touching your hair. They ask a ton of questions about your hair’s history. They perform a strand test and a patch test for allergies. They are honest about the cost, time, and number of sessions required, even if it’s not what you want to hear.
- Red Flags: They dismiss your hair history or say it “doesn’t matter.” They promise to take you from black to platinum in one three-hour appointment (run!). They seem rushed or don’t listen to your concerns. They can’t give you a clear maintenance plan or price estimate.

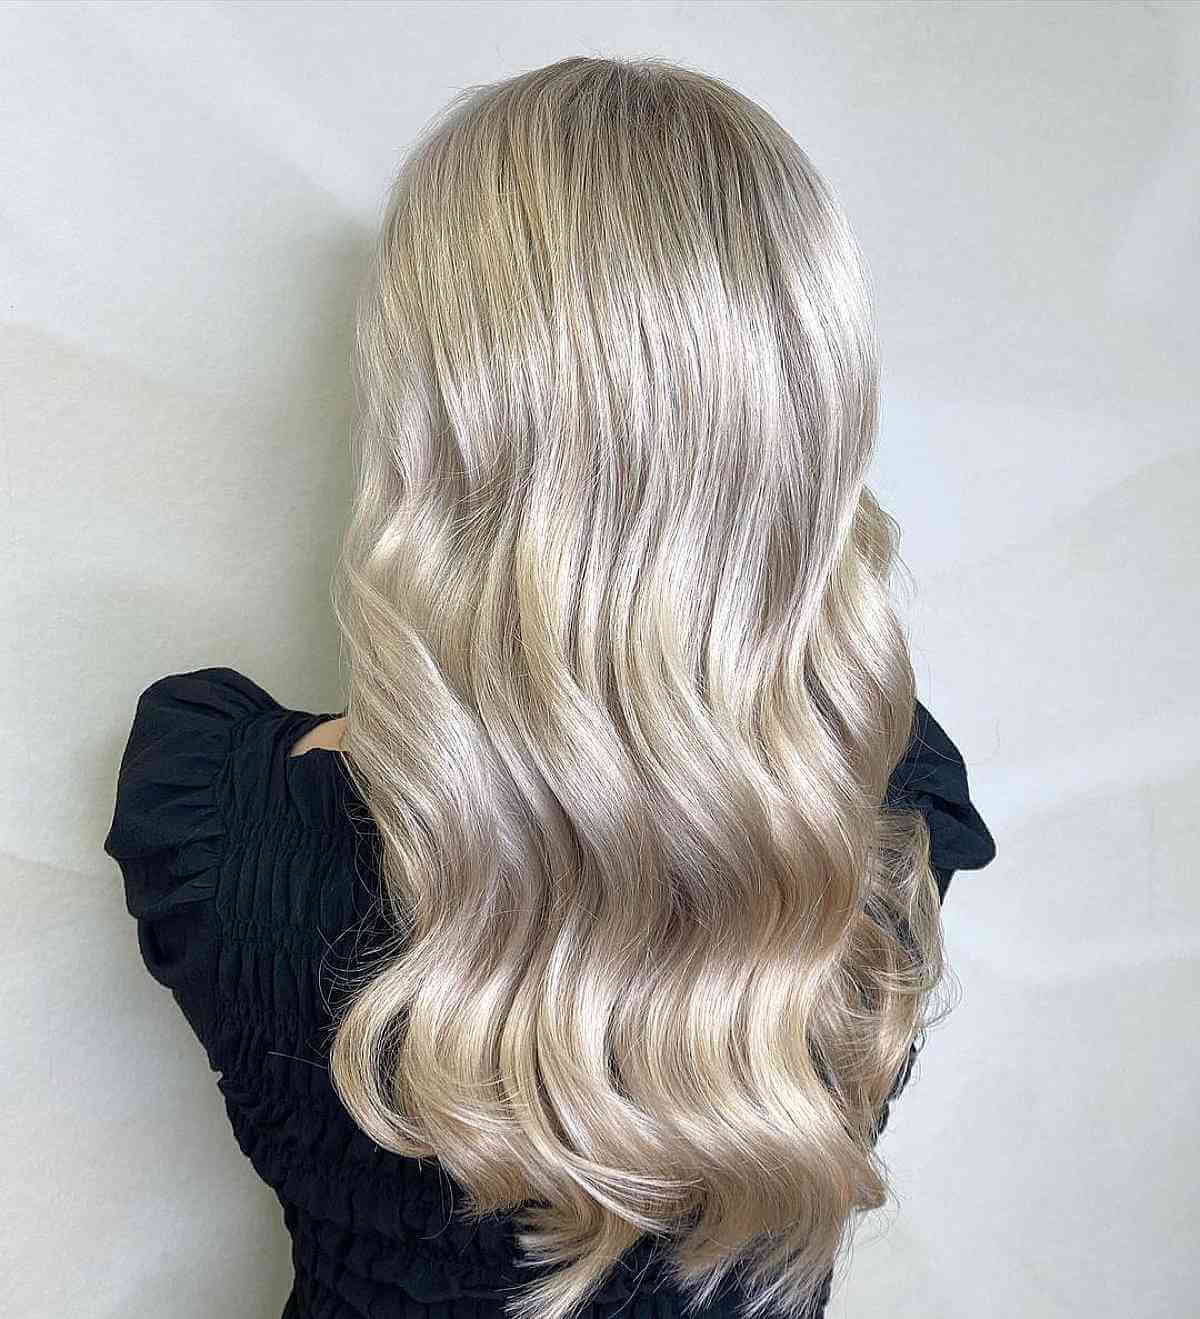
1. The Showstoppers: Icy White & Silver Frost
There’s nothing quite like the clean, head-turning look of a winter white or shimmering silver. These colors are absolutely stunning, but they are, without a doubt, the most high-maintenance and demanding of them all. They require a foundation of healthy hair and a serious commitment from you.
What It Takes to Go This Light
To get hair light enough for these shades, we have to gently remove its natural color. In the hair world, we use a level system from 1 (black) to 10 (lightest blonde). For a true white or silver, your hair has to be lifted to a clean, even level 10—think the color of the inside of a banana peel. This is done with a lightener (what most people call bleach).
Patience is the name of the game here. A good colorist will almost always use a gentle, low-volume developer that works slowly to protect your hair. Rushing it with high-power chemicals is just asking for breakage. For an all-over, even lift, we often use a meticulous technique called a “platinum card,” where every single strand of hair is placed in its own foil. Heads up: this is a long appointment. For a first-time application, you should clear your schedule for at least 4 to 6 hours.

After the hair is perfectly light, the real magic happens at the shampoo bowl. The lightened hair will be a pale yellow, so we use a toner to neutralize it and create the final shade. To cancel out yellow, we use its opposite on the color wheel: violet. This step is quick, maybe 15 minutes, but it’s what gives you that perfect, crisp finish.
The Bottom Line: Cost and Upkeep
This look is an investment. The initial session can easily run from $300 to over $700, depending on your starting point and location. After that, you’ll need to be back in the salon every 4 to 6 weeks for a root touch-up, which can cost $150 or more. Let it go any longer, and you risk getting a yellow band that’s difficult to correct.
Your at-home routine is just as important. Here’s your essential shopping list:
- A Bonding Treatment: This is non-negotiable. Something like Olaplex No. 3 (around $30) or K18 is vital for rebuilding the hair’s structure.
- A Quality Purple Shampoo: Use this once a week to keep brassiness away. I love Redken Color Extend Blondage (about $25), but use it sparingly to avoid a dull, lavender tint.
- A Deep Conditioning Mask: Your hair will be thirsty, so a weekly moisture mask is a must.
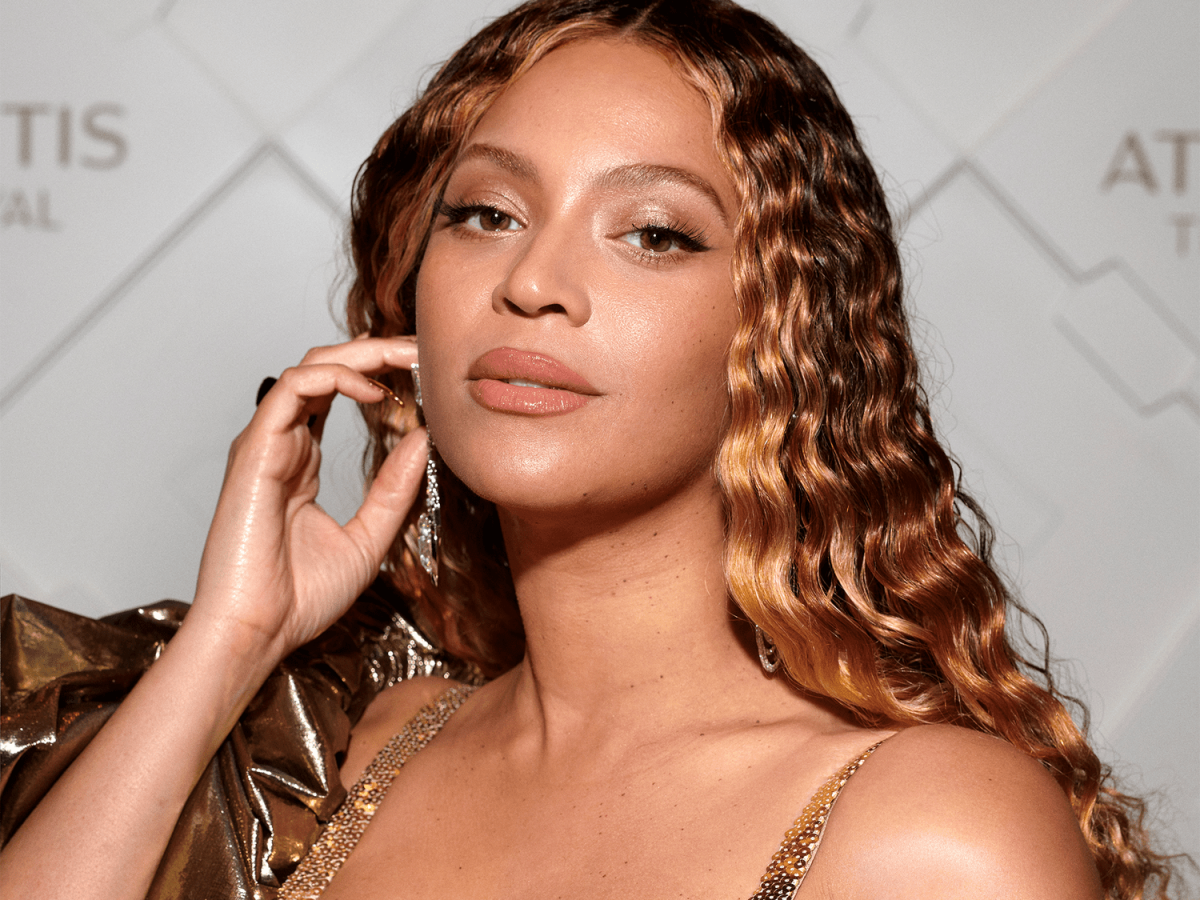
2. The Rich & Dramatic: Onyx Black & Mulled Wine
On the other end of the spectrum are those deep, saturated colors that feel so perfect for winter. Think inky onyx black or a spicy mulled wine red. These shades can make hair look incredibly thick and glossy, but they come with their own set of rules.
The Art of Going Dark
Going dark is all about adding color back into the hair. But it’s not as simple as just slapping on a dark dye, especially if you’re starting light. When hair is blonde, all its natural warm pigments are gone. To get a rich brown or red, we first have to
Galerie d’inspiration

Nearly 60% of women color their hair, but winter’s dry air and indoor heating can be uniquely challenging for maintaining that color’s vibrancy and health.
This is why switching to a sulfate-free shampoo is non-negotiable in colder months. Sulfates strip natural oils, and when your hair is already battling dryness, this can lead to faded color and brittleness. Look for gentle formulas, like those from Pureology’s Hydrate line, specifically designed to protect color-treated hair from environmental aggressors.

Wondering how to keep that icy, platinum blonde from turning brassy between salon visits?
The secret is a high-quality purple toning shampoo or mask, used once a week. But be careful—overuse can leave a lavender tint. For a perfect cool tone, apply a product like Olaplex N°.4P Blonde Enhancer™ Toning Shampoo, let it sit for just 1-3 minutes to neutralize yellow tones, then rinse thoroughly. For extra hydration, follow up with a deep conditioner.
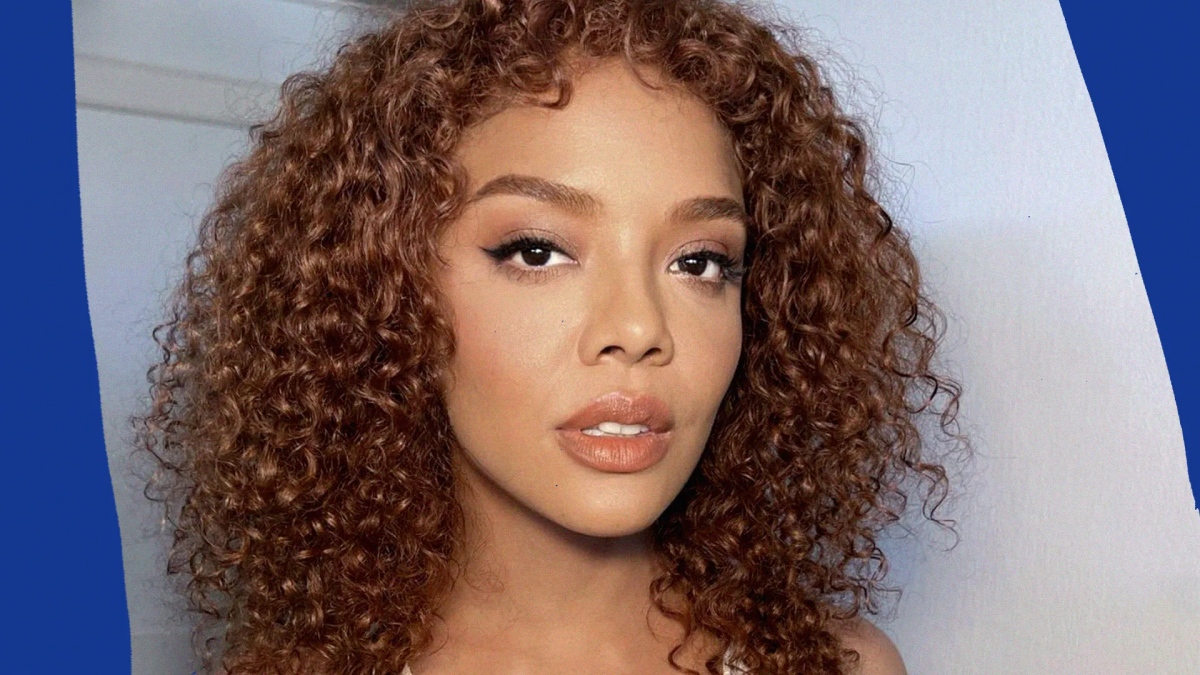
Gloss Treatment: Think of it as a top coat for your hair color. It’s a semi-permanent treatment applied in the salon that adds immense shine, seals the hair cuticle, and can refresh or tone your existing color. It’s perfect for a mid-winter boost when your rich chocolate or copper starts to look a little dull.
Root Smudge: A technique where your stylist applies a color at the root that’s slightly darker than your highlights, “smudging” it down to blend seamlessly. This creates a softer, more natural grow-out, letting you stretch the time between full highlight appointments—a lifesaver during a busy holiday season.


