Your Ultimate Guide to Making Whipped Body Butter That’s Never Greasy or Grainy
So, you’ve decided to make your own whipped body butter. Awesome! But let’s be real, if you’ve tried a few online recipes, you’ve probably hit a wall. You end up with a butter that’s either a greasy mess or, even worse, turns weirdly grainy and sandy after a week.
In this article
It’s enough to make you toss the whole batch and just buy something from the store. I get it. After making countless batches of skincare, I’ve seen it all. Most online tutorials show you that perfect, fluffy butter right after it’s whipped, but they conveniently forget to show you what it looks like a few weeks later.
The good news? The fix isn’t some magical, expensive ingredient. It’s all about technique. We’re going to get into the nitty-gritty of how to pick your ingredients, why the right ratios are everything, and the one cooling trick that guarantees a silky, stable butter every single time. You’ll be making stuff that feels way more luxurious than anything you can buy.
First Off, What Am I Getting Into? (Time & Cost)
Before we dive in, let’s set some expectations. This isn’t a 10-minute project, but it’s not an all-day affair either.
Total Time: Plan for about 1.5 hours from start to finish. A good chunk of that, maybe 45 minutes, is just hands-off cooling time where your freezer does all the work. Perfect for catching up on a podcast.
Startup Cost: Your initial investment for ingredients and a basic digital scale will probably be between $50 and $70. That might sound like a lot, but it will get you enough raw materials to make several large jars of body butter. A pound of raw shea butter, for example, costs around $15-$20 and will last you for at least 4-5 batches. Way cheaper than buying a high-end body butter every month!
The “Why” Behind the Butter
To get this right, it helps to know a tiny bit of the science. It all comes down to fats. Every butter and oil is made up of different fatty acids, and these little guys determine everything—how it feels, when it melts, and what it does for your skin.
A Quick Look at Fatty Acids
You don’t need a chemistry degree, just the basics:
- Stearic & Palmitic Acid: These are the firm ones. They’re solid at room temp and give butters like cocoa and shea their structure. Think of them as the backbone of your recipe, creating a nice protective layer on the skin.
- Oleic Acid: This one is all about rich moisture. Oils high in oleic acid (like olive or avocado) feel heavier and are fantastic for very dry skin because they take their time absorbing.
- Linoleic Acid: This is the lighter, faster-absorbing one. Oils like grapeseed or safflower are packed with it. They feel much less greasy and support your skin’s barrier without the heaviness.
A great body butter is just a balancing act. You use hard butters for the structure, then soften them with liquid oils to get that perfect, dreamy texture.
Let’s Talk About Graininess…
The number one complaint I hear is, “Why does my beautiful butter feel like sand now?” This isn’t your fault! It’s a classic chemistry hiccup. Butters, especially unrefined shea, are a cocktail of different fatty acids, and each one melts and freezes at a different temperature.
When you melt everything down and let it cool slowly on the counter, the fatty acids with higher melting points get cold and form hard little crystals first. The rest of the butter then solidifies around them. Voilà—graininess. The secret is to force all those fats to chill out and solidify at the exact same time. We’ll do that with a method called “shock cooling.” Trust me, it’s a game-changer.
Choosing Your Ingredients Like a Pro
The quality of what you put in is everything. After years of sourcing, I’ve learned that consistency is key. Here’s a breakdown of your core components and how to choose them.
Where to Buy This Stuff?
For a beginner, the sheer number of options can be overwhelming. You don’t need a secret supplier, just a reliable one. Look for online stores that cater to soap and cosmetic makers—places like Bramble Berry or Bulk Apothecary are great starting points. If you’re using Amazon, use specific keywords like “unrefined organic shea butter” or “cold-pressed sweet almond oil” to filter out the lower-quality stuff.
Hard Butters: The Foundation
These are your structural elements, solid and often brittle at room temperature.
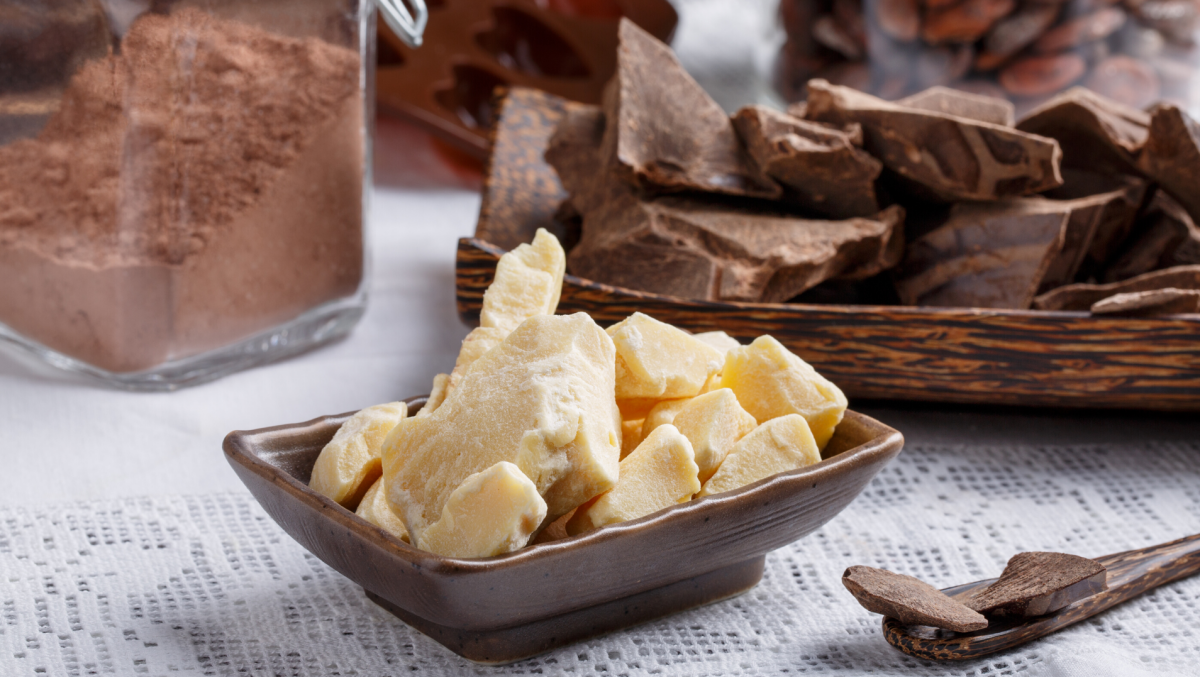
- Cocoa Butter: This is a super-hard butter that feels incredibly rich and protective. Unrefined cocoa butter has a delicious, strong chocolate smell that will definitely come through in your final product (a bonus, in my opinion!). If you don’t want that scent, grab the refined version, which is deodorized. It’s a workhorse for extremely dry skin.
- Kokum Butter: This is my go-to substitute for cocoa butter, especially for beginners. It’s even harder than cocoa butter but feels surprisingly light and non-greasy. Plus, it’s more stable and less prone to graininess. A real winner.
Soft Butters: The Creamy Heart
These give your butter its body and creamy, luxurious feel.
- Shea Butter: The undisputed king of body butters, and for good reason. It’s packed with skin-loving goodies. Most of what you find is West African shea, which is beige with a nutty, smoky scent. There’s also East African shea (Nilotica), which is softer, yellower, and milder—it’s creamier but can melt more easily in the summer. I always recommend sourcing fair-trade and unrefined shea to get the full benefits and support the communities that produce it.
- Mango Butter: Don’t like the smell of shea or cocoa? Mango butter is your answer. It comes from the mango seed and has virtually no scent. Its texture is a perfect middle-ground between shea and cocoa—creamy but not as heavy. It’s fantastic for a lighter, all-seasons body butter.
Liquid Oils: The Texture Customizer
These are what you use to soften the hard butters. Your choice here dramatically affects how greasy or light the final butter feels.
- For a Light, Fast-Absorbing Feel: Go for oils like Grapeseed Oil, Safflower Oil, or Fractionated Coconut Oil. They sink in quickly and leave a much less oily finish.
- For a Balanced, All-Purpose Feel: You can’t go wrong with Sweet Almond Oil or Apricot Kernel Oil. They offer great moisture without feeling overly heavy. And then there’s Jojoba Oil, which is technically a liquid wax. Its structure is so similar to our skin’s own sebum that it’s brilliant for almost every skin type.
- For Intense, Deep Moisture: If you have very dry or mature skin, richer oils like Avocado Oil or Olive Oil are amazing. Just use them in smaller quantities, as they can feel heavy if you overdo it.
The Little Extras That Make a Big Difference
- Vitamin E Oil: Heads up! This is an antioxidant, not a preservative. It won’t stop bacteria from growing (more on that later), but it will significantly slow down the process of your oils going rancid—you know, that old crayon smell. Adding just 0.5% to 1% can extend your butter’s shelf life from a few months to over a year.
- Arrowroot Powder or Cornstarch: This is my secret weapon for a truly non-greasy finish. A little starch absorbs excess oil on the skin, leaving a powdery, almost-matte feel. I typically add 1 teaspoon for every 4 ounces (about 115g) of product.
The Formula: Why Pros Use Percentages
Working in percentages, not cups or spoons, is the professional way. It lets you easily make a tiny test batch or a huge tub without re-doing all the math. It also helps you understand the all-important ratio of hard stuff to liquid stuff.
A great, reliable starting point is:
- 75% Solid Butters (a mix of hard and soft)
- 25% Liquid Oils
Here’s a specific recipe based on that ratio. I recommend making a 200-gram batch to start—it’s enough to fill a standard 8oz jar once whipped, without wasting a ton of ingredients if you mess up.
Balanced Body Butter Recipe (200g Total)
- Shea Butter: 45% (that’s 90g)
- Cocoa Butter: 30% (that’s 60g)
- Sweet Almond Oil: 24% (that’s 48g)
- Vitamin E Oil: 1% (that’s 2g)
Quick Swaps for Different Needs:
- For Super Dry Skin: Try 55% Shea Butter, 20% Cocoa Butter, and 24% Avocado Oil. It’s much richer.
- For a Lighter Summer Butter: Go with 40% Mango Butter, 35% Shea Butter, and 24% Grapeseed Oil. This will feel way less heavy on hot, humid days.
- For Sensitive Skin: Use 50% Shea Butter, 25% Mango Butter, and 24% Jojoba Oil. I’d also skip any essential oils, as fragrance can be an irritant.
Oh yeah, the starch: If you want that less-greasy feel, just mix 1-2 teaspoons of arrowroot powder right into your liquid oils before you combine everything.
The Method: Let’s Make Some Butter!
This is where it all comes together. Follow these steps, especially the first and fourth, and you’ll nail it.
Step 1: Sanitize. Seriously.
This is non-negotiable for safety and shelf life. Before you even touch an ingredient, clean your workspace and every single piece of equipment—your bowl, spatula, mixer whisks, and the final jar. I just use a spray bottle of 70% isopropyl alcohol (you can get it at any drugstore), spray everything down, wait a minute, and then wipe it dry with a clean paper towel. This prevents nasty bacteria or mold from crashing your party.
Step 2: Weigh Everything
Accuracy is your friend. Grab a digital kitchen scale. Put your heat-safe glass or metal bowl on it and hit the “tare” or “zero” button. Weigh your hard butters (cocoa, kokum) into that bowl. In a second bowl, weigh your soft butters (shea, mango). And in a third little cup, weigh your liquid oils, Vitamin E, and starch. Keeping them separate for now is key.
Step 3: The Gentle Melt
Set up a double boiler. If you don’t have one, just put an inch or two of water in a saucepan and bring it to a simmer. Place the bowl with your hard butters on top of the pan, making sure the bottom of the bowl doesn’t touch the water. The gentle steam will melt the butters perfectly without scorching them.
Once the hard butters are almost totally melted, turn off the heat. Add your soft butters and stir them in; the residual heat is plenty to melt them. Finally, pour in your liquid oil mixture and stir until it’s one smooth, unified liquid.
Step 4: The Cool-Down That Changes Everything
Okay, pay attention. This is the single most important step for preventing graininess. Do not get impatient here!
Take your bowl of melted oils and pop it in the freezer or fridge. You want to cool it down fast. After about 15-20 minutes, you’ll see it starting to get cloudy and solid around the edges. Take it out, scrape the hard bits from the sides with a spatula, and stir everything together. Put it back in the freezer for another 10-15 minutes. Repeat this until the whole mixture is a soft, semi-solid, Vaseline-like consistency. It should be opaque—if you can see through any part of it, it’s not ready. This rapid, even cooling is what keeps those gritty crystals from ever forming.
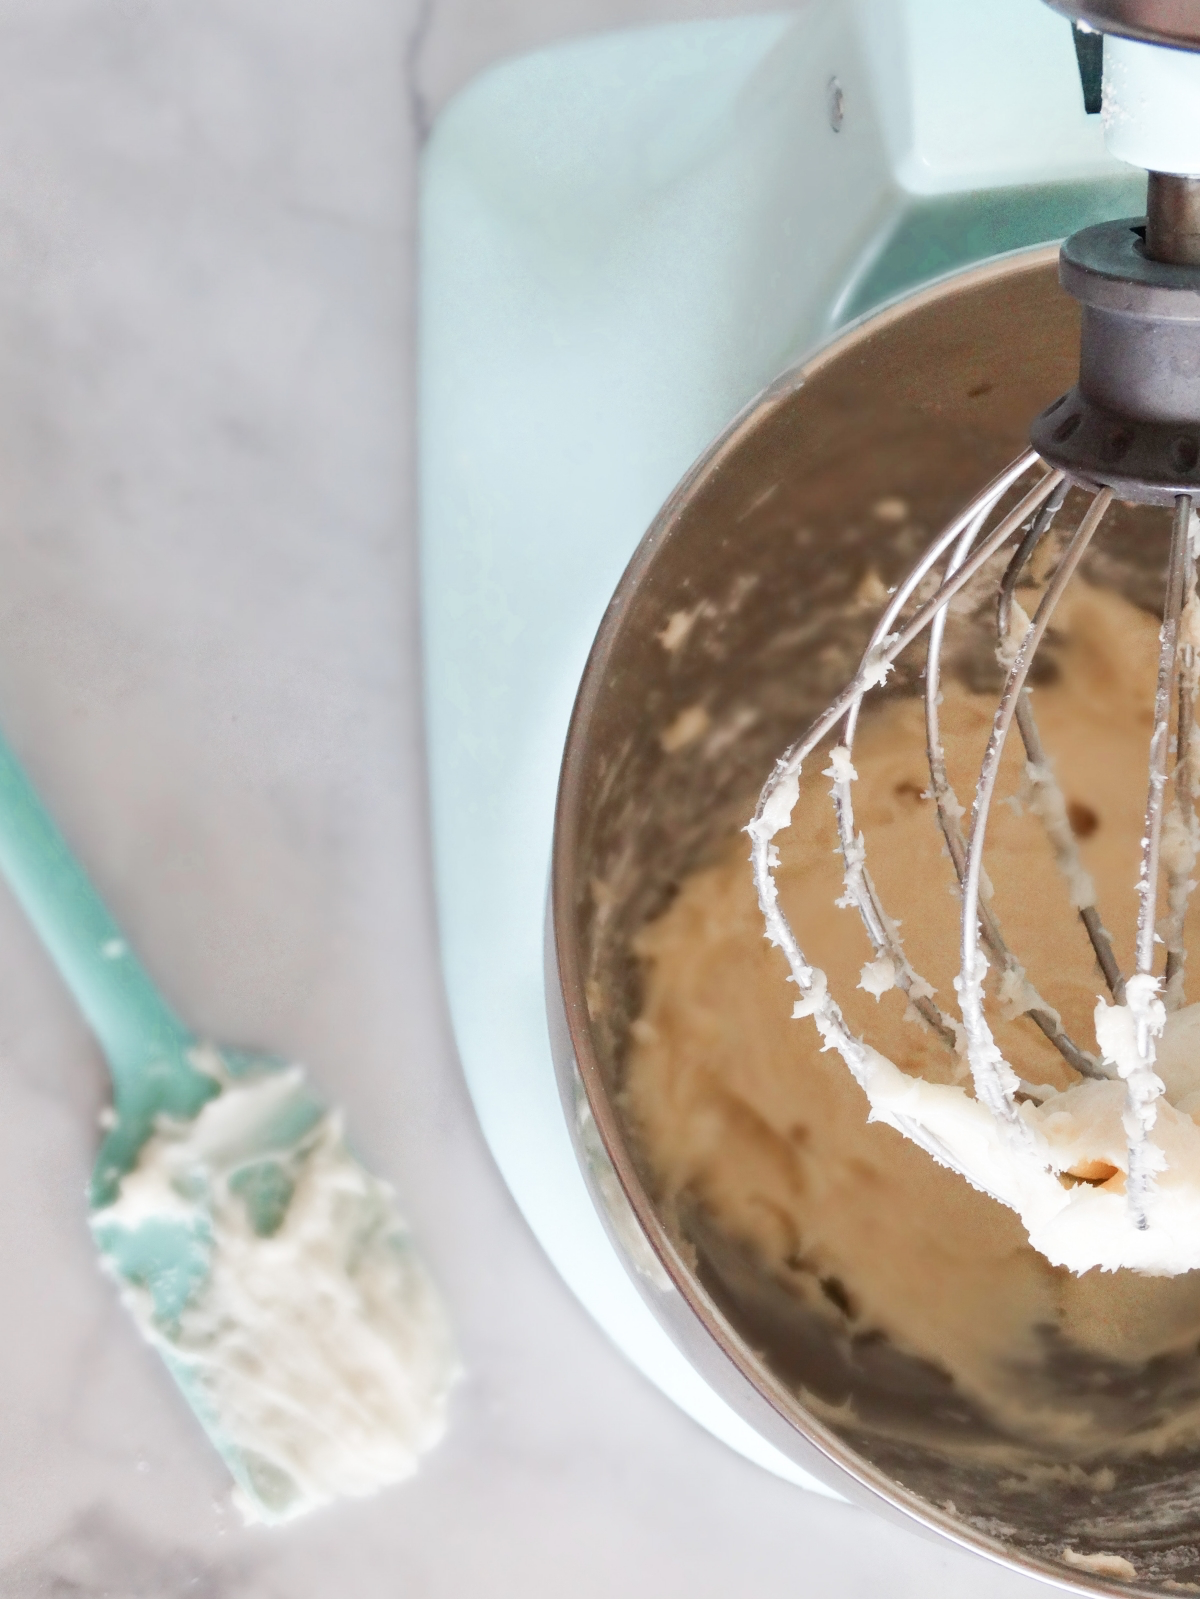
Step 5: Whip It Good
Now for the fun part. Grab a hand mixer or stand mixer with the whisk attachment. Start on low speed to break up the cooled butter, then gradually crank it up to high. You’re literally whipping air into the base.
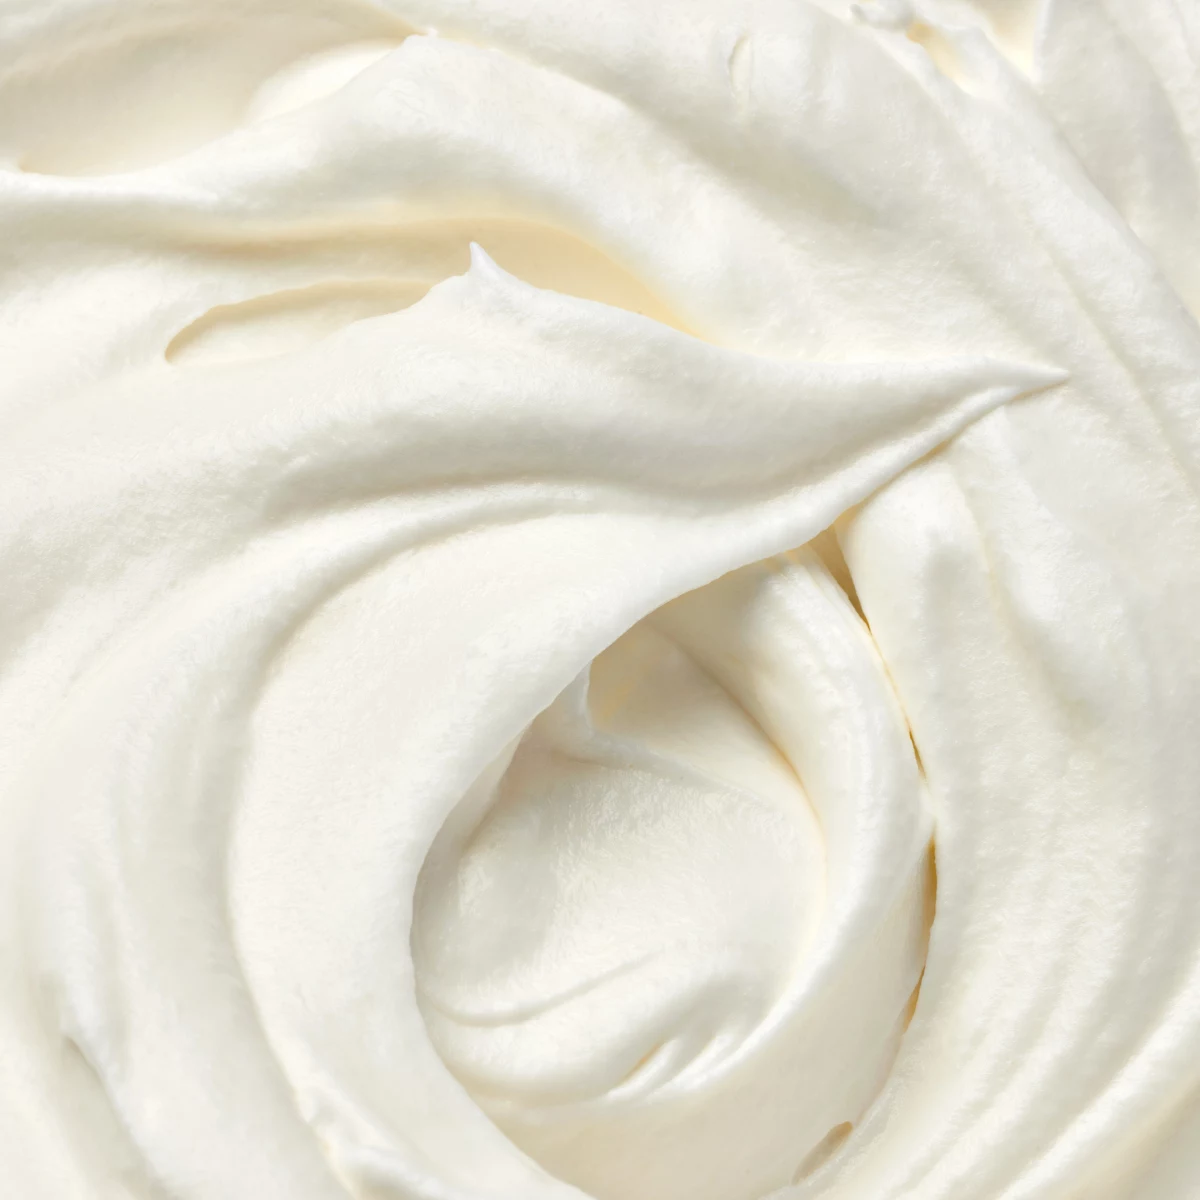
Keep whipping for a full 5 to 10 minutes. You’ll see the color lighten from a buttery yellow to a pale cream, and the volume will practically double. You’ll know it’s done when it holds stiff peaks, just like making whipped cream for a dessert.
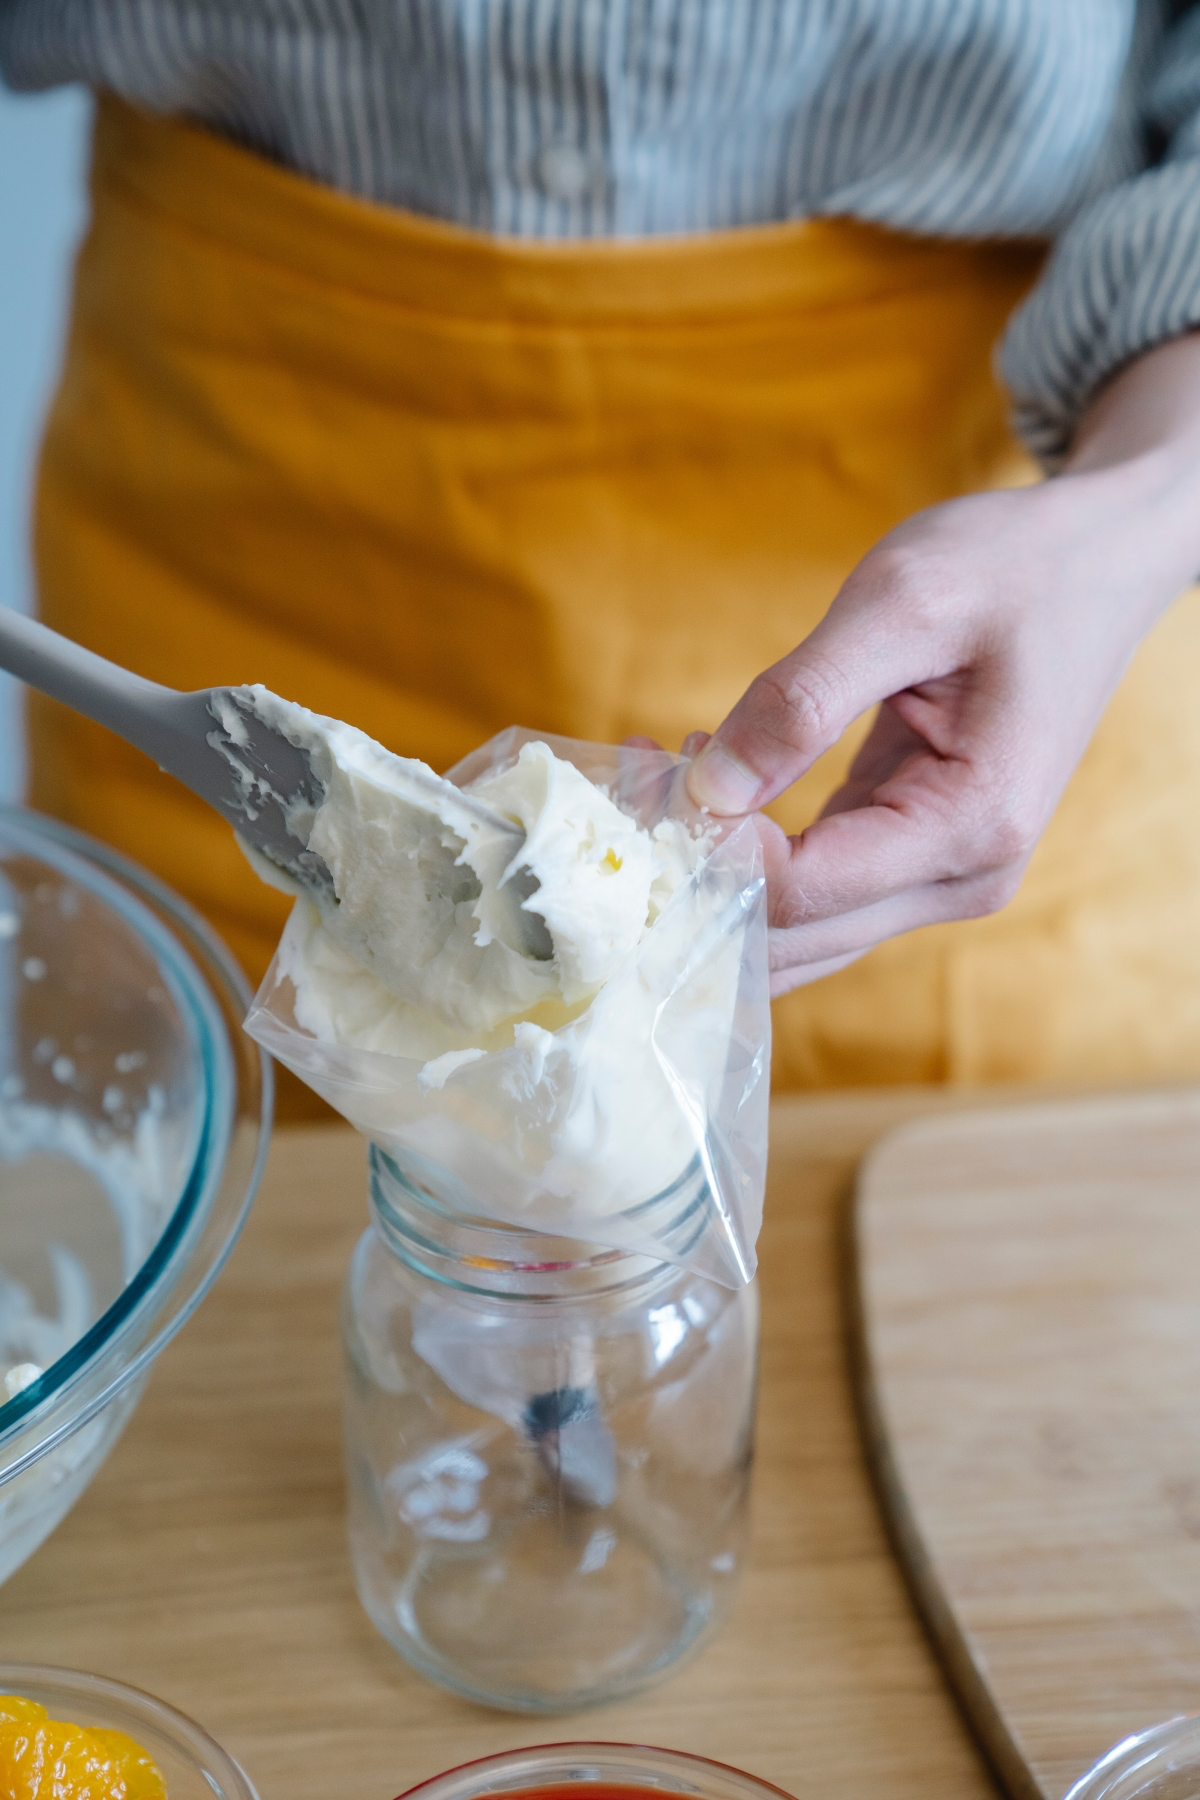
Step 6: Package It Up
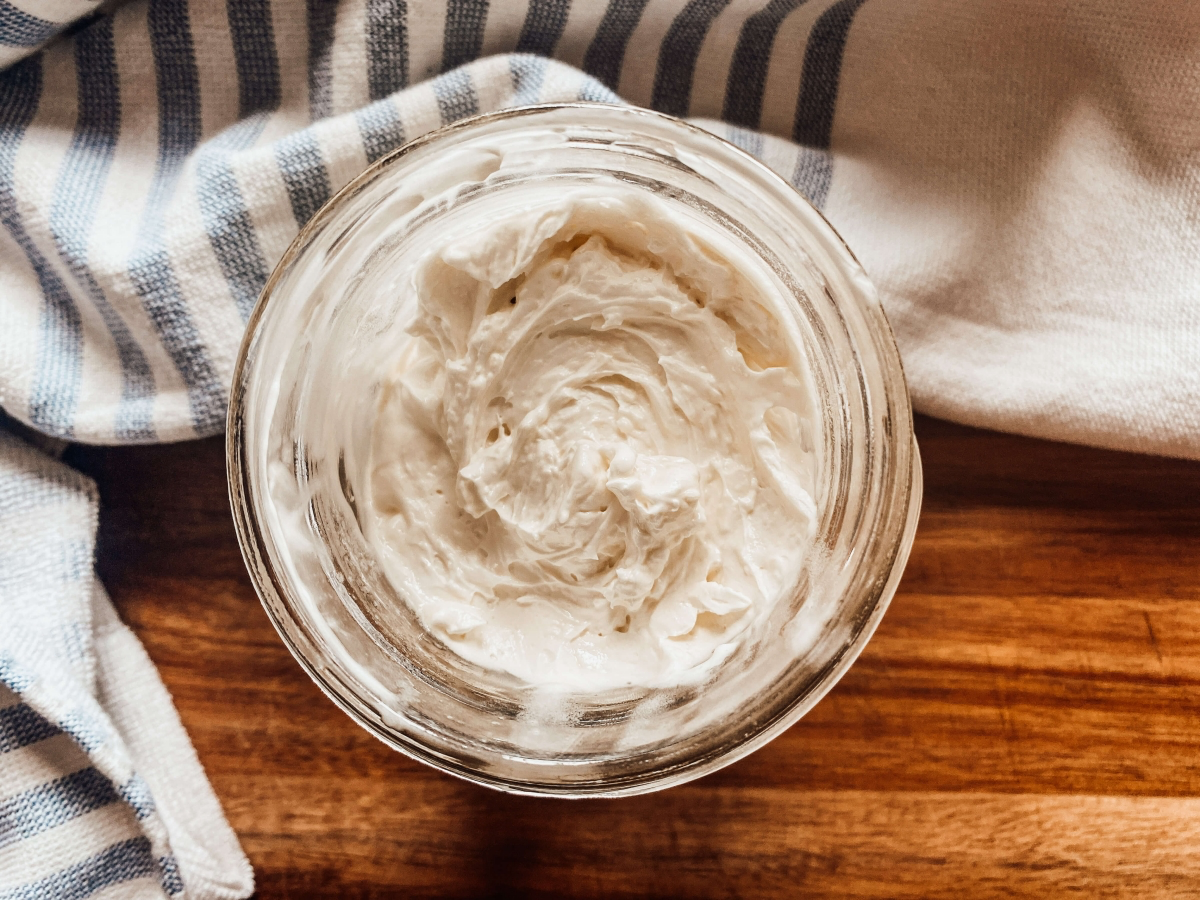
Use your clean spatula to scoop the fluffy butter into a clean, dry, airtight jar. I like using dark glass or PET plastic jars because they protect the oils from light, which can make them go bad faster. And please, don’t use your fingers—you’ll just introduce bacteria.
Label your creation with the ingredients and the date you made it. Store it in a cool, dark place like a cabinet. Just don’t leave it in a sunny window or a hot car, because it will melt.
Quick Fixes & Pro Tips
Even with the best method, sometimes things go sideways. Here’s how to fix it.
- Help, my butter is still grainy! No worries, you can save it. This just means it cooled too slowly. Scrape the whole batch back into your bowl, gently melt it all down again, and repeat the shock-cooling process in Step 4. This time, be a little more aggressive, stirring it every 5-7 minutes in the freezer.
- My butter is too hard/too soft. This is just a ratio issue. If it’s rock hard, melt it down, add a bit more liquid oil (start with a teaspoon per 4oz of butter), then re-cool and re-whip. If it’s too soft and soupy, you need more hard butter. Melt it, add a bit more cocoa or shea butter, and go through the process again.
- My butter melted in the jar. This happens if it gets too warm. The butter is still perfectly fine to use, it has just lost its fluffiness. You can pop it in the fridge to solidify and use it as a firm balm. Or, if you miss the fluff, you can scoop it all out, cool it completely in the fridge until firm, and re-whip it.
- Pro-Tip for Hot Climates: If you live somewhere warm and your butter always seems to melt, try adjusting your formula. In your next batch, swap out about 5% of your liquid oil for more cocoa butter. This will raise the overall melting point and make it more stable in the heat.
- Adding Essential Oils: If you want a lovely scent, add it at the very end. After the butter is fully whipped, add your essential oils (a safe amount for the body is 0.5% to 1% of the total weight) and mix on low for just 30 seconds to combine. Always research your oils first—some, like citrus oils, can make your skin more sensitive to the sun.
A Final Word on Safety & Shelf Life
When you make your own stuff, you’re also the quality control department. It’s easy, just be smart.
This recipe is “anhydrous” (a fancy word for water-free), so you don’t need a heavy-duty preservative. The shelf life is basically the shelf life of your oils. With proper sanitation and a little Vitamin E, your butter should be good for 9-12 months. If it starts to smell waxy or off, the oils have gone rancid and it’s time to make a fresh batch.
A CRITICAL WARNING: Never, ever let water get into your jar. Don’t scoop it out with wet hands right after a shower. Water is a breeding ground for bacteria and mold. If you ever want to make a product with water, aloe, or tea, you absolutely must use a broad-spectrum preservative. That’s a whole different level of DIY, so stick to water-free formulas like this one to keep things safe and simple.
And that’s it! By moving beyond basic recipes and understanding the ‘why’ behind the ‘how,’ you can create a body butter that’s perfectly tailored to your skin, consistently beautiful, and incredibly satisfying to make.
Inspirational Gallery
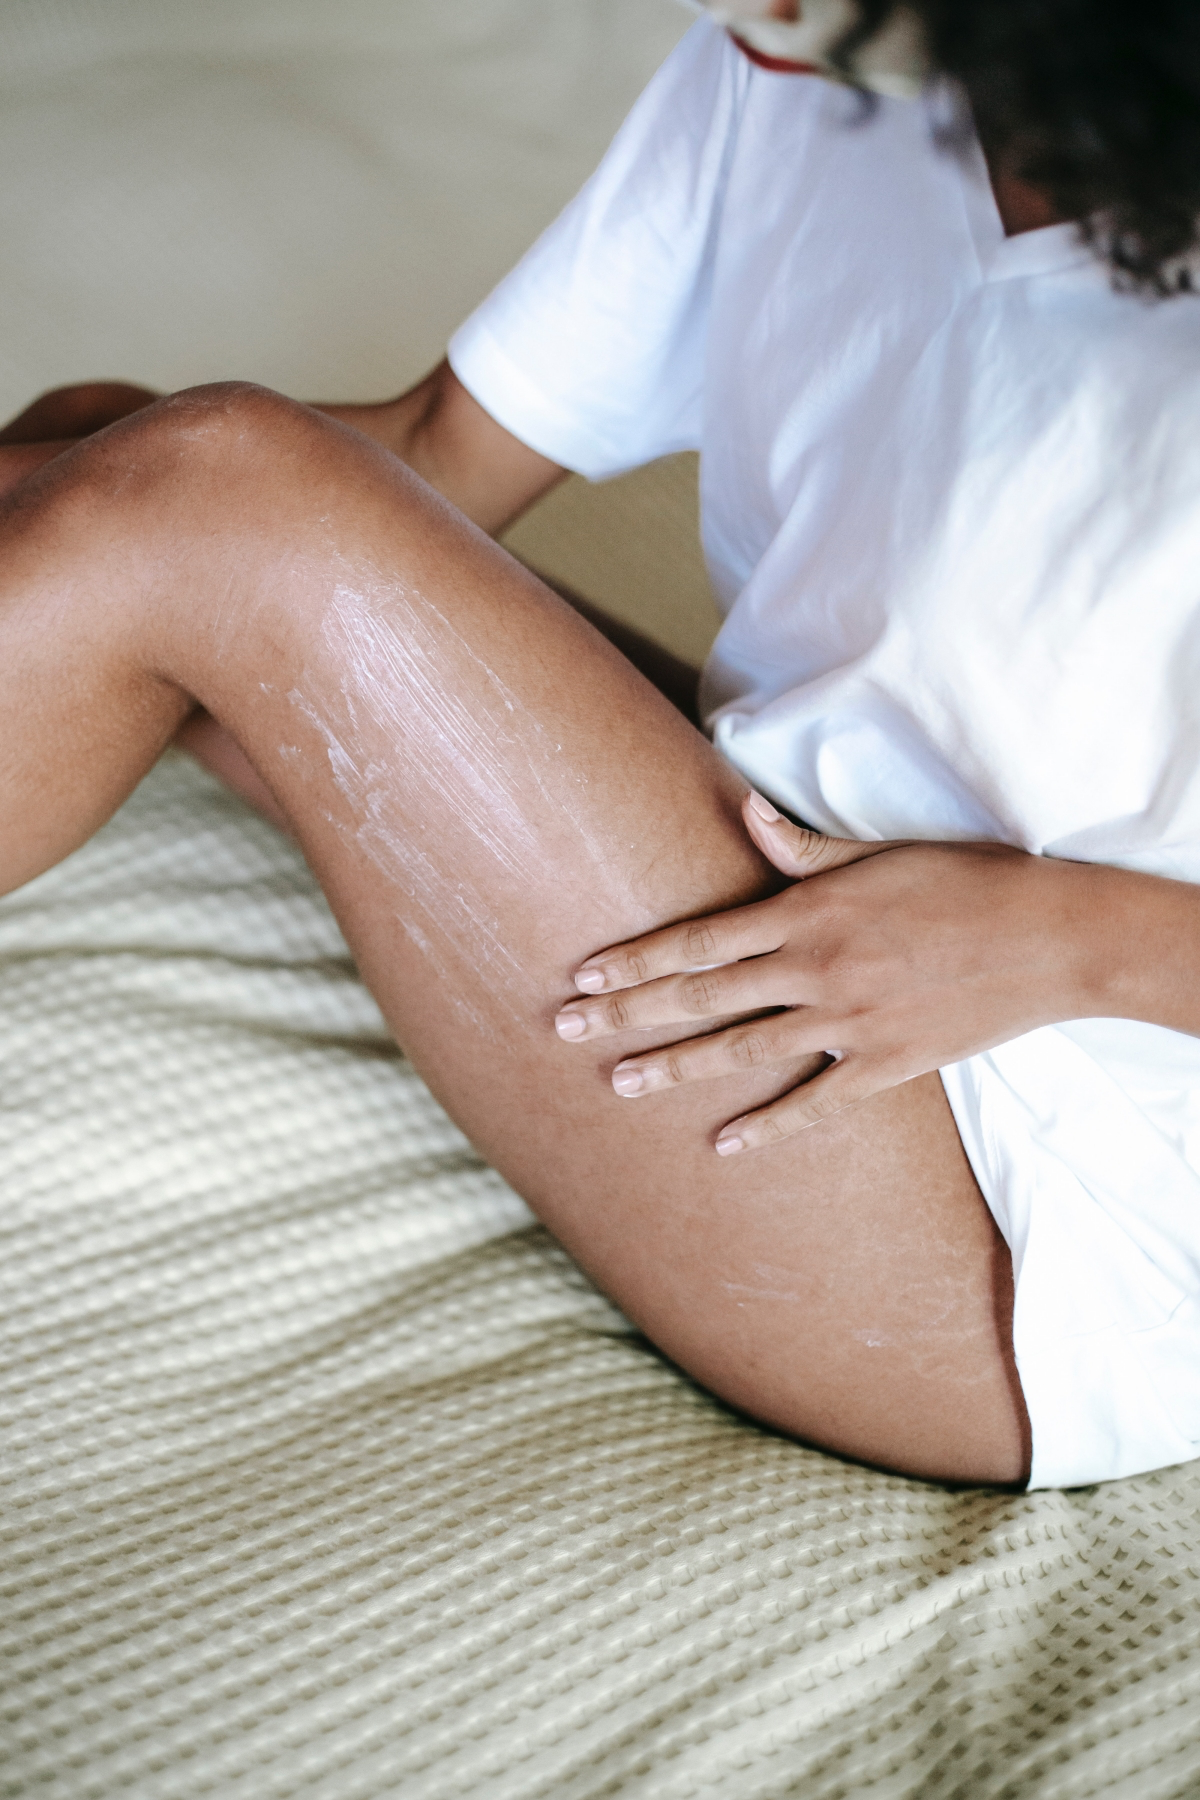
Shea Butter: The classic choice, deeply moisturizing and rich in vitamins. Its higher stearic acid content makes it very firm, ideal for very dry skin. Best for those who love a rich, protective feel. Unrefined versions carry a distinct nutty, earthy scent.
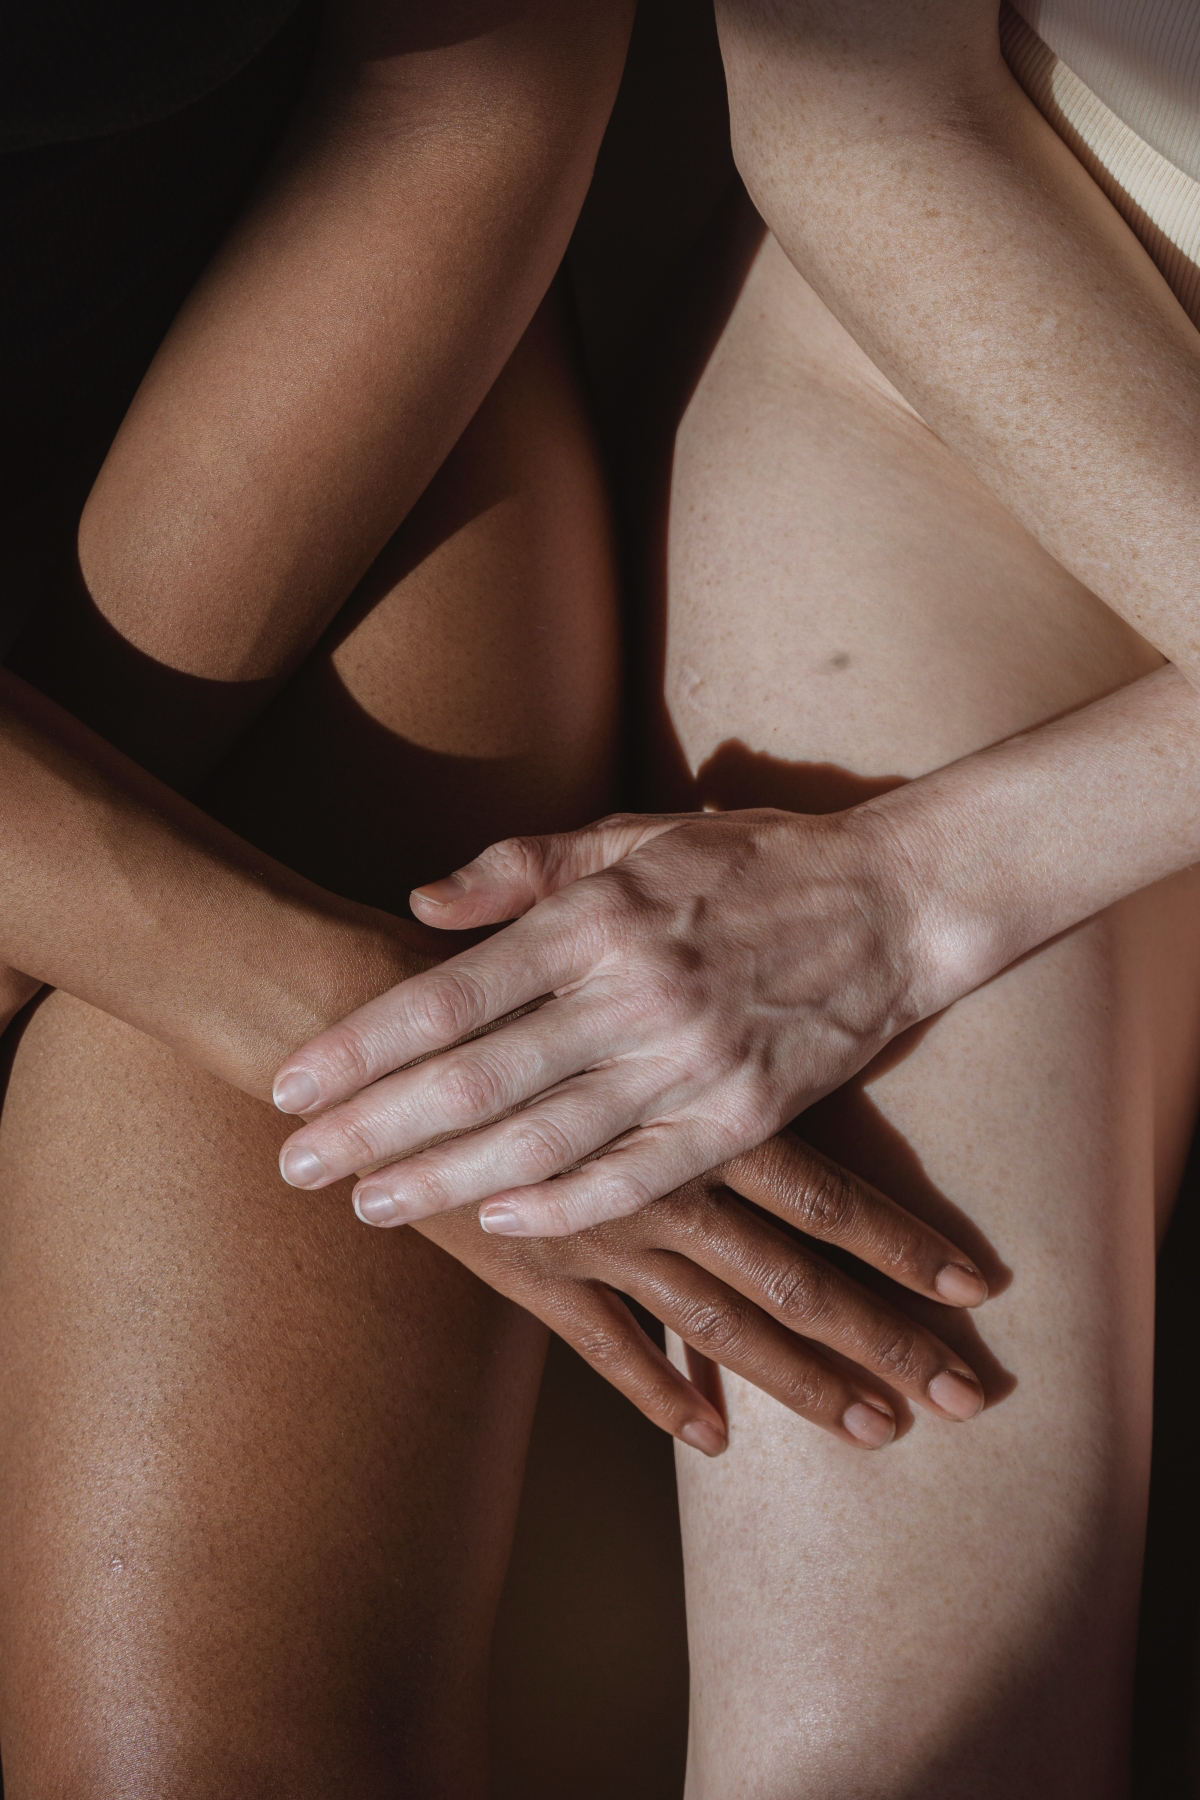
Mango Butter: Lighter and less greasy than shea. It has a smoother, creamier texture and melts readily on skin contact. Being nearly odorless, it’s the perfect canvas for your favorite essential oil blends without any scent competition.
For beginners, Mango Butter is often more forgiving and results in a fluffier, less dense final product.
Does my 100% oil-based body butter need a preservative?
Technically, no. Anhydrous (water-free) products like this don’t support mold or bacterial growth. However, the risk comes from contamination. If you scoop it out with wet hands in the shower, you introduce water. To be safe, add 0.5% Vitamin E oil (Tocopherol); it’s not a true preservative but an antioxidant that slows down the oils from going rancid, extending your butter’s freshness and shelf life to over a year.
The global shea butter market was valued at approximately USD 2.15 billion in 2022 and is expected to grow, driven by rising demand in cosmetics and food.
This boom reflects a wider shift towards natural, effective ingredients. When you make your own butter, you’re not just creating skincare; you’re participating in a global movement that supports sustainable agriculture. Sourcing from fair-trade suppliers like Baraka Shea Butter ensures your purchase directly benefits the women’s cooperatives in Ghana who harvest it.
- Gives the butter a silky, almost powdery finish.
- Reduces the oily or greasy feeling on the skin.
- Helps the butter absorb more quickly.
The secret? A simple starch. Adding a small amount of arrowroot powder or tapioca starch (about 1 teaspoon per cup of oils) before you whip can dramatically transform the final texture. Sift it into your melted oils to prevent clumps and enjoy a truly non-greasy feel.
Creating the perfect sensory experience goes beyond just texture. For a deeply calming nighttime butter, try a blend of French Lavender and Roman Chamomile essential oils. For an invigorating morning ritual, a mix of Pink Grapefruit and a hint of Spearmint will awaken the senses. Always add your essential oils when the butter has cooled but just before whipping to protect their delicate therapeutic properties.
Want to go beyond plain white? You can add beautiful, subtle hues using natural powders. Just remember that a little goes a long way.
- Soft Pink: A tiny pinch of French Pink Clay or Beetroot Powder.
- Gentle Green: Spirulina or French Green Clay will lend a lovely seafoam tint.
- Sunny Yellow: A dash of Sea Buckthorn oil not only adds color but also potent skin benefits.
- Bronze Glow: A bit of cocoa powder or finely milled bronze mica gives a beautiful sun-kissed sheen.
To keep your butter pristine, never use your fingers to scoop it out. Always use a clean cosmetic spatula or a small spoon.
Important point: Sterilize everything. Before you even begin measuring, properly clean and sterilize all your tools—the mixing bowl, hand mixer attachments, spatulas, and especially the final storage jars. You can run jars through a dishwasher on a hot cycle or wash and then wipe them down with 70% isopropyl alcohol. This simple step is critical for preventing bacteria and ensuring your beautiful butter lasts.
My butter turned out too hard in the jar. Can I fix it?
Absolutely! This usually happens if your recipe had a high ratio of hard butters (like cocoa or shea) or if your room is very cold. The fix is simple: scoop the butter back into a bowl, gently melt it down again, and add more liquid carrier oil—like sweet almond or jojoba oil—a tablespoon at a time. Let it cool and re-whip as you did before. It’s all about adjusting the ratio of hard-to-soft oils.
The quality of your raw ingredients is paramount. While big online retailers work, consider specialized suppliers for superior freshness and purity. Websites like ‘Mountain Rose Herbs’ are renowned for their certified organic butters and oils, while ‘Bramble Berry’ is a go-to for DIY skincare creators, offering a vast selection of butters, waxes, and cosmetic-grade additives. Investing in good ingredients is the first step to a luxe final product.


