More Than Just Wallpaper: A Pro’s Guide to Hanging the Good Stuff
For over two decades, I’ve been the person people call to hang wallpaper. I’ve seen it all—from brand-new homes with perfectly flat walls to historic places where ‘plumb’ and ‘level’ are just suggestions. And while I can hang anything, my real passion is for the ornamental stuff. I’m talking about the rich damasks, the textured flocks, and the sweeping scenic papers that can turn a boring wall into a work of art.
In this article
- The Foundation: Why Wall Prep is 90% of the Job
- Your Essential Toolkit (and What It’ll Cost You)
- Understanding Your Paper: Substrates and ‘Booking’
- Planning Your Attack: Layout and a Little Math
- A Field Guide to Classic Ornamental Styles
- The Bottom Line: Cost and When to Call a Pro
- Troubleshooting Like a Pro: Fixing Common Headaches
- A Final Word on Safety (Don’t Skip This!)
- Inspirational Gallery
There’s a certain weight and character to these materials that paint just can’t replicate. I once spent a week in an old brownstone, painstakingly restoring a dining room with a silk damask paper. The client had found a stunning reproduction, and my job was to make it look like it had been there forever. The pressure was immense, but seeing that pattern flow seamlessly around the room? Honestly, it was one of the most satisfying moments of my career. This isn’t about fleeting trends. It’s about sharing the real-world knowledge I’ve picked up over thousands of hours, smoothing brush in hand. It’s for anyone who loves this craft and wants to get it right.
The Foundation: Why Wall Prep is 90% of the Job
Before you even dream about patterns, we need to talk about the wall itself. Getting this part right is the single biggest difference between a beautiful, lasting finish and a frustrating, peeling failure. At its core, hanging wallpaper is all about adhesion and making sure your materials behave predictably.
You simply cannot get a good result on a bad surface. Period. For any paper with a bit of shine, like metallics or silks, the wall has to be absolutely flawless. Pros aim for what’s called a Level 5 finish. This means the entire wall has been skim-coated with a thin layer of joint compound and sanded perfectly smooth. Why? Because any bump, dent, or old nail pop will stick out like a sore thumb, especially when light hits it from the side.
After the wall is smooth, you have to prime. And please, do not use regular paint primer. You need a dedicated wallpaper primer, sometimes called a ‘sizing’ or ‘wallcovering’ primer. I’ve used dozens, but I always come back to the heavy-duty, strippable clay-based primers. You can find them at specialty paint stores; a gallon might run you $40-$50, but it’s worth every single penny. This stuff does three critical things: it seals the wall so it doesn’t suck the moisture out of your paste, it creates the perfect surface for the paste to grab onto, and—this is the big one—it makes removal a breeze years down the line. Skipping this step is the #1 mistake I see amateurs make.
Your Essential Toolkit (and What It’ll Cost You)
Having the right tools is non-negotiable. Using the wrong ones can damage expensive paper and, frankly, make you miserable. Here’s a quick shopping list of what you’ll actually need:
- Metal Measuring Tape: A classic 25-foot tape is perfect. ($10-$15)
- 4-Foot Level: For drawing that critical first plumb line. Don’t eyeball it! ($20-$30)
- Snap-Off Utility Knife: This is my non-negotiable tool. You need to snap off the blade for a fresh, razor-sharp edge for every single cut. A pack of extra blades is a must. ($10-$15)
- 6-Inch Metal Putty Knife: You’ll use this as a straight edge guide when trimming against the ceiling and baseboards. ($8-$12)
- Wallpaper Smoothing Brush: This is key. It has long, soft bristles that push out air bubbles without damaging the paper. Please, avoid those hard plastic smoothers—they can burnish or tear delicate papers. ($20-$25)
- Seam Roller: A small, hard roller to press seams down firmly. Use with caution on textured papers. ($8)
- Paste Tray and Roller/Brush: A simple paint tray works great. Whether you use a roller or a brush to apply paste depends on the paper and your preference. ($10 for the set)
Understanding Your Paper: Substrates and ‘Booking’
The material on the back of your wallpaper—the substrate—dictates exactly how you’ll hang it. It’s good to know what you’re working with before you start mixing paste.
The most common type you’ll see in traditional, high-end papers is, well, paper. When you apply water-based paste to it, the paper fibers soak up the moisture and literally expand. This is why we have a crucial step called ‘booking’.
A more modern and DIY-friendly option is non-woven. It’s a blend of synthetic and natural fibers that doesn’t expand or contract when wet. This is a game-changer because you can apply the paste directly to the wall instead of the paper, which is cleaner and faster. Most of the ‘paste-the-wall’ papers you see are non-woven.
Then you have hybrids, like vinyl on a paper back. The front is durable vinyl, but the back is still paper, meaning it still needs to expand. And for really tough environments, there’s fabric-backed vinyl, a commercial-grade workhorse that requires a special heavy-duty clay-based adhesive.
The Critical Art of ‘Booking’ Paper
So what is this ‘booking’ I mentioned? It’s simply the process of letting pasted paper rest before you hang it. After you apply paste to a cut sheet, you gently fold the ends in toward the middle (pasted-side to pasted-side), being careful not to crease it. You let it sit like that for about 5 to 8 minutes. This gives the paper time to absorb the moisture and expand evenly. If you hang it too soon, it will expand on the wall, causing bubbles and warped seams. Let it sit too long, and the paste on the edges will dry out. I learned that lesson the hard way early in my career—I rushed a few sheets, and the next day every single seam had pulled apart just a tiny bit. It was a costly lesson in patience.
Planning Your Attack: Layout and a Little Math
With ornamental patterns, you can’t just start in a corner and hope for the best. You have to plan the entire room before a single drop of paste is mixed.
First, find your focal point. This is usually the wall you see when you walk in, or the space over a fireplace or headboard. You want the main, most complete part of the pattern to be centered right there. From that centerpiece, you’ll work your way out to the corners.
Next, you need to establish a plumb line. Your walls are not perfectly straight, I promise. Use your level to draw a perfectly vertical line where the edge of your first sheet will go. Every other piece will be aligned to this one, not the crooked corner.
Finally, you have to understand the pattern match. Look at the label on the roll. A ‘straight match’ is easy; the pattern just lines up horizontally. But a ‘drop match’ or ‘half-drop’ is trickier. It means you have to shift every other sheet down, usually by half the height of the pattern repeat, to get it to align. This creates more waste, and you have to account for it.
Quick tip: Here’s how to calculate how many rolls you need for a drop match. First, get the total square footage of your walls (length x height). Now, here’s the important part: add 20-25% to that number for waste. Then, divide that new, larger number by the usable square footage listed on the wallpaper roll. It might seem like you’re overbuying, but you will thank me when you aren’t one strip short at the very end.
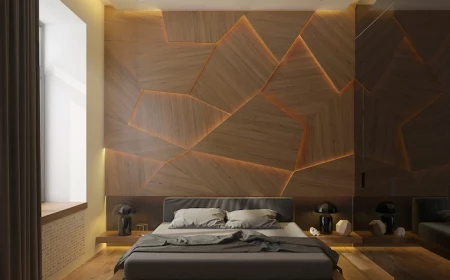
A Field Guide to Classic Ornamental Styles
These styles have stuck around for a reason. They’re timeless. Knowing a bit about them helps you choose the right one for your space.
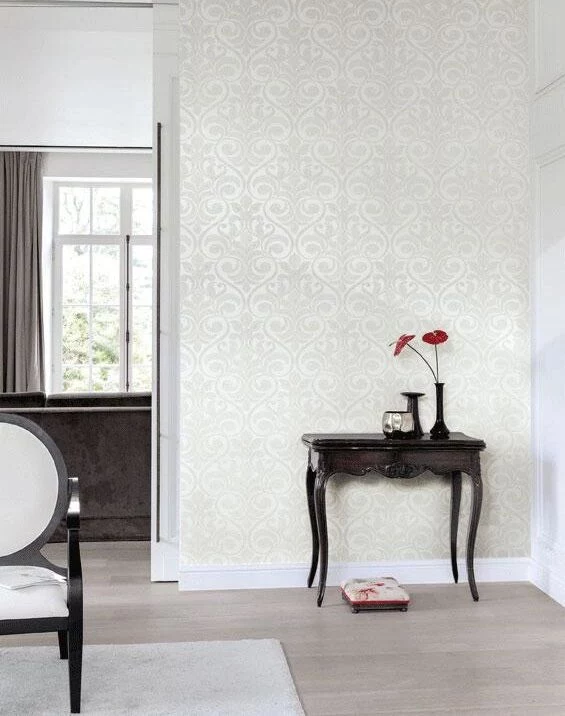
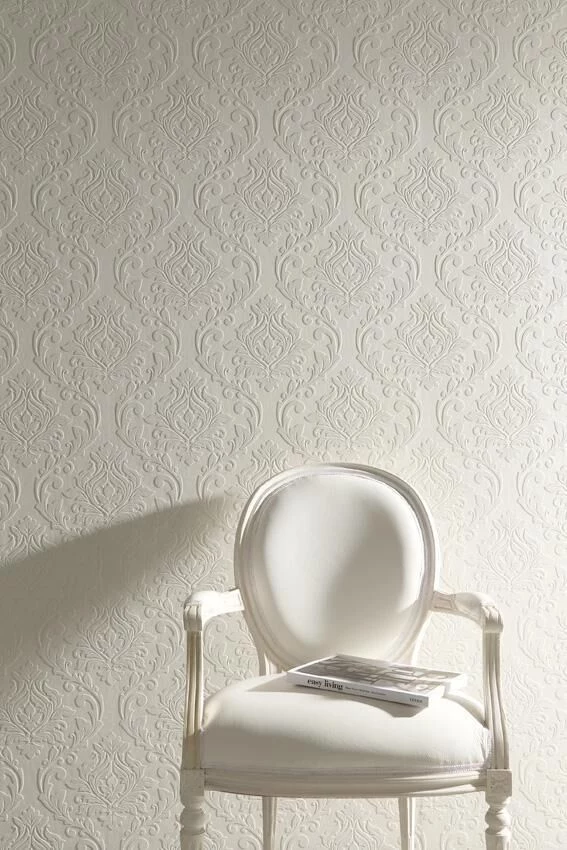
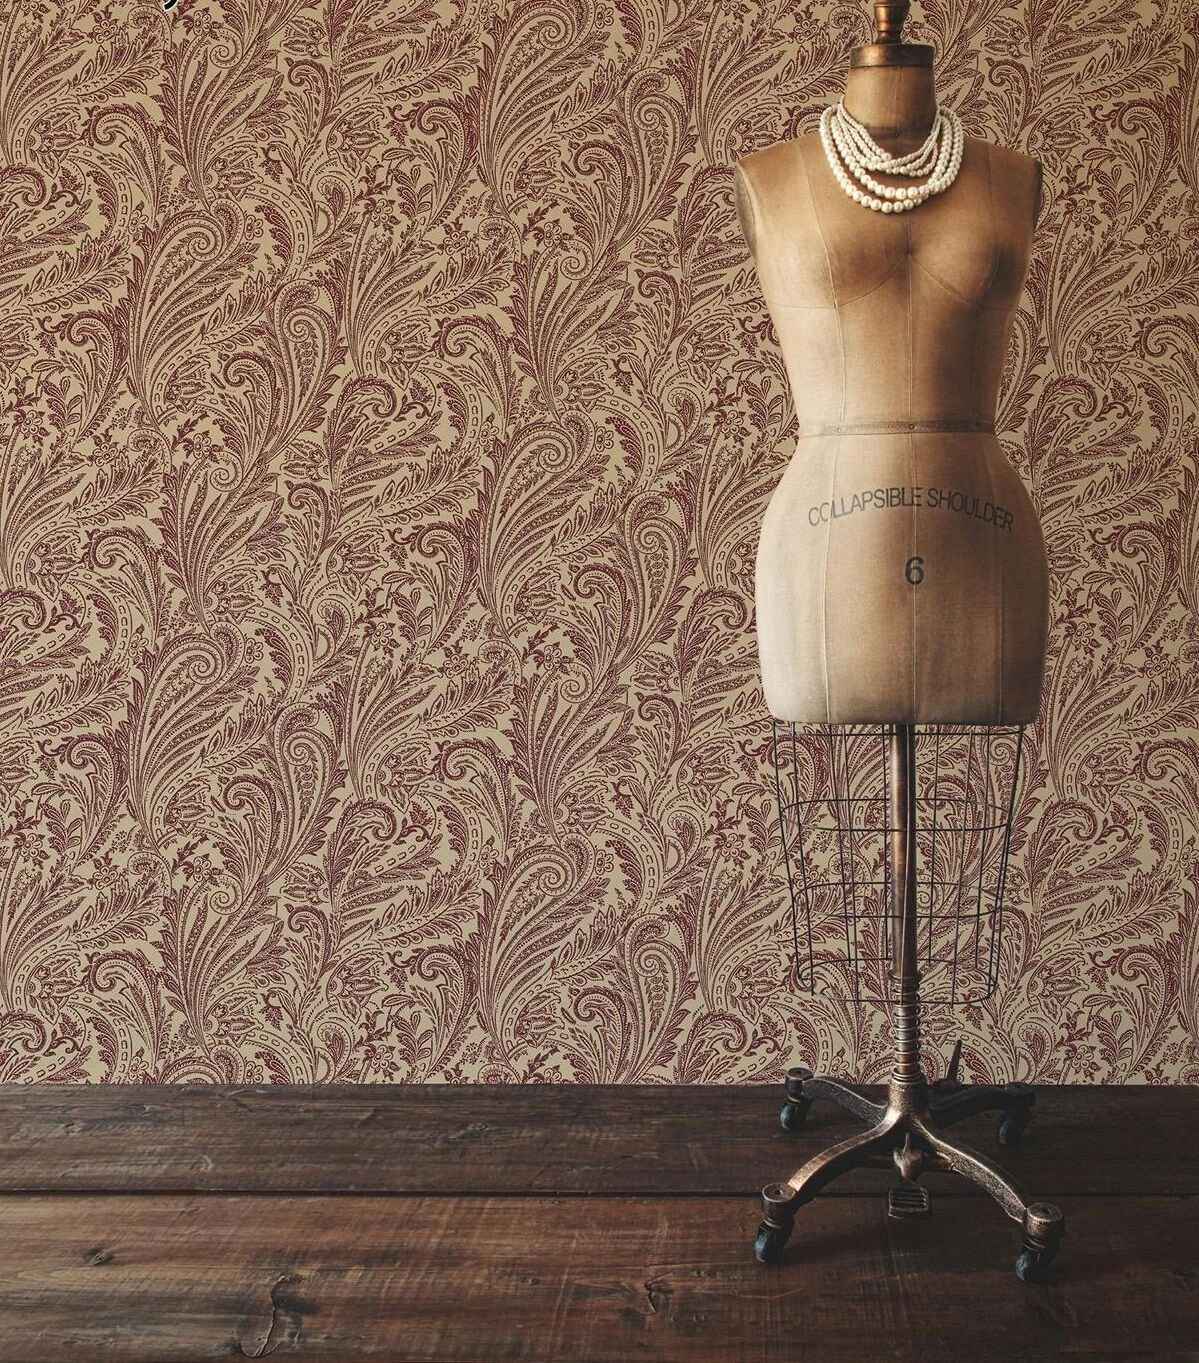
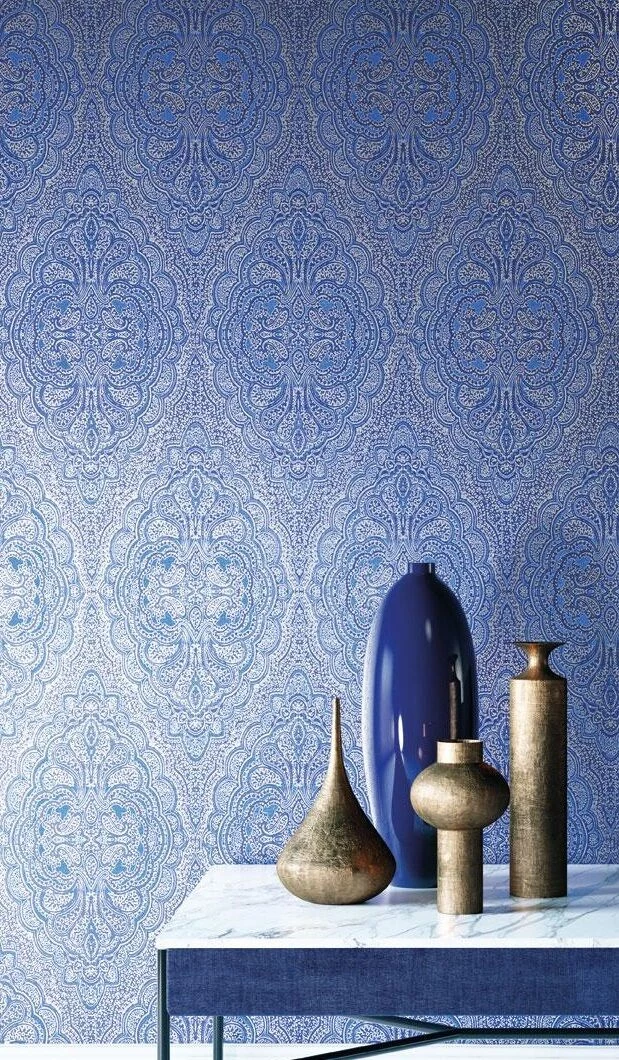
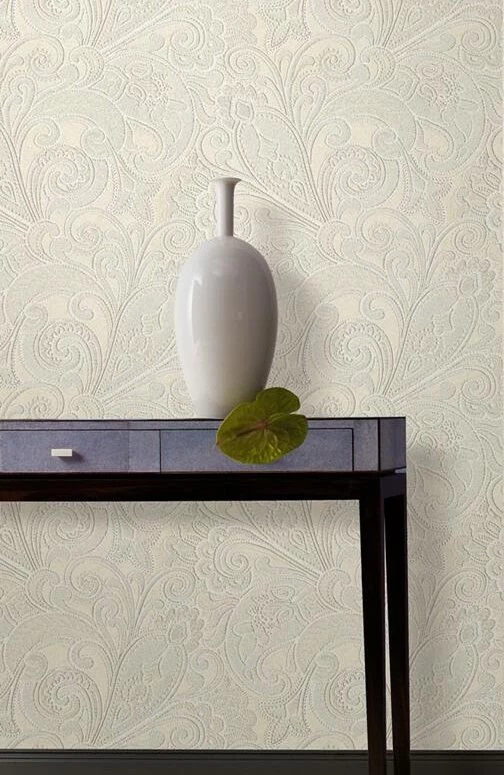
- Damask: Think classic, formal elegance. A damask pattern is typically symmetrical and based on floral or scrolling motifs. It’s often created with a matte ink on a slightly shiny background (or vice versa), which gives it a subtle depth that plays beautifully with light. It brings a sense of grandeur to dining rooms and formal living spaces.
- Chinoiserie: This isn’t authentic historical art, but rather a classic European style born from a fascination with the Far East. These papers feature fantastical landscapes, exotic birds, pagodas, and delicate florals. They’re usually large, non-repeating murals that create a gorgeous, immersive feeling, perfect for a bedroom or a dramatic powder room.
- Flock: Flock paper was created to mimic the look of expensive velvet wall hangings. A special adhesive is printed in a pattern, and then tiny fibers (the ‘flock’) are sprinkled over it, creating a raised, fuzzy, light-absorbing texture. It’s dramatic and tactile, but be warned: it’s delicate to hang. Getting paste on the flocked surface can ruin it.
- Toile de Jouy: Often just called Toile, this style is known for its repeating pastoral or scenic vignettes, usually printed in a single color like blue, red, or black on a cream background. It tells a story on your walls and is a perfect fit for traditional, country, or romantic interiors.
The Bottom Line: Cost and When to Call a Pro
Let’s talk money. Ornamental wallpaper is an investment. A roll of decent non-woven paper from a good brand might cost you between $40 and $90. But for a high-end designer print, you could be looking at $200 to $500 per roll, or even more for hand-painted Chinoiserie.
Then there’s the labor. Hanging a complex drop-match or a fragile foil paper takes way more time and skill. When I quote a job, I’m not just looking at the room size; I’m looking at the paper’s difficulty. A small, simple powder room might cost $400-$500 in labor with an easy paper. That same room with a delicate flock or a metallic paper that requires a perfect wall? That could easily be $800-$1,000 because the prep and hang time doubles.
DIY vs. Pro: An Honest Gut Check
So, can you do it yourself? Maybe. Ask yourself these questions honestly:
- Are my walls smooth and in great shape? (No bumps, cracks, or texture)
- Am I using a ‘paste-the-wall’ non-woven paper?
- Is the pattern a simple straight match or a very forgiving organic pattern?
- Is the room a simple square with few obstacles (like tons of windows or doors)?
- Am I, to be frank, an extremely patient person?
If you answered ‘Yes’ to all of these, you have a good shot at success. For your first project, I’d suggest starting with a single accent wall in a bedroom. You’ll get a huge visual win without the stress of navigating four corners. But if you answered ‘No’ to one or more of those questions, especially if you’ve invested in expensive paper, I strongly recommend hiring a pro. Messing up one $400 roll of paper will cost you more than the professional’s labor would have.
Troubleshooting Like a Pro: Fixing Common Headaches
Even pros run into issues. Here’s how to handle the tricky stuff.
Metallic and Foil Papers are the ultimate test. They will reflect light off every single imperfection. The wall prep must be a flawless Level 5, no exceptions. I even wear cotton gloves when handling them to avoid fingerprints. A crease in foil is permanent, so you have to be incredibly careful.
For Grasscloth and Natural Fibers, the main thing is managing expectations. The seams will be visible. It’s part of the look! Color and texture variations from strip to strip are normal and create a beautiful, paneled effect. Don’t try to hide them. Just work cleanly, because paste can easily stain these materials.
And what about those dreaded bubbles that appear after everything is dry? It’s usually trapped air. The fix is easy. I take a medical syringe, fill it with a tiny bit of thin wallpaper adhesive, make a pinprick in the bubble, inject a dot of adhesive, and gently smooth it down. For lifting seams, I use a tiny artist’s brush to apply a special seam adhesive right under the edge and press it down with a seam roller.
A Final Word on Safety (Don’t Skip This!)
This work involves ladders, sharp blades, and chemicals, so you have to be smart about it.
Heads up! Before you do anything, turn off the power to the room at the circuit breaker. Then you can safely remove outlet and switch covers. Always double-check with a voltage tester before touching wires. Also, make sure the room is well-ventilated; some primers have strong fumes. And if you’re working in an older home, be aware of the potential for lead-based paint. Sanding this creates toxic dust. If there’s any doubt, get it tested by a professional before you start scraping or sanding.
An ornamental wallpaper is a long-term choice. It’s worth taking the time to make sure it’s done beautifully and safely from the very start. When in doubt, a certified paperhanger is always your best bet.
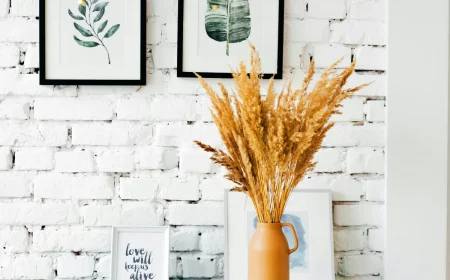
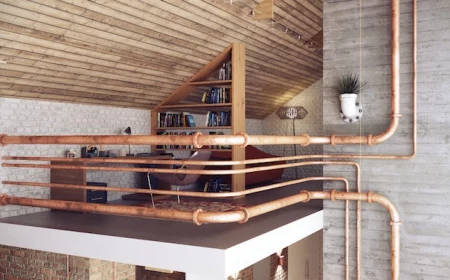
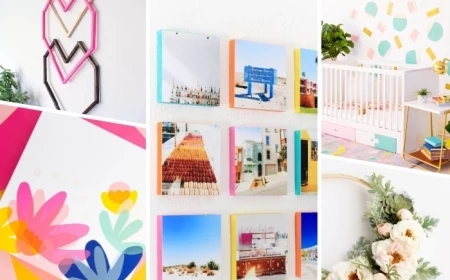
Inspirational Gallery
The cardinal rule of patterned paper: Always account for the ‘pattern repeat.’ This is the vertical distance between one point in the pattern and the next identical point. For a large, dramatic pattern, this repeat can be 24 inches or more, meaning you lose a significant amount of paper on each strip to ensure the design aligns perfectly. When calculating, always round up and add at least 15% extra to your total square footage. It’s far better to have a spare roll than to find out the manufacturer has discontinued your batch mid-project.
The French company Zuber & Cie, founded in 1797, still prints its magnificent scenic wallpapers using the original 18th and 19th-century woodblocks—some of which are classified as French Historical Monuments.
What’s the difference between hand-painted and digital mural wallpaper?
Think of it as original art versus a high-quality print. A hand-painted scenic paper, like those from Gracie or de Gournay, is created by artists directly onto silk or paper panels. Each installation is a unique, bespoke piece with subtle variations and incredible texture. A high-quality digital mural, from a company like Surface View, reproduces a design or photograph on a large scale. While it lacks the hand-painted texture, modern printing technology offers breathtaking detail and color, making a grand statement accessible without the five-figure price tag of its couture cousin.
Beyond the visual, consider the texture. The material you choose fundamentally changes how a room feels and sounds.
- Grasscloth: Woven from natural fibers like jute or sisal, it brings an organic, earthy warmth. It’s excellent for absorbing sound, making it ideal for cozy studies or dining rooms.
- Flock: With its raised, velvety pattern, flock wallpaper begs to be touched. It absorbs light, creating a sense of depth and opulence perfect for a dramatic bedroom or formal living space.
- Silk & Damask: These papers have a subtle luminosity, playing with light in a way that adds elegance and formality. The sheen highlights the intricacy of the pattern.
Don’t discard those precious offcuts. A beautifully patterned scrap from a luxury brand like Cole & Son or Timorous Beasties is too good for the bin. Consider having it professionally framed as a standalone piece of art, use it to line the back of a drab bookshelf, or decoupage it onto a plain lampshade for a custom touch.
- Prevents bubbling and shrinking on the wall.
- Ensures the adhesive is perfectly absorbed for maximum grip.
- Stops seams from opening up as the paper dries.
The professional secret for these results? A simple step called ‘booking’. After applying paste, gently fold the paper back on itself (paste to paste) and let it rest for the manufacturer-recommended time, usually 5-10 minutes. This allows the paper to expand before it hits the wall, guaranteeing a stable, lasting finish.
Clay-based Adhesives: For heavy, non-woven, or fabric-backed wallcoverings, a standard pre-mixed paste won’t cut it. You need a heavy-duty clay-based adhesive, like Roman’s PRO-880 Ultra Clear Strippable. The clay provides superior, long-term adhesion and ‘slip’, allowing you to perfectly position weighty papers without them grabbing the wall too quickly.
Clear Adhesives: For delicate materials like silk or papers with a metallic finish, a clear-drying adhesive is non-negotiable to prevent any possibility of staining or seam discoloration. A product like Roman’s PRO-732 Extra Strength Clay is a good choice for this application.
Always check the wallpaper manufacturer’s specific recommendation before you buy.
Delicate, non-vinyl wallpapers like silks and grasscloths are not scrubbable. In fact, water is often their worst enemy.
So how do you clean them? For light dust, use a feather duster or the soft brush attachment of a vacuum cleaner with gentle suction. For a more stubborn smudge or scuff, avoid liquid cleaners entirely. Instead, use a ‘dry sponge’ (also known as a soot sponge or chemical sponge), available from professional paint suppliers. It lifts dirt without moisture, preserving the integrity of the fragile fibers.
The seam is where amateur and professional work truly diverge. For a flawless, near-invisible join, use a dedicated seam roller—not your big smoothing brush. A small, firm plastic or wood roller applies concentrated pressure right at the edge, ensuring the paper is bonded tightly to the wall. For delicate papers where a hard roller might leave a sheen, wrap it in a soft, lint-free cloth or opt for a soft foam roller.