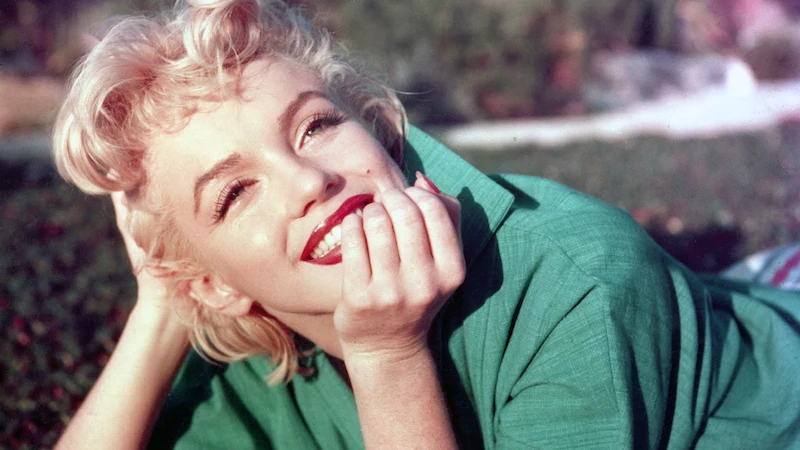
The Hollywood Glow-Up: A Makeup Artist’s Guide to Timeless Glam
I’ve been a professional makeup artist for a long time. I’m talking about countless hours spent on bustling photo shoots and getting people ready for the biggest moments of their lives. And through it all, there’s one specific style of glamour that just never fades—that classic, old-Hollywood look. It wasn’t just about looking pretty; it was pure construction. It was a masterclass in how light and shadow can completely transform a face. To be frank, it was an art form.
In this article
You see tons of articles promising to reveal the “secrets” behind this look, but they usually miss the mark. These weren’t really secrets. They were professional techniques, developed by the best in the business to meet the tough demands of studio lighting and early film technology. It was all about shaping, highlighting, and creating a glow that looked incredible on camera.
Those core principles? They’re absolutely timeless. I use them in my work today, just with modern products. So, this is my professional breakdown of how it all works. We’re going to skip the myths and get into the nitty-gritty so you can learn from the masters and make these techniques your own.
1. The Luminous Base: Engineering That Signature Glow
The foundation of this whole look was skin that seemed to radiate light from within. This was no accident; it was a carefully engineered effect combining smart skin prep with some clever makeup layering.
Why It Worked: A Little Bit of Science
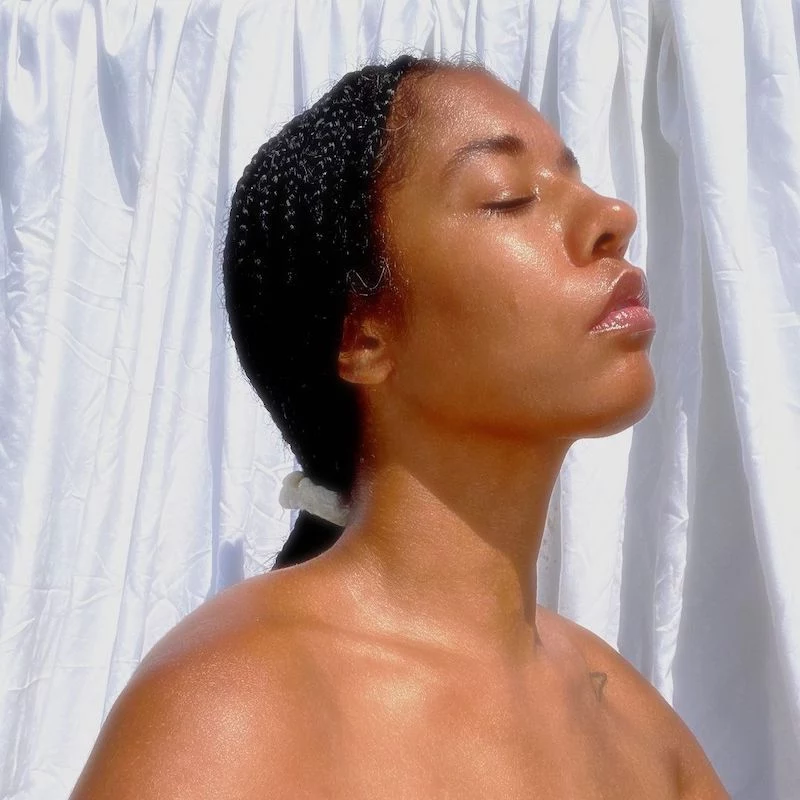
That on-screen glow came down to two things: locking in moisture and playing with light. The pros back then used what we’d now call an “occlusive barrier.” Think of products like thick creams or balms. They don’t really add moisture; they create a shield on top of your skin that stops the water already in there from evaporating. This keeps the skin looking plump, hydrated, and super smooth.
The other part is just physics. A smooth, slightly dewy surface reflects light in a soft, flattering way—totally different from the sharp sparkle of a glittery highlighter. There’s a famous story about one silver-screen icon who wouldn’t remove the fine vellus hair, or “peach fuzz,” on her face. Coated in a moisturizing base, this fuzz would catch the studio lights and create a dreamy, soft-focus halo that you just can’t get with powder. It was a unique texture that the camera absolutely adored.
How to Get the Look Today (Without Using Vaseline!)
In my kit, creating a glowing base is a step-by-step process. We can learn from the old-school method and give it a modern, skin-friendly update.
First things first, you can’t lock in moisture that isn’t there. Always start with hydrating products on damp skin. A simple hyaluronic acid serum is perfect for this. It pulls moisture into the top layer of your skin, giving your occlusive something to seal in.
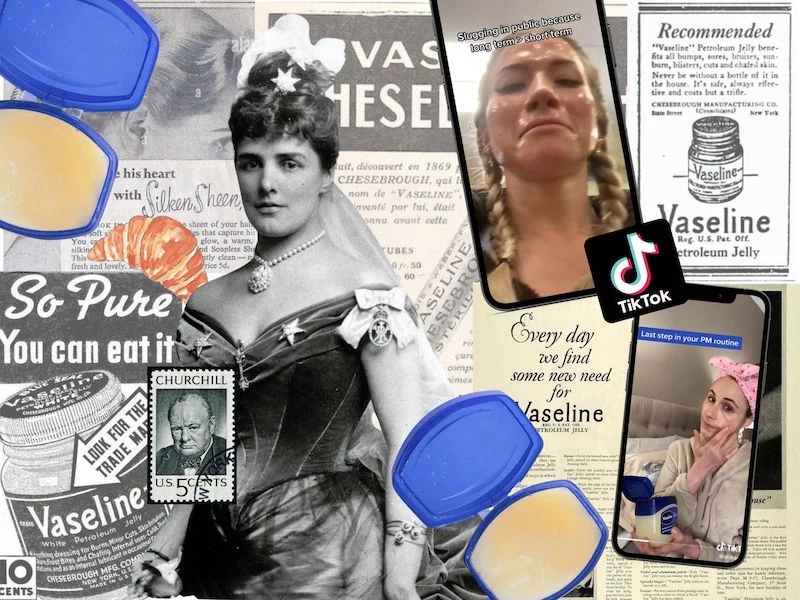
Next, let’s talk about that barrier. While the old-school trick of using petroleum jelly works, it can feel heavy and might clog pores for some people. A common mistake is slathering it on, which can lead to breakouts. Instead, I prefer non-comedogenic facial balms or oils with ceramides. A great budget-friendly choice is the CeraVe Healing Ointment, which you can find for under $15 at most drugstores. For a more luxurious feel, you could try a richer balm. The key is to use a very thin layer and press it into the skin, don’t just smear it.
The final modern touch is an illuminating primer. This gives you that “lit-from-within” effect in a much more controlled way. I apply a liquid illuminator to the high points of the face—cheekbones, bridge of the nose, brow bone—before foundation. For an affordable option, the L’Oréal Lumi Glotion (around $12) is fantastic. If you want to splurge, the Charlotte Tilbury Hollywood Flawless Filter is a cult favorite for a reason.
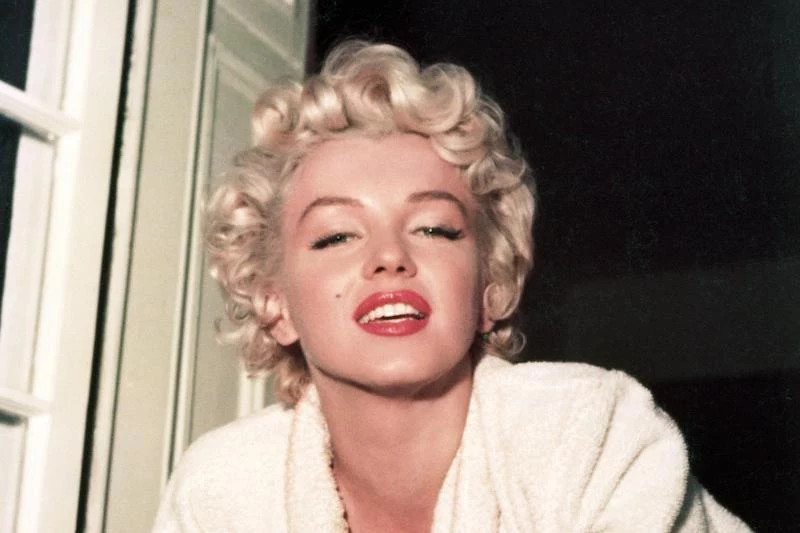
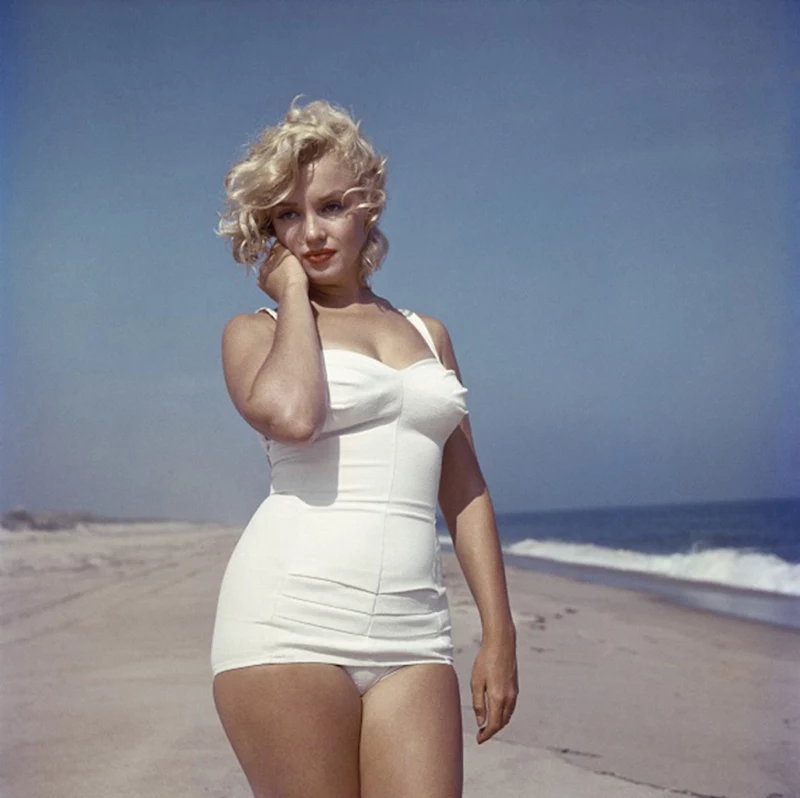
Oh, and one last thing… the number one rule for amazing skin was avoiding the sun. In an era obsessed with tanning, the most famous blondes protected their pale skin religiously. From my experience, this is the most important thing you can do for your skin’s health. UV damage is no joke. So, sunscreen isn’t optional. A broad-spectrum SPF 30 (or higher) is non-negotiable, every single day.
Heads up! Before you try this layering technique (often called “slugging”), please do a patch test. Apply a little bit behind your ear and wait 24 hours to check for a reaction. If you have oily or acne-prone skin, this method might not be for you, as it can trap oil and bacteria. In that case, stick to lightweight hydrators and a good liquid highlighter.
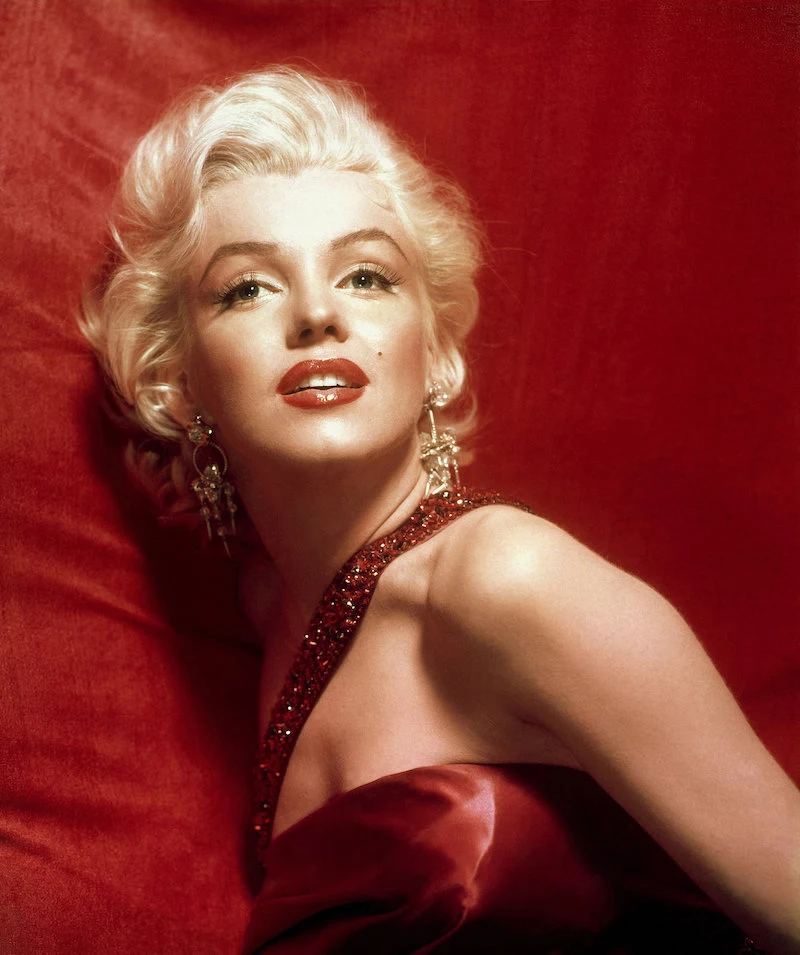
2. The Iconic Lip: More Than Just Red Lipstick
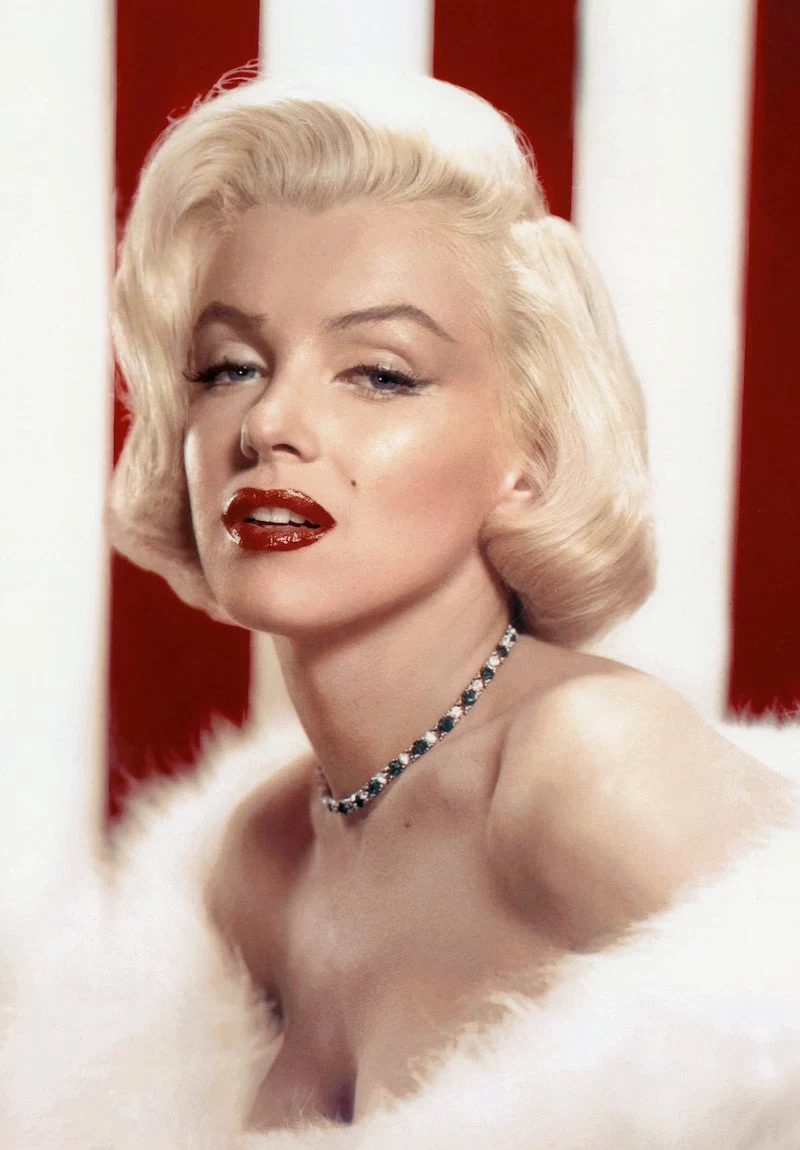
The legend is true: the iconic Hollywood red lip was often created using up to five different shades of red. This wasn’t just for show; it was a masterful technique using color theory to build shape and dimension. It’s basically facial contouring, but for your lips.
The 3D Lip, Deconstructed
The principle is simple: dark colors recede, and light colors pop. By strategically placing different shades, the makeup artists of the day could sculpt a fuller, more perfectly shaped lip. Here’s how you can recreate it—give yourself a good 10-15 minutes the first time you try this. It’s a bit of a project, but the payoff is huge.
What you’ll need: To do this right, you’ll want a dark lip liner, a vibrant true-red lipstick, a lighter/brighter red lipstick, and a clear or shimmery gloss. For the liner, something like NYX Professional Makeup Slide On Lip Pencil in ‘Cabernet’ (under $10) or MAC’s ‘Brick’ (around $20) is perfect.
1. Prep is Everything. You can’t build a beautiful look on dry, flaky lips. Start with a gentle lip scrub, then apply a thin layer of balm. Let it sink in for a minute, then blot off any excess. A clear lip primer will also help prevent the color from feathering.
2. Draw the Blueprint. Using your darker lip pencil, carefully outline your lips. You can slightly overline the cupid’s bow and the very center of your bottom lip to add fullness. But here’s a pro tip: keep the liner tight to your natural lip line at the outer corners. Overlining the whole mouth is a common pitfall that looks unnatural.
3. Contour the Corners. With your darkest red lipstick (a deep burgundy or brick red) and a small lip brush, fill in the outer corners. Blend the color slightly inward.
4. Add the Main Color. Now, take your vibrant, true red and fill in the middle of your lips, leaving the very center bare. Use your brush to gently feather the edge where the two reds meet for a soft gradient.
5. The Center Highlight. Dab your lightest, brightest red onto the very center of your bottom lip and a tiny touch on the peaks of your cupid’s bow. This is what creates that 3D pop.
6. The Final Gloss. For that ultimate bombshell finish, add a single dot of clear or pearlescent gloss right in the middle of your bottom lip. This final touch of high shine is the secret weapon.
Quick Tip for Skin Tones: For a classic vibe, blue-based reds are stunning on cooler skin tones. If you have a warmer complexion, a brick-red or even an orange-based red will be incredibly flattering as your main shade.
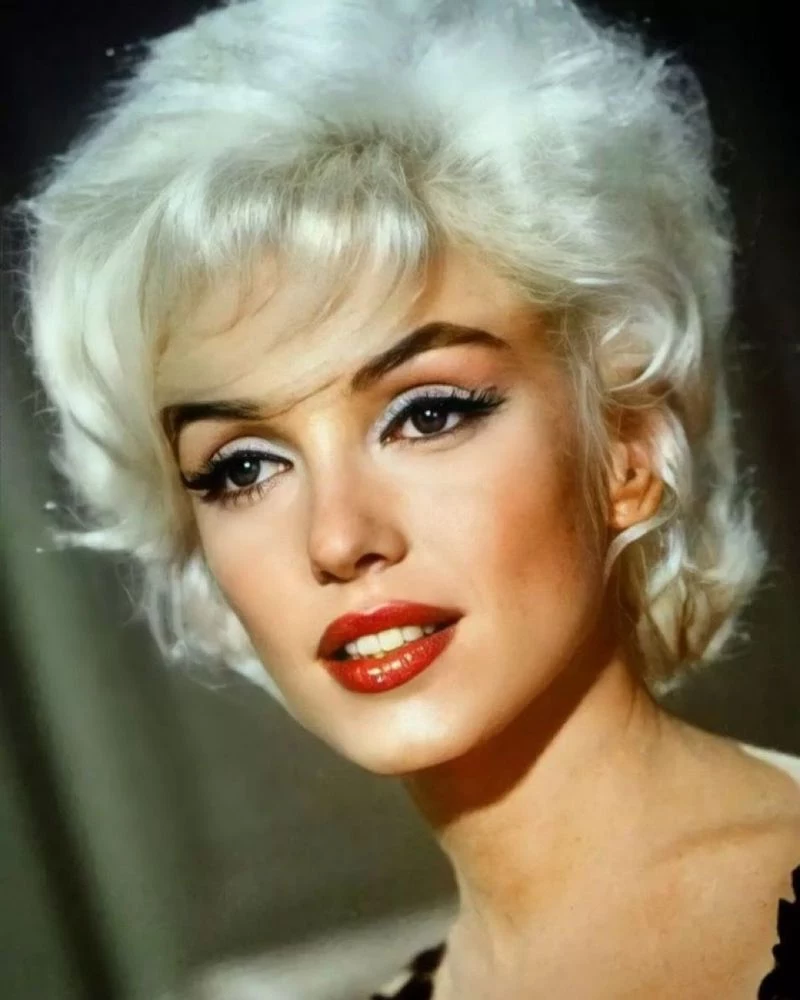
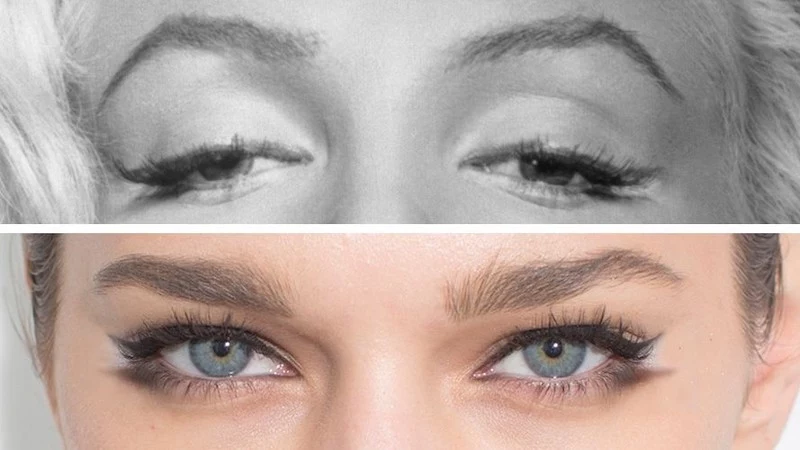
3. The Elongated Eye: A Trick of Geometry
The classic Hollywood eye makeup was all about elongating the eye for a sultry, lifted look. People call it a “cat-eye,” but it was softer and more horizontal than the sharp, flicked-up liner we see today. It also involved a super clever shadow trick to create depth.

How to Build the Shape
This look is all about illusion. You’ll need a creamy white or vanilla eyeshadow, a neutral brown shadow, a dark eyeliner pencil, and a pair of half-lashes.
1. The Bright Base. The whole eyelid, from lash line to brow, was often washed with a creamy white shadow. This made the eyes pop on black-and-white film. A modern take is to use an eyeshadow primer followed by a matte vanilla shadow to create a bright, clean canvas.
2. The Lifted Crease. Here’s a trick used by many silver-screen icons. Instead of placing shadow in their natural crease, artists would sketch a new, higher socket line with a soft brown or taupe shadow. This creates the illusion of a larger, more deep-set eye. (Quick tutorial: Look straight into a mirror, and with a small brush, place the shadow just above your natural socket. This is especially helpful for hooded eyes, as it creates a visible crease when your eye is open!)
3. The Horizontal Liner. Using a black or dark brown pencil, draw a line along your upper lash line. When you get to the outer corner, extend the line straight out, not up. It should follow the general angle of your lower lash line. This horizontal line is what creates that signature elongated shape. Smudge it slightly for softness.
4. The Shadow Wing. This is the genius part. Instead of lining the lower waterline, which can make eyes look smaller, the pros used a tiny angled brush and some brown shadow. They’d draw a tiny, soft wing extending from the outer corner of the lower lash line, running parallel to the upper liner but not touching it. This creates the illusion that your lower lashes are so full they’re casting a shadow. It’s brilliant.
5. The Half-Lash. Forget heavy full strips. This look almost always used a half-lash. Just take a regular strip lash and snip it in half with some small scissors. Apply the outer half to the outer corner of your eye. This gives you lift and drama right where you need it without weighing down your whole eye.
In a Rush? For an everyday version, just do the horizontal liner and the lower lash shadow trick. It takes less than two minutes and gives you 80% of the effect!
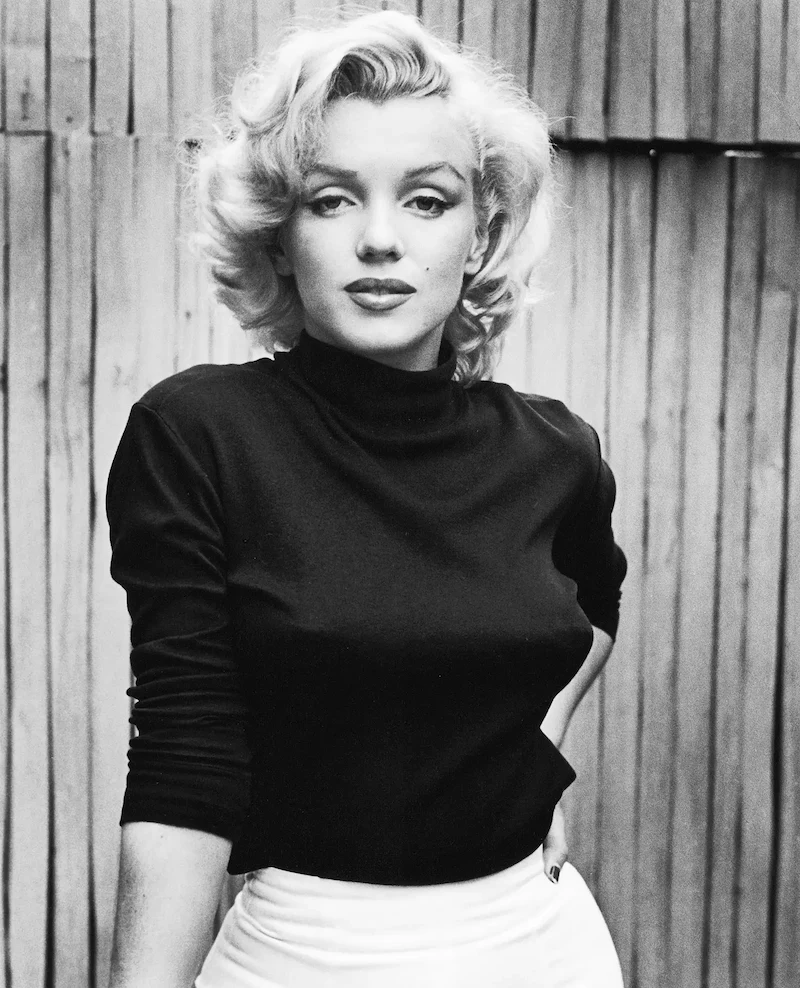
4. The Platinum Standard: A Serious Reality Check
That famous platinum blonde hair was central to the whole image. Stories say the touch-ups happened every few weeks, with dry shampoo used on the roots in between. As a professional who has worked with top colorists my entire career, I have to be crystal clear: this was an incredibly aggressive and damaging process that should absolutely NOT be tried at home.
A Professional’s Stern Warning
I cannot stress this enough: do not attempt this level of lightening yourself. To lift dark hair to platinum blonde requires powerful chemicals that permanently break the bonds that give your hair strength. Doing this frequently guarantees damage and breakage.
This is a job for a highly experienced, licensed colorist. A pro will use bond-building additives in their formulas (like Olaplex or K18, which you’ve probably heard of) that act like an insurance policy for your hair’s internal structure. They’ll also use precise application techniques to avoid re-bleaching already fragile hair. A good colorist can also create custom toners to achieve that perfect shade of blonde without turning it into a flat, one-dimensional color.
So please, if you dream of going platinum, invest in a consultation with a top-tier professional. Your hair will thank you.
Inspirational Gallery
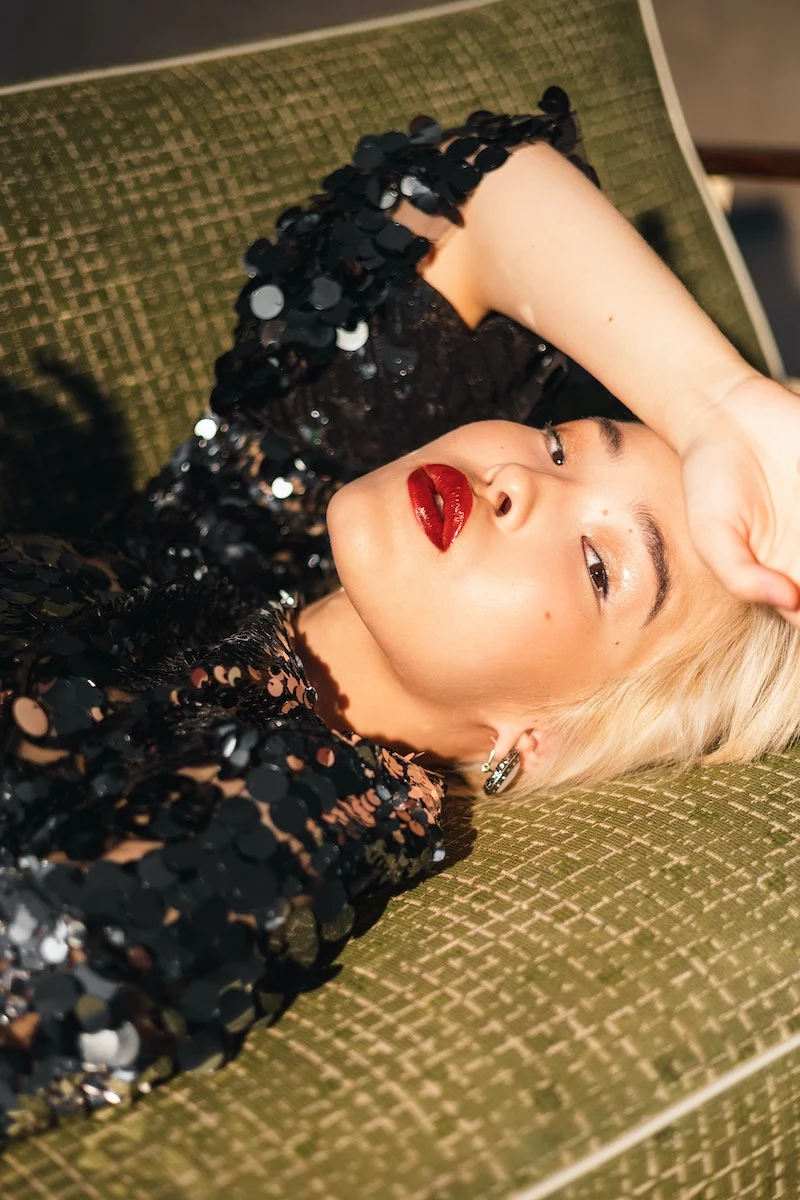
Creating the iconic, dimensional red lip of the era was a multi-step process. It wasn’t just one color, but a careful blend to create fullness and shape.
- Outline & Overdraw: Use a lip pencil slightly darker than your lipstick, like MAC’s ‘Cherry’, to define and slightly round the Cupid’s bow.
- Fill with Color: Apply a vibrant true red lipstick, such as Besamé Cosmetics’ ‘1946 Red Velvet’, focusing on the center of the lips.
- Highlight: Add a tiny dot of concealer or a shimmery white eyeshadow right in the center of the bottom lip and blend. This creates the illusion of a fuller, more pillowy pout.
To achieve the perfect Hollywood eye, makeup artist Max Factor famously used his ‘Beauty Calibrator’—a complex device designed to measure facial structure down to the millimeter. This proves that the iconic looks of the era were less about trends and more about customized facial architecture.
How did they create that soft-focus glow without modern highlighters?
It was all about emollient textures. Makeup artists would strategically tap a thin layer of petroleum jelly or a rich cold cream onto the high points of the face—cheekbones, brow bones, and the bridge of the nose—after powdering. This created a subtle, dewy sheen that looked incredible under studio lights. The modern equivalent is a clear balm or a non-sparkly liquid illuminator like Charlotte Tilbury’s Hollywood Flawless Filter, which gives a similar ‘lit-from-within’ effect without the greasiness.
The Vintage ‘Glow’: Achieved with thick moisturizers or even Vaseline patted on cheekbones. This created a genuine dewy reflection, but could feel heavy and break down makeup over a long day.
The Modern Illuminator: Uses finely milled pearlescent particles suspended in a lightweight liquid or cream base. It offers more control, better longevity, and a less greasy feel.
For an authentic look with modern performance, opt for a balm highlighter like the one from Merit Beauty.
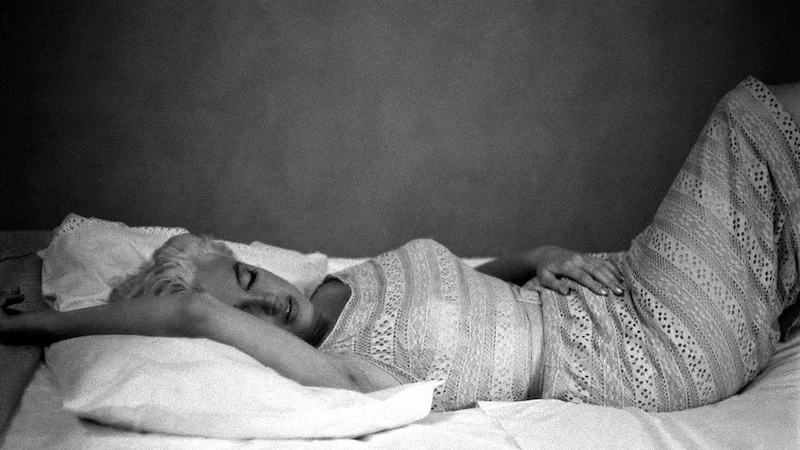
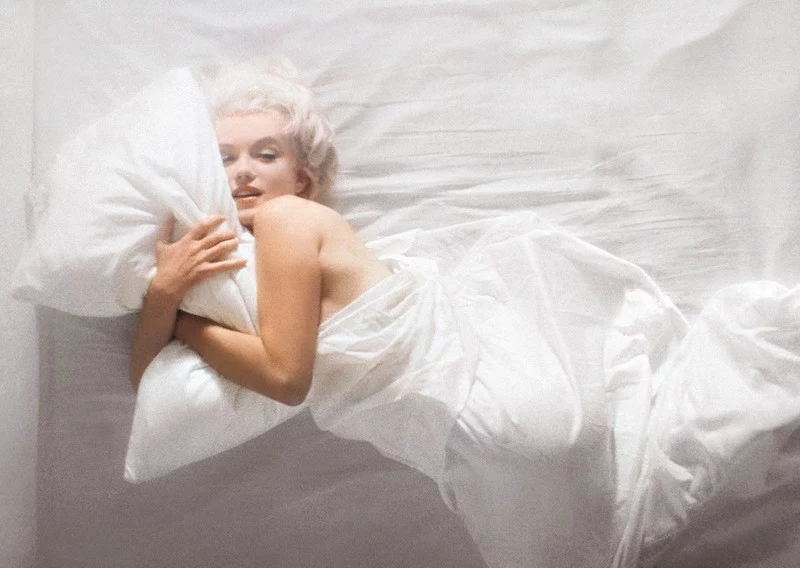
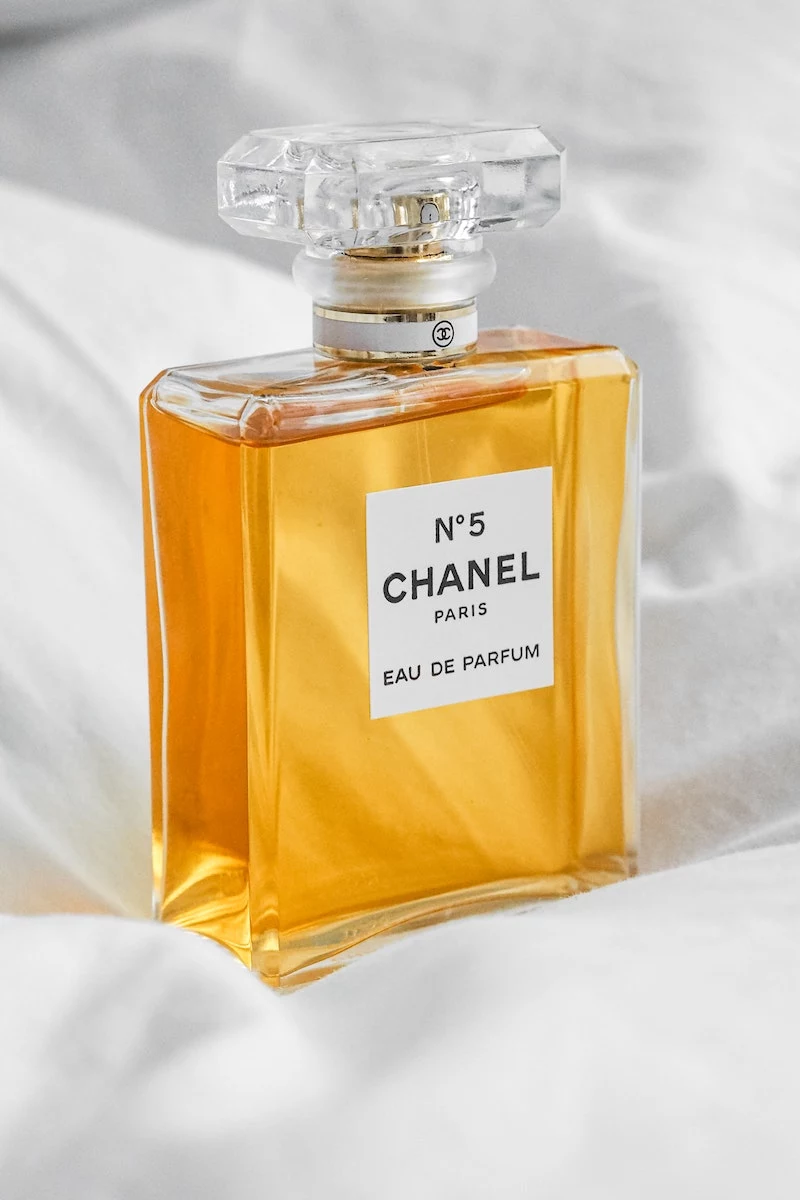
The final, invisible layer of the Hollywood transformation was always the fragrance. It completed the character. When Marilyn Monroe was famously asked what she wore to bed, her answer—
- A flawless, velvety complexion that looked poreless on camera.
- Makeup that remained perfectly in place for hours under hot studio lights.
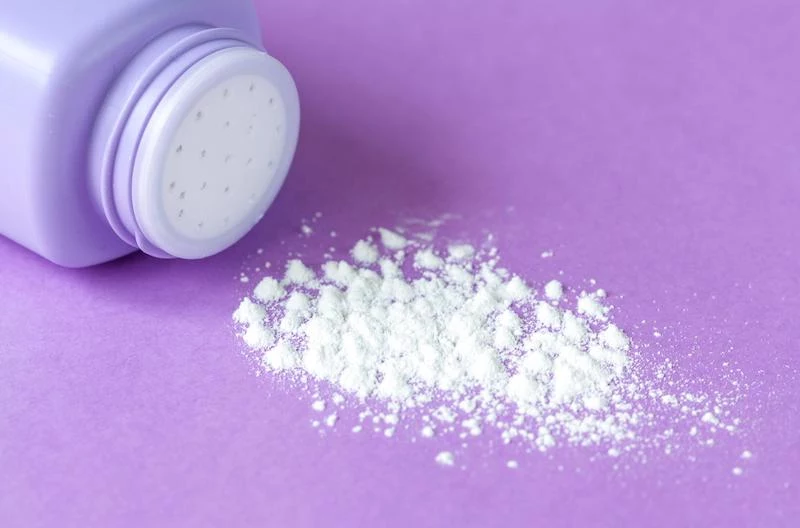
The secret? The original ‘baking’ technique. A generous amount of loose, finely-milled powder, like the classic Coty Airspun, was pressed firmly onto the t-zone and under the eyes with a puff, left to ‘cook’ for several minutes, and then the excess was gently swept away with a soft brush.
According to makeup historian Rachel Weingarten, the iconic winged liner wasn’t a one-size-fits-all look. Sophia Loren’s liner extended outward to elongate her eyes, while Audrey Hepburn’s flick was directed upward to enhance her doe-eyed innocence.
This reveals a key principle: the ‘cat eye’ was a tool for correction and enhancement, not just a style. The angle and thickness were meticulously adjusted to an actress’s unique eye shape, either lifting, widening, or elongating for the camera.
A common mistake: Believing a strong contour is the key to the Hollywood look. In reality, the sculpting was often incredibly subtle. Instead of harsh brown stripes, artists used soft grey-toned powders or a foundation two shades deeper than the base to create soft shadows, shaping the face for the unforgiving contrast of black and white film.


