The Real Reason Your Hardwood Floors Look Dull (And How to Actually Clean Them)
After spending a couple of decades installing and finishing wood floors, I’ve seen it all. I’ve seen gorgeous, traditional floors brought back from the brink, and I’ve seen brand-new floors totally ruined in less than a year. And honestly? The most common culprit isn’t neglect—it’s cleaning them with the wrong stuff.
In this article
People spend good money on fancy cleaners or use old “tried-and-true” home remedies, not realizing they’re slowly stripping away the floor’s protective layer. It’s a classic case of trying to help but accidentally making things worse.
So, here’s the secret: when you clean your hardwood, you’re not really cleaning the wood. You’re cleaning the finish on top of the wood. That finish is its armor. Your job is to clean the armor without denting it. Before you do anything else, you absolutely have to know what kind of finish you’re dealing with.
First Things First: What Are You Walking On?
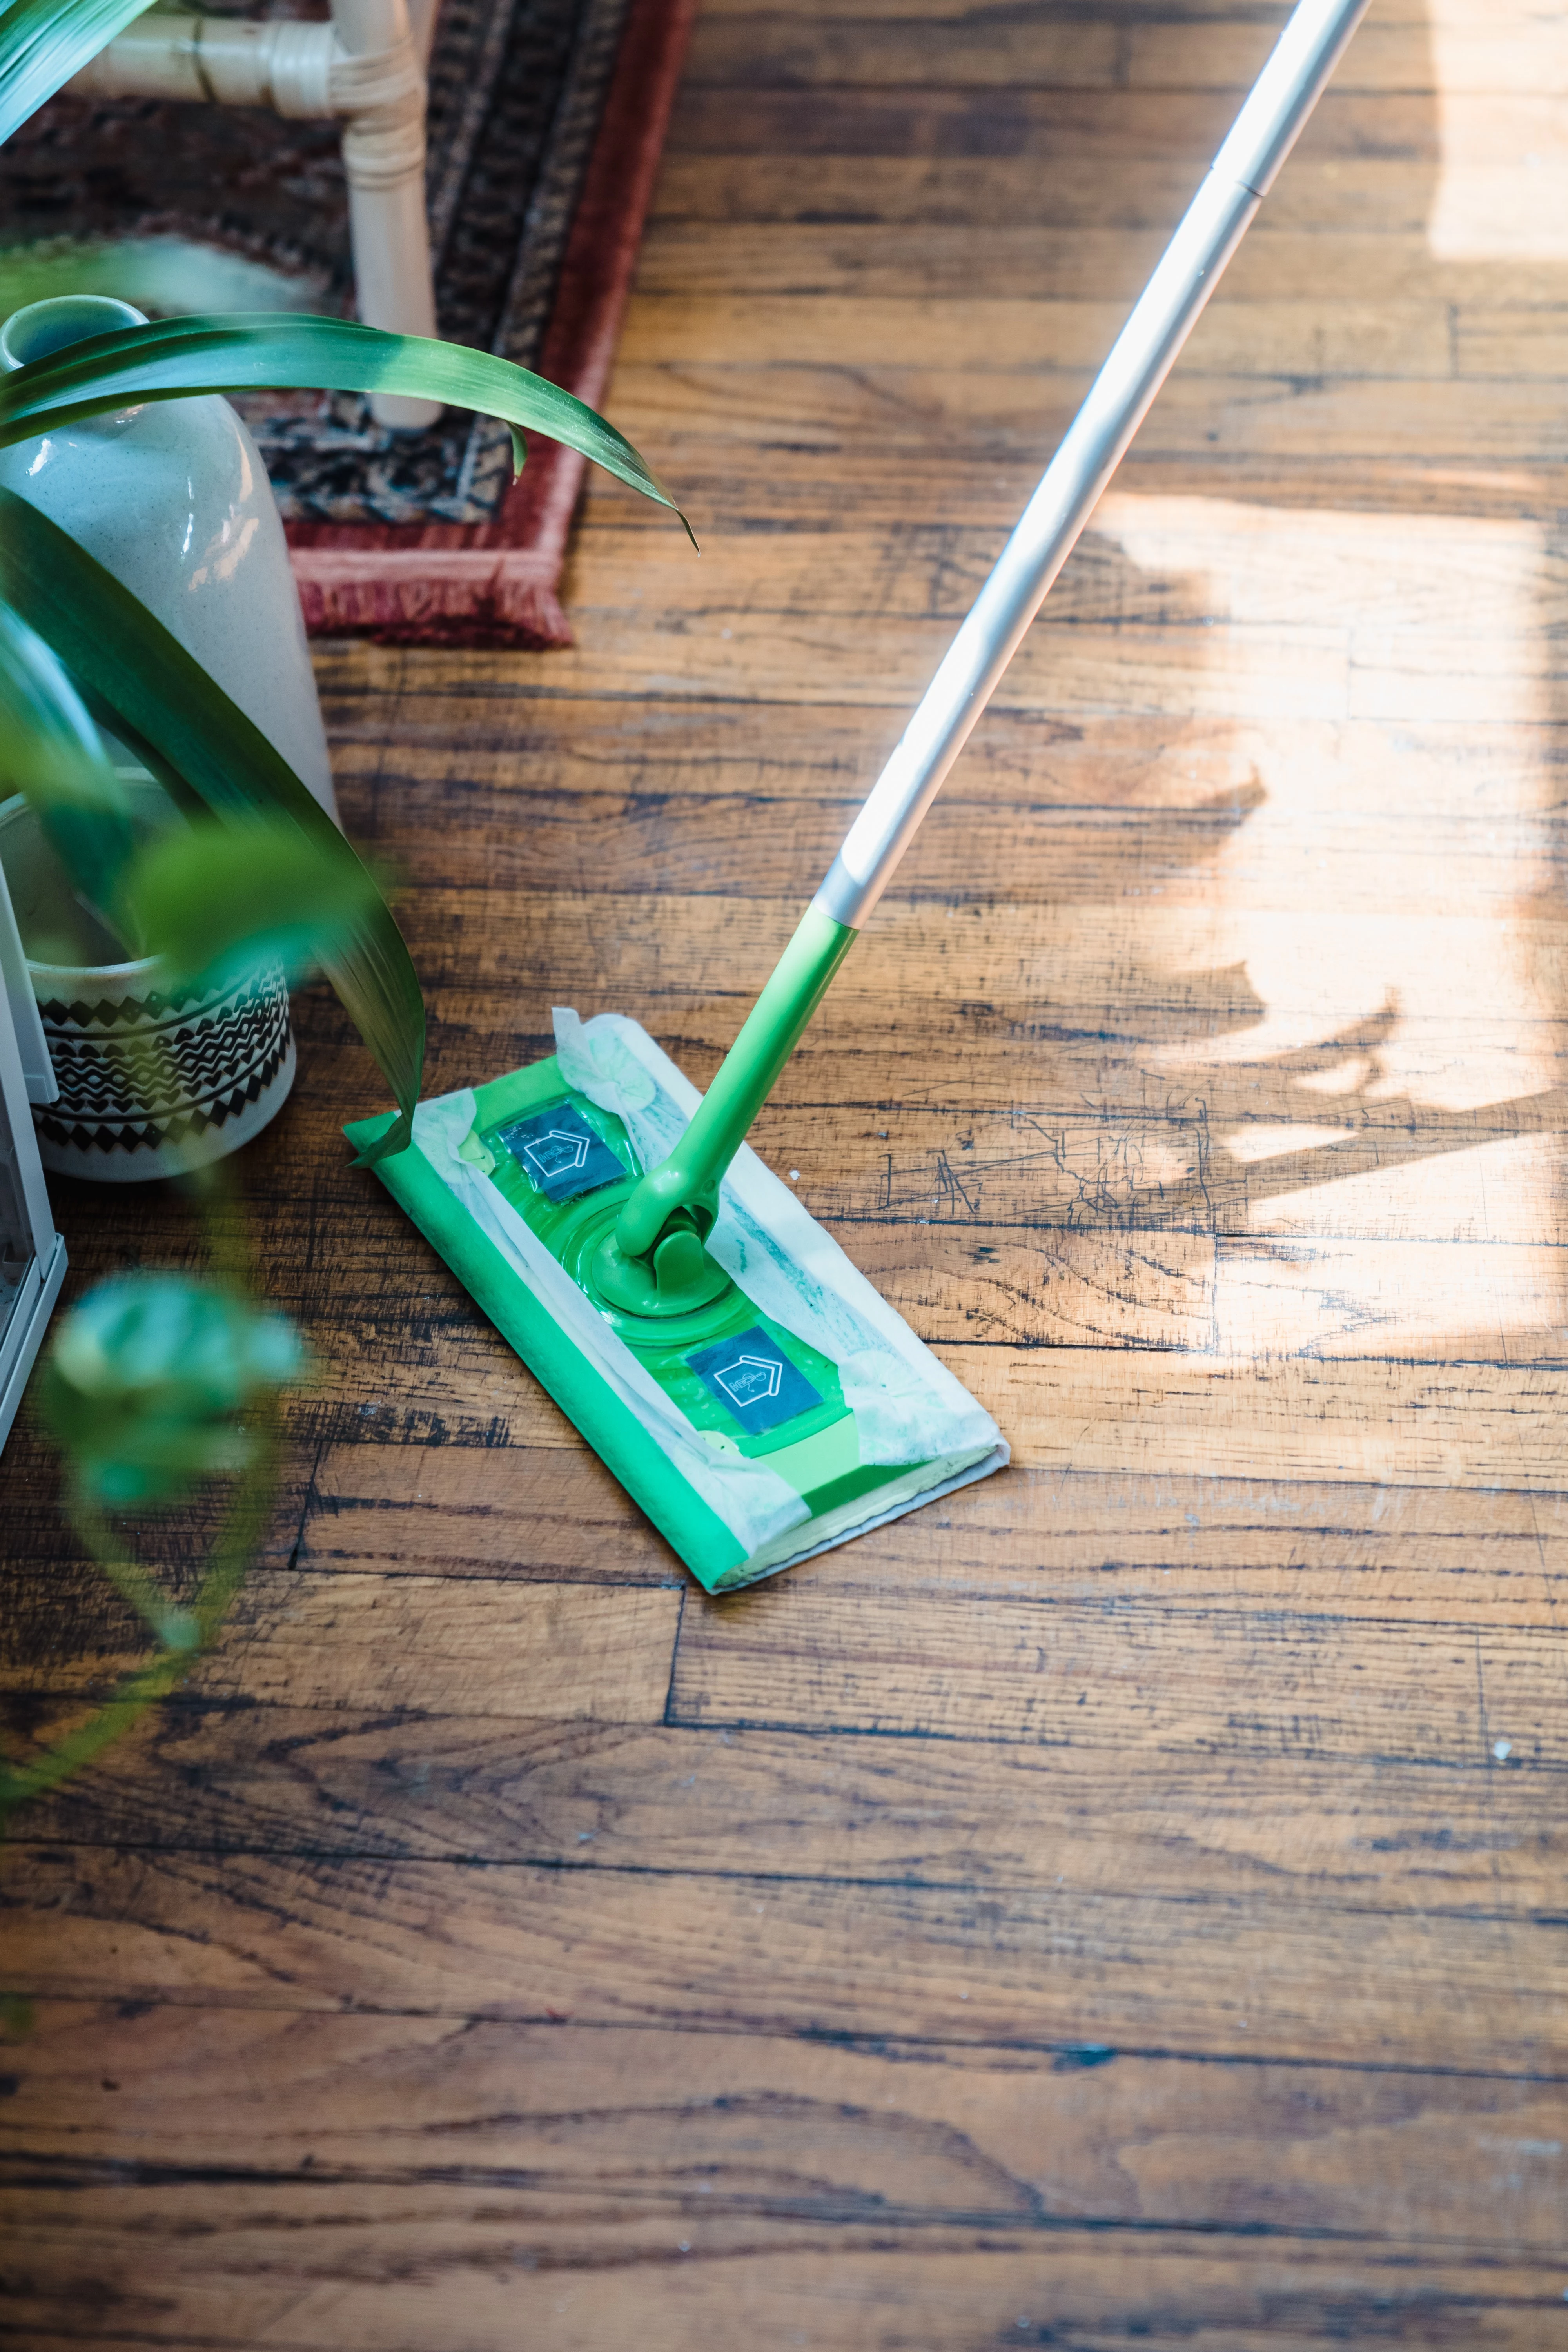
Wood is basically a natural sponge. If you pour water on unfinished wood, it soaks it right up, swells, and gets weird. The whole point of a floor finish is to create a barrier to stop that from happening. When that barrier gets damaged, the wood underneath is a sitting duck. This is why a steam mop is a wood floor’s worst enemy—it shoves hot moisture right past the finish, causing peeling, warping, and all sorts of ugliness.
In most homes today, you’ll find one of two types of finish:
- Surface Finishes: This is what most people have. Think of polyurethane or similar modern sealants. They create a clear, protective layer on top of the wood, kind of like the clear coat on a car. These floors usually have a noticeable sheen, from a soft satin to a shiny gloss. They feel smooth to the touch. The big plus here is durability, but deep scratches can be a pain to fix without professional help.
- Penetrating Finishes: These are your more traditional oil and hardwax finishes. Instead of sitting on top, the oil soaks into the wood grain and hardens from within. These floors have a beautiful, natural, low-sheen look. You can often feel the actual texture of the wood grain under your feet. They need a bit more specific care, but the huge advantage is that you can often spot-repair scratches and wear yourself.
Quick Test: Not sure what you have? Go find a hidden spot, like inside a closet. Put a single drop of water on the floor and watch it for a few minutes. If the water beads up and just sits there, you’ve got a modern surface finish. If it slowly soaks in and creates a slightly darker spot, you’re looking at a penetrating oil finish. Easy, right? Now you know exactly how to treat it.
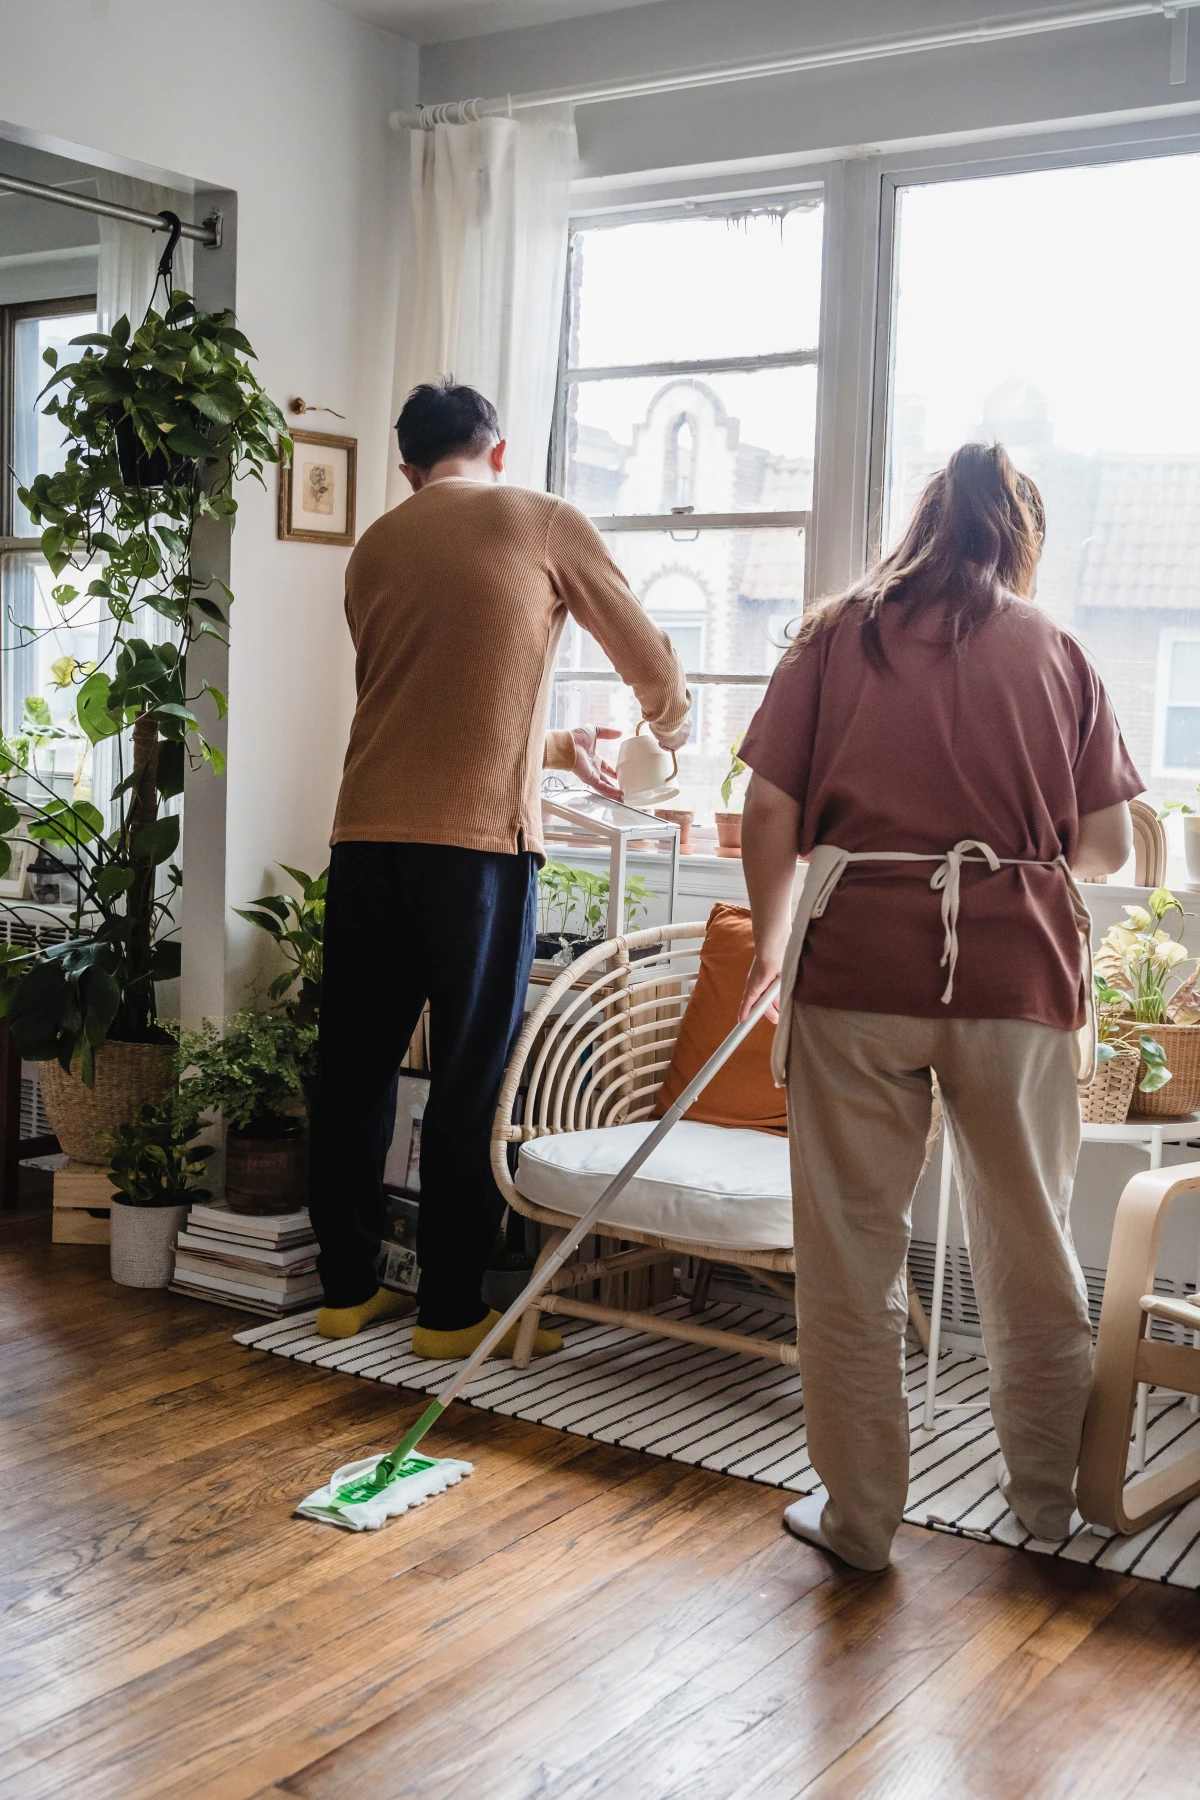
The 5-Minute Trick That Saves Your Floors
Before we even talk about mops and buckets, let’s talk about the single most important thing you can do for your floors. It’s not a deep clean; it’s a quick daily sweep-up.
Get a good microfiber dust mop. One of those wide, flat ones will run you between $20 and $40 at places like Target or online, and it’s the best money you’ll ever spend on floor care. The microfiber is electrostatically charged, so it literally grabs and holds onto dust, pet hair, and tiny grit instead of just pushing it around. A quick pass over your high-traffic areas every day takes less than five minutes and prevents 90% of the tiny scratches that make a finish look dull over time. Seriously, do this one thing and your floors will love you for it.
How to Clean a Modern Surface Finish (Like Polyurethane)
For most people with a standard surface-sealed floor, the goal is simple: get the abrasive dirt off, then clean the surface without leaving behind moisture or a sticky residue. Here’s the pro-level method, broken down.

Step 1: Get the Grit Gone (The Dry Part)
I can’t stress this enough: you must get all the sand and grit off the floor before any liquid touches it. If you don’t, you’re basically mopping with liquid sandpaper. Every wipe grinds those little particles into your finish, creating a hazy, scratched-up mess over time.
Your best tools for this are either your trusty microfiber dust mop or a vacuum with a dedicated hard floor head. Make sure the vacuum head has soft bristles. And a heads-up: NEVER use a vacuum’s beater bar or rotating brush on a wood floor. That spinning brush is for carpets, and it will leave little dents and scratches all over your finish.
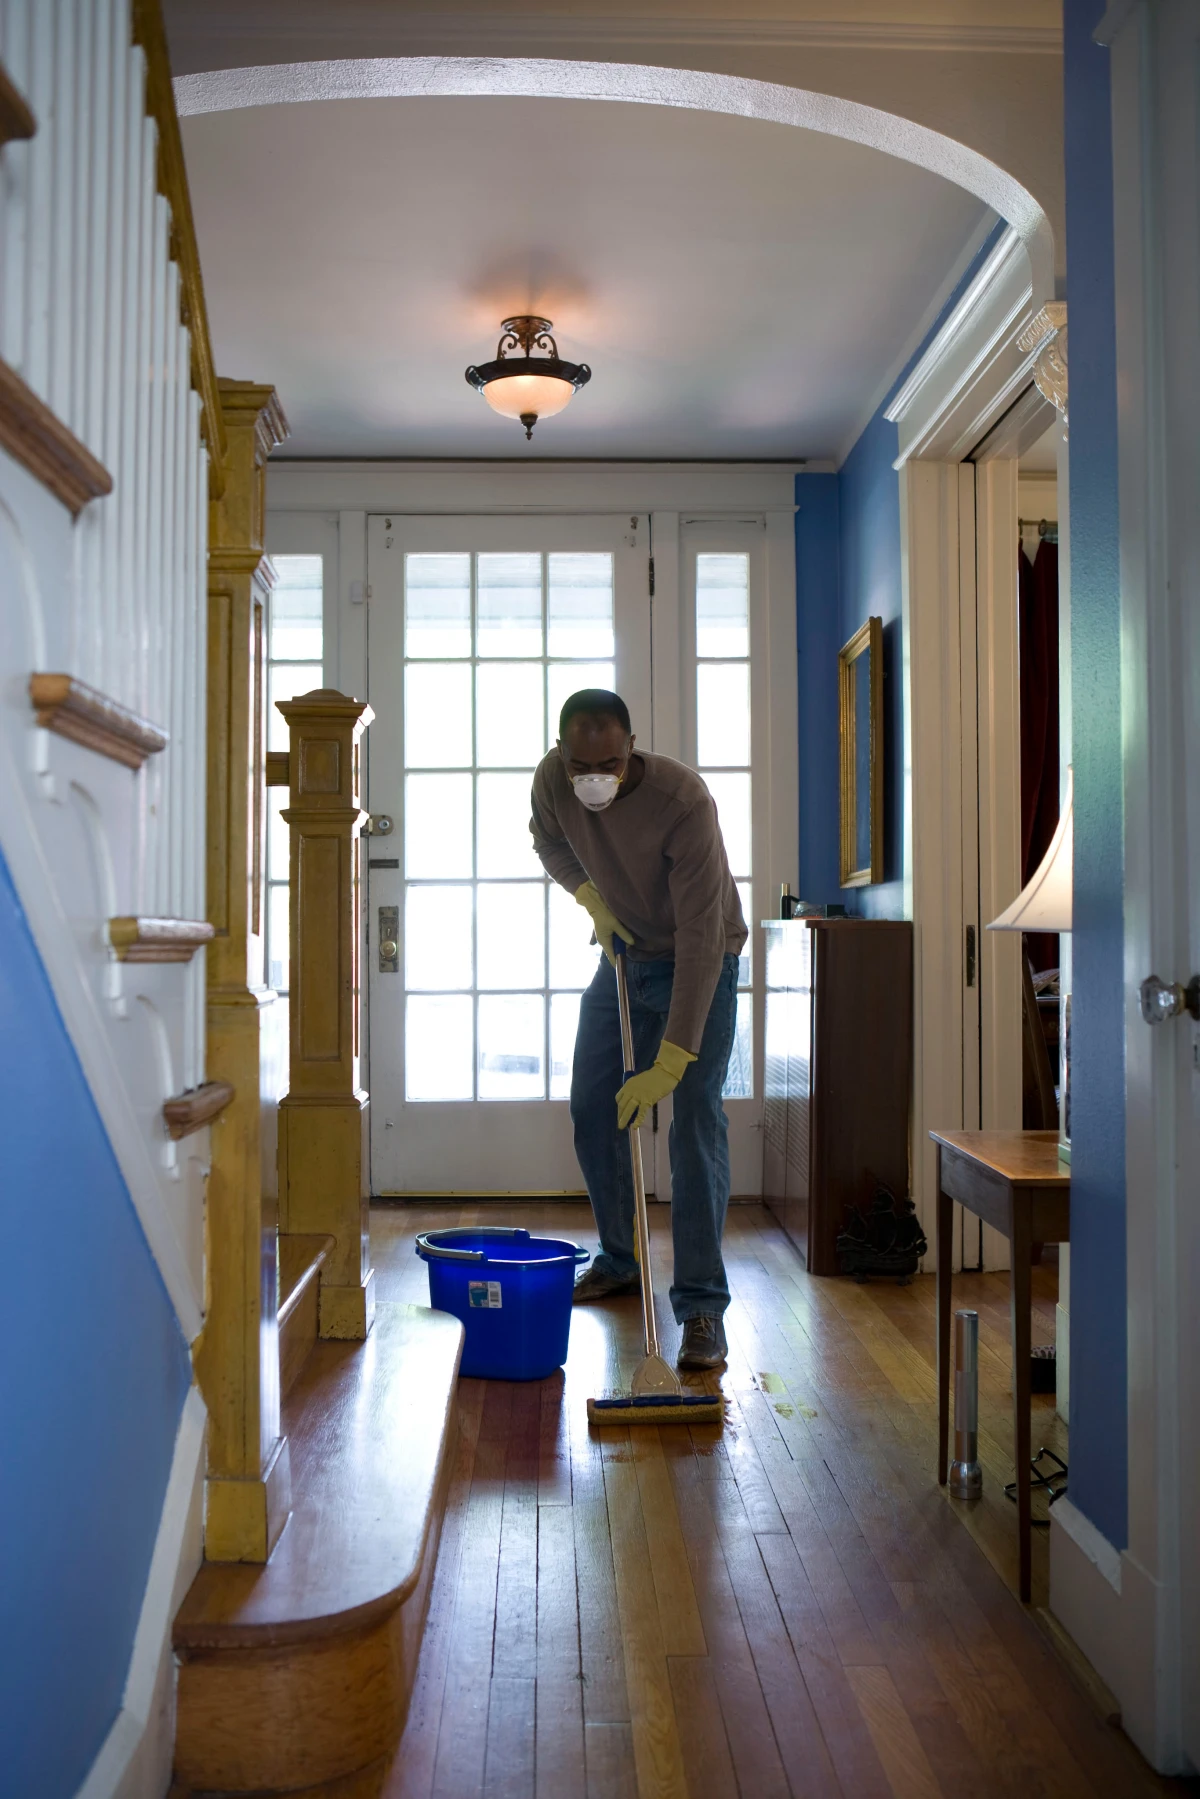
Step 2: The Two-Bucket Damp Mop
Notice I said damp mop, not wet. A correctly wrung-out mop should feel almost dry. If you can squeeze water out of it with your hands, it’s way too wet. This is where the two-bucket system is a total game-changer.
Here’s what you need:
- Two buckets (any cheap buckets will do).
- A quality microfiber mop.
- A pH-neutral hardwood floor cleaner.
- Warm water.
The Method:
- Prep Your Buckets: Fill bucket
1 with your cleaning solution, mixed exactly as the label says. (Pro tip: using extra cleaner doesn’t work better, it just leaves a sticky film that attracts more dirt). Fill bucket
2 with plain, clean rinse water.
- Dunk, Wring, Mop: Dip your mop in the cleaning solution, then dunk it in the rinse water bucket and wring it out until it’s nearly dry. Mop a small section of the floor, always going with the grain of the wood.
- Rinse and Repeat: Now, rinse the dirty mop in the plain water bucket. Swirl it around to get the grime off. Wring it out thoroughly. Then, dip it back in the cleaning solution, wring it out again, and move to the next section.
By the end, your cleaning solution will be pretty clean, and your rinse water will be disgusting. That’s how you know it worked. You weren’t just pushing dirty water around your house.
As for how often, aim to damp mop high-traffic areas like kitchens and entryways weekly. The whole house can probably be done every 2-4 weeks, depending on kids, pets, and general chaos.
Choosing Your Cleaner (This Is Important!)
Stick to cleaners made specifically for hardwood that have a neutral pH. Modern finishes are tough, but they don’t like acids (like vinegar) or high-alkaline cleaners. Over time, those will dull or even break down the finish. Look for trusted pro brands—you can find them at specialty flooring stores or online, and sometimes even at places like Home Depot. A good bottle of concentrated cleaner might cost you $15-$25, but it’ll last for months and won’t damage your investment.
Caring for Penetrating Oil & Wax Finishes
If your water-drop test revealed you have an oil-finished floor, your routine is different. These floors need to be nourished, not just cleaned. Never use a standard polyurethane cleaner on them.
You’ll want to use a special soap designed for oiled floors. These products contain a tiny bit of conditioning oil. So every time you clean, you’re also depositing a microscopic protective layer, refreshing the wood. The process is similar—dry mop first, then damp mop—but the product choice is everything.
Once a year or so, when the floor starts to look a little dry or “thirsty,” it will need a maintenance re-oiling. It’s more involved than a simple clean, but it’s something a homeowner can often handle themselves. That’s the beauty of oil: you can refresh and repair it without a full-blown sanding job.
Common Mistakes That Will Absolutely Wreck Your Floors
I consider it a public service to warn people about these. I’ve fixed floors damaged by every single one of these myths.
- Steam Mops: Just don’t. It’s a fast track to peeling finish and warped boards.
- Vinegar & Water: This is a persistent one. Vinegar is an acid. It won’t kill your floor overnight, but with repeated use, it chemically dulls the finish, making it weak and prone to scratching.
- Oil Soaps (on Polyurethane Floors): This is a BIG one. Products like Murphy Oil Soap were made for older types of finishes, not modern polyurethane. On a sealed floor, they leave an oily film that builds up, attracts dirt, and—here’s the killer—will cause any future coat of finish to fail. If you try to do a simple “screen and recoat,” the new finish will bead up and peel right off.
- Ammonia, Bleach, or Abrasive Powders: These are way too harsh. They will strip the finish right off and damage the wood.
By the way, what if you just realized you’ve been using an oil soap for years? First, stop immediately. You can try to remove the residue by mopping with a solution of water and a small amount of ammonia-free glass cleaner. But you MUST test it in a tiny, hidden spot first to make sure it doesn’t discolor your finish. If the buildup is really bad, you may need a pro to chemically strip the floor before it can ever be recoated.

Dealing with Scratches, Stains, and Spills
Life happens. Here’s the quick guide to damage control.
- Spills & Water Rings: Wipe up liquid immediately. If you get a white ring, it’s often moisture trapped in the top layer of finish. Sometimes, gently heating the spot with a hairdryer on low can make it disappear. If the spot is dark, water has gotten to the wood itself, which is a tougher fix.
- Pet Stains: This is the worst. The ammonia in pet urine can permanently blacken the wood. On an oiled floor, you might be able to sand and re-oil the spot. On a polyurethane floor, a dark stain almost always means that section of the floor needs to be professionally sanded down to raw wood and refinished.
- Scratches: For light scuffs on a polyurethane finish, you can often just buff them out with a tennis ball or a clean microfiber cloth. For deeper scratches that haven’t gone all the way through the finish, a pro can do a “screen and recoat.” We lightly sand the top layer and apply a fresh coat of polyurethane. It’s a fantastic way to make the whole floor look new again.
Good to know: a screen and recoat is a great refresh that typically costs around $1.50 to $2.50 per square foot. That’s way more affordable than a full sand and refinish, which can run you $4 to $7 per square foot or more.
At the end of the day, caring for your wood floor is about working smarter, not harder. A little daily prevention and using the right stuff for a deeper clean will keep it looking incredible for years to come. Protect your investment—it’s the foundation of your home, after all.
Inspiration:
For the Modern Sheen (Polyurethane Finish): Think of Bona Hardwood Floor Cleaner as the gold standard. It’s a go-to for professionals because its pH-neutral formula is incredibly effective at lifting dirt without leaving a dulling residue or harming the protective sealant. It’s the safe, reliable choice for most modern floors.
For the Natural Feel (Oil/Wax Finish): If you have a penetrating finish, you need a different approach. Products like WOCA Natural Soap are designed to both clean and nourish. This soap contains soy and coconut fats that leave an invisible, protective layer behind, reinforcing the oil in the wood with every wash. Using the wrong cleaner can strip these essential oils.
Ultimately, choosing between them isn’t about which is


