Don’t Paint Your Fence Until You Read This: A Pro’s Guide to Colors That Actually Last
It’s funny how we treat our fences. We’ll spend ages agonizing over the perfect front door color, but when it comes to the fence—that massive visual border around our entire property—we often just grab the first can we see. Let’s be honest, that’s a huge mistake that can cost you a ton of time and money down the road. A fence isn’t just a boundary; it’s a major part of your home’s curb appeal and a significant investment. The coating you choose is doing more than just adding color; it’s the only thing protecting the wood, vinyl, or metal from sun, rain, and everything in between.
In this article
Choosing the right color is less about fleeting trends and more about science, material stability, and, frankly, not creating a maintenance nightmare for yourself. I’ve learned this from years in the field, often while fixing messes left by the wrong product choice. I’ve seen beautiful, pricey cedar fences totally ruined in just a few seasons because of a poor coating. On the flip side, I’ve seen simple pine fences look fantastic for a decade because they were prepped and coated the right way. So, let’s walk through how a pro thinks about this.
Your 5-Minute Sanity Check
Before you do anything else—before you even pick a color—go outside and do this. Take a screwdriver and gently poke the base of your fence posts, especially near the ground. If the wood feels soft and spongy, you’ve got rot. No paint or stain on earth can fix that, and it’s much better to know now before you waste a weekend and hundreds of dollars. Problem found? You’ll need to look into replacing those sections first.
The Real Job of a Fence Coating: Fighting the Elements
Okay, before we get into specific shades, you have to understand what your fence is up against 24/7. Its two biggest enemies are the sun’s ultraviolet (UV) radiation and moisture. A good coating’s job is to manage both, and the color you pick is a key player in that battle.
Every color has something called a Light Reflectance Value (LRV), on a scale from 0 (think pure, absolute black) to 100 (pure white). This number simply tells you how much light a color reflects versus how much it absorbs. A color with an LRV of 10 absorbs a whopping 90% of light and its energy. And that energy turns directly into heat.
This is where the trouble really starts. A dark-colored fence can get incredibly hot. I’ve taken surface temperature readings on black-painted fences in the summer sun that were scorching hot—well over 150°F. A white fence right next to it might be a more reasonable 100°F. This huge heat difference has some serious consequences:
- On Wood Fences: Wood naturally expands and contracts with heat and humidity. A dark color cranks this movement up to eleven. The wood swells like crazy in the daytime heat and shrinks back rapidly as it cools overnight. This constant, extreme stress is what causes paint to crack and peel way too soon. It also wrecks the wood itself, causing it to warp, twist, and split.
- On Vinyl (PVC) Fences: Heads up! Vinyl is plastic, and when it gets too hot, it can soften, sag, or even permanently warp. Most standard vinyl fencing isn’t designed to be painted a dark color. If you absolutely must, you have to find paints specifically labeled “vinyl-safe.” These are made with special formulas to reduce heat absorption, but even then, I’d strongly advise against going too dark.
- On Metal Fences: While metal is more stable, a dark metal fence can become a legitimate safety hazard on a sunny day, especially if you have kids or pets who might touch it.
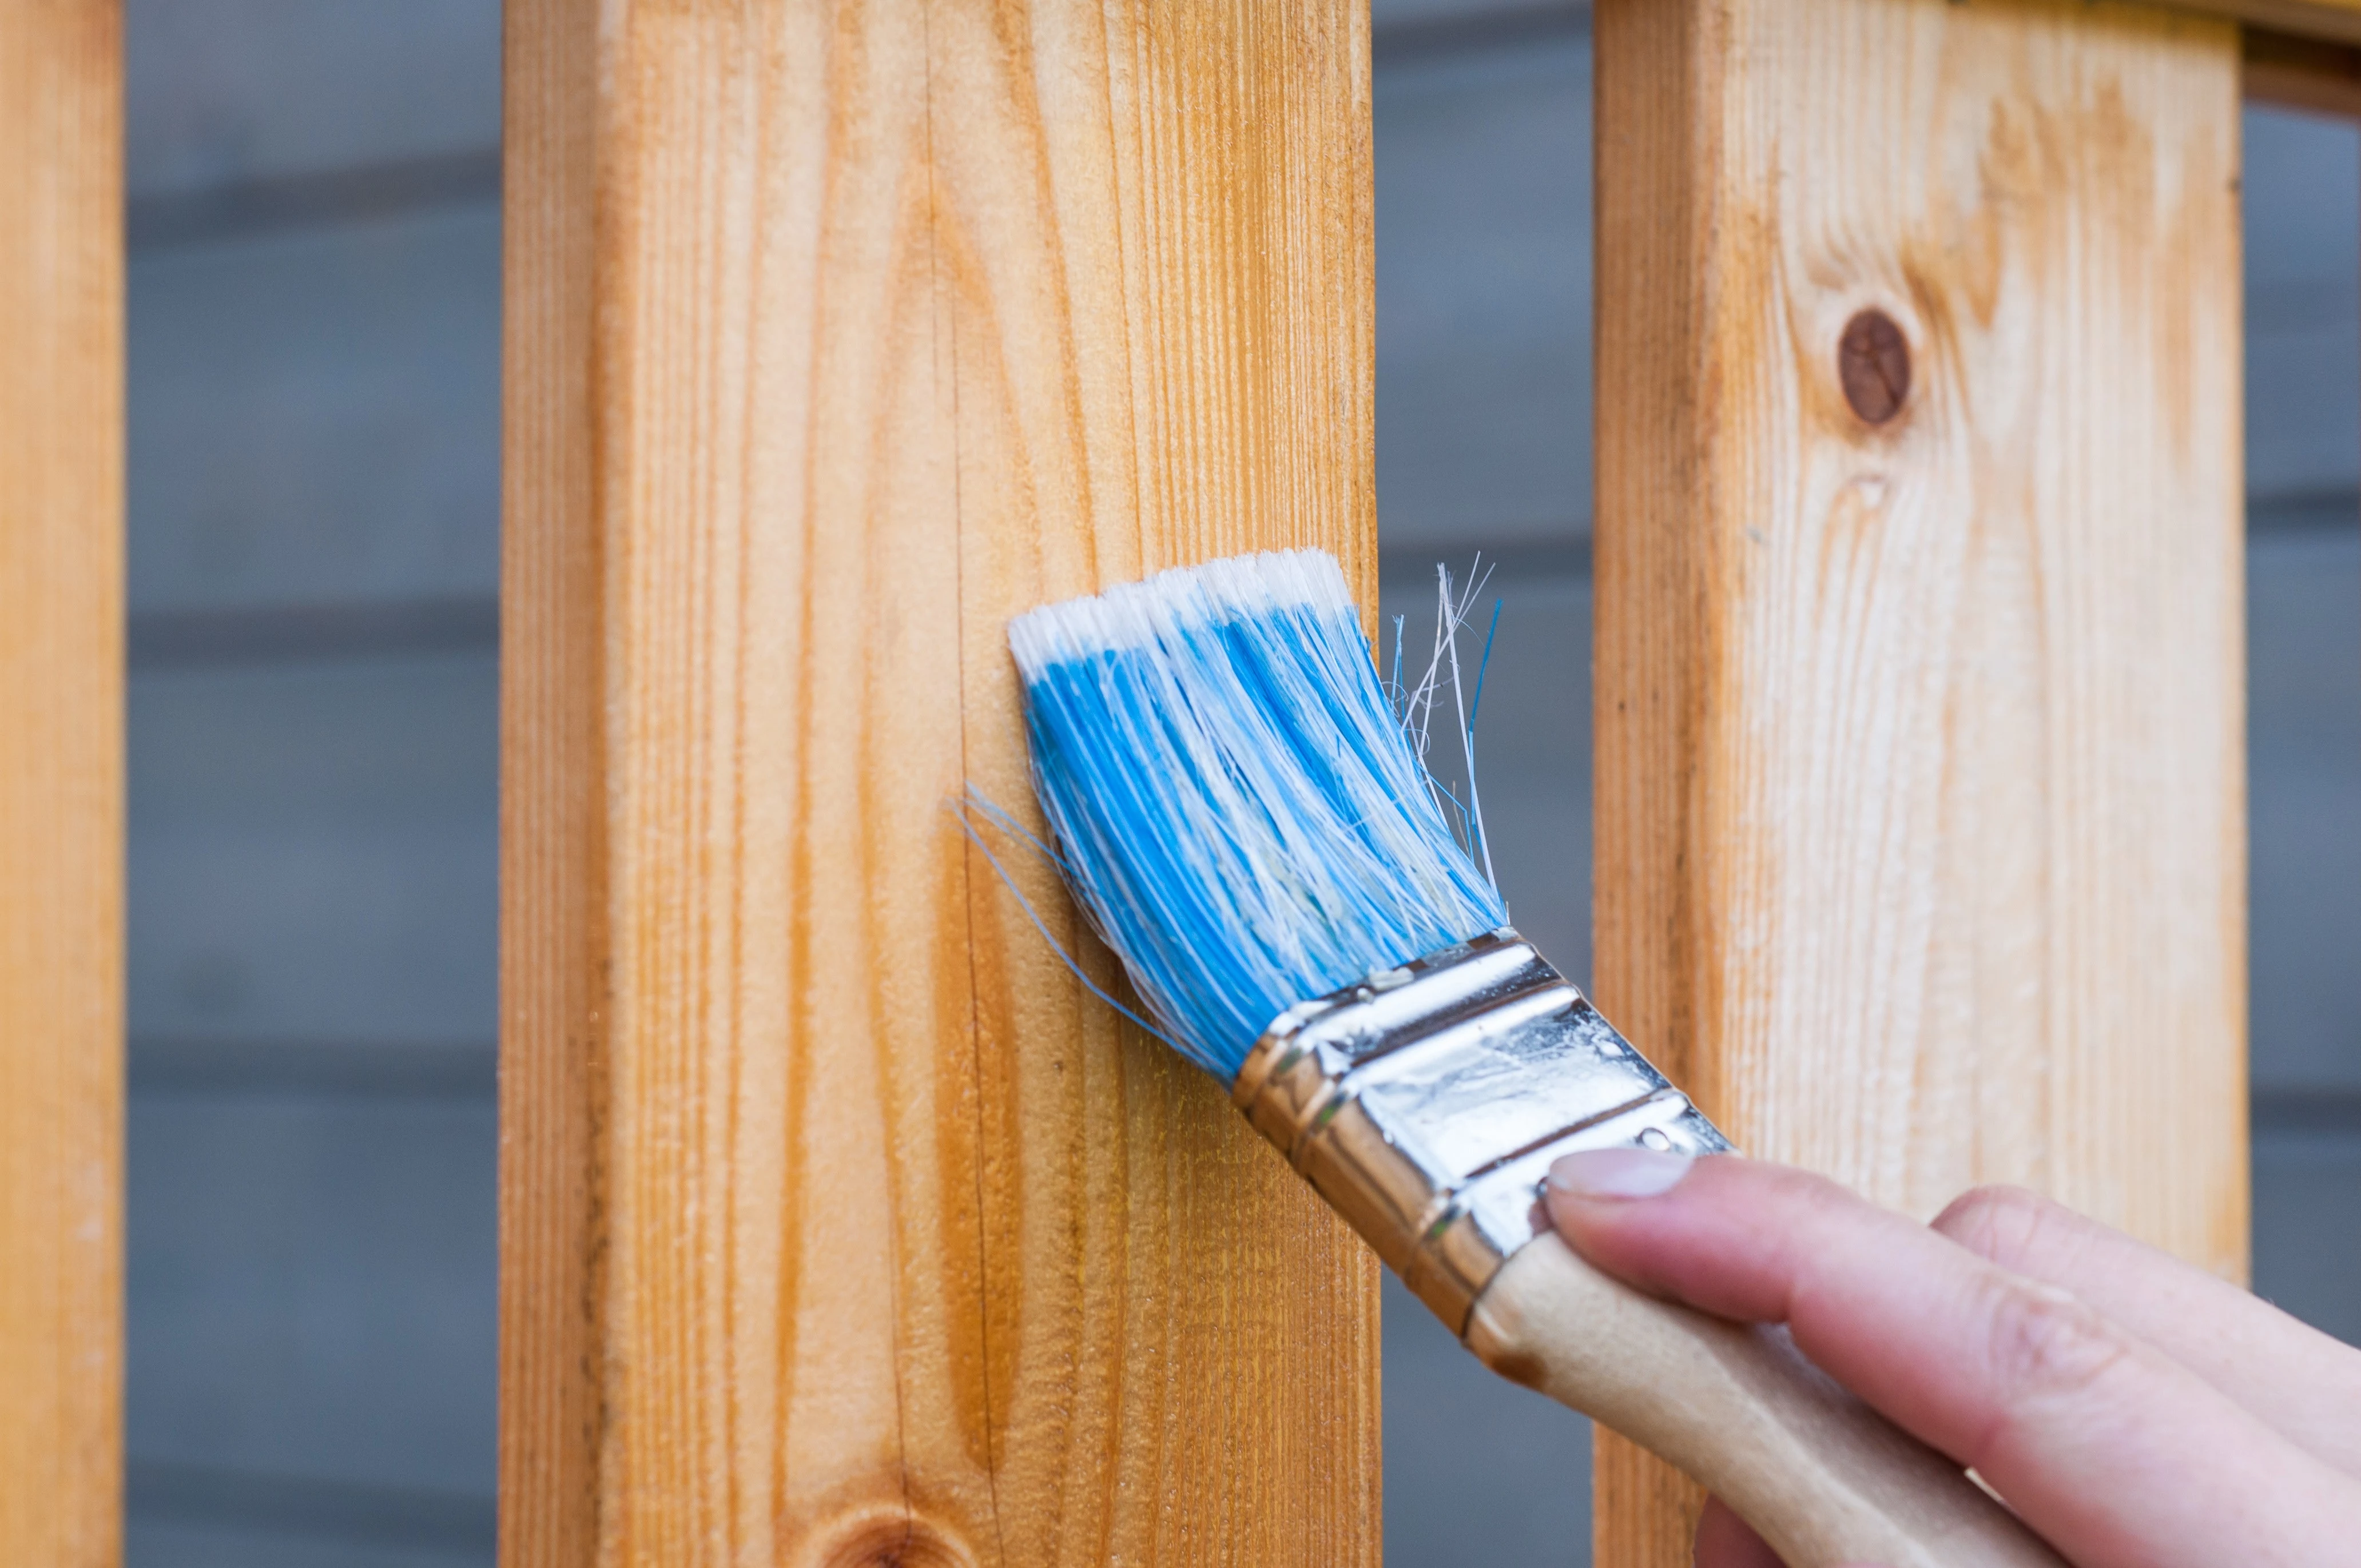
Then there’s UV degradation. The sun’s rays are constantly breaking down the binders in paint that hold everything together, which leads to that chalky powder you see on old finishes. The pigments that create the color also react differently. Earthy, muted tones (think browns, tans, and sage greens) are made from inorganic mineral pigments, which are incredibly stable and fade-resistant. Those super-bright, vibrant colors (like a fire-engine red or a brilliant blue) are made from organic pigments. They look amazing at first but fade much, much faster. It’s just chemistry.
Paint vs. Stain: Which One Should You Even Use?
This is a major fork in the road, and the choice you make dramatically affects the look, longevity, and future maintenance. People use the terms interchangeably, but they are fundamentally different.
Paint, especially solid acrylic paint, forms a thick, protective film that sits on top of the wood. It offers the most protection from UV and moisture and can completely hide imperfections in the wood. The downside? When it eventually fails, it cracks and peels. Recoating a peeling fence is a nightmare—it requires a ton of scraping and sanding to fix.
Stain, on the other hand, is designed to penetrate into the wood fibers.
- A Semi-Transparent Stain has a little bit of color but lets the wood grain show through beautifully. It’s a great choice for new, attractive wood like cedar.
- A Solid Color Stain looks a lot like paint because it has more pigment, hiding most of the grain. However, because it soaks in more than paint, it’s more flexible and much less likely to peel from heat stress. When it ages, it tends to just fade gracefully.
The best part about stain? The recoat prep is a breeze. Usually, you just need a good cleaning before applying a fresh coat right over the old one. No endless scraping. For this reason, for most wood fences, I almost always recommend a high-quality solid or semi-solid acrylic stain over paint. Something like Benjamin Moore’s Arborcoat or Sherwin-Williams’ SuperDeck are excellent products to look for.
The Problem Children: Colors That Cause Headaches
I don’t believe in “bad” colors, but some are definitely more high-maintenance and will fail spectacularly if you don’t know what you’re doing.
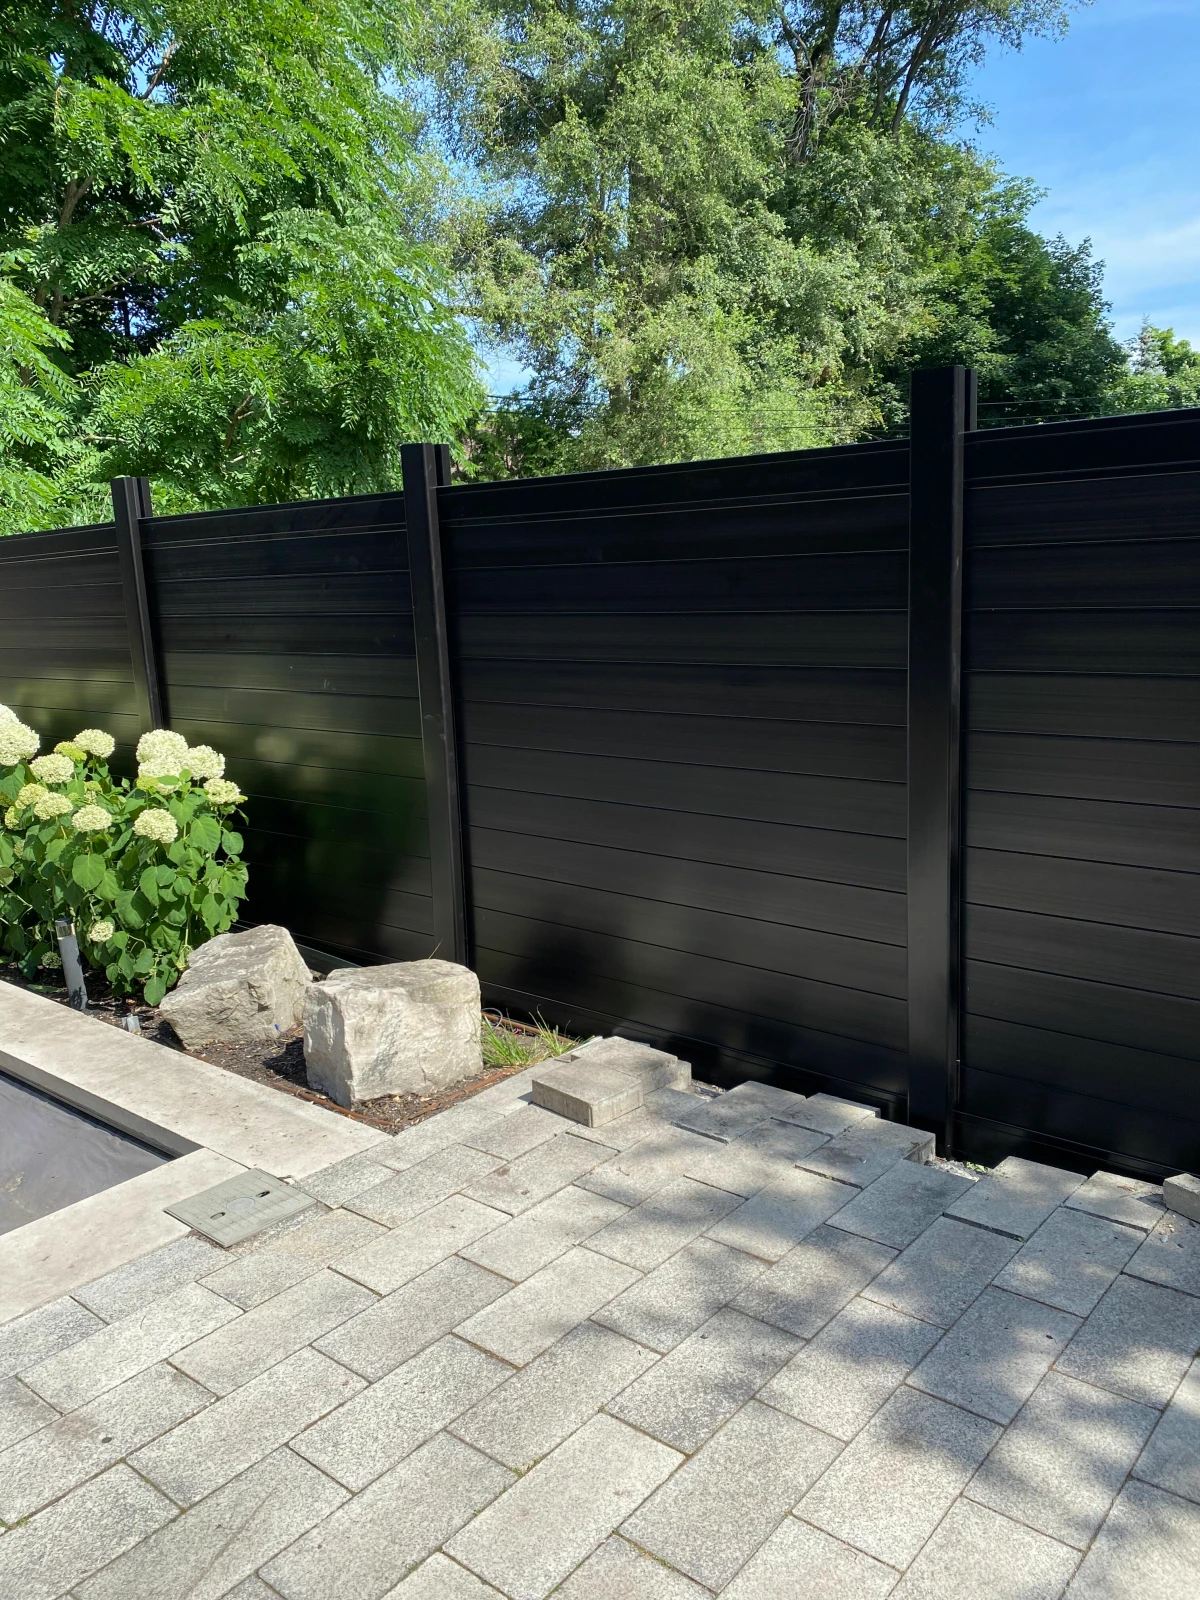
1. Black and Dark Charcoal
Black is so tempting for a modern, sharp look. But on a fence, it’s one of the toughest colors to live with because of the extreme heat it absorbs. I once had to inspect a three-year-old pine fence painted black. The paint was failing in a pattern that looked like alligator skin, and the boards themselves were twisted. It was a total failure caused by heat.
The Pro Approach: If you’re set on black, please don’t use a standard paint. Opt for a high-quality solid color stain instead. It’s more flexible and will fade rather than peel. Just know that you’re signing up for a maintenance coat every 3-4 years, compared to 7-10 years for a lighter color. Oh, and it shows every speck of dust and pollen.
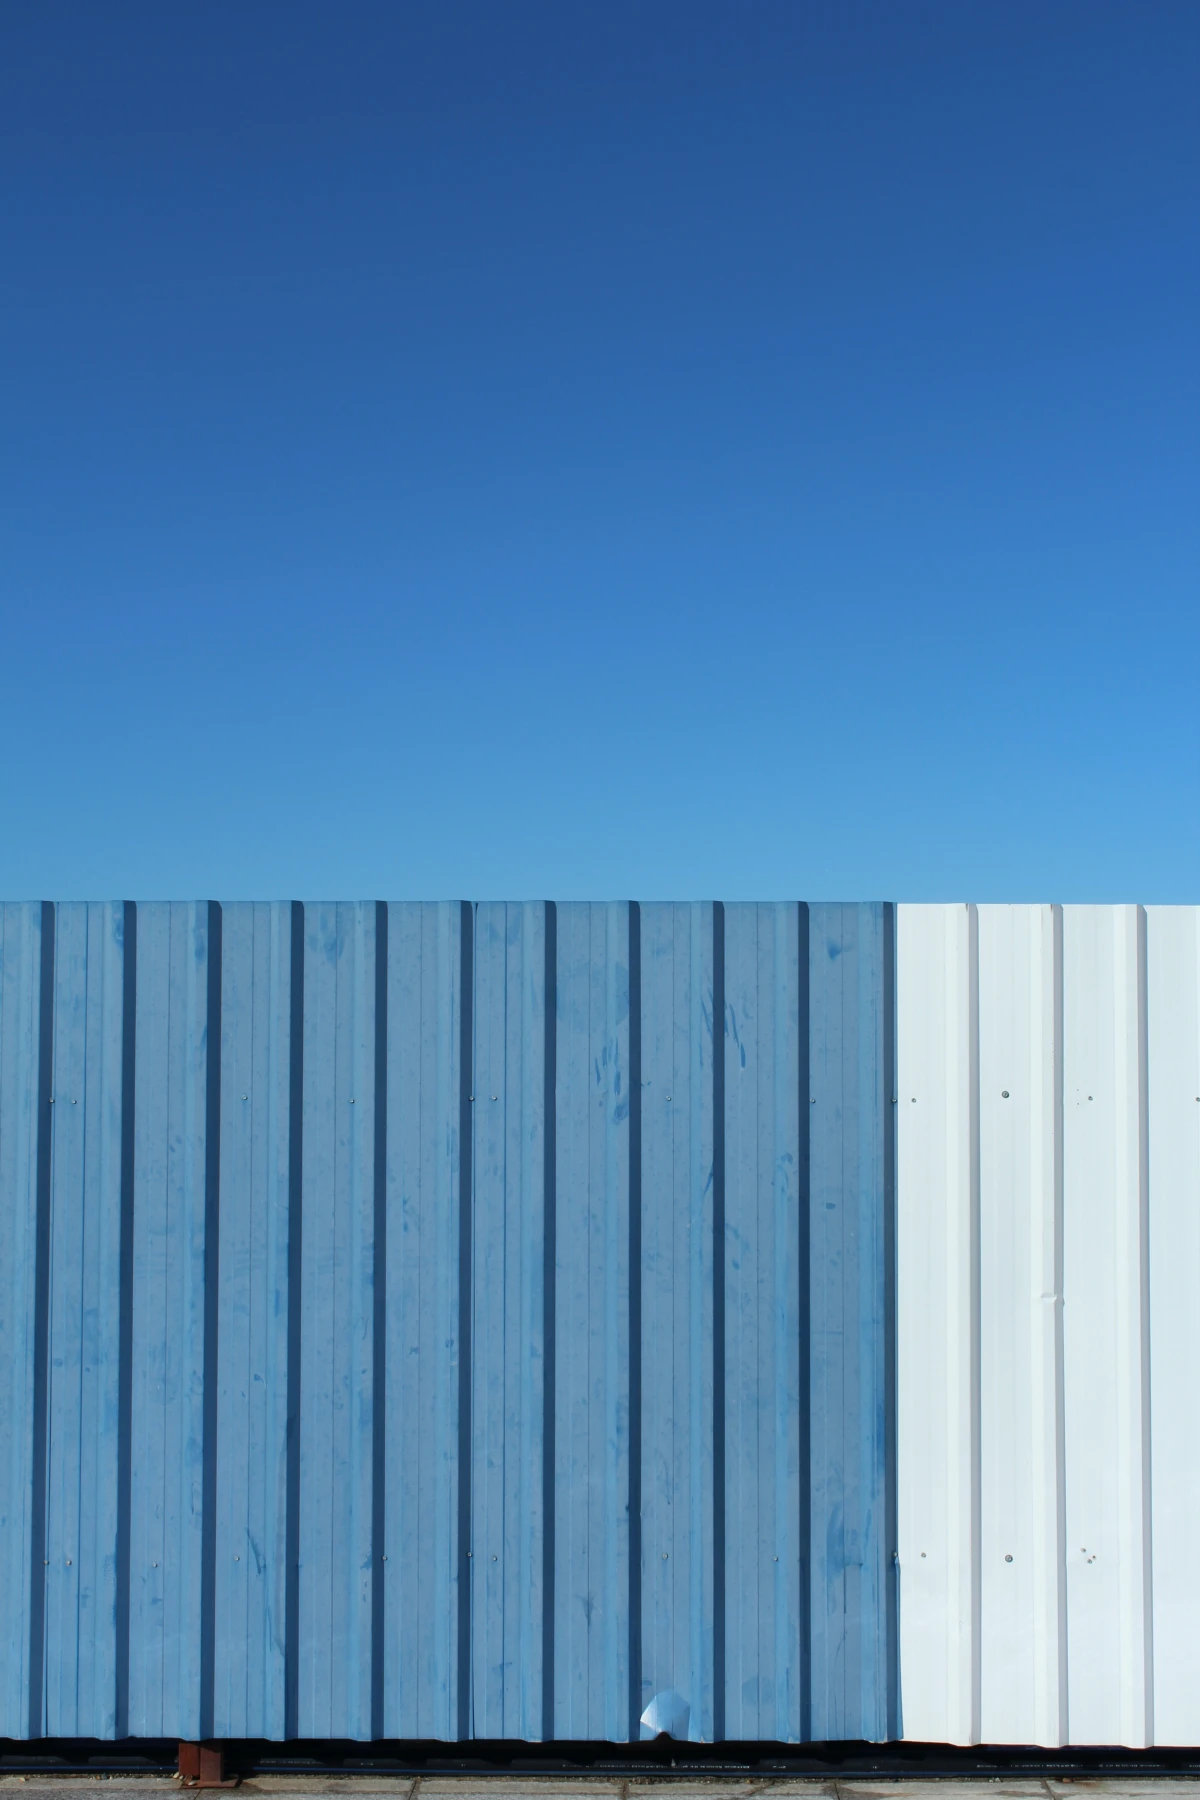
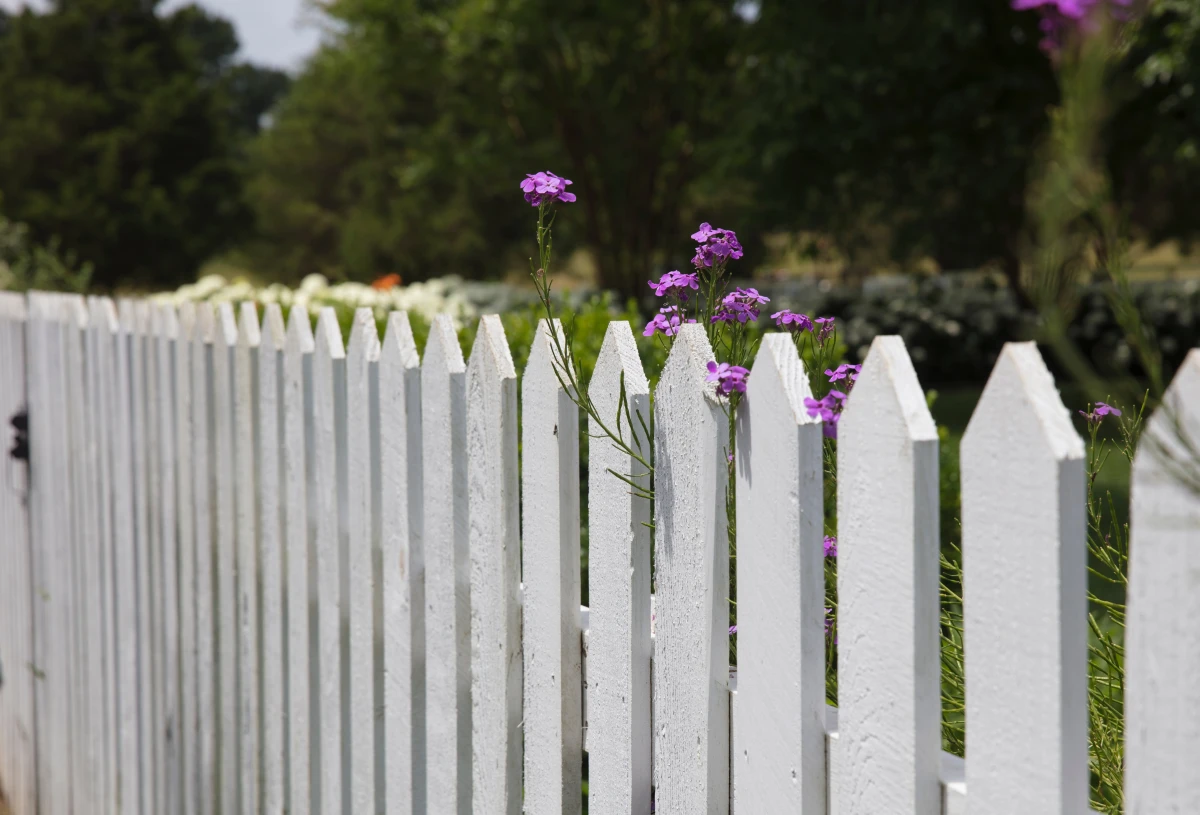
2. Pure, Stark White
The classic white picket fence is an icon for a reason, but it’s a diva. Its main issue isn’t heat—it’s stains from within the wood. New wood like cedar and redwood is full of natural chemicals called tannins. When you use a water-based (acrylic/latex) coating, the water can pull these tannins to the surface, leaving hideous yellowish-brown stains that bleed right through your beautiful white topcoat.
The Pro Approach: To do white right on new, tannin-rich wood, you MUST use a stain-blocking primer first. And not just any primer—an oil-based one like Zinsser Cover Stain is the gold standard here. It creates a bulletproof barrier. And yes, you absolutely can (and should!) put your 100% acrylic white topcoat over the oil-based primer once it has fully cured. That’s the secret sauce. Also, consider an off-white like Benjamin Moore’s ‘Swiss Coffee’ or Sherwin-Williams’ ‘Alabaster’. They look just as crisp but are far more forgiving of dirt and minor imperfections.
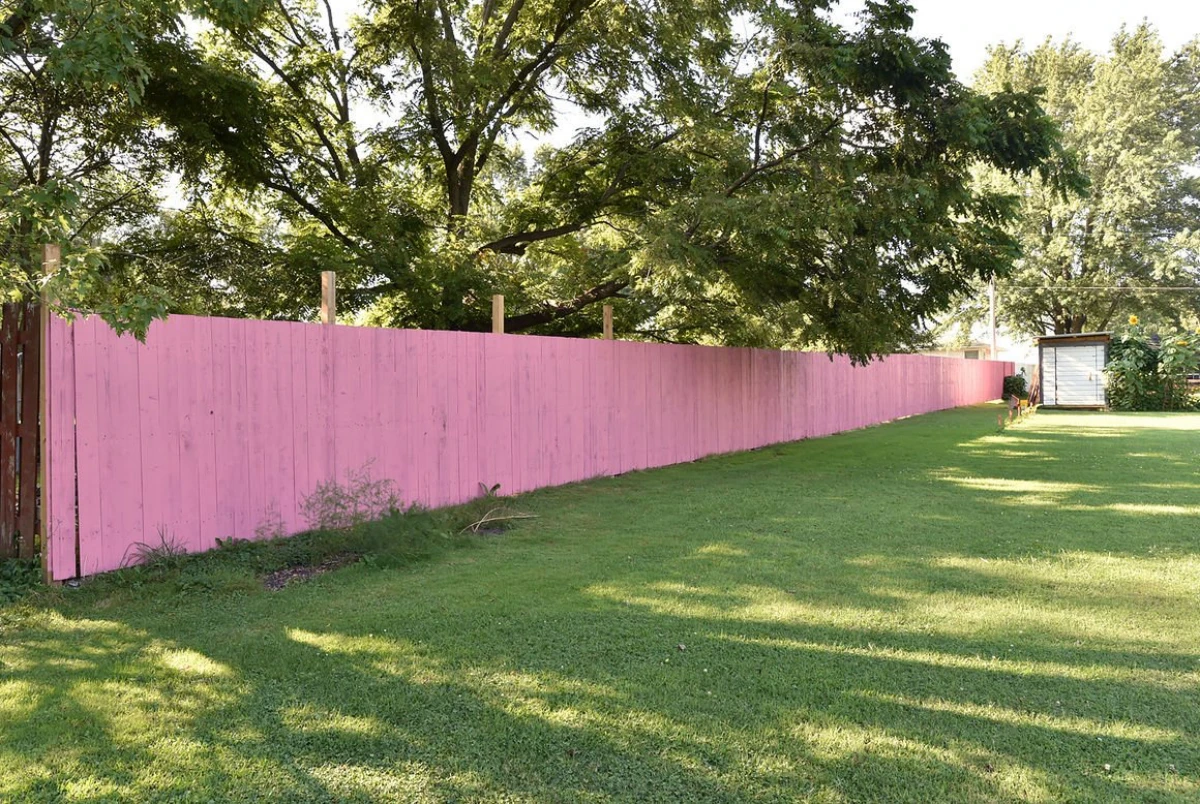
3. Bright, Saturated Colors
A client once wanted a vibrant, fire-engine red fence. I warned her about fading, but she loved the idea. We used the best paint available, and for two years, it looked incredible. By year four, the sunny side was a sad, chalky pinkish-orange, while the shaded side was still red. It looked patchy and old.
The Pro Approach: Use these fun, bright colors as an accent. Paint the main fence a stable neutral, then paint the gate or the post caps that bold color. Repainting a gate every few years is a fun little project. Repainting a 200-foot fence is a soul-crushing chore. If you want a colorful fence, opt for a muted version—a sage green instead of lime, or a slate blue instead of royal blue. They have more stable pigments and will hold their color much longer.
The Real Work: 90% Prep, 10% Painting
The best coating in the world will fail if the surface isn’t properly prepared. This is where the real work is. Honestly, the painting part is the easy finale.
First, check for old paint. If the house was built before the late 1970s, you have to be mindful of potential lead paint. You can get a simple lead test kit at any hardware store. If it tests positive, the prep work involves safety protocols that are best handled by a certified professional. It’s not a DIY-friendly situation.
Next comes the grunt work. All loose, peeling paint must be scraped off. Then, you need to sand the edges of the remaining paint to create a smooth transition—this prevents you from seeing the old patches through the new coat. After scraping and sanding, it’s time to clean. A pressure washer is great, but be careful! Use a wide tip and low pressure (under 1500 PSI) on softwood like pine or cedar, or you’ll shred the wood grain. The goal is to wash off dirt and mildew, not blast off paint. Let the fence dry completely for at least 2-3 days before you even think about priming.
A Quick Shopping List for the DIYer: Before you start, make sure you have the right gear. It’ll make the job go so much smoother. You’ll want a good 5-in-1 tool, a sharp pull-scraper, an orbital sander with 80-grit discs, quality painter’s tape, a gallon of a top-tier primer (like the oil-based Zinsser I mentioned), and a premium acrylic stain or paint.
Priming is absolutely non-negotiable. It seals the wood, stops tannin bleed, and ensures your expensive topcoat actually sticks. After priming, you’ll apply two full topcoats. An airless sprayer is fastest, but for most people, a 4-inch roller and a good quality brush are perfect. A quick tip: always “back-brush.” After you roll a section, immediately go over it lightly with a dry brush. This forces the coating into the wood’s texture and eliminates drips. It’s an extra step that makes a huge difference in how long the finish lasts.
Final Thoughts and When to Call a Pro
A fence project is way bigger than it looks. Here’s a surprising fact: a standard 150-foot-long, 6-foot-tall fence isn’t 900 square feet of painting. Once you account for both sides, the edges of every single board, and the posts, you’re actually prepping and coating closer to 2,000 square feet! For a DIYer, this can easily eat up several full weekends.
So, when should you call in a pro? Consider it if the fence has significant peeling (especially on an older property), if there’s rot that needs repair, or if you’re not comfortable with the prep work involved. Remember, a professional quote might seem high, but 70-80% of that cost is labor for the painstaking prep. For a professional job, depending on your location and the fence’s condition, expect to pay anywhere from $12 to $25 per linear foot. A lowball bid almost always means they’re cutting corners on prep, and you’ll be paying to fix it again in a couple of years.
Choosing a fence color is a balance between your style and the reality of your environment. By understanding what you’re asking the color to do and respecting the prep work, you can get a finish that not only looks amazing but protects your investment for years to come.
Inspirational Gallery
Solid Stain vs. Semi-Transparent: A solid stain, like Benjamin Moore’s Arborcoat, acts like a layer of paint. It completely covers the wood grain, offering maximum UV protection. It’s ideal for older fences with imperfections.
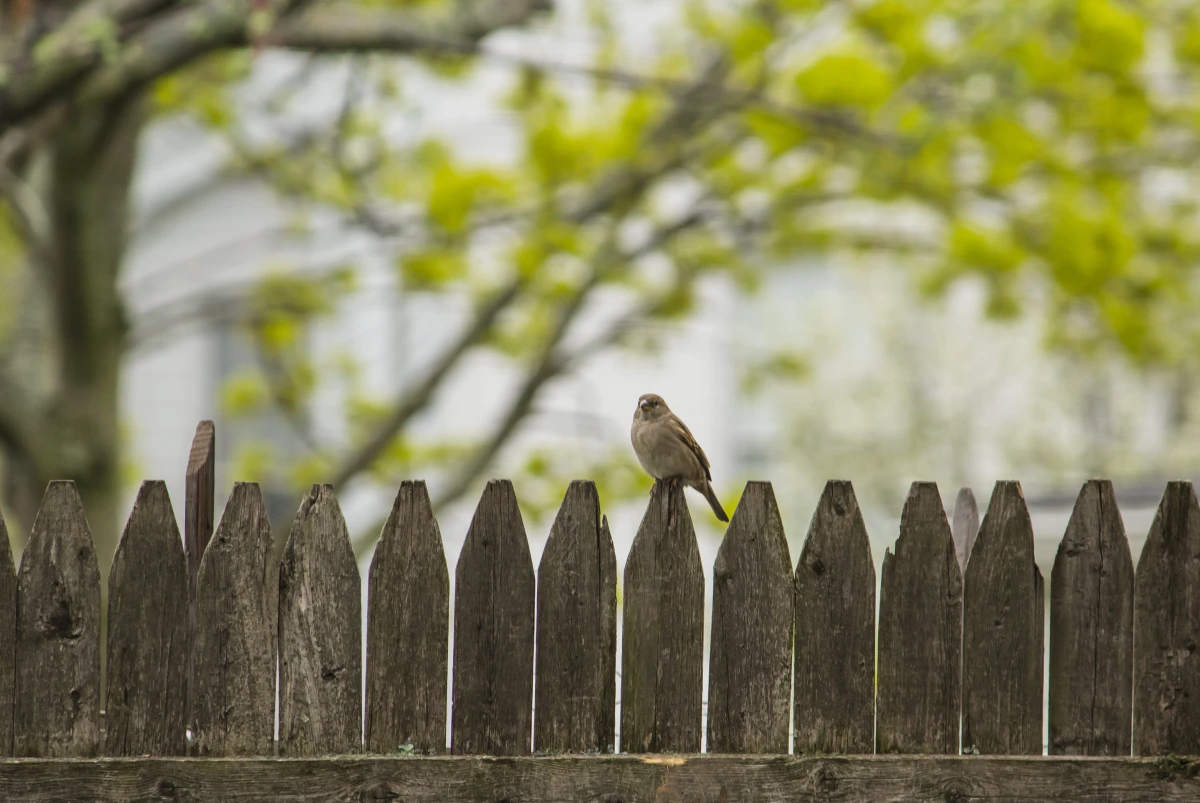
Semi-Transparent Stain: Products like Ready Seal or Cabot stains allow the natural wood grain and texture to show through. They provide good protection but may need reapplication sooner than a solid stain. This is the choice for highlighting beautiful new wood.
Did you know? Most fence stain failures aren’t due to the product, but to improper surface preparation. Trapped moisture or mill glaze on new wood can prevent even the best stains from adhering properly.
This is why pros obsess over prep. A light sanding on new wood or a thorough cleaning with a dedicated wood cleaner on an old fence isn’t just a suggestion—it’s the key to a finish that lasts for years instead of peeling after a single season.
Should my fence color match my house trim or front door?
Not necessarily. A coordinating color is often better than a matching one. For a cohesive look, consider choosing a fence color that is a few shades darker or lighter than your home’s main body color. Alternatively, a classic black or deep charcoal fence acts as a neutral frame, making your home’s colors and the surrounding greenery pop without competing.
- A perfectly crisp line along the bottom.
- No messy overspray on your lawn or patio.
- Saves you hours of tedious cleanup.
The secret? A simple, wide piece of cardboard. Slide it under the fence boards as you paint or stain the bottom edge. It acts as a portable drop cloth, catching every drip and creating a flawless finish line.
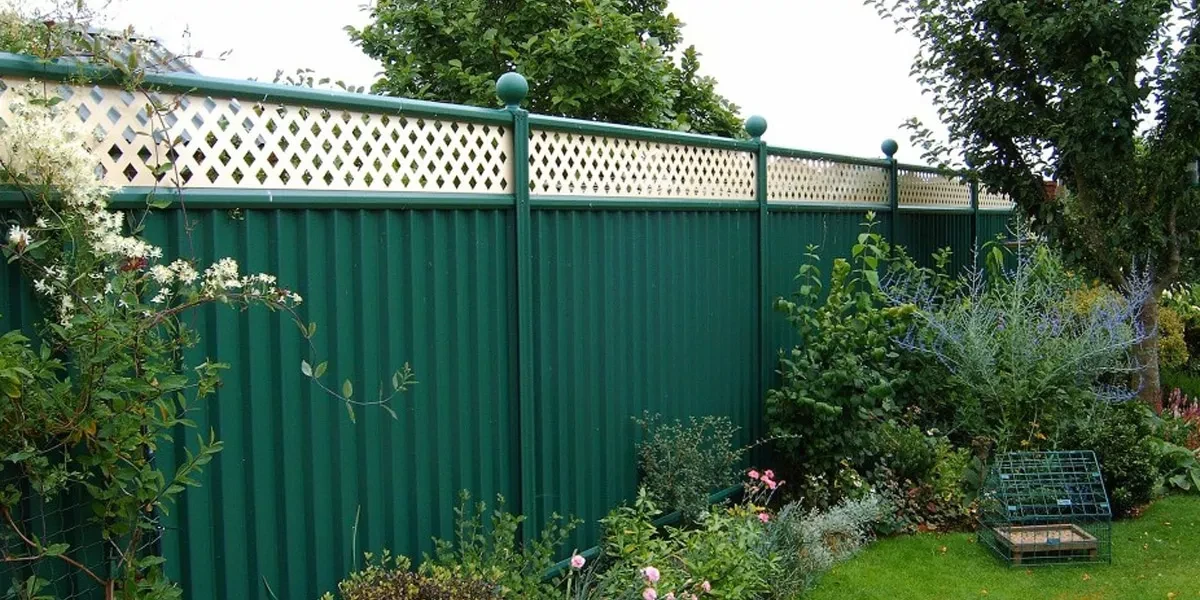
The trend towards dark, moody fences isn’t just for modern homes. A nearly-black or deep bronze fence can create a stunning backdrop in any garden, making bright flowers and lush green foliage seem more vibrant. It recedes visually, making a small yard feel larger and more private.
- For a dramatic, contemporary look, try ‘Onyx’ by Benjamin Moore.
- For a softer, nature-inspired feel, ‘Tricorn Black’ by Sherwin-Williams is a popular choice.
According to the EPA, some paints can release Volatile Organic Compounds (VOCs) for months or even years after application.
When choosing a fence coating, especially if you have pets or children playing nearby, look for ‘Low-VOC’ or ‘Zero-VOC’ labels. Water-based stains and paints generally have lower VOC levels than traditional oil-based options, making them a healthier choice for both your family and the air quality in your garden.
The Pro’s Secret Weapon: If you’re using a paint sprayer for speed, always keep a brush in your other hand. After spraying a section, immediately go over it with the brush. This technique, called ‘back-brushing,’ forces the stain into the pores and grain of the wood, ensuring a much deeper, more durable, and even-looking finish. It’s the single best trick for avoiding drips and premature fading.
- Don’t apply stain in direct, hot sunlight. The liquid can dry on the surface before it has a chance to penetrate the wood, leading to a weak bond and peeling.
- Never paint over rotten wood. The paint will trap moisture, accelerating the decay from the inside out.
- Avoid applying a thick second coat before the first is truly dry according to the manufacturer’s instructions.
Thinking about budget? A premium can of stain like Cabot Australian Timber Oil might seem expensive upfront compared to a big-box store brand. However, its superior resins and pigments often mean you won’t have to re-stain for 3-5 years, versus every 1-2 years for a cheaper alternative. Over a decade, the higher-quality product almost always saves you time, labor, and money.
A fence is a ‘transitional element’ in landscape design. Its color should bridge the gap between your home’s architecture and the natural tones of your garden.


