From Sponge to Bark: My No-Fail Method for a Gluten-Free Yule Log
I still remember my first holiday season in a professional pastry kitchen. The air was buzzing, thick with the smell of cinnamon and melted chocolate. The head chef—a classic, tough-as-nails guy trained in the old European tradition—put me on Bûche de Noël duty. And let me tell you, it wasn’t just another cake on the list; it was a rite of passage. He was convinced this cake, with its delicate sponge and perfect spiral, was what separated the real bakers from the hobbyists.
In this article
I must have made dozens of them that winter, and every single one taught me something. But the biggest lesson was this: a great Yule log is all about technique, not just following a recipe.
Over the years, the most common request I get is for a gluten-free version. And honestly, it’s a genuine challenge. The traditional sponge, known as a génoise, gets its light, airy structure from a perfect balance of whipped eggs and wheat flour. Take away the gluten, and you’re looking at a cake that’s dense, brittle, and just waiting to crack the second you try to roll it. But it absolutely can be done, and done beautifully.
This guide is packed with everything I’ve learned. We’re going to walk through the science, the pro techniques, and all those little details that make a world of difference. This isn’t a shortcut recipe; it’s a method for building a stunning, delicious gluten-free cake from the ground up.
First Things First: Your Shopping List
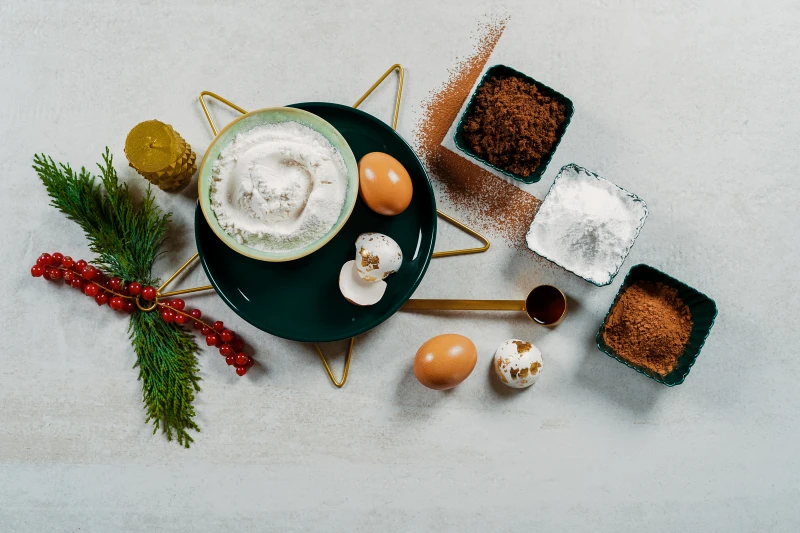
There’s nothing worse than getting halfway through a recipe and realizing you’re missing something. This recipe moves fast, so let’s get organized. Here’s everything you’ll need, broken down by component.
- For the Gluten-Free Sponge Cake:
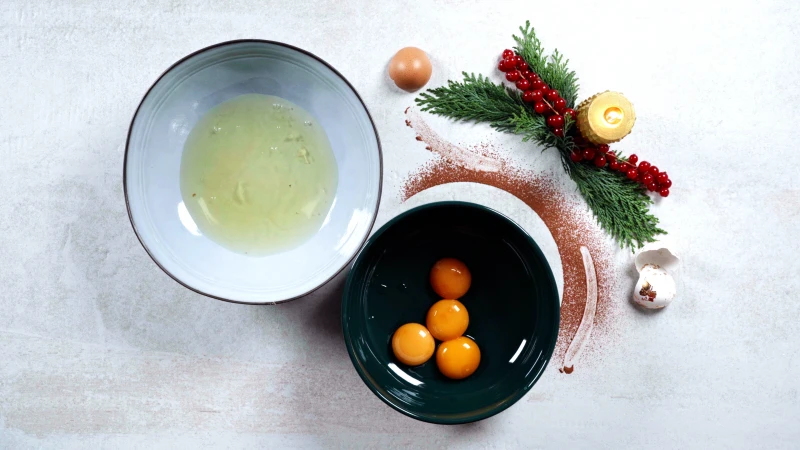
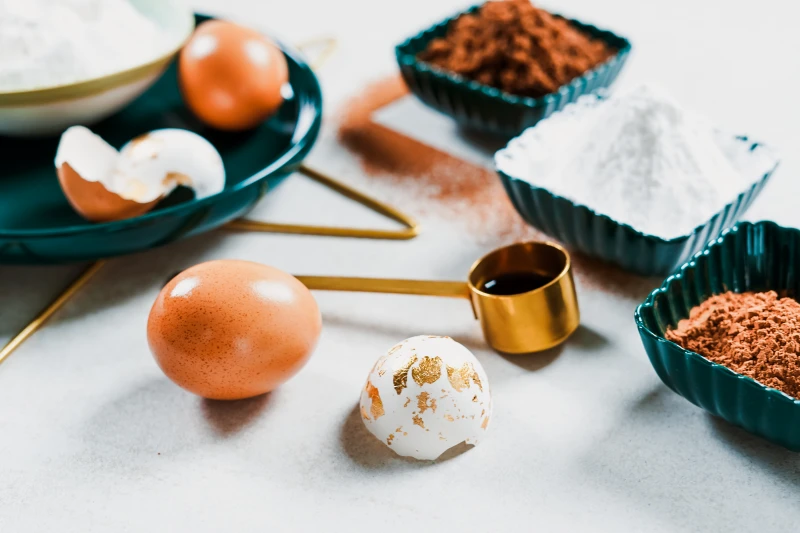
- 5 large eggs, at room temperature (this is critical!)
- 3/4 cup granulated sugar, plus extra for dusting
- 2/3 cup of a good gluten-free all-purpose flour blend (more on this below)
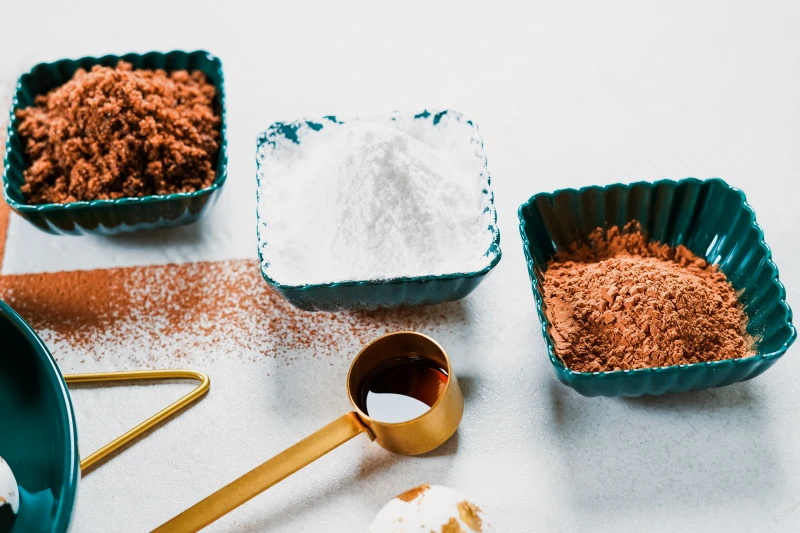
- 1/4 cup unsweetened cocoa powder (the good stuff, if you can!)
- 1 teaspoon xanthan gum (ONLY if your GF blend doesn’t already have it)
- 1 teaspoon vanilla extract
- 1/4 teaspoon salt
- For the Simple Cream Filling:
- 1 1/2 cups cold heavy whipping cream
- 1/2 cup powdered sugar
- 1 teaspoon vanilla extract
- For the Chocolate Bark Frosting:
- 8 ounces of good quality semi-sweet or dark chocolate, chopped
- 1 cup heavy whipping cream
- A Mixer: A stand mixer is the dream here, as it makes a super stable meringue. A good one is an investment, usually $250 and up, but it’s a game-changer for serious bakers. That said, a reliable $40 hand mixer will absolutely get the job done—it just takes a bit more patience.
- Baking Pan: A standard half-sheet pan (about 18×13 inches) is perfect. A jelly roll pan (around 15×10 inches) also works great for a slightly thicker, smaller cake.
- Parchment Paper: Don’t even think about skipping this. It’s essential for preventing sticking and for rolling the cake.
- Large Flexible Spatula: Use this for folding your batter. A big spatula helps you incorporate ingredients in fewer strokes, which is crucial for not deflating all that air you whipped in.
- Sifter or Fine-Mesh Sieve: Non-negotiable. Sifting aerates your dry ingredients and gets rid of lumps for a perfectly light cake.
- A Thin Kitchen Towel: You’ll need a clean, lint-free cotton or linen towel that’s bigger than your cake.
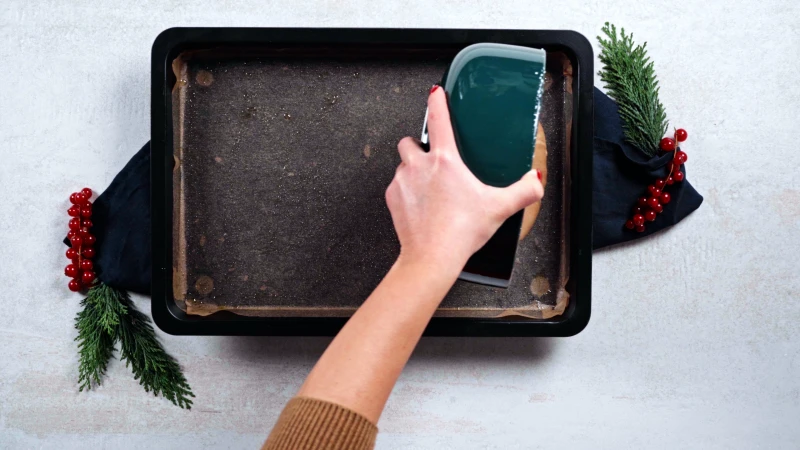
- Prep your station: Preheat your oven to 375°F (190°C). Grease your baking pan, line it with parchment paper, and then grease the parchment paper too. This is your insurance policy. Dust it lightly with a bit of cocoa powder.
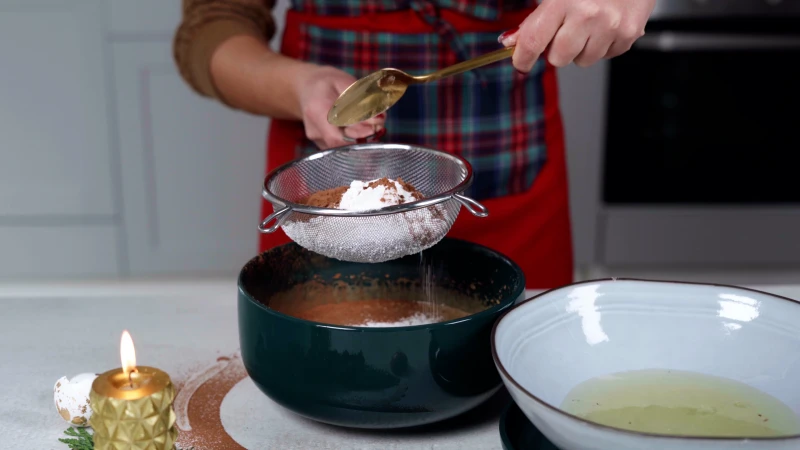
- Combine dry ingredients: In a medium bowl, sift together your GF flour blend, cocoa powder, and salt (and xanthan gum, if using). Sifting is key to a light texture, so don’t skip it!
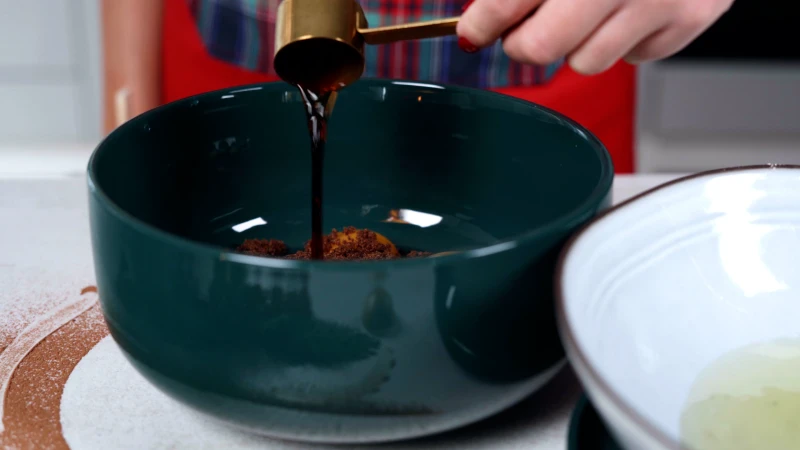
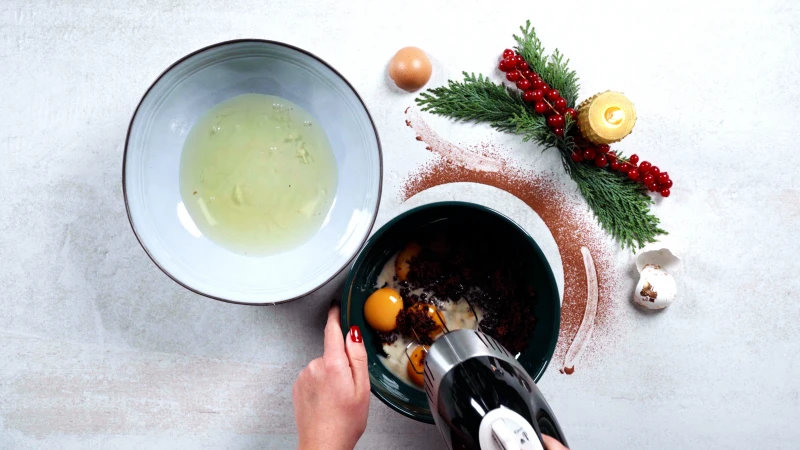
- Whip the yolks: In the bowl of your stand mixer (or a large bowl with a hand mixer), beat the egg yolks and 1/2 cup of the sugar on high speed for about 3-5 minutes. You’re looking for that pale, thick “ribbon stage” we talked about. Mix in the vanilla.
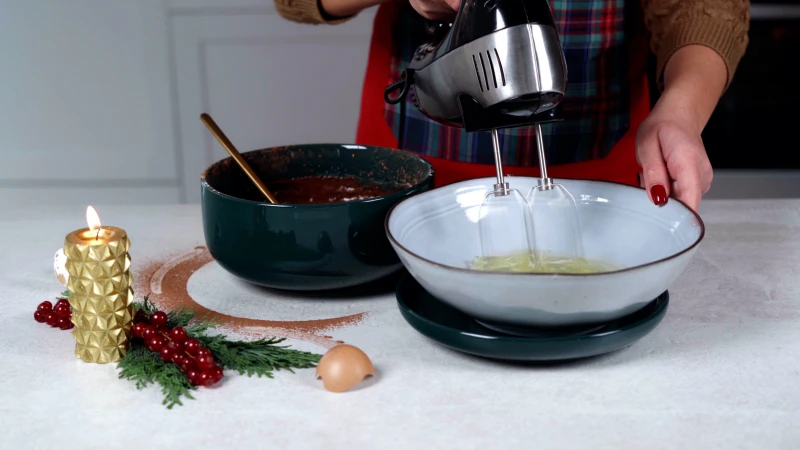
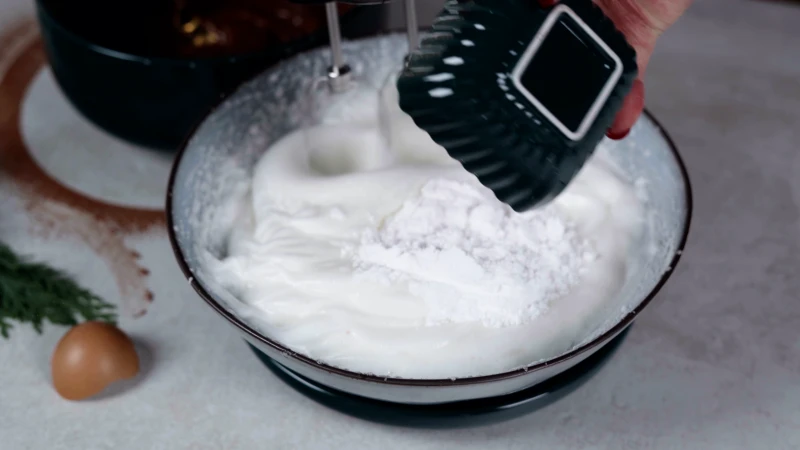
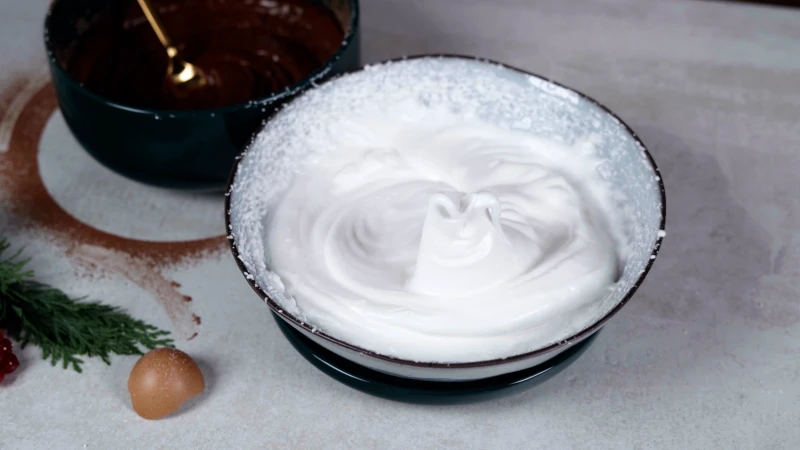
- Make the meringue: In a separate, squeaky-clean bowl, beat the egg whites on medium speed until they get foamy. Slowly sprinkle in the remaining 1/4 cup of sugar while beating. Increase the speed to high and beat until you have firm, glossy peaks.
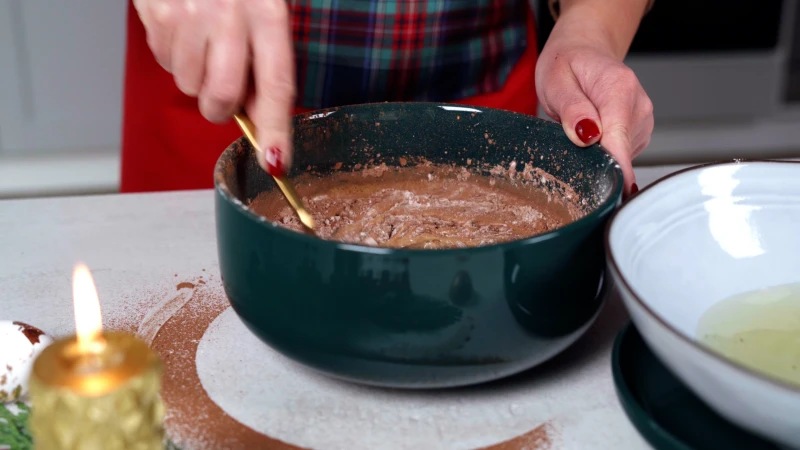
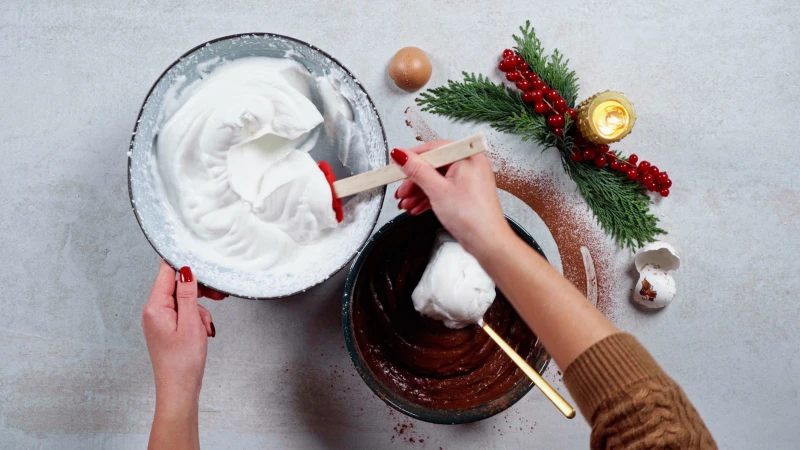
- Fold it all together: Gently fold about one-third of your meringue into the egg yolk mixture with your large spatula to lighten it up. Then, gently fold in the remaining meringue. Don’t overmix! Now, sift your dry ingredients over the batter in two or three additions, folding gently after each one until just combined. Stop as soon as you don’t see any more flour streaks.
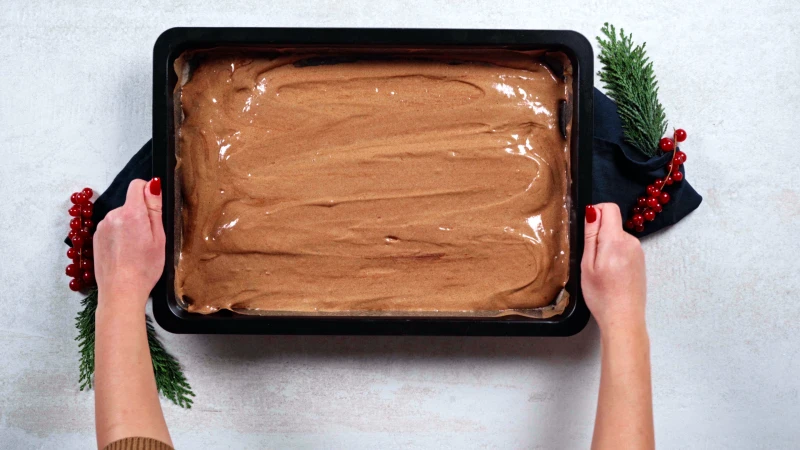
- Bake fast: Immediately pour the batter into your prepared pan and spread it into an even layer with an offset spatula. Bake for 10-12 minutes. The cake is done when it springs back to a light touch. Don’t overbake it, or it will crack!
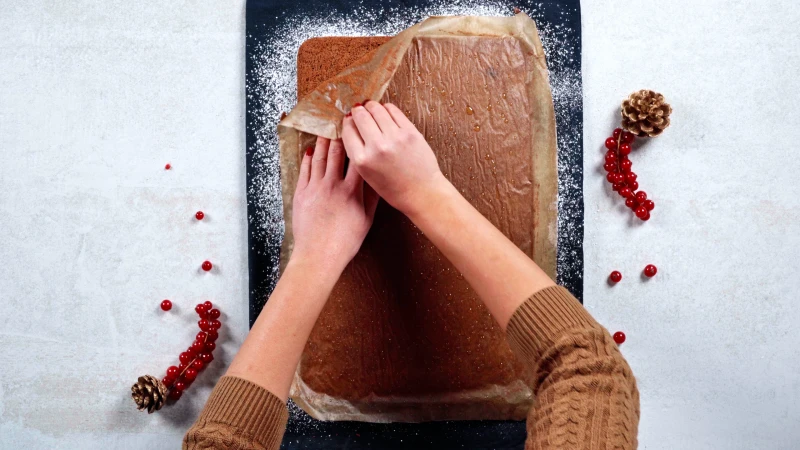
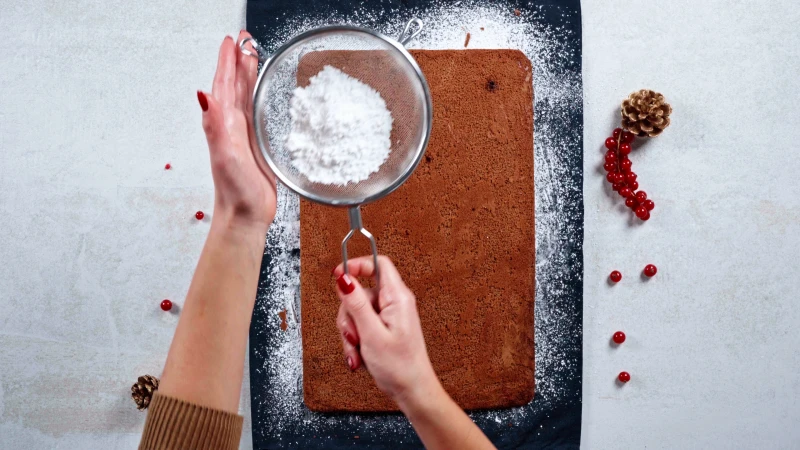
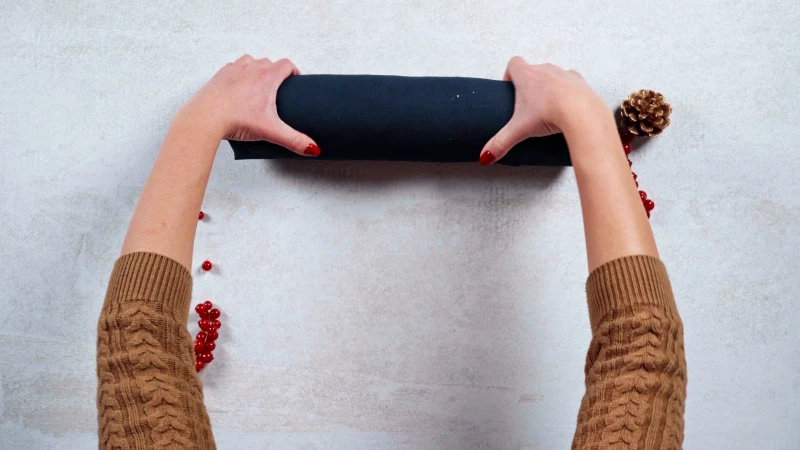
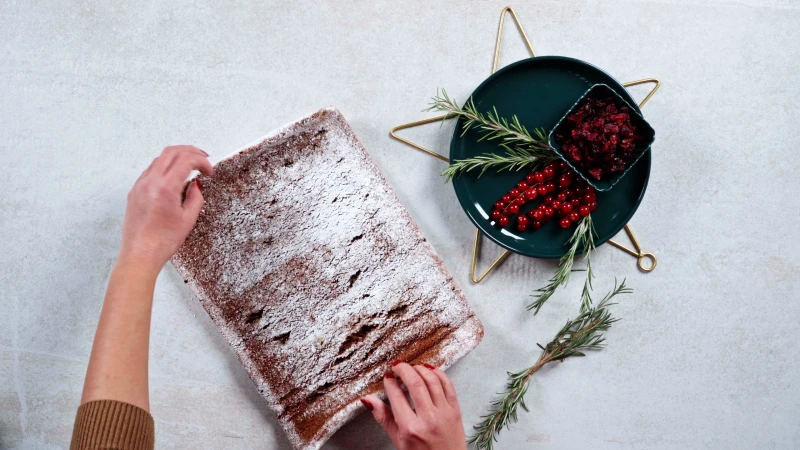
- The crucial roll: This part is time-sensitive. While the cake is baking, lay your clean kitchen towel on the counter and dust it generously with powdered sugar. As soon as the cake comes out of the oven, confidently flip it out onto the sugared towel. Peel off the parchment paper. While it’s still piping hot, gently roll the cake up with the towel inside. Let it cool completely in this rolled-up shape on a wire rack. This teaches the cake its shape so it won’t crack later.
- “My cake cracked when I rolled it!” This is the most common issue. It’s usually one of two things: you either overbaked it by a minute or two, drying it out, or you waited too long to roll it after it came out of the oven. That hot roll is non-negotiable!
- “My cake is dense and gummy, not light.” Ah, the dreaded deflation. You likely overmixed the batter when folding in the meringue or the flour. Fewer, more deliberate strokes are better. Remember, you’re trying to protect those air bubbles.
- “My filling is runny and oozing out.” Your cream was probably not cold enough, or you didn’t whip it to stiff peaks. Quick tip: Pop your mixing bowl and whisk in the freezer for 10 minutes before you start. It makes a huge difference.
- Whip 2 egg whites with 1/2 cup of sugar until stiff, glossy peaks form.
- Pipe small rounds for the caps and cone-like shapes for the stems onto a parchment-lined baking sheet.
- Bake at a very low temperature (around 100°C / 225°F) for about an hour until dry.
- Once cool, use a bit of melted chocolate to “glue” the stems to the caps and dust with cocoa powder.
- A perfectly smooth, spreadable consistency.
- A deep, rich chocolate flavor that isn’t overly sweet.
- A beautiful sheen that sets into a firm but not-too-hard shell.
- Espresso Kick: Dissolve 2 teaspoons of instant espresso powder into the warm cream for your ganache and add a touch to the filling.
- White Chocolate & Raspberry: Use a white chocolate ganache and fold 1/2 cup of raspberry puree through the whipped cream filling.
- Nutty Delight: Fold finely chopped, toasted hazelnuts or pistachios into the filling for a wonderful textural contrast.
- Moisture that lasts for days.
- An extra layer of flavor.
- A more tender and forgiving crumb.
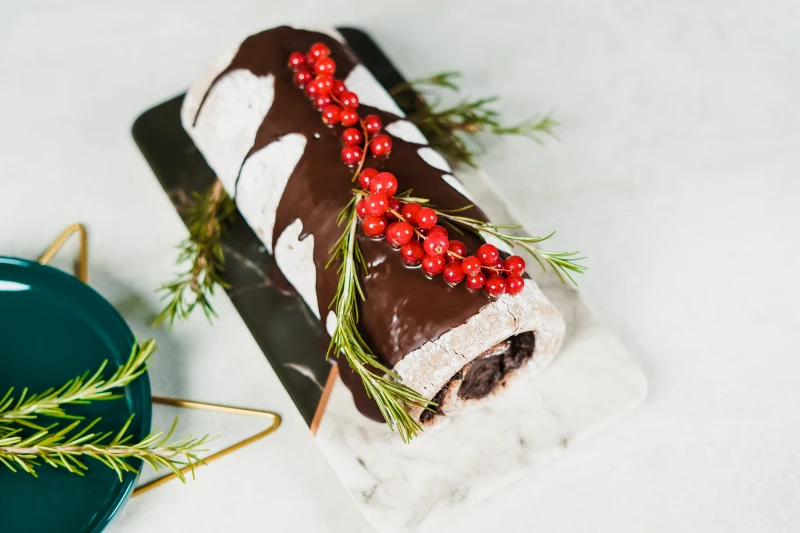
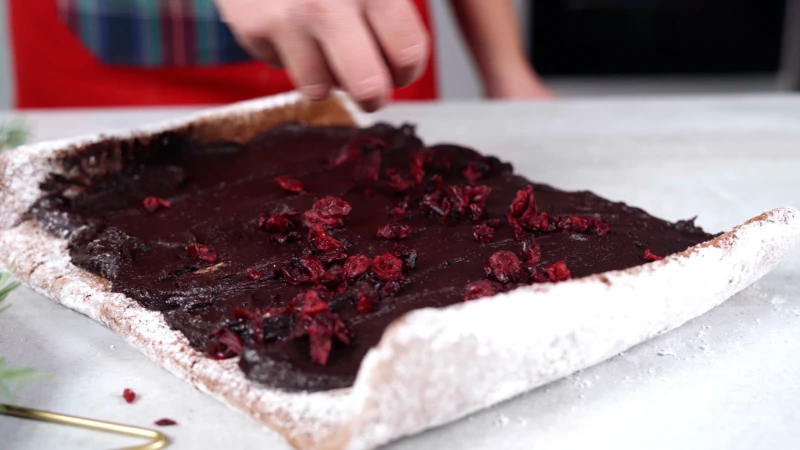
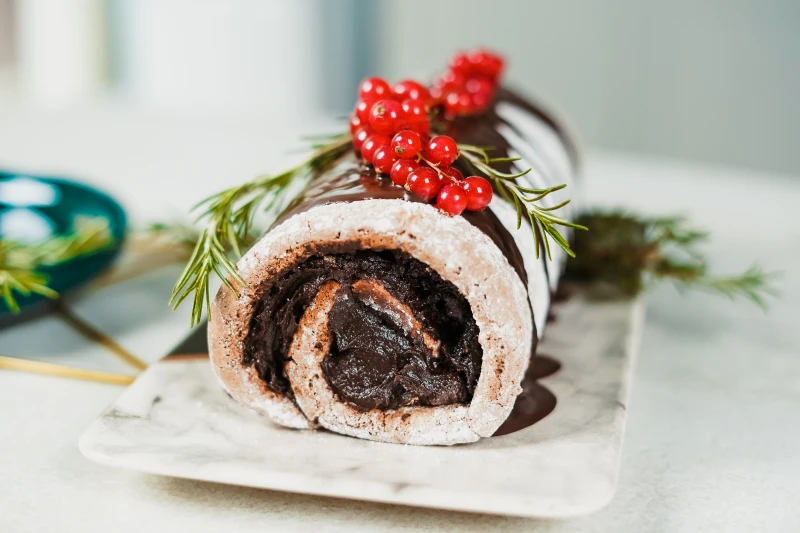
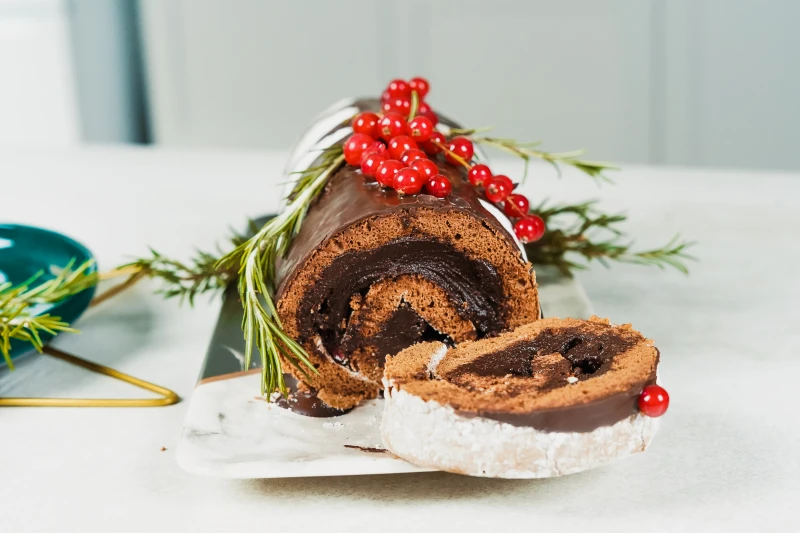
- Sugared Cranberries: Roll fresh cranberries in egg white, then in granulated sugar, and let them dry for a stunning, frosty look.
- Rosemary “Pine” Sprigs: Small sprigs of fresh rosemary tucked around the base look remarkably like tiny pine branches.
- Chocolate Curls: Use a vegetable peeler on the side of a room-temperature bar of good quality chocolate to create delicate curls.
Heads up on the flour: Specialty GF flours can be a bit more expensive than traditional flour. Plan for your blend to cost somewhere between $8 and $15, depending on the brand. You can find excellent options like Bob’s Red Mill 1-to-1 or King Arthur’s Measure for Measure at most grocery stores or online.

The Science of a Roulade That Actually Rolls
Okay, let’s get into the nitty-gritty. Understanding what’s happening inside your batter is the key to avoiding a cracked-cake catastrophe. A Yule log is basically a roulade (which just means “rolled”), so its entire structure is meant to be flexible. Without gluten, we have to create that flexibility ourselves.
The Magic of Egg Foam
The real star of this cake isn’t the flour; it’s the eggs. By whipping the yolks and whites separately, we create two kinds of foam that do different jobs. First, you’ll beat the egg yolks with sugar until they’re pale and thick. This is called the “ribbon stage.” It’s ready when you can lift the whisk and a thick ‘ribbon’ of the mixture falls back and sits on the surface for a moment before melting back in. This creates a stable base.But the real heavy lifting comes from the meringue you make with the egg whites. When you whip egg whites, their proteins unfold and link together, trapping air. For this cake, you want a meringue with firm peaks, not stiff peaks. What’s the difference? A firm peak will hold its shape beautifully, but the very tip will gently flop over when you lift the whisk. A stiff peak stands straight up, which means it’s lost too much moisture and will make your cake brittle. This detail is so important!

Choosing Your Gluten-Free Flour Wisely
In gluten-free baking, you can’t just use a single flour. A blend is non-negotiable. Most commercial all-purpose GF blends are a mix of flours and starches—maybe some brown rice flour for body, potato starch for tenderness, and tapioca starch for a bit of elasticity. They almost always contain a binder like xanthan gum, which is what mimics gluten and holds everything together.So, which blend to use? My go-to choices for this cake are the two I mentioned earlier: Bob’s Red Mill 1-to-1 Baking Flour or King Arthur Gluten-Free Measure for Measure Flour. They have a neutral flavor and a reliable texture. If you want to make your own, a simple blend is 2 parts white rice flour, 2 parts brown rice flour, 1 part potato starch, and 1/2 part tapioca starch. If you go the DIY route, you’ll definitely need to add that teaspoon of xanthan gum.
The Right Tools for the Job
In a pro kitchen, consistency comes from having the right equipment. You don’t need the most expensive gear, but the right tools make a huge difference.
The Step-by-Step Method to Holiday Glory
Alright, deep breath. We’re going to build this cake in three stages. The whole process, from mixing to being ready to decorate, will take about 2-3 hours. Don’t rush it!
Part 1: The Gluten-Free Chocolate Sponge
Part 2: The Whipped Cream Filling
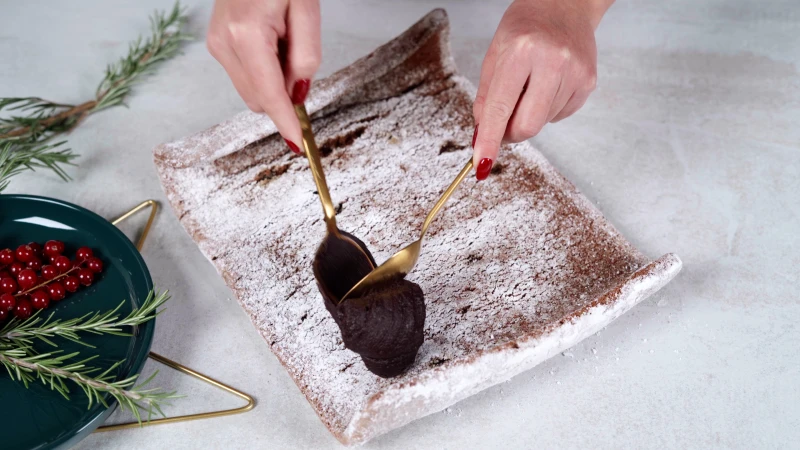
This is the easy part. Once your cake roll is completely cool (at least an hour), you can make the filling. In a chilled bowl, whip the cold heavy cream, powdered sugar, and vanilla until stiff peaks form. Don’t walk away—it can go from perfect to buttery in seconds!
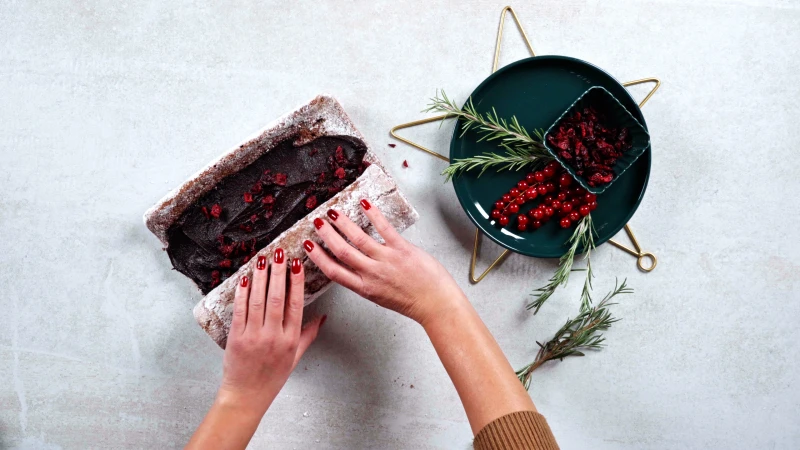
Gently unroll your cooled cake. Spread the whipped cream evenly over the surface, leaving about a one-inch border around the edges. Carefully re-roll the cake (this time without the towel!) and place it seam-side down on a serving platter. Pop it in the fridge to set for at least 30 minutes.
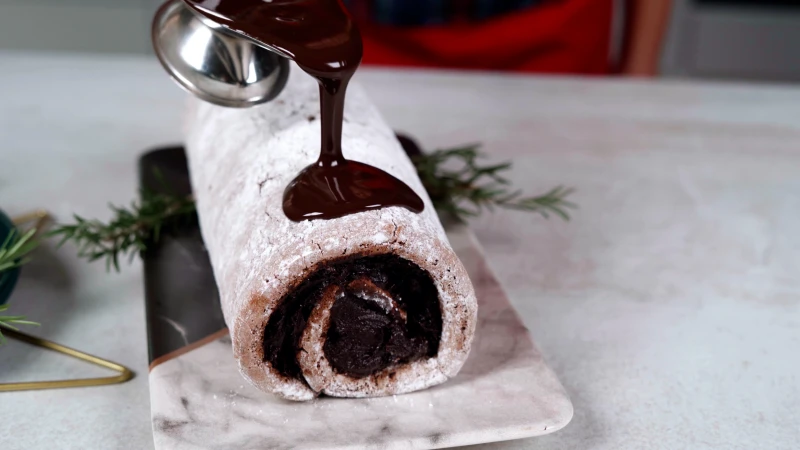
Part 3: The Chocolate Bark Frosting
This simple ganache is what transforms your cake into a log. Place your chopped chocolate in a heatproof bowl. Heat the heavy cream in a small saucepan until it just begins to simmer around the edges. Pour the hot cream over the chocolate and let it sit for 5 minutes without stirring. Then, whisk gently from the center outwards until it’s a smooth, glossy ganache. Let it cool at room temperature, stirring occasionally, until it’s thick but still spreadable (about 30-45 minutes).
Spread the ganache all over the top and sides of your chilled cake roll. To get that classic “bark” look, just run the tines of a fork or the tip of a knife lengthwise down the cake. You can trim the ends on a diagonal for a cleaner look. Dust with powdered sugar for a snowy effect, and you’re done!
Help! What Went Wrong? A Troubleshooting Guide
Even the pros have off days. If your cake didn’t turn out perfectly, don’t sweat it. It’s probably a quick fix for next time.
By the way, a little crack isn’t the end of the world. That’s what the delicious chocolate frosting is for—it hides a multitude of sins! Just frost it with confidence and no one will ever know. Happy baking!
Inspiration:
King Arthur Measure for Measure Flour: Tends to create a slightly sturdier, more forgiving sponge, which can be a godsend for first-timers nervous about rolling. It has a very neutral taste.
Bob’s Red Mill 1-to-1 Baking Flour: Often results in a lighter, more delicate crumb, closer to a traditional génoise. Be extra gentle during the roll, as it can be a bit more fragile.
For this specific recipe, where flexibility is key, the King Arthur blend might offer a slight edge in structural integrity.
Don’t underestimate the power of your cocoa. Swapping a generic supermarket brand for a high-quality Dutch-processed cocoa like Droste or Valrhona makes a world of difference. It’s not just about a darker color; it’s about a deeper, less bitter, and more complex chocolate flavor that elevates your bûche from simply a cake to a true pastry creation.
The tradition of the Bûche de Noël is believed to have emerged in France during the 19th century, inspired by the ancient Celtic practice of burning a log to mark the winter solstice.
Beyond the cake itself, creating a festive scene on the platter brings your bûche to life. Meringue mushrooms are a classic and surprisingly easy addition.
The number one enemy of a rollable gluten-free sponge is overbaking. Even sixty seconds too long in the oven can transform a pliable, moist cake into a brittle, crack-prone cracker. Check for doneness by lightly touching the surface; it should spring back immediately. Trust your touch more than the timer.
My ganache frosting split and turned into a greasy mess. Can it be saved?
Yes, almost always! This usually happens when the cream is too hot or the mixture is agitated too aggressively. To fix it, gently warm a tablespoon or two of milk or more heavy cream in a separate bowl. Then, add the broken ganache to the warm liquid one spoonful at a time, whisking slowly and constantly until it emulsifies back into a smooth, glossy frosting.
The secret? Using finely chopped, high-quality chocolate (like Callebaut or Guittard) and pouring the warm cream over it without stirring. Let it sit for 5 minutes to melt gently before whisking from the center outwards.
While the classic chocolate-vanilla pairing is timeless, a gluten-free sponge is a fantastic canvas for other flavors. Consider these sophisticated variations:
In gluten-free baking, xanthan gum acts as a binder and emulsifier, mimicking the elastic properties of gluten to provide structure and prevent the cake from becoming a crumbly mess.
The recipe calls for adding it only if your flour blend doesn’t contain it. Double-check your flour’s ingredient list! Adding too much xanthan gum can result in a gummy, heavy texture, which is exactly what we want to avoid in a light sponge.
For that signature bark-like texture, perfection is the enemy. After you’ve smoothly frosted the log with your chocolate ganache, let it set for about 10-15 minutes in the fridge. Then, take the tines of a fork and run them lightly along the length of the bûche to create long, irregular grooves. For an even more realistic effect, drag the fork in slightly wavy lines, mimicking the natural grain of wood.
Can I prepare my Bûche de Noël in stages?
Absolutely, and it’s a great way to manage holiday stress. You can bake, roll, and cool the sponge cake a day in advance; just keep it tightly wrapped in the tea towel in the refrigerator. You can also assemble and frost the entire log and freeze it for up to two weeks. Simply transfer it to the refrigerator to thaw overnight before serving.
Whipped Cream Filling: Light, airy, and classic. It provides a delicate, melt-in-your-mouth contrast to the chocolate cake and ganache. However, it’s less stable and must be kept well-chilled.
Chocolate Buttercream Filling: Denser, richer, and sweeter. It’s much more stable at room temperature, making it a good choice if the log will sit out for a while. It creates a more decadent, intense dessert.
For the truest Bûche de Noël experience that emphasizes the sponge, the lighter whipped cream filling is the traditional choice.
The trick? A simple sugar syrup. After unrolling your cooled sponge but before adding the filling, brush it lightly with a syrup made from equal parts sugar and water (heated until dissolved and then cooled). You can even infuse it with vanilla, coffee, or a dash of rum.
Once your masterpiece is complete, let it rest. A mandatory chill time of at least two to three hours (or even overnight) in the refrigerator is not just a suggestion, it’s a crucial step. This allows the ganache to firm up perfectly and, more importantly, lets the filling set, ensuring clean, beautiful slices when you finally present it.
Transform your garnishes from afterthought to highlight. Instead of just powdering with sugar, try these elegant touches:
A 2023 market report showed that the global gluten-free products market continues to grow, with an increasing number of consumers choosing GF options not just for celiac disease, but for perceived health benefits and lifestyle choices.
This growing demand is precisely why pastry chefs and home bakers are investing time to perfect challenging recipes like this one. Mastering a gluten-free Yule log means you can offer a spectacular, inclusive dessert that everyone at the holiday table can enjoy without compromise.
The final presentation is half the pleasure. Serve your Bûche de Noël on a long, narrow platter to accentuate its shape. A rustic wooden board or a modern piece of dark slate can provide a beautiful contrast. Just before serving, a final, very light dusting of powdered sugar across the log and platter evokes a magical, freshly fallen snow.
Crucial Tip: Room Temperature Eggs. The recipe mentions this, but it’s impossible to overstate its importance. Cold eggs will not whip to the necessary volume, period. This volume is what gives the gluten-free sponge its structure and airiness. If you forget to take them out, place the whole eggs in a bowl of warm (not hot) water for 5-10 minutes to quickly bring them up to temp.
Don’t be discouraged if your first attempt has a small crack or isn’t a perfect cylinder. The beauty of the Bûche de Noël is its rustic charm. A generous layer of chocolate ganache and a few well-placed decorations can hide a multitude of sins. The goal is a delicious, memorable dessert, not an unattainable pastry-case replica.