Forget the Restaurant: How to Cook a Truly Special Meal at Home
I’ve spent a long time in professional kitchens, surrounded by fancy dishes with a dozen moving parts. But honestly? The meals that stick with me, the ones that really count, are almost always the simple ones. Cooking for someone you care about isn’t a performance. It’s about creating a moment, a little pocket of comfort and connection.
In this article
So many people get stressed out by the idea of a “special” home-cooked dinner, thinking it means complicated recipes and a grocery bill the size of a car payment. That’s just not how it works.
The real secret isn’t in some convoluted recipe. It’s about getting a feel for a few core techniques. Once you nail these, you can turn simple, high-quality ingredients into something amazing. Think of this as a playbook, not a rulebook—a collection of methods I’ve seen work time and time again. The goal is to feel confident and relaxed so you can actually enjoy the process and, more importantly, the company.
The Foundation: Planning for a No-Stress Night
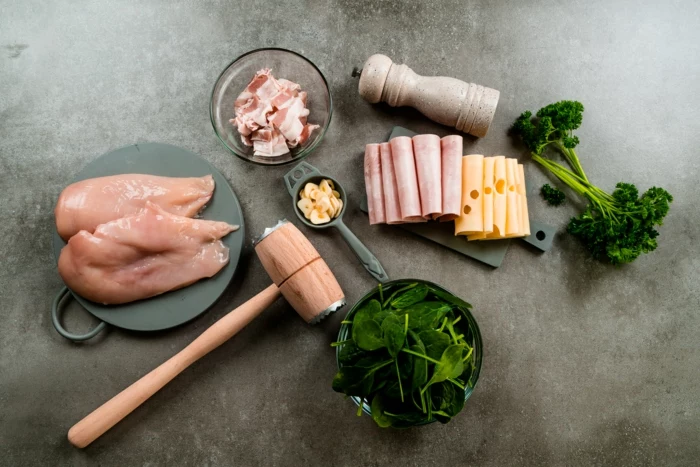
The number one mistake I see people make is diving in without a plan. A frantic cook is never a happy cook, and it kind of defeats the whole purpose, right? The best way to keep things chill is by embracing what the pros call mise en place. It’s a fancy-sounding term that just means “everything in its place.” It is, without a doubt, the single most important habit for anyone who wants to enjoy cooking.
Before you even think about turning on a burner, get everything else done. Chop your veggies. Measure out your spices. Pull out the pans you’ll need. If you’re making a sauce, have all the little bowls of liquids and seasonings lined up and ready to go. This one step transforms cooking from a mad dash into a smooth, rhythmic process. You get to focus on the fun part—the actual cooking—instead of frantically digging for the pepper while your garlic starts to smoke.
A Loose Game Plan
This isn’t a strict schedule, just a way to spread out the work:
- The Day Before: Read through your ideas and hit the grocery store. This is also a great time to make dessert. Poached fruit, for example, is often even better after it has a day to sit in its delicious syrup.
- Afternoon Of: If you’re going for fresh pasta, this is the time to make the dough and let it rest in the fridge. Wash and chop all your vegetables. Quick tip: You can keep chopped veggies like carrots and celery super crisp by storing them in a container of water in the fridge. For delicate herbs or greens, wrap them in a damp paper towel.
- One Hour Before Dinner: Now for the good stuff. Set the table. Put on some music. Pour yourself a drink. This is your time, too! Portion your proteins and measure out everything for your pan sauce.
- 30 Minutes Before Dinner: Time for action. Start boiling your pasta water or get that pan preheating for your protein.
See? This way, you’re in control. You get to be present, not just a harried line cook in your own kitchen.
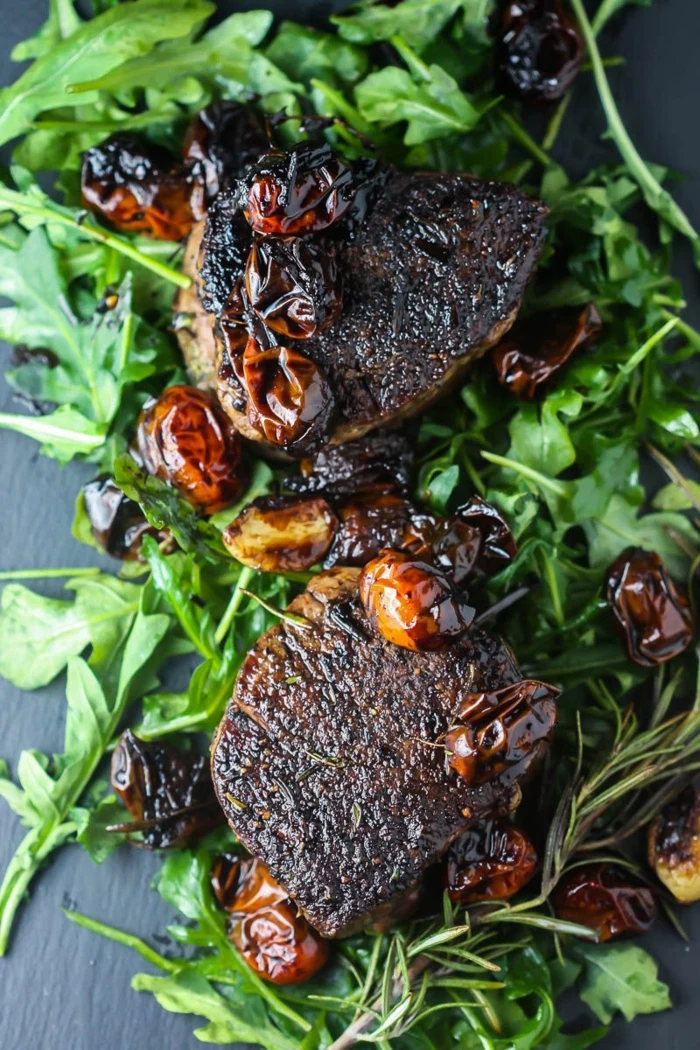
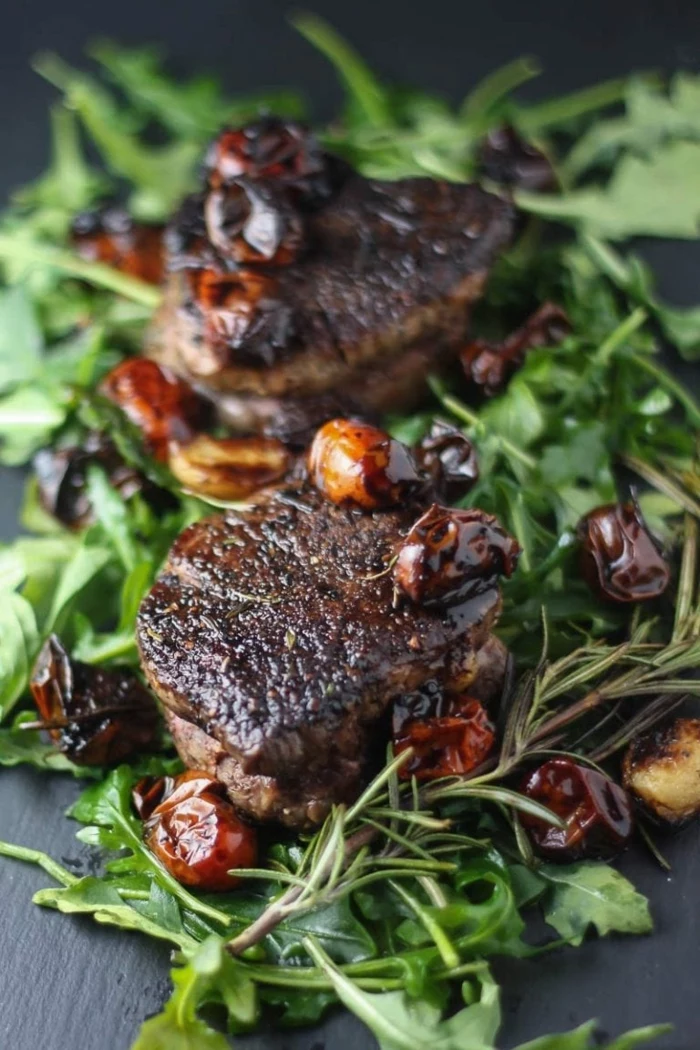
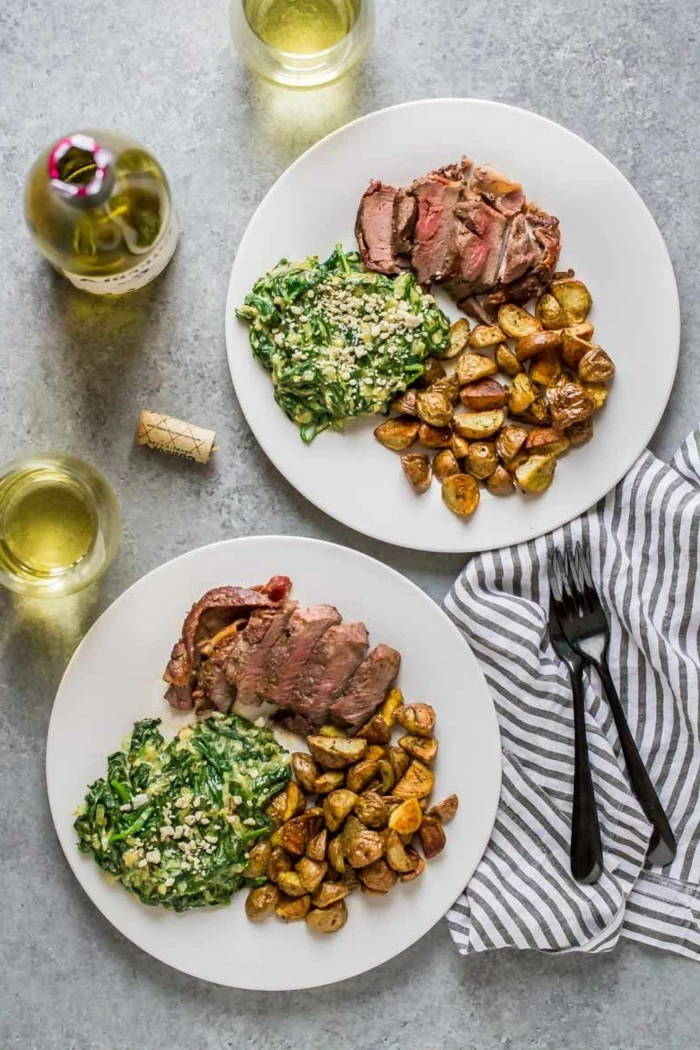
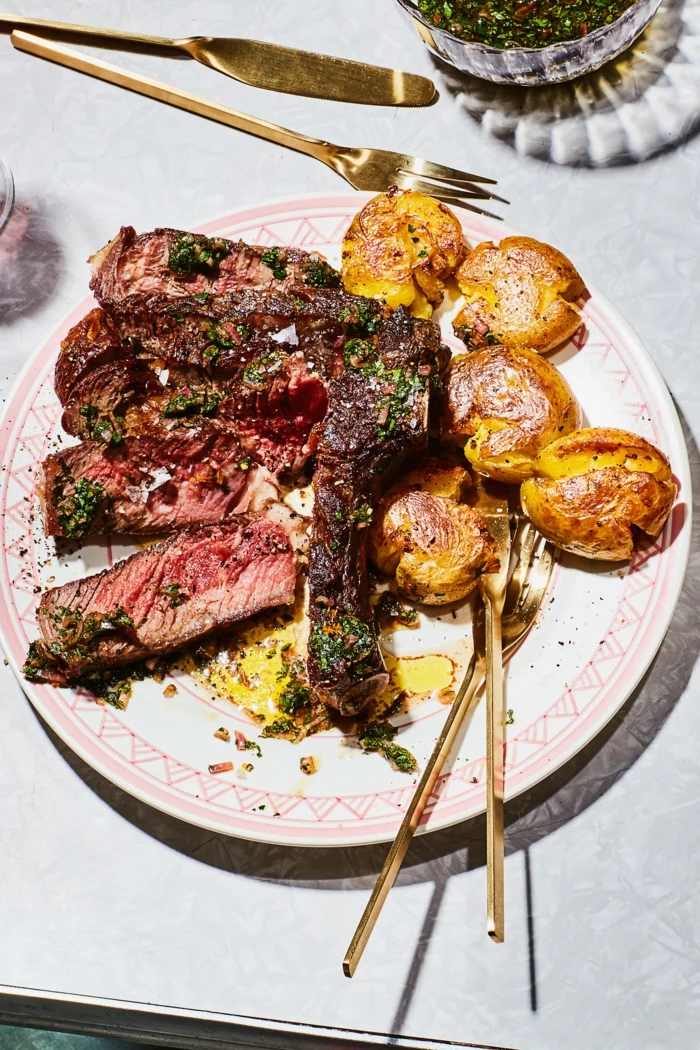
Mastering the Main: The Perfect Pan-Seared Steak
A beautifully cooked steak is a showstopper, and it’s surprisingly straightforward once you understand what’s happening. We’re not just heating meat; we’re creating deep, rich flavor through what’s known as the Maillard reaction. That gorgeous brown crust? That’s it. To get it, you need three things: a very dry surface, high heat, and the right kind of pan.
1. Picking Your Cut
For a special night, filet mignon is the classic choice because it’s incredibly tender. Look for a cut that’s at least 1.5 inches thick—a thicker steak is much more forgiving and won’t overcook in the middle before you get a good crust. But let’s be real, filet can be pricey, often running $25-$35 per pound.
Don’t worry, you have amazing options. A thick-cut ribeye offers incredible flavor thanks to its higher fat content and usually costs less, maybe around $18-$25 per pound. For a fantastic budget-friendly choice, a top sirloin or a flat iron steak delivers a big, beefy flavor for closer to $12-$18 per pound. Your local butcher is your best friend here; tell them what you’re doing, and they’ll steer you right.
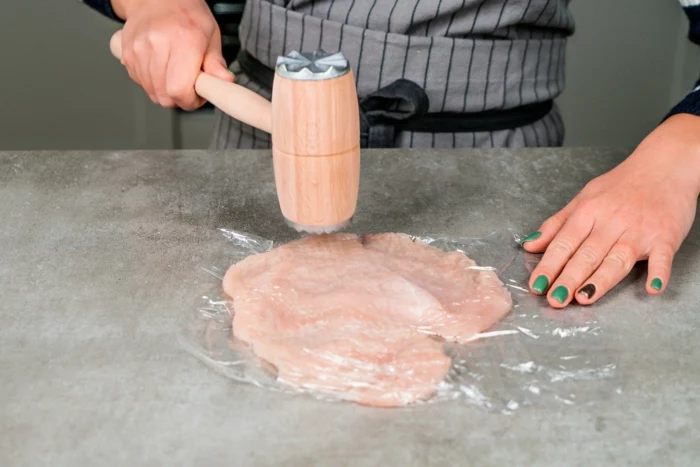
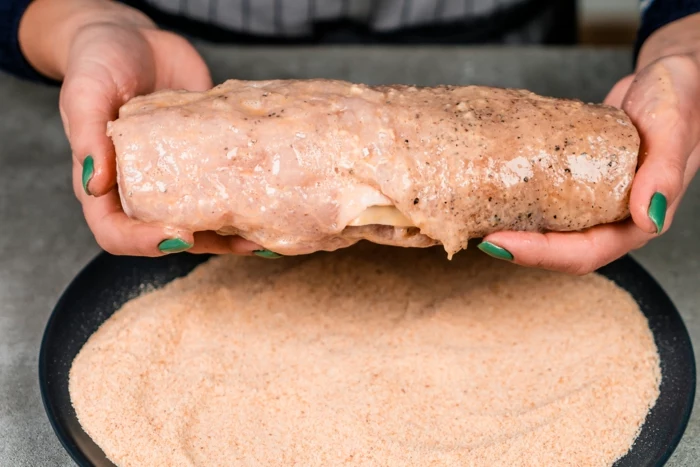
2. The All-Important Prep
This is where things often go sideways for people. First, pull the steak from the fridge about 30-45 minutes before you plan to cook it. A less-chilled steak cooks way more evenly. Second—and this is non-negotiable—get the surface BONE DRY. Use paper towels and pat it down on all sides. Moisture is the mortal enemy of a good sear; it steams the meat and turns it a sad grey color.
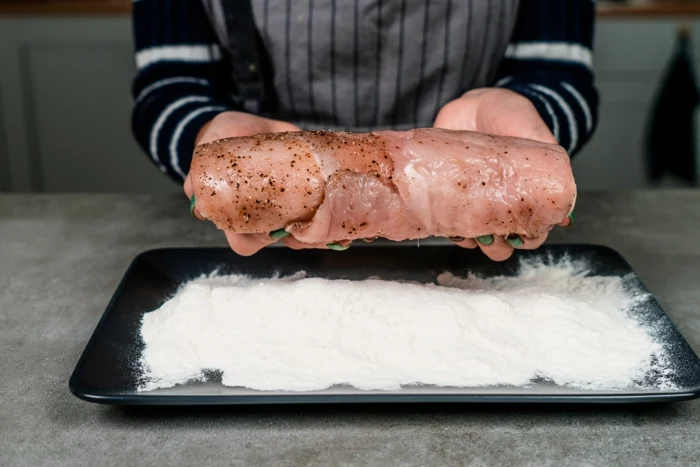
Right before it hits the pan, season it generously with coarse salt and freshly cracked black pepper. When I say generously, I mean it should look like a light frost of salt has settled on the surface, about 1 teaspoon of coarse salt per side. If you salt it too far in advance, the salt will pull moisture to the surface, and you’ll have to pat it dry all over again.
3. The Sear (Where the Magic Happens)
Your best friend for this job is a heavy-bottomed pan. Cast iron is the king, but heavy stainless steel is a close second. They get ripping hot and stay hot. Heads up: avoid non-stick pans for this. They just can’t handle the high heat required for a proper sear, and you risk damaging the coating.
Get the pan over medium-high heat. Add a tablespoon of an oil with a high smoke point, like grapeseed, canola, or even avocado oil. When the oil shimmers and you see the first tiny wisp of smoke, it’s go-time. Gently lay the steak in the pan, placing it away from you to avoid any hot oil splashing back. You’re looking for a loud, confident sizzle. That’s the sound of success.
Now, leave it alone! Don’t poke it, don’t move it. Let it form that crust, which should take 2-4 minutes. You’ll know it’s ready to flip when it releases easily from the pan. If it’s stuck, give it another 30 seconds. Flip and repeat on the other side.
4. Nailing the Temperature
Unless you’ve cooked a thousand steaks, guessing the doneness is a fool’s game. An instant-read digital thermometer is the single best tool you can own for consistent results. A top-of-the-line one like a Thermapen is amazing, but honestly, a $15 version from Amazon will completely change your steak game. It removes all the anxiety.
For an extra layer of flavor, after you flip the steak, toss a knob of butter, a smashed garlic clove, and a sprig of thyme or rosemary into the pan. Tilt the pan toward you and use a spoon to baste the steak with that fragrant, foaming butter.
Here’s the key: Pull the steak from the pan when it is 5-10 degrees below your final target temperature. It will continue to cook as it rests.
- For Medium-Rare (135°F): Pull it out around 125-130°F.
- For Medium (145°F): Pull it out around 135-140°F.
5. The Mandatory Rest
Transfer the cooked steak to a cutting board and let it rest for 5-10 minutes. This is so important. While cooking, the muscle fibers tighten up and push all the juices to the center. Resting lets those fibers relax and allows the juices to redistribute throughout the entire cut. Slice into it too soon, and all that amazing flavor will pour out onto your cutting board, leaving you with a dry steak. Just tent it loosely with a piece of foil to keep it warm.
Level Up: A 3-Minute Pan Sauce
While that steak is resting, you can whip up a mind-blowing sauce in the same pan. This is a classic restaurant trick that uses all those delicious brown bits (the pros call this the fond) stuck to the bottom.
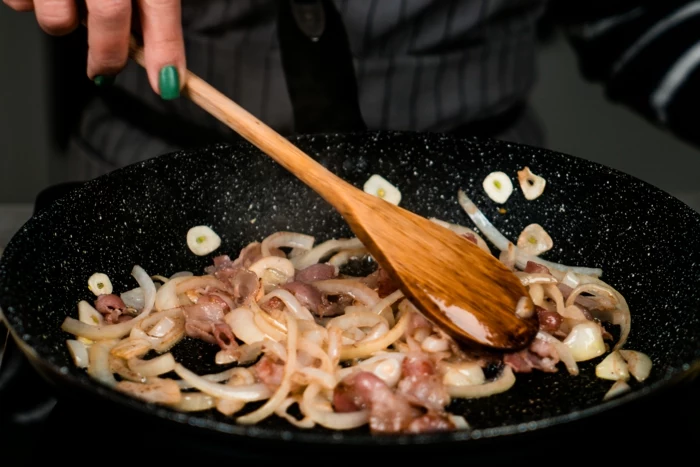
Carefully pour off any excess fat, leaving about a tablespoon in the pan. Pop it back on medium heat and toss in a finely chopped shallot. Cook for a minute, then add a minced garlic clove for another 30 seconds. Now, deglaze the pan. Pour in about 1/4 cup of a decent red wine (like a Merlot or Pinot Noir you’d actually drink), brandy, or even beef broth. As it sizzles, use a wooden spoon to scrape up all those flavorful bits. Let the liquid bubble away until it’s reduced by about half. Finally, kill the heat and whisk in 1-2 tablespoons of cold butter, one little piece at a time. This makes the sauce glossy and rich. Season with salt and pepper, and you’re done. Pour that liquid gold over your sliced steak.
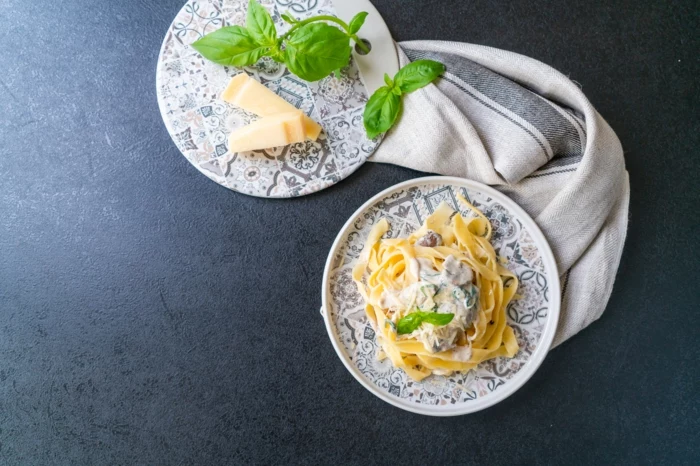
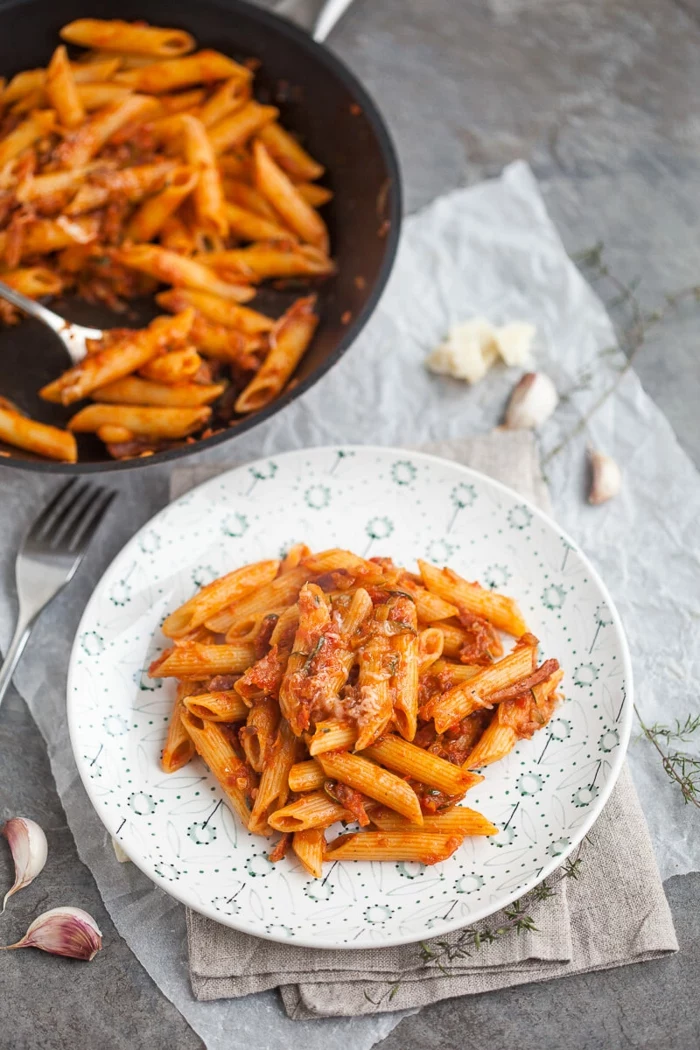
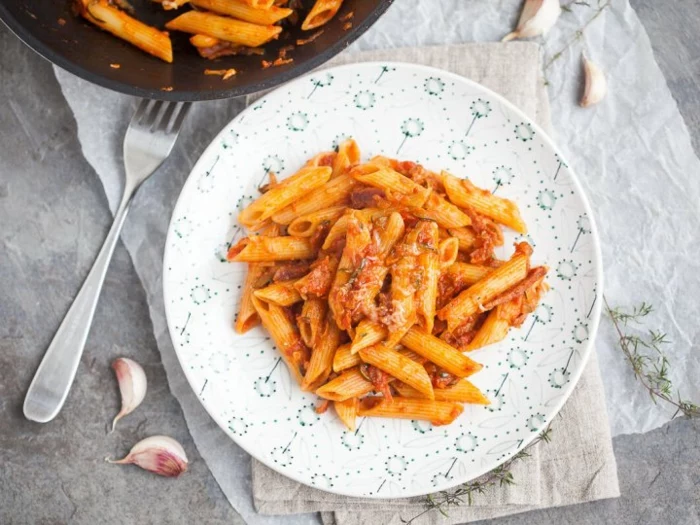
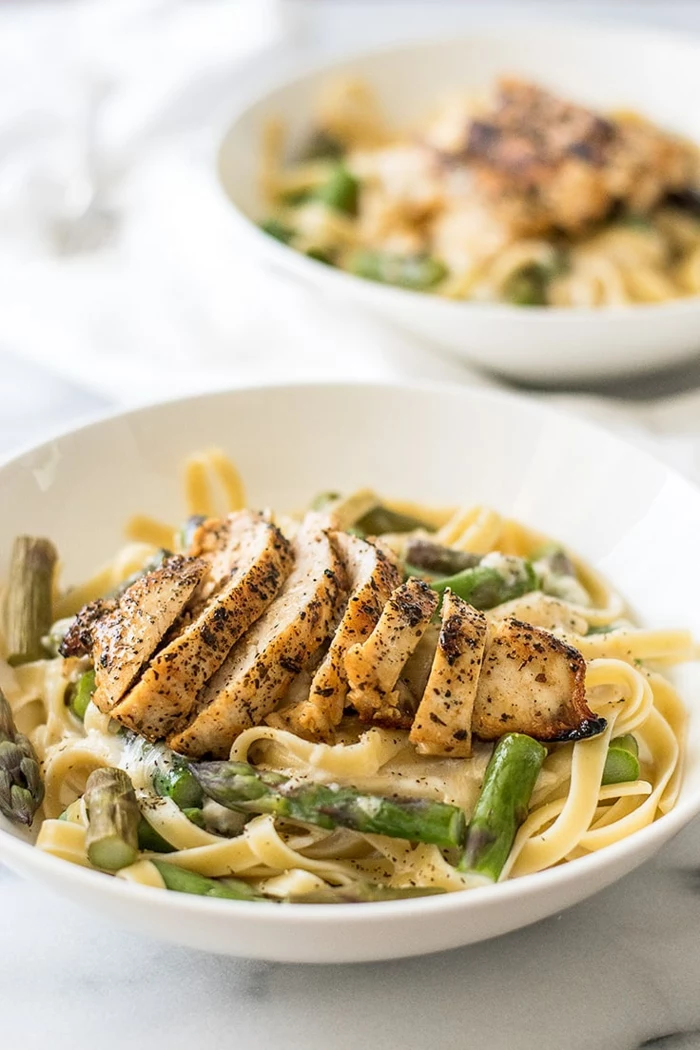
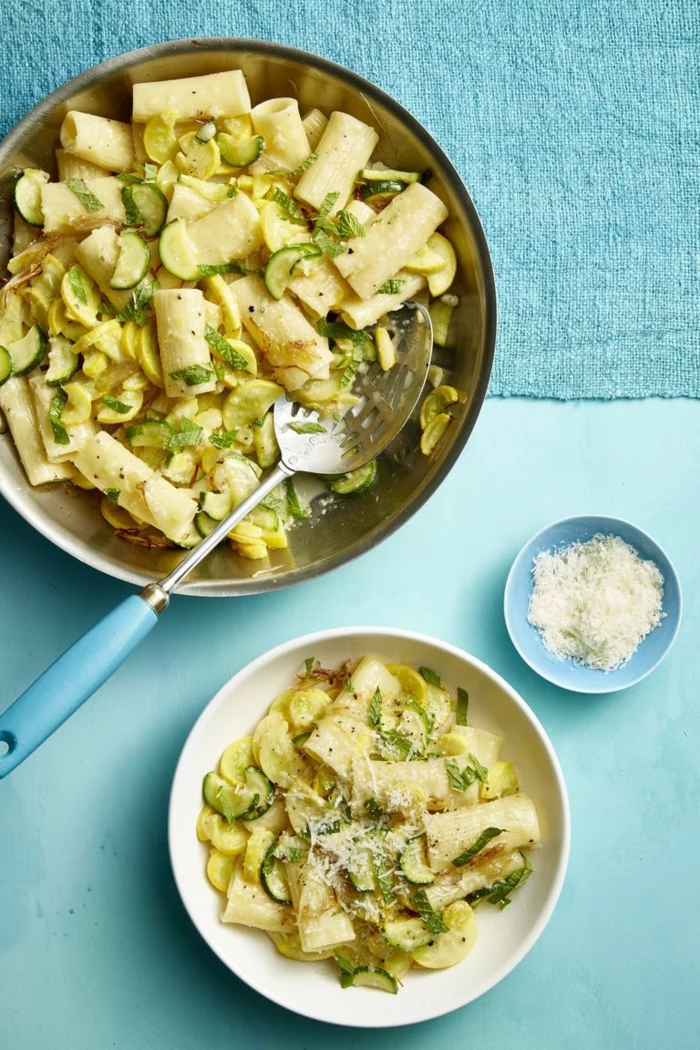
An Alternative Main: The Art of Fresh Pasta
Maybe a rustic, beautiful bowl of pasta is more your speed. Making it from scratch is so satisfying, and the chewy, tender texture is worlds away from the dried stuff. It just screams “I care about you.”
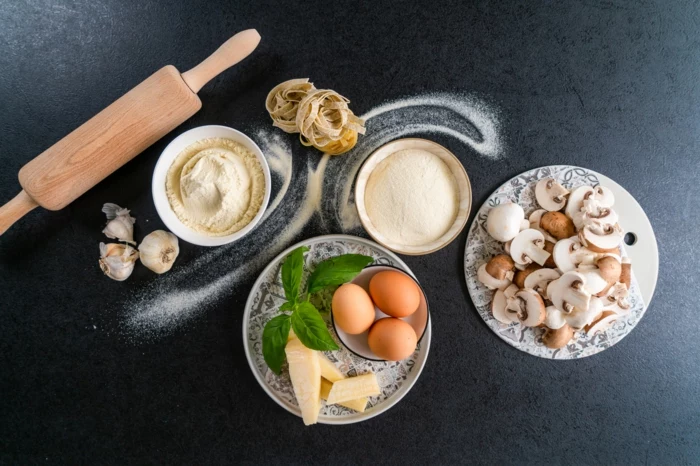
1. The Dough
A good starting ratio is 100 grams of “00” flour to 1 large egg, per person. This Italian flour is milled extra-fine and gives you a silky-smooth dough, but regular all-purpose flour works fine too. For a chewier bite, swap out some of the all-purpose for semolina flour.
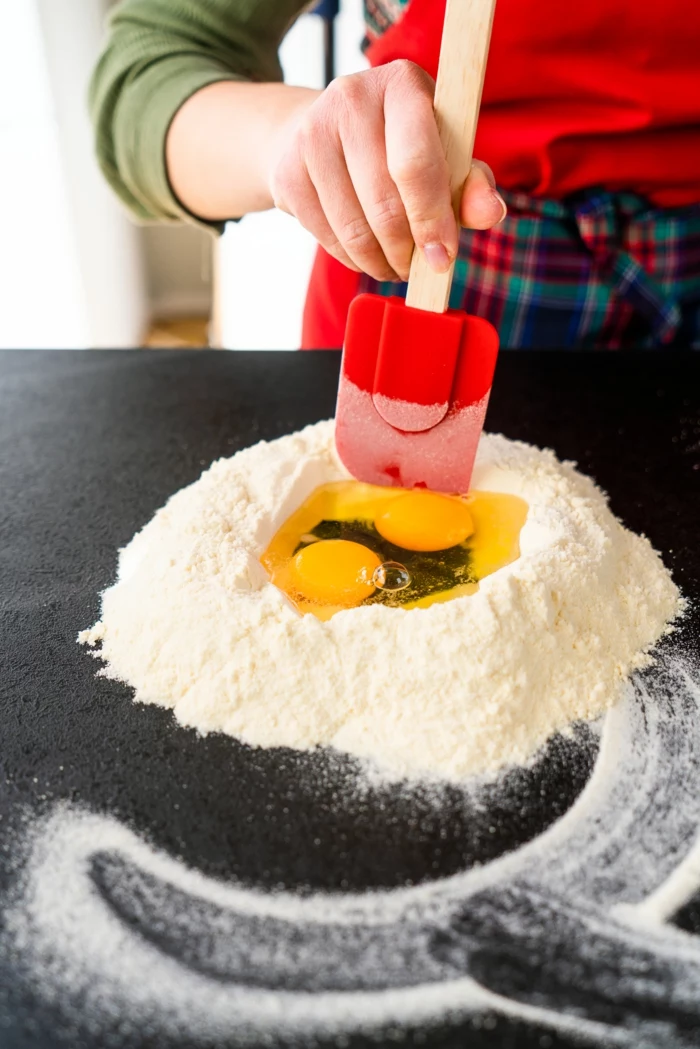
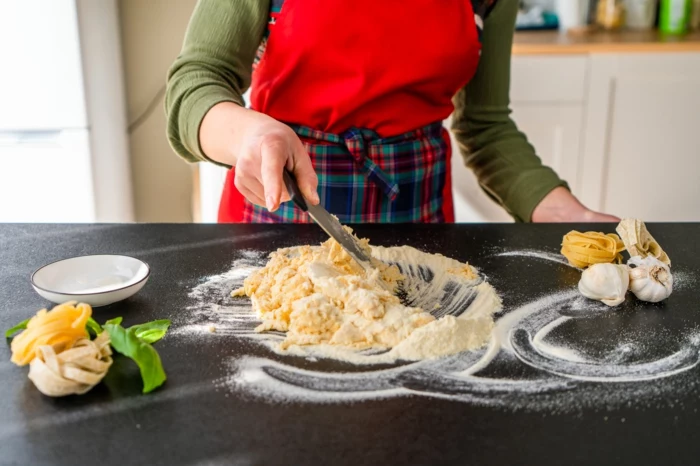
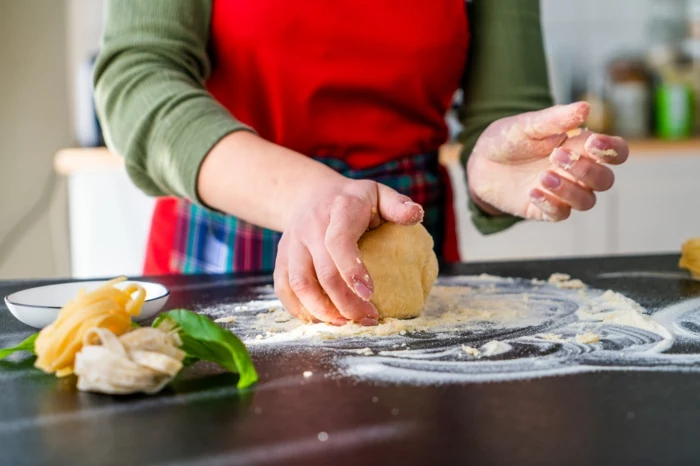
Mound the flour on your counter, make a well in the middle, and crack the eggs into it. Gently beat the eggs with a fork, slowly pulling flour in from the sides. Once it’s a shaggy mess, use your hands to bring it together and knead for a solid 8-10 minutes. It will feel tough and dry at first—just keep going! It’ll magically transform into a smooth, elastic ball. Wrap it tightly in plastic and let it rest for at least 30 minutes. This step is non-negotiable; it lets the gluten relax, making it possible to roll out.
Quick Fixes: Is your dough a sticky nightmare? Add more flour, one tablespoon at a time. Is it a dry, crumbly mess? Add water, one teaspoon at a time, until it comes together. You can’t really mess it up beyond repair.
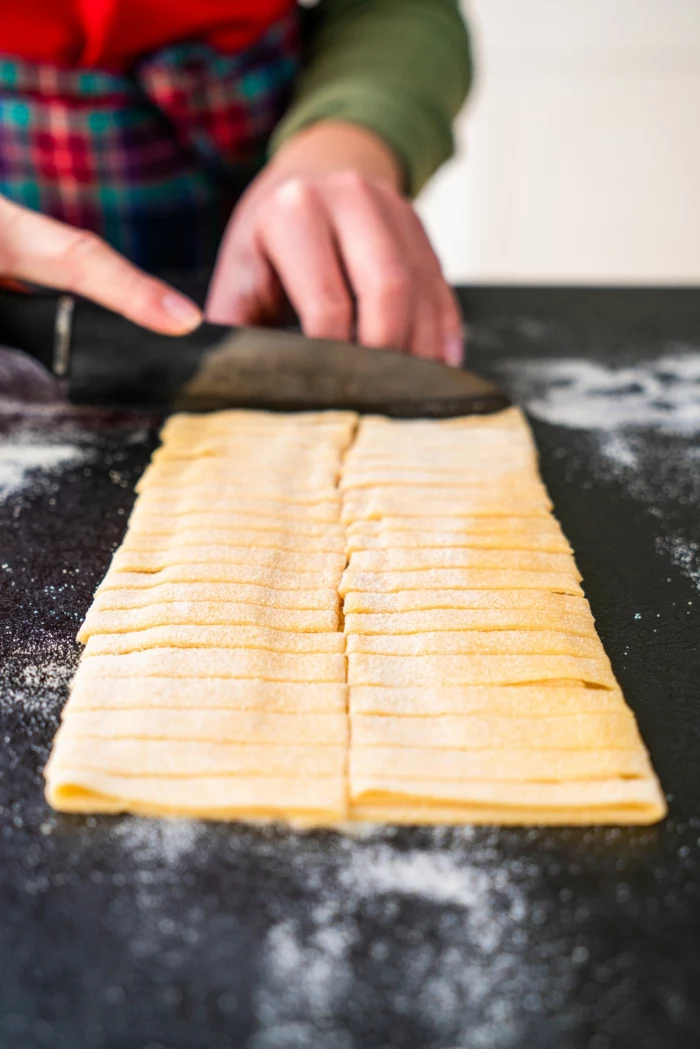
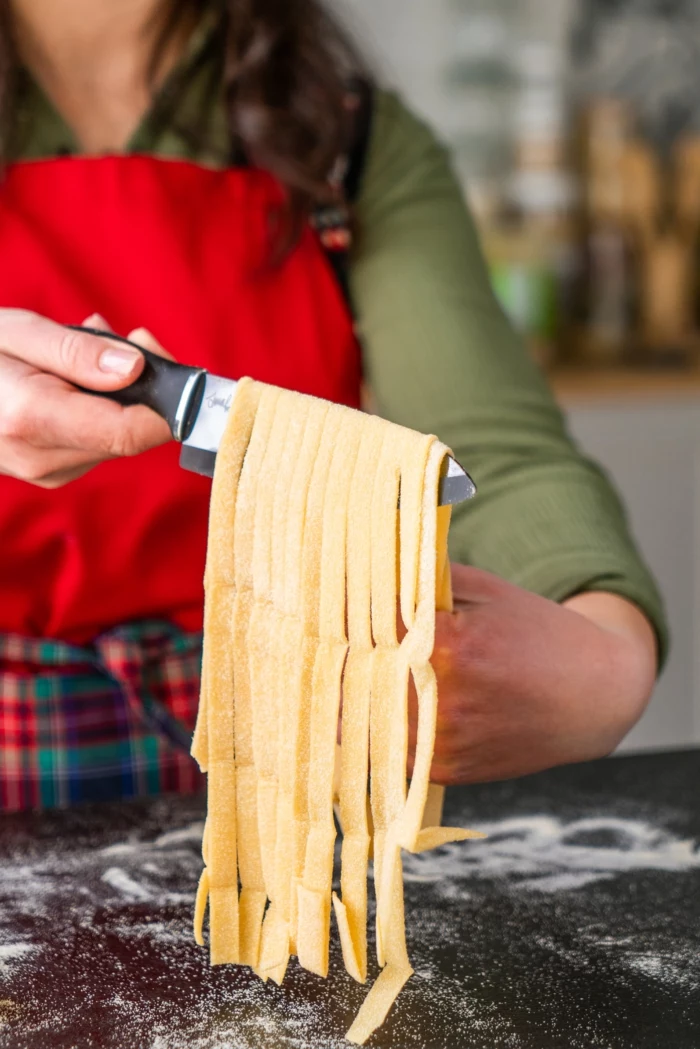
2. Shaping
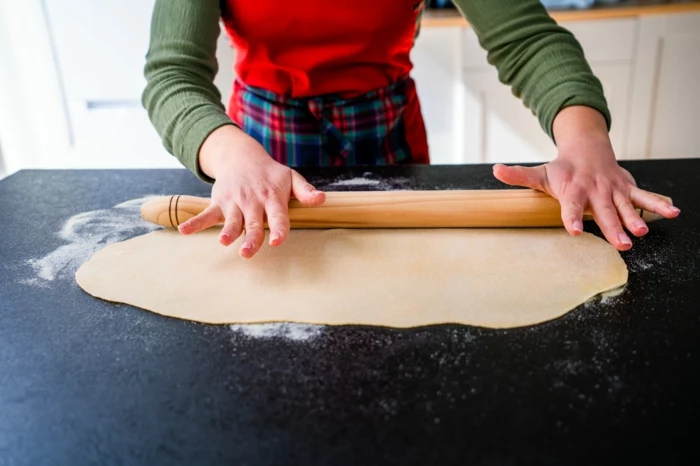
If you have a pasta machine, pass the dough through on the widest setting, fold it like a letter, and repeat a few times. Then, keep passing it through, narrowing the setting each time until it’s your desired thickness (about 1.5mm is great for fettuccine). No machine? No problem. A rolling pin and some elbow grease work just as well. Lightly flour a sheet of pasta, roll it up like a cigar, and slice it into ribbons.
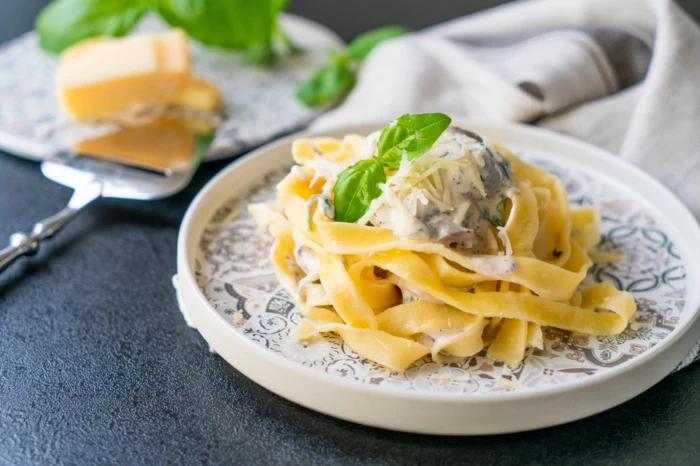
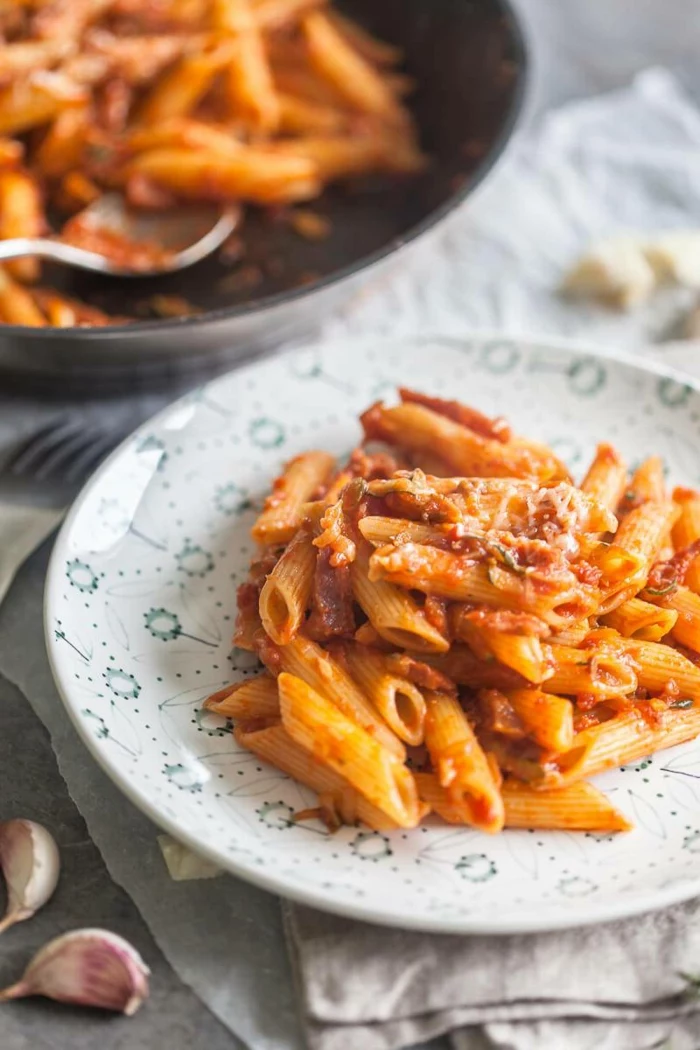
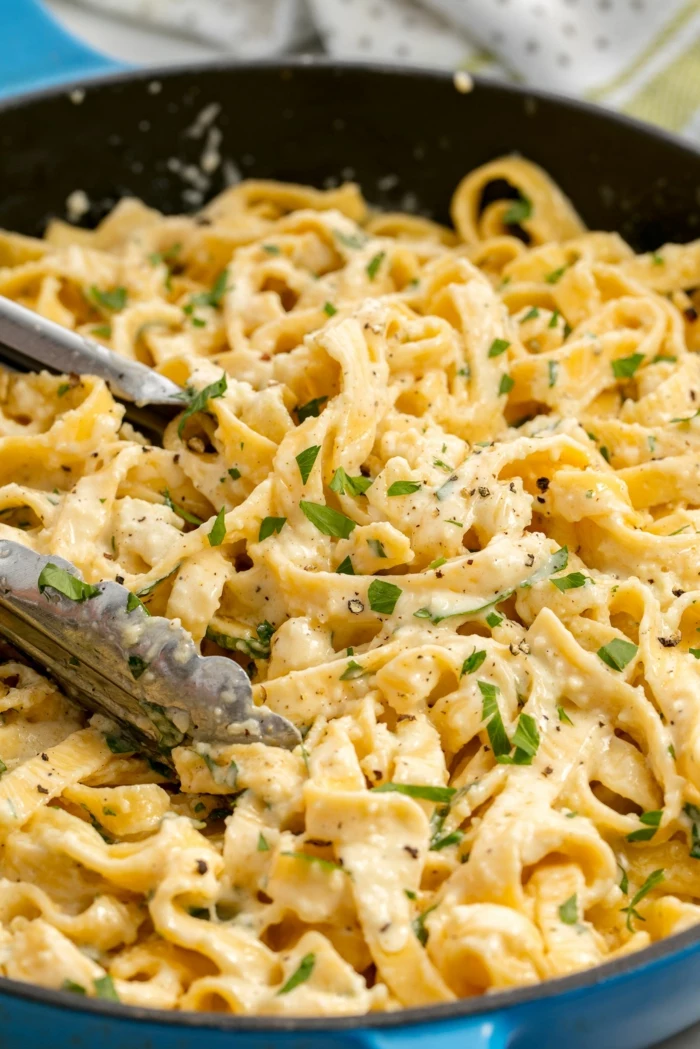
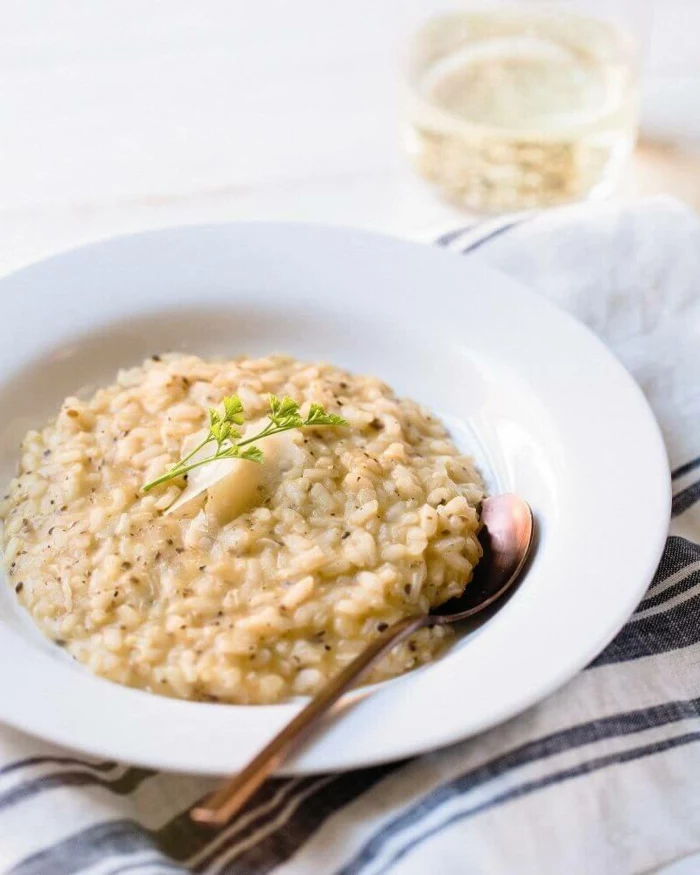
3. The Perfect Simple Sauce: Cacio e Pepe
Fresh pasta shines with a simple sauce. Cacio e Pepe (cheese and pepper) is a classic for a reason. The secret ingredient? The starchy, salty water you cook the pasta in.
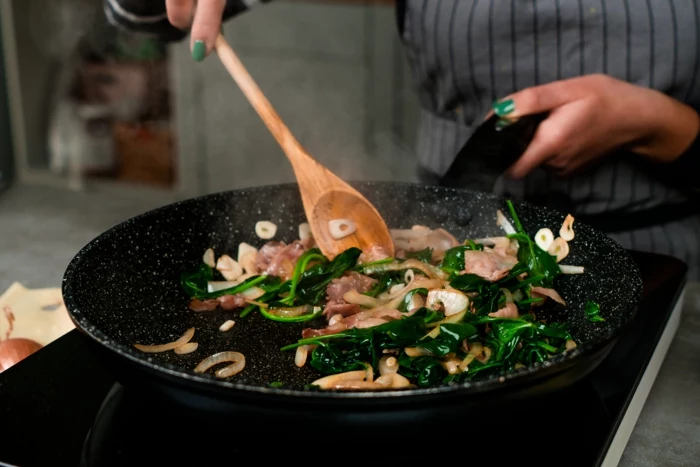
Bring a large pot of water to a rolling boil and salt it until it tastes like the ocean. While it heats, toast a teaspoon of coarsely cracked black pepper in a large, dry skillet over medium heat for about a minute until it smells amazing. This wakes up the flavor.
Fresh pasta cooks fast—we’re talking 2-4 minutes. Just before it’s done, scoop out a cup or two of the starchy water. Add a cup of that hot pasta water to your skillet with the pepper and let it simmer. Use tongs to move the cooked pasta directly into the skillet. Turn off the heat. Now, gradually add one cup of finely grated Pecorino Romano cheese, tossing everything vigorously. The goal is a creamy, emulsified sauce, not a clumpy brick of cheese.
Help, my sauce is clumpy! This usually means your pan was too hot or you added the cheese too fast. Don’t panic! Just add another splash of the warm pasta water and whisk like crazy off the heat. The starch in the water will help smooth it out. If it’s too thin, add a bit more cheese. It’s a bit of a dance, but the result is a silky sauce that clings perfectly to every noodle.

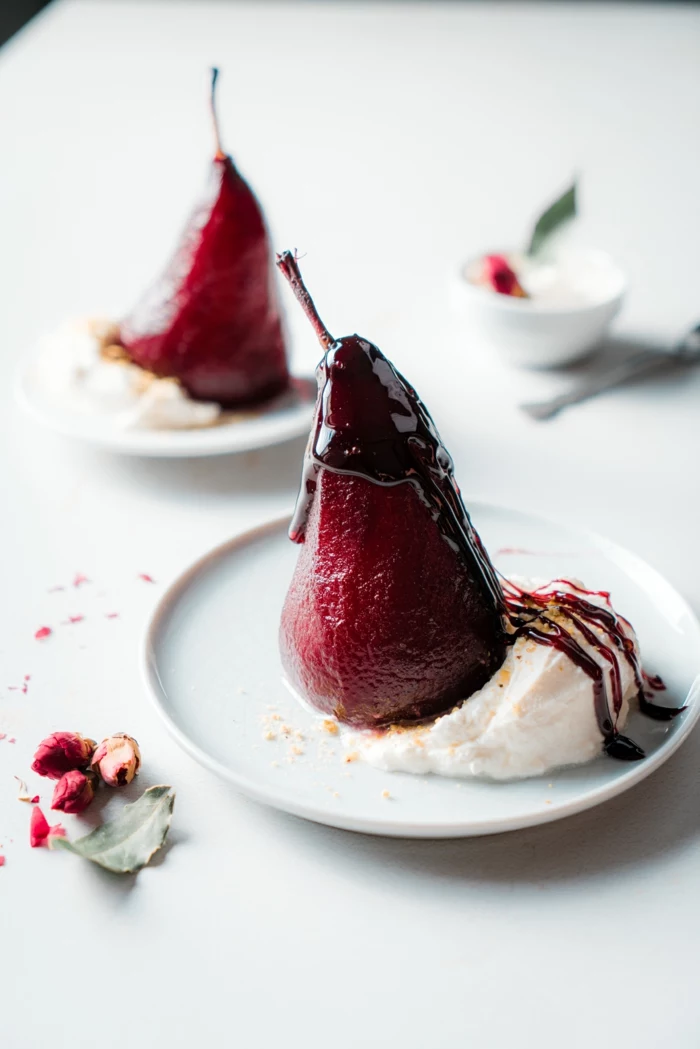
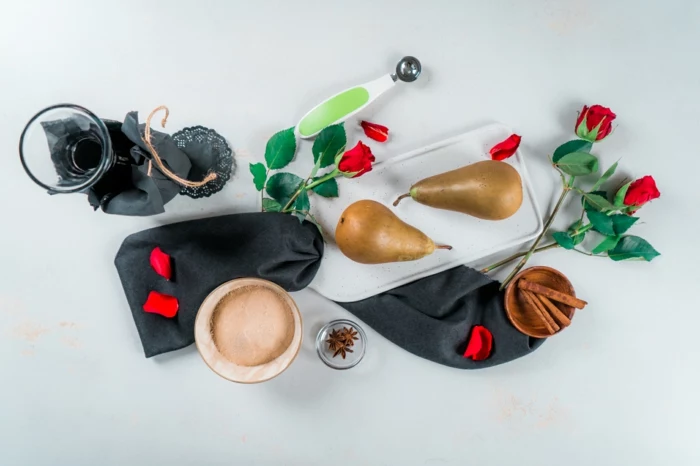
The Perfect Ending: Wine-Poached Pears
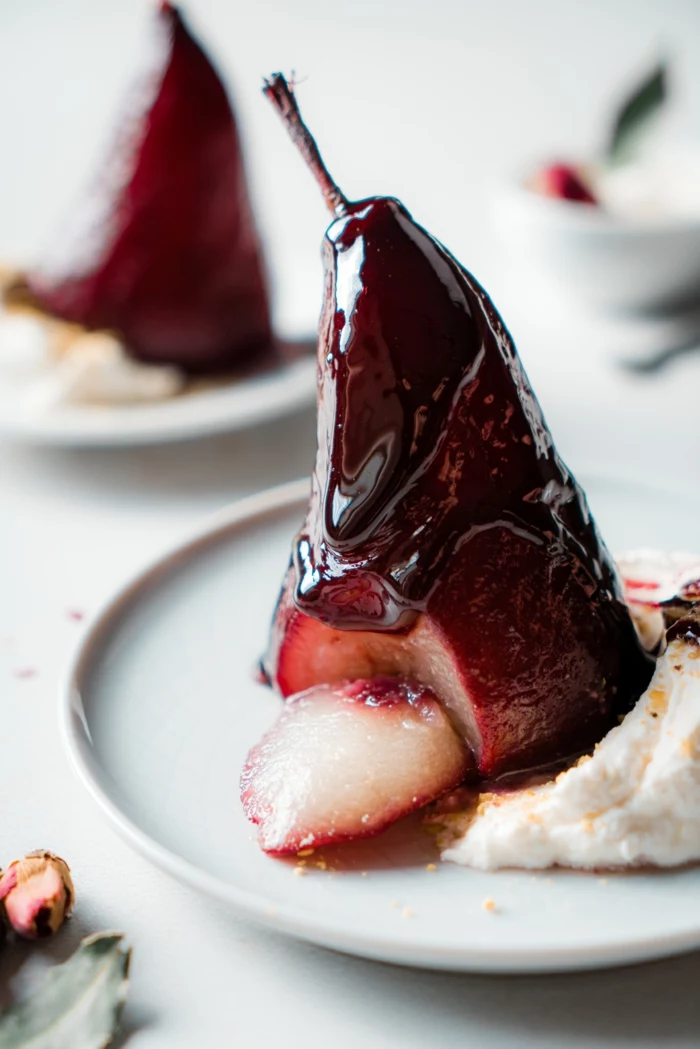
A heavy dessert can feel like a chore after a rich meal. Poached fruit is the answer. It’s light, elegant, and you can make it the day before.
1. The Method
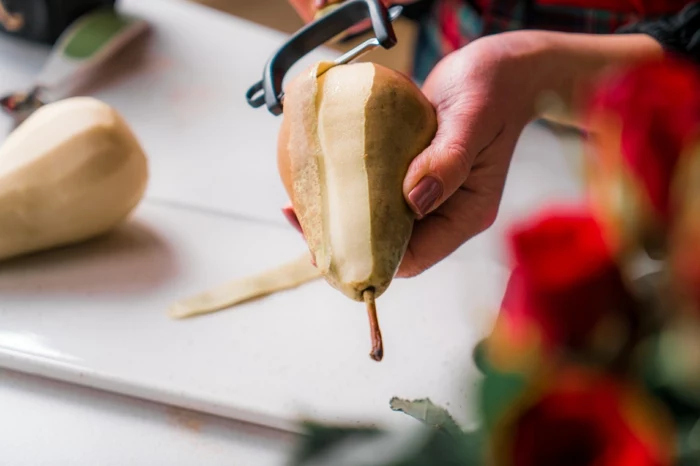
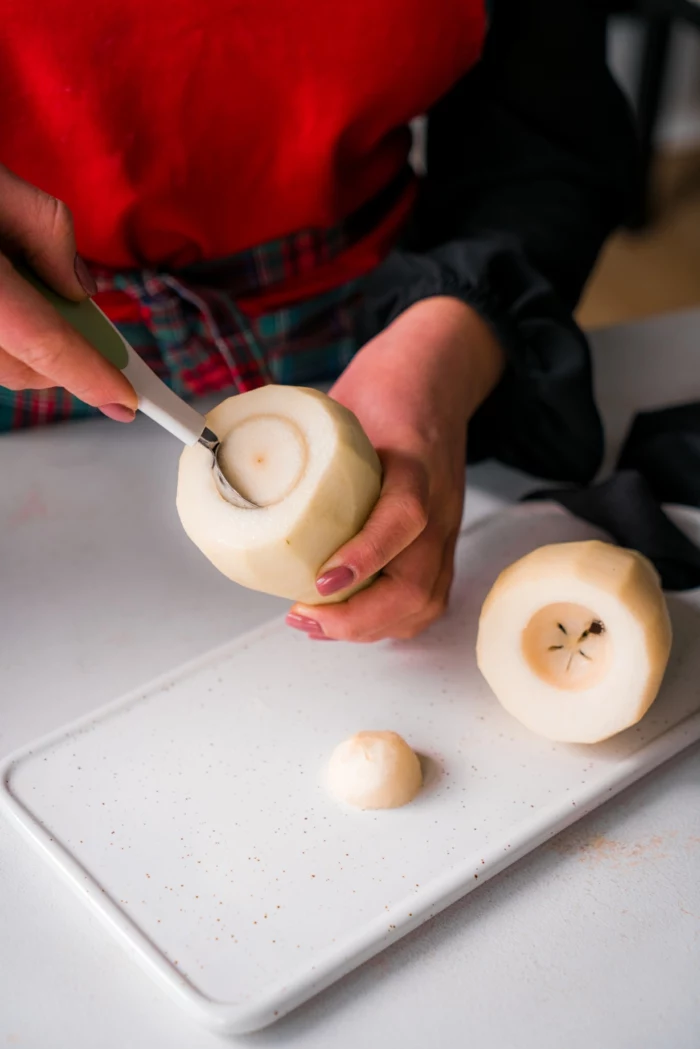
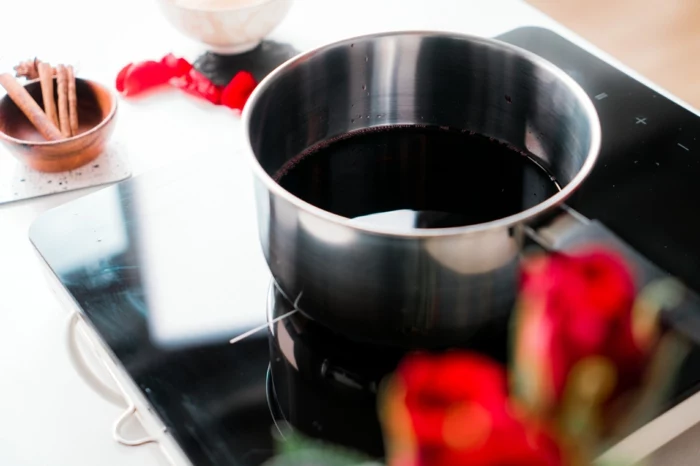
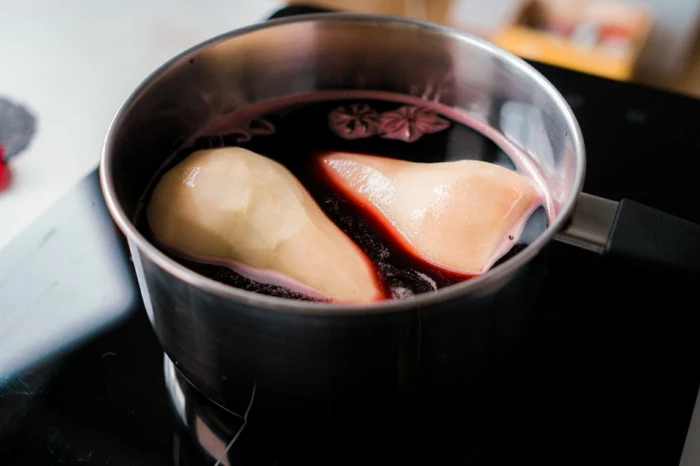
Choose firm pears like Bosc or Anjou that will hold their shape. Peel them, but leave the stems on for a pretty presentation. In a saucepan just big enough to hold the pears, combine your poaching liquid. A bottle of dry red wine, a cup of sugar, a cinnamon stick, and a strip of orange peel is a classic mix. Not a wine drinker? No problem. Spiced apple cider or even white grape juice with the same spices works beautifully.
Bring the liquid to a simmer, add the pears, and make sure they’re submerged. Let them gently simmer (not boil!) for 20-30 minutes, until a knife slides in easily. Carefully remove the pears.
2. The Sauce
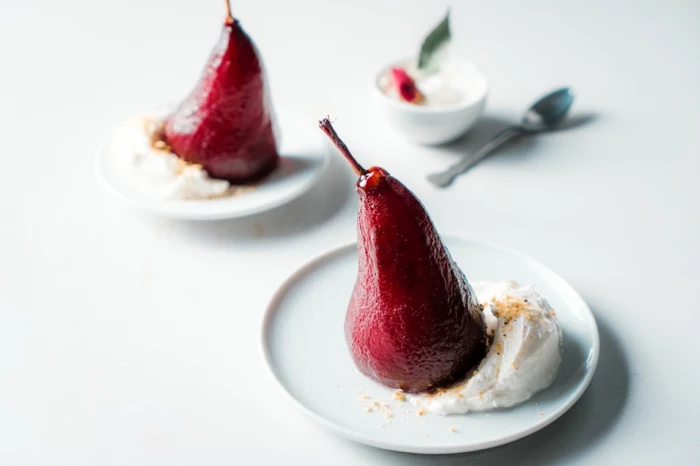
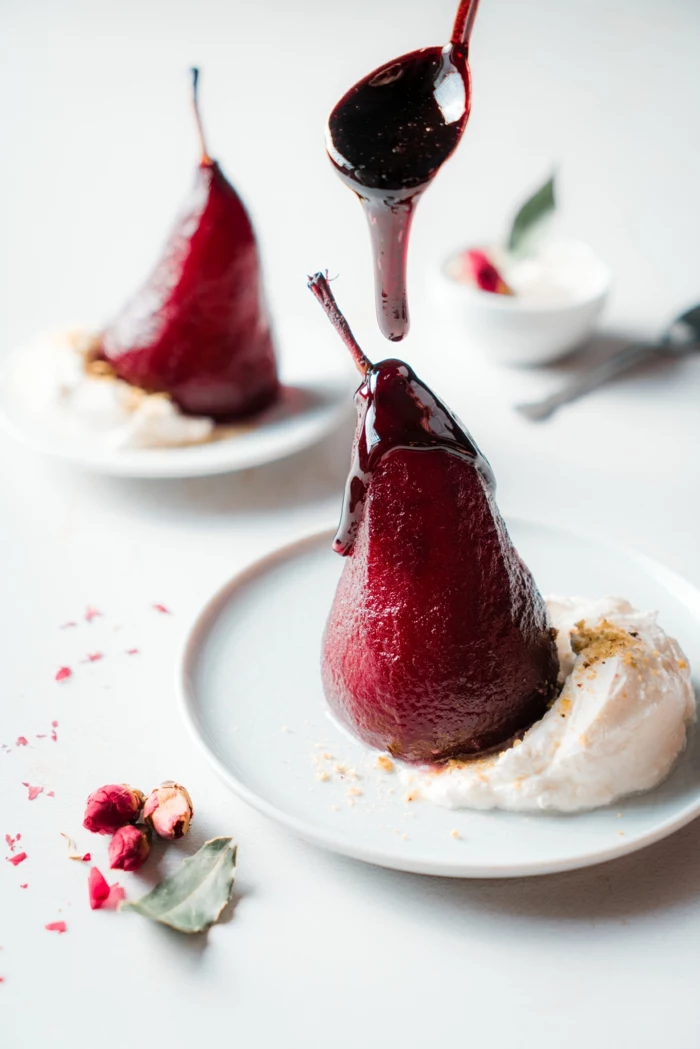
Don’t you dare throw out that poaching liquid! Crank the heat up and boil it until it reduces by about two-thirds and becomes syrupy. This can take 10-15 minutes, but the result is an intensely flavorful sauce to drizzle over the pears. Serve them warm with a dollop of mascarpone cheese or a scoop of vanilla ice cream.
A Final Thought on Perfection
Please remember to be safe. Use separate cutting boards for raw meat and veggies. And a sharp knife is a safe knife—it’s the dull ones that slip and cause accidents.
But most of all, remember the point of all this is connection. It doesn’t have to be perfect. I once spent an entire day on a complex meal only to char the final component to a crisp. We laughed, scraped off the burnt bits, and it’s now one of our favorite stories. Cooking is a human thing. It’s an act of care. So embrace the process, master a few of these simple tricks, and you’ll create a meal that’s memorable not for its perfection, but for the love you put into it.
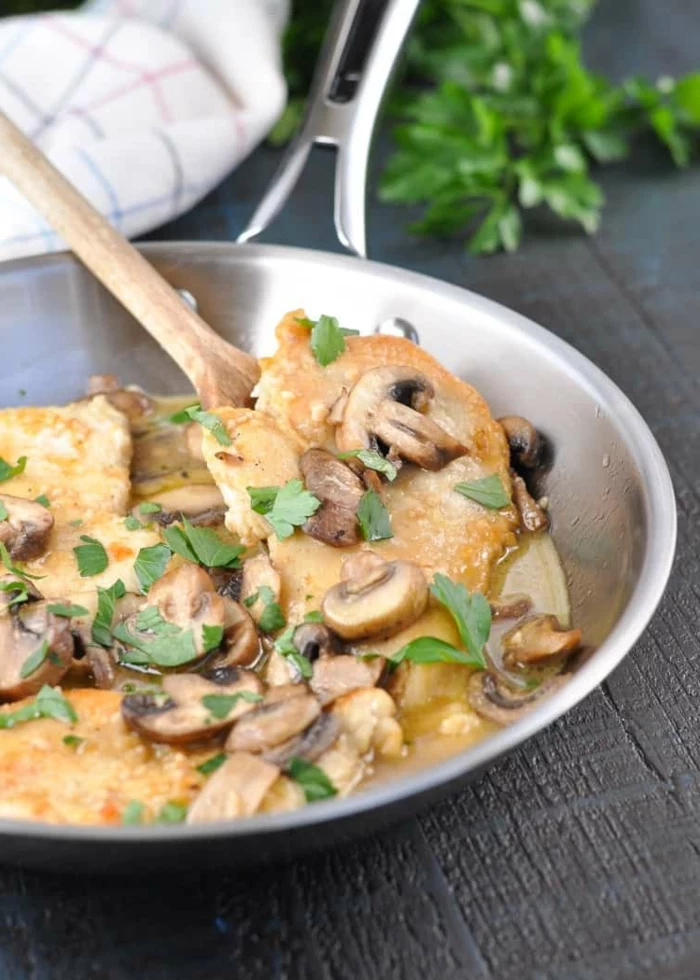
By the way, here’s a little challenge for you: next time you cook anything in a pan—chicken, pork chops, whatever—try making a quick pan sauce. Just deglaze with a little broth or wine after the protein is done. It’s a five-minute move that will make you feel like a total pro.
Inspirational Gallery

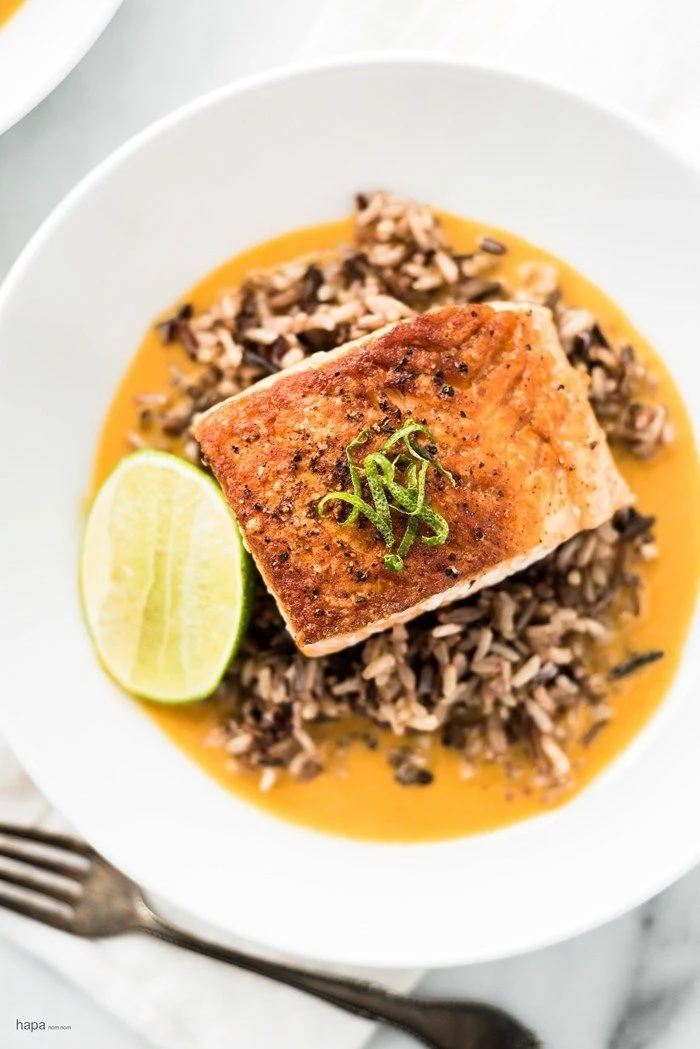
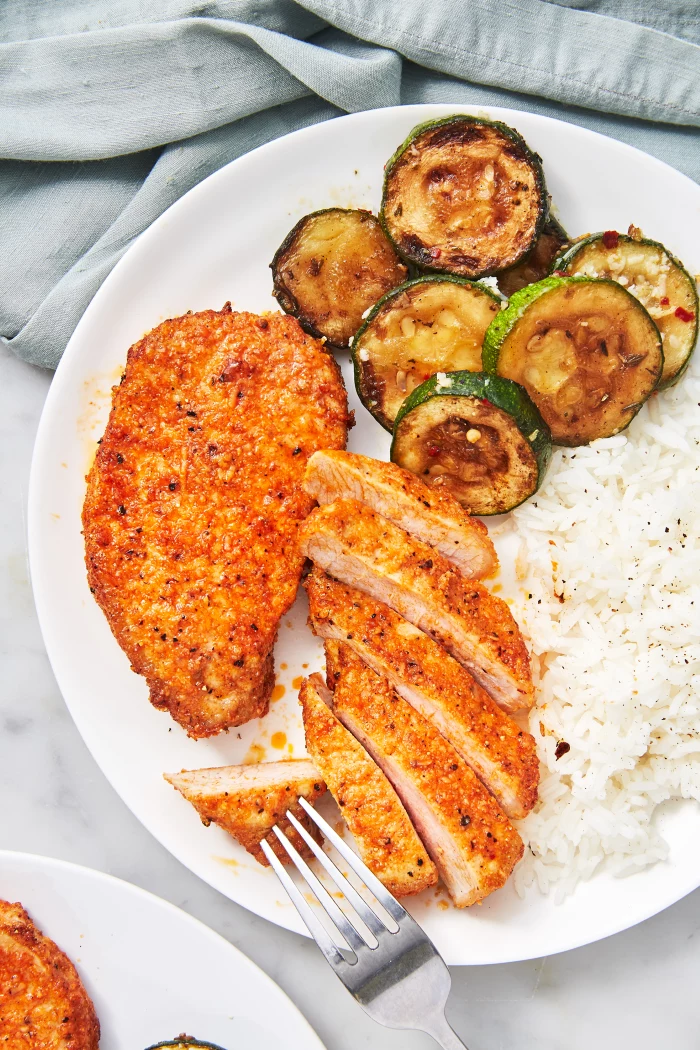
The secret to a restaurant-quality sear: a screaming hot, dry pan. Before a drop of oil goes in, get your pan—preferably a heavy-bottomed stainless steel or cast-iron one—hotter than you think you need. When you can feel the heat radiating from a few inches above, add your fat. It should shimmer almost instantly. This ensures a beautiful, deep-brown crust rather than a sad, grey, steamed piece of protein.
A great meal is not one that has been complicated to prepare, but one that has been prepared with love.
This sentiment is the heart of home cooking. Don’t focus on complexity; focus on care. Did you preheat the oven properly? Did you let the steak rest? Did you taste the sauce for seasoning? These small acts of care are what transform simple ingredients into something truly special.
- Create depth with a splash of wine to deglaze the pan after searing meat.
- Add a knob of cold butter at the end of a sauce to make it glossy and rich.
- Finish with a squeeze of lemon or a dash of vinegar to brighten every flavor.
The key? These aren’t just steps; they’re layers of flavor.
What’s the one tool that separates a good cook from a great one?
It’s not a fancy sous-vide machine; it’s a high-quality chef’s knife. A sharp, well-balanced knife (think Wüsthof Classic or Global G-2) makes prep work faster, safer, and more precise. It’s an investment that pays dividends in every single meal you make, turning chopping from a chore into a craft.
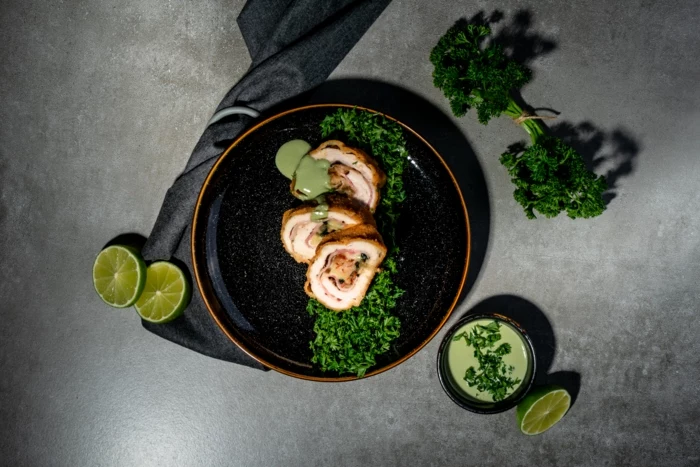
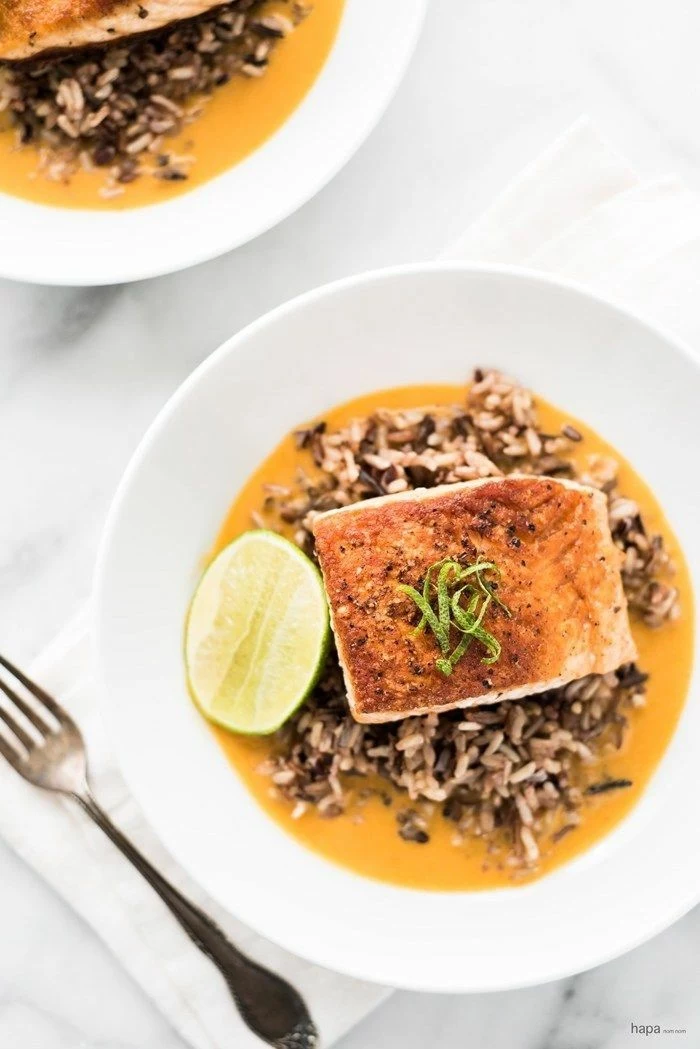
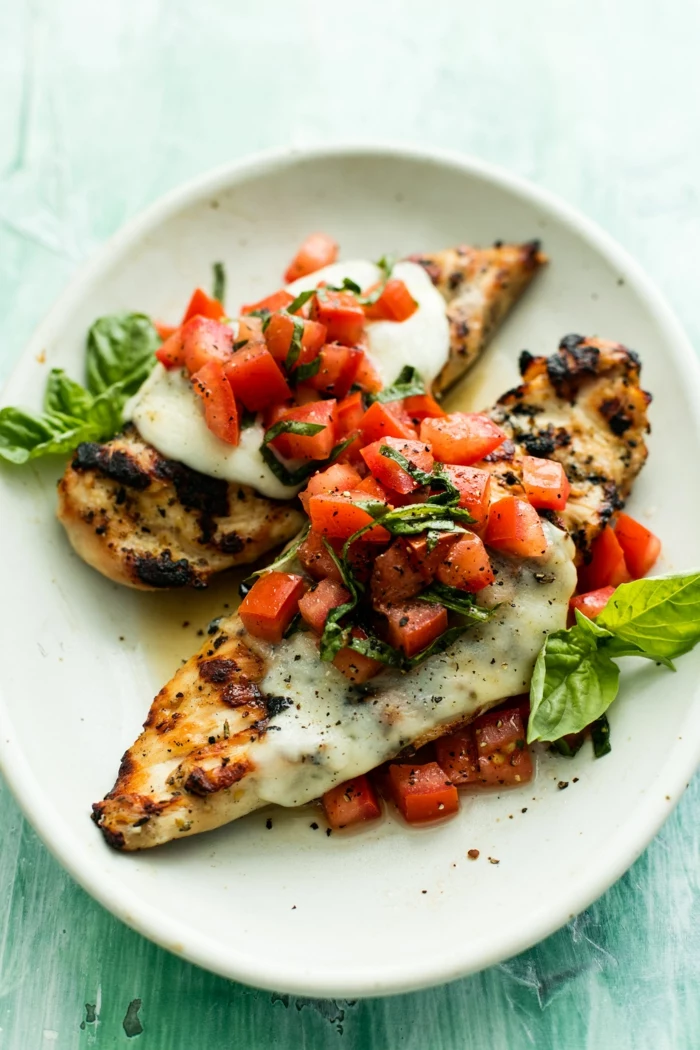
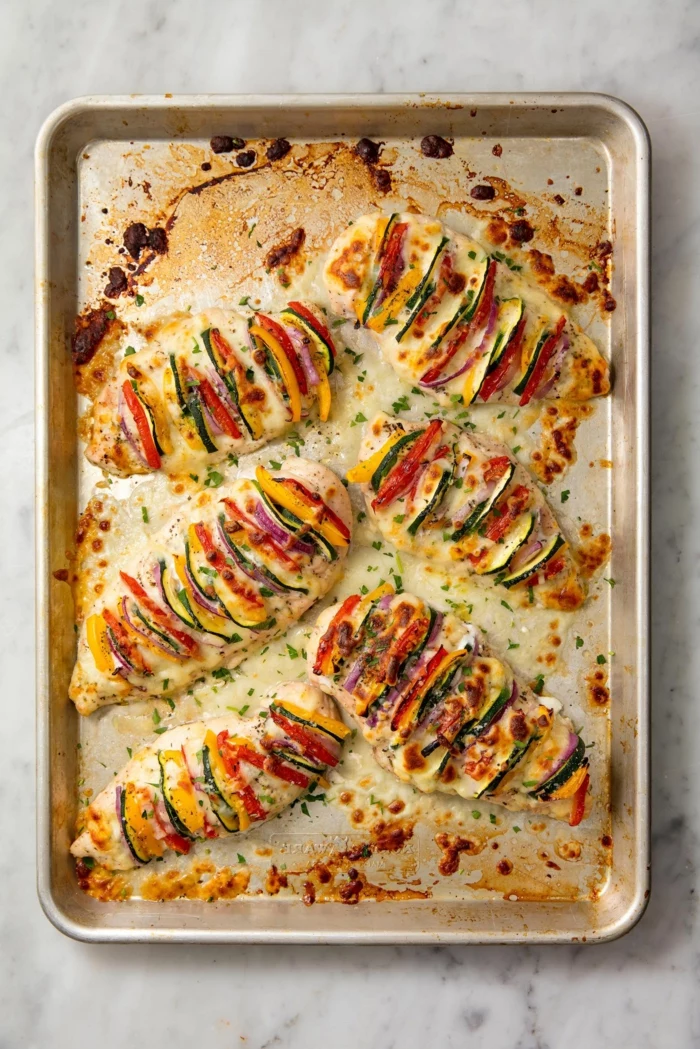
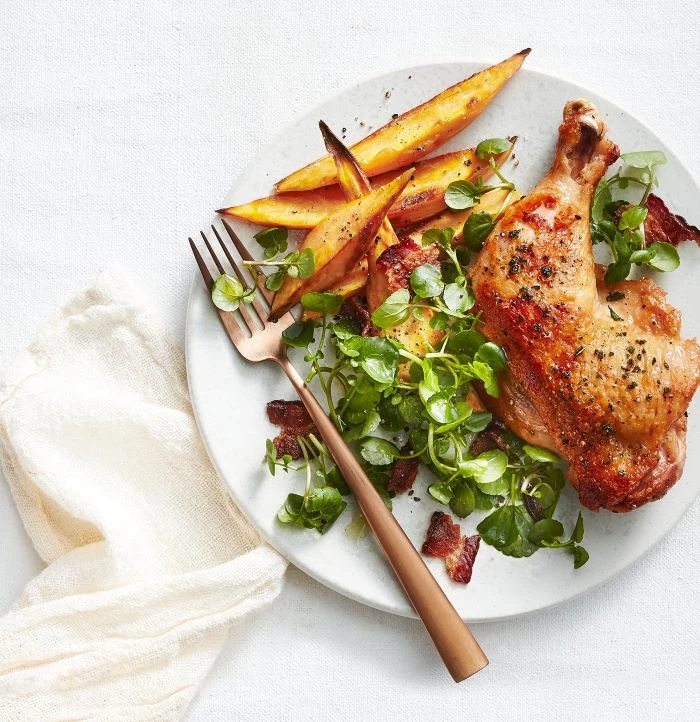
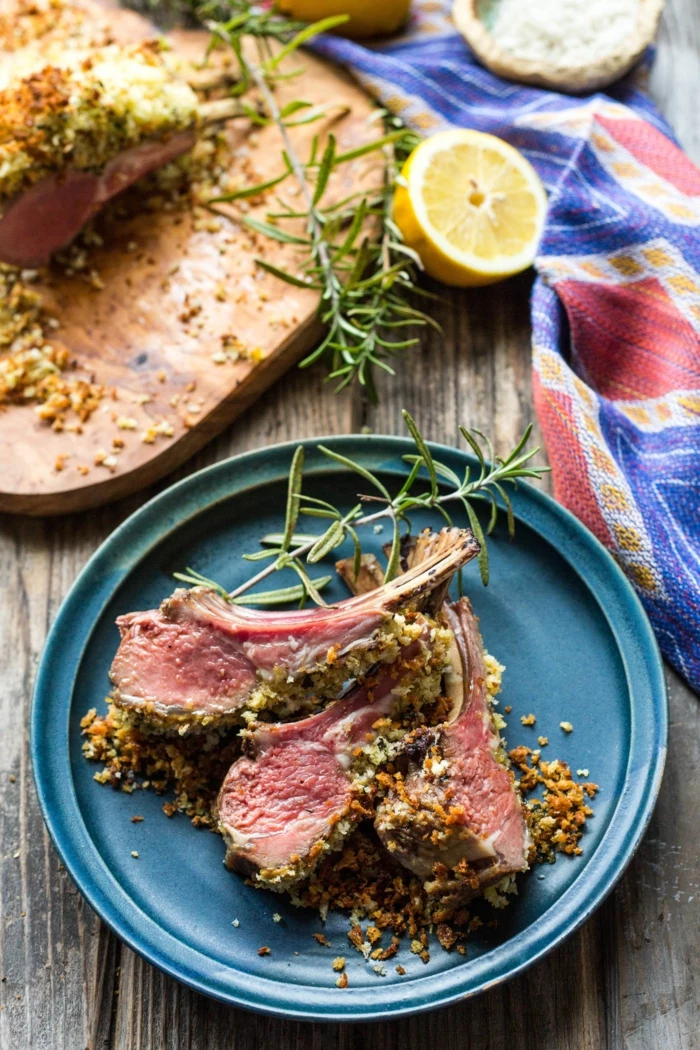
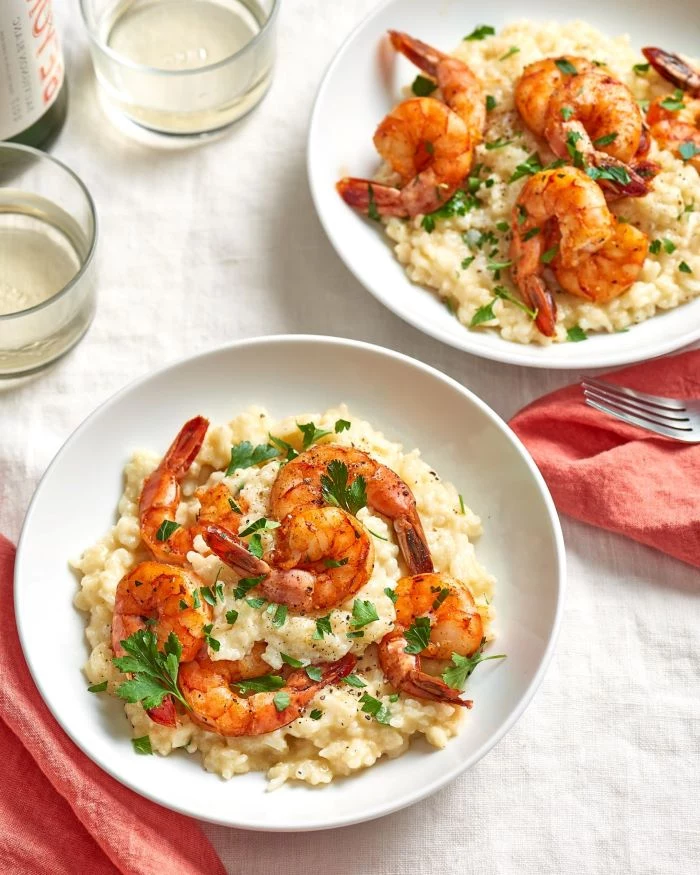
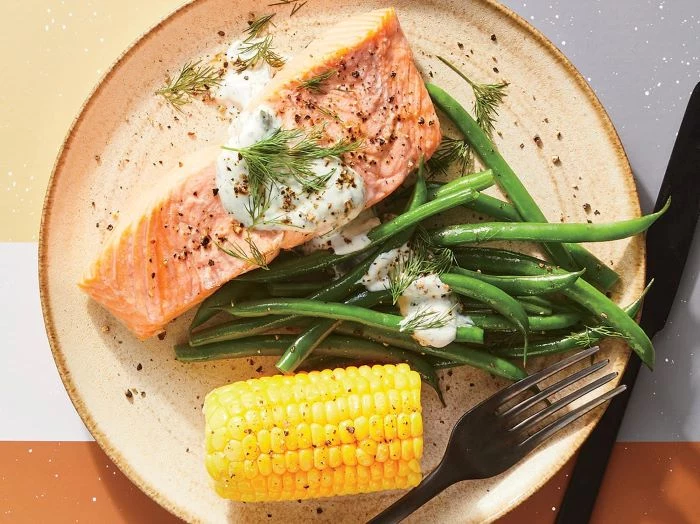
Don’t underestimate the power of plating. You don’t need to be an artist, just follow a simple rule: use the plate as your frame. Leave some negative space around the edge. Think about height—stack elements gently instead of spreading them out. A sprig of fresh parsley or a sprinkle of flaky sea salt is the final touch that tells your guest: this was made with intention.

Stainless Steel Pan: Your workhorse for searing, sautéing, and creating incredible pan sauces. The fond—those brown bits stuck to the bottom—is pure gold for flavor.
Cast-Iron Skillet: Unbeatable for heat retention, creating a perfect crust on steaks, cornbread, or even a rustic fruit dessert. A well-seasoned skillet from a brand like Lodge or Staub becomes naturally non-stick over time.
For a special meal, you’ll likely use both.

Over 80% of professional chefs cite ‘under-seasoning’ as the most common mistake made by home cooks.
This doesn’t just mean not enough salt. It means seasoning at every stage. Salt the pasta water. Season the vegetables before they roast. Taste and adjust the sauce multiple times. Each layer of seasoning builds a foundation for a deeply flavorful final dish.
The humble compound butter is your secret weapon. Simply mash softened, good-quality butter (like Kerrygold) with finely chopped ingredients, roll it into a log in parchment paper, and chill. A slice melted over a hot steak, fish, or steamed vegetables provides an instant, luxurious sauce.
- Garlic, parsley, and lemon zest
- Blue cheese and chives
- Sundried tomato and basil
Don’t just cook, curate. The experience begins before the first bite. Create a simple playlist of music that relaxes you. Dim the overhead lights and use lamps or candles instead. The sound of a gentle sizzle and the smell of garlic and herbs filling a warmly lit room is an experience in itself. It sets the stage for a memorable evening.
- It allows the muscle fibers to relax, redistributing the juices throughout the meat.
- It ensures every bite is tender and moist, not dry.
- It prevents a pool of juice from ruining your beautiful presentation on the plate.
The non-negotiable step? Letting your meat rest. For a steak or chicken breast, 5-10 minutes is essential. For a whole roast, 15-20 minutes. Tent it loosely with foil to keep it warm.
Is there a difference between cooking salt and finishing salt?
Absolutely. Use fine sea salt or kosher salt during the cooking process to dissolve and season from within. A finishing salt, like the delicate, pyramid-shaped flakes of Maldon Sea Salt, is added just before serving. It provides a clean, saline crunch and a touch of visual elegance that elevates everything from a simple salad to a chocolate dessert.

According to the Culinary Institute of America, a proper mise en place can reduce active cooking time and stress by up to 50%.

That little rasp-grater, the Microplane, is indispensable. Its tiny, razor-sharp teeth are perfect for creating clouds of hard cheese like Parmesan over pasta, zesting citrus without any bitter pith for marinades or desserts, and grating fresh nutmeg or ginger for an aromatic kick that pre-ground spices can never match.

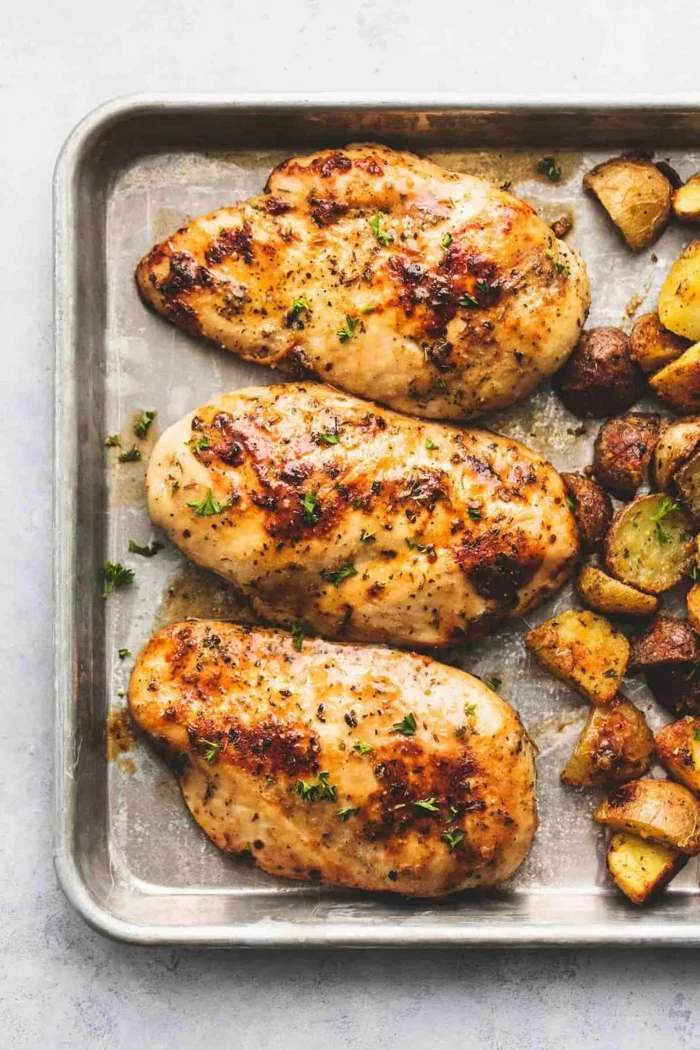
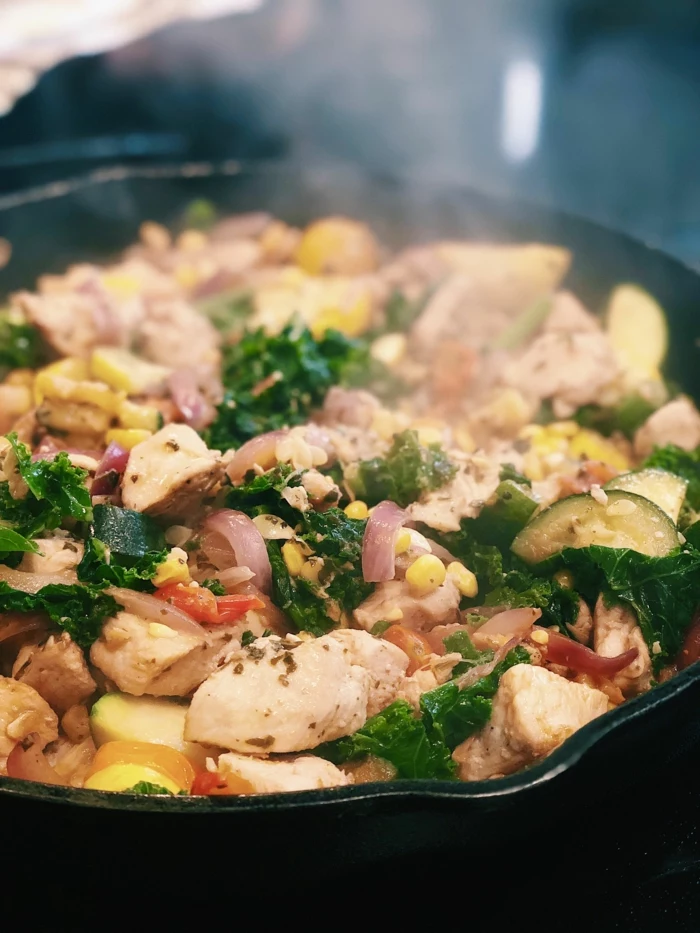
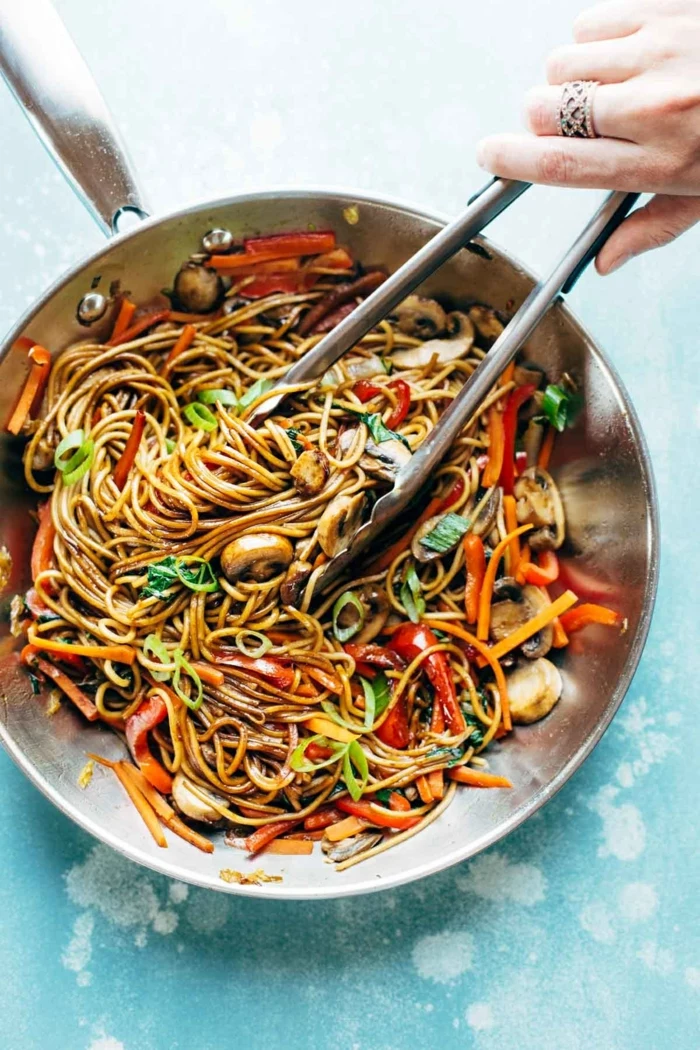
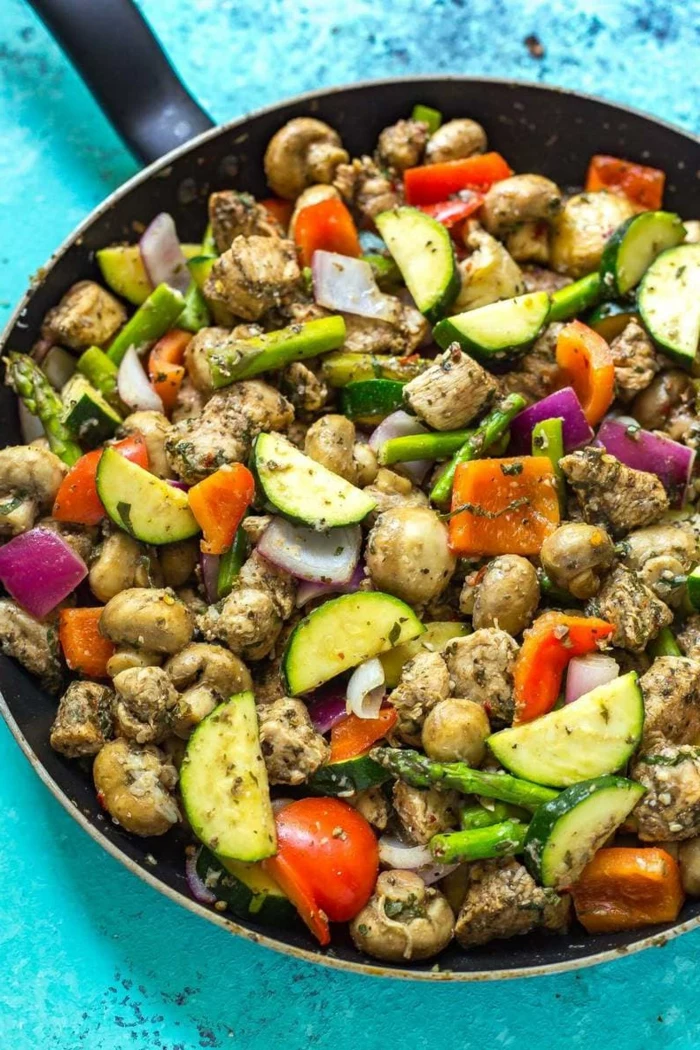
Mistake: Crowding the pan. This steams your food instead of searing it, preventing that delicious browning (the Maillard reaction). Cook in batches if you have to.
Mistake: Cooking with cold protein. Letting a steak or chicken breast sit at room temperature for 20-30 minutes before cooking ensures it cooks more evenly and sears better.

One of the simplest ways to add complex, nutty flavor to a dish is by browning your butter. Gently heat unsalted butter in a light-colored pan over medium heat. It will foam, then the milk solids will sink and begin to toast. Swirl the pan until it smells nutty and turns a beautiful amber-brown. Drizzle it over pasta, fish, or roasted vegetables. It’s a five-minute upgrade that tastes like it took hours.
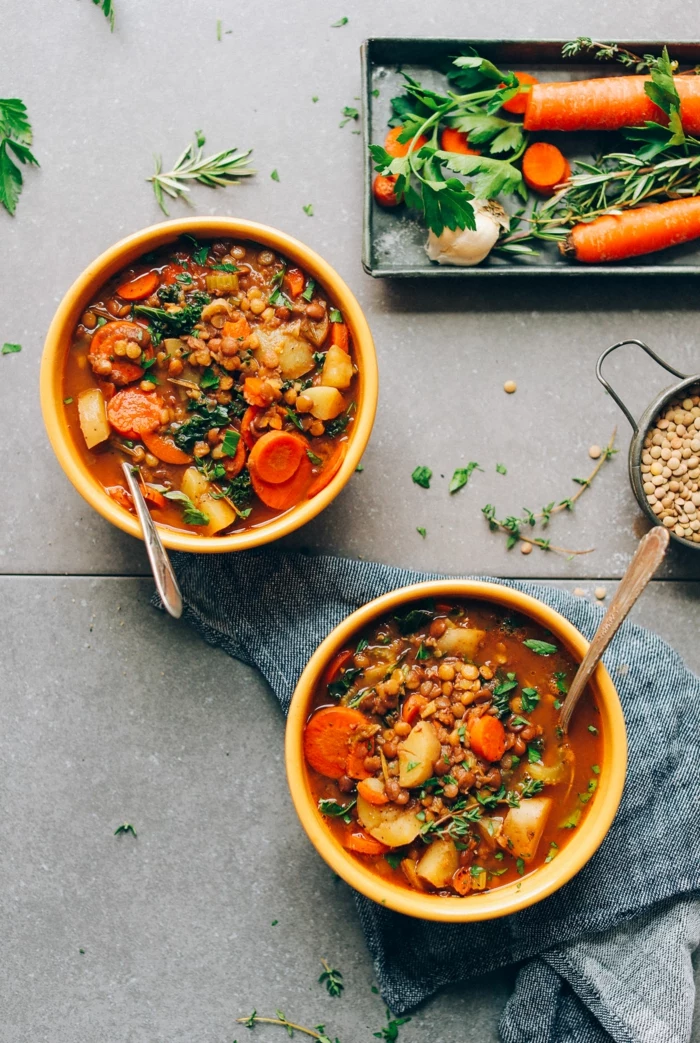
- Onion peels, carrot ends, and celery tops
- Chicken carcasses or shrimp shells
- Herb stems (parsley, thyme)
The secret to a chef-level soup or sauce? A homemade stock. Keep a bag in your freezer for these ‘scraps.’ When full, simmer them with water for a few hours for a free, flavor-packed liquid gold.

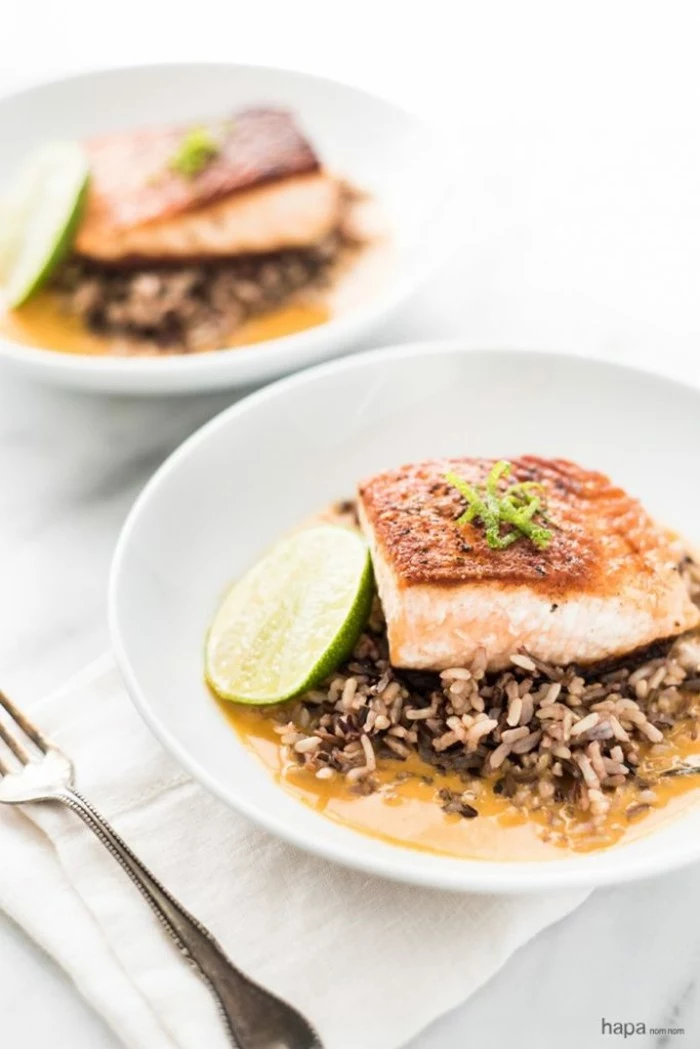
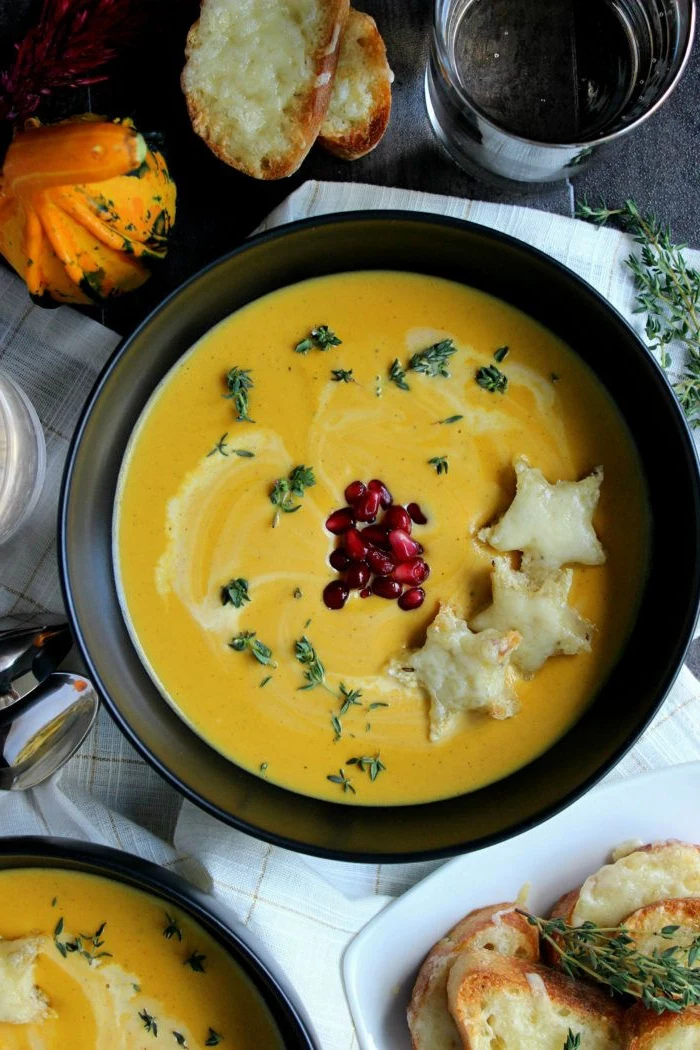
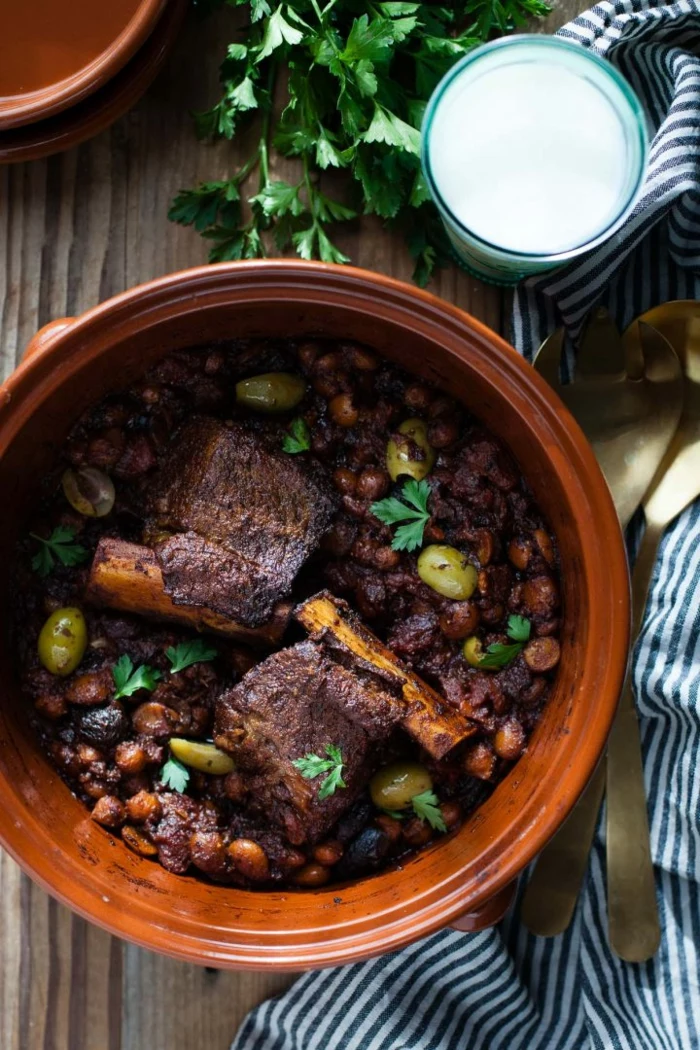
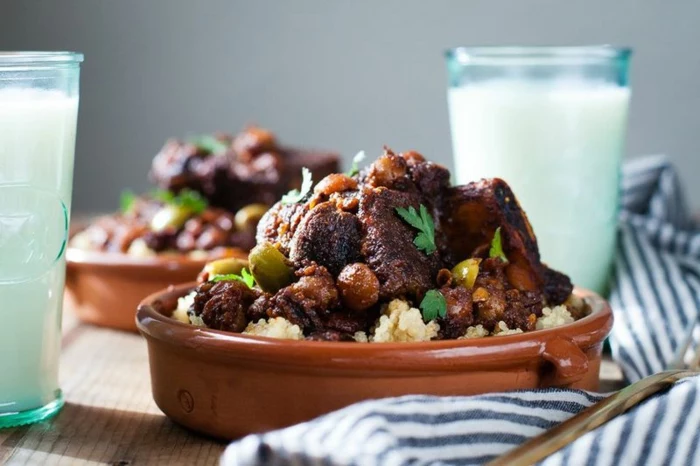
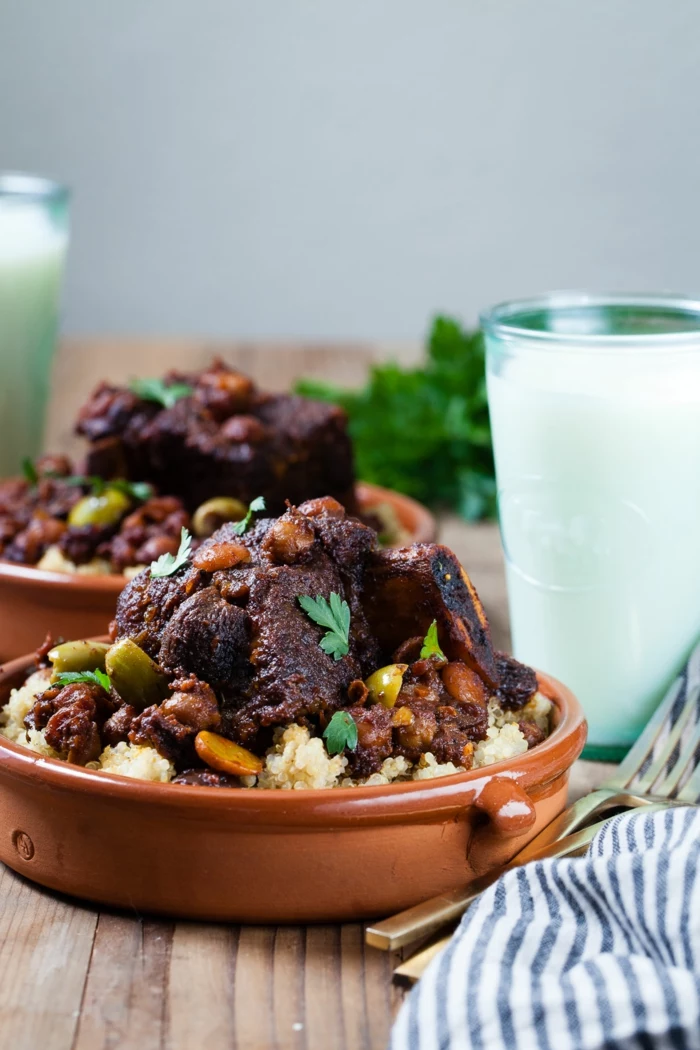
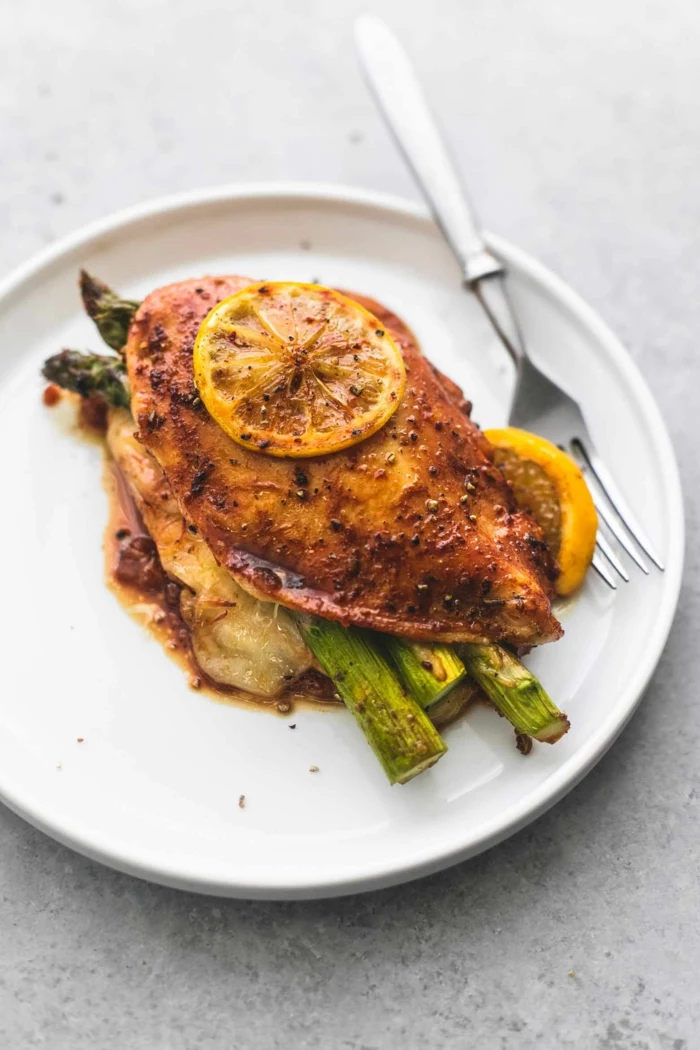
Think beyond the main course for wine. A crisp Sauvignon Blanc isn’t just for drinking alongside your chicken; use a splash to deglaze the pan and start your sauce. A robust Cabernet isn’t just for the steak; use it to braise short ribs or, as seen in the gallery, to poach pears for a dramatic, deeply flavored dessert. Cooking with the wine you’re drinking creates a harmonious connection between the glass and the plate.
“To me, food is about memories, feelings, and emotions. The plate is a canvas on which to paint a story.” – Massimo Bottura
Your pasta water is a key ingredient, not just a cooking medium. It’s full of salt and starch. After you drain your pasta (never rinse it!), save a cup of this cloudy water. When you toss the pasta with your sauce, add a few spoonfuls of the water. The starch will help the sauce cling to every noodle, creating a creamy, perfectly emulsified consistency without adding extra cream or fat.

How do you balance a rich, decadent dish?
With acid. It’s the element most home cooks forget. A squeeze of lemon over a creamy risotto, a spoonful of quick-pickled red onions on a fatty piece of pork, or a drizzle of high-quality balsamic vinegar on roasted vegetables cuts through the richness, brightens the flavors, and makes your palate eager for the next bite.


Garnish is flavor, not just decoration. Forget the single, sad sprig of parsley. Use garnishes that complement the dish. A shower of fresh, soft herbs like chives or dill adds freshness. A grating of citrus zest adds bright aroma. Toasted nuts or seeds provide a welcome crunch. The goal is to add a final, dynamic layer of texture and taste.


In the culinary world, a ‘pan sauce’ is considered one of the most fundamental techniques. It’s built in the same pan the protein was cooked in, capturing all the caramelized flavor left behind.
After searing your meat, remove it to rest. Sauté shallots or garlic in the pan drippings, deglaze with wine or stock, scraping up all the brown bits, let it reduce, and finish with a swirl of butter or cream. It’s a 5-minute sauce that tastes like a restaurant secret.
- Cloth napkins instead of paper.
- A single candle or two.
- Using your ‘good’ plates and cutlery. Why save them?
It takes less than five minutes, but setting a proper table signals that this meal is different. It’s an act of respect for the food you’ve cooked and the person you’re sharing it with, transforming dinner into an occasion.
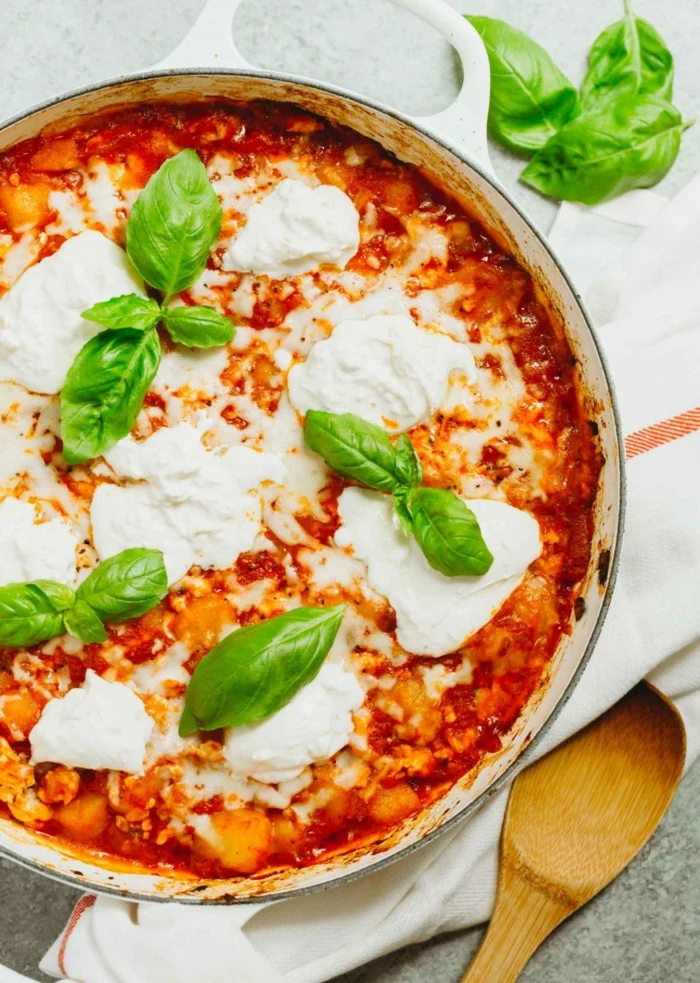
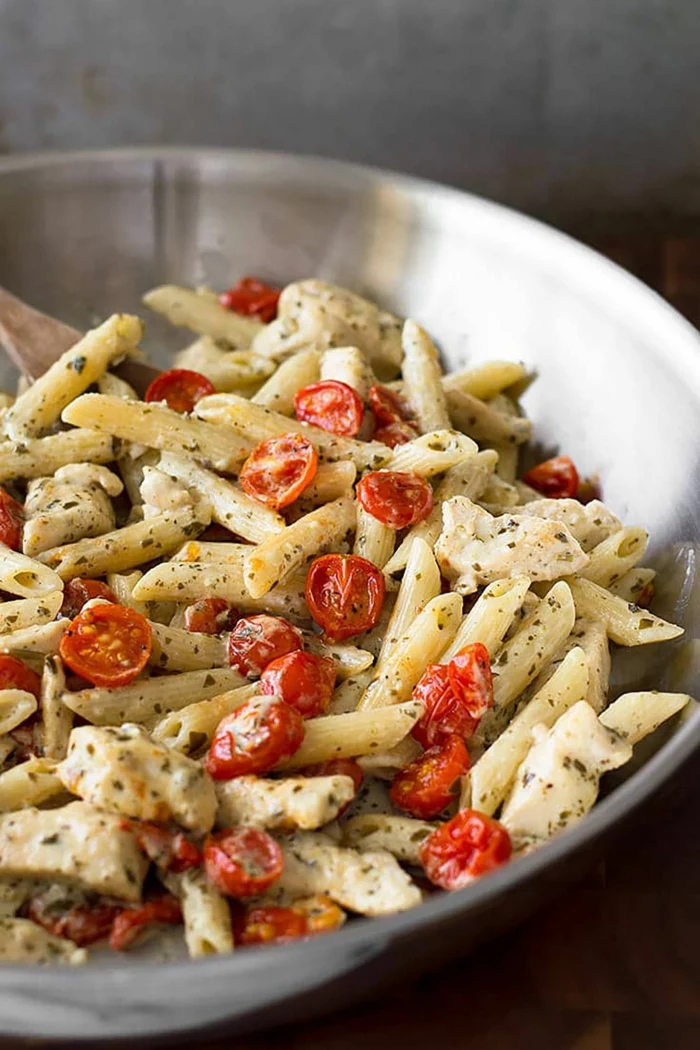
The Umami Bomb: Umami is the fifth taste, responsible for a deep, savory, satisfying flavor. You don’t need complicated ingredients to achieve it. A spoonful of tomato paste caramelized with your aromatics, a dash of Worcestershire or soy sauce in a marinade, or adding sautéed mushrooms or parmesan cheese to a dish will instantly add a layer of savory depth that makes food taste more complete.

An often-overlooked detail is the temperature of your serving plates. For a hot meal, warming your plates for a few minutes in a low oven (or in the warming drawer if you have one) makes a world of difference. It keeps the food hot for longer, allowing you and your guest to savor the meal without it going cold halfway through. It’s a small, professional touch that shows you’ve thought of everything.


