The Only Way to Wash Leafy Greens So They’re Actually Clean (And Stay Crisp for a Week)
I’ve spent well over a decade in professional kitchens, and if there’s one skill that separates the rookies from the pros, it’s knowing how to properly wash a handful of greens. It sounds simple, but it’s a non-negotiable. I’ll never forget the mortifying experience early in my career of serving a salad to an important guest… and seeing them subtly pick a piece of grit out of their mouth. The shame! That taught me that “good enough” is never good enough.
In this article
It’s not just about being picky. A sandy bite can completely ruin a meal, but more importantly, it’s a matter of safety and respect for the food. I learned from a meticulous old-school European chef who would inspect every leaf as if it were a jewel. He taught me that washing produce is a thoughtful process. What I’m about to share isn’t some quick, 10-second rinse. It’s the systematic method we use in pro kitchens to get greens that are truly clean, crisp, and ready for a great meal.

Why Just Rinsing Under the Tap Doesn’t Cut It
So, why all the fuss? To get it, you have to understand what you’re actually trying to wash off. It’s more than just a little visible dirt.
First, you’ve got the physical stuff: sand, soil, and fine grit that loves to hide in the curls and ribs of leaves. You can’t always see it, but you can definitely feel it. And yeah, sometimes there are tiny insects, too—often a sign of low pesticide use, but still not something you want in your salad bowl.
Then there are the invisible threats—the microbiological contaminants. Greens grow in soil and are irrigated with water, both of which can harbor bacteria like E. coli, Salmonella, and Listeria. Health authorities have extensive guidelines for produce safety for a reason. While the risk for one person at home is relatively low, it’s not zero, and this method helps reduce it significantly.
Finally, there can be surface residues from sprays. While washing can’t remove anything absorbed into the plant, it’s surprisingly effective at reducing what’s sitting on the leaf’s surface.
The Simple Soaks That Make a Big Difference
Cold water does most of the heavy lifting, but to give your greens a deeper clean, a simple soak can work wonders. You’ve probably got these in your pantry right now.
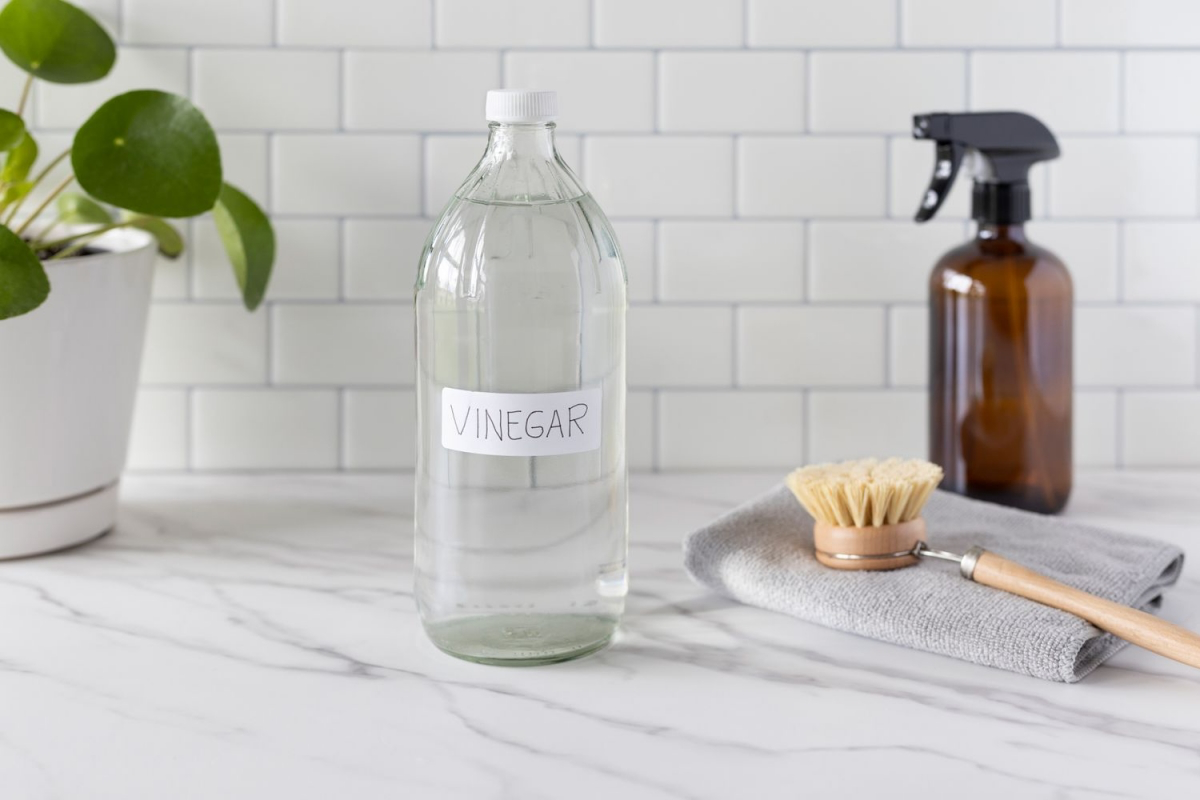
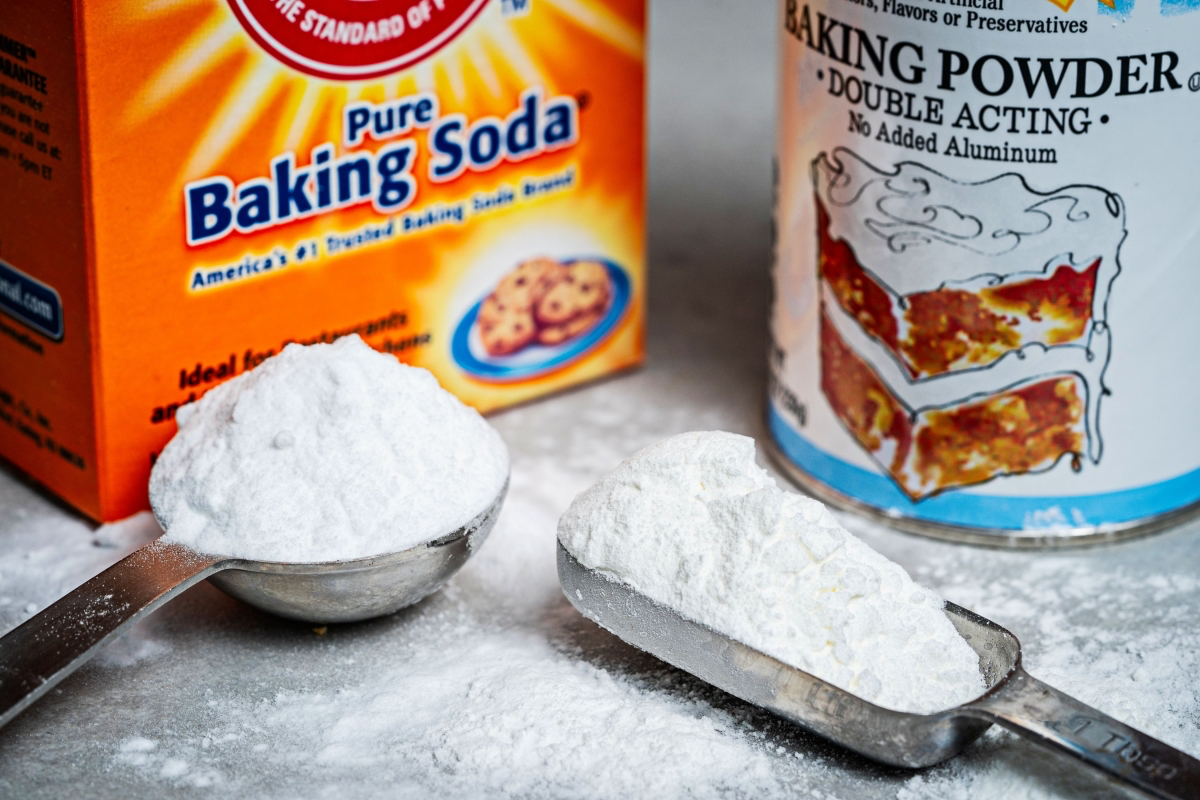
- White Vinegar: A vinegar-and-water solution is mildly acidic. This helps break down the slimy “biofilm” that bacteria can form, making them easier to wash away. It’s great for a general-purpose, microbe-fighting soak.
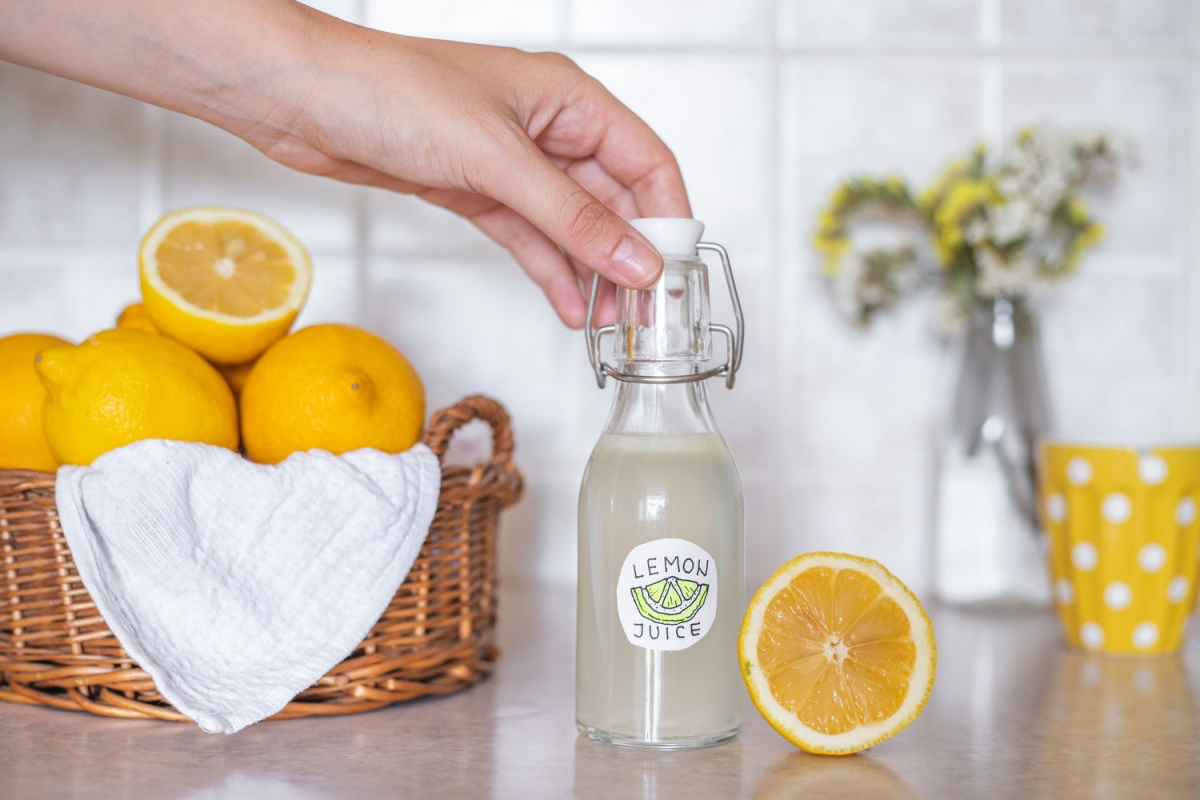
- Baking Soda: A soak in baking soda water is mildly alkaline. Some compelling research has shown this can be incredibly effective at breaking down and removing certain types of surface pesticide residues. It also has a gentle scrubbing quality that helps clean the leaf without bruising it.
Honestly, you can’t go wrong with either. If I’m dealing with conventional produce, I sometimes lean toward the baking soda wash. The goal isn’t to sterilize the greens—that’s impossible without cooking—but to dramatically lower the microbial load and wash away all the other gunk.
The Pro Kitchen Step-by-Step Washing Method
In a restaurant, consistency is king. We follow these exact steps every time. The whole process takes about 15-20 minutes, and it’s a total game-changer for meal prep. You’ll need a big bowl (or a very clean sink), a colander, a salad spinner, and some clean towels.
Step 1: Get Your Station Ready
First things first: clean your sink. If you recently had raw chicken in there, give it a proper scrub with hot, soapy water and rinse it well. Cross-contamination is a huge no-no. Lay out your bowl, colander, and spinner so everything is within reach.
Step 2: Inspect and Trim
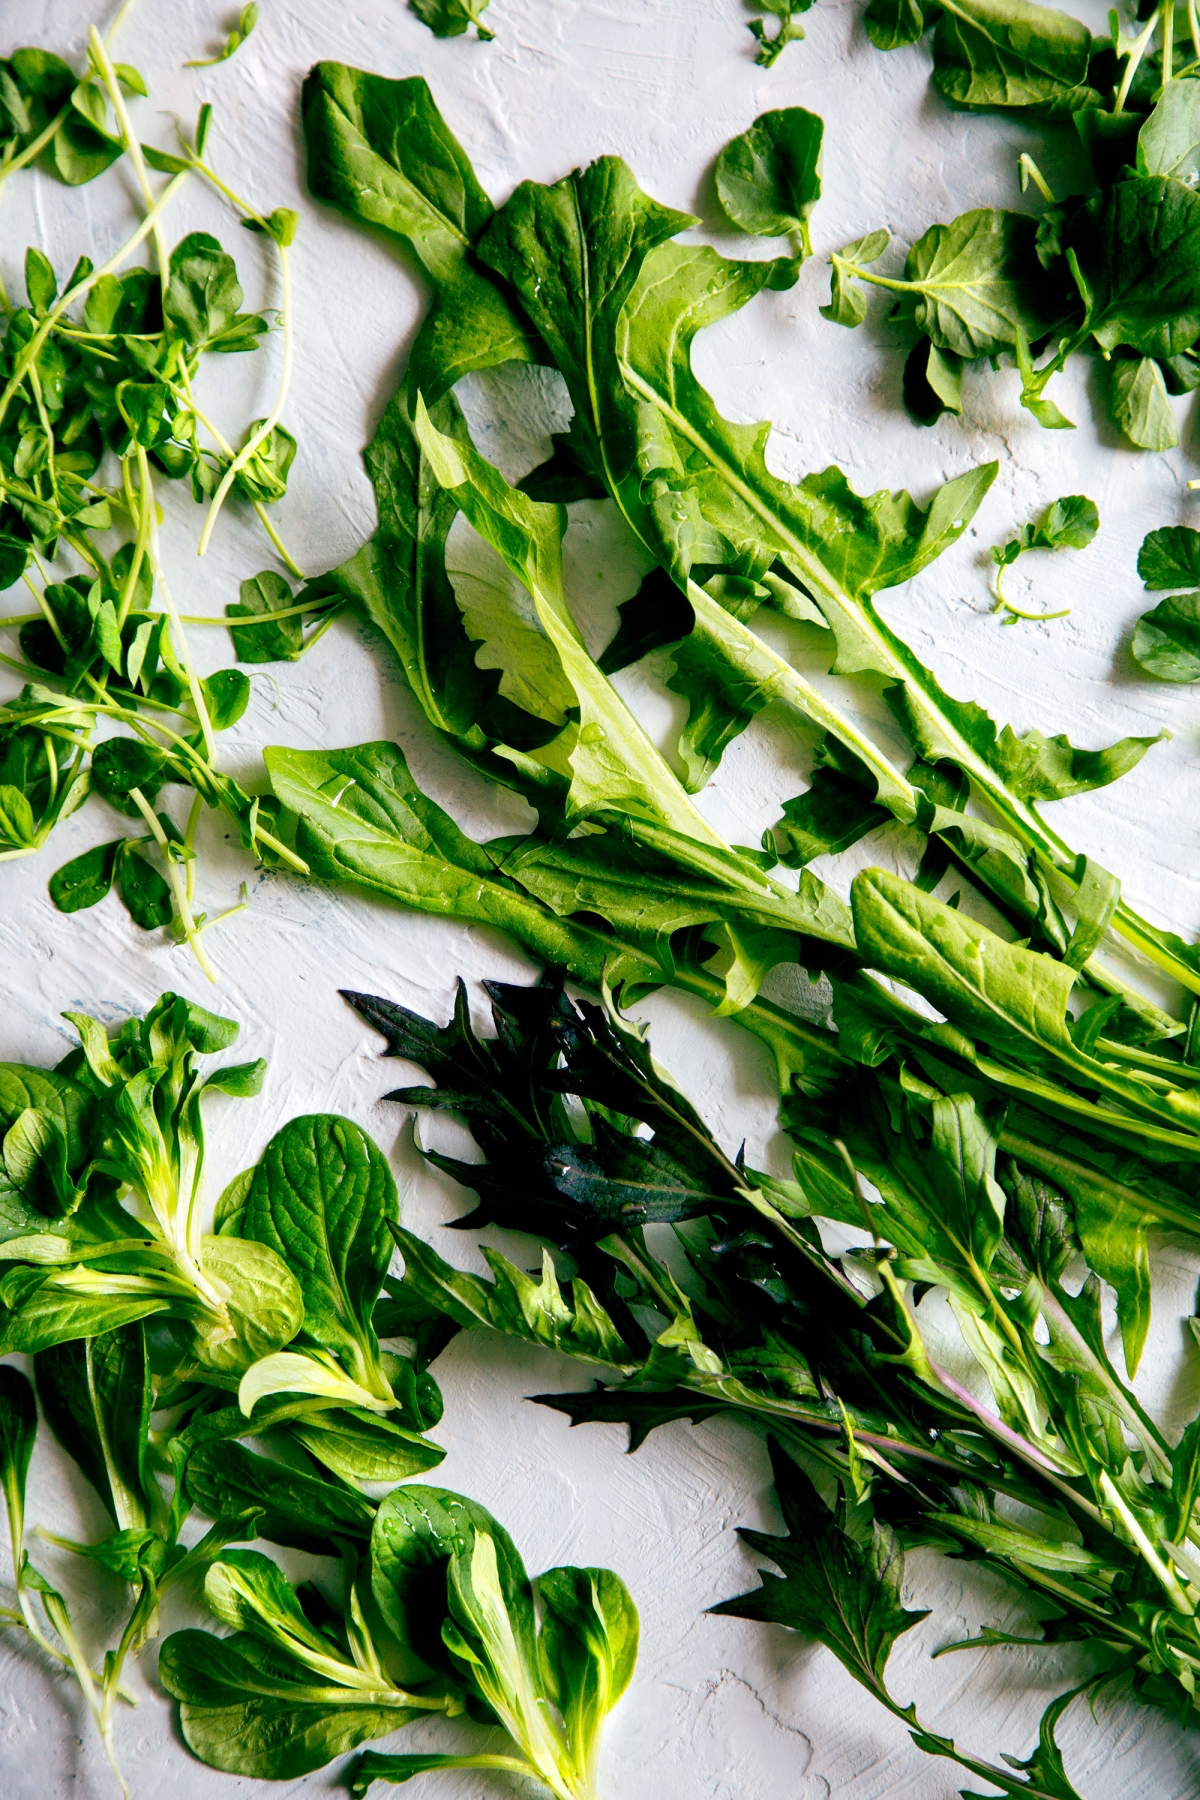
Go through your greens and pull off any bruised, wilted, or slimy outer leaves. For heads of lettuce like romaine, chop off the bottom core to release the individual leaves. For bunches of kale or chard, just separate the leaves from the main stem. Give each leaf a quick once-over.
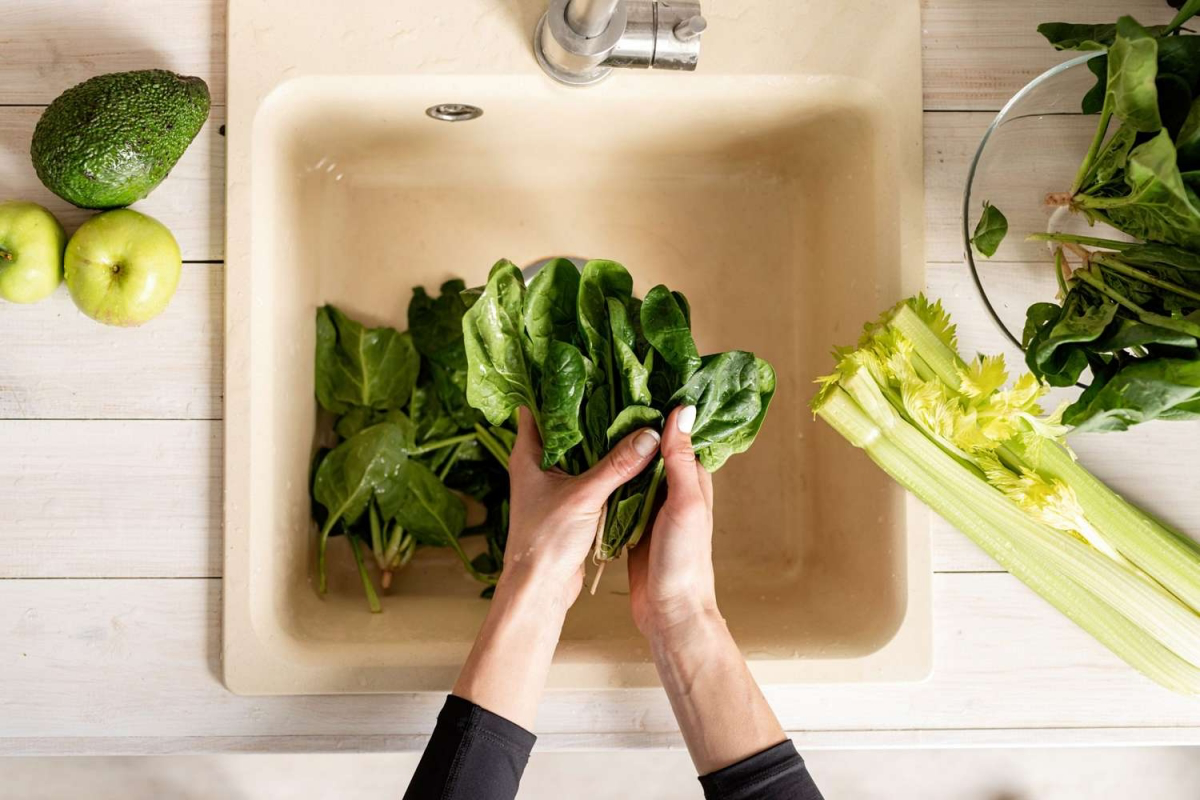
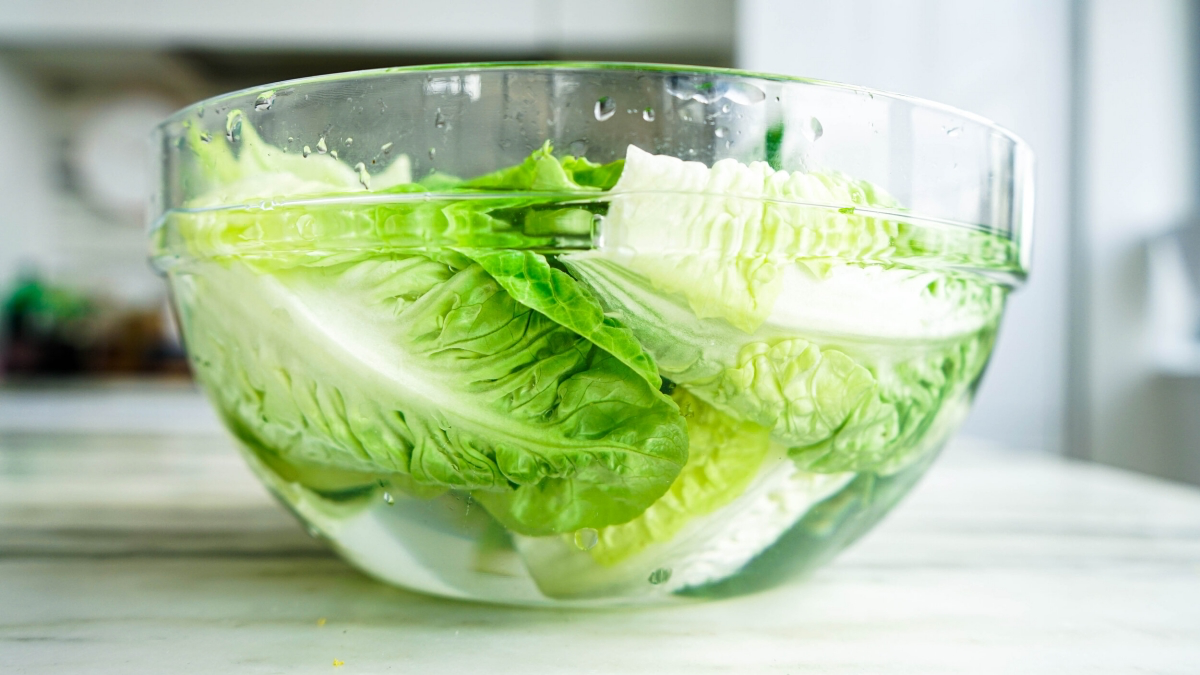
Step 3: The First Wash (The “Grit Drop”)
This is where you get rid of the heavy stuff. Fill your bowl or sink with very cold water. Submerge the leaves and swish them around with your hands for about 30 seconds. Be vigorous! You’re knocking the grit loose.
Now, just let them sit for 2-3 minutes. This is key. The sand and soil are heavier than the water and will sink to the bottom.
Here’s the single most important technique: Do not dump the bowl into the colander. If you do, you’ll pour all that grit right back onto your clean greens. Instead, gently lift the greens out of the water with your hands and place them in the colander, leaving the dirty water behind. You’ll be shocked at the sediment at the bottom of the bowl.
Step 4: The Treatment Soak
Rinse your bowl, and refill it with fresh, cold water. Now, add your chosen cleaning agent. The ratio is pretty forgiving. A good rule of thumb is about a quarter cup of white vinegar OR one tablespoon of baking soda per gallon of water. If you’re just washing a small amount in a regular mixing bowl, a good splash of vinegar or a teaspoon of baking soda is perfect. Swish to dissolve, add the greens, and let them soak for about 10 minutes. For tough greens like kale, you can go up to 15 minutes.
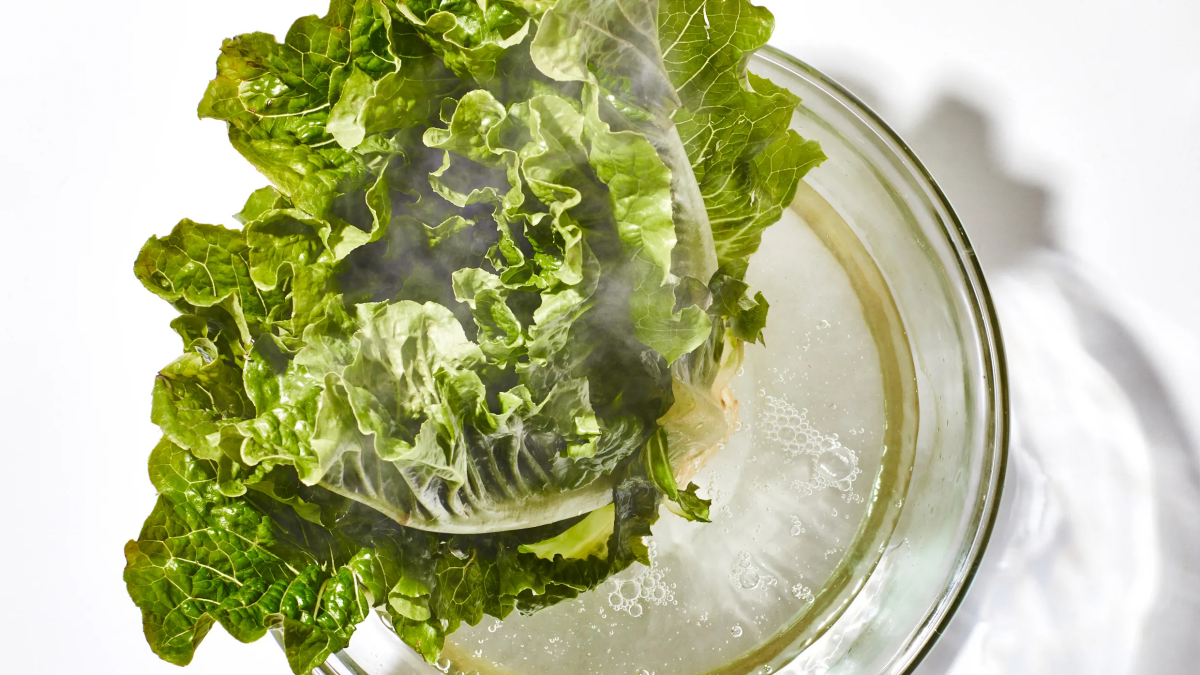
Step 5: The Final Rinse
Lift the greens out of the soak and into the colander again. Dump the water and give the greens a final, gentle rinse under cool running water. This removes any lingering taste from the soak and washes away any last particles.
Step 6: Dry, Dry, Dry! (The Secret to Longevity)
Wet greens are a tragedy. They make salad dressing watery and turn to slime in the fridge. Proper drying is absolutely essential.
By far, the best tool for this is a salad spinner. If you don’t have one, it’s one of the best $30 investments you can make for your kitchen. My OXO spinner has been a workhorse for years and is worth every penny; you can find them at Target, on Amazon, or most home goods stores. Don’t crowd the basket—work in batches if needed. Spin until the leaves feel dry to the touch.
No spinner? No problem. Lay out a large, clean, lint-free kitchen towel. A good flour sack towel is ideal because it won’t leave fuzz on your greens. Spread the leaves on one half, fold the other half over, and gently roll it up. The towel will absorb most of the moisture.
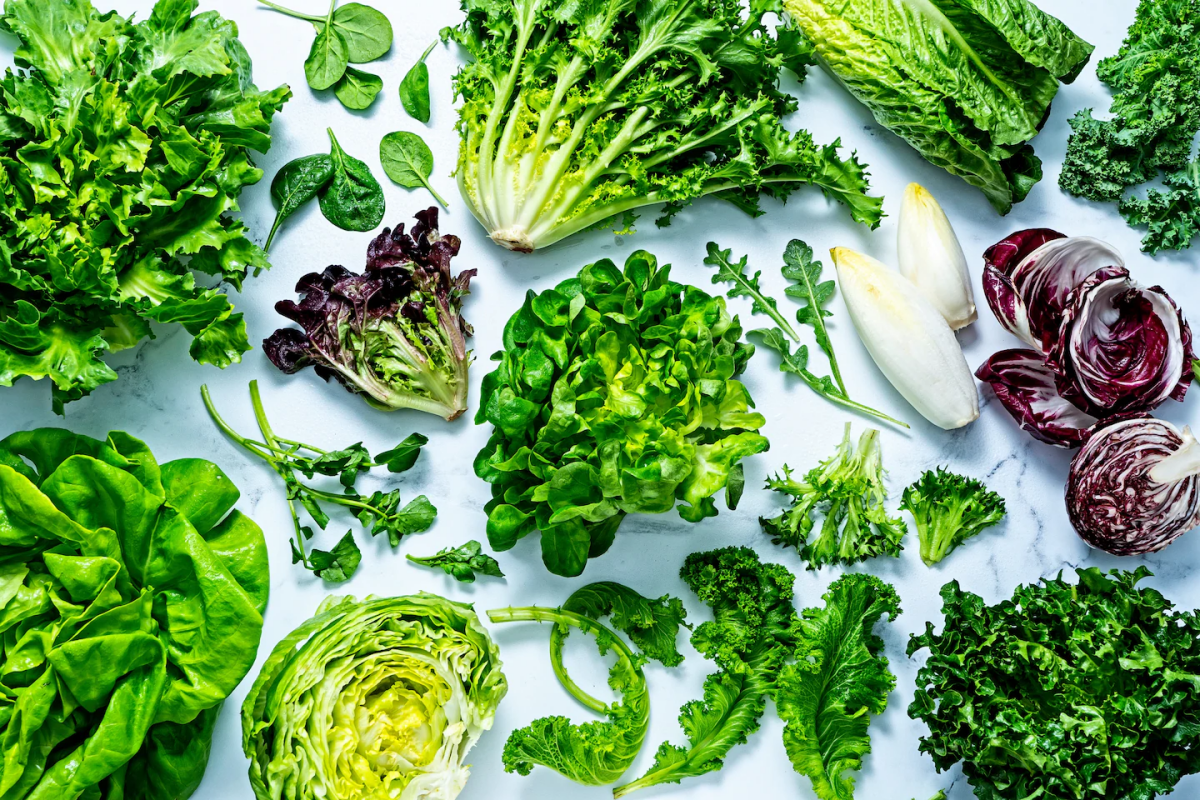
How to Handle Different Types of Greens
You wouldn’t handle a delicate flower the same way as a sturdy weed, right? Same idea here.
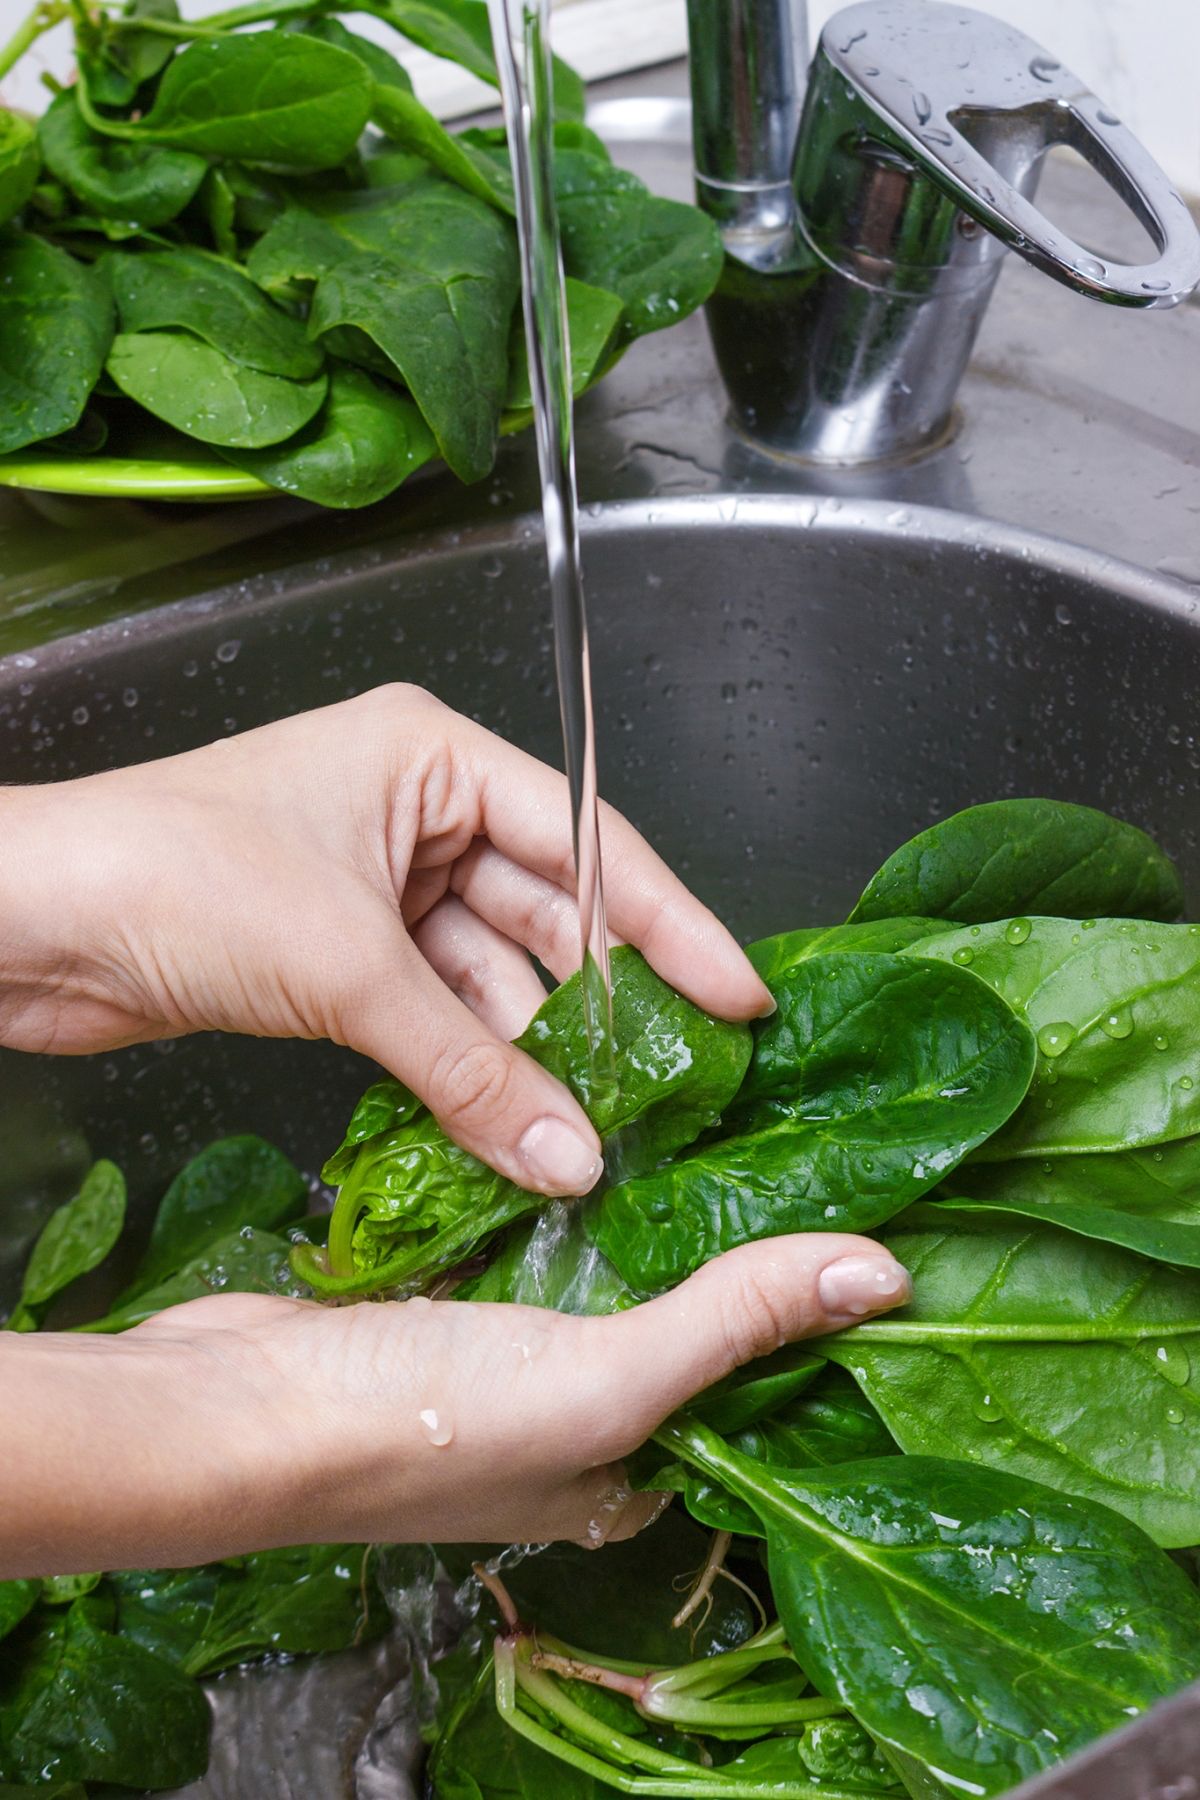
Delicate Greens (Butter lettuce, microgreens): These bruise easily and are rarely very gritty. I usually skip the vigorous swishing and go straight to a gentle 5-minute soak. A very light spin in the spinner or a careful pat-dry with a towel is best.
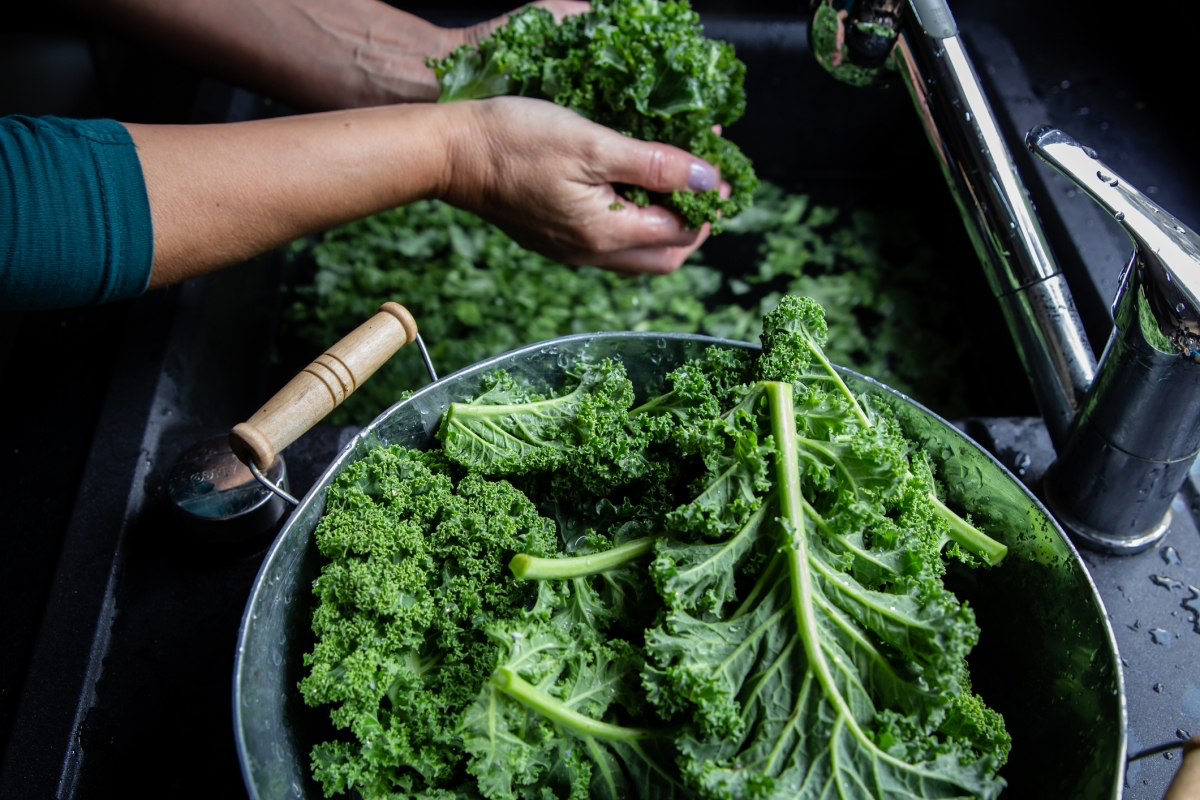
Sturdy & Crinkly Greens (Kale, collards, chard): These are grit magnets. I’m more aggressive here, sometimes rubbing the ribs of each leaf under running water before the first soak. They can easily handle a 15-minute soak and a powerful spin cycle.
Headed Greens (Romaine, iceberg): Most of the dirt is on the outer leaves. Once you discard those and separate the rest, the inner leaves are usually pretty clean. But still, give them the full two-step wash, paying extra attention to the base of each leaf where sand collects.
What About Those “Triple-Washed” Bagged Salads?
Let’s be real, pre-washed greens are a lifesaver on a busy night. They’re generally safe, but I still give them a quick rinse and spin at home. Why? First, it freshens them up and removes any faint “bag” taste. Second, it’s a final quality check—I’ve found a stray slimy leaf in those bags more than once.
Quick Wins & Common Pitfalls
Heads Up: Common Mistakes to Avoid
A couple of things I see people do wrong all the time. First, never use warm or hot water! You’ll wilt your greens instantly and basically make lettuce soup. Second, don’t over-soak delicate lettuces. More than 10 minutes can make them waterlogged and mushy.
Quick Win: Bring Sad, Wilted Lettuce Back to Life!
Did your bunch of kale or head of lettuce go a bit limp in the crisper drawer? Don’t toss it! Submerge the leaves in a bowl of ice water for 30 minutes. They will absorb the water, rehydrate, and become shockingly crisp again. It’s an old restaurant trick that works like magic.
Bonus: Taming Gritty Herbs
Oh yeah, this method is perfect for gritty herbs like cilantro and parsley. Just fill a bowl with cold water, submerge the whole bunch, and swish it around. Let the dirt sink, then lift the bunch out. Repeat if it was really sandy. To dry, you can either roll them in a towel or give them a very gentle spin in the salad spinner.
The Payoff: A Week of Perfect Salads
Once your greens are perfectly washed and—this is critical—thoroughly dried, you can store them for up to a week. Get a large, hard-sided container. Line the bottom with a paper towel, add a loose layer of greens, then another paper towel, more greens, and so on. The paper towels absorb any extra moisture that could cause rot.
Taking 20 minutes to do this once a week is a fantastic investment. It saves money by making your produce last longer, ensures your food is safer, and honestly, it just makes everything you cook taste better. It’s a fundamental skill that shows you care about your ingredients and the people you’re feeding.
Inspiration:
According to the Centers for Disease Control and Prevention (CDC), leafy greens are a frequent source of foodborne illness outbreaks in the U.S.
This isn’t to scare you away from your favorite salads, but to highlight the importance of the professional washing method described. The meticulous soaking and rinsing isn’t just about removing grit; it’s your most effective line of defense at home against invisible contaminants like E. coli and Norovirus that a simple rinse under the tap can easily miss.
The secret to perfectly dry, non-soggy greens?
A high-quality salad spinner is the non-negotiable final step for any kitchen pro. It uses centrifugal force to wick away excess water far more effectively than patting with paper towels, which can bruise delicate leaves. This crucial step not only prevents a watery, diluted dressing but is also key to long-term crispness in the fridge, as excess moisture is the enemy of fresh greens.
- Prevents dressing from becoming watery.
- Extends the storage life of washed greens by days.
- Keeps delicate leaves like butter lettuce and arugula from becoming limp.


