How to Create a Legit At-Home Spa Day (From a Pro)
For years, my life has been all about the professional treatment room. I’ve seen firsthand how high-tech gear and pro-grade products can transform skin. And I absolutely believe in the power of those treatments. But here’s the secret no one tells you: the real, lasting magic happens in between appointments. It’s what you do at home that truly counts.
In this article
- First Things First: Your Shopping List & The Budget Reality
- Part 1: Setting the Scene (And Your Mind)
- Part 2: The Truth About Exfoliation (For Face & Body)
- Part 3: The Magic of Heat & Hydration
- Part 4: Don’t Forget Your Hands and Feet!
- So, How Often Should I Do All This?
- When a Home Ritual Isn’t Enough
- Inspiration:
So many people think an “at-home spa day” is just a sad, cheap copy of the real thing. I see it totally differently. This isn’t about trying to replicate a $200 facial with stuff you found in the back of your fridge. It’s about creating a personal ritual. It’s a chance to get in tune with your own body, to actually touch your skin with intention, and learn the basics of what it truly needs. This is about building a consistent practice that supports your skin and, honestly, your sanity.
Think of me as your insider. I’m going to walk you through the very same methods I’d teach an apprentice, but adapted for your own bathroom.
First Things First: Your Shopping List & The Budget Reality
Before we dive in, let’s talk ingredients. You don’t need to spend a fortune, but you do need the right stuff. Most of these things can be found at your local grocery store, a health food shop like Whole Foods, or online. Here’s a quick-glance shopping list you can screenshot for later:
- Fine-Grain Brown Sugar: Your go-to for a body scrub. A bag costs just a few bucks.
- Carrier Oil (Jojoba or Sweet Almond): The base for your scrub. A good 4oz bottle of jojoba oil might run you $10-$15, but it will last for ages. Sweet almond is usually a bit cheaper.
- Epsom Salts: For that muscle-melting bath soak. You can get a huge bag for under $10 at any drugstore.
- Kaolin Clay: The gentlest clay for face masks. You’ll likely find this online or at a health food store for around $10-$15 a bag—a lifetime supply, basically.
- Plain, Full-Fat Yogurt & Ripe Avocado: For a super-hydrating mask. Pick these up on your regular grocery run.
- Finely Ground Oats: Amazing for calming irritated skin. Just grab regular rolled oats and blitz them in a coffee grinder or blender.
- Optional Goodies: A bottle of pure lavender essential oil ($8-$12), some chamomile tea bags, and a jar of raw honey.
Part 1: Setting the Scene (And Your Mind)
Before you even think about touching a product, you have to get your environment right. There’s a reason spas feel so relaxing—it’s all by design! When you’re stressed, your body pumps out cortisol, a hormone that can seriously mess with your skin by causing inflammation. Creating a calm space tells your body it’s safe to chill out, which makes every single thing you do next more effective.
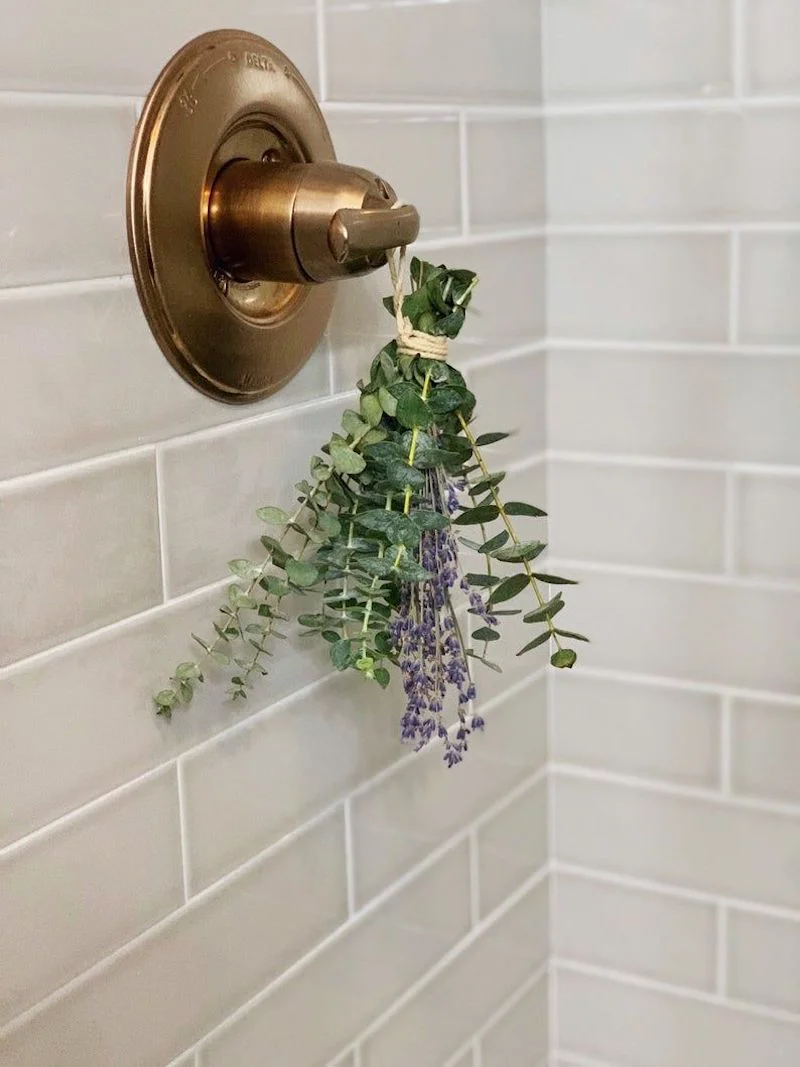
Start by engaging your senses. First, kill those harsh overhead bathroom lights. A small lamp with a warm-toned bulb is way better. If you have a candle, light it. That gentle flicker is naturally calming.
Next, sound. The buzz of your phone or the drone of the TV keeps your brain on high alert. Turn it all off. Instead, put on some quiet music. By the way, if you’re not sure what to play, try searching for “lo-fi beats,” “binaural beats for relaxation,” or “classical piano” on Spotify or YouTube. Game-changer.
Scent is probably your most powerful tool here. Our sense of smell is wired directly to the part of our brain that handles emotion and memory. You can use an essential oil diffuser with a few drops of lavender, or do what I do when I’m feeling lazy: just put a few drops of oil on a cotton ball and tuck it into a corner. The warmth of the room will do the rest.
A Quick Word on Hygiene
Okay, real talk. In my treatment room, everything is sterilized. At home, you need to adopt that same mindset to avoid turning your relaxing ritual into a breakout. Wipe down your counter and sink before you start. Gather all your supplies on a clean tray or towel. Use little glass or ceramic bowls for mixing—plastic can be porous and hold onto bacteria. And please, never dip your fingers directly into a product jar you plan on using again. Use a clean little spoon or spatula to scoop product out. This keeps your expensive creams from turning into a science experiment.
Part 2: The Truth About Exfoliation (For Face & Body)
Exfoliation is just a fancy word for removing the dead, dull cells that build up on the surface of your skin. As we get older, our skin gets a little lazy with this process, leading to dullness and clogged pores. The right kind of exfoliation gives it a helpful nudge.
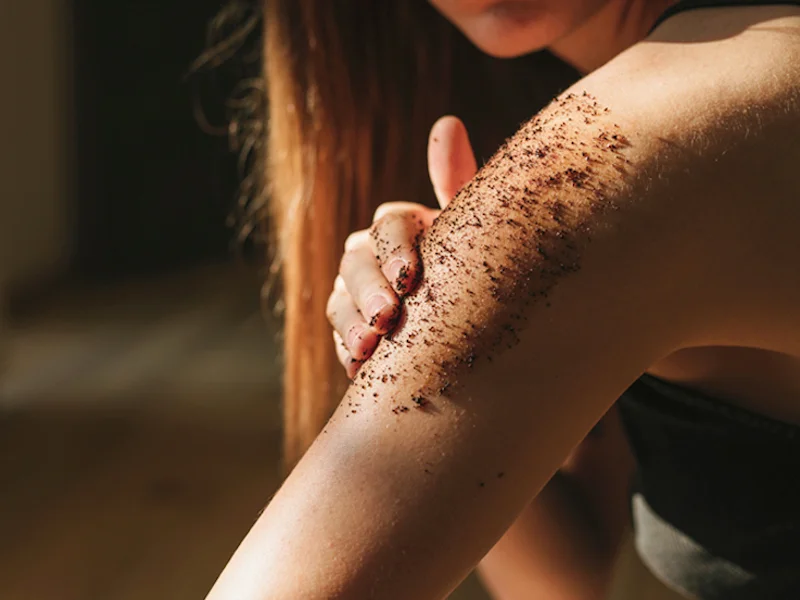
For Your Body: Scrubs & Brushing
A huge mistake I see people make is using crazy-harsh scrubs. I once had a client who came to me with persistent redness and irritation, and it turned out she was using a popular apricot scrub every day. Those large, jagged particles were creating tiny tears in her skin! We spent months just repairing her skin’s protective barrier.
For a safe body scrub, the particle size and shape are everything. Fine-grain brown or white sugar is perfect because the crystals are small and they dissolve as you use them, which prevents you from overdoing it.
You’ll also need a carrier oil, which lubricates your skin and moisturizes it. When it comes to choosing one, you’ve got options:
- Jojoba Oil: This is my personal favorite for most people. It’s incredibly similar to our skin’s natural sebum, so it’s lightweight, non-greasy, and won’t clog pores.
- Sweet Almond Oil: A fantastic choice if your skin is on the drier side. It’s richer and super moisturizing.
- Avocado Oil: For very dry or parched skin, this oil is like a huge drink of water. It’s heavier but deeply nourishing.
My Go-To Body Scrub Recipe:
In a clean bowl, mix 1/2 cup of fine-grain brown sugar with 1/4 cup of your chosen oil. For an extra boost, stir in 1 teaspoon of raw honey, which is a natural humectant (it draws moisture into the skin) and has antibacterial properties. Mix it right before you hop in the shower. Get your skin wet, then turn the water off for a minute. Start at your feet and work your way up in gentle, circular motions, always moving towards your heart to encourage lymphatic flow. Rinse well. Your skin should feel like silk, not raw.

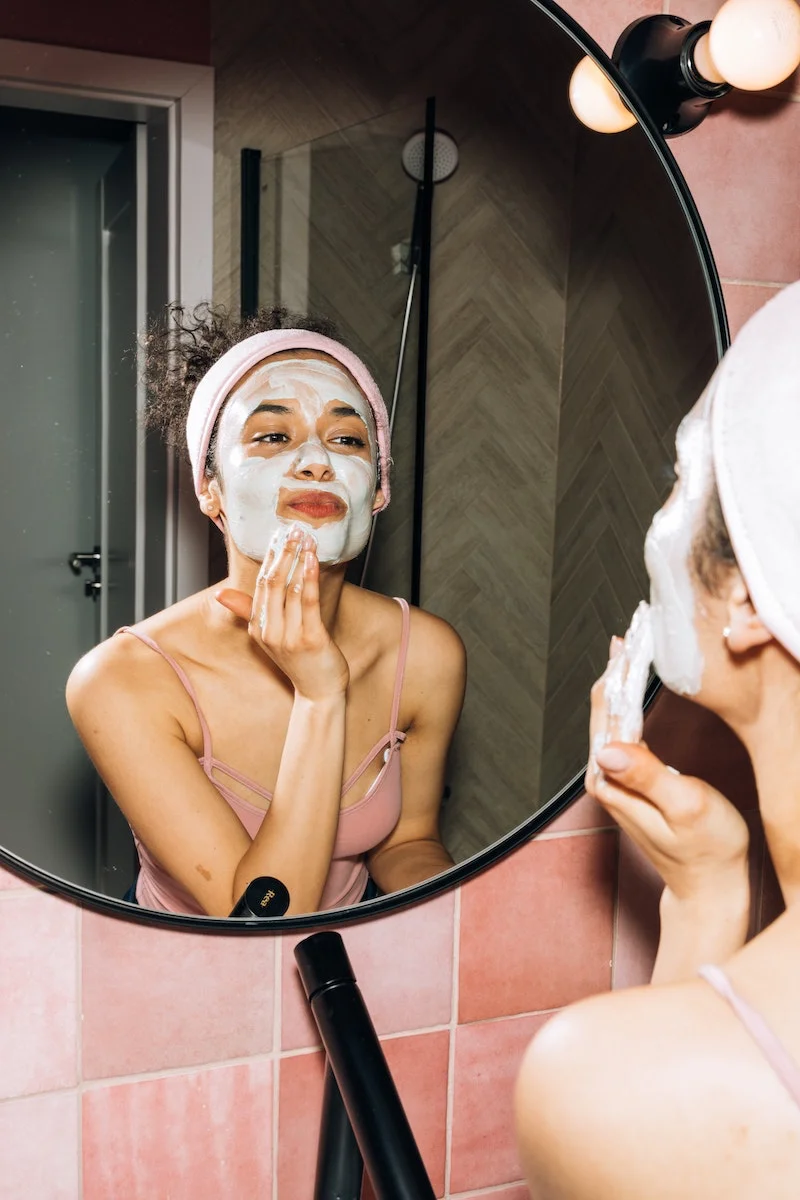
For Your Face: A Much Gentler Approach
Heads up! That sugar scrub we just made is for your body ONLY. I can’t stress this enough. The skin on your face is far more delicate and needs a completely different strategy.
For a gentle DIY facial polish, try this:
- Oat & Honey Face Polish: Mix 2 tablespoons of finely ground oats (just blitz regular oats in a blender) with 1 tablespoon of raw honey and a tiny splash of water to get a paste-like consistency. Oats are incredibly calming and anti-inflammatory. Massage it gently onto damp skin for about a minute and rinse.
Another fantastic option is to let ingredients do the work for you with a chemical exfoliant (don’t let the name scare you). These products use gentle acids or enzymes to dissolve the ‘glue’ holding dead skin cells together—no scrubbing required. For beginners, look for products like toner pads with glycolic acid or a gentle enzyme mask containing papaya or pineapple. Use them once or twice a week, max.
A quick tip: Over-exfoliation is real. If your skin ever feels tight, red, irritated, or looks weirdly shiny, stop all exfoliation for at least two weeks and just focus on gentle, hydrating products.
Part 3: The Magic of Heat & Hydration
Once your skin is freshly exfoliated, it’s primed and ready to soak up all the good stuff. Adding a little heat and steam to the mix is the key to getting the most out of your masks and moisturizers.
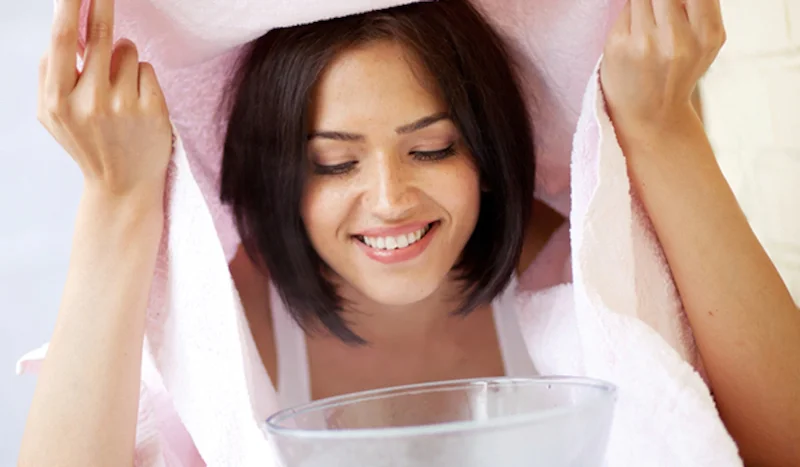
How to Steam Your Face (Safely!)
In the spa, we use professional steamers, but you can get a similar effect at home if you are VERY careful. The goal is gentle vapor, not a scalding steam burn. Warm steam helps soften any gunk in your pores and boosts blood flow, delivering more oxygen and nutrients to your skin. (Oh, and by the way, pores don’t “open and close”—that’s a myth. Steaming just softens what’s inside them.)
- Boil some water, then pour it into a large, heat-safe bowl. Let it cool for at least 5 minutes until it’s hot, but not aggressively steaming.
- Toss in a couple of chamomile tea bags or a few drops of a gentle essential oil like lavender.
- Drape a large towel over your head and the bowl, keeping your face at least 12 inches away from the water. If it feels too hot, pull back. Steam for 5-10 minutes.
- Important: Do not use this as an opportunity to pick at your skin! Squeezing can cause scarring and make things worse. Leave extractions to the pros.
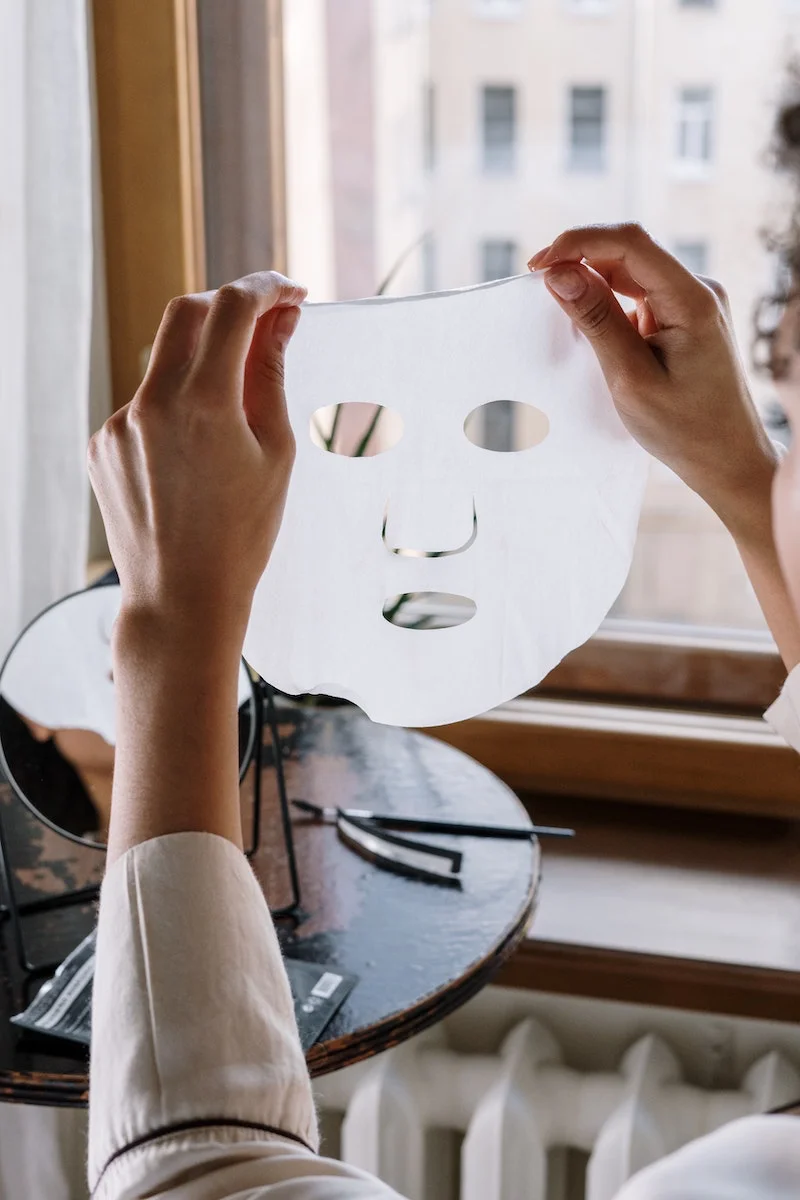
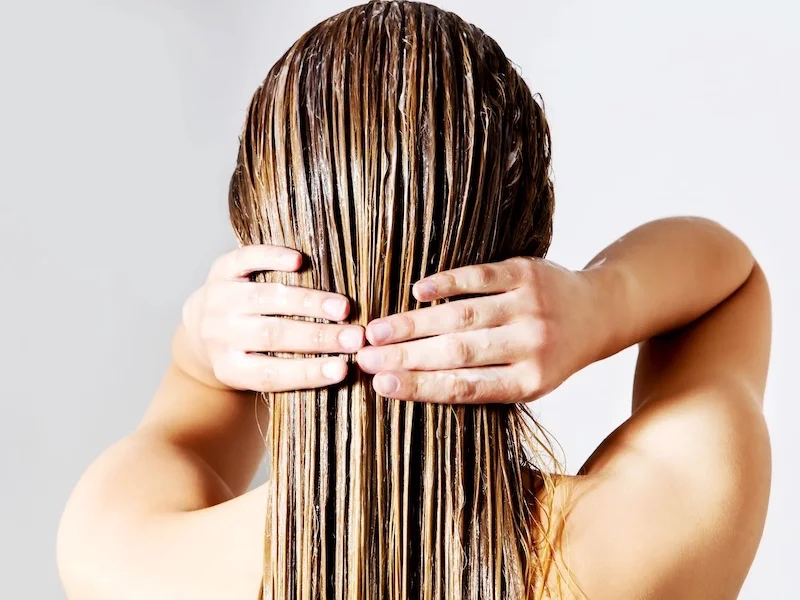
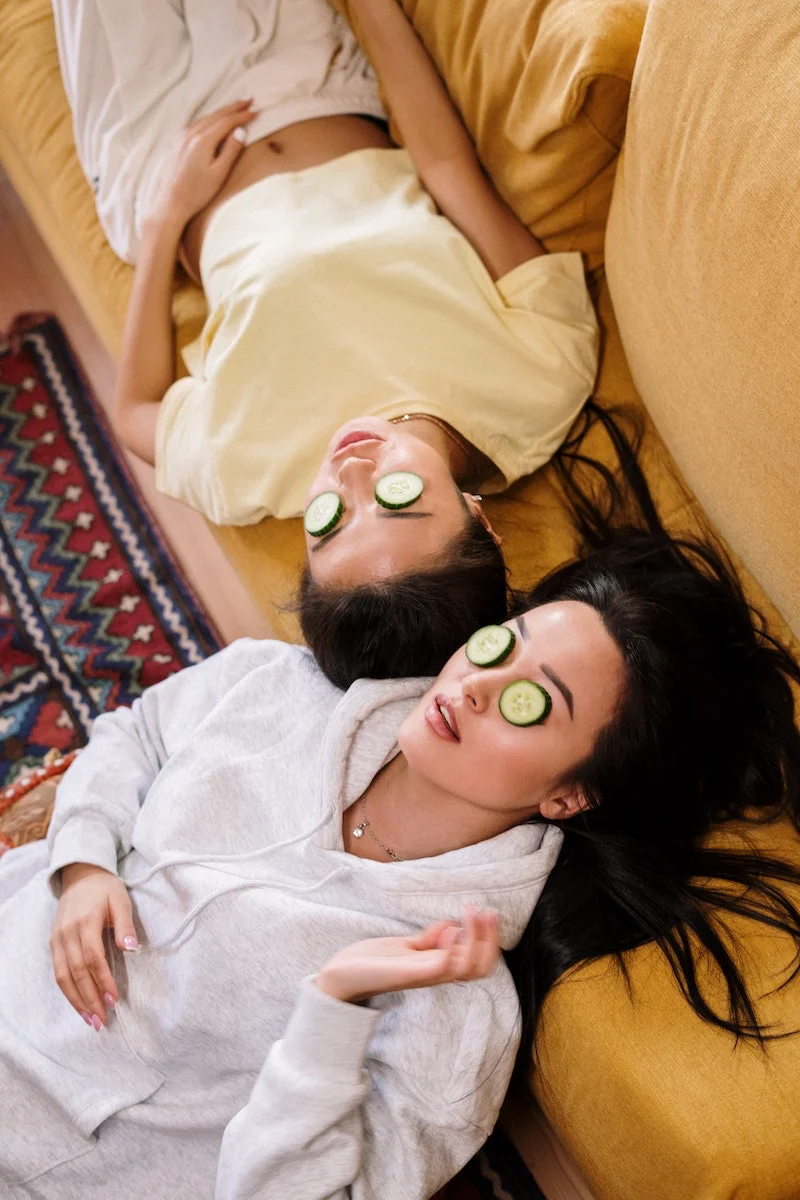
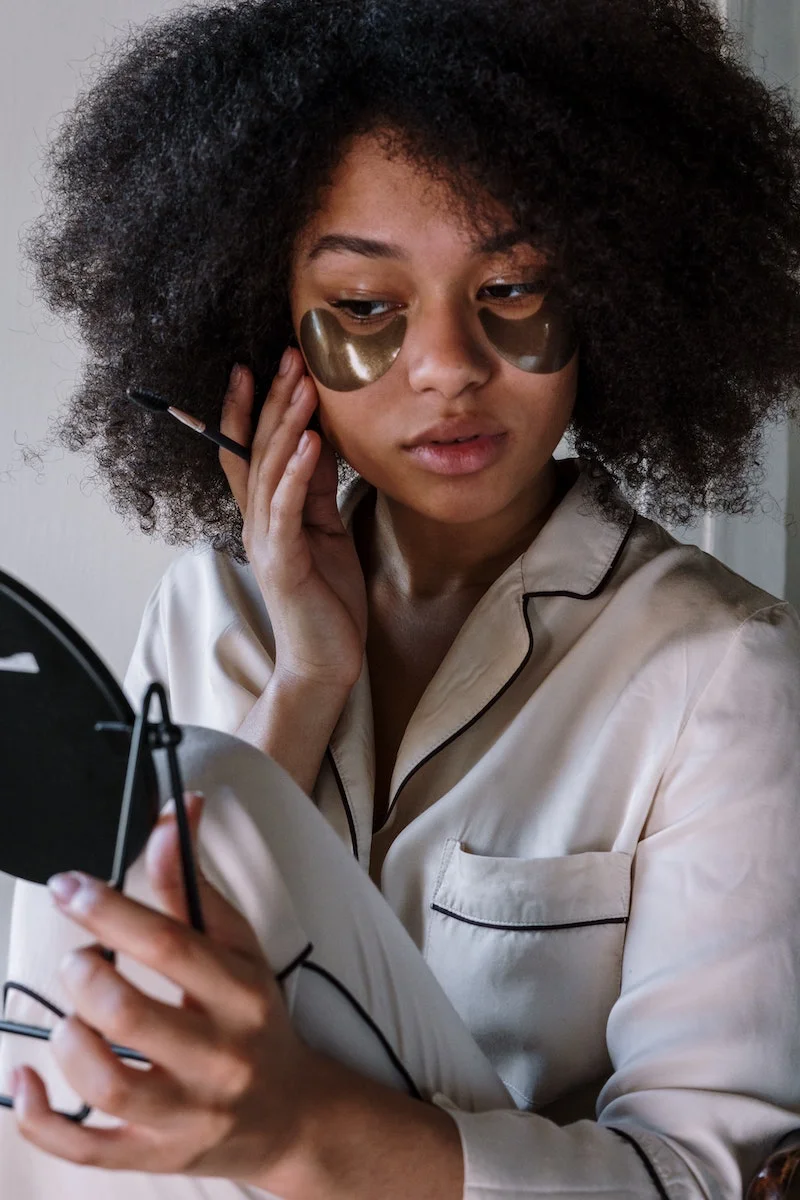
The Perfect Mask for Your Skin Type
Now that your skin is warm and receptive, it’s the perfect time for a mask. Don’t just grab anything; pick ingredients with a purpose.
- For Hydration (Dry/Mature Skin): Mash up 1/4 of a ripe avocado with 1 tablespoon of plain, full-fat yogurt. It’s creamy, nourishing, and feels amazing.
- For Calming (Sensitive/Irritated Skin): Mix 2 tablespoons of finely ground oats with enough warm chamomile tea to form a paste. This is my go-to for calming down angry skin.
- For Brightening (Dull/Congested Skin): Mix 1 tablespoon of kaolin clay with 1-2 tablespoons of water or witch hazel. Kaolin is a super gentle clay that sops up excess oil without stripping your skin. Good to know: Never let a clay mask dry completely. When it starts to feel tight and crackly, it’s time to rinse. If it dries fully, it can actually dehydrate your skin.
Pro Tip: If you have combination skin, try multi-masking! Apply the clay mask to your oily T-zone and the hydrating avocado mask to your drier cheeks at the same time. You get exactly what each part of your face needs.
Part 4: Don’t Forget Your Hands and Feet!
Our hands and feet are the unsung heroes of our bodies, and they deserve some love too. A little targeted care can make a world of difference.
A Restorative Hand Treatment
- Soak: Fill a bowl with warm water and a splash of olive oil. Soak your hands for 5 minutes.
- Exfoliate: Use a tiny bit of your body sugar scrub to gently polish your hands, focusing on knuckles and cuticles.
- Mask & Insulate: Slather on a thick layer of a rich cream (pure shea butter is amazing) or even the avocado mask. Then, pop on a pair of cotton gloves (you can get them at any drugstore) for 20-30 minutes. The gloves trap heat and help the moisturizer sink in deeper.
A Proper Foot Treatment
- Soak: Fill a basin with warm water and 1/2 cup of Epsom salts. Add a few drops of peppermint oil for a tingly, cooling feel. Soak for at least 15 minutes.
- File: Pat your feet mostly dry and use a pumice stone or a good-quality foot file to gently buff your heels and any callused spots. Please, I’m begging you, never use those razor-style callus shavers. I’ve seen some truly nasty infections start from a tiny slip-up. The goal is to reduce calluses over time, not hack them off in one go.
- Moisturize: Dry your feet completely and massage in a heavy-duty foot cream. A lesser-known trick: scan the ingredient label for things like urea or lactic acid—they are absolute magic for breaking down and softening tough, callused skin. Pull on some clean cotton socks to lock it all in, maybe even overnight.
So, How Often Should I Do All This?
This is a great question. For the full, head-to-toe ritual we just walked through, think of it as a special treat—maybe once a month or whenever you feel like you really need a reset. But you don’t have to do it all at once! The beauty of this is that you can pick and choose. A quick face mask mid-week? Go for it. An Epsom salt foot soak after a long day? Yes, please. Listen to your body and your skin; they’ll tell you what they need.
When a Home Ritual Isn’t Enough
Okay, a final dose of reality. As much as I love a good home spa day, it’s not a cure-all. It’s for maintenance, relaxation, and supporting your skin’s overall health. It is not a substitute for professional medical care.
You should absolutely see a board-certified dermatologist if you’re dealing with:
- Persistent or cystic acne
- Chronic conditions like rosacea or eczema
- Any new, changing, or suspicious moles or spots
- A serious allergic reaction to any product
Being a true pro means knowing your limits, and helping you understand them, too. So enjoy your ritual, take care of yourself, and never be afraid to call in the experts when you need them.
Inspiration:
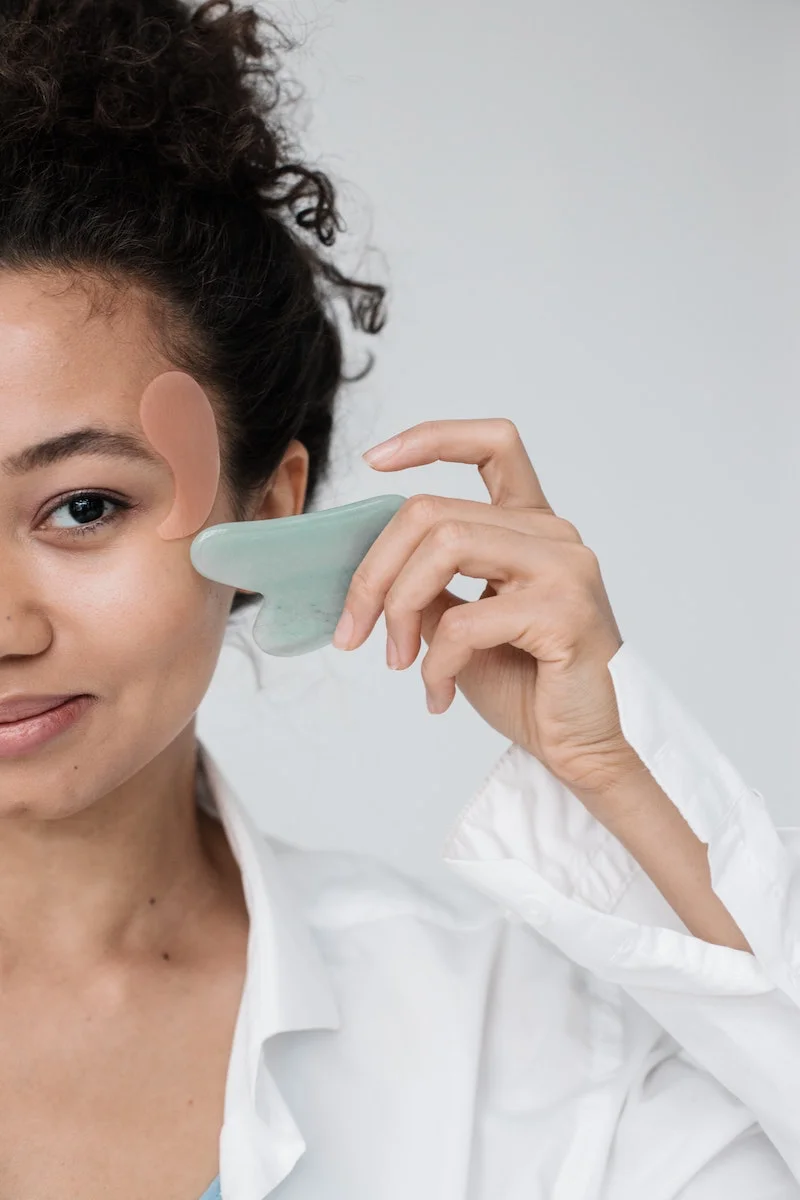
How do I choose between all the facial massage tools out there?
It really comes down to your main goal. Think of it this way:
Gua Sha Tool: Typically made from stone like rose quartz or jade, this sculpted tool is for lymphatic drainage and relieving deep facial tension. It requires technique and a facial oil (like the jojoba on your list!) for slip, but it’s fantastic for defining contours and releasing a tight jaw. We love the ones from brands like Sacheu Beauty or Mount Lai.
Facial Roller: Simpler to use, a roller is excellent for de-puffing (especially if you keep it in the fridge), boosting circulation, and helping serums absorb. It’s the perfect cool-down after a mask. For targeted sculpting, choose the Gua Sha; for a quick, soothing refresh, grab the roller.
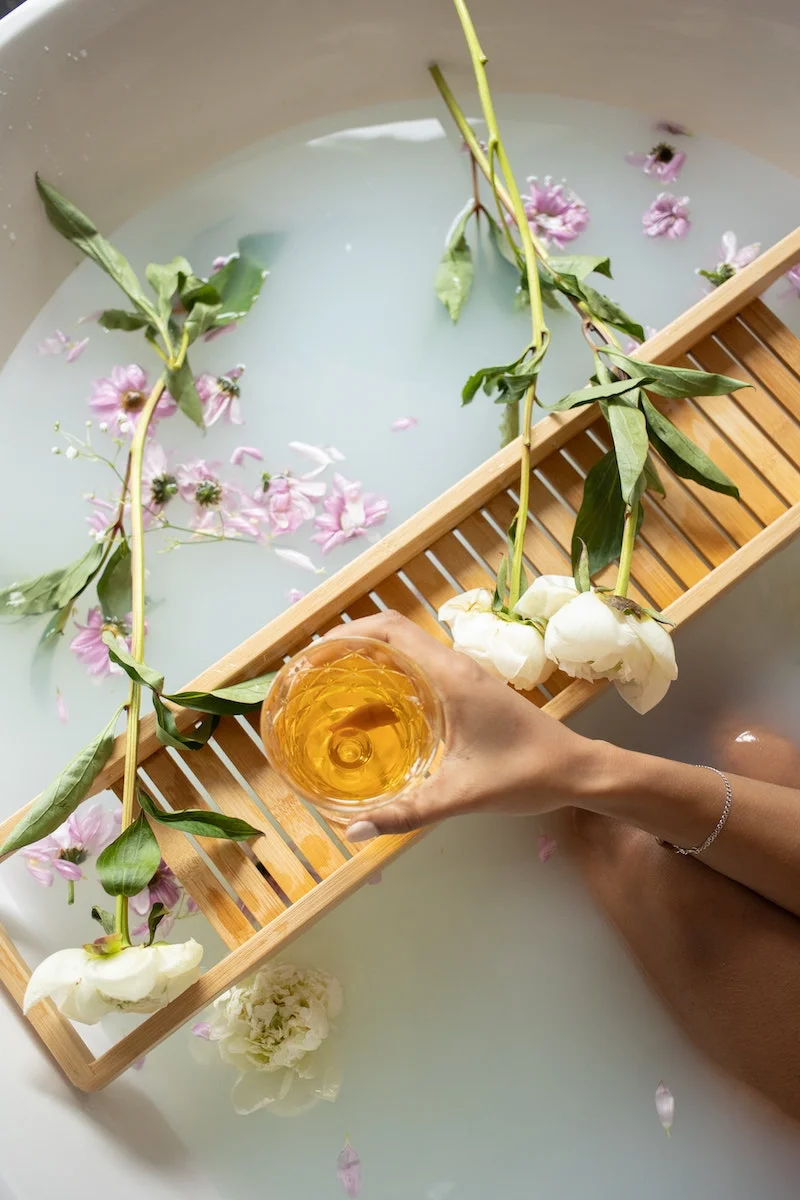
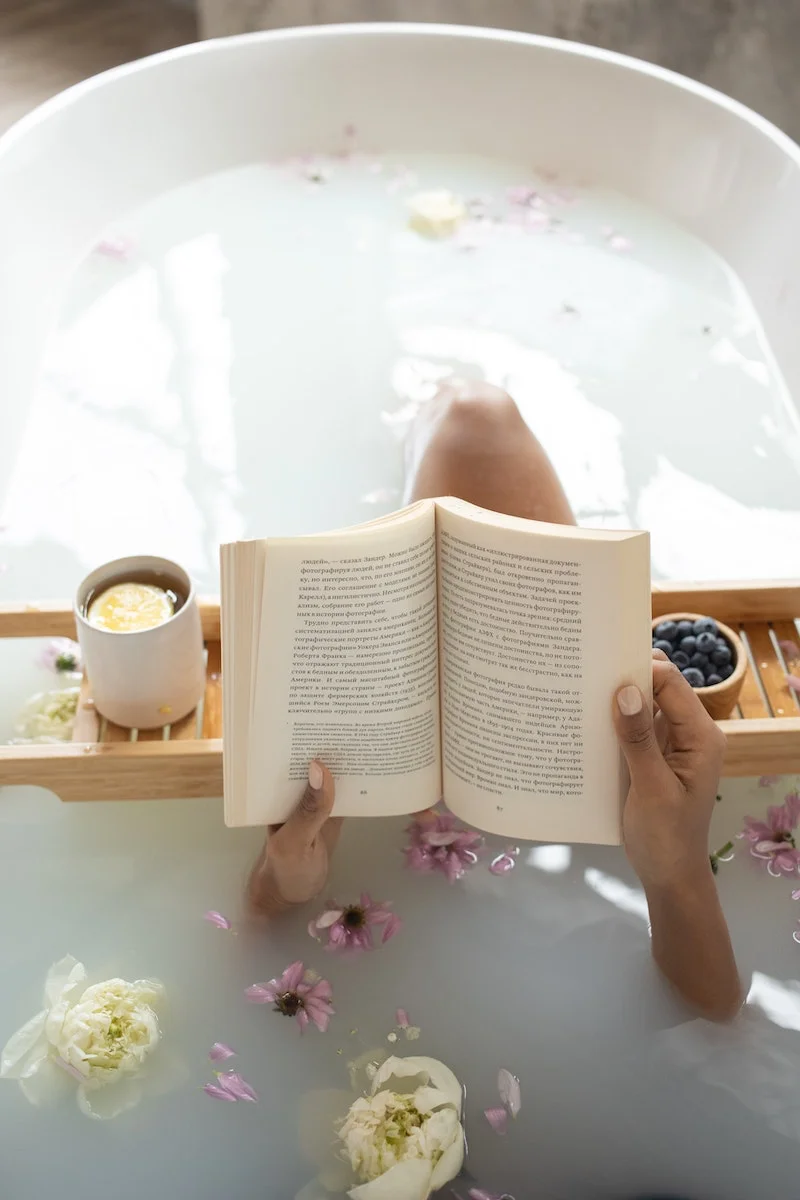
A 20-minute bath in water at around 102°F (39°C) can significantly improve feelings of depression and pessimism, according to a study from the University of Freiburg.
The key is consistency and sensory enhancement. Elevate your soak by adding two chamomile tea bags and a tablespoon of raw honey directly to the running water along with your Epsom salts. The chamomile soothes skin and senses, while honey is a natural humectant that leaves your skin feeling incredibly soft long after you’ve dried off.


