Your Microwave Is Gross. Here’s the Pro-Level Way to Clean It.
I’ve spent a lot of time looking at the insides of microwaves. From bustling restaurant kitchens to the sad, forgotten unit in an office breakroom, I’ve seen it all. The absolute worst? A microwave where a chili bowl exploded and was then left to fester over a two-week holiday. That cleanup was… memorable. But it taught me the most valuable lesson about microwave care: it’s not about blasting it with harsh chemicals. It’s about smart techniques and consistency.
In this article
- First, A Quick Look Inside Your Microwave
- Your Pro Cleaning Toolkit (It’s Cheaper Than You Think)
- The 60-Second Habit for a Permanently Cleaner Microwave
- The Weekly Steam Clean: Your Go-To Method
- The Full Deep Clean: A Once-a-Month Reset
- Troubleshooting Nasty Problems
- A Quick Win for Busy People
- When to Call a Professional (Seriously, Don’t Be a Hero)
- Inspirational Gallery
A clean microwave isn’t just for looks. It actually runs more efficiently, helps your food cook more evenly, and can even last longer. Plus, let’s be honest, it’s just safer and more hygienic for your family.
Most of us wait until the inside looks like a modern art masterpiece of splatters before reaching for a scouring pad and hoping for the best. This guide is different. I’m going to walk you through the exact methods the pros use, from a quick daily wipe to a full deep clean. We’ll get into the why behind these tricks, point out the critical parts you’re probably missing, and cover some essential safety tips. Think of it as a complete playbook for keeping your microwave in fantastic shape.
First, A Quick Look Inside Your Microwave
Before we get cleaning, it helps to know what you’re dealing with. A microwave isn’t just a simple box that gets hot; it uses some pretty specific tech that needs the right kind of care.
At its heart is a thing called a magnetron, which shoots invisible radio waves into the food chamber. These waves make the water molecules in your food vibrate like crazy, and that friction creates heat. This is why soupy, watery foods heat up so fast, and also why a tiny spaghetti sauce splash can bake onto the walls in seconds. The energy zaps it directly, turning it into a concrete-like stain.
The Key Parts You’ll Be Cleaning
Let’s do a quick tour of the interior:
- The Cavity: This is the main box, usually coated in a special enamel or paint. This surface is designed to reflect microwaves, so you have to be gentle. Using abrasive scrubbers or steel wool can scratch the coating, potentially exposing the metal underneath. That’s a big no-no, as it can cause sparks, which we call arcing.
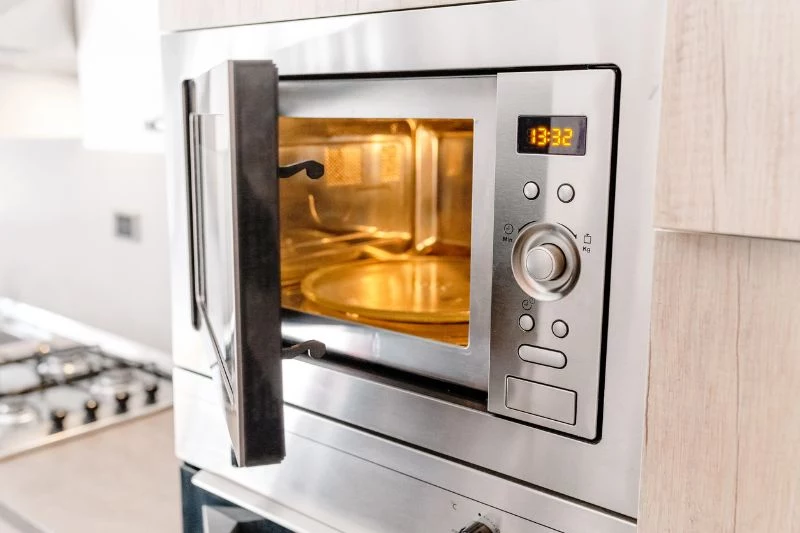
- The Glass Turntable: This is the removable glass plate. Its job is to rotate food for even cooking, because microwave energy isn’t perfectly distributed.
- The Roller Ring: That little plastic ring with wheels underneath the turntable? It’s a magnet for crumbs and sticky gunk. If it gets dirty, it can cause the turntable to jerk, make noise, or even stop spinning entirely.
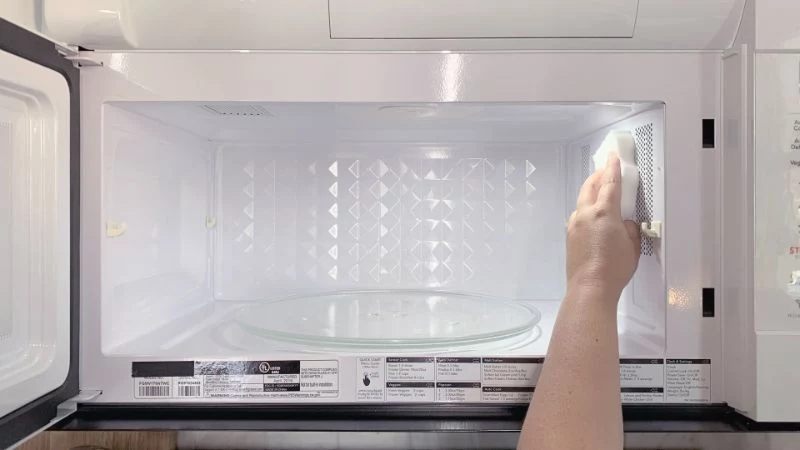
- The Waveguide Cover: Okay, pay attention to this one. It’s the single most important part you’re probably not cleaning correctly. It’s that small, squarish panel, usually on the right-hand wall, that looks a bit like cardboard or thin plastic. This little shield protects the microwave’s sensitive electronics from food splatters. If this cover gets saturated with grease, it can overheat and become a serious fire hazard. It NEEDS gentle care.
Heads up! Never, ever use harsh chemicals like oven cleaner or bleach in your microwave. They can destroy the interior coating and, more importantly, damage that critical waveguide cover. The same goes for anything metal, including aluminum foil or steel wool scouring pads. Metal reflects microwaves and can create an electrical storm of sparks, potentially frying the magnetron and killing your appliance for good.
Your Pro Cleaning Toolkit (It’s Cheaper Than You Think)
You don’t need a bunch of expensive, specialized products. Honestly, the best tools for the job are probably already in your kitchen. Having them ready makes the whole process faster and easier.
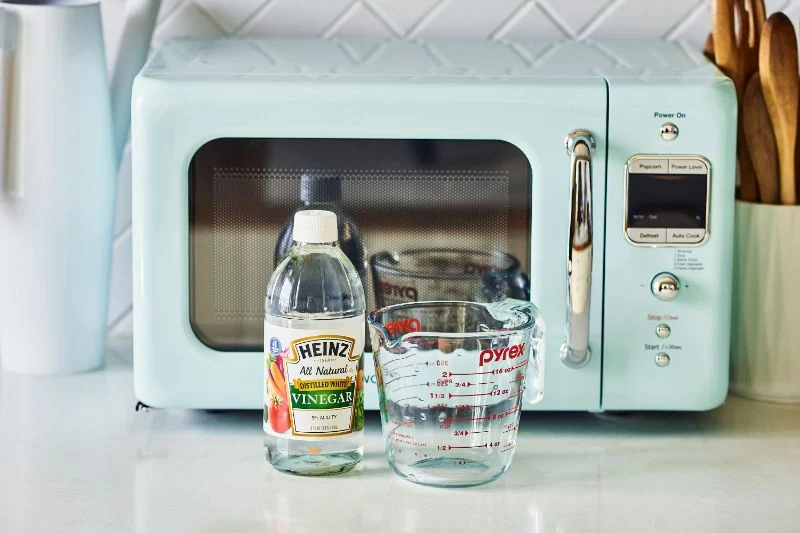
- A Microwave-Safe Bowl: A 4-cup glass measuring cup or a sturdy ceramic soup bowl is perfect. I’d steer clear of using plastic bowls for steam cleaning. I once saw a client’s microwave where a cheap plastic bowl had softened and warped from the heat, leaving a permanent ring on the turntable. Glass or ceramic is a much safer bet.
- White Vinegar: A gallon of this stuff costs like $3 at any grocery store and it’s a fantastic, non-toxic degreaser. Its acidity just melts away greasy splatters.
- A Lemon or Two: The citric acid in lemon works a lot like vinegar but leaves a much nicer, fresher scent.
- Baking Soda: A super-gentle abrasive for tough spots and an absolute champ at killing odors.
- Mild Dish Soap: Just a few drops for cleaning removable parts or wiping down the outside.
- Microfiber Cloths: Get a multi-pack for around $5-10. I like using a white one for the inside so I can see all the gunk I’m wiping away—it’s weirdly satisfying. They’re great because they trap dirt without leaving lint behind.
- A Non-Abrasive Sponge: For any stubborn, caked-on spots, a sponge with a non-scratch scrubby side is your friend. Just double-check the packaging to be sure.
- A Small Brush: An old toothbrush is perfect for getting into the little wheels and crevices of the roller ring.
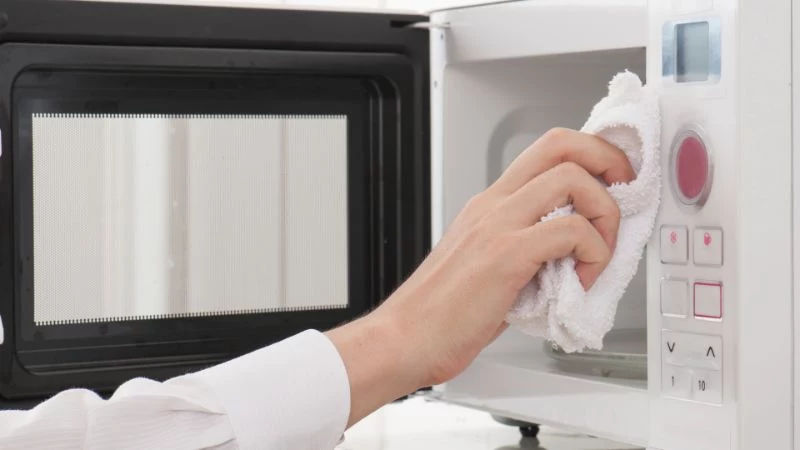
The 60-Second Habit for a Permanently Cleaner Microwave
The best way to keep your microwave clean is to stop messes before they start. The absolute best time to clean a spill is immediately after it happens. Try this one-minute routine.
After you heat your food, while the inside is still a bit warm and steamy, just grab a damp cloth and give the interior a quick wipe. Hit the ceiling, sides, floor, and inside of the door. The steam from your food has already done most of the work by loosening any fresh splatters. They’ll come right off.
By the way, the best tool for preventing messes is a microwave food cover. It’s a simple plastic lid that you can find for under $10 online or at stores like Target. It contains virtually all splatters, meaning you just have to rinse the cover instead of scrubbing the whole microwave. It’s a game-changer.
The Weekly Steam Clean: Your Go-To Method
If you use your microwave daily, a weekly steam clean is the perfect habit. It’s gentle, chemical-free, and does all the hard work for you. First, a quick sanity check:
Before You Start:
- Grab your microwave-safe bowl and your cleaning agent (lemon, vinegar, or baking soda).
- Take a ‘before’ picture if you’re feeling ambitious. The ‘after’ will be glorious!
- Safety First: The bowl and water will be incredibly hot. Always use oven mitts to remove it. And after the cycle is done, let the door stay closed for at least 5-10 minutes. This lets the steam do its job and cool down a bit, so you don’t get a face full of scalding steam.
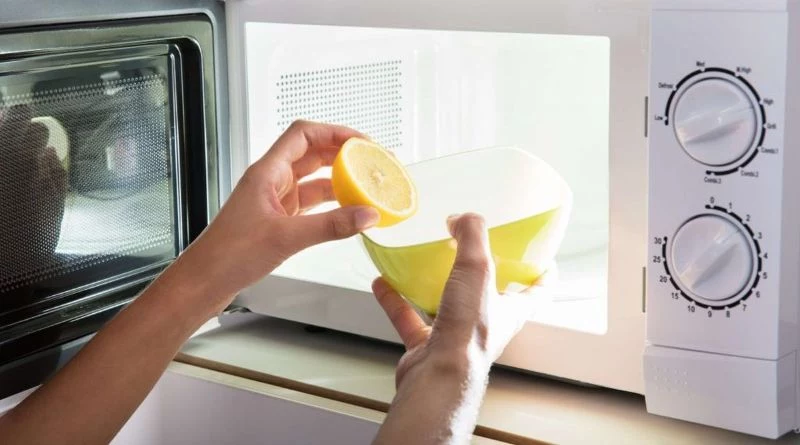
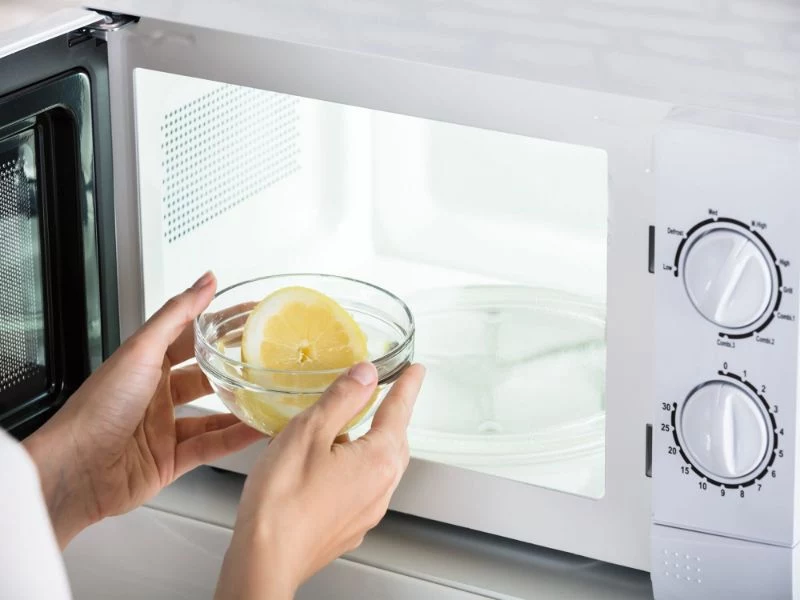
Method 1: The Lemon Steam Clean
This is my go-to for general cleaning. The steam softens grime, the citric acid cuts through grease, and it leaves a fantastic, fresh scent that gets rid of old food smells.
Just pour one cup of water into your bowl, squeeze the juice from one lemon into it, and then toss the lemon halves in, too. Nuke it on high for 5 minutes until it’s boiling. Then—and this is the important part—leave the door closed for 10 minutes. Let that steam work its magic. Afterward, carefully remove the bowl and wipe everything down with a microfiber cloth. The grime will slide right off.
Method 2: The Vinegar Steam Clean
Facing a slightly tougher, greasier mess? Vinegar is your answer. Its acetic acid is a bit more powerful than lemon juice.
Mix two tablespoons of white vinegar with one cup of water in your bowl. Run it on high for 5 minutes, then let it stand with the door closed for 10-15 minutes. The smell will be a little strong at first, but it disappears quickly as it airs out, and it’s incredibly effective on stubborn gunk.
Method 3: The Baking Soda Deodorizing Steam
Got a lingering smell from fish or burnt popcorn? This is the one you want. Baking soda is amazing at absorbing and neutralizing stubborn odors.
Stir two tablespoons of baking soda into one cup of water. Pop it in the microwave on high for 5 minutes, let it stand for 10 minutes, then wipe. It cleans well and is the best for tackling funky smells.
Which Steam Method is Right for You?
So, how do you choose? It’s pretty simple:
- For everyday freshness and light grease: Use the Lemon Method. It’s effective and makes your whole kitchen smell great.
- For tougher, greasy, or sugary messes: Go with the Vinegar Method. It has a bit more deep-cleaning power.
- When your main problem is a bad smell: The Baking Soda Method is your best friend. It neutralizes odors better than anything else.
The Full Deep Clean: A Once-a-Month Reset
Once a month, or whenever you’re dealing with a major disaster, it’s time for a deep clean. This is the full service that gets every part of the appliance back to pristine condition.
Step 1: UNPLUG THE APPLIANCE. I can’t stress this enough. It’s a non-negotiable safety step. Disconnect it from the wall before you do anything else.
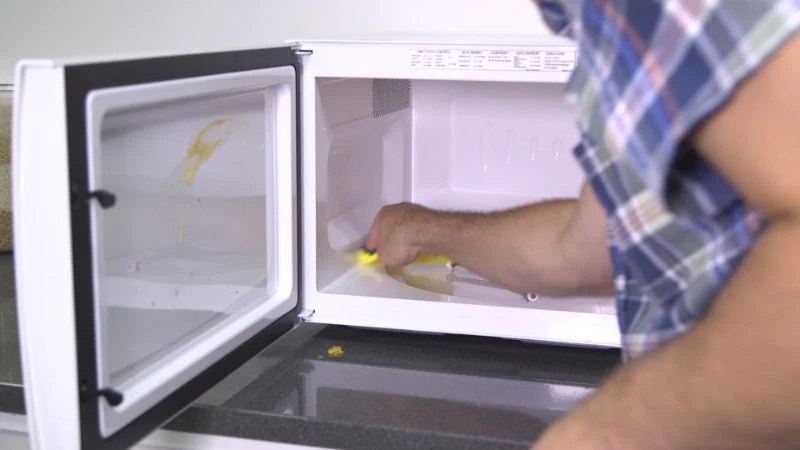
Step 2: Clean All Removable Parts. Take out the glass turntable and the plastic roller ring. You can usually pop these in the top rack of your dishwasher, or just wash them in the sink with warm, soapy water. Use that old toothbrush to really scrub the wheels and axles on the roller ring—that’s where gunk loves to hide.
Step 3: Gently Clean the Waveguide Cover. Remember this part? Dip a clean microfiber cloth in plain water, wring it out really well, and gently wipe the surface of the cover. Don’t scrub. If it’s caked with grease, has burn marks, or is peeling, it absolutely must be replaced. Operating a microwave with a damaged one is a fire risk. You can find replacements online for about $10-$20 by searching for your microwave’s model number. (Quick tip: You can usually find the model number on a sticker just inside the door frame or on the back of the unit.) Replacements typically just pop out of a plastic clip or slide out of a groove; just be gentle.

Step 4: Tackle Baked-On Stains. For any super stubborn spots that steam cleaning didn’t fix, make a paste with 3 parts baking soda to 1 part water. Dab this paste on the spots and let it sit for about 20 minutes. Then, gently scrub with a non-abrasive sponge. The baking soda provides just enough grit to loosen the grime without scratching the interior.
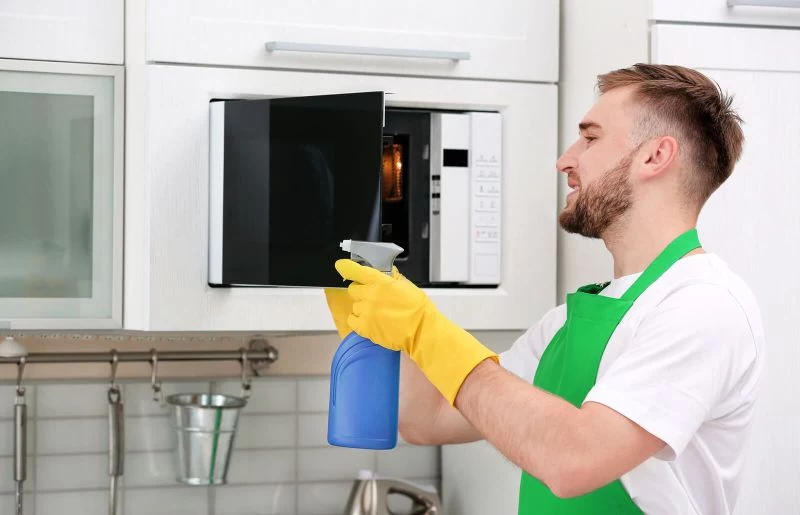
Step 5: Don’t Forget the Outside and Vents. Wipe down the door, handle, and keypad with a damp cloth and a drop of dish soap. For the keypad, spray the cleaner onto the cloth, not the panel itself. And if you have an over-the-range microwave, the bottom and the vents underneath get coated in cooking grease from your stove. Use a good kitchen degreaser on a cloth to wipe down that greasy underside and the vent filters. You can often remove metal mesh filters and soak them in hot, soapy water to get them truly clean.
Troubleshooting Nasty Problems
Sometimes you run into a real challenge. Here’s how to handle them.
- The Lingering Burnt Smell: If steam cleaning doesn’t kill a nasty burnt popcorn smell, try this. Place a bowl of used coffee grounds or a dish of activated charcoal inside the microwave, close the door, and leave it overnight. Both are fantastic at absorbing odors. If that still doesn’t work, try simmering a pot of water with a few cloves on your stove for an hour. Sometimes the smell is in the room, not just the appliance.
- The Big Food Explosion: We’ve all been there. Tomato sauce everywhere. First, use a plastic spatula to gently scrape off the worst of it. Then, run a vinegar steam cycle, maybe even twice. It’s a process of layering steam and gentle wiping. Just resist the urge to grab a heavy-duty scourer—patience will save your microwave’s finish.
A Quick Win for Busy People
Don’t have time for any of this? Here’s the lazy person’s trick: Open a fresh box of baking soda and just stick it in the microwave. Close the door and leave it overnight. It’ll start absorbing odors with zero effort from you.
When to Call a Professional (Seriously, Don’t Be a Hero)
Knowing when to stop is just as important. Regularly inspect the seals around the door. If you see any cracks, tears, or damage, or if the door doesn’t close perfectly flush, stop using it immediately. A damaged door seal can be a safety issue and is not a DIY fix.
Call for service if:
- The door is damaged or won’t seal right.
- You hear loud, unusual grinding or buzzing noises.
- The unit sparks when there’s no metal inside.
- The turntable won’t spin even after you’ve cleaned the roller ring.
- It just stops heating food.
By following these steps, you’ll have a maintenance routine, not just a cleaning hack. And a well-cared-for microwave is a reliable one that will serve you well for years.
Your Recommended Maintenance Schedule:
- Daily: A 60-second wipe-down after use.
- Weekly: Your favorite steam clean method.
- Monthly: A full deep clean (including the roller ring, waveguide cover, and exterior vents).
- Annually: A careful inspection of the door and its seals for any signs of wear and tear.
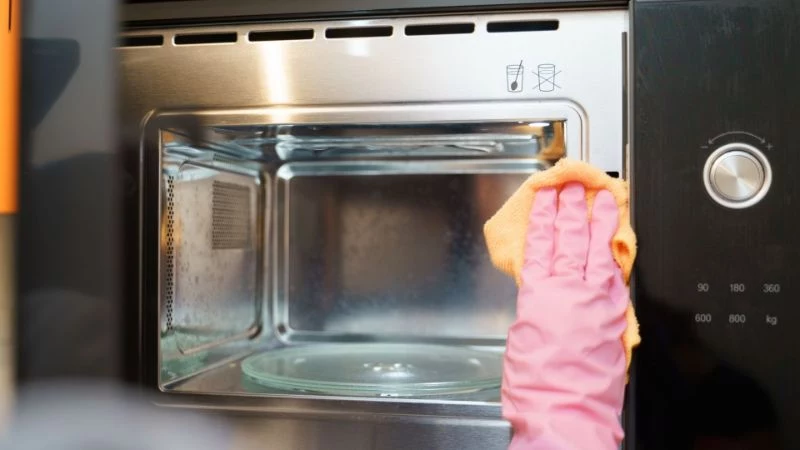
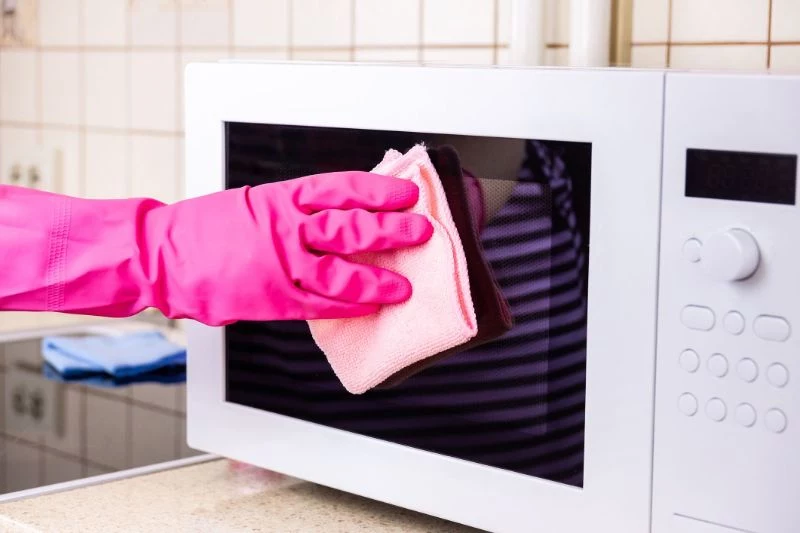
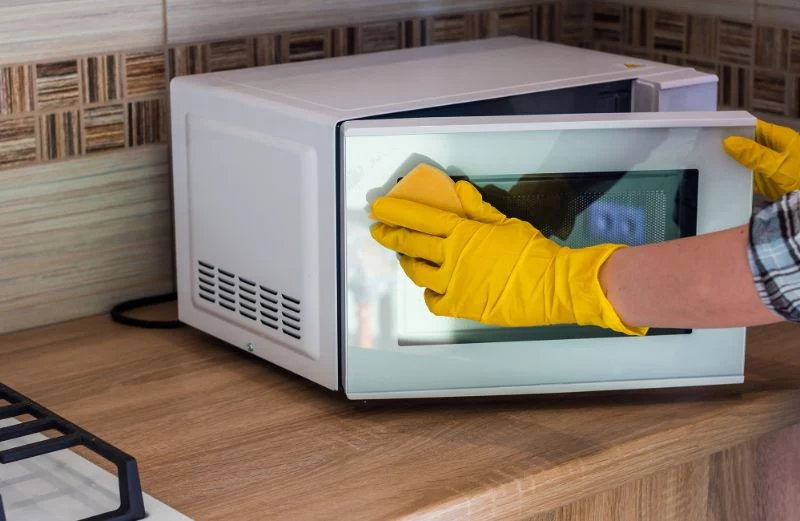
Inspirational Gallery


For that stubborn, cheese-like substance that has fused itself to the ceiling of your microwave, steam cleaning alone might not be enough. After steaming, create a paste using baking soda and a little water. Apply it to the tough spots and let it sit for five minutes before wiping with a damp microfiber cloth. The gentle abrasive action of the baking soda will lift the grime without scratching the interior enamel.
More than 90% of foodborne illnesses are caused by cross-contamination in the kitchen.
This is precisely why cleaning your microwave’s exterior is as crucial as the interior. The handle and keypad are high-touch surfaces, frequently used after handling raw ingredients. Use a disinfectant wipe, like one from Lysol or Clorox, on the handle and buttons daily to keep your kitchen a safer space.

The forgotten exterior vents: These are vital for your microwave’s health, allowing heat to escape from the magnetron. If they get clogged with grease and dust, the unit can overheat, reducing its lifespan. Once a month, unplug the microwave and use the brush attachment on your vacuum cleaner to gently clear away any buildup from the vents on the back, side, or top.
Is your turntable wobbling or making a grinding noise?
The culprit is almost always the roller ring and the cavity floor beneath it. Food particles and sugary spills can get trapped, hardening and obstructing the wheels. Remove both the glass plate and the plastic ring. Wash the ring in warm, soapy water, using an old toothbrush to get into the crevices around the wheels. Thoroughly wipe the indentation in the microwave floor before reassembling. It’s a two-minute fix that prevents uneven cooking.
- Prevents unsightly streaks and fingerprints.
- Maintains the protective coating that resists rust.
- Ensures it matches the gleam of your other appliances.
The secret? A two-cloth method for stainless steel exteriors. Use one microfiber cloth with a dedicated cleaner like Weiman Stainless Steel Cleaner & Polish, wiping with the grain. Immediately follow with a second, dry microfiber cloth to buff away any residue for a perfect, smudge-free finish.
A Pro’s Deodorizing Trick: If the ghost of last night’s fish dinner lingers after cleaning, ditch the chemicals. Place a small, microwave-safe bowl with a half-cup of used, dry coffee grounds inside. Close the door and leave it overnight. The porous coffee grounds will absorb the stubborn odors, leaving the appliance smelling neutral by morning.
Think of your cleaning kit as essential tools for the job. Pros don’t just grab any old sponge. Their go-to trio includes:
- High-quality microfiber cloths: A brand like E-Cloth or Buff Pro is great because the split fibers grab grease and particles without needing harsh chemicals.
- A non-scratch plastic scraper: Perfect for dislodging that petrified piece of oatmeal without gouging the interior paint.
- A soft-bristled detail brush: An old toothbrush works wonders for cleaning around the door seals and the roller ring wheels.
Never use abrasive sponges, like steel wool or even the green side of a standard scouring sponge, on the interior or the window of your microwave door.
Those surfaces are coated with a special material designed to contain microwave radiation. Scratching it can create spots where energy can concentrate, leading to ‘arcing’—that terrifying spark show you never want to see. It can permanently damage your microwave’s magnetron.
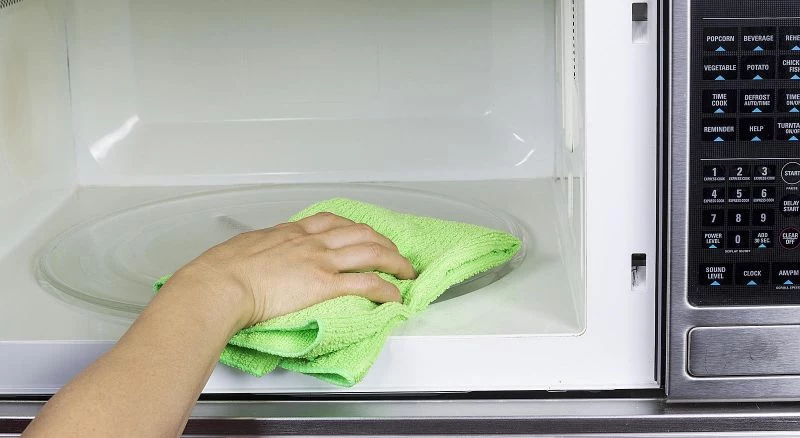
Glass Turntable: Usually made of tempered glass, this is the most durable part of the interior. It’s almost always dishwasher-safe (check the top rack) for easy, deep cleaning.
Painted Enamel Cavity: This is the most delicate surface. Stick to steam, gentle detergents, or a baking soda paste. Harsh chemicals can cause the paint to flake or peel over time.
The takeaway? Treat the plate rough, but the box with care.
For a final touch that adds a pleasant aroma, add a teaspoon of vanilla extract to your bowl of water and lemon slices before steaming. It not only helps with the cleaning but also leaves your kitchen with a subtle, warm scent instead of the sterile smell of vinegar.
- Grease splatters on the door seals.
- Crumbs under the roller ring track.
- Dust buildup on the exterior air vents.
- Fingerprints and smudges on the keypad and handle.
These are the spots most people miss. A truly pro-level clean is all about the details that ensure both hygiene and performance.


