Small Bathroom? Here’s How to Get More Storage Than You Thought Possible
I’ve lost count of how many small bathrooms I’ve walked into where the owners just felt… stuck. The story is always the same: it’s cramped, cluttered, and putting anything away feels like a losing game of Tetris. Most people figure the only way out is a gut renovation that costs a fortune.
In this article
- First Things First: Understand Your Bathroom’s Environment
- Working With Your Walls: The Right Way to Anchor Everything
- Pro-Level Tricks for Getting Storage on Your Walls
- Rethinking Your Vanity
- Easy Wins You Can Tackle This Weekend
- Final Gut Check: When to DIY and When to Call for Help
- Inspirational Gallery
But honestly, after doing this for years, I can tell you that the biggest transformations come from smart, well-planned storage. This isn’t about just buying a few trendy baskets. It’s about thinking like a pro—looking at the bones of your room and making choices that add real function and value.
So, let’s break this down. We’re going to cover the solutions that pros use and shine a light on the common mistakes that can lead to some serious headaches. My goal is to help you create a bathroom that’s not just organized, but safe, practical, and a lot less frustrating to be in every morning. It’s all about making every single inch count.
First Things First: Understand Your Bathroom’s Environment
Before you even think about drilling a hole, you have to respect the room itself. A bathroom is a pretty extreme environment. It’s a constant battle between high humidity and temperature swings, and these forces can absolutely destroy the wrong materials. Ignoring this is why some “fixes” fall apart in less than a year.
Moisture is the Enemy
Every time you take a hot shower, you’re basically creating a mini rainforest in your bathroom. That steam gets into everything—drywall, wood, you name it. This is why your most important storage tool isn’t a shelf, but a good ventilation fan.
Let’s be real, the standard fans that builders throw in are usually loud and don’t move enough air. A fan’s power is measured in CFM (cubic feet per minute). For a typical small bathroom, you need at least 50 CFM, but for a master bath, I’d aim for 80 to 110 CFM. Oh, and for a fan that’s actually quiet and effective, look at brands like Panasonic—their WhisperCeiling models are fantastic.
Quick tip: Don’t just turn the fan off when you leave the bathroom. It needs to run for 20-30 minutes after a shower to clear all that moisture. The easiest way to handle this is to replace the switch with a countdown timer switch. It’s a game-changer. You can get one at any hardware store for about $30, set it for 30 minutes, and forget about it. This is your number one defense against mold and warped materials.
Why Your Choice of Material Is Everything
This brings us to what your storage is made of. I’ve seen homeowners install beautiful MDF (medium-density fiberboard) cabinets, only to call me six months later because the bottom edges are swelling up like a sponge. MDF is just not meant for wet rooms.
When you’re shopping, you need materials that can handle the humidity:
- Solid Wood: It’s a classic choice, but it absolutely must be sealed properly. We’re talking several coats of a marine-grade polyurethane or a high-quality oil-based paint to create a waterproof barrier.
- Marine-Grade Plywood: There’s a reason this is used to build boats. It’s made with waterproof glue, so it’s incredibly stable and durable. This is a top-tier choice for custom shelves or built-ins. You won’t find this at every big-box store, so you might need to visit a real lumber yard.
- PVC or Cellular PVC: This stuff is amazing. It’s a plastic material that looks, cuts, and paints just like wood, but it’s 100% waterproof. It will never, ever rot or swell. It’s a fantastic option for shelves or trim near the shower. You can find PVC trim boards at places like Home Depot.
- Metal: Stick with high-quality stainless steel, aluminum, or solid brass. And please, avoid those cheap chrome-plated steel caddies. I once saw a $15 caddy rust and drip all down brand new white grout, staining it permanently. The homeowner was furious. Spend the extra $20 to get a quality stainless steel one that won’t betray you.
Working With Your Walls: The Right Way to Anchor Everything
Probably the most common DIY mistake I see is improper anchoring. A floating shelf loaded up with glass bottles of shampoo and lotions can easily weigh 20 pounds or more. If that’s just hanging on by a flimsy plastic drywall anchor, it’s going to fail. It’s not a question of if, but when. And when it does, it’ll rip a chunk out of your wall and could even cause an injury.
Finding Studs Isn’t Optional, It’s Critical
Your walls have a skeleton of wood or metal supports inside them called studs, usually spaced 16 inches apart. Anything heavy MUST be screwed directly into a stud. Knocking on the wall and listening for a solid sound is a nice party trick, but it’s not reliable.
You need an electronic stud finder. Don’t cheap out here. Look for one that has a “deep scan” mode and can find the center of the stud, not just the edges. Expect to pay between $30 and $50 for a good one from a brand like Zircon. Trust me, it’s a lot cheaper than accidentally drilling into a pipe.
Heads up! Some houses, especially older or newer ones, might have studs spaced 24 inches apart, or even have metal studs. This changes how you anchor things, so it’s good to be aware of what you’re working with.
What to Do When There’s No Stud
Of course, sometimes the perfect spot for a towel bar is right between two studs. In that case, a standard little plastic anchor isn’t going to cut it. You need to bring in the heavy hitters:
- Toggle Bolts: These are my go-to for anything moderately heavy. They have spring-loaded “wings” that you fold, push through a hole in the wall, and they pop open on the other side. This gives them a huge gripping area. They can be a bit fiddly to install, but they are incredibly strong.
- Molly Bolts (or Hollow Wall Anchors): These are metal anchors that expand behind the drywall as you tighten the screw. They are also very secure and a great choice for things like towel bars or toilet paper holders.
Always check the weight rating on the anchor’s packaging. And remember, that rating is for a dead-still load. A towel bar that someone might lean on needs to be anchored much more securely than the rating suggests.
The Hidden Dangers: Pipes and Wires
Your walls also hide plumbing and electrical lines. Hitting a water pipe is an instant flood. Hitting a drainpipe is a slower, smellier disaster. And drilling into a live electrical wire… well, that can cause a fire or give you a very nasty shock. Most modern stud finders also have a feature that detects live AC wiring. Use it! Be extra careful on any wall that shares a side with a kitchen or another bathroom. When in doubt, just stop. It’s much cheaper to consult a pro than to fix a flooded house.
Pro-Level Tricks for Getting Storage on Your Walls
Okay, now that we know how to work with our walls safely, let’s talk about adding storage that actually makes the room feel better, not smaller.
Recessed Storage: The Ultimate Space Saver
This is my favorite technique for small bathrooms. It involves using the empty space between the studs to create storage that’s flush with the wall. A recessed medicine cabinet or a shower niche doesn’t stick out into the room, which is a massive psychological and physical win in a tight space.
Here’s the basic process: we find a bay between two studs, carefully cut out the drywall, build a simple box to fit inside, and secure it to the studs. For a shower niche, waterproofing is the most critical step. We use a paint-on membrane like RedGard (about $60 for a gallon, but smaller tubs are available) or a sheet membrane system. The little bit of lumber you’ll need, like a 1×4 pine board, is cheap—maybe $10. This project requires some skill, but the payoff is huge.
A big, bold warning here: NEVER cut into a wall without being absolutely certain it’s not a load-bearing wall. What’s a clue? Generally, exterior walls and walls running right down the center of the house are structural. If you look in the attic or basement and see a thick beam resting on top of the wall, leave it alone. Messing with a load-bearing wall can compromise the structure of your entire house.

Shelving That Works
Open shelving can look amazing, but it can also turn into clutter central. The key is placement. The space above the toilet is prime real estate. A few shelves here are perfect for rolled towels and extra supplies.
For dimensions, I like to use shelves that are about 8-10 inches deep. Any deeper and they start to feel overwhelming. Spacing them about 12 inches apart vertically gives you enough room for taller items without looking cramped. And remember: anchor them to studs! If you’re using floating shelves, the hidden bracket inside MUST be secured to at least one stud, preferably two, to be sturdy.
Rethinking Your Vanity
The vanity is the workhorse of the bathroom. Getting this one piece of furniture right can solve about 80% of your storage woes.
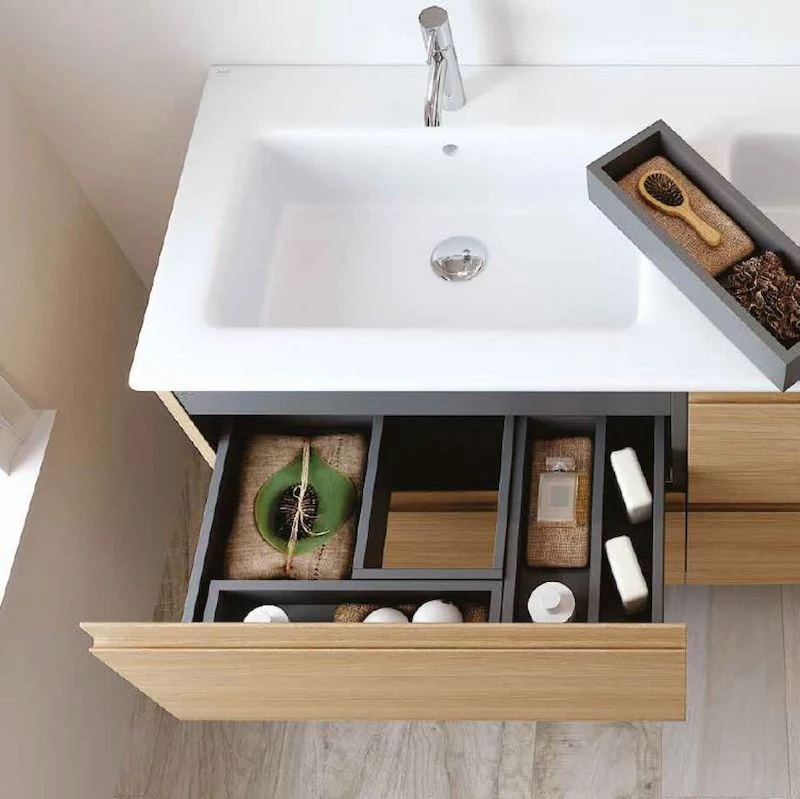
- Drawers Beat Doors, Every Time: A standard vanity with two doors is just a big, dark cave where things go to get lost. A vanity with drawers is a revelation. You pull it open, and everything is right there, accessible. They often cost a bit more, maybe in the $400-$800 range for a decent one, but the functional upgrade is priceless.
- Consider a Floating Vanity: Mounting a vanity to the wall makes the room feel bigger because your eyes can see the flooring continue underneath. Plus, it’s a dream to clean under.
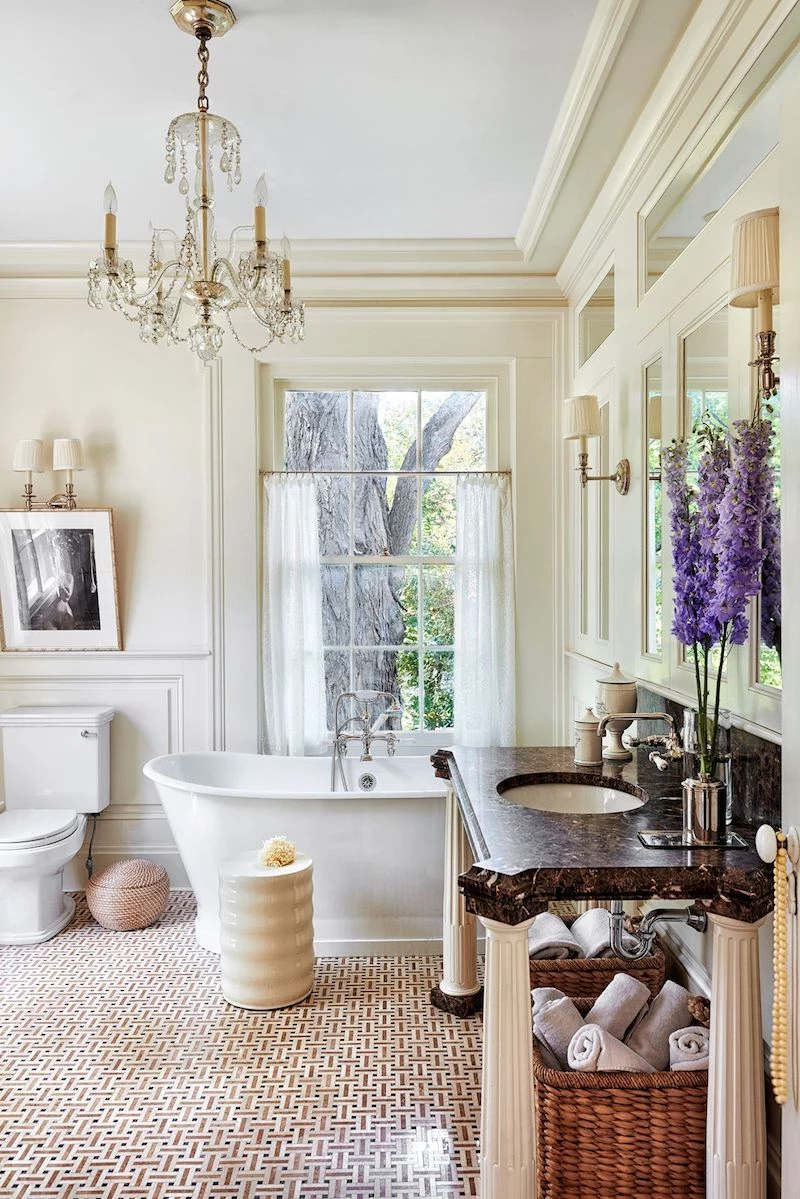
- Avoid Pedestal Sinks (If You Need Storage): They have a certain vintage charm, but they offer exactly zero storage and no counter space. If you’re short on space, this is a terrible choice. I’ve replaced dozens of them for clients who were just fed up.
Swapping a vanity is a manageable weekend project for a handy person. Plan on it taking 4-6 hours if you’re comfortable with basic plumbing shut-offs and connections. If you’re not, this is a great job for a handyman.
Easy Wins You Can Tackle This Weekend
Feeling a bit intimidated by cutting into walls? I get it. Here are a few low-risk, high-impact ideas that don’t require a ton of skill or tools.
- Slim Rolling Cart: That awkward space between your toilet and the wall? A slim rolling cart (you can find them on Amazon or at Target for around $30) is perfect for holding extra toilet paper, cleaning supplies, and toiletries.
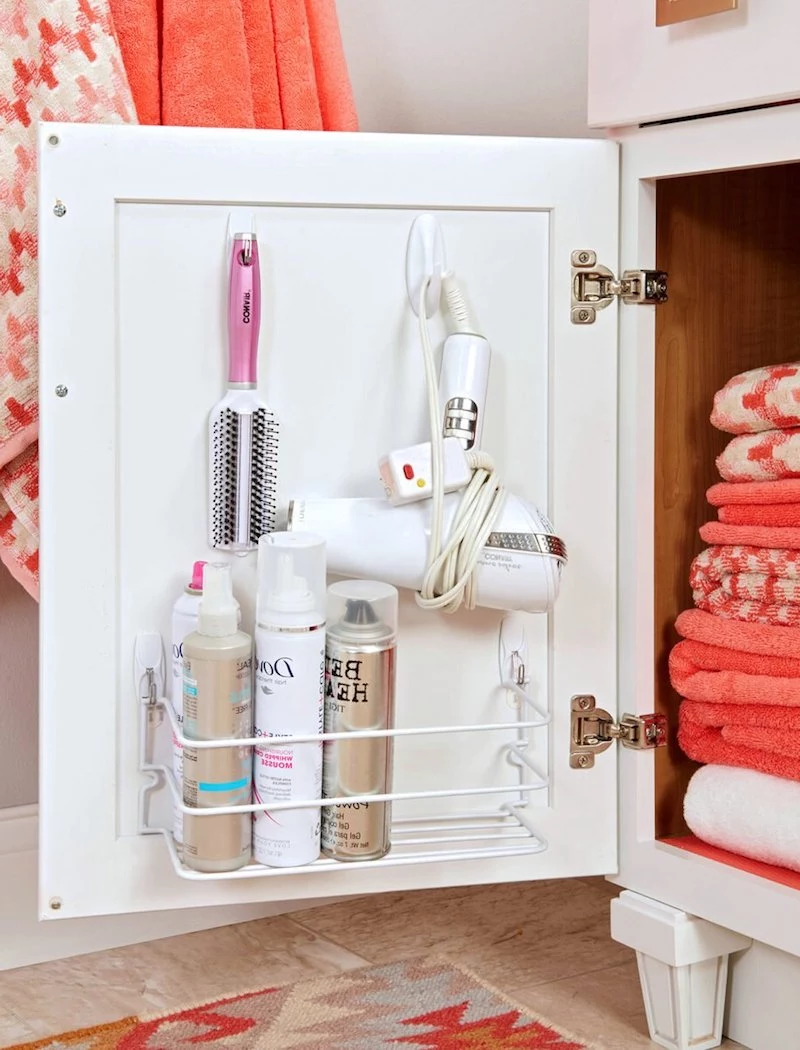
- Over-the-Door Organizer: Don’t forget the back of your door! A simple organizer with pockets is great for hair tools, brushes, and other small items that clutter up drawers.
- The Second Shower Rod Trick: This is a lesser-known tip I love. Install a second tension rod inside your shower, near the wall. You can then use S-hooks to hang baskets for razors, loofahs, and kids’ bath toys, keeping your shower ledge clear.
Final Gut Check: When to DIY and When to Call for Help
I’m all for empowering homeowners, but I also believe in knowing your limits. A small mistake in a bathroom can turn into a very, very expensive problem.
Just a quick reminder on safety: All bathroom outlets must be GFCI protected (the ones with the little “test” and “reset” buttons). If yours aren’t, that’s a job for a licensed electrician. And any major work like moving plumbing or altering walls will likely require a permit.
Here’s my honest breakdown:
- Great DIY Projects: Assembling a cart, hanging an over-the-door organizer, painting, or even installing simple shelves (if you follow the stud-finding rules!).
- Consider a Handyman: Installing a new vanity without moving the plumbing, hanging a heavy cabinet, or replacing a toilet.
- Call a Licensed Pro: ANY electrical work, moving pipes, tile work (especially in a shower), and definitely anything that involves cutting into a wall you’re not 100% sure about.
I once had a client who tried to save a few bucks by installing their own vanity. They cross-threaded a water line, creating a tiny, slow leak inside the wall. They didn’t notice for weeks. By the time I got the call, we had to replace the brand-new vanity, the drywall behind it, a chunk of the subfloor, and deal with a serious mold issue. The final bill was ten times what it would have cost to have a plumber do it right the first time. Hiring a pro for a couple of hours for $200-$400 is cheap insurance against a $4,000 disaster.
So, a small bathroom doesn’t have to be your daily source of frustration. By thinking like a pro—focusing on quality materials, proper installation, and smart design—you can create storage that truly works. You’ll end up with an organized space that adds real, lasting value and makes your life just a little bit easier.
Inspirational Gallery
Can storage actually make my small bathroom feel bigger?
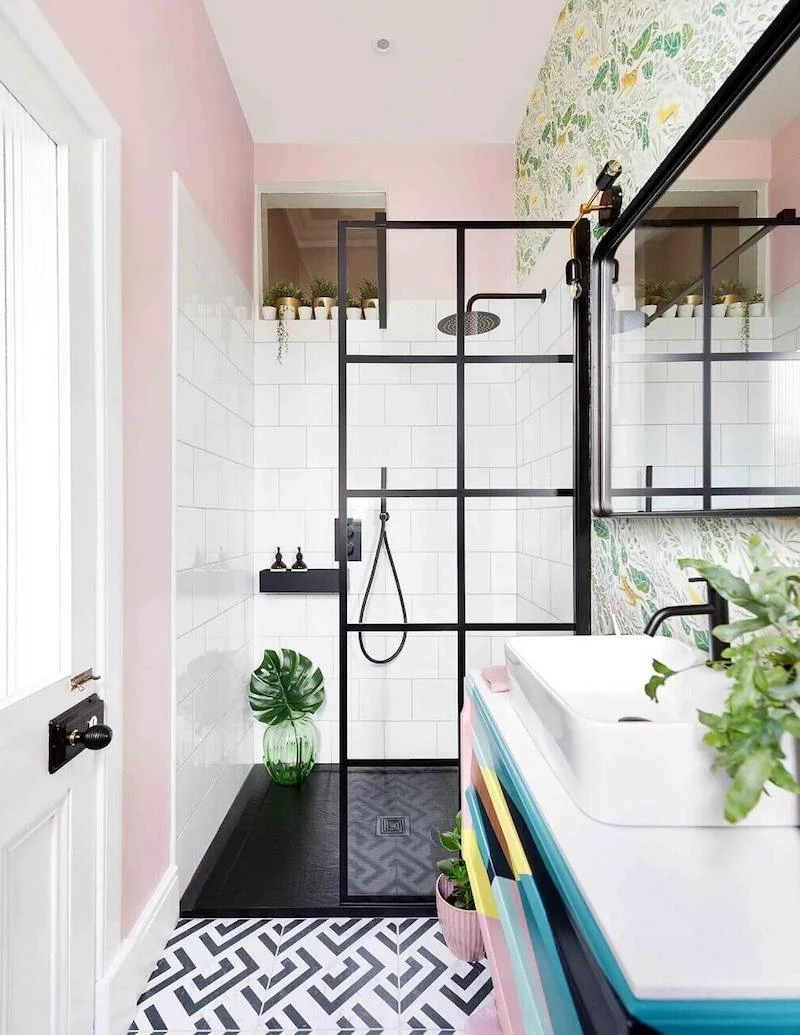
Absolutely. The trick is to draw the eye upwards and create clear floor space. Floating vanities, like IKEA’s GODMORGON series, are brilliant for this; they expose the floor, making the room feel more expansive. Another pro tip is to choose storage with a reflective surface. A tall, mirrored medicine cabinet, such as those from Pottery Barn, not only hides clutter but also bounces light around the room, creating an illusion of depth. By going vertical and reflective, your storage becomes a tool for visual expansion, not just organization.

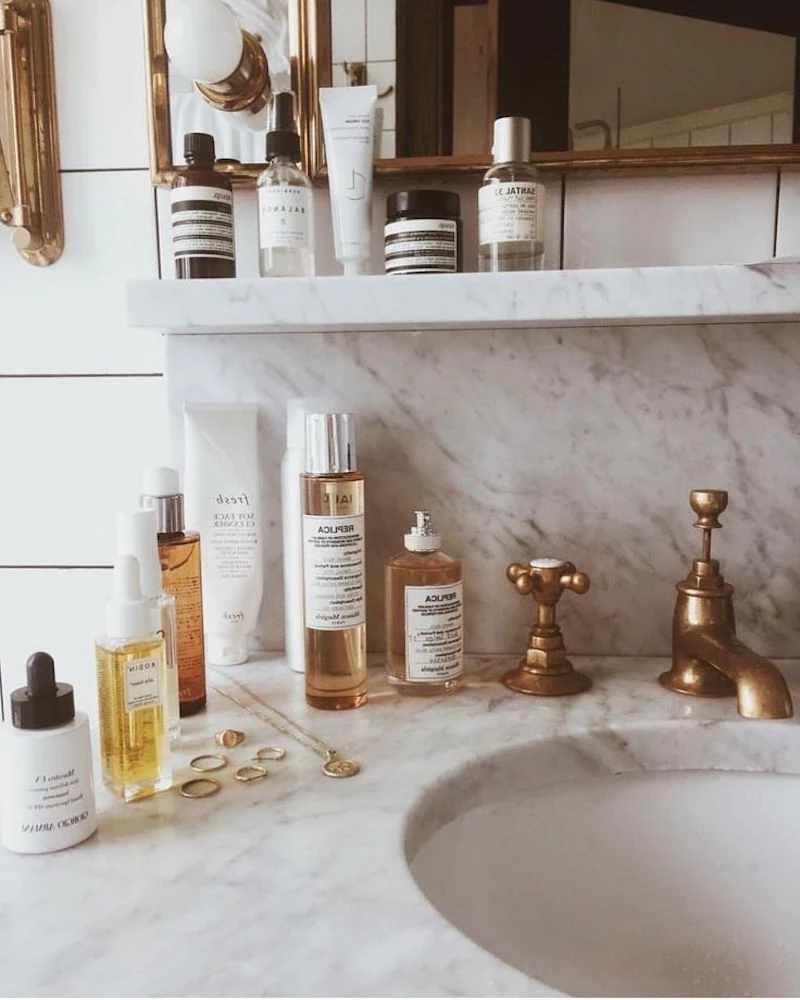
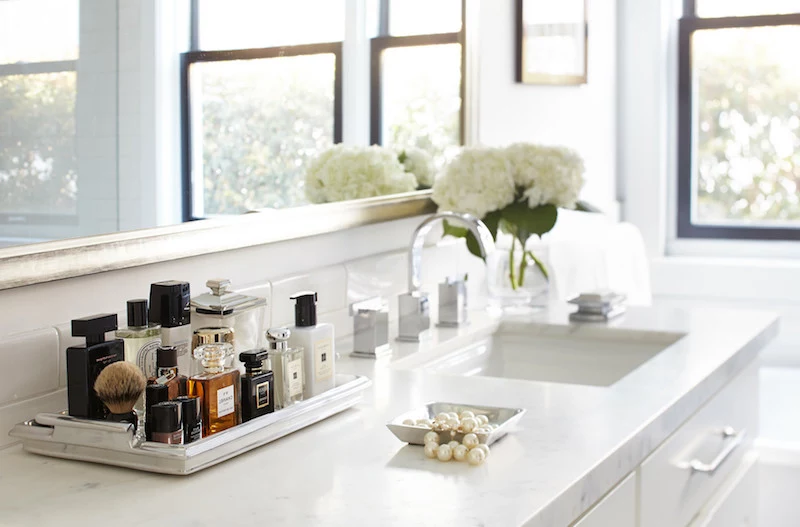
According to a survey by the Royal Society for Public Health, the average makeup bag contains products that are 4 years past their expiration date.
Before buying a single new shelf, do a ruthless purge. Tossing out old lotions and ancient cosmetics is the fastest—and cheapest—way to instantly gain space and simplify your morning routine.

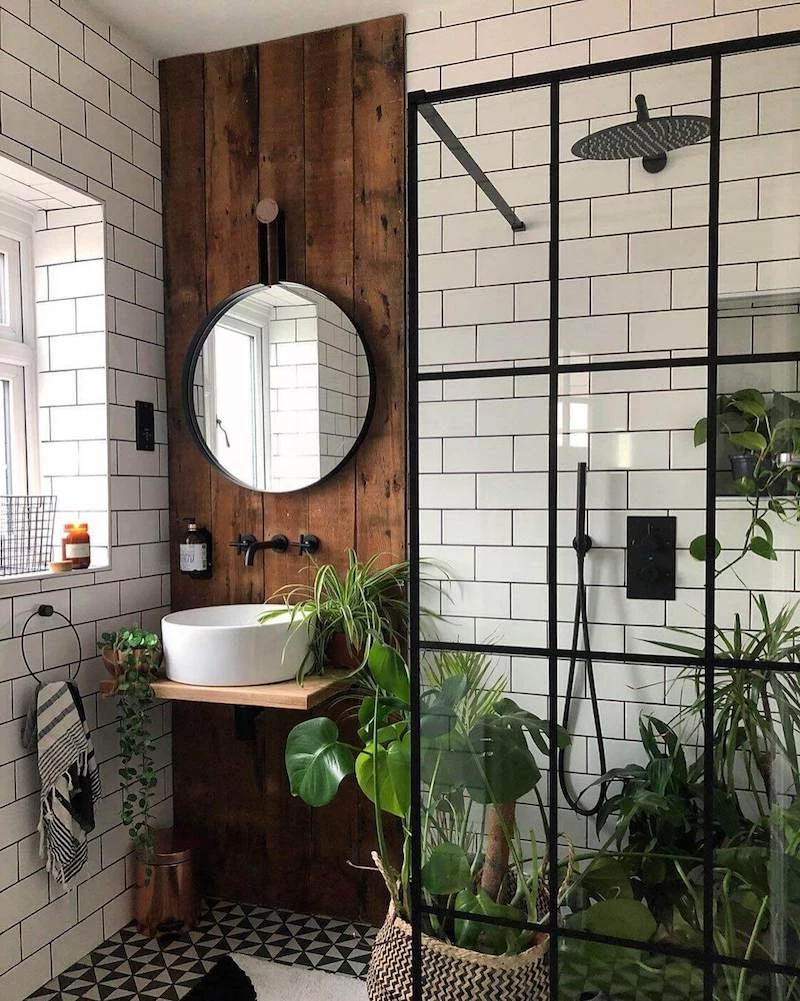
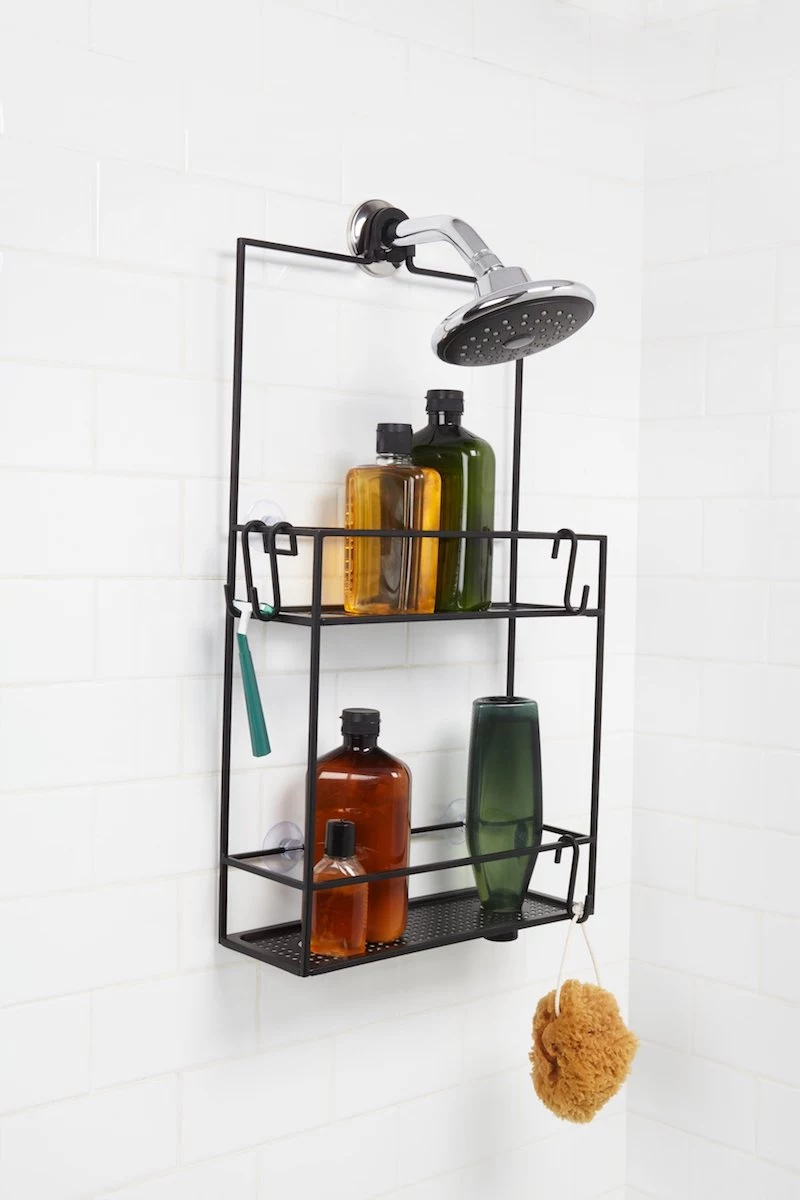
Tension Pole Caddy: Great for renters as it requires no drilling. It uses floor-to-ceiling pressure to stay in place, offering massive vertical storage. Look for stainless steel or coated aluminum to prevent rust.
Adhesive Shower Shelves: These offer a cleaner, more minimalist look. Modern adhesives, like those from brands like simplehuman, are incredibly strong and moisture-resistant, but they work best on smooth, non-porous tile.
The choice depends on your wall surface and storage needs!
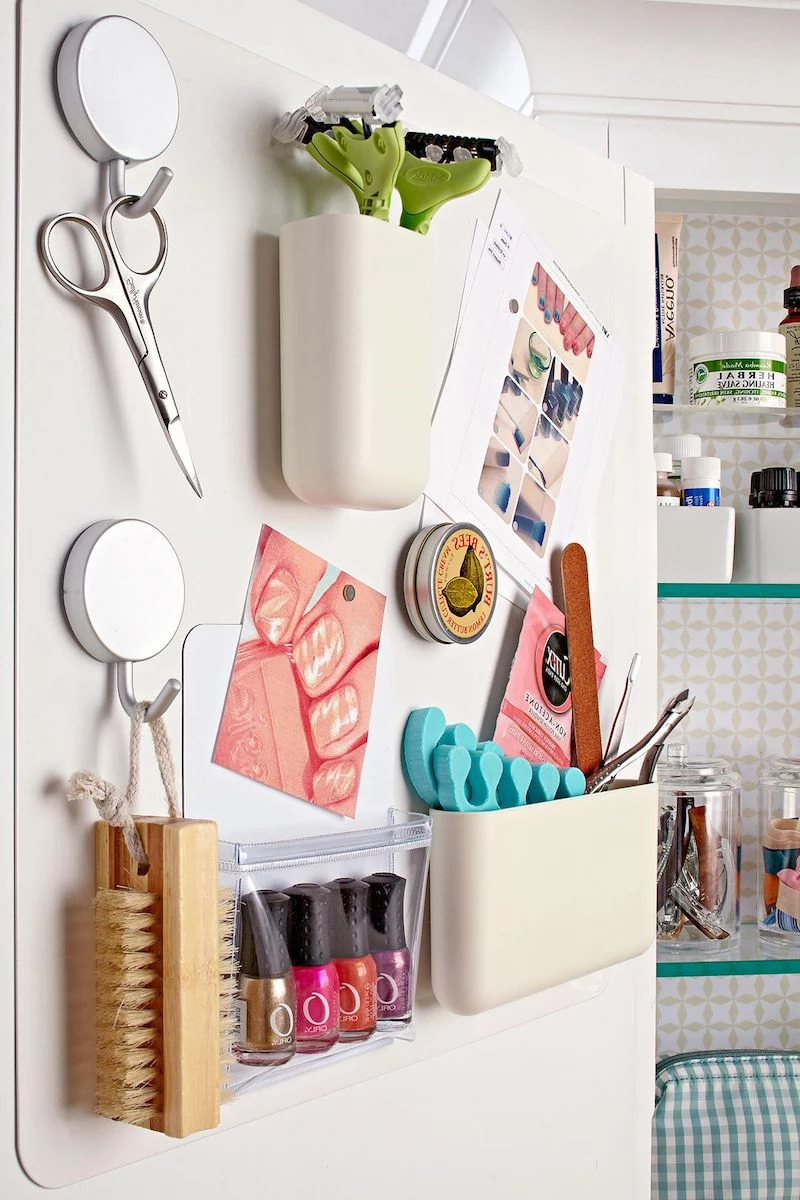
- Find your tweezers in a split second.
- See all your skincare serums at a glance.
- Never knock over five things to get to one.
The secret? Hacking your medicine cabinet interior. Instead of letting items roll around, use small organizers. Stick a magnetic strip to the inside of the door for clippers and bobby pins. Use tiny, clear acrylic drawer dividers from brands like iDesign or Muji to compartmentalize creams and vials. It transforms a cluttered box into a hyper-organized station.
Think beyond the bathroom aisle. A slim, wall-mounted spice rack, like the BEKVÄM from IKEA, is the perfect size for holding nail polishes, daily skincare bottles, or fragrances. Paint it to match your wall for a seamless, custom look that takes up zero floor space.

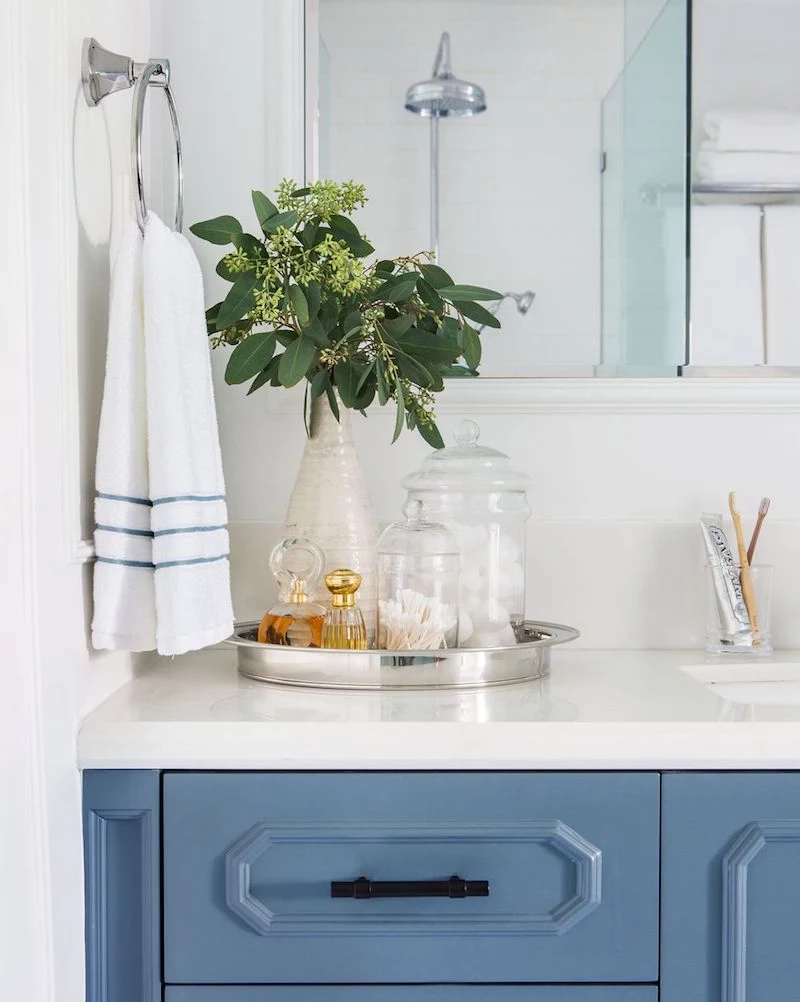
A common vanity mistake: Forgetting about
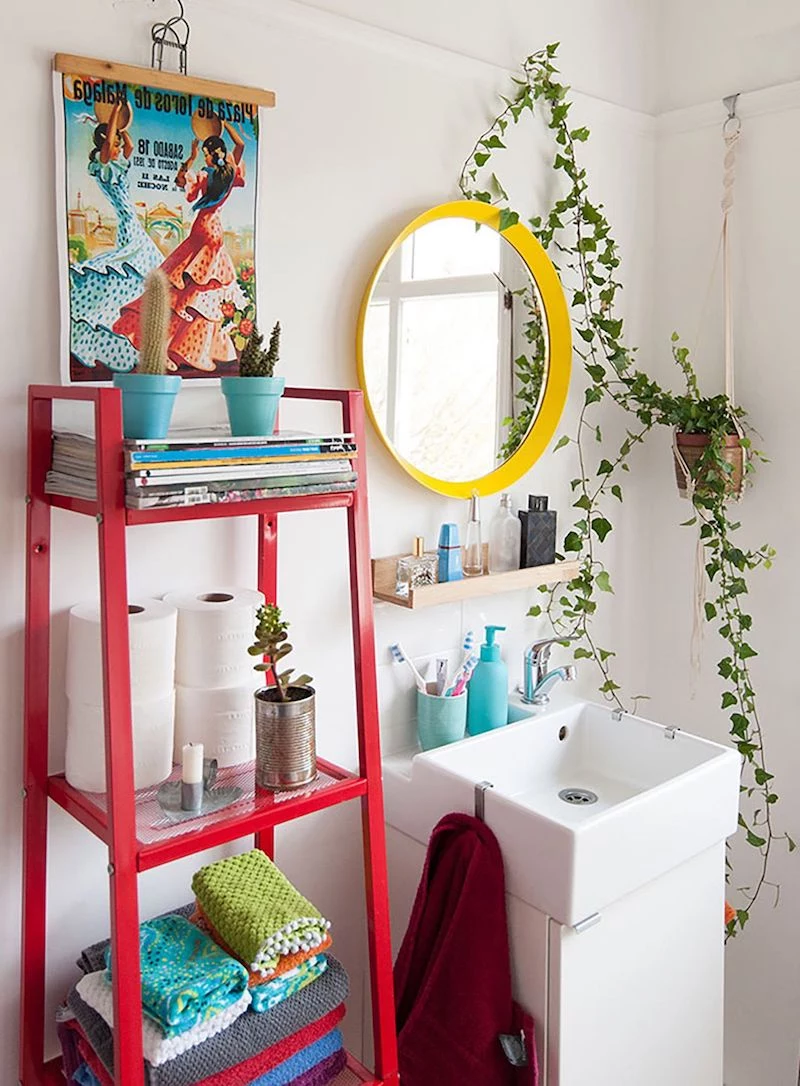
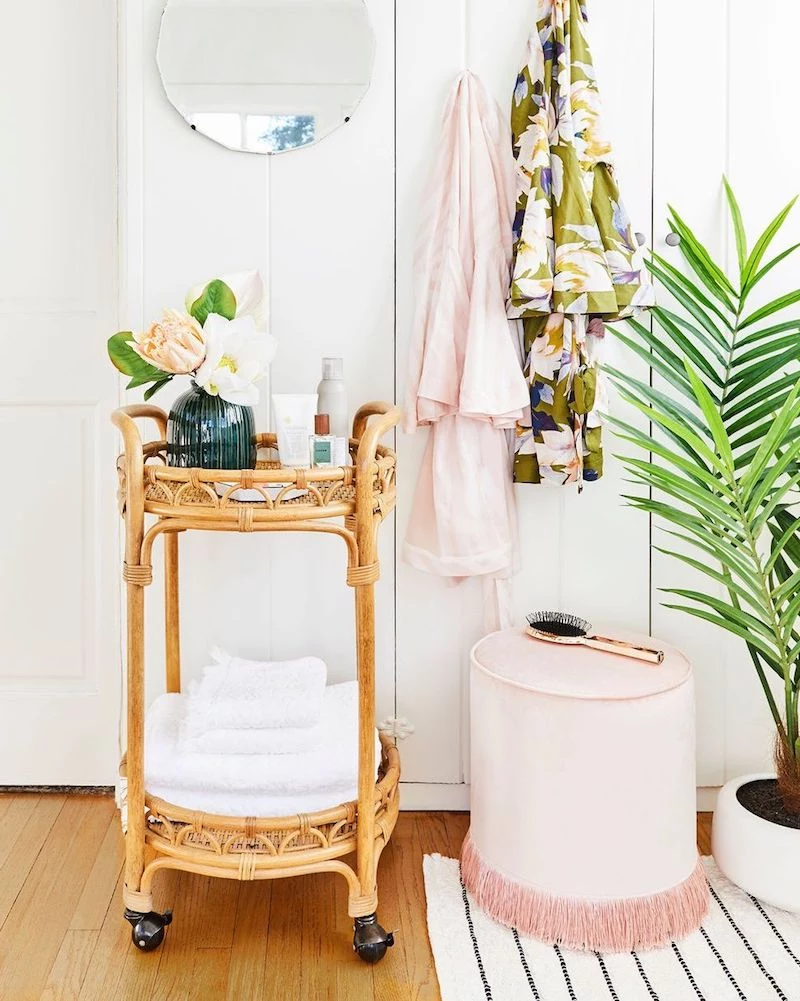
A slim rolling cart, often relegated to the kitchen or office, can be a game-changer for a small bathroom.
Models like IKEA’s classic RÅSKOG or the sleeker options from Yamazaki are perfect for holding rolled towels, extra toilet paper, and baskets of toiletries. They’re mobile, stylish, and add a touch of unexpected chic without any permanent installation.


