The Real Deal on Open Shelves (And How to Install Them So They Don’t Crash)
I’ve been deep in the world of kitchen design and building for what feels like a lifetime, and I can tell you one thing for sure: nothing gets people talking quite like open shelving. On one hand, you have that beautiful, airy look you see in magazines—a kitchen that feels personal and breezy. On the other hand… well, there’s dust, clutter, and the very real fear of a crash in the middle of the night.
In this article
- First, Your Homework: The Painter’s Tape Test
- The Honest Truth: Is This a Good Fit for Your Life?
- Why Shelves Fail: A Quick Lesson in Physics
- Your Shopping List: Gearing Up for the Project
- Choosing Your Materials: Wood, Metal, and Beyond
- Pro Installation Tricks That Make a Difference
- Long-Term Care and a Final Warning
- Inspirational Gallery
So, is it a good idea? Honestly, it can be an amazing choice. But only if you’re realistic about what it takes and you respect the basic physics of hanging something heavy on a wall. I’ve been called in to fix way too many sagging, pulling, or completely collapsed shelves. And almost every single time, the failure was totally preventable. It happened because looks were prioritized over structure.
This guide is the stuff I’d share with an apprentice. We’re going to cover the honest truth about living with open shelves, dive into the right materials, and focus on the critical details that make an installation last for decades, not just a few months.
First, Your Homework: The Painter’s Tape Test
Before you even think about buying wood or finding studs, I want you to do something. Grab a roll of blue painter’s tape and a level. Mark out exactly where you envision your shelves on the wall. Get the height right, the length, everything.
Now, live with it for two days. Seriously. Walk past it, work at the counter under it. Does it feel cramped? Is it in the way when you open the fridge? This simple, 10-minute task can save you a world of regret. You’d be surprised how often a great idea on paper feels wrong in reality.
The Honest Truth: Is This a Good Fit for Your Life?
Okay, let’s have a frank discussion about your habits. The perfect shelves for a neat-freak who rarely cooks are a disaster for a busy family that’s always in the kitchen.
The Upside: Hello, Convenience and Personality
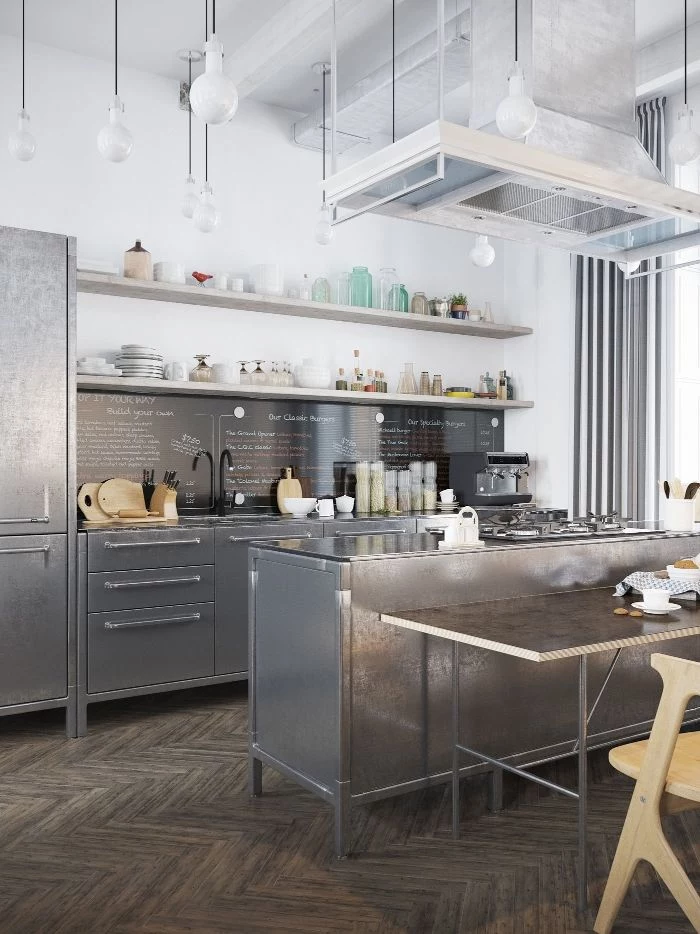
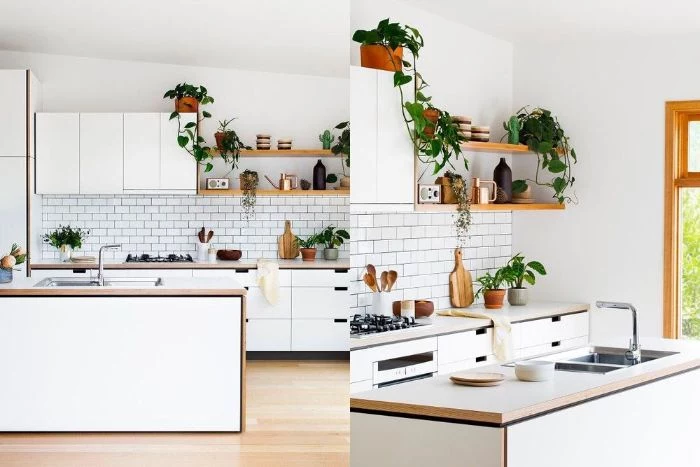
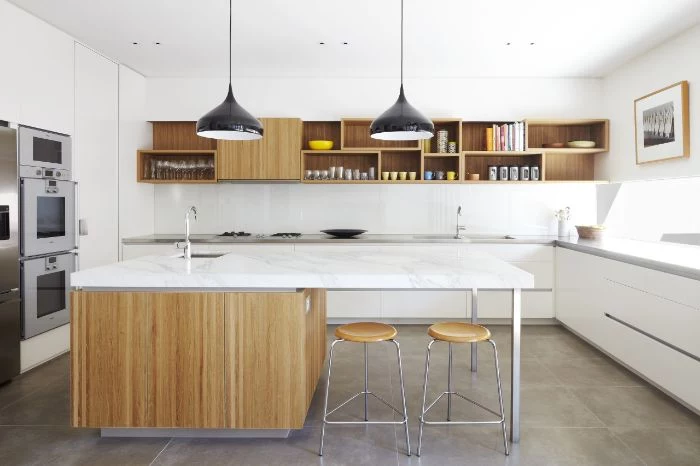
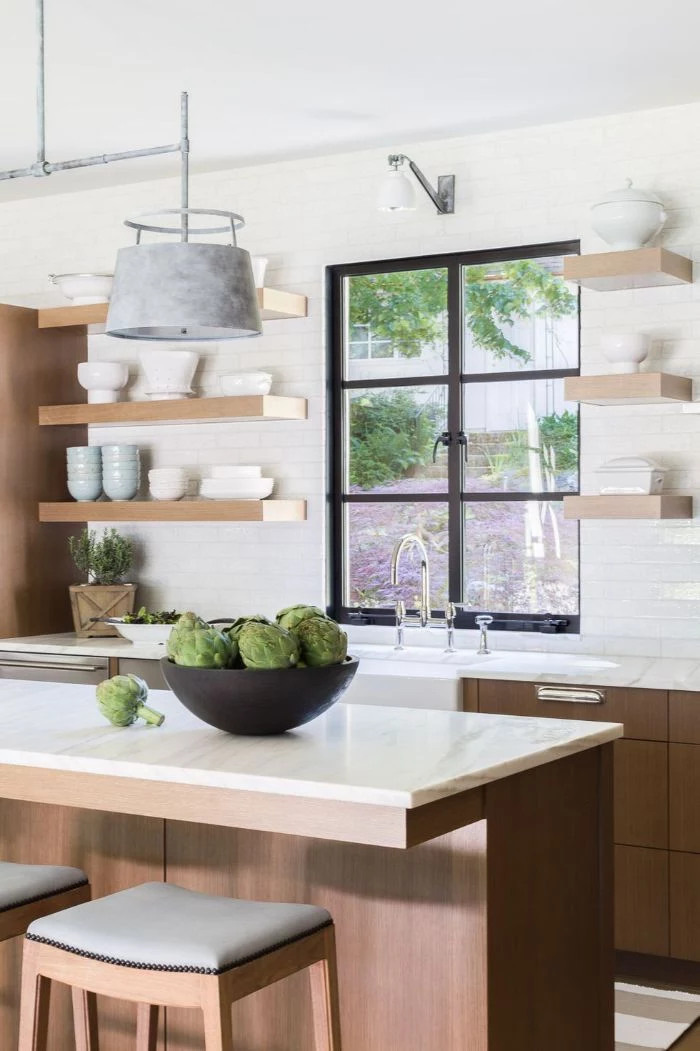
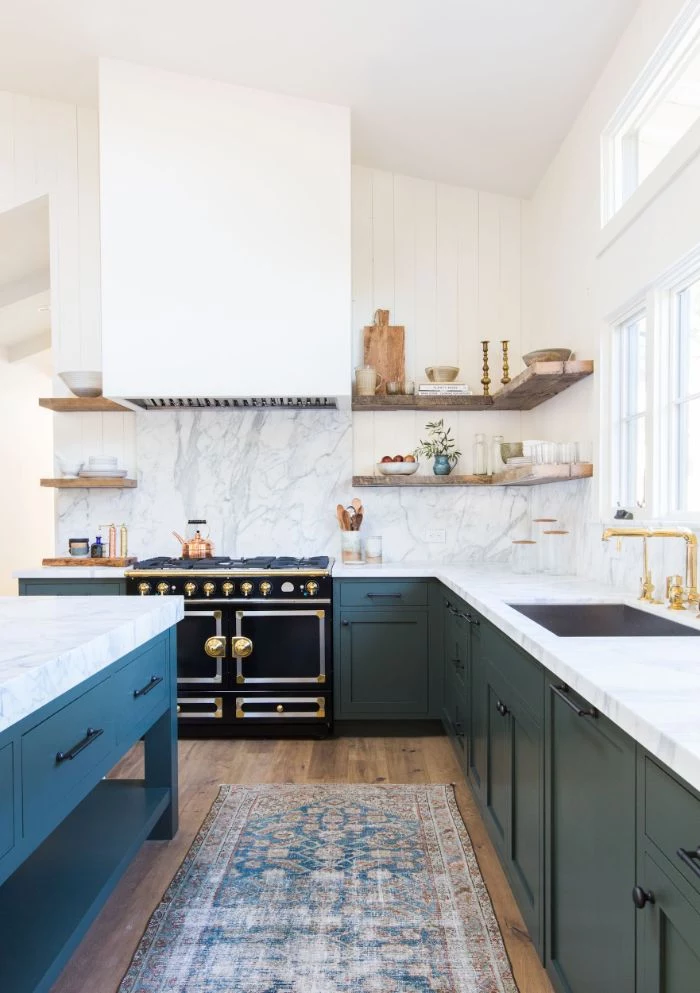
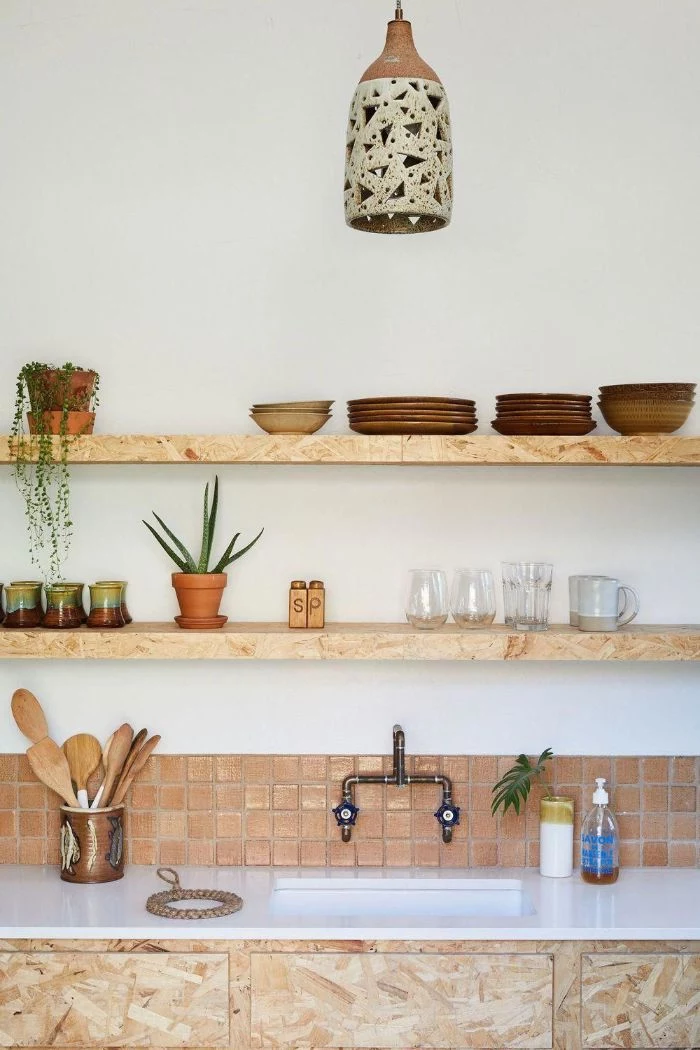
The number one benefit is pure accessibility. I once designed a kitchen for a client who cooked every single night. We put a couple of long, beefy oak shelves right next to the stove for everyday plates, oils, and spices. He loved that he could grab a bowl with one hand while stirring a pot with the other. No doors, no fumbling. It’s a genuine quality-of-life improvement for a busy cook.
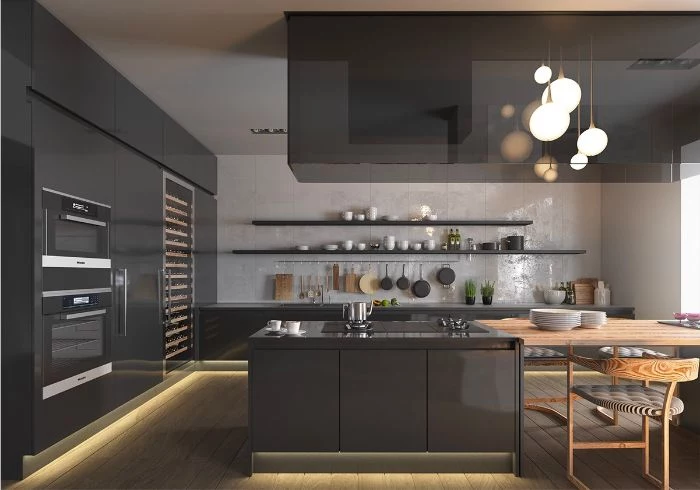
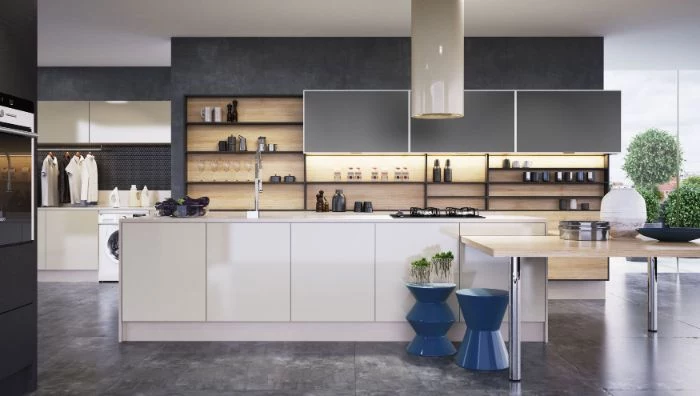
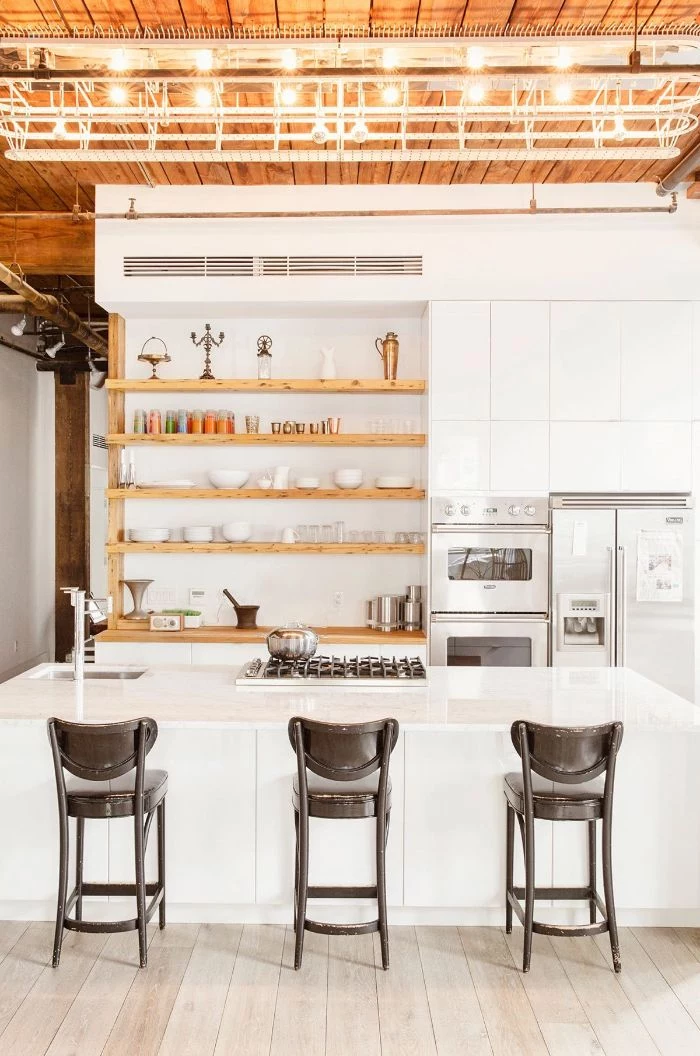
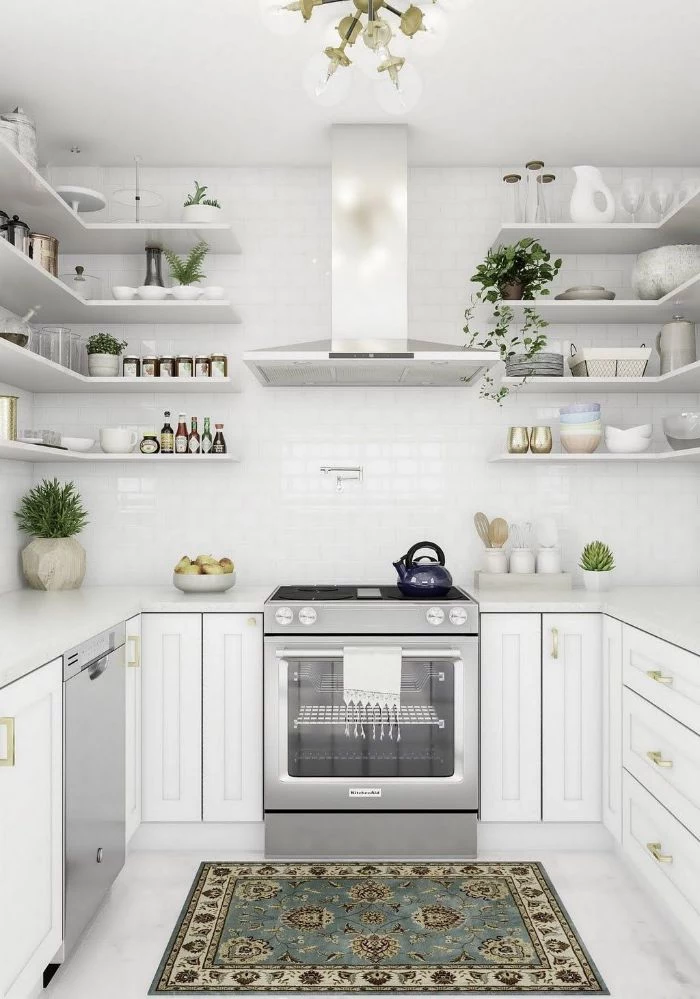
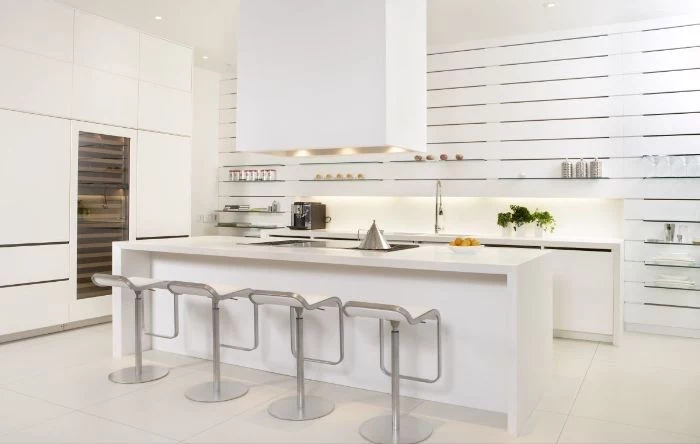
Shelves also just make a kitchen feel bigger. A solid wall of upper cabinets can feel heavy and imposing. Swapping a section for open shelving breaks things up, introduces light, and gives you a spot to show off who you are. That cool pottery you found, your favorite cookbooks, a little green plant—it turns a purely functional room into your room.
The Downside: The Reality of Grease, Dust, and Clutter
Now for the part the design blogs don’t show you. Kitchens are work zones. When you fry bacon or sear a steak, tiny particles of grease get launched into the air. That sticky vapor lands on everything. On a closed cabinet, you might wipe it down now and then. But on your everyday dishes? It creates a tacky film that dust just loves to cling to.
This means any items on those shelves need constant attention. If you’re using and washing your main plates daily, they stay clean through rotation. But that beautiful serving platter you only use for holidays? You’ll need to commit to dusting it weekly and rinsing it before every use. If that sounds like a chore you’ll resent, stick with cabinets.
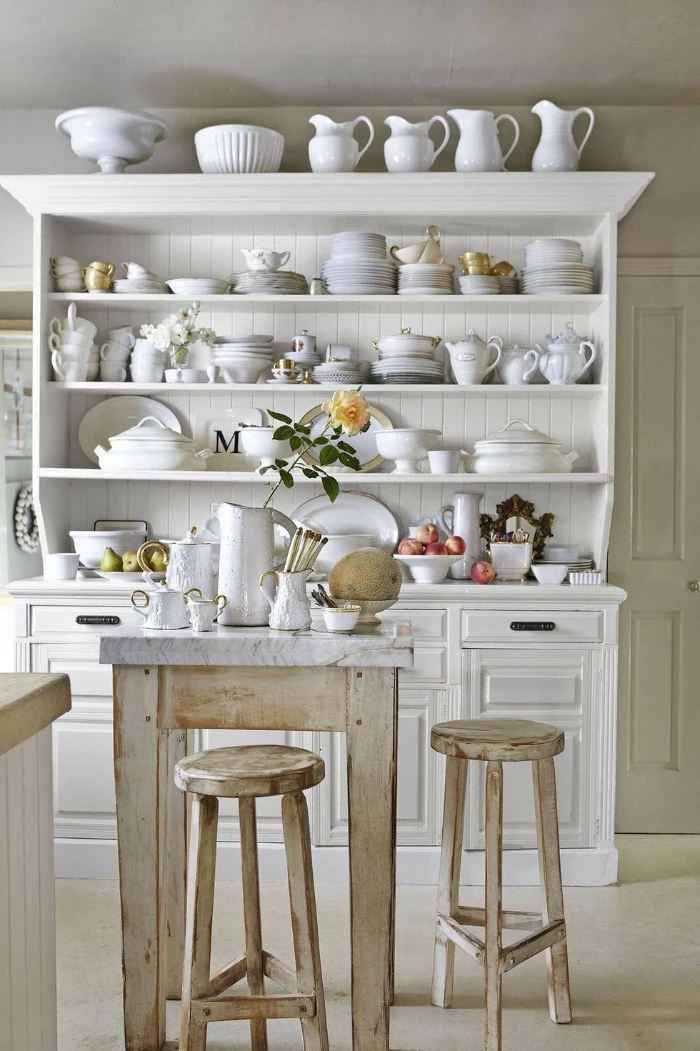
And then there’s visual clutter. Open shelves demand you become a bit of a stylist. They look fantastic with a curated set of matching dishes. But if your mug collection is a chaotic mix from every vacation you’ve ever taken, it might just look messy. Be honest with yourself: are you going to keep it tidy, or will it become a catch-all for clutter in a week?
Why Shelves Fail: A Quick Lesson in Physics
A shelf is basically a lever trying to rip itself out of the wall. The more weight you put on it, especially near the front edge, the more force it exerts on the screws holding it up. When that force wins… you have a very bad day.
Common Pitfalls to Avoid at All Costs
From my experience, almost every failure comes down to one of these mistakes:
- Missing the Stud: Trusting drywall anchors for anything heavy is the #1 sin. Drywall is just chalk and paper; it has zero structural strength on its own.
- Using Screws That Are Too Short: The screw needs to bite deep into the stud. A short screw might feel tight at first but will wiggle loose over time.
- Not Finishing All 6 Sides of Wood: Wood warps if it absorbs moisture unevenly. Leaving the back or bottom unfinished is asking for a bowed shelf within a year.
- Ignoring a Wonky Wall: Pushing a perfectly straight shelf against a bowed wall creates ugly gaps and puts stress on the fasteners.
Finding Studs is Absolutely Non-Negotiable
I can’t stress this enough. You MUST anchor heavy shelves into the studs—the vertical wood or metal framing inside your walls. To find them, get a decent electronic stud finder. You can pick one up for $20 to $50 at any home improvement store. I like to mark both edges of the stud, then double-check by tapping the wall. You’ll hear a hollow sound between studs and a solid thud right over one.
Heads up! Be extra careful on walls with plumbing or outlets. A good stud finder will also have an AC detection feature to warn you about live electrical wires. It’s a feature worth paying a few extra bucks for, believe me.
How Much Weight Can It Actually Hold?
This is the million-dollar question. While it depends on the shelf material, brackets, and fasteners, here’s a good real-world benchmark: A 36-inch-long solid wood shelf that’s 1.5 inches thick, supported by two heavy-duty brackets screwed properly into two wall studs, can typically hold about 75-100 pounds safely. But remember, a stack of 12 dinner plates can easily be 30 pounds, so that weight adds up fast!
The golden rule for fasteners is that the screw needs to penetrate the stud by at least 1.5 inches. So, you add the thickness of your drywall (usually 1/2 inch) + the thickness of your bracket + 1.5 inches to get your ideal screw length.
Your Shopping List: Gearing Up for the Project
Before we get into materials, here’s a quick rundown of what you’ll likely need and a ballpark idea of costs:
- Stud Finder with AC Detection: $20 – $50
- A Good 4-Foot Level: $25 – $40
- Shelving Material: This varies wildly. Pine might be $3-$5 per linear foot, while a nice slab of walnut could be $20-$30+ per foot.
- Brackets: $10 – $40 each, depending on size and style. Don’t cheap out here!
- Structural Screws or Lag Screws: $10 – $15 for a box.
- Wood Finish (Hardwax Oil or Polyurethane): $30 – $60 for a small can that will last multiple projects.
- Painter’s Tape: $5
Choosing Your Materials: Wood, Metal, and Beyond
The material you pick sets the tone for strength, look, and maintenance. Let’s break down the most common options.
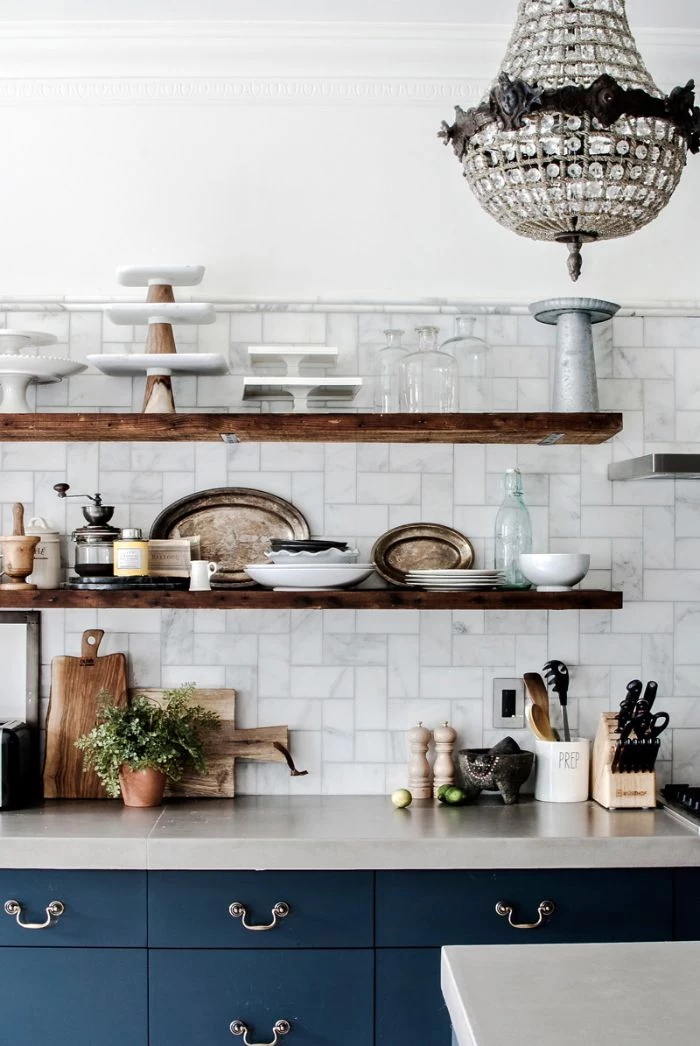
For solid wood, you’re paying for beauty and strength. Pine is the budget-friendly choice, maybe $3-$5 per linear foot. It has a rustic charm but is a softwood, meaning it will dent and scratch easily. It’s best for lighter loads. Stepping up, you have hardwoods like Oak or Maple. These are incredibly strong and dense, perfect for heavy stacks of dishes. They have a classic, clean look and will run you anywhere from $8 to $15 per linear foot. If you want a real showstopper, Walnut offers a rich, dark, sophisticated look, but you’ll pay a premium for it, often $20 or more per foot.
Then there are engineered woods. High-quality Plywood (the cabinet-grade stuff, not the stuff from the general construction aisle) is extremely stable and won’t warp. It has a cool, modern look on the edges and costs a bit less than solid hardwoods. MDF (Medium-Density Fiberboard) is your best friend if you want a flawless painted finish. It’s dense, smooth, and has no wood grain. However, it’s heavy, can sag over long spans without extra support, and is the mortal enemy of water. If an unsealed edge gets wet, it swells up like a sponge and is ruined forever. You must prime and paint every single surface meticulously.

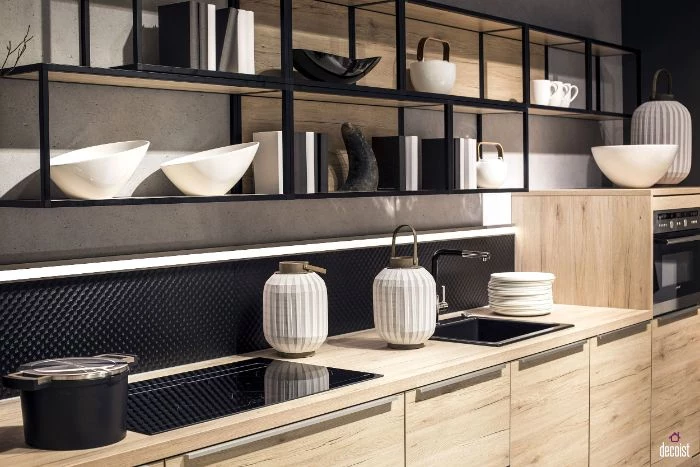
And don’t forget metal! Stainless steel is what commercial kitchens use for a reason: it’s indestructible and hygienic. Powder-coated steel is a great way to add an industrial vibe or a pop of color with a super tough finish.
Pro Installation Tricks That Make a Difference
Scribing: The Secret to a Perfect Fit
Walls are never perfectly flat. If you just shove a straight shelf against the wall, you’ll see ugly gaps. The pro technique is called “scribing.” You hold the shelf in place, use a special tool (or even a simple compass) to trace the wall’s exact bumps and bows onto the back edge of the wood, and then sand the shelf down to that line. It takes time, but the result is a seamless, built-in look that screams quality.
A Quick Word on Hardware
You’ve got a few main options for mounting:
- Standard Brackets: Simple, strong, and straightforward. The bracket sits under the shelf and becomes part of the look.
- Floating Shelf Hardware: This gives you that clean look with no visible support. The best systems use a hidden steel plate with rods that slide into holes drilled in the back of your shelf.
- Suspended Shelving: These hang from the ceiling on cables or rods. They look dramatic but require anchoring into ceiling joists, which is a whole different ballgame and usually a job for a pro.
Quick tip for floating shelves: The pros use a big drill press to ensure the holes in the back of the shelf are perfectly straight. Since you probably don’t have one, you can buy a simple drill guide (like those from Kreg) for about $30. It attaches to your hand drill and acts like a portable drill press, keeping your bit perfectly perpendicular. It’s a small investment that prevents a wobbly, sagging floating shelf.

By the way, if all this sounds like too much and you decide to hire it out, expect to pay a good handyman or carpenter somewhere between $50 and $100 an hour. For a typical installation of two or three shelves, plan for 2-4 hours of labor plus materials.
Long-Term Care and a Final Warning
Your job isn’t done after the last screw is tightened. For cleaning, a soft, damp cloth is usually enough. For stubborn kitchen grease, a drop of dish soap in warm water works on most finishes. But please, be smart about weight. Load the heaviest items—like those stacks of plates—near the back and directly over the brackets. This minimizes leverage and stress on the fasteners. Never, ever be tempted to overload your shelves. It’s just not worth the risk.
And my final piece of advice: if you are ever in doubt about your walls, the location of wiring, or your ability to do this safely, please call a licensed and insured contractor. A little money spent on professional help is a tiny price to pay for peace of mind and the safety of your home.
Inspirational Gallery
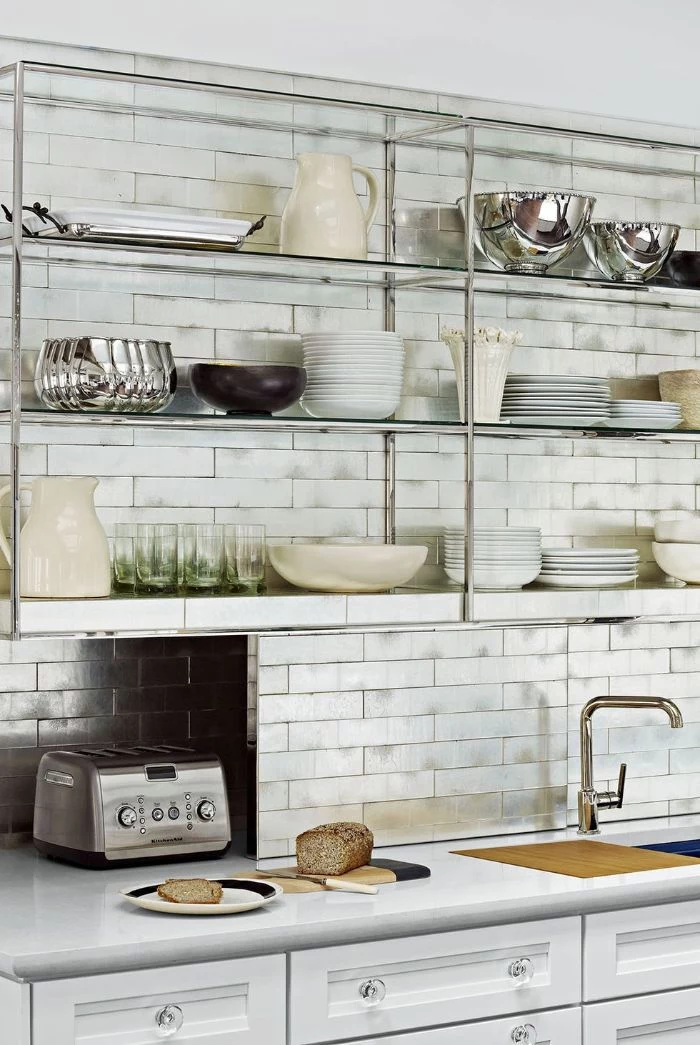
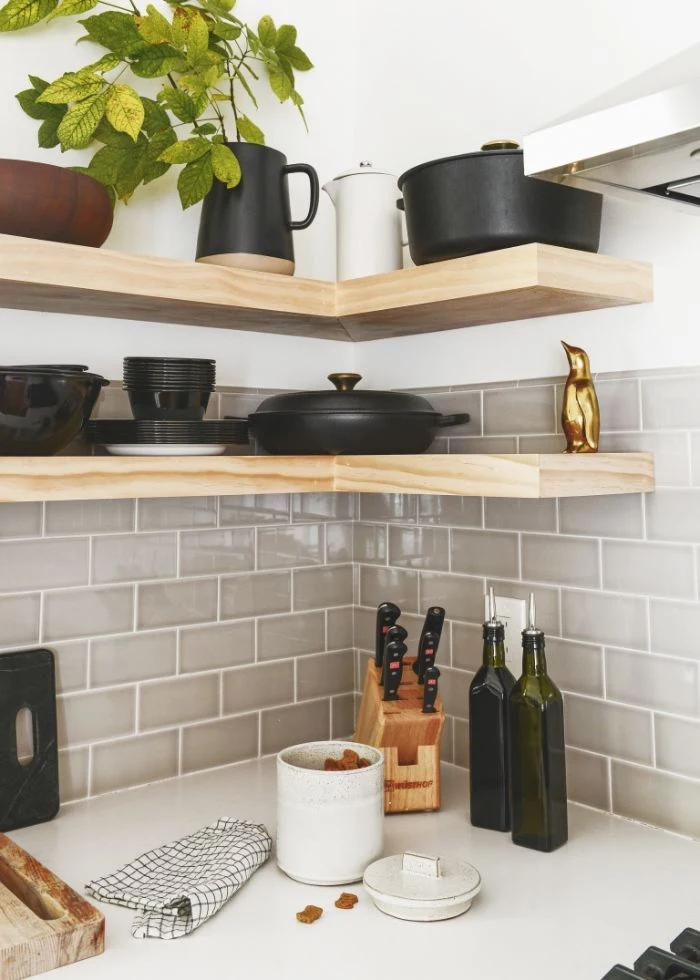
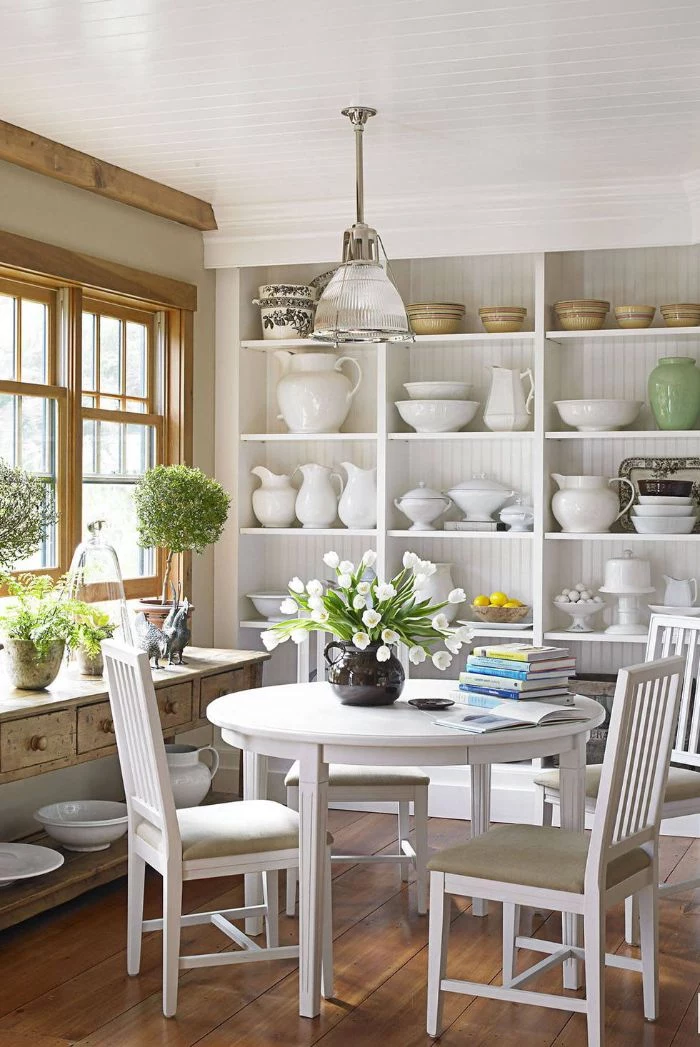
When styling, think like a curator, not a warehouse manager. Group items by color, texture, or use. A stack of white ceramic bowls next to a small green plant and a brass pepper mill tells a story. Leave some empty space—it’s called ‘negative space’ and it’s what makes the arrangement feel intentional and calm, not chaotic.
- Keep a microfiber duster or a Swiffer Duster handy for a quick daily pass.
- Once a month, empty the shelves completely for a deep clean of both the surface and the items.
- For greasy kitchen dust, use a soft cloth dampened with a solution of warm water and a drop of dish soap.
- Line the shelves with a discreet, washable liner like the ones from Con-Tact Brand to make cleaning even easier.
The bracket is not just decoration: Its load capacity is paramount. A high-quality floating shelf bracket from a specialist like Shelfology or Ultra Shelf is rated to hold 50 pounds or more per stud. Cheaper, unrated brackets are where disasters begin. Always check the specs and install into studs or use appropriate heavy-duty wall anchors.

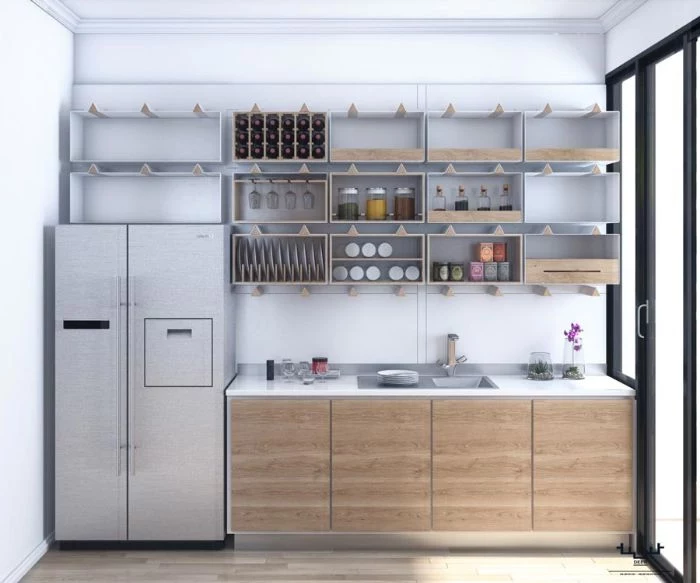
According to the 2023 U.S. Houzz Kitchen Trends Study, 35% of renovating homeowners are opting to add or upgrade a pantry, with many incorporating open shelving for easy access to dry goods.
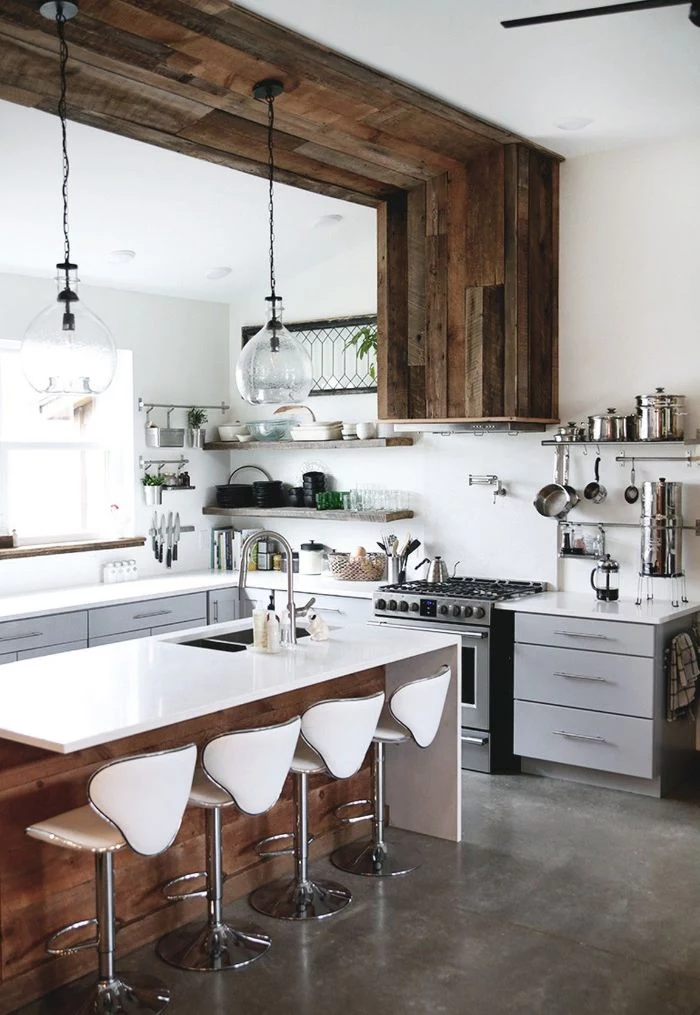
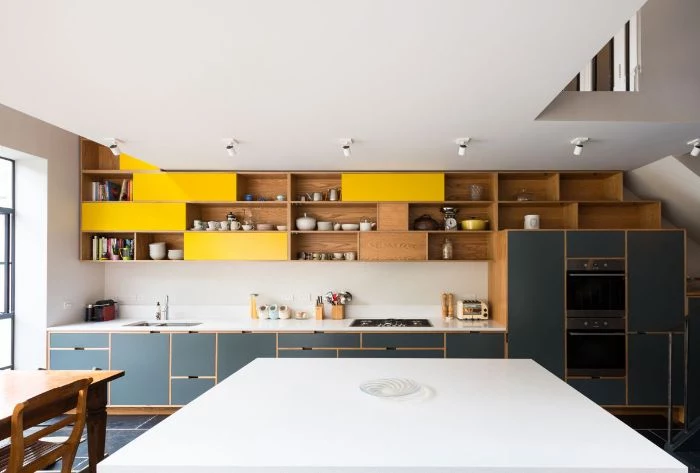
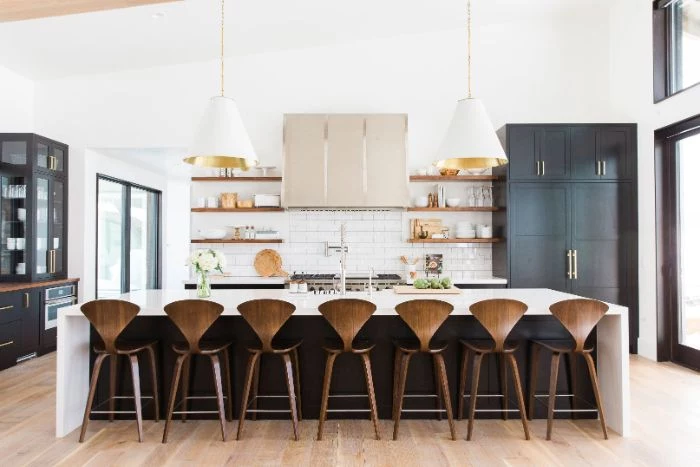
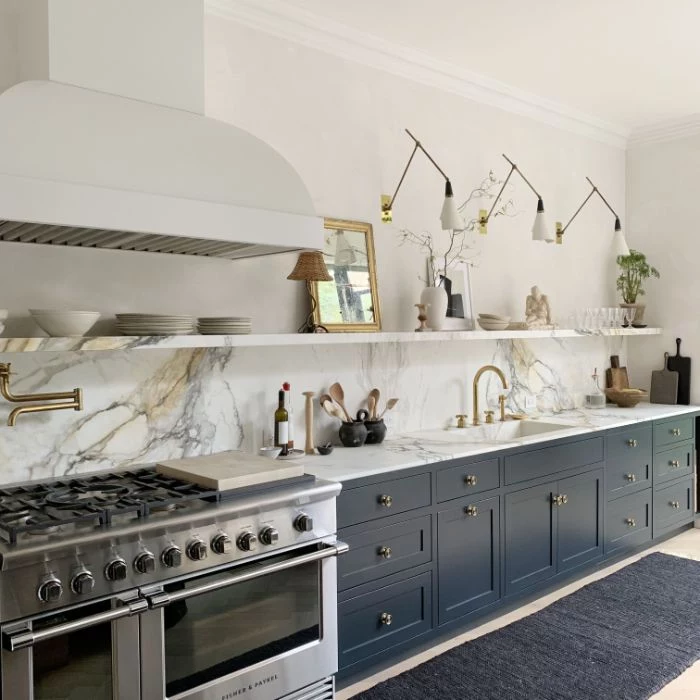
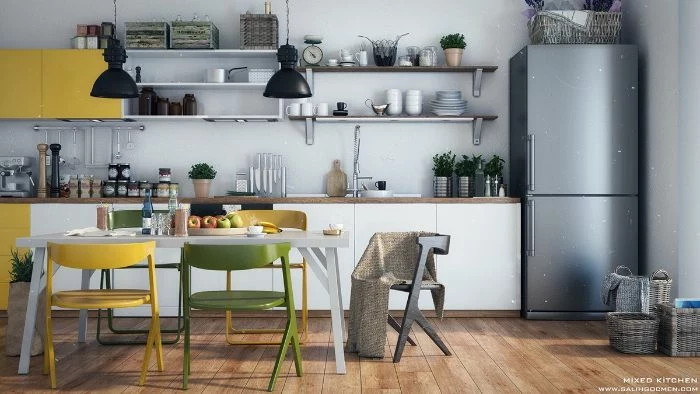
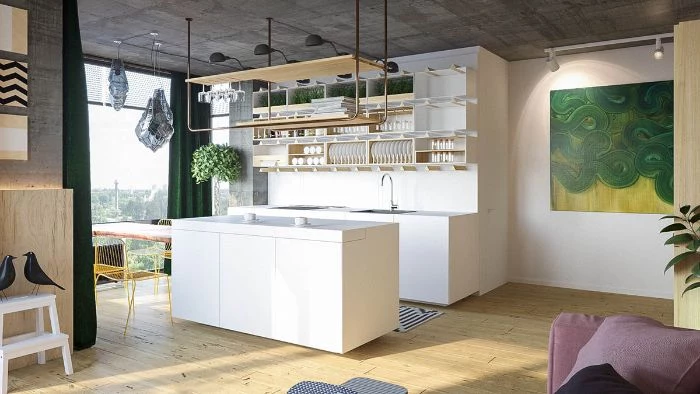
The sweet spot is often a hybrid approach. Combining open shelves with traditional closed cabinets gives you the best of both worlds: display space for beautiful items and hidden storage for the less glamorous essentials.
- High-Low: Use open shelves for upper storage to create an airy feel, and keep base cabinets for pots and pans.
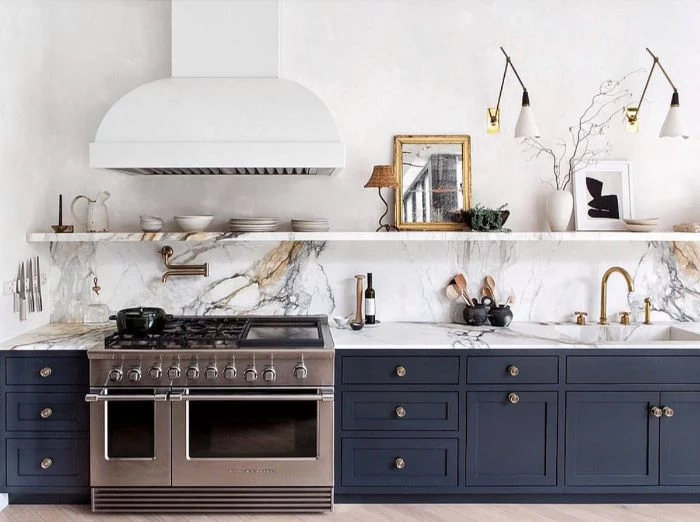
- Focal Point: Flank a range hood or a window with symmetrical shelves, keeping the rest of the cabinetry closed.

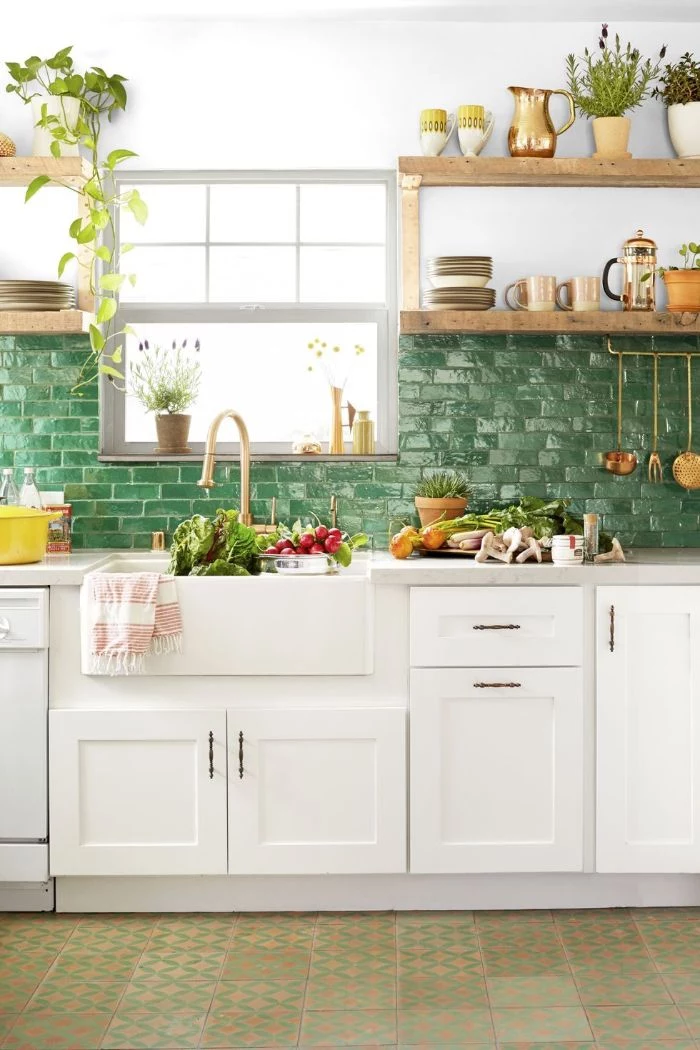
What kind of backsplash works best with open shelving?
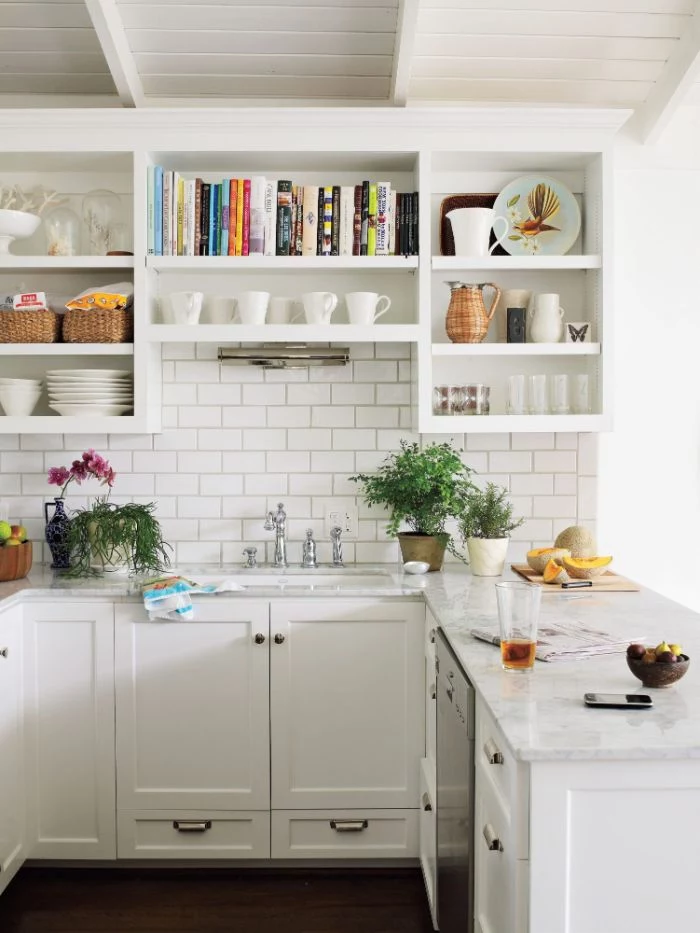
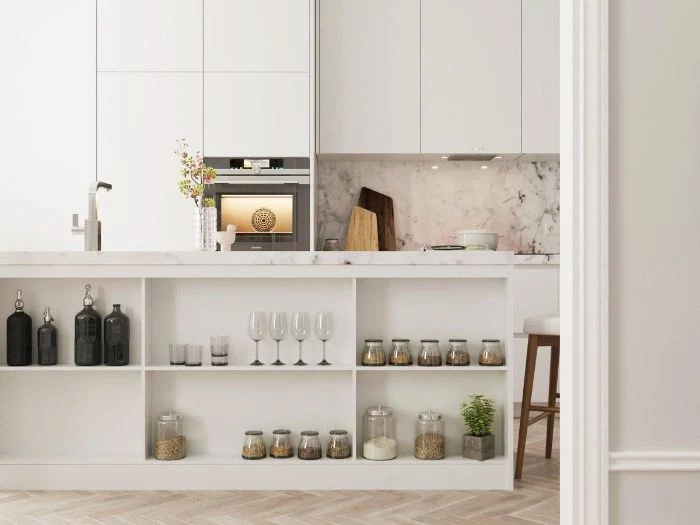
Think of the backsplash as the canvas for your shelves. A simple, continuous surface like a slab of quartz or a wall of classic subway tile provides a clean, unobtrusive background that lets your displayed items shine. For a bolder look, a patterned cement tile from a maker like Clé Tile can turn the entire wall into a feature, with the shelves acting as a functional accent.
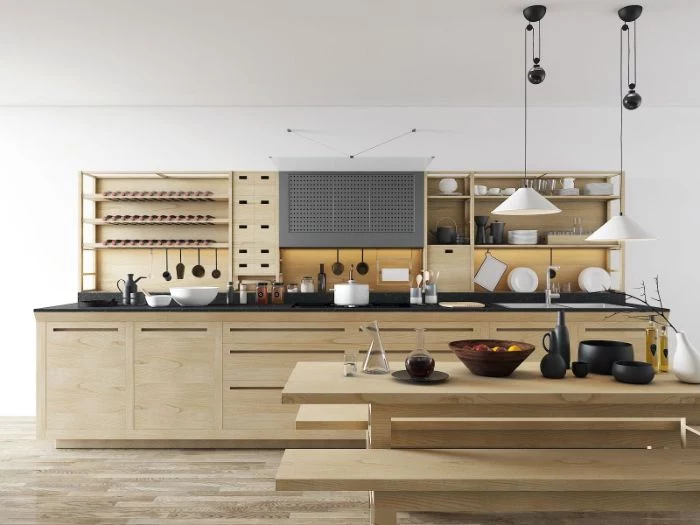
White Oak: The current darling of designers. It has a bright, neutral to slightly warm tone with a straight, subtle grain. It feels modern, Scandinavian, and airy. Perfect for lighter, contemporary kitchens.
Walnut: Rich, dark, and luxurious. Walnut brings a sense of depth and mid-century modern sophistication. Its grain can be more dramatic. It’s a statement wood that anchors a space.
Both are durable hardwoods, so the choice is purely about the aesthetic mood you want to create.
Princeton University neuroscientists found that constant visual clutter drains our cognitive resources and impairs our ability to focus.
This is the scientific reason why messy open shelves can feel so stressful. The key isn’t to have fewer things, but to practice
- A single, long shelf creates a strong horizontal line.
- Asymmetrical arrangements add dynamic energy.
- It draws the eye and showcases your best pieces.
The secret? Scale. A tiny shelf on a large wall looks lost, while an oversized shelf can dominate a room. Match the shelf length and thickness to the proportions of your wall for a professional, balanced look.
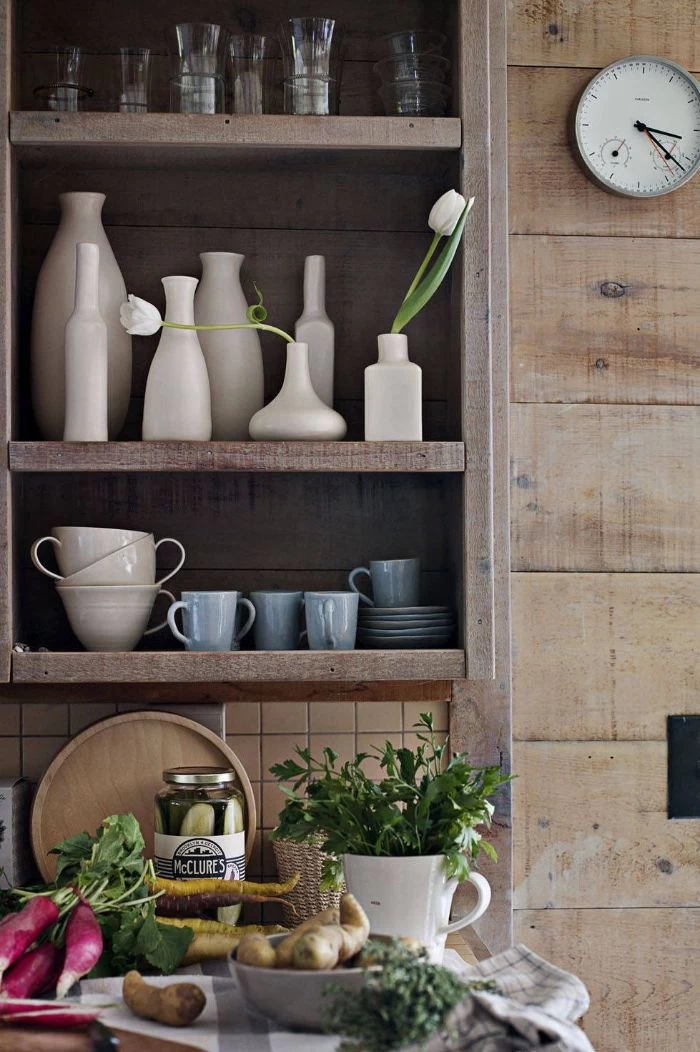
Don’t overlook the industrial charm of pipe-and-wood shelves. Using standard black or galvanized pipe fittings from a hardware store, paired with thick, reclaimed wood planks, creates a sturdy, budget-friendly look with a rustic or urban edge. It’s a forgiving DIY project that adds immense character.

- Everyday Heroes: Keep daily-use plates, bowls, and glasses on the lowest, most accessible shelf.
- Cooking Staples: Near the stove, store olive oil, salt, pepper, and frequently used spices.
- The

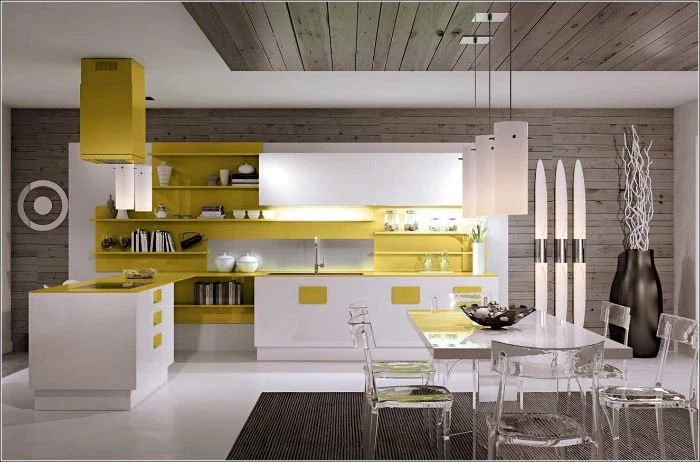
Don’t forget the light. Installing a slim LED strip, like the MYRVARV or VÅGDAL from IKEA, underneath your shelves is a game-changer. It eliminates shadows, provides excellent task lighting for the counter below, and creates a beautiful, warm glow in the evening that highlights your display.


You don’t need to splurge on solid walnut for a great look. A simple pine board from Home Depot or Lowe’s can be transformed into a high-end looking shelf.
- Choose a

Are open shelves a bad idea in a small kitchen?
On the contrary! They can be a small kitchen’s best friend. Removing bulky upper cabinets and replacing them with open shelves instantly makes the space feel larger, brighter, and more open by allowing light to travel further. The key is ruthless editing—only display what’s necessary and beautiful to avoid a cluttered feel that would shrink the space visually.


Floating Brackets: These are hidden within the shelf or behind it, creating a clean, minimalist look where the wood seems to emerge directly from the wall. Ideal for modern, contemporary, and Scandinavian designs.
Visible Brackets: From simple L-brackets to ornate wrought iron or modern leather straps, visible brackets become a design element in themselves. They can define a style, whether it’s farmhouse, industrial, or traditional.
The choice impacts not just the look but also the installation complexity, with floating systems often requiring more precision.

Each piece of reclaimed wood has a history—it could be from an old barn, a factory floor, or a dismantled warehouse.
Choosing reclaimed wood for your shelves isn’t just a sustainable choice; it’s a way to bring a story into your home. The nail holes, saw marks, and aged patina are impossible to replicate with new materials. Companies like Elmwood Reclaimed Timber specialize in sourcing these materials, ensuring your shelves are a true conversation piece.

- Group objects in odd numbers, typically threes or fives.
- Vary the height and shape of the items within each group.
- Combine different textures: smooth ceramic, rough wood, shiny metal.
The secret? The

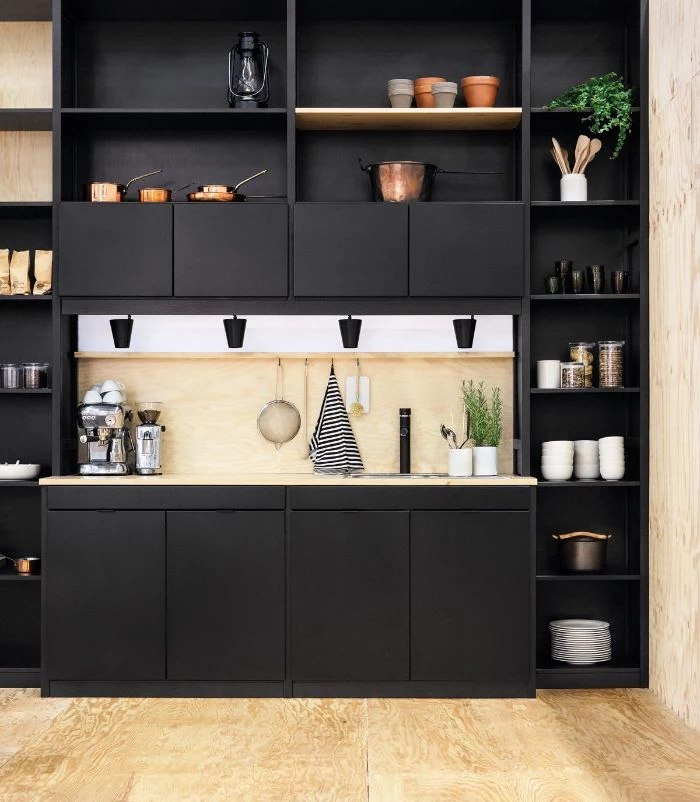
Dedicate a section of your shelving to create a dedicated coffee or tea station. Arrange your favorite mugs, a canister of coffee beans, your French press or pour-over cone, and a small jar of sugar. It’s a small touch that elevates your morning routine into a pleasant, café-like ritual.


- The Straight Line-Up: Avoid lining up items of the same height like soldiers. Vary heights to create visual rhythm.
- Color Overload: Too many competing colors look chaotic. Stick to a palette of two or three main colors with one metallic accent.
- Ignoring a Theme: Don’t just place random objects. Think about a loose theme:

Mind the depth. A standard kitchen counter is 24 inches deep. An upper cabinet is typically 12 inches deep. Your open shelves should be in that 10-to-12-inch range. Any deeper, and they become cumbersome, making the countertop feel cramped. Any shallower, and they won’t be able to hold a standard dinner plate.

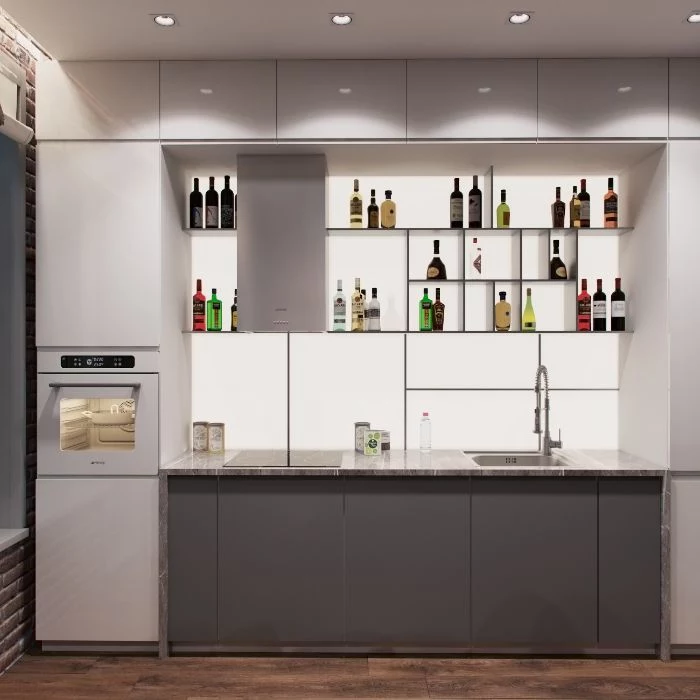
Transform a section of your kitchen or dining area into a stylish home bar. Open shelves are perfect for this.
- Dedicate the top shelf to your best-looking bottles of spirits.
- Use the middle shelf for glassware—rocks glasses, highballs, and coupes.
- The bottom shelf can hold a cocktail shaker, a mixing glass, a jigger, and a small bowl for citrus fruits.

But honestly, how do you deal with the dust and grease film?
The best defense is a good offense. First, only put items on the shelves that you use frequently. The regular cycle of using and washing them will keep them clean naturally. Second, ensure your range hood is powerful and you actually use it—it’s designed to capture airborne grease before it settles. For the remaining dust, a quick wipe once a week is usually all it takes.
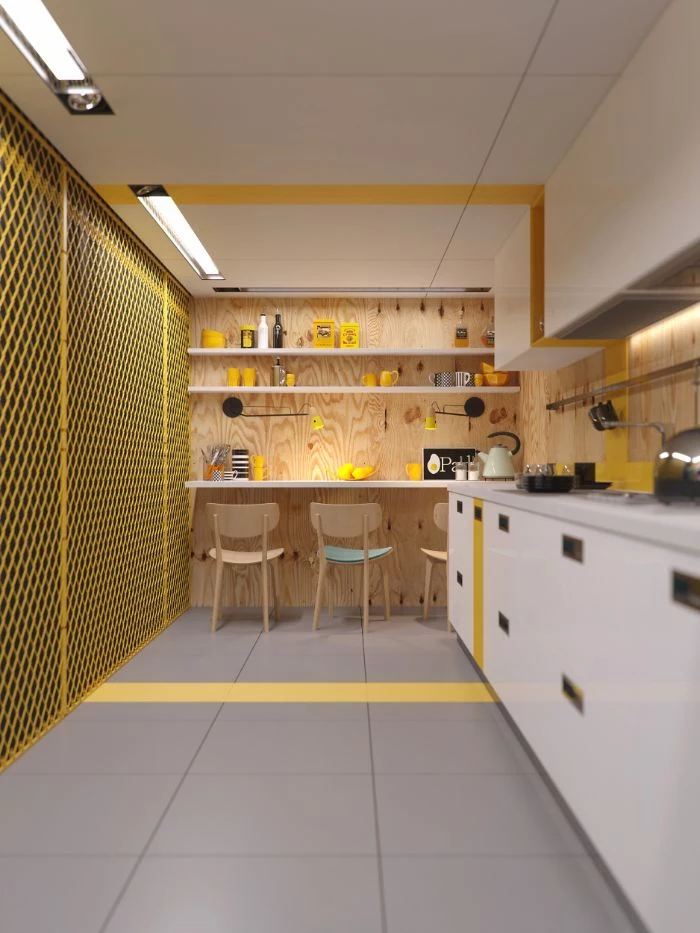
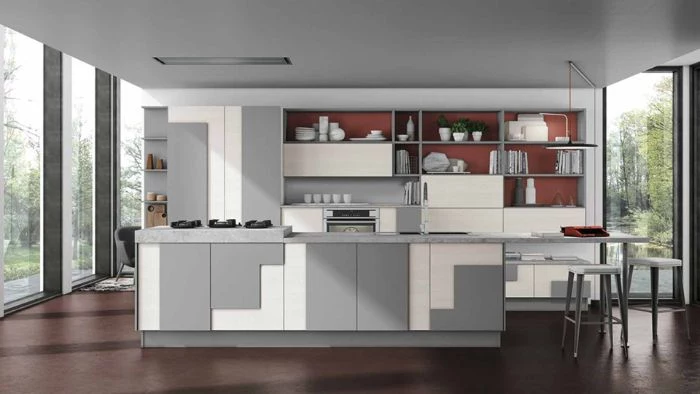
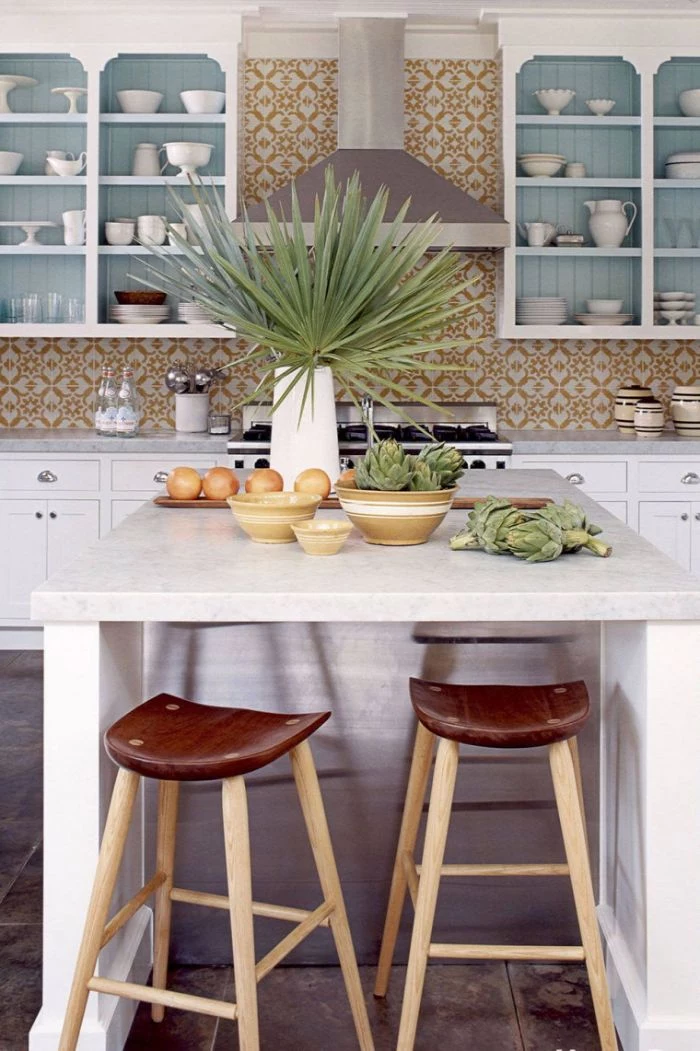
The wall behind the shelves is a massive design opportunity. Instead of leaving it the same color as the rest of the kitchen, consider painting it a dark, moody shade like Farrow & Ball’s ‘Hague Blue’ or ‘Railings’. This contrast makes the shelves and the items on them pop, turning a simple storage solution into a dramatic focal point.
- Choose a