Don’t Just Pin It, Build It Right: A Real Builder’s Guide to Your Bathroom Reno
I’ve spent the better part of my life building and remodeling homes. I couldn’t even count how many master bathrooms I’ve framed, plumbed, and tiled. I’ve seen it all, from the giant, beige jacuzzi tubs that were all the rage back in the day to the sleek, modern walk-in showers with matte black fixtures everyone wants now. But one thing is eternally true: the best bathrooms—the ones that feel solid and work perfectly for years—are built right from the inside out.
In this article
It’s so easy to get swept away by gorgeous photos online. Trust me, I get it. Picking out tile and vanities is the fun part. But a master bathroom is a seriously complex space. It’s a wet, humid environment that demands you pay attention to what’s going on behind the pretty finishes. A tiny mistake in the waterproofing or plumbing can turn into a five-figure nightmare down the road. I’m often the guy called in to fix those disasters, and it’s never a fun conversation to have.
So, this guide isn’t about choosing a style. It’s about the nitty-gritty decisions that make any style last. We’re talking about the bones of the room—the plumbing, the waterproofing, the ventilation. My goal is to give you the kind of knowledge I’d share with a new apprentice, so you can ask contractors the right questions and understand what makes a bathroom reno a true success, not just a pretty picture.
First Things First: Layout, Pipes, and Keeping Water Out
Before you even think about a single tile, you need a rock-solid plan for the room’s guts. The choices you make right now will have the biggest impact on your budget and the health of your home. This is where a little planning saves you from a world of hurt.
The “Wet Wall” and Your Budget
Let’s be real: the most expensive thing you can do in a bathroom remodel is move the plumbing. Your toilet, shower, and sinks are all tied into a network of pipes, and most of them live in a single, designated “wet wall.” This wall is the nerve center, containing the main drainpipe that carries waste away and a vent that lets sewer gas escape through your roof.
Moving a toilet is by far the biggest headache. It involves messing with the big 3- or 4-inch drainpipe in the floor, which can mean cutting into your concrete slab or restructuring the floor joists. Just to give you a reality check, making this one change can add $1,500 to $3,500 to your bill. Moving a sink or shower is less dramatic but still involves opening walls and re-routing pipes. If you’re on a tight budget, the smartest move you can make is to design your new layout around the existing plumbing. A good designer can work miracles and make the room feel completely different without moving a single pipe.
Oh, and by the way, all those plumbing codes exist for a reason. Proper venting is critical. Without it, your drains gurgle, the water traps under your sinks get siphoned dry, and nasty sewer gas can creep into your home. That faint, unpleasant smell you might notice in a poorly built bathroom? That’s often a venting issue—a perfect example of how the invisible stuff directly impacts your daily life.
Waterproofing: Your Most Important Defense
Water is relentless; it will find any weakness. That’s why modern waterproofing methods are such a game-changer. For a long time, the standard was just using “green board,” a type of water-resistant drywall, in showers. We know now that this just isn’t good enough. It resists moisture, sure, but it isn’t truly waterproof. Over time, it breaks down, letting water seep through to the wood studs, which is a recipe for rot and mold.
Today, the pros use one of two main systems:
- Sheet Membranes: You’ve probably seen these on job sites—they’re often a bright orange fabric. These sheets are applied over the cement backer board using a special mortar, with all the seams overlapped to create a continuous, sealed barrier. You can find these systems at specialty tile shops and sometimes online.
- Liquid-Applied Membranes: This is the paint-on or roll-on stuff, often a distinct red or blue color, that creates a seamless, rubber-like coating. You can’t just slap on one coat, though. We have to apply several coats and even use a special gauge to measure the thickness to make sure it’s up to spec. These are commonly available at big-box stores like Home Depot or Lowe’s.
I once had to tear out a stunning new tile shower just six months after another contractor built it. The homeowner saw a damp spot on the ceiling downstairs. The original builder used green board and didn’t waterproof the shower pan right. That slow leak completely rotted out the subfloor. It was a messy, expensive fix that could have been prevented with about $500-$700 in proper materials and a day of careful work. This is why we always do a 24-hour flood test on a new shower pan. We plug the drain, fill the base with water, mark the line, and wait. If that line drops at all, we find the leak and fix it before a single tile goes down. It’s a non-negotiable step.
Good Ventilation is Not Just for Smells
A bathroom fan has a much more important job than just handling odors. Its real purpose is to pull warm, moist air out of the room before it condenses on your walls and ceiling, which is what fuels mildew and mold. A cheap, noisy fan that doesn’t move enough air is basically useless.
Fan power is measured in CFM (Cubic Feet per Minute). For most bathrooms under 100 square feet, the math is simple: you need at least 1 CFM for every square foot. So, for an 8×10 foot bathroom (80 sq. ft.), you need an 80 CFM fan. Honestly, I’d go for a 100 or 110 CFM fan just to be safe. For larger bathrooms, the pros have a different rule of thumb: tally 50 CFM for each toilet, shower, or tub, and add another 50 CFM for a jetted tub. A quality, quiet fan will run you between $120 and $250, and it’s worth every penny.
Heads up! The fan must, must, must be ducted to the outside of the house—not into your attic. Venting into the attic just moves the moisture problem upstairs where it can rot your roof structure. Invest in a good fan and run it for 20 minutes after every shower. Your house will thank you.
The Main Event: Picking Your Fixtures
Once the behind-the-scenes work is sorted, you can get to the fun stuff. But remember, these fixtures are long-term investments. Think about how you’ll use and clean them every day, not just how they look in a showroom.
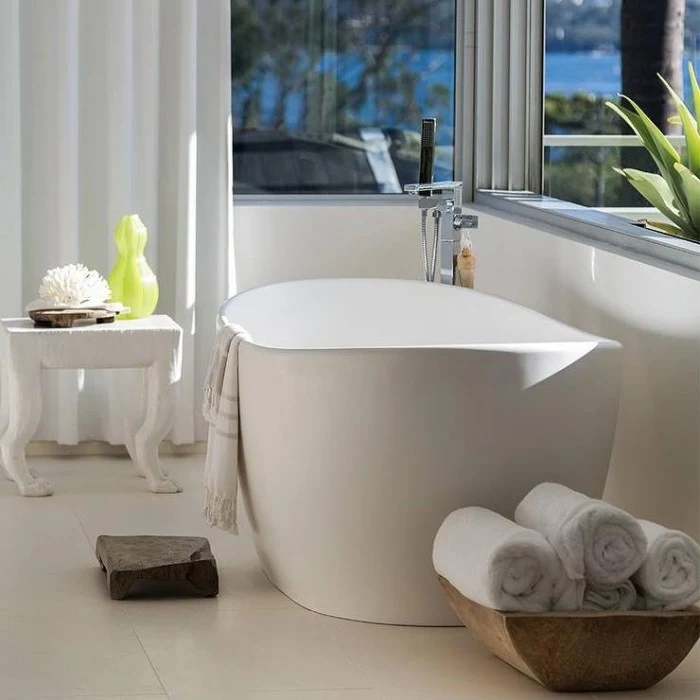
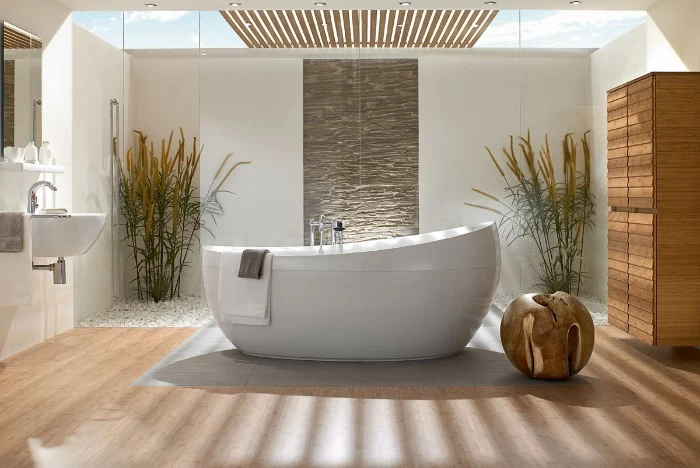
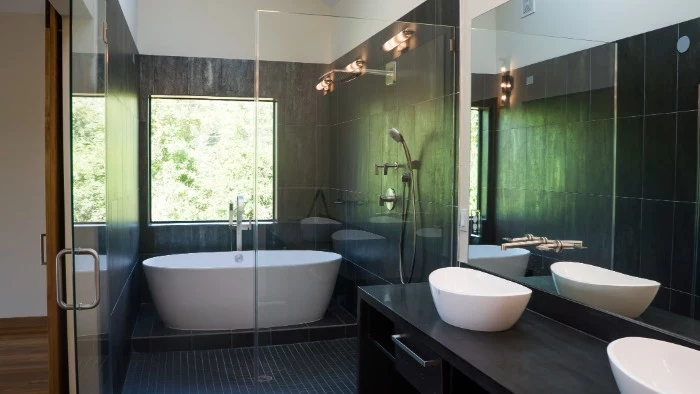
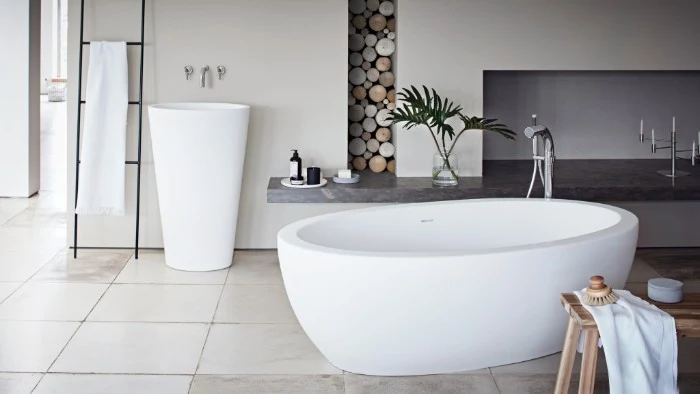
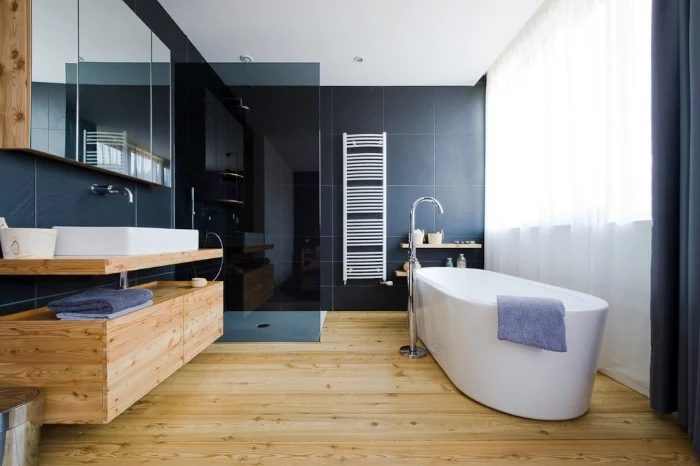
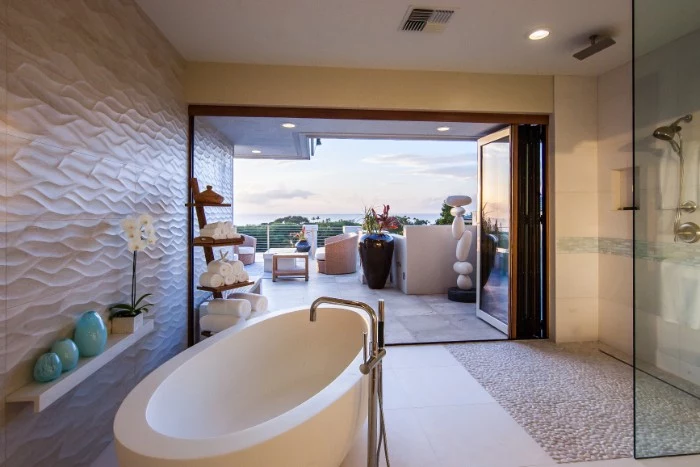
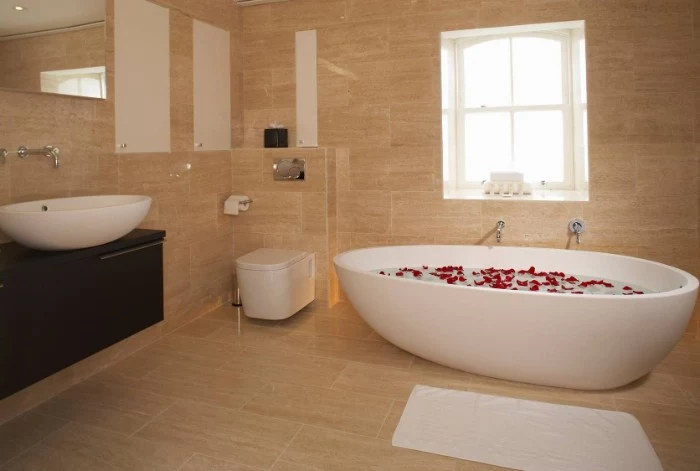
The Tub Debate: Freestanding vs. Built-In
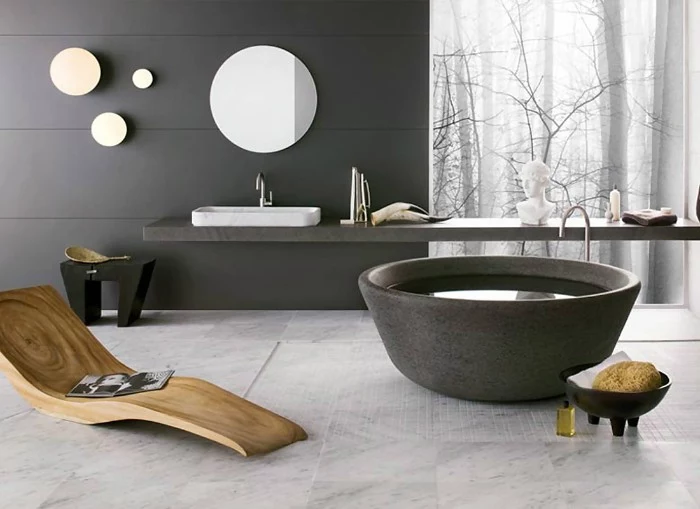
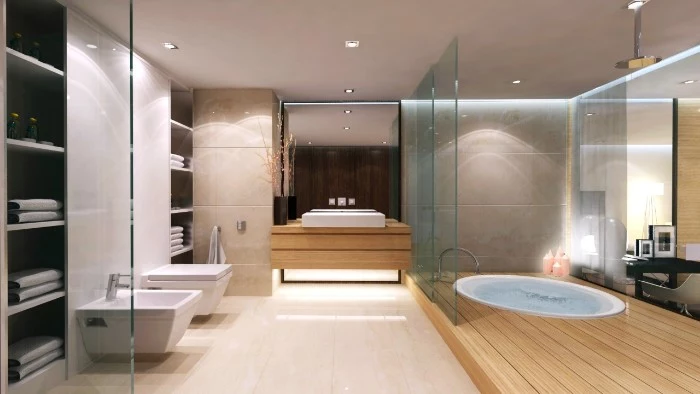
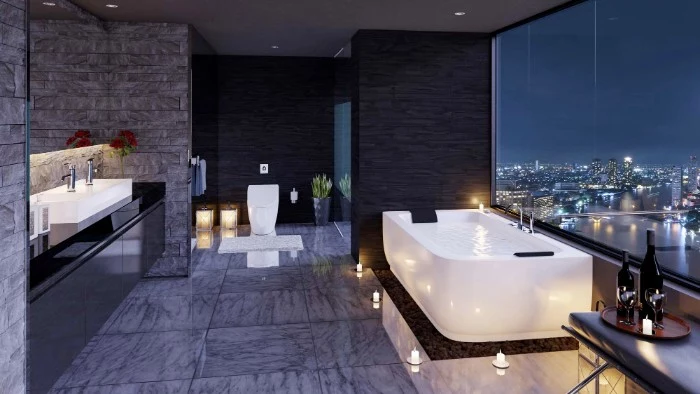
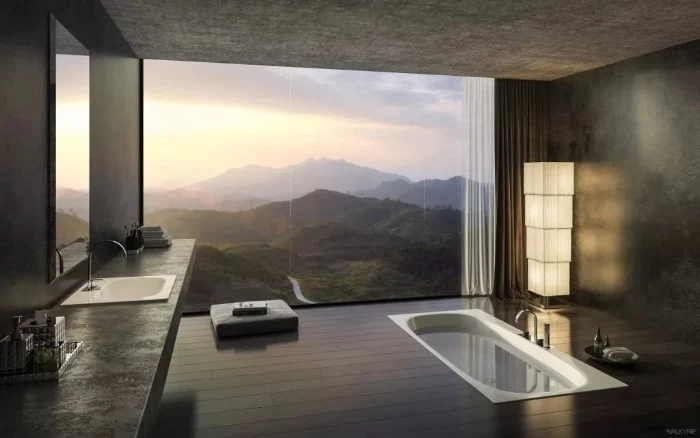
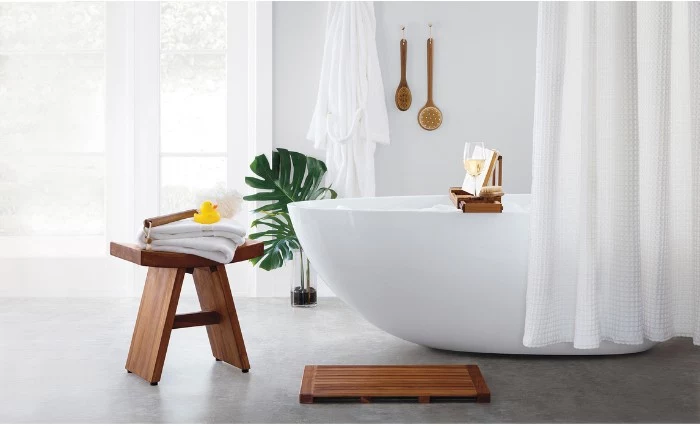
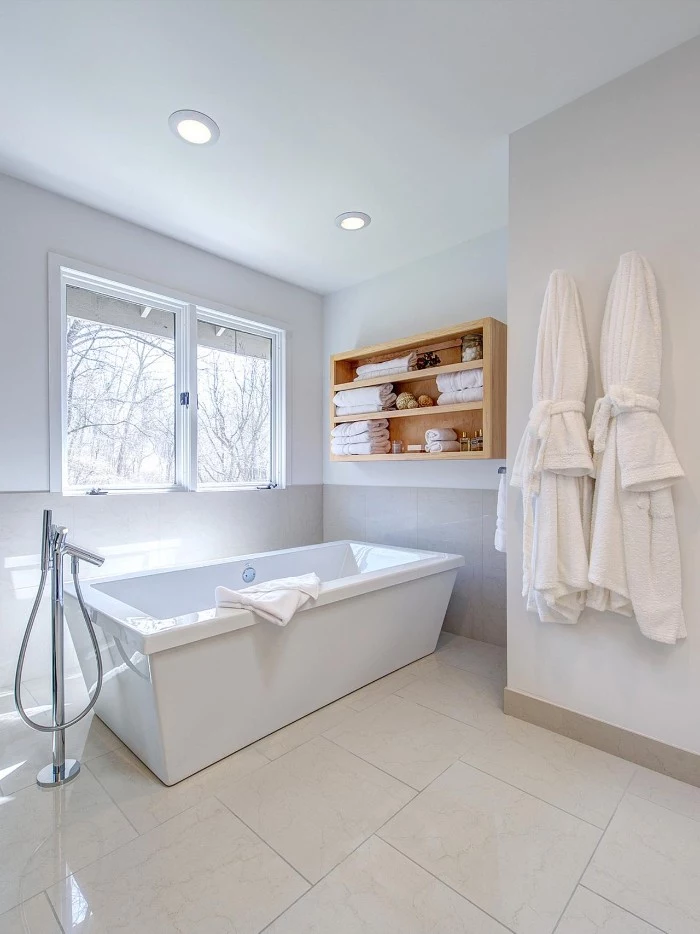
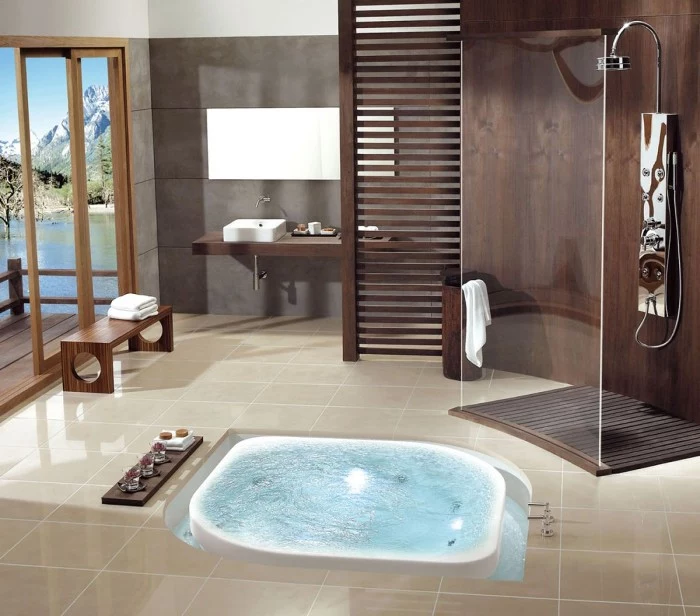
Freestanding tubs are a huge trend and make a powerful design statement. But let’s talk practicalities. Cleaning the floor behind and under them is a real chore. The floor-mounted faucets are beautiful but can cost you an extra $500 to $1,000. And they offer zero ledge space for your soap or shampoo. The biggest issue, though, is weight. A cast-iron tub filled with water and a person can easily top 1,000 pounds. An experienced contractor will always open up the floor and add extra blocking between the joists to support that weight. Never let anyone skip this.
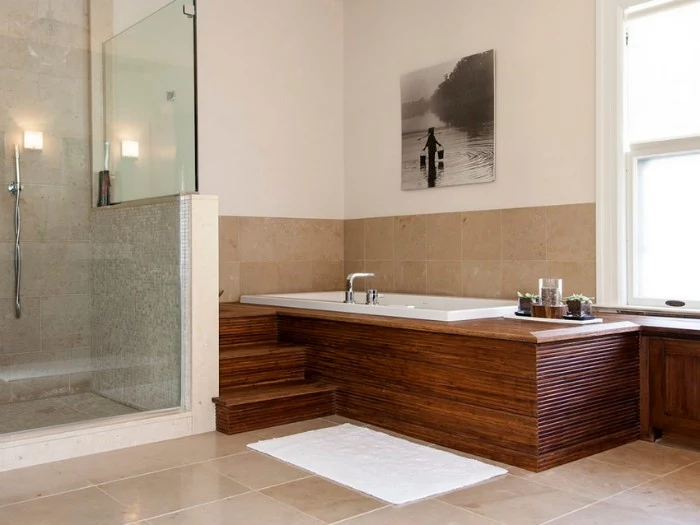
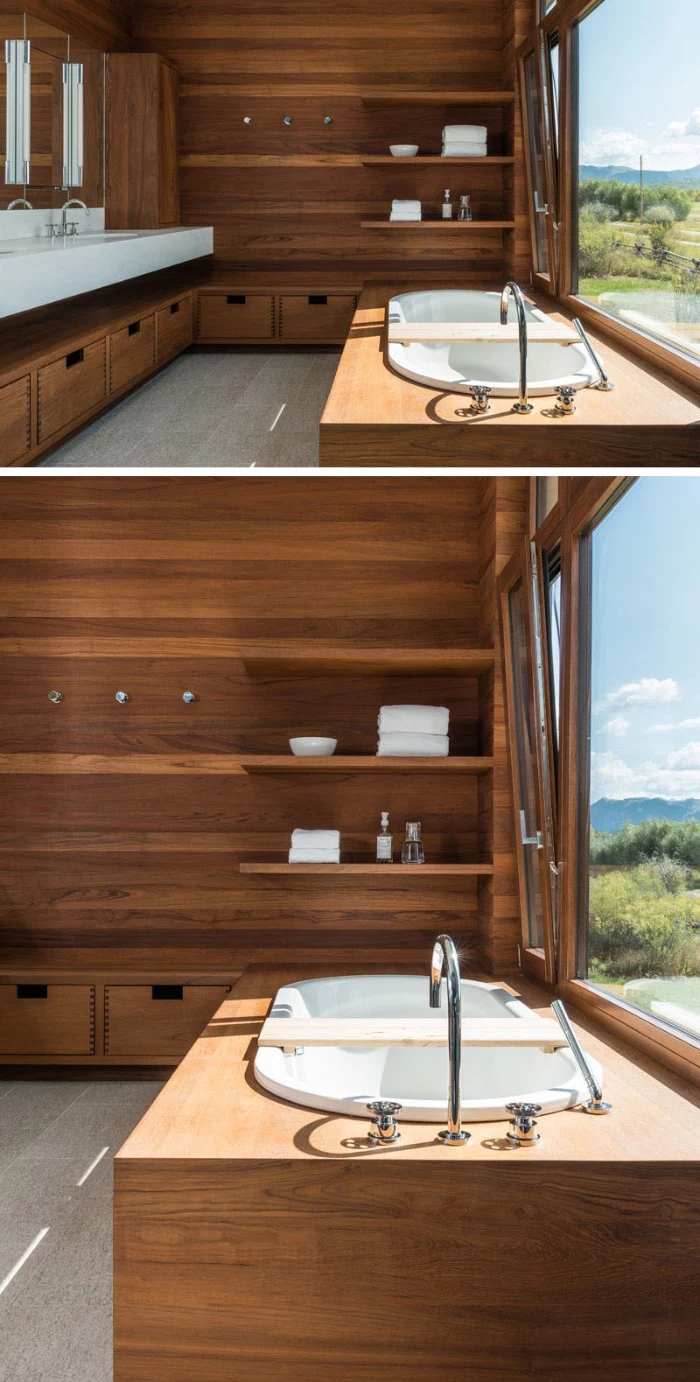
On the other hand, a traditional built-in (or alcove) tub is far more practical for daily life. It gives you a tub-and-shower combo, integrated ledges for storage, and is much simpler to clean around. For materials, acrylic is a great affordable choice—it’s lightweight and warm to the touch. Cast iron is a beast—incredibly durable and holds heat like a champ, but it’s brutally heavy. Solid surface materials give you that modern, seamless look but at a premium price.
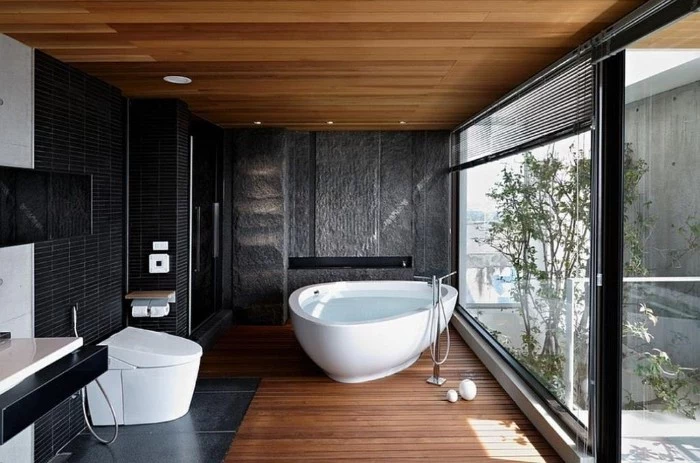
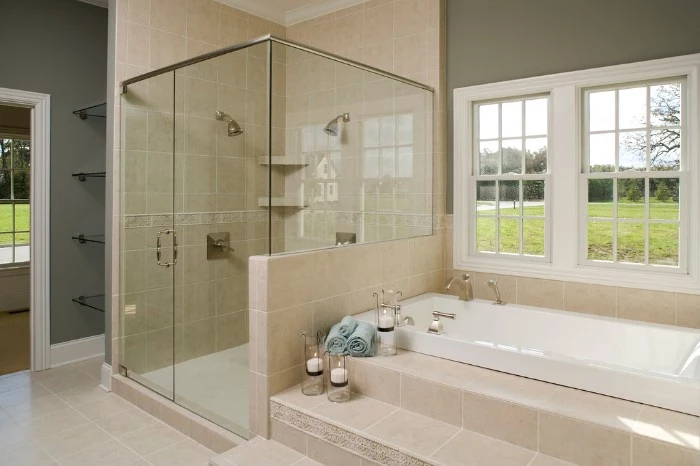
The Modern Shower: Curbless vs. Curbed
A curbless, or walk-in, shower is an amazing feature, especially if you’re thinking about aging in place, as it removes a major trip hazard. But building a true curbless shower is a complex, structural job. It requires lowering the subfloor in the shower area so the final tile can sit flush with the main bathroom floor. This means cutting and reinforcing the floor joists and absolutely requires a building permit and a very skilled crew.
A standard curbed shower is simpler and does a great job of containing water. The secret to any great shower, curbed or not, is the slope of the floor. Codes require a minimum slope of ¼ inch per foot toward the drain. This ensures water actually goes down the drain instead of pooling in the corners. It’s a patient, multi-step process to get it perfect.
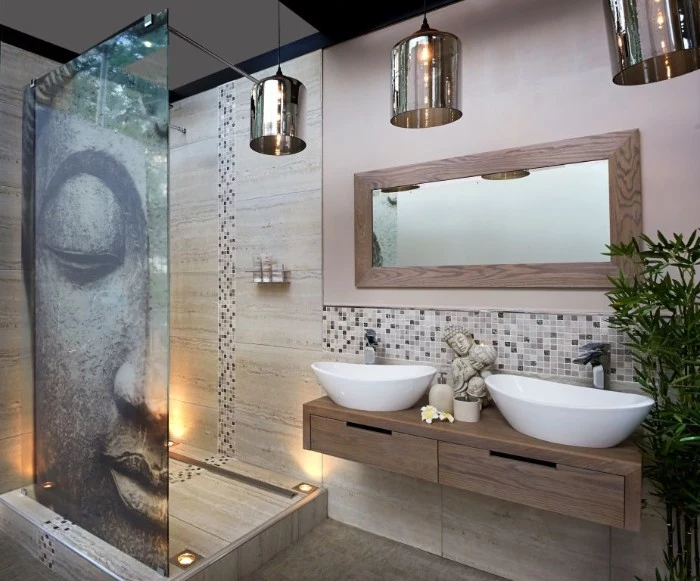
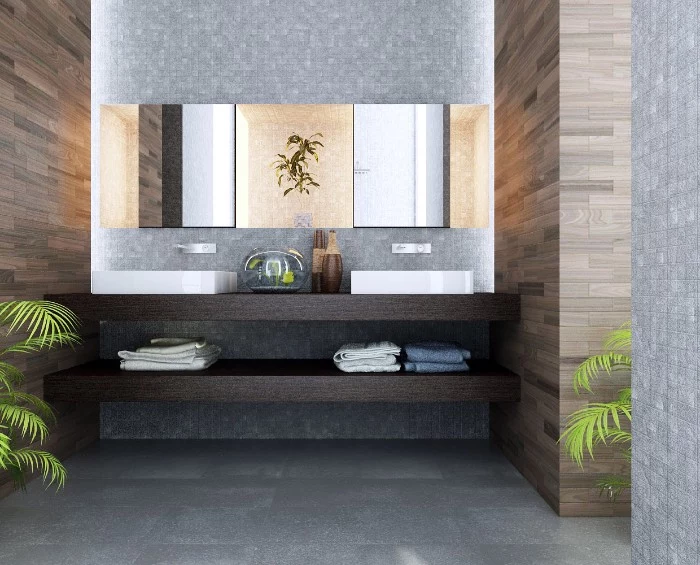
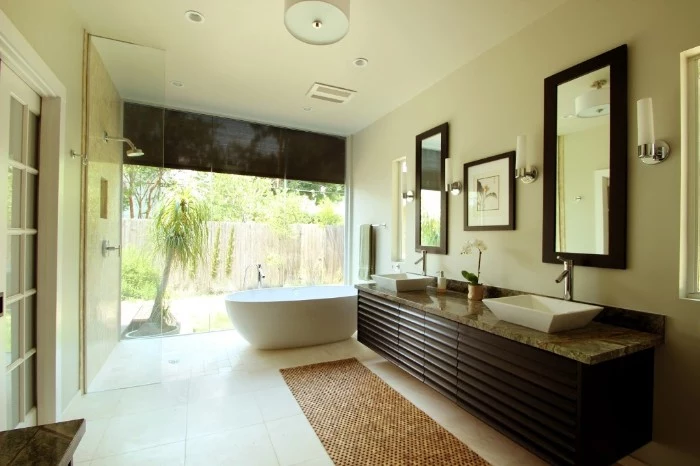
Vanities and Sinks: Height and Style
For a long time, the standard vanity height was around 30-32 inches. But now, 36-inch “comfort height” vanities are very popular. Here’s a quick tip: go stand at your kitchen counter right now. That’s 36 inches. Does it feel comfortable to lean over like you’re washing your face? If so, you’ll love a comfort-height vanity. If it feels too high, stick with the standard.
Wall-mounted “floating” vanities look fantastic and make cleaning the floor a breeze. But they offer less storage and need serious support. We have to install solid wood blocking inside the wall during the framing stage. You can’t just screw a 100-pound vanity into drywall and hope for the best.
For sinks, an undermount style is the most practical choice, hands down. It lets you wipe water and gunk straight from the counter into the sink. Vessel sinks that sit on top of the counter can be beautiful, but they tend to splash more and are awkward to clean around the base.
What Goes on the Surfaces: Choosing for Durability
The surfaces you choose define the room’s look and take all the abuse. Here’s how to pick materials that will last.
Flooring That Can Handle a Puddle
Porcelain tile is the undisputed king of bathroom flooring. It’s denser and less porous than standard ceramic, making it almost completely waterproof. When you’re shopping, look for two things on the box’s spec sheet:
- A wear rating. This tells you how tough the glaze is. For a residential bathroom floor, you want a rating of at least Class 3. For a busy master bath, Class 4 is even better.
- A slip-resistance rating. This is a critical safety factor. For wet floors, industry standards recommend a slip-resistance value of 0.42 or greater. Whatever you do, never use a glossy, slick wall tile on the floor.
One of the best upgrades you can make, in my opinion, is electric radiant floor heat. It’s a system of thin wires in a mat that gets installed right under the tile. It won’t heat the room, but it makes the floor blissfully warm on cold mornings. It can add $600 to $1,300 to the job, but the feeling is pure luxury. A pro tip: a good installer will test the system’s electrical resistance with a multimeter before, during, and after tiling to make sure the wires weren’t damaged during installation. Finding out it’s broken after the tile is down is a soul-crushing mistake.
Walls, Grout, and Sealing the Deal
When tiling a shower, especially with large-format tiles (anything over 15 inches long), we always “back-butter” the tile. This means we spread a thin layer of mortar on the back of the tile itself, in addition to the mortar on the wall. This ensures total adhesion and prevents hollow spots that can lead to cracked tiles.
Your choice of grout matters, too. Standard cement-based grout is porous and needs to be sealed every year or so to fight stains and mildew. For a bit more money upfront, epoxy grout is a fantastic upgrade. It’s non-porous, stain-proof, and never needs sealing. The catch? It’s much more difficult to work with. It sets up incredibly fast and is a pain to clean off the tile surface if you make a mistake. Honestly, it’s a job I only give to my most experienced tile setters.
The Simple Order of Operations for a Reno
It helps to know the basic roadmap so you can follow along. A full gut renovation isn’t a weekend project; even with a pro crew, expect it to take 4 to 8 weeks, assuming all materials are ready to go.

- Plan & Demolition: Finalize the design, order everything, and then carefully tear out the old bathroom.
- The Rough-In: This is when the plumber, electrician, and carpenter come in to move pipes, run wires, and build or modify walls.
- Insulation & Drywall: After inspections, the walls get closed up.
- Waterproofing & Tile Prep: The shower gets its waterproof membrane, and cement board is installed.
- Tile & Grout: The longest step. The floor, shower walls, and any other tiled surfaces get done.
- The Big Install: The vanity, toilet, tub, and faucets are installed.
- Finishing Touches: Finally, the lights, mirrors, and hardware go in, followed by paint and trim.
Before You Sign Anything, Ask These Questions
When you’re interviewing contractors, you’re in charge. Use the knowledge from this guide to make sure you’re hiring a real pro. Here are the questions you should absolutely ask:
- What specific waterproofing system do you plan to use for the shower, and why do you prefer it?
- Do you perform a 24-hour flood test on all new shower pans before tiling? (The only right answer is “yes.”)
- What is your plan for venting the new bathroom fan to the outside?
- Will you be pulling a permit for this work? (If they’re moving plumbing or electrical, they should be.)
- How will your team manage dust and protect the rest of my house during demolition and construction?
- For large tiles, do you back-butter them to ensure full adhesion?
At the end of the day, building a bathroom you’ll love for years is about investing in the things you can’t see. It’s the solid feel of a properly supported floor, the peace of mind from knowing it’s waterproof, and the safety of professional electrical work. When you get that foundation right, the beautiful finishes you pick are just the icing on a very well-built cake.
Inspiration Gallery
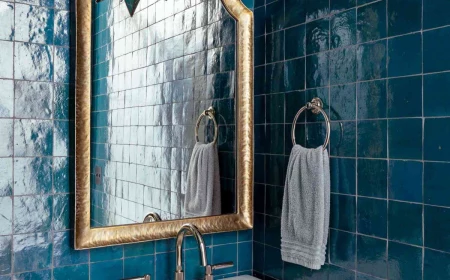
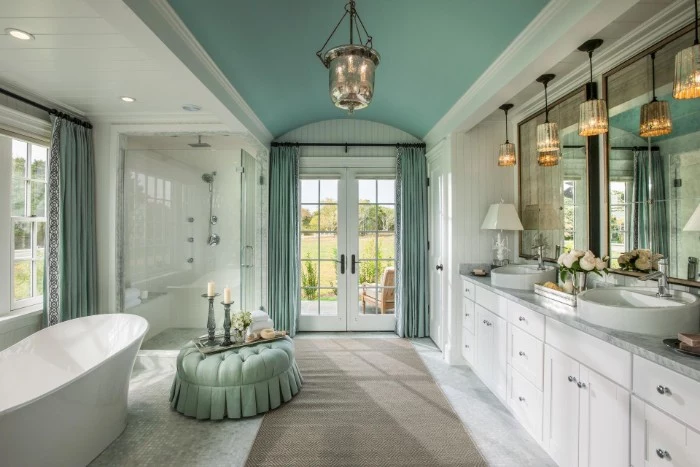
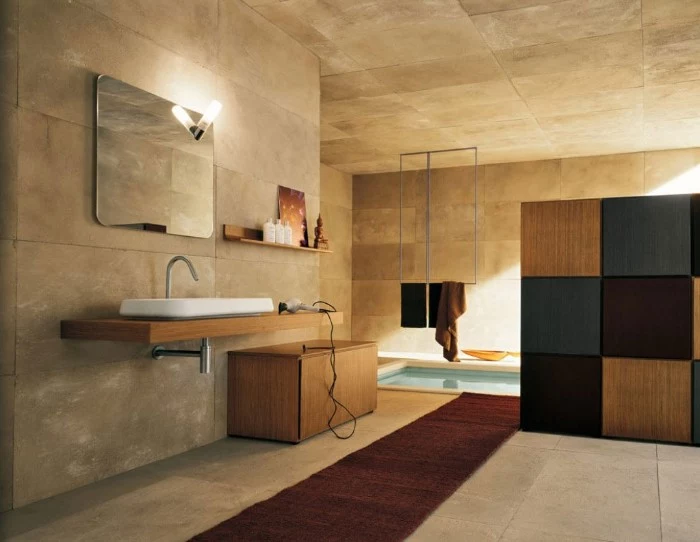
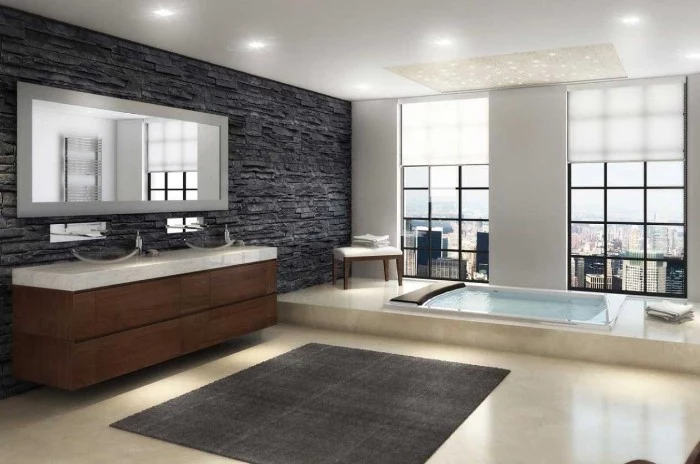
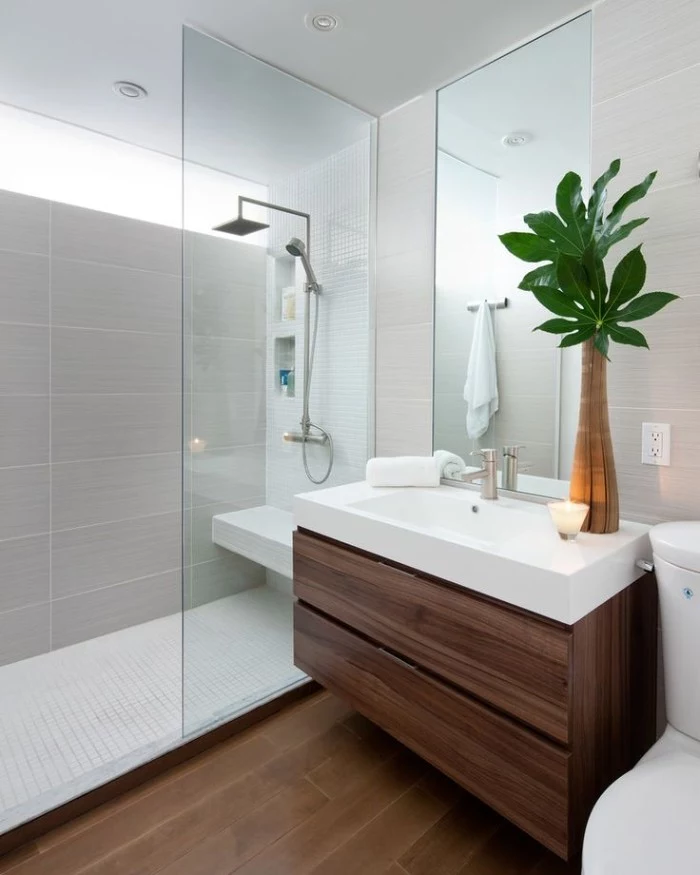
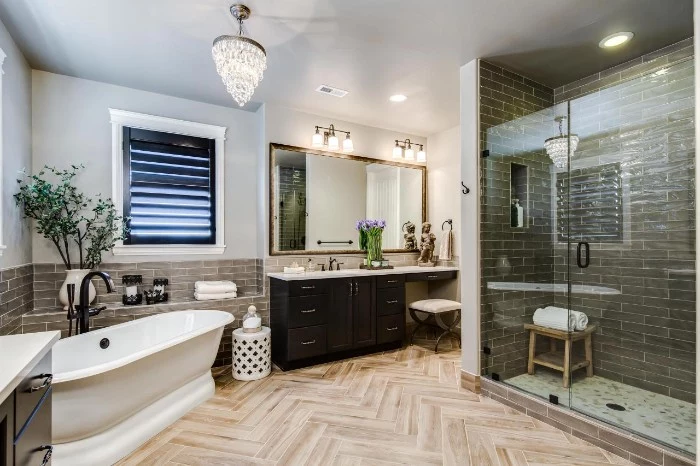
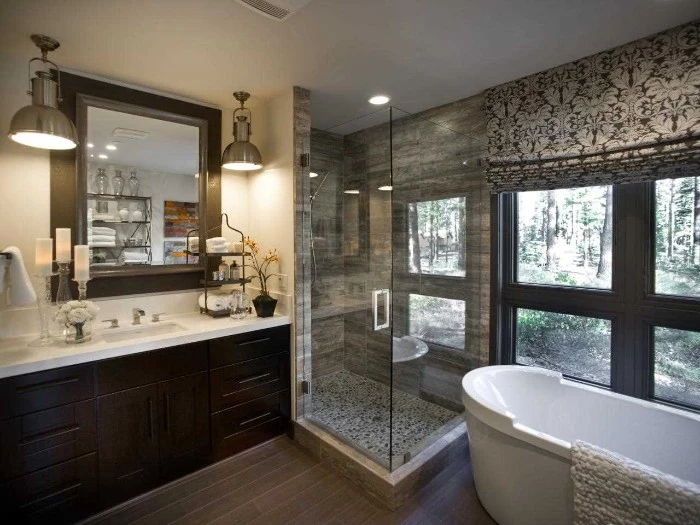
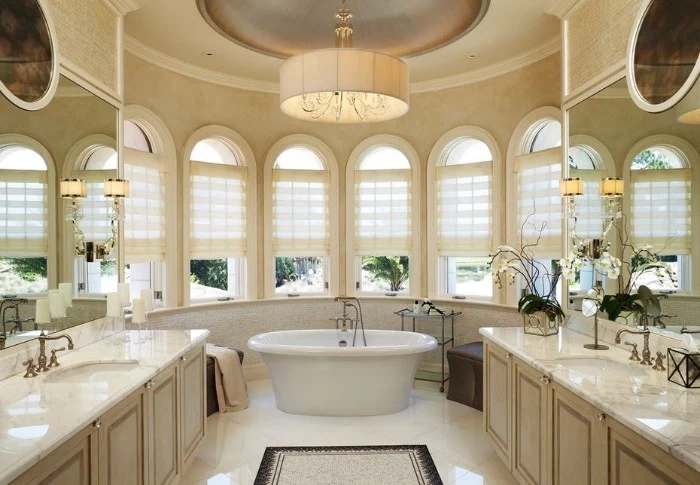
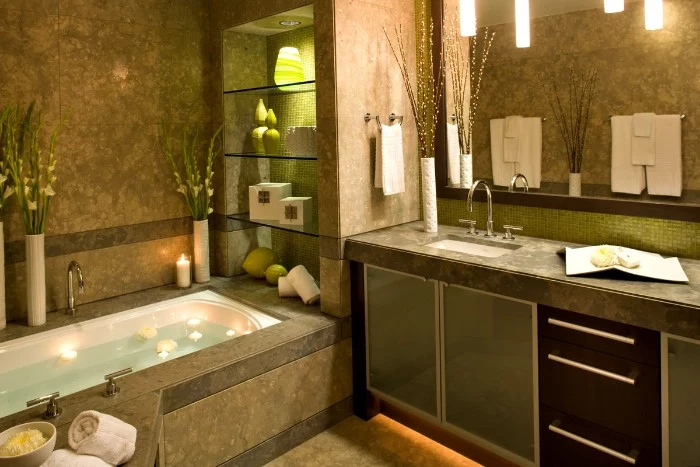
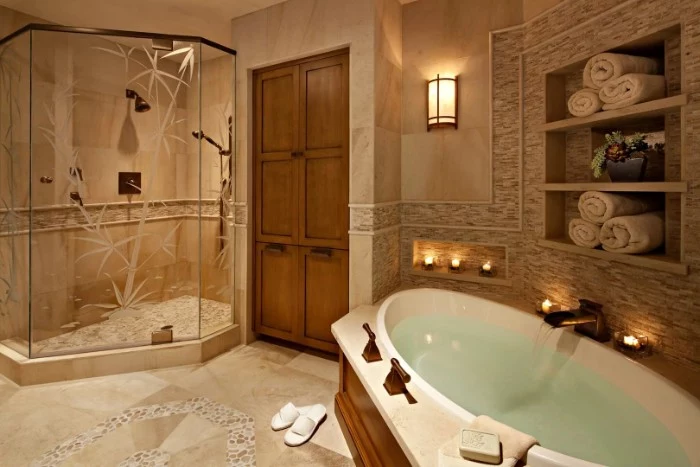
When planning your vanity lighting, think like a makeup artist. Sconces mounted on either side of the mirror at eye level provide even, shadow-free illumination. Overhead lighting alone can cast harsh shadows, making daily grooming a challenge. It’s a small detail that makes a world of difference in how you experience the room every single day.
- Check for a valid license and insurance (liability and worker’s comp).
- Ask for at least three recent references—and actually call them.
- Request to see photos of a finished bathroom they’ve built, not just a pretty one they found online.
- Get a detailed, itemized bid, not just a single bottom-line number.
The takeaway? Vetting your contractor is as important as choosing your tile.
The single most common failure I see is an undersized ventilation fan. A noisy, cheap fan that doesn’t actually move enough air is worse than useless. Invest in a quiet, properly sized unit from a brand like Panasonic or Broan. Look for the CFM (Cubic Feet per Minute) rating; a master bath often needs 110 CFM or more to effectively combat moisture and prevent mold growth.
According to insurance industry data, plumbing failures are a leading cause of residential water damage, with the average claim costing over $10,000 to repair.

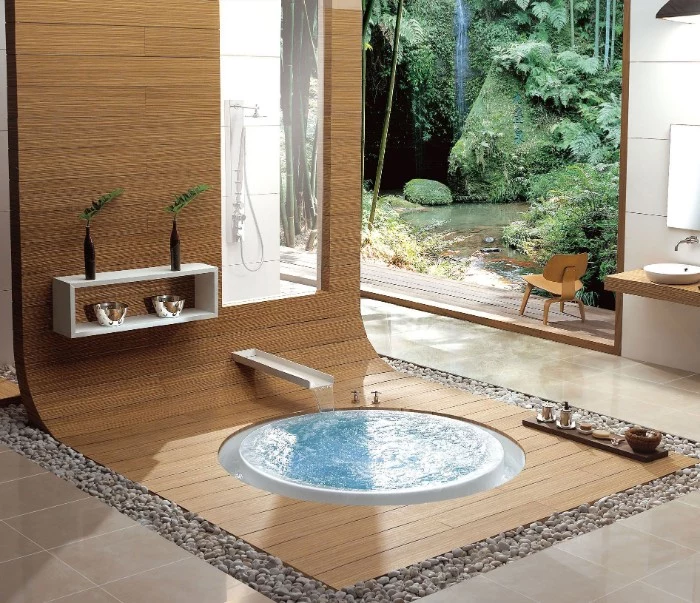
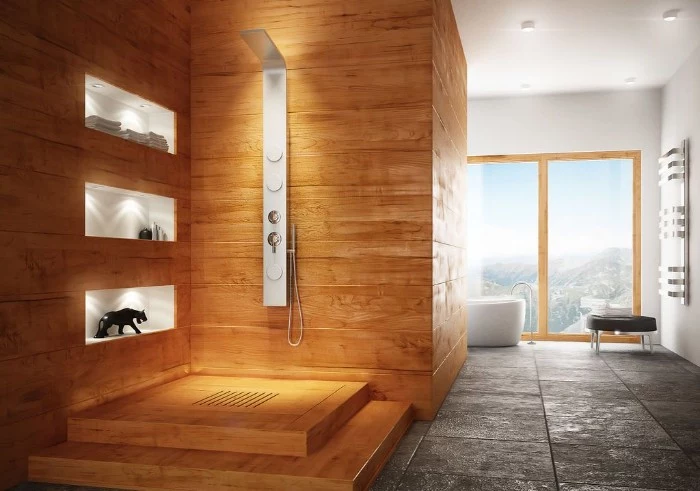
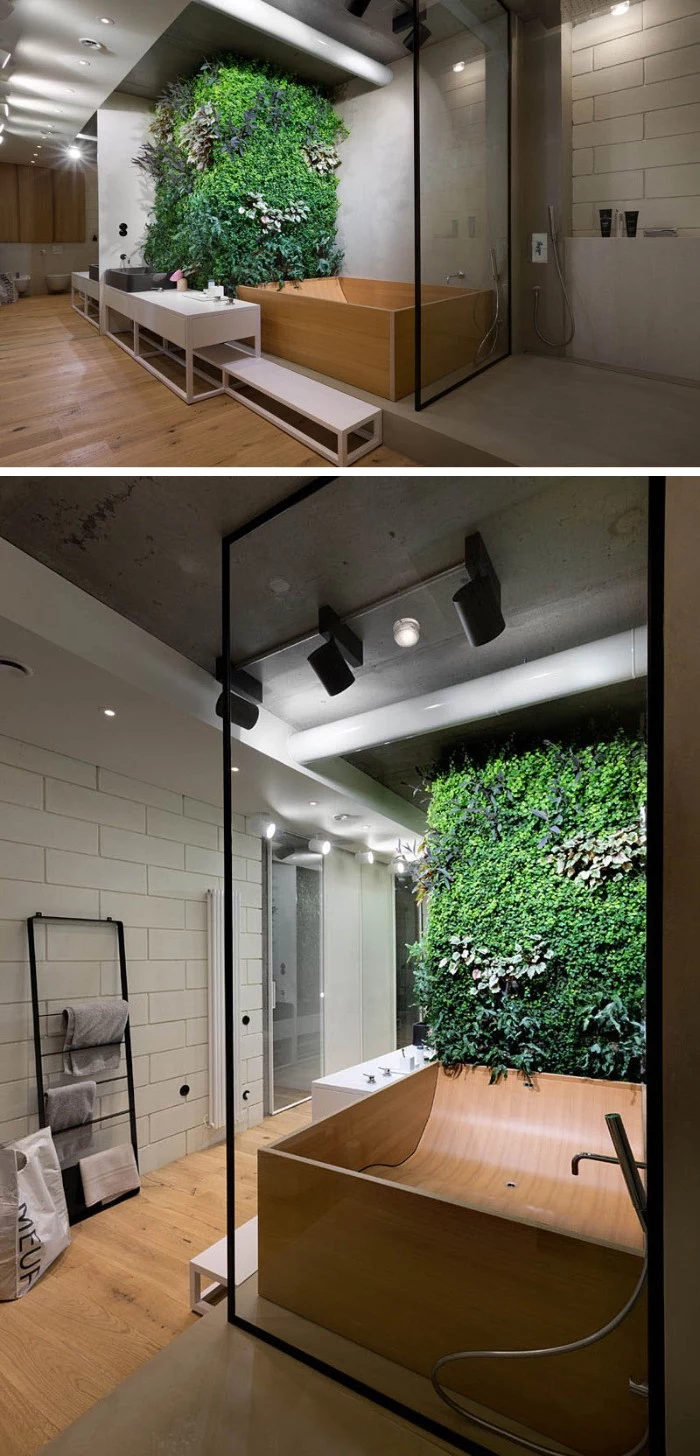
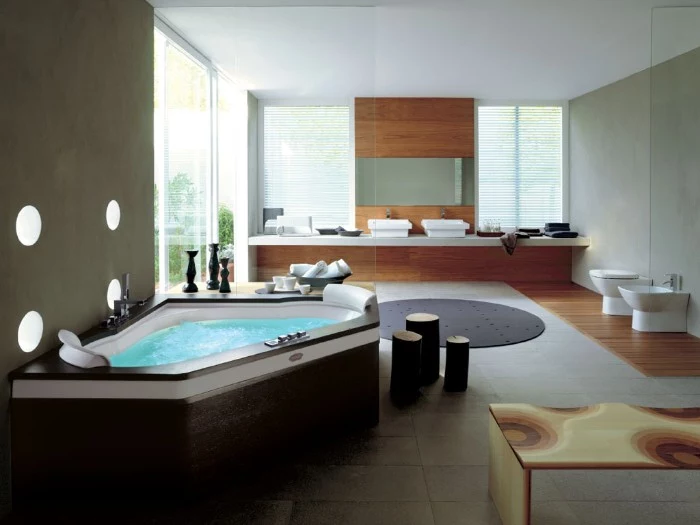
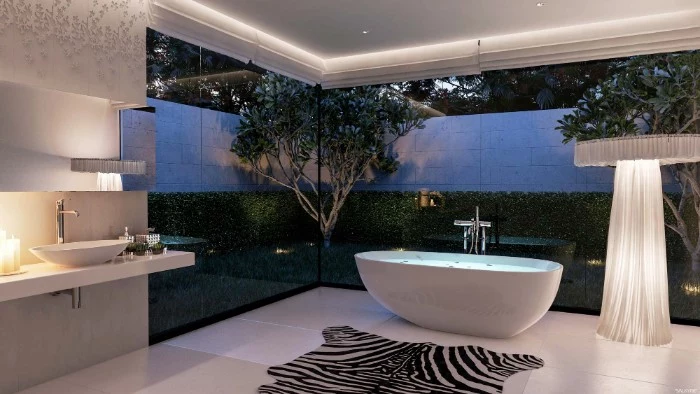
Imagine stepping out of the shower onto a floor that’s not just warm, but comfortably heated from below. That’s the luxury of electric radiant floor heating. It’s an upgrade that goes far beyond simple comfort.
- Efficiency: It provides gentle, even heat right where you are, often allowing you to keep the rest of the house a degree or two cooler.
- Moisture Control: The warmth helps evaporate water from the floor and grout lines, reducing the potential for mold.
- Resale Value: It’s a high-end feature that buyers notice and appreciate. Systems like those from Schluter-DITRA-HEAT or SunTouch are surprisingly affordable to install during a major remodel.

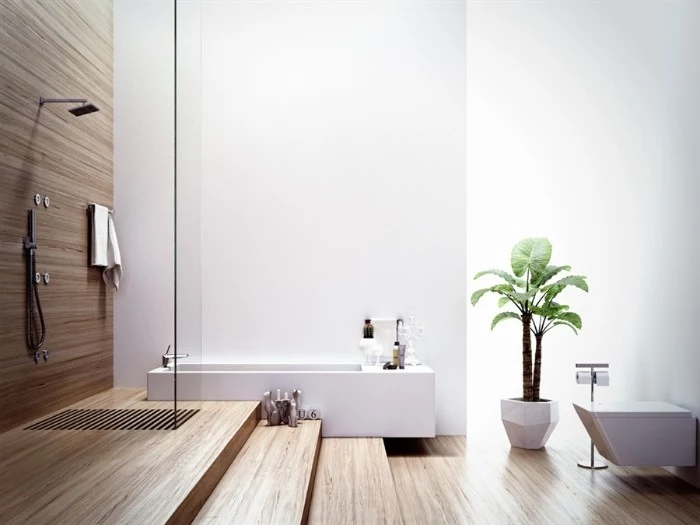
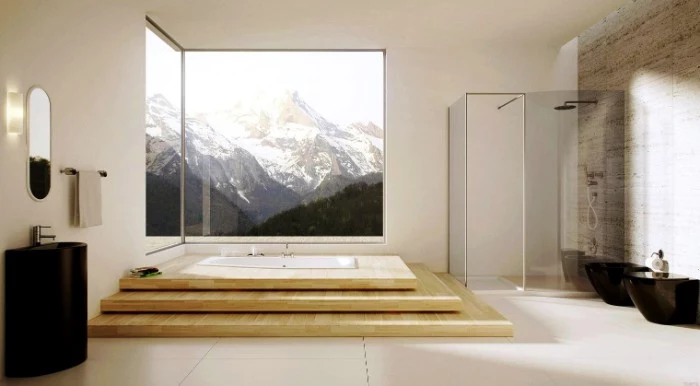
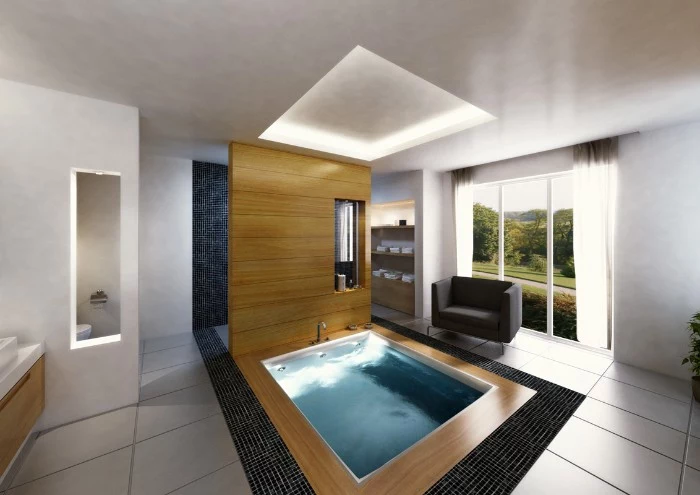
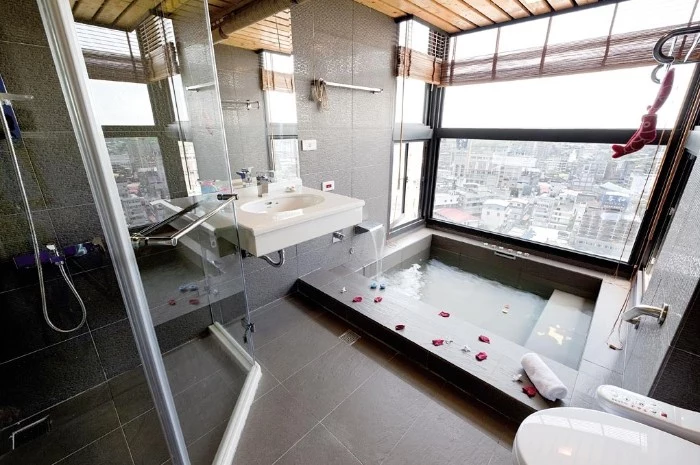
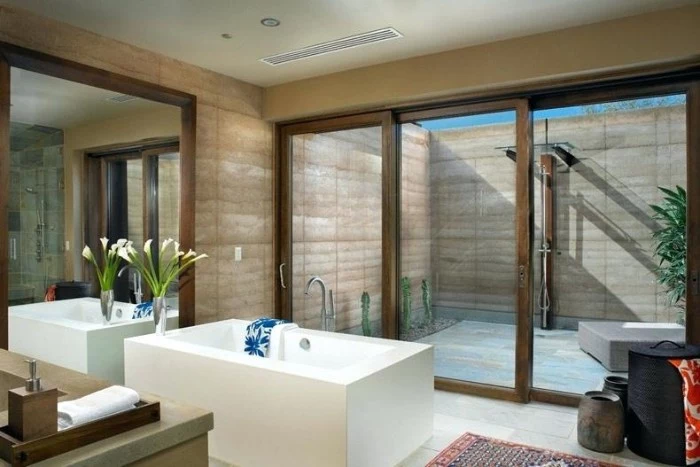
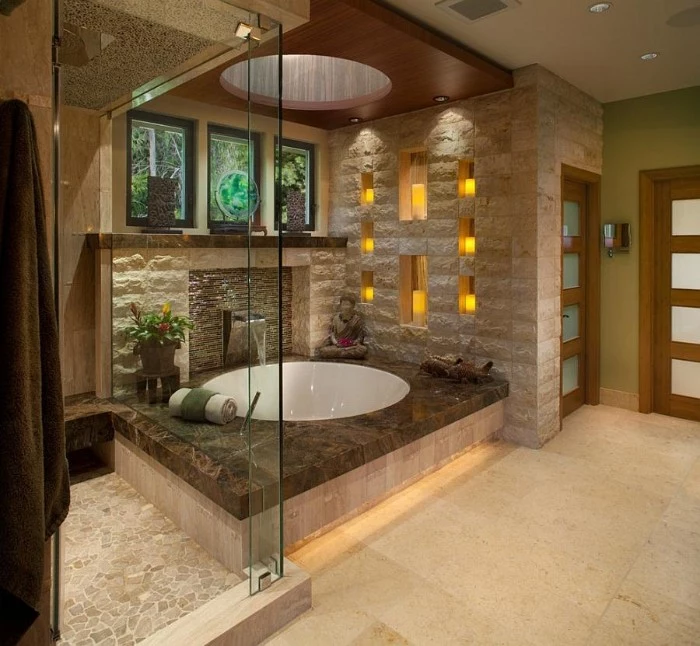
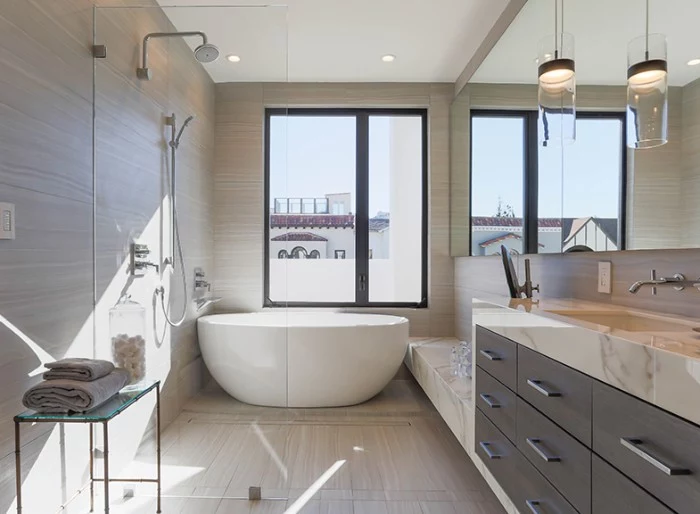
Curbless, walk-in shower: sleek dream or future water-damage nightmare?
It all comes down to the build. A true curbless entry requires the shower floor to be recessed, creating a seamless transition. The key is a flawless waterproofing job using a membrane like the Schluter-KERDI system and a proper, uninterrupted slope to a linear drain. If a contractor just builds up the surrounding floor to meet the shower pan, you’ve created a dangerous water trap. Ask to see their plan for achieving the slope *before* they start.

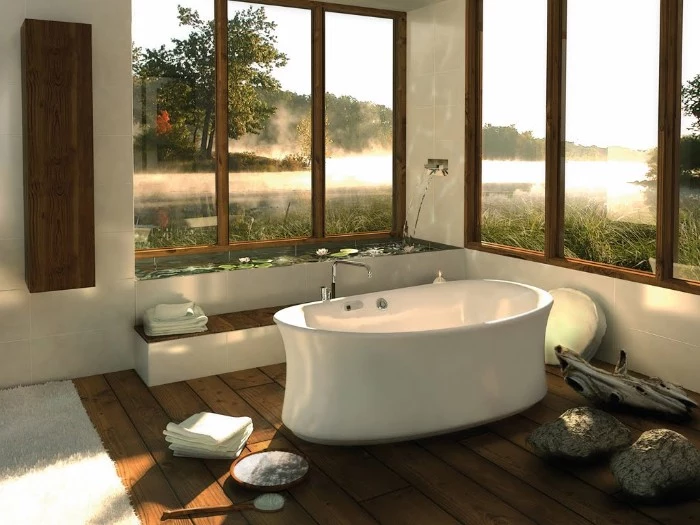
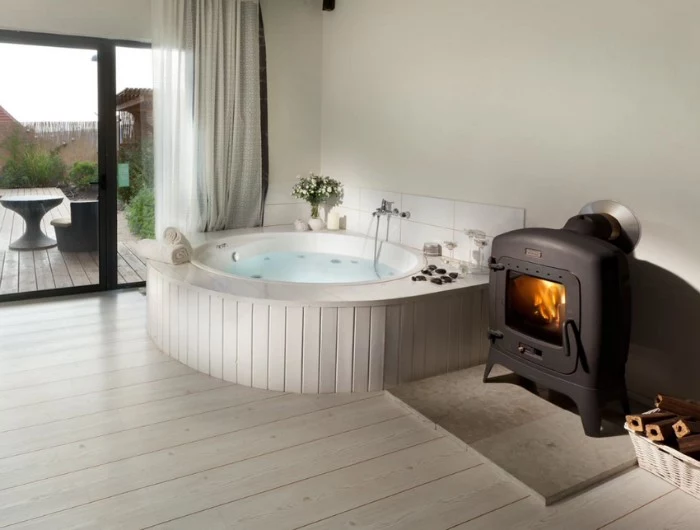
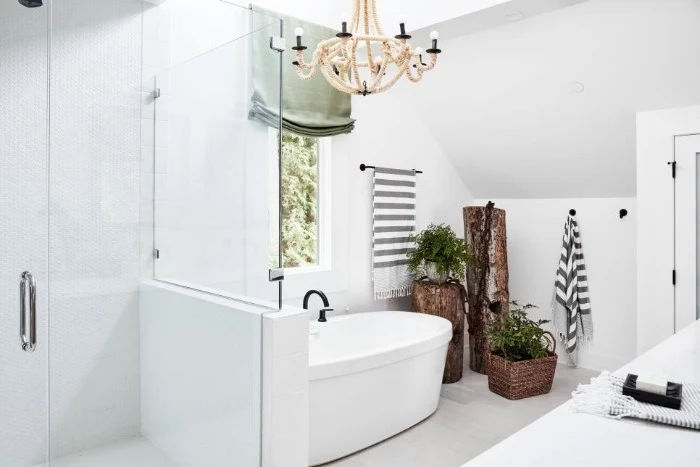
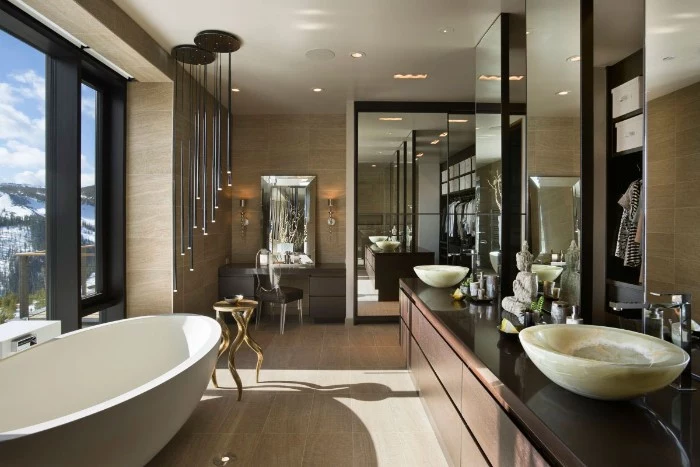
Cast Iron Tub: The classic choice. Heavy, durable, and holds heat exceptionally well for long soaks. It’s a lifetime investment, but requires a strong floor structure to support its weight. Think Kohler.
Acrylic Tub: Lightweight, easier to install, and available in a vast array of shapes and sizes. It feels warmer to the touch initially but doesn’t retain heat as long as cast iron. A great, versatile option.
For a second-floor bathroom, the lighter weight of acrylic can often simplify installation and structural concerns.
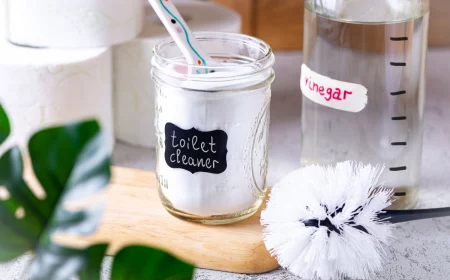
Standard cement-based grout is porous. Even when sealed, it can absorb water and stains over time.
This is why pros often turn to epoxy grout, especially for shower floors and kitchen backsplashes. Brands like LATICRETE SpectraLOCK offer a grout that is chemically cured, making it non-porous, stain-proof, and highly durable without any need for sealing. While the installation is more demanding and less forgiving than traditional grout, the result is a low-maintenance surface that will look pristine for years, eliminating the dreaded task of scrubbing discolored grout lines.

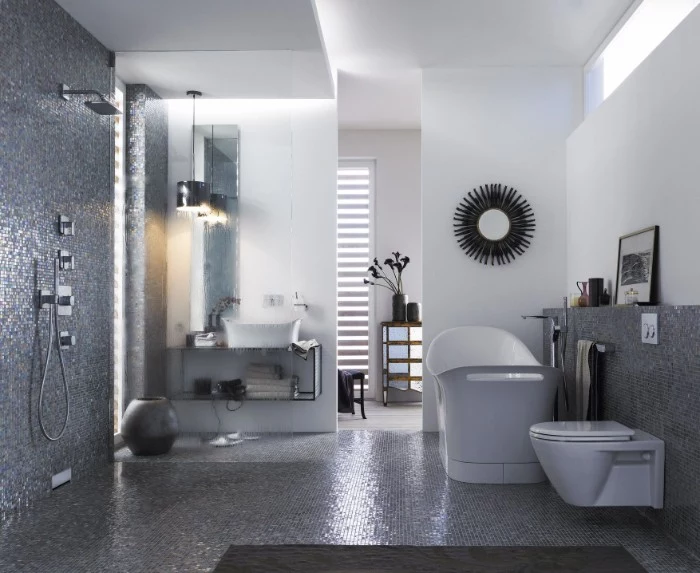
- Frees up visible floor space, making a small bathroom feel larger.
- Eliminates the grimy task of cleaning around the base of the toilet.
- Creates a sleek, minimalist aesthetic that is undeniably modern.
The secret? A wall-mounted toilet. The tank and plumbing are concealed inside the wall using a sturdy carrier system, like the Geberit in-wall carrier, which is the unseen hero behind this clean look.
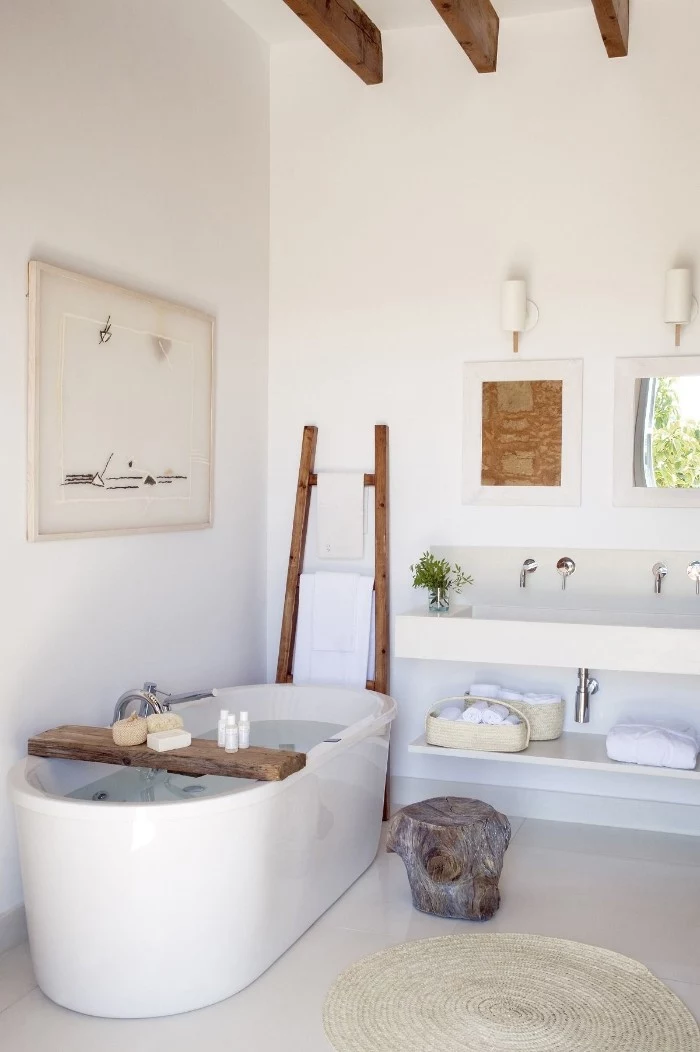
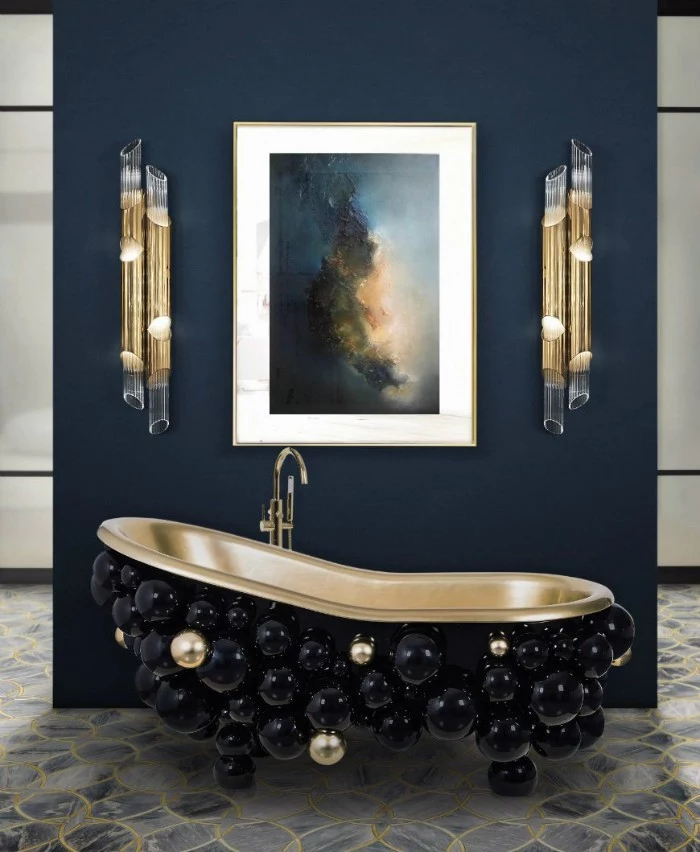
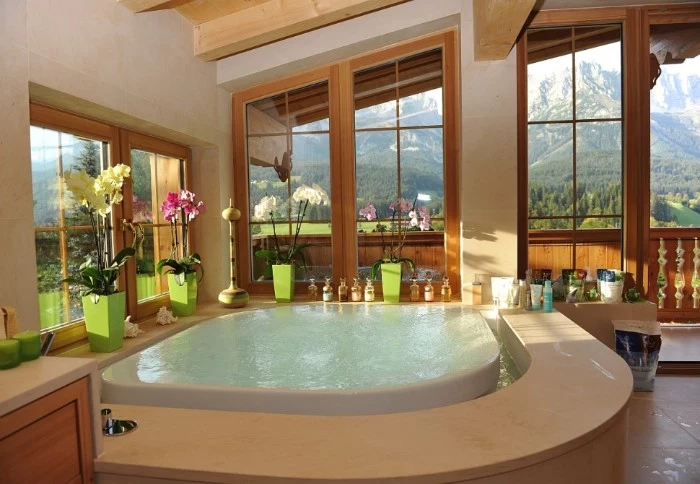
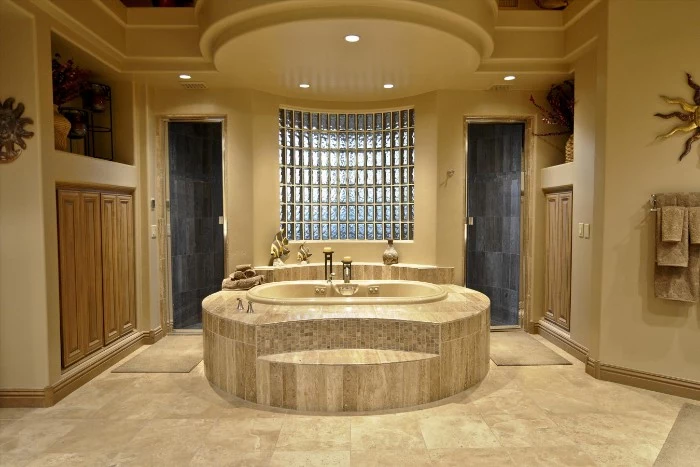
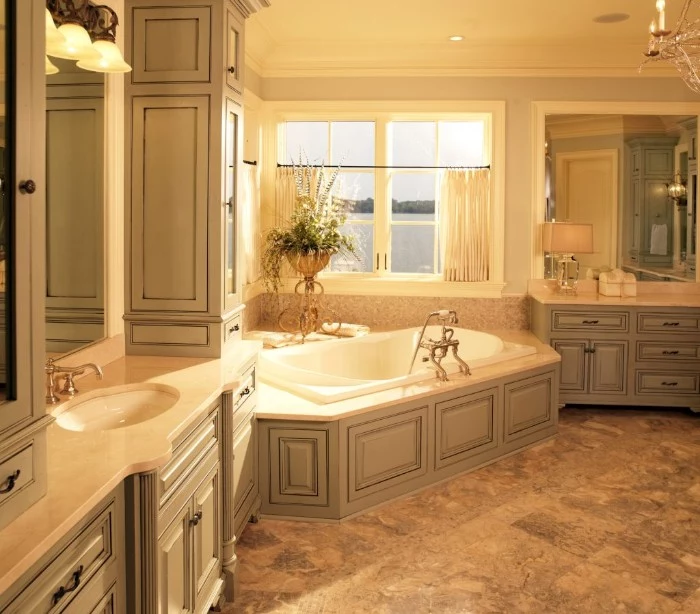
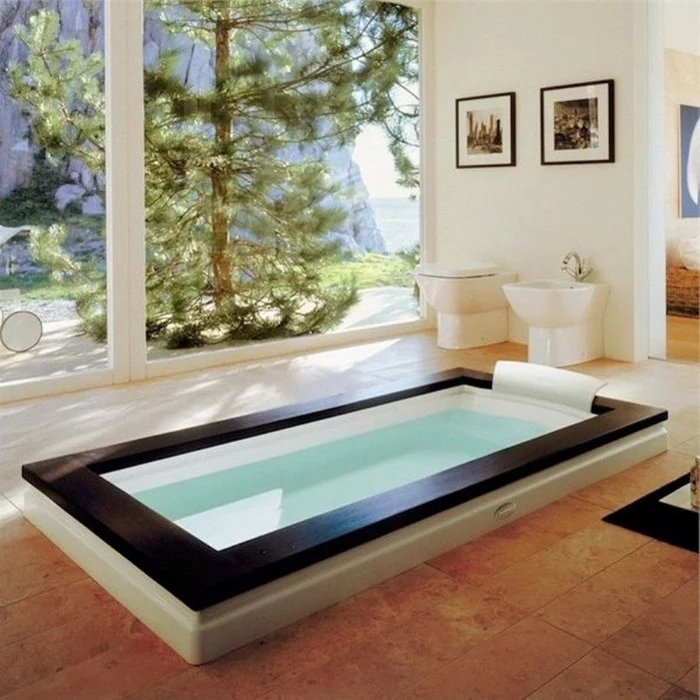
Before you fall in love with that solid stone freestanding tub or those three-quarter-inch thick slate tiles, have a serious talk about weight. Your floor joists were built to a certain standard, and adding several hundred pounds of concentrated weight can be a structural risk, especially in older homes. A good builder will always check the joist size, spacing, and span to ensure the floor can handle the new load. Sometimes, sistering joists or adding blocking is required. It’s the invisible work that prevents sagging floors and cracked tiles later.
A crucial detail: Your toilet’s ‘rough-in’ size. This is the distance from the wall to the center of the drainpipe. The standard is 12 inches, but 10-inch and 14-inch rough-ins exist, especially in older homes. Measuring this *before* you buy a new toilet will save you a world of plumbing headaches and a potential restocking fee.
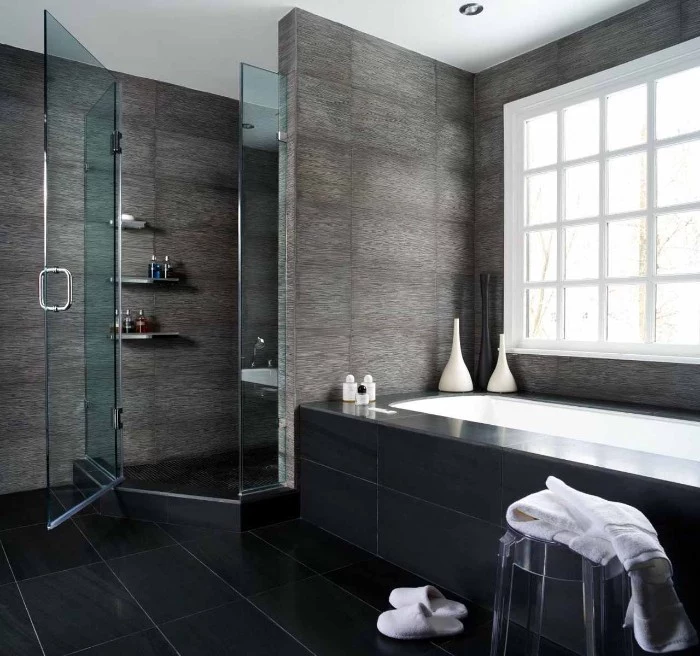
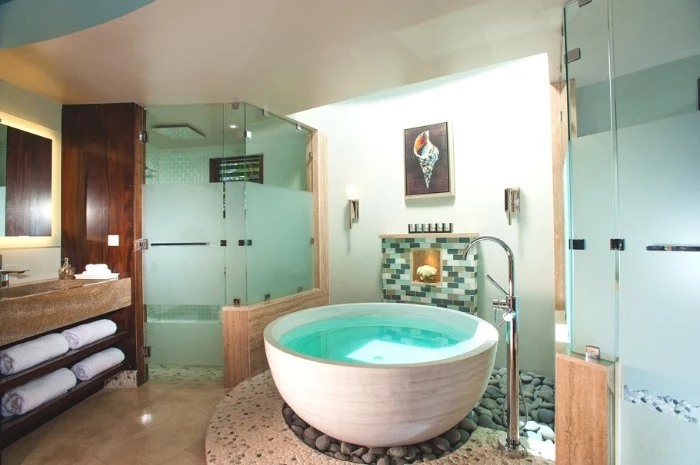
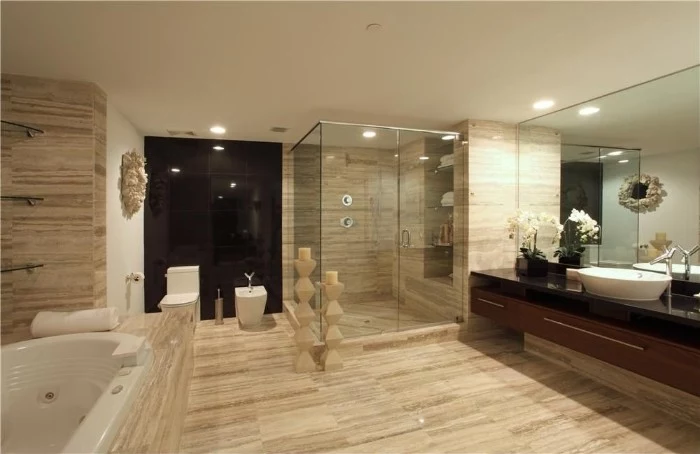
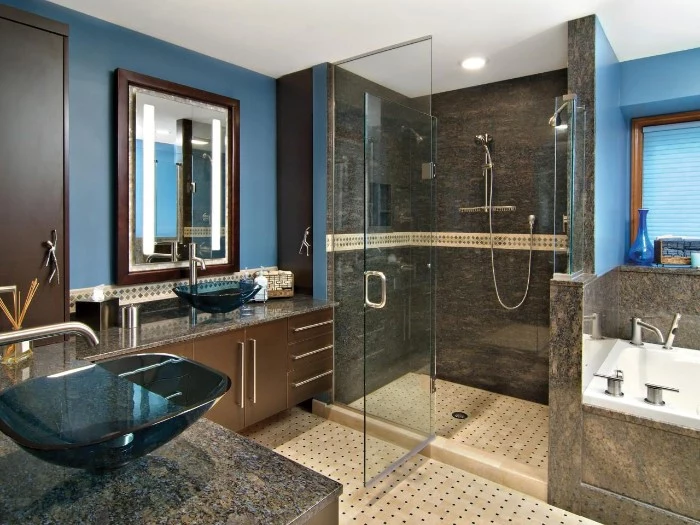
Is a shower niche really better than a corner caddy?
From a builder’s perspective, absolutely—if it’s built right. A recessed niche provides built-in storage without taking up elbow room. The critical steps are ensuring the niche is fully waterproofed as part of the wall system and that the bottom shelf has a slight slope towards the shower so water drains out. A pre-fabricated foam niche, like those from Schluter or Prova, makes this process nearly foolproof.

“Matte black fixtures are stunning, but they show water spots and fingerprints more than polished chrome. If you’re a stickler for a spotless look with minimal effort, a classic chrome or brushed nickel finish is often more practical.” – Expert observation
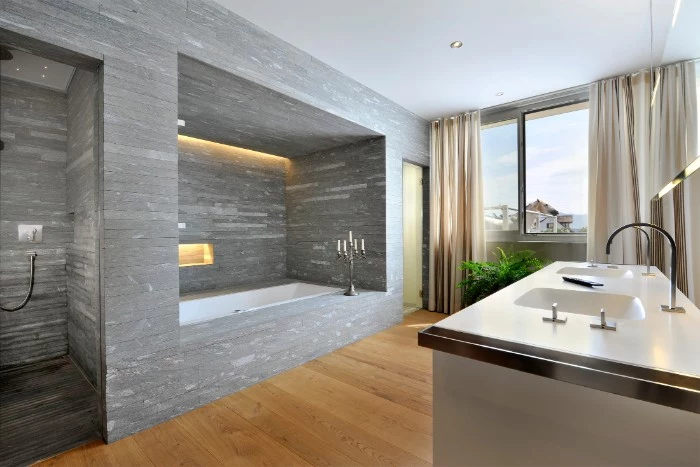
The unsung hero of a high-end bathroom is a solid-core door. It might seem like a minor detail, but the extra weight and density provide superior sound insulation, adding a real sense of privacy and tranquility to a master suite. It’s a relatively small upgrade that makes the entire space feel more substantial and luxurious compared to a standard, lightweight hollow-core door.
Cement Backer Board: The industry standard for decades. Brands like HardieBacker and Durock are stable, durable, and resistant to moisture degradation. It’s heavy and can be tough to cut.
Foam Board: Newer systems like Schluter-KERDI-BOARD are lightweight, easy to cut with a utility knife, and come with waterproofing built-in. A faster, more integrated system.
For a DIYer, the ease of handling and integrated waterproofing of foam board can often justify its higher initial cost.
Thinking about aging in place or simply want a bathroom that’s safer for everyone? Before you close up the walls, install solid wood blocking between the studs where you might one day want to mount grab bars—typically around the toilet and in the shower. A 2×6 or 2×8 plank is perfect. It’s an almost zero-cost move during a remodel that makes future safety upgrades simple, secure, and inexpensive.
- No more scrubbing stubborn grout lines on the shower floor.
- A sleek, unbroken visual plane that feels both modern and luxurious.
- Faster cleaning routine with just a squeegee and a simple spray.
The trick? Ditch the small tiles and opt for a solid-surface shower pan or large-format porcelain tile (24×48 inches or larger) for the floor. The reduction in grout joints is a game-changer for long-term maintenance.

The toilet’s flush performance is measured by its MaP score, which tests how much solid waste it can remove in a single flush. A score of 1,000g is considered exceptional. Don’t just buy a toilet based on looks; check its MaP score to ensure you’re getting powerful, clog-free performance. Models like the TOTO Drake II or the Kohler Wellworth consistently rank as top performers.
Don’t just think about the big fixtures; consider the ‘user interface’ of your shower. A thermostatic valve, unlike a standard pressure-balance valve, allows you to set a precise water temperature that remains constant, even if someone else flushes a toilet. It’s a touch of everyday luxury and safety, preventing accidental scalding. Brands like Grohe and Hansgrohe are leaders in this technology.
The average person spends approximately 1.5 years of their life in the bathroom. Investing in quality and comfort for such a frequently used space is always a wise decision.

If your bathroom feels tight, analyze the door swing. A traditional door requires a significant amount of clear floor space to open. Swapping it for a pocket door that slides into the wall or a surface-mounted barn door can instantly reclaim up to 9 square feet of usable space, potentially allowing for a larger vanity or more storage.
Budget Tip: Where to Save, Where to Splurge
Save: On standard-sized ceramic or porcelain tile. A classic 4×12 subway tile is timeless and budget-friendly. You can also save on a standard-sized, big-box store vanity cabinet.
Splurge: On what’s behind the walls (waterproofing, plumbing) and the things you touch every day. A high-quality faucet from a brand like Delta or Moen and a powerful, quiet ventilation fan are investments you’ll never regret.
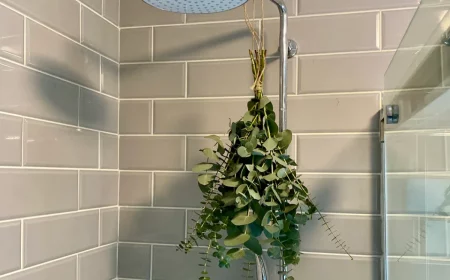
Are heated towel racks just a frivolous luxury?
Not at all. Besides the simple pleasure of a warm towel, a heated rack is incredibly practical in a humid bathroom. It dries towels much faster, which helps prevent the musty smell and mildew growth that can occur with damp fabric. It also adds a source of gentle, ambient heat to the room. Look for hardwired models for a clean, seamless installation.
- A warm, cozy towel after every shower.
- Reduced mildew and musty smells.
- A gentle source of ambient heat.
This isn’t just a list of wants; it’s what a hardwired heated towel warmer from a brand like Amba or WarmlyYours delivers. It’s a functional upgrade that elevates the daily experience.
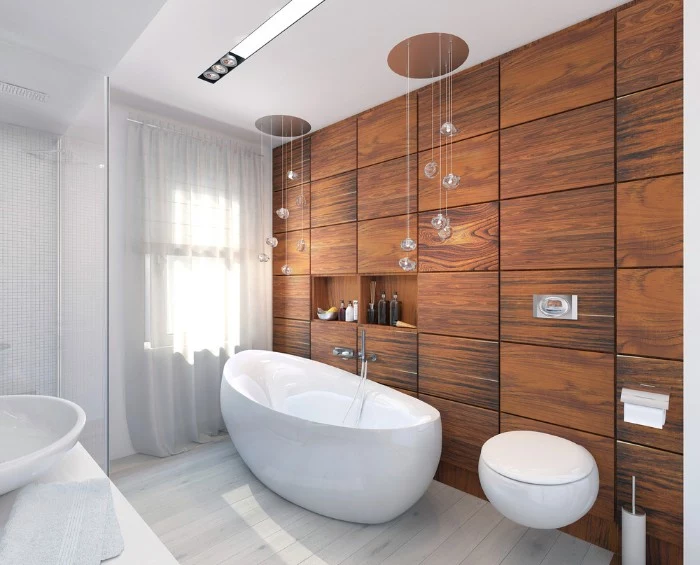
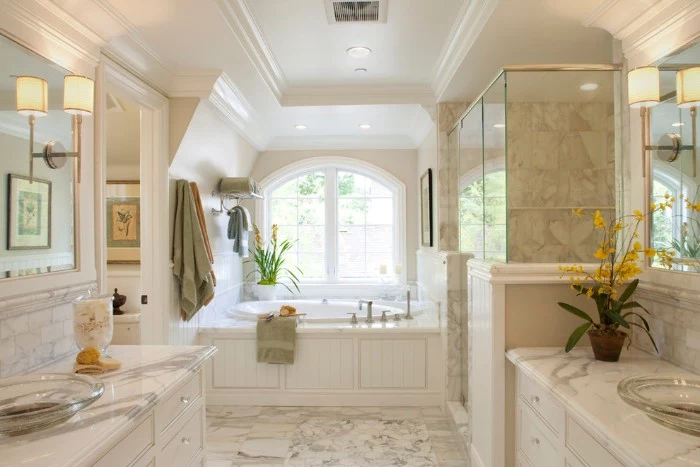
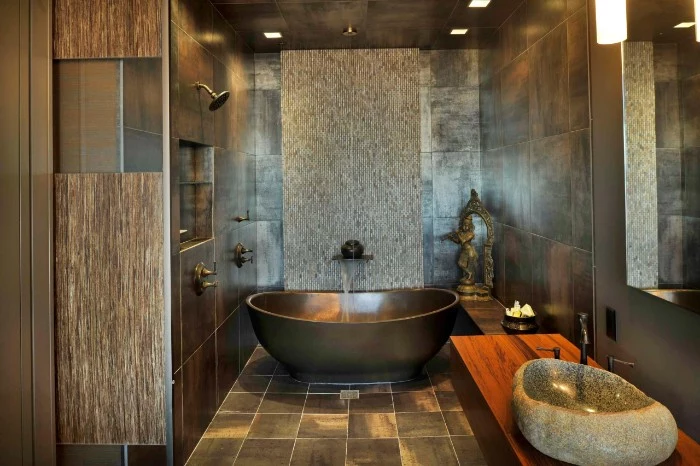
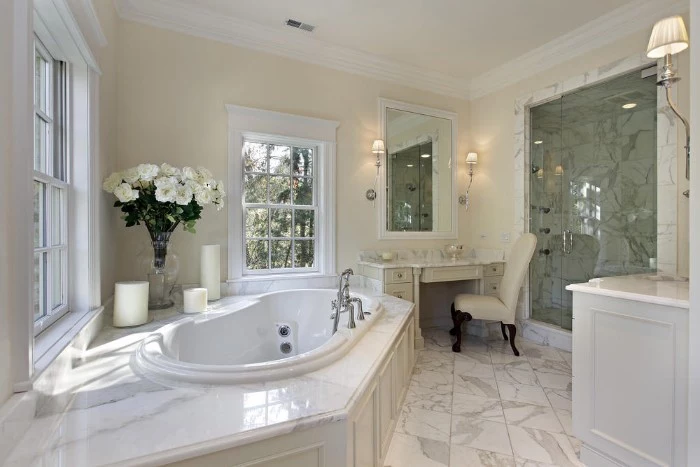
That beautiful marble you see in magazines is a high-maintenance choice for a wet environment. As a porous natural stone, it requires diligent sealing to resist staining and water absorption. For a similar look without the worry, consider modern porcelain tiles. Digital printing technology has become so advanced that porcelain can convincingly replicate the veining and depth of Calacatta or Carrara marble, while offering near-zero porosity and superior durability.