Finally! How to Get Your Shower Glass Actually Clean (A Pro’s Guide)
I’ve spent a huge part of my life cleaning professionally, and I can tell you, nothing frustrates homeowners more than cloudy shower glass. I’ve seen it all, from a few annoying water spots to a thick, white film that you can’t even see through. People scrub, they spray every “miracle” cleaner they can find, but the glass just never looks truly clean.
In this article
Here’s the secret: you’re probably fighting the wrong battle. Most people think they’re just dealing with simple soap and dirt, but you’re actually up against a stubborn combination of chemical residue and mineral deposits. It’s a science problem, really.
But don’t worry, once you understand what you’re up against, you can get that glass sparkling again with way less elbow grease. This isn’t about magic, it’s about using the right stuff in the right way.
So, What Is That Gunk, Anyway?
Before you grab a sponge, let’s quickly break down the two culprits making your glass look so sad. Knowing your enemy is half the battle.
Hard Water Deposits (aka Limescale)
If you see chalky, white spots that feel rough, that’s hard water. Your tap water contains dissolved minerals, mostly calcium and magnesium. When water evaporates on your shower door, those minerals get left behind. It’s the same stuff that builds up in your coffee maker or on your faucets.
Now, here’s the key bit of science: these mineral deposits are alkaline. And how do you dissolve an alkaline substance? With a mild acid. This is exactly why vinegar is the go-to recommendation. The acetic acid in it breaks down the minerals, making them easy to wipe away. Just scrubbing with regular soap won’t touch it.
Soap Scum
The other half of the problem is soap scum. This is that waxy, kind of grayish or yellowish film. It happens when the paraffin and fats in traditional bar soaps react with the minerals in your hard water. The result is a sticky, waterproof mess that clings to glass for dear life.

Because it’s waxy and greasy, a simple acid like vinegar might not be enough to cut through it alone. That’s where a little bit of dish soap comes in handy. Dish soap is a surfactant, which is a fancy word for something that helps break up grease and allows your acidic cleaner to get to the mineral deposits hiding underneath.
Your Glass-Cleaning Arsenal
The tools you use are just as important as the cleaners. Honestly, using the wrong stuff can make the job ten times harder or, even worse, permanently scratch your glass. I’ve refined my kit down to a few essentials that will save you hours of work.
Your Quick Shopping List
Here’s what you’ll want to have on hand. You can find all of this at places like Home Depot, Target, or online.
- A Good Squeegee: A professional-style one with a replaceable silicone blade. Expect to pay between $15 and $30. It’s an investment that pays for itself.
- Microfiber Cloths: Get a pack of both waffle-weave (for scrubbing) and flat-weave (for polishing). A multi-pack usually costs around $10-$15.
- Non-Abrasive Scrub Pads: Look for the ones that are white or blue. They’re specifically made for delicate surfaces. A 2-pack is usually under $5.
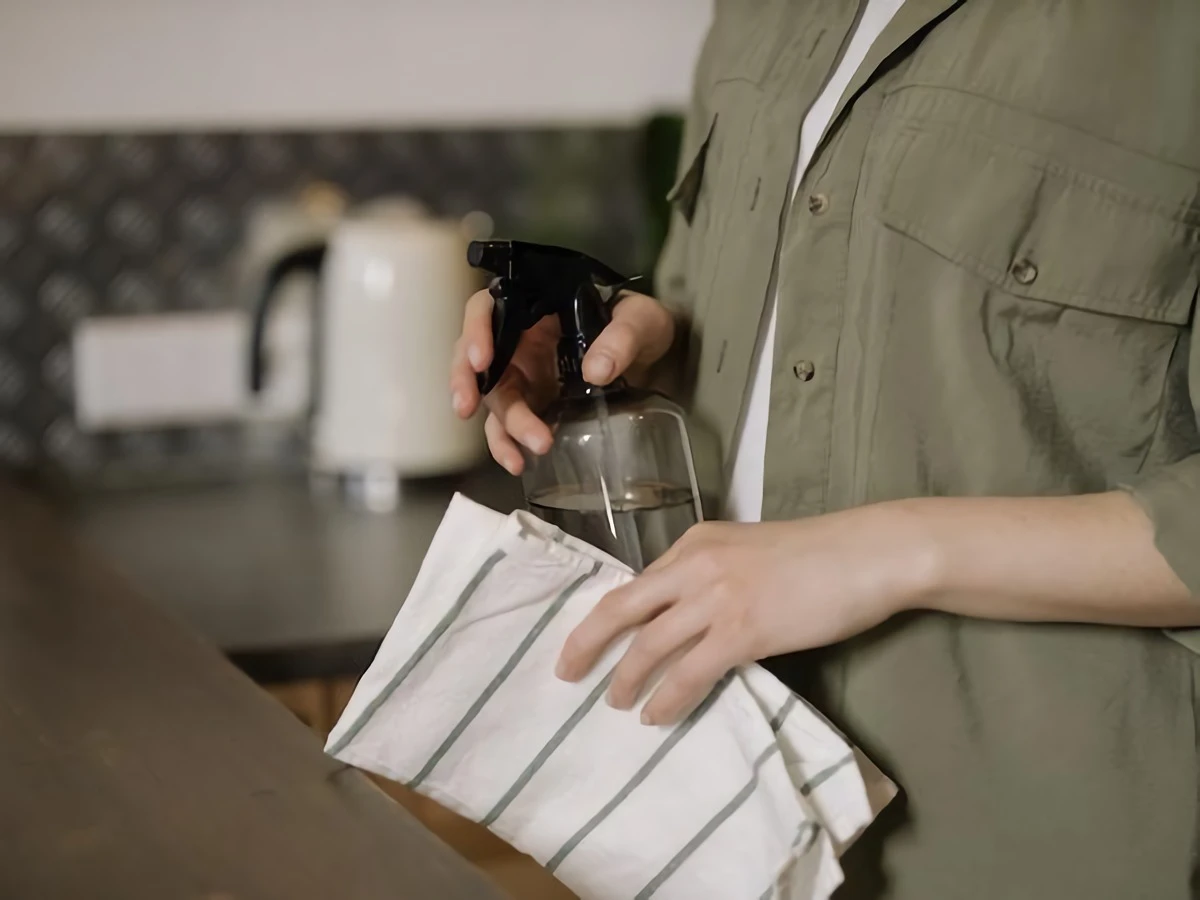
- Spray Bottle: Any cheap one will do.
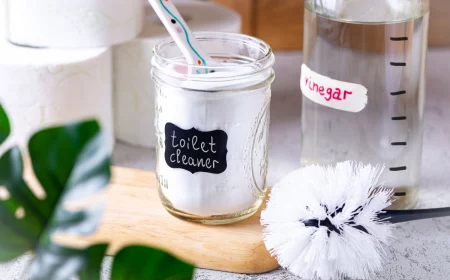
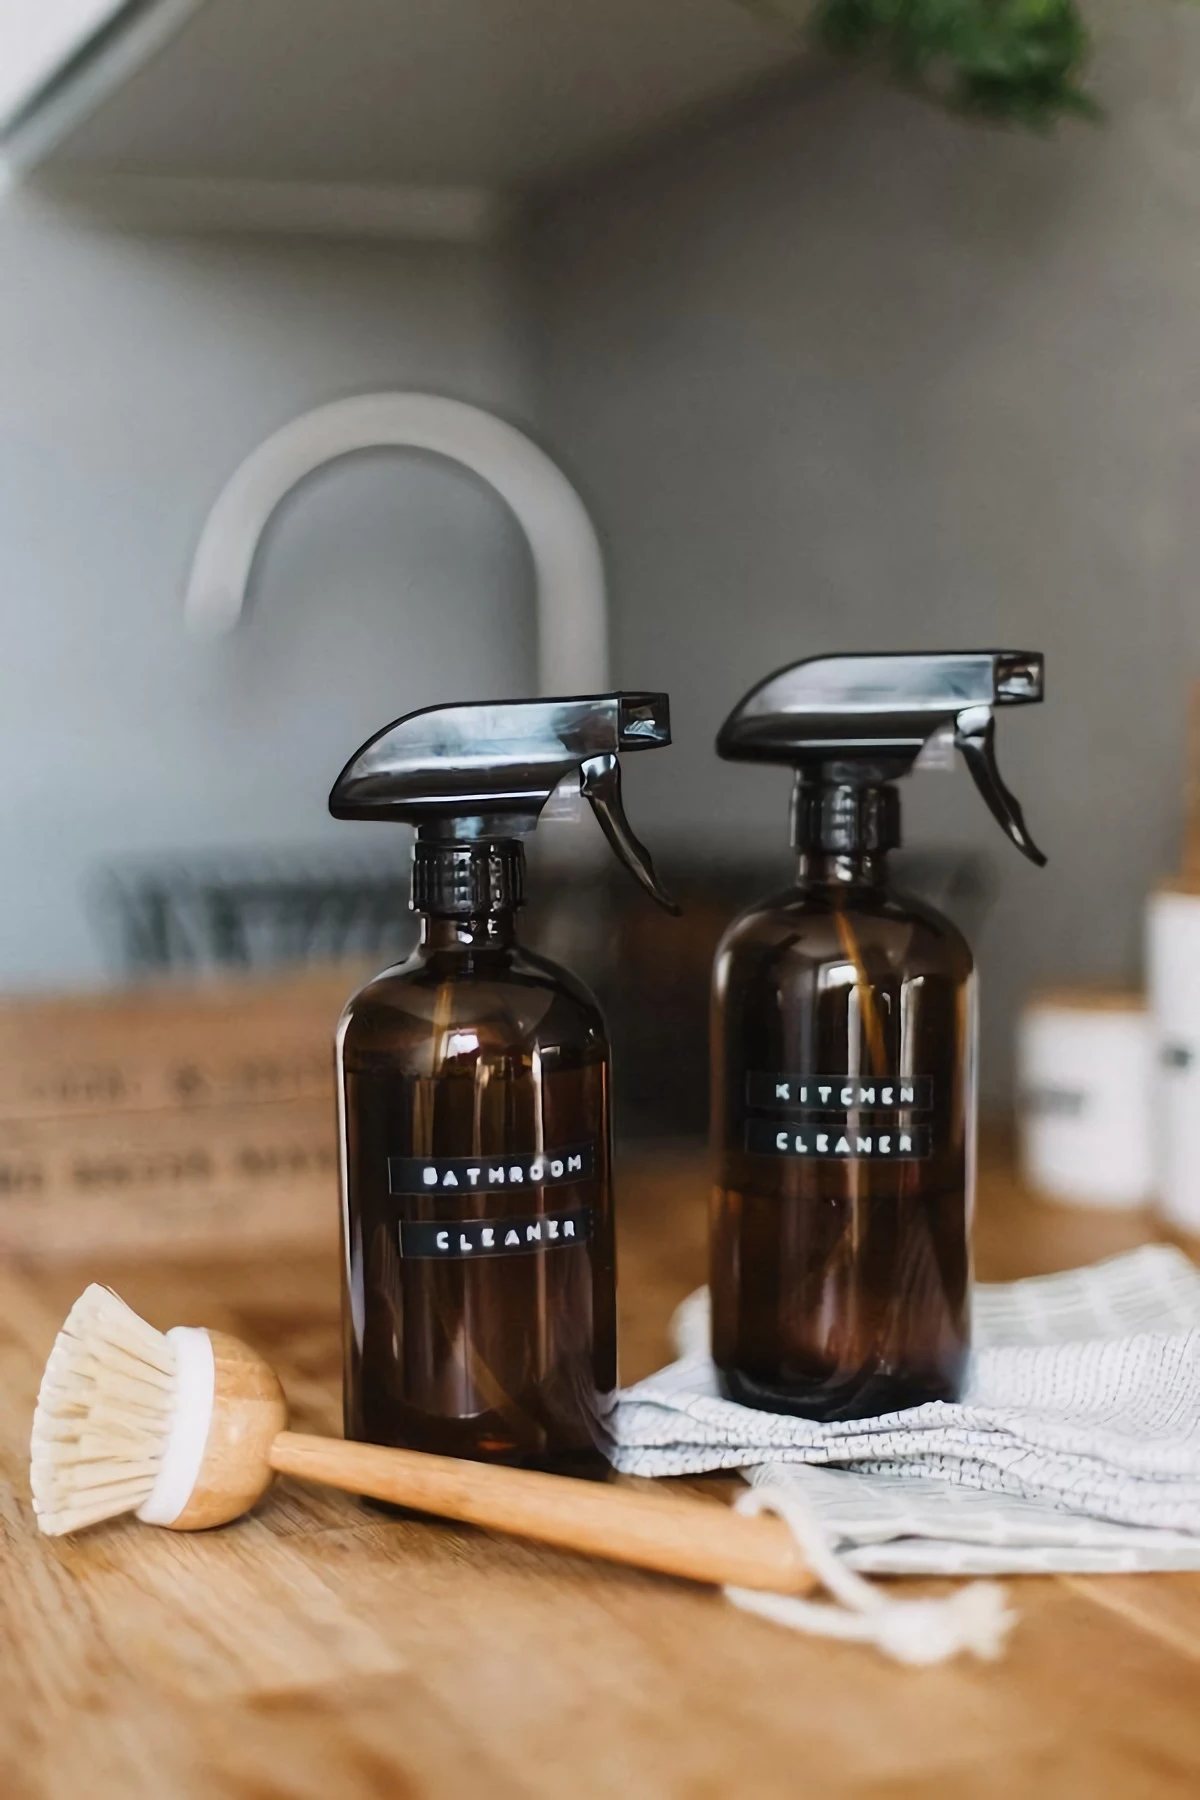
- White Vinegar or Lemon Juice: The workhorses of your cleaning solution.
- Quality Dish Soap: The blue kind is my go-to.
- Plastic Scraper/Blade (Optional): For the really, really tough jobs. It’s a few bucks.
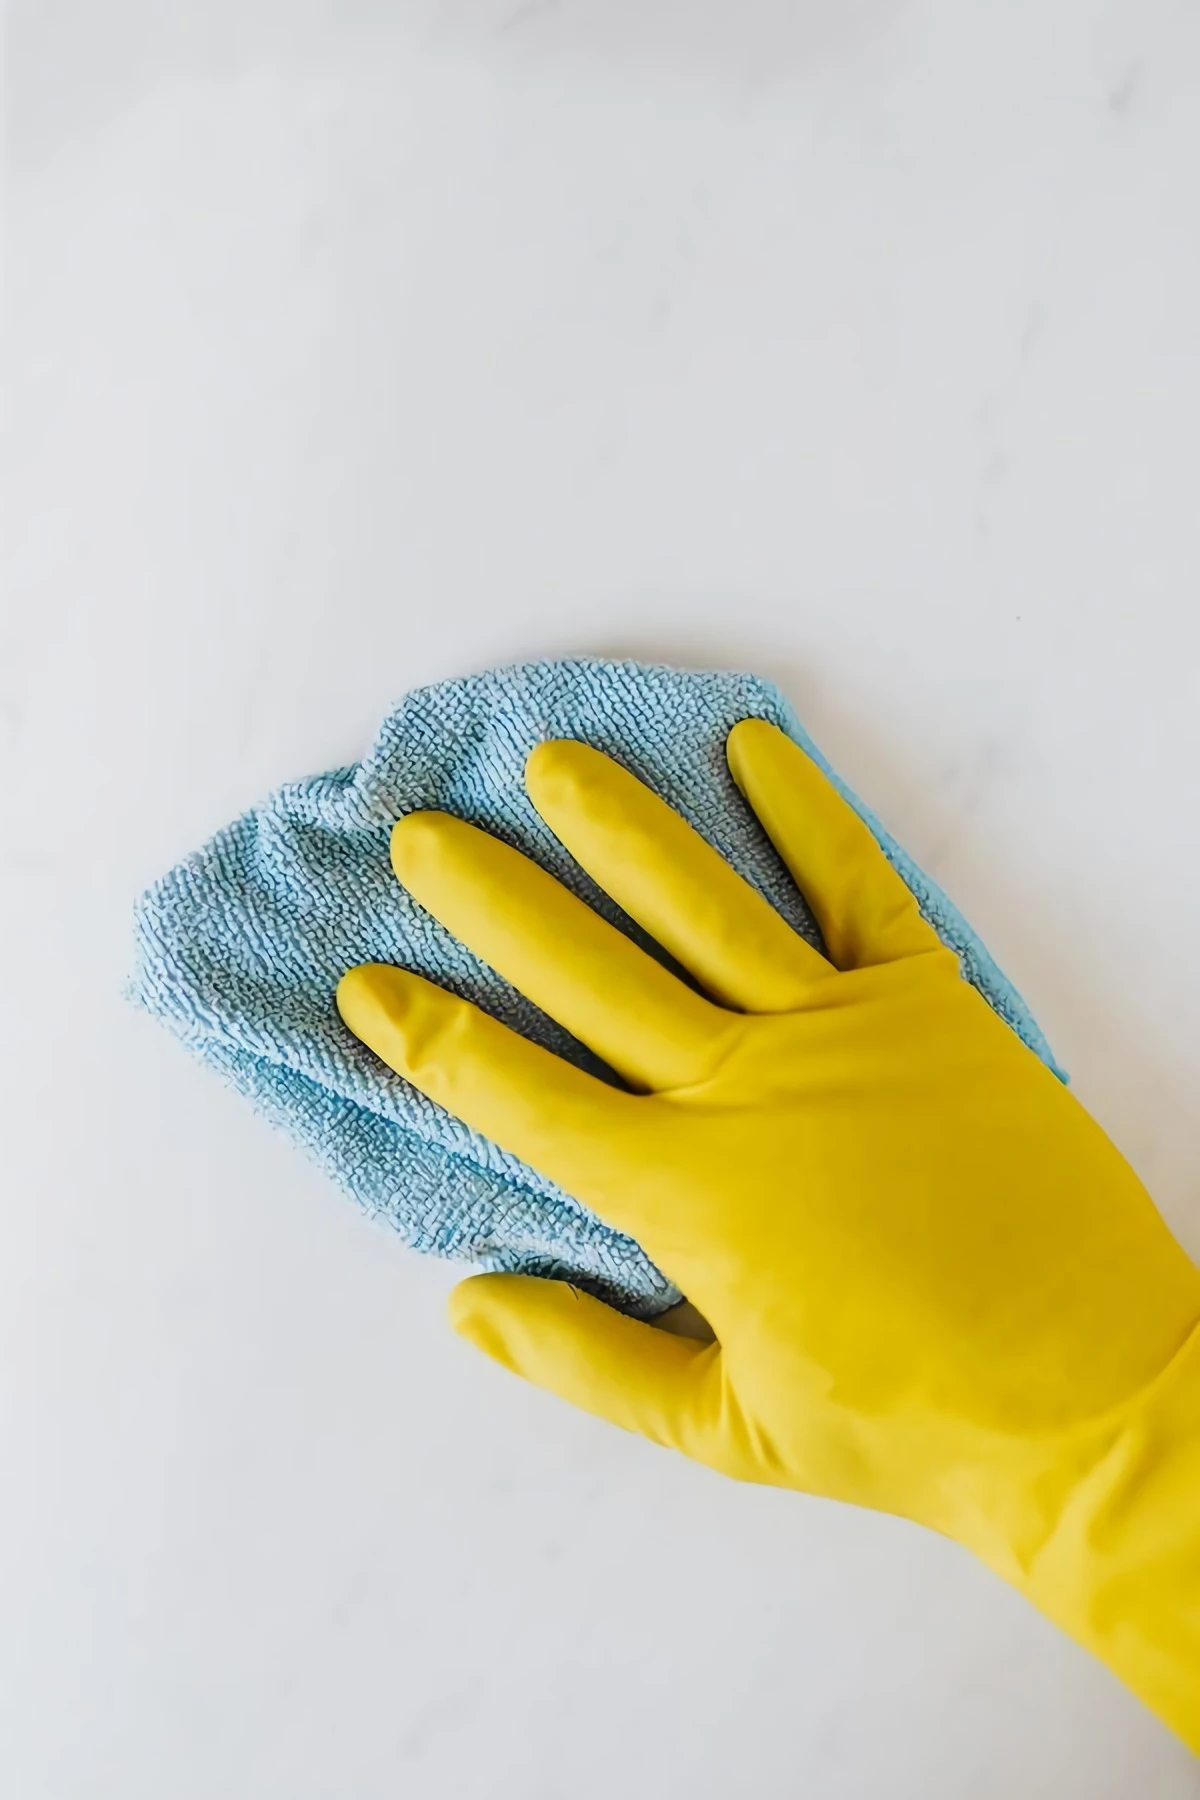
- Waterproof Gloves and Safety Glasses: Non-negotiable!
A good squeegee is the most important tool here. Seriously. I recommend a 10 or 12-inch professional model with a metal handle and a soft, replaceable silicone blade. Those cheap plastic ones from the grocery store often chatter and skip across the glass, leaving streaks. A quality blade creates a perfect seal, pulling every drop of water off the glass.
And please, forget paper towels. They just leave lint behind. Microfiber is the professional standard for a reason. Waffle-weave cloths have a bit of texture for scrubbing, while the super-smooth glass polishing cloths are for that final, streak-free buff.
For any job that needs more scrubbing power, you have to use a non-abrasive pad. They are almost always white or blue. NEVER use a green or black kitchen scouring pad on glass. They contain tiny abrasive particles that will cover your shower door in a web of fine scratches. I learned that lesson the hard way early in my career, and it was an expensive mistake I’ll never make again.
The 3 Levels of Shower Glass Cleaning
Okay, there isn’t a one-size-fits-all method. The right approach depends entirely on how much buildup you have. Let’s think of it in three levels of attack: the 30-second daily habit, the 30-minute weekly refresh, and the 1-to-2-hour deep restoration for the really gnarly stuff. Figure out where your glass is at and pick your battle.
Level 1: The 30-Second Squeegee (Daily Prevention)
The easiest way to clean a shower door is to never let it get dirty. This takes less than a minute after every single shower. Start at a top corner and pull the squeegee down, overlapping each stroke by about an inch. After each pass, wipe the blade on a microfiber cloth to prevent dragging dirty water back onto the clean glass. A door that gets this treatment daily might only need a real cleaning once a month.
My challenge to you: Try this for just one week. I guarantee you’ll be shocked by the difference. Come back and leave a comment about how it went!
Level 2: The Weekly Refresh (The Go-To Solution)
This is for light soap scum and the first signs of water spots. It’s my standard maintenance clean.
The Mix: In a spray bottle, combine 1 part white vinegar and 3 parts warm water, plus about a teaspoon of quality dish soap. The warm water helps the acid work a little faster. By the way, if you can’t stand the smell of vinegar, you can use an equal amount of lemon juice—it provides the citric acid you need.
The Process:
- Spray the glass down generously, from top to bottom.
- Let it sit for at least 15-20 minutes. This is called “dwell time,” and it’s the most important step. You have to give the acid time to work its magic. Don’t rush it.
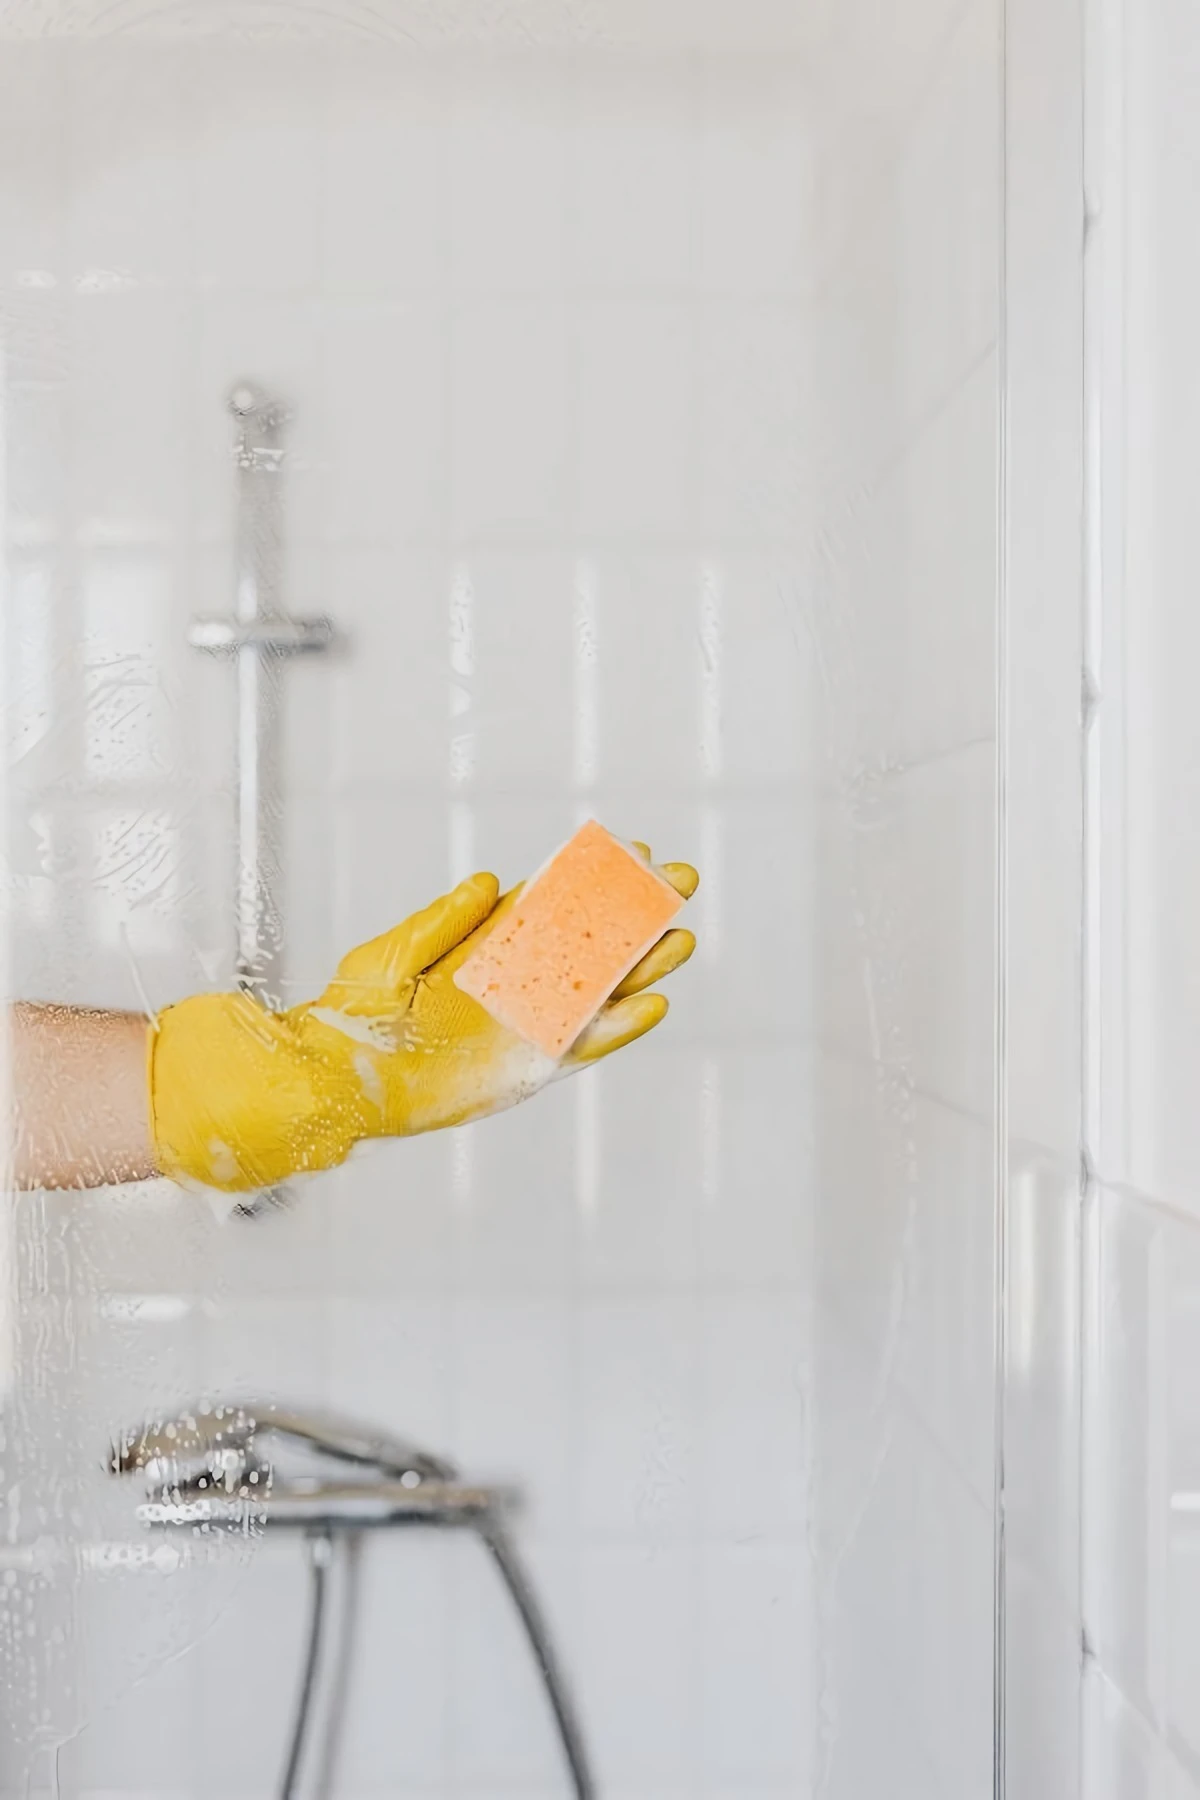
- After it’s dwelled, gently scrub the glass in circles with a non-abrasive white scrub pad. You’ll feel the surface go from rough to smooth as the deposits break down.
- Rinse the door thoroughly with warm water. A detachable shower head is your best friend here.
- Squeegee the glass completely dry, then give it a final buff with a flat-weave microfiber cloth to erase any last streaks.
Level 3: The Deep Restoration (For Heavy Buildup)
This is for those neglected doors with a thick, opaque layer of scale. For this, you’ll need to set aside a solid 60-90 minutes. Don’t rush. The results are worth it.
Sometimes, vinegar just isn’t strong enough. In these cases, you might need to step up to a specialized, professional-grade cleaner. Look for products that contain sulfamic or phosphoric acid. You can find them at most hardware stores; some great options are Bio-Clean Hard Water Stain Remover or Bar Keepers Friend MORE Spray + Foam. Always read the safety warnings and wear your gloves and eye protection!
For the most stubborn, caked-on spots, this is where a plastic razor blade comes into play. With the glass soaked in your cleaner, hold the plastic blade at a low angle (about 30 degrees) and gently push. You will literally hear the scale crunching as it comes off—it’s incredibly satisfying, but go slow! This is an advanced technique, so always test it in a small corner first.
Heads Up! Special Cases & Different Types of Glass
Not all glass is created equal, and using the wrong method can cause damage you can’t undo. Always figure out what you’re working with first.
Frosted or Etched Glass
That frosted look comes from a rough, porous surface that just loves to trap soap scum and oils. You can’t use a scraper or any kind of abrasive pad here, or you’ll smooth out and ruin the finish. The best tool is a soft-bristle brush (like a dish brush) with your vinegar solution. The bristles can get into all the tiny pores to lift the grime out.

Glass with Protective Coatings
Many modern shower doors come with a factory-applied coating that makes water bead up and roll off. These are great, but harsh chemicals and abrasive pads will strip that coating right off. For these doors, stick to a pH-neutral cleaner or a simple mix of dish soap and water. If you strip the coating, the glass will get spotty much faster. You can apply an aftermarket product like Rain-X for Showers, but you’ll have to reapply it every few weeks.
What About Plastic or Acrylic Doors?
Oh yeah, a lot of people have these. Good to know: plastic and acrylic doors are much softer than glass and scratch very easily. Never use any kind of scraper or abrasive pad on them, not even the ‘non-abrasive’ ones. Stick to the vinegar-and-soap solution and use a soft microfiber cloth or a very soft brush. The cleaning principles are the same, you just have to be much gentler with your tools.

When Is It a Lost Cause?
To be frank, there is a point of no return. Sometimes, especially with very hard water over many years, the minerals can permanently etch the surface of the glass. It creates a cloudy look that is in the glass, not on it. If you’ve done a full Level 3 deep clean with a specialized cleaner and a plastic scraper and the glass is still cloudy, the damage is likely permanent. At that point, no amount of scrubbing will help, and you’d be looking at professional restoration or replacement.
Seriously, Don’t Skip This Part (Safety Rules)
I can’t stress this enough. Cleaning chemicals can be dangerous if you’re not careful. These are the hard rules I live by.
- Never, Ever Mix Cleaning Products. This is the big one. Specifically, never mix bleach with ammonia—it creates toxic gas. It’s also a bad idea to mix acidic cleaners (like vinegar) with bleach. The simple rule is: use one product at a time. Rinse the surface completely before you even think about trying something else.
- Ventilate! Bathrooms are small, enclosed spaces. Turn on the exhaust fan and open a window if you can. I once got dizzy cleaning a tiny, windowless bathroom because I forgot the fan. It’s a simple mistake that can have serious consequences.
- Protect Yourself. Wear waterproof gloves. Wear safety glasses, especially if you’re using anything stronger than vinegar. A tiny splash in the eye is no joke.
So there you have it. By following these guidelines, you’re not just cleaning; you’re doing professional-level maintenance. That cloudy film doesn’t have to be a permanent fixture in your bathroom. With a bit of know-how and some consistency, you can absolutely get—and keep—that crystal-clear finish.
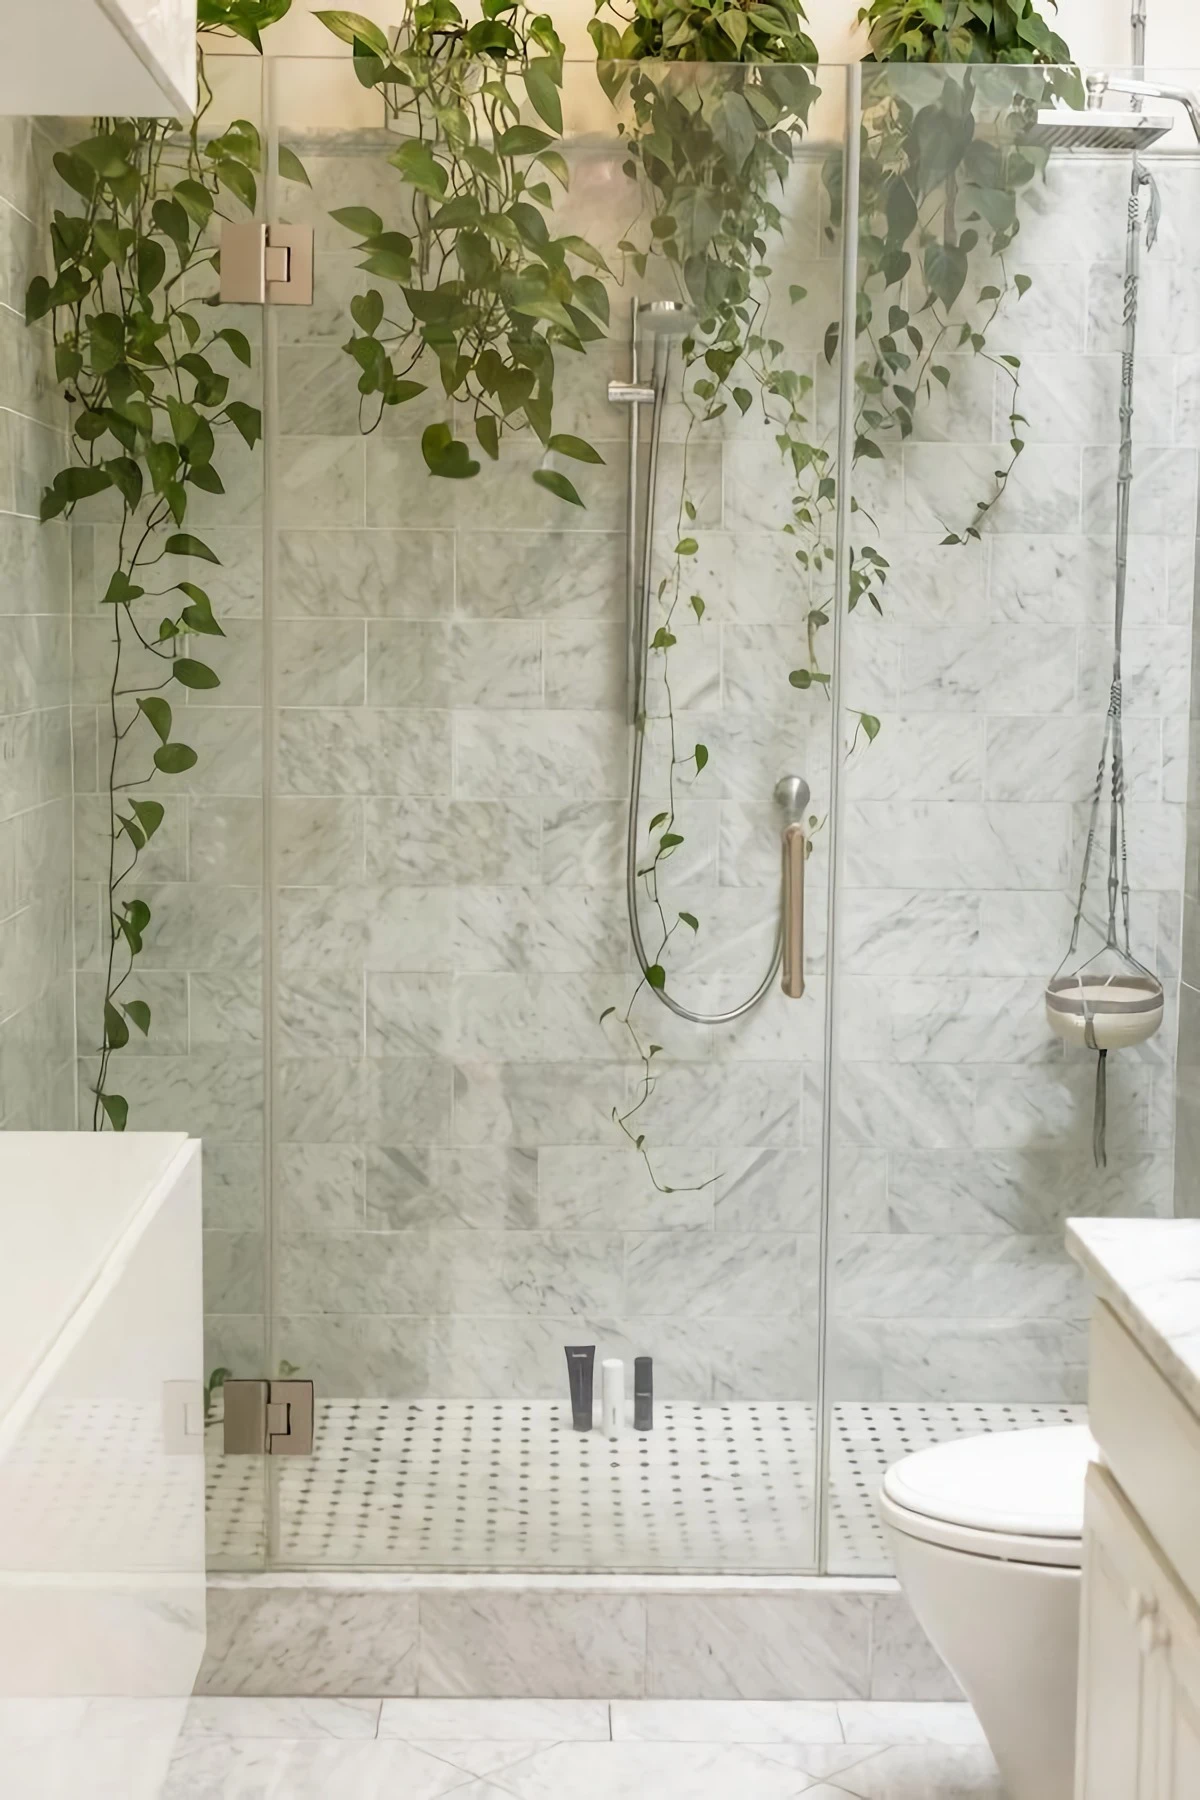
Inspirational Gallery with Photos
According to the U.S. Geological Survey, over 85% of homes in the United States have hard water.
This single statistic explains why cloudy shower doors are such a widespread frustration. If you live in one of these areas, you’re in a constant battle against mineral deposits. While cleaning is essential, the ultimate long-term solution is a whole-house water softener, which tackles the problem at its source.
The one tool every shower needs: A high-quality squeegee. But not all are created equal. Look for one with a flexible, streak-free silicone blade, not hard rubber. Brands like OXO Good Grips offer ergonomic handles that make the daily 30-second wipe-down feel less like a chore. Store it in the shower with a suction hook for a powerful visual reminder.
What about the metal frame and tracks?
Grime loves to hide in crevices. Don’t let a sparkling door be framed by gunk. For chrome or stainless steel, your same vinegar solution works wonders. For sensitive finishes like matte black or brushed brass, check the manufacturer’s guidelines; often, a simple pH-neutral soap is best. Use an old toothbrush to get into the tracks and corners where buildup is heaviest.
- Reduces daily cleaning to almost zero.
- Prevents mineral and soap scum from ever bonding to the surface.
- Maintains that brand-new, invisible look for years.
The secret? A hydrophobic glass treatment. Products like Rain-X for Shower Doors or the more permanent EnduroShield create an ultra-slick surface that water just can’t cling to. It’s the ultimate ‘work smarter, not harder’ upgrade.
The biggest cleaning mistake: Using abrasive pads or harsh scouring powders. While they might seem to cut through the grime faster, they can create thousands of micro-scratches on the glass surface. These tiny scratches not only permanently cloud the glass’s appearance but also create even more texture for future soap scum and limescale to grip onto, making your problem worse in the long run.
For truly stubborn soap scum (the waxy, greasy kind), a damp melamine foam sponge can be a game-changer. A Mr. Clean Magic Eraser, for instance, acts like super-fine sandpaper that gently lifts the residue without harsh chemicals. Always use it wet and test on an inconspicuous corner first.
Squeegee: The champion for speed and efficiency. In a few quick passes, it removes the bulk of the water, drastically slowing limescale formation. Perfect for clear, flat glass surfaces.
Microfiber Cloth: The master of detail. A high-quality, absorbent cloth (like those from E-Cloth) gets every last drop, especially around handles and hinges where a squeegee can’t reach. It’s the key to a truly spot-free finish.
Don’t underestimate the power of steam. Before you start your deep clean, run the shower on hot for a few minutes with the door closed. The warm, humid environment helps to soften and loosen both mineral deposits and soap scum, meaning you’ll need less product and less elbow grease to get the glass sparkling.
If the smell of vinegar is too clinical for your bathroom sanctuary, you can easily upgrade your DIY cleaner.
- Swap white vinegar for an equal amount of pure lemon juice. The citric acid is just as effective at dissolving minerals.
- Add 5-10 drops of a grease-cutting essential oil like lemon, orange, or tea tree oil to help break down soap scum and leave behind a fresh scent.
For textured or frosted glass, avoid using paste-based cleaners.
The fine abrasive particles can get lodged in the textured surface, creating a cloudy residue that’s nearly impossible to remove. Stick to liquid spray cleaners and use a soft-bristled brush instead of a cloth to gently scrub the entire surface, ensuring the cleaner gets into all the nooks and crannies.