Your Shower’s Dirty Secret: How to Make Tile, Fiberglass, and Stone Actually Sparkle
If there’s one thing I’ve learned from tackling countless grimy bathrooms, it’s this: a shower isn’t just a shower. It’s a system of different surfaces, and each one has its own mortal enemy. Honestly, most of the time when people can’t get their shower clean, it’s because they’re using the wrong stuff for their specific material. It can even cause permanent damage—something I’ve seen way too often.
In this article
So many of us just grab a generic bathroom spray and hope for the best. Let’s change that. I’m going to walk you through how the pros get it done, starting with what that grime on your shower walls is actually made of. Then we’ll cover the right tools and tricks for your shower, whether it’s classic tile, a modern fiberglass unit, or fancy natural stone. This is the stuff that makes the difference between a quick wipe-down and a deep, restorative clean that actually protects your bathroom.
First, Know Your Enemy
Before you start scrubbing, you have to know what you’re up against. That gunk in your shower is usually a cocktail of three different things, and you need a different battle plan for each.
1. Soap Scum: You know that dull, waxy, grayish film on the walls and glass door? That isn’t really dirt. It’s what happens when the fats and talc in most bar soaps meet the minerals in hard water. They create a gross, insoluble film that sticks to everything. Because it’s greasy, it traps body oils and skin cells, making it a five-star resort for bacteria and mold. You can feel it—scrape it with a fingernail, and it’ll feel sticky and thick.
2. Limescale (Hard Water Stains): If you see chalky, crusty white stuff building up around your shower head and faucet handles, that’s limescale. This is purely a mineral issue. When water evaporates, it leaves behind minerals like calcium carbonate. The harder your water, the faster this stuff builds up. Unlike soap scum, it feels hard and brittle, not greasy. To beat it, you need something acidic to dissolve the mineral bonds.

3. Mold and Mildew: Those unwelcome black, pink, or orange spots lurking in grout lines and caulk are alive. Yep, they’re fungi that absolutely love dark, damp spaces with no airflow (sound familiar?). They snack on the organic goodies in soap scum. And by the way, that pink “mold” is actually a type of bacteria, but we treat it pretty much the same way. This isn’t just ugly; it can impact your home’s air quality, which is a real problem for anyone with allergies or asthma.
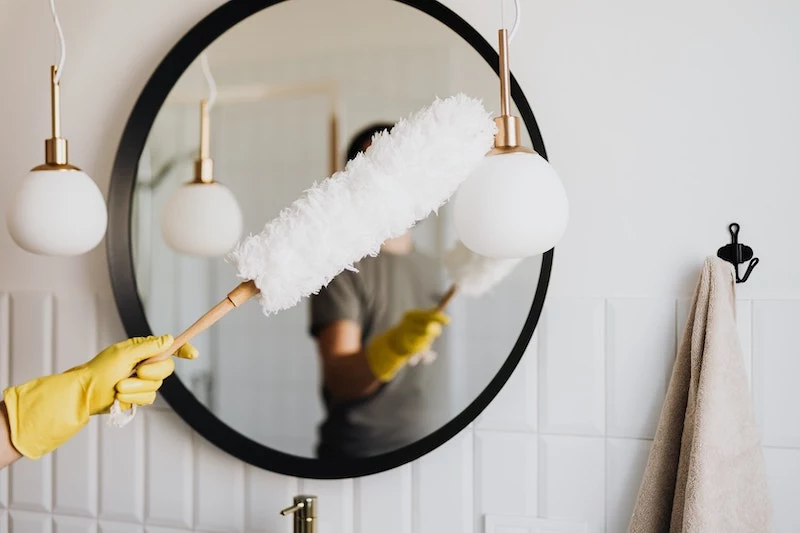
Your Cleaning Toolkit: What You Actually Need
Having the right tools is just as critical as the cleaners. Using a standard green scouring pad on a fiberglass tub can leave thousands of tiny scratches that will just trap more dirt later. You don’t need a whole van full of gear, but a solid basic kit makes the job way easier and safer.
- Non-Scratch Scouring Pads: Look for the blue or white ones. The common green pads are way too abrasive for most shower surfaces and will cause permanent damage to acrylic, fiberglass, and even some glossy tiles.
- Grout Brush: An old toothbrush works in a pinch, but a real grout brush (they’re usually around $7 at Home Depot or online) with stiff, angled bristles gives you so much more leverage. It’s a cheap tool that makes a huge difference.
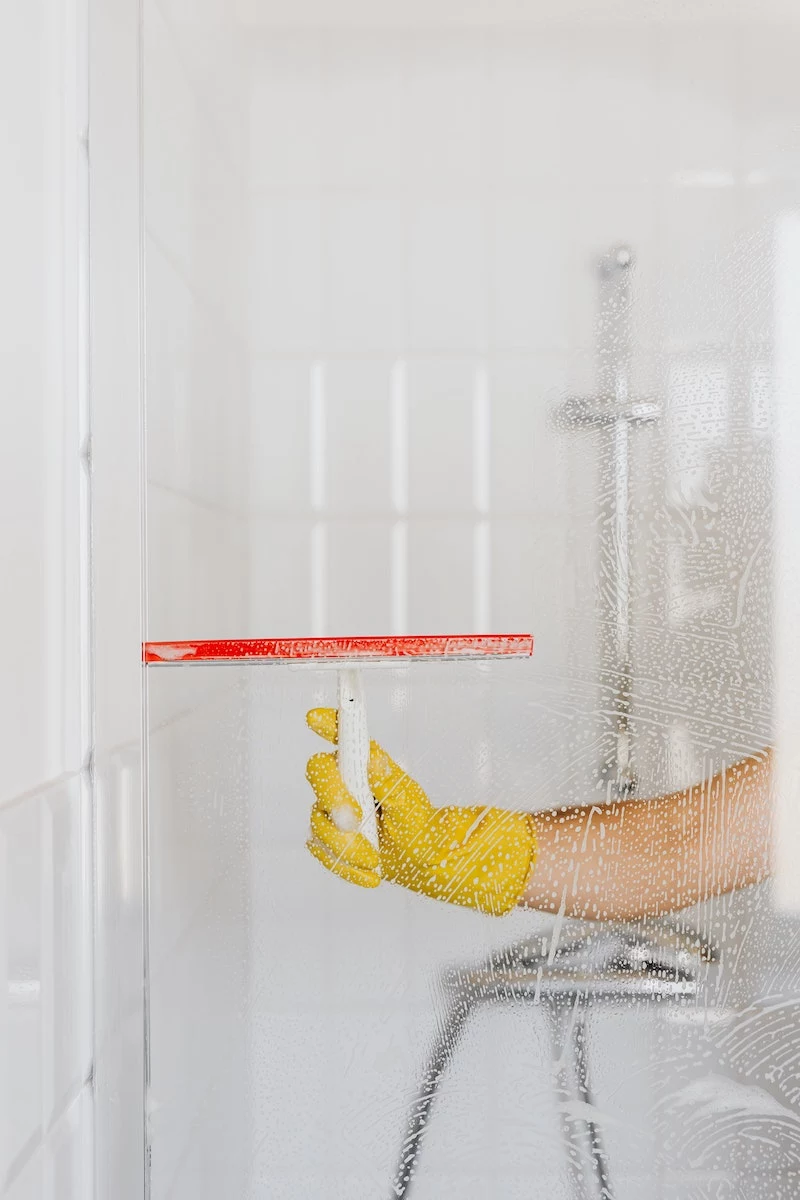
- A Good Squeegee: This is your number one defensive tool. A quality 10- or 12-inch squeegee used after every shower takes less than a minute and prevents 80% of the problems before they start.
- Microfiber Cloths: Grab a pack. You’ll want one for cleaning and a separate dry one for buffing fixtures to a streak-free shine. They’re way better than old towels.
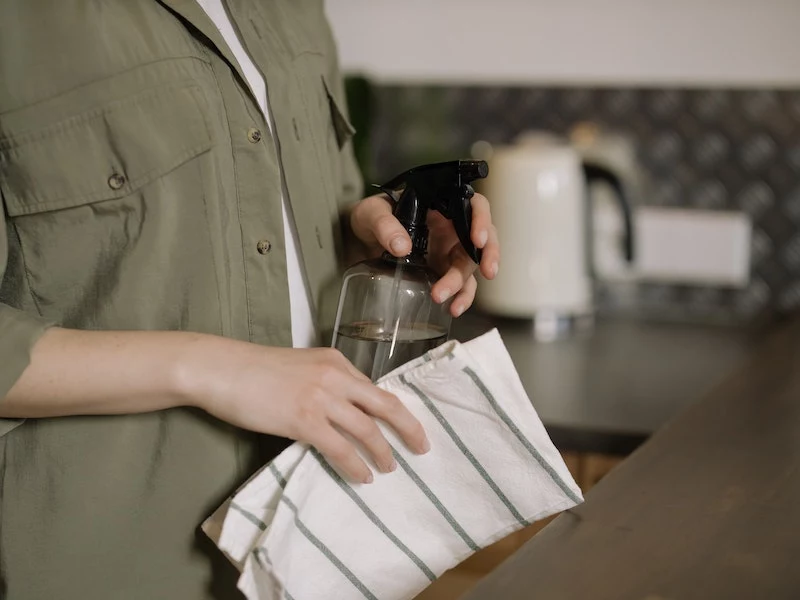
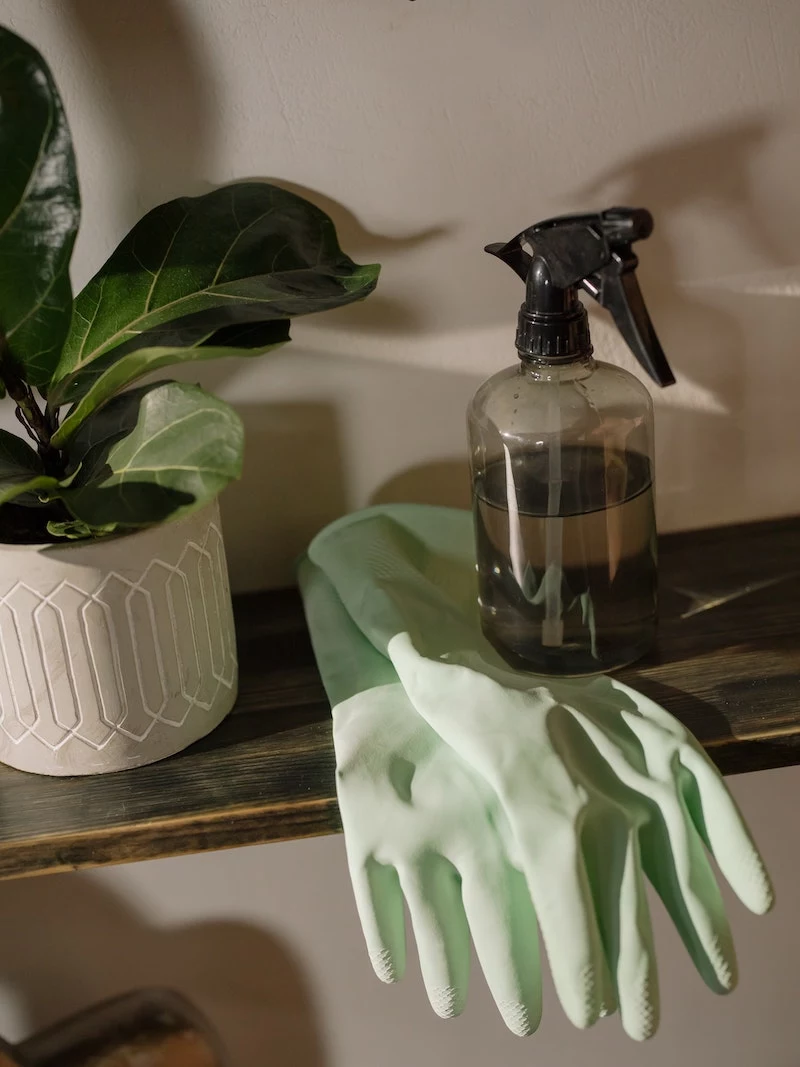
- Spray Bottles: A couple of sturdy, clearly labeled bottles for your homemade solutions are a must. Quick tip: never reuse a bottle from a commercial cleaner, as chemical residues can mix.
When it comes to cleaners, you can get amazing results with simple, cheap stuff you probably already have.
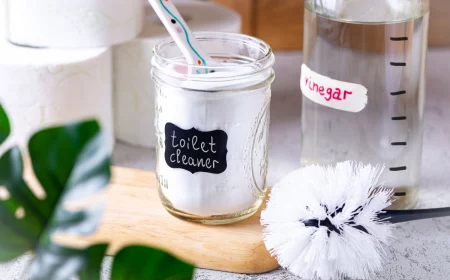
- For Limescale (Acidic): Plain old white vinegar is your best friend. A simple 50/50 mix of white vinegar and water in a spray bottle will dissolve mineral deposits. The key is to let it sit for 10-15 minutes to work its magic.
- For Soap Scum (Alkaline): These break down grease and oils. Basic dish soap is a fantastic, gentle option. Baking soda is another powerhouse—it’s a mild alkali and a soft abrasive that helps scrub away grime without scratching.
- For Mold & Mildew (Disinfectant): I’m a huge fan of 3% hydrogen peroxide. It kills mold and its spores but safely breaks down into just water and oxygen, which is much better than breathing in bleach fumes.
Heads Up: Safety First!
Okay, real talk. We’re working with chemicals in a small, wet, slippery space. This is the part you can’t skip.
- Ventilate, Ventilate, Ventilate. Turn on the bathroom fan and crack a window. This is non-negotiable for preventing fume inhalation.
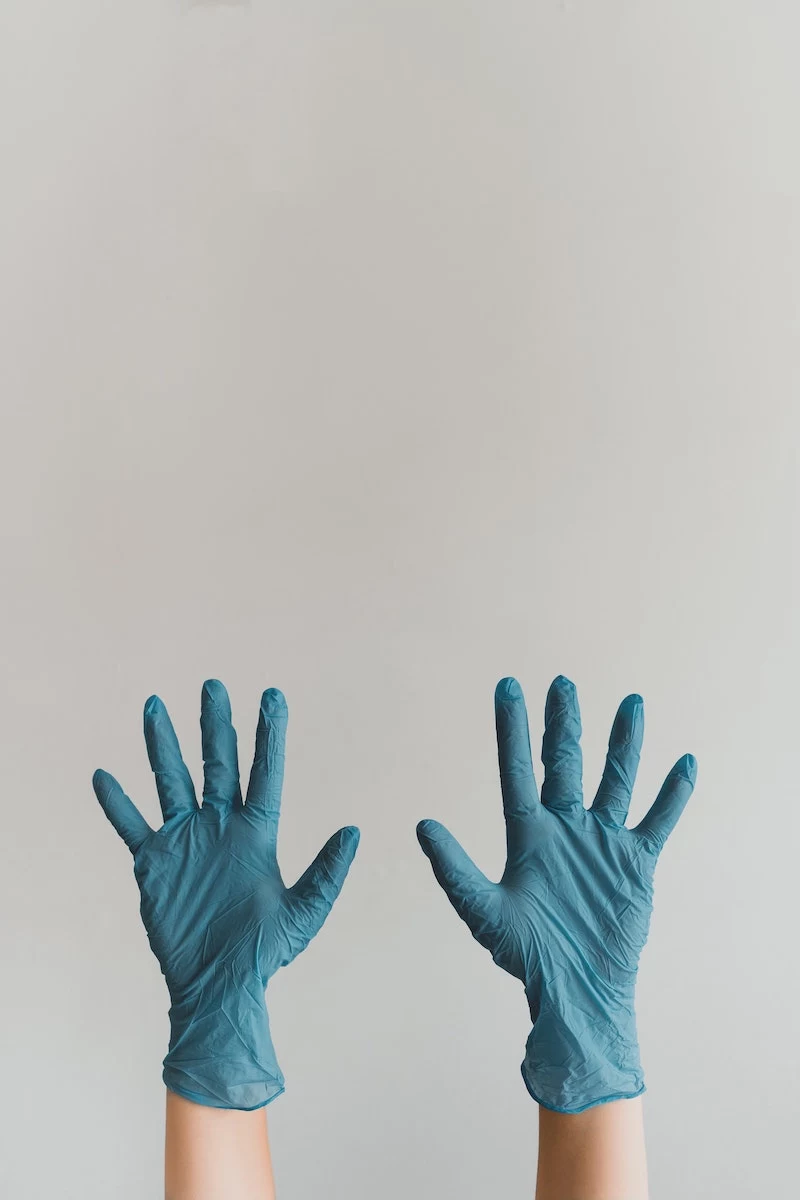
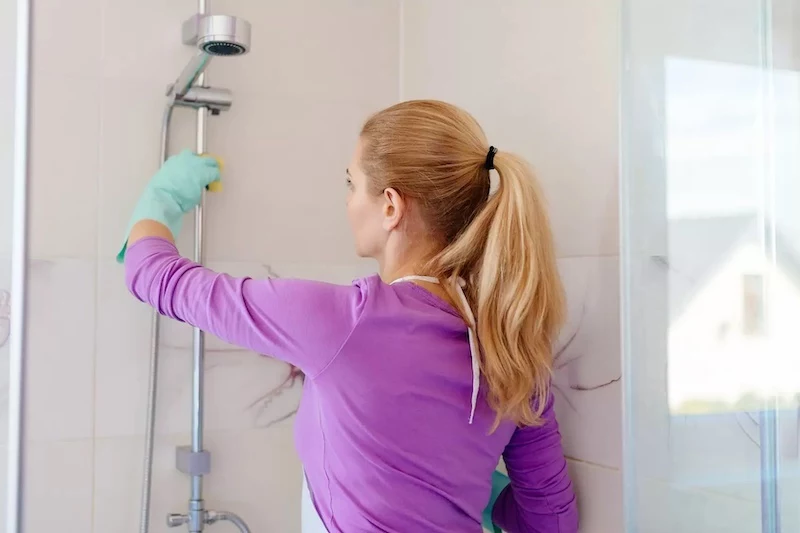
- Protect Yourself. Always wear waterproof gloves (nitrile is great) and some form of safety glasses. A splash of cleaner to the eye is a nightmare you don’t want.
- NEVER Mix Cleaners. This is the cardinal rule. Especially never mix bleach with ammonia (creates toxic gas) or bleach with acid (creates chlorine gas). Just stick to one cleaner at a time.
- Watch Your Step. The floor is going to be slippery. Work carefully and make rinsing the floor your very last step.

Okay, But What Kind of Shower Do I Have?
This is a super common question. Before you start cleaning, you need to know your surface. A wrong guess can be a costly mistake. Here’s a quick guide:
- Ceramic or Porcelain Tile: This is the most obvious one. You’ll see individual tiles separated by grout lines. If you tap on it, it feels hard, solid, and cold. It won’t have any give to it.
- Fiberglass or Acrylic: These are often single, seamless units or shower pans. They feel slightly warmer and more “plasticky” to the touch. If you press on the wall, it might have a tiny bit of flex, and tapping on it will produce a more hollow sound.
- Natural Stone: This is the luxury option. You’ll see unique, natural patterns, veins, and color variations—no two areas look exactly alike. It feels very hard, dense, and cold. Common types include marble (often white/gray with soft veins), travertine (earthy, fibrous patterns), and slate (dark and layered).
The Right Cleaning Method for Your Shower
Alright, now we get to the fun part. Before we dive deep, here’s the quick and dirty summary:
For Tile: Your best friend is a simple vinegar-water solution. Your biggest enemy is neglect, especially when it comes to the grout.
For Fiberglass/Acrylic: Stick with gentle, non-abrasive cleaners like warm vinegar and dish soap. The mortal enemy here is anything abrasive—scouring powders or green scrub pads will ruin the finish.
For Natural Stone: You absolutely must use a pH-neutral cleaner specifically made for stone. Your enemy is ANY acid (vinegar, lemon juice) or harsh bathroom cleaner, which will permanently etch the surface.
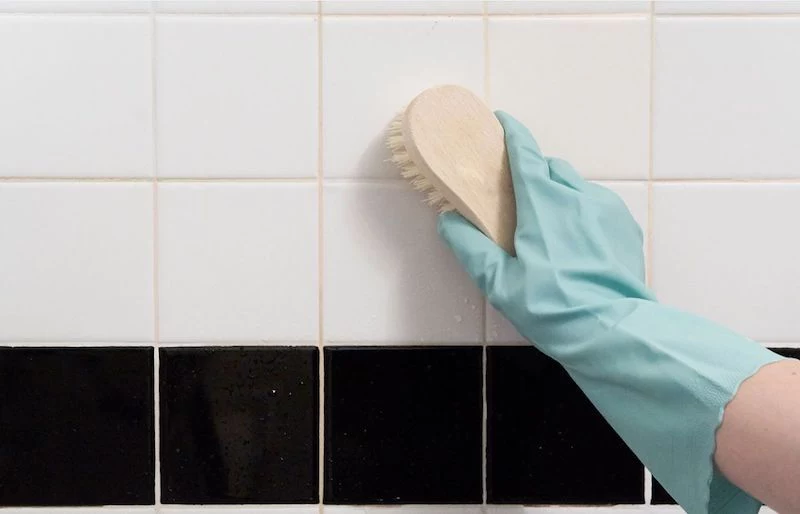
A. For Ceramic and Porcelain Tile Showers
These are workhorses and can handle some serious cleaning. The tile itself is durable; the grout is your weak spot.
- Pre-Rinse: Get everything wet with warm water to loosen things up.
- Apply Cleaner & Wait: Spray everything down with your 50/50 vinegar-water mix. Let it sit for at least 15 minutes. Don’t skip the waiting—this “dwell time” is what lets the acid dissolve the minerals.
- Lesser-known trick: If your spray just runs down the walls, add about a teaspoon of cornstarch to your spray bottle and shake it vigorously. It will create a thicker solution that clings to vertical surfaces, giving the vinegar more time to work.
- Attack the Grout: While the spray is sitting, use your grout brush to scrub the grout lines. For really stubborn stains, make a paste of baking soda and a little water. Apply it to the grout, then spray it with your vinegar solution. It will fizz up, helping to lift stains from deep within the pores. For truly neglected grout, a paste made of oxygen bleach powder (like OxiClean) and water left on for an hour works wonders.
- Scrub Tiles & Rinse: Now, use your non-scratch pad to scrub the tiles themselves. Then, rinse everything thoroughly from the top down to wash all the grime away.
- Dry and Polish: A quick pass with a squeegee and a final wipe of the fixtures with a dry microfiber cloth makes everything gleam.
Pro Tip on Grout Sealing: Standard grout is porous. Not sure if yours needs sealing? Splash a little water on it. If the water beads up, you’re good. If it soaks in and darkens the grout, it’s time to seal. A good silicone-based grout sealer will cost you about $15-$25, but one bottle can last for years and will save you hours of scrubbing by preventing mold growth in the first place.
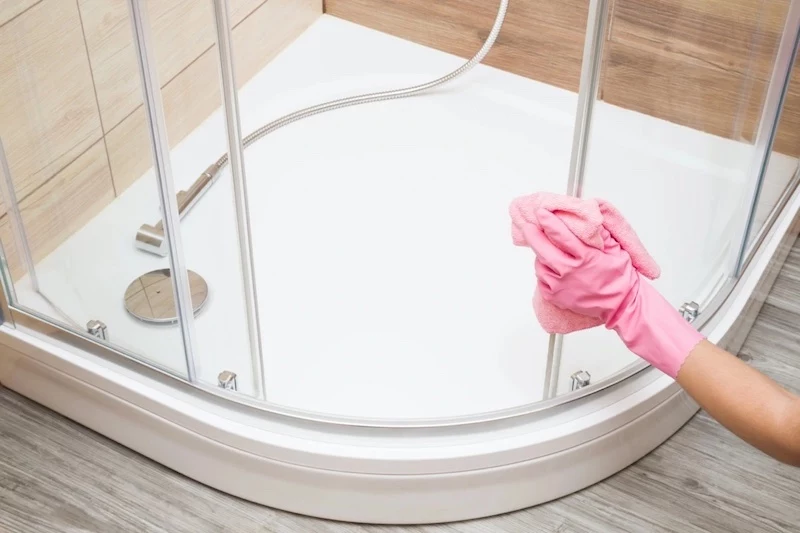
B. For Fiberglass and Acrylic Showers
The number one rule here is to be gentle. The finish on these units scratches easily, and once it’s scratched, it’s a magnet for dirt.
- Apply a Soft Cleaner: Avoid harsh acids. My go-to recipe is to gently warm up a cup of white vinegar in the microwave (just for 30 seconds) and mix it with about a cup of blue dish soap in a spray bottle. The warm vinegar helps with minerals, and the soap demolishes soap scum. Spray it everywhere.
- Let It Dwell: Let this solution sit for a good 20-30 minutes.
- Scrub Gently: Use only a soft sponge or a microfiber cloth. A blue non-scratch pad can be used with light pressure on tough spots, but never, ever use a green pad or a powdered cleanser.
- Rinse and Dry: Rinse thoroughly with warm water. These surfaces show water spots like crazy, so it’s super important to dry them completely with a squeegee or microfiber cloth.
From my own experience, I can tell you this is no joke. I once saw a brand-new acrylic tub get destroyed by someone using the wrong pad. It was covered in a web of fine scratches that couldn’t be polished out. It was a costly lesson: always use the softest tool that will get the job done.
C. For Natural Stone Showers (Marble, Travertine, Slate)
Natural stone is gorgeous, but it’s the diva of the bathroom—very high-maintenance and sensitive. Stone like marble is calcite-based, meaning acid will literally eat it, leaving a dull, rough spot called an etch that can only be fixed by a professional.
- Use the Right Cleaner. Period. You MUST use a cleaner specifically labeled as pH-neutral and safe for natural stone. No vinegar, no citrus, no standard bathroom sprays. No exceptions. Look for trusted brands like Granite Gold or StoneTech, which you can find at most hardware stores.
- Spray, Wipe, and Rinse Immediately: Unlike other surfaces, you don’t let the cleaner sit. Work in small, manageable sections. Spray an area, wipe it down with a soft cloth, and rinse it right away with clean water.
- Dry Completely: Stone is porous. Always, always dry it completely with a soft cloth to prevent water spots and mineral absorption.
Sealing Is Not Optional: If you have a stone shower, it must be sealed every 6 to 12 months. This is what stops water from seeping into the stone’s pores. Think of it as essential maintenance, not a suggestion.
The Finishing Touches
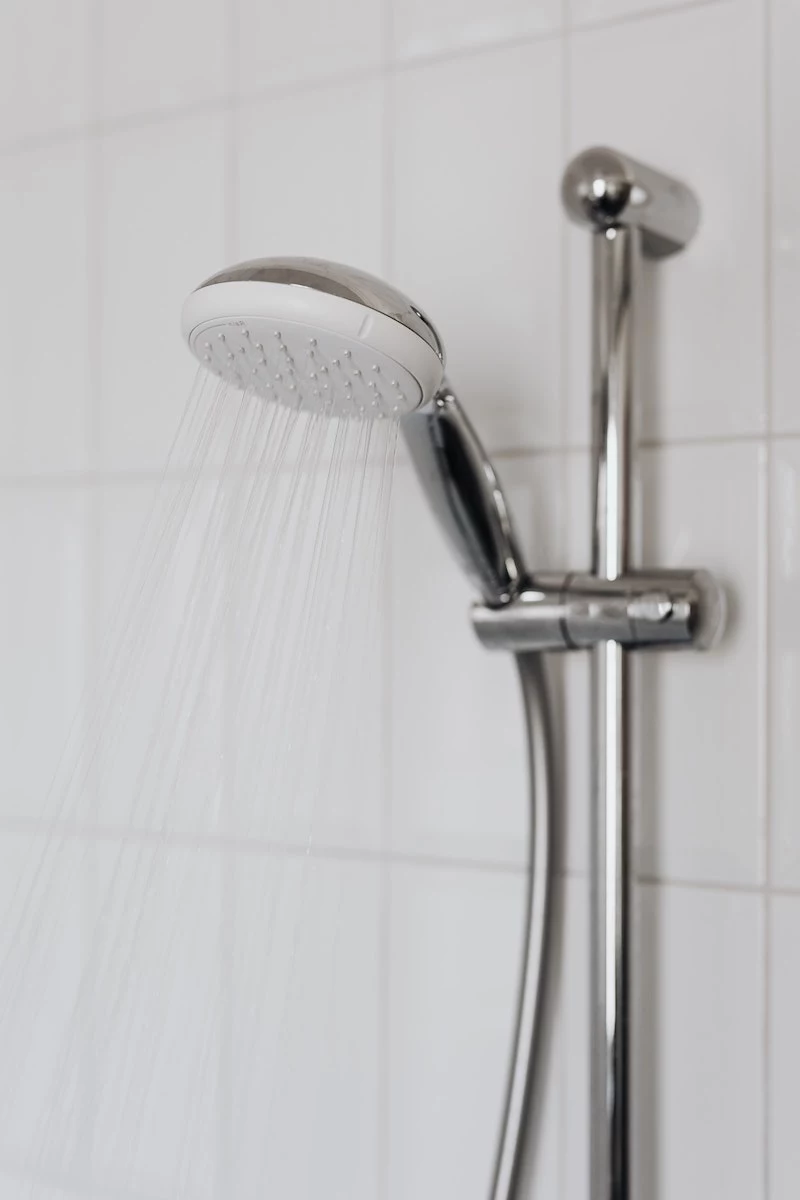
Shower Head: If it’s clogged, fill a plastic bag with your 50/50 vinegar-water mix and secure it over the head with a rubber band. Let it soak for an hour, then scrub with an old toothbrush. Heads up! If you have a delicate finish like matte black or oil-rubbed bronze, skip the long soak. The acid can damage these coatings. Just spray and scrub gently instead.
Glass Door: For really tough hard water spots on glass, a paste of baking soda and vinegar works well. For extreme cases (on glass ONLY), you can very gently use #0000 steel wool (the finest grade) and water. It will polish off deposits without scratching, but test in a corner first!
Drain: Before using chemicals, put on gloves and pull out any hair with a cheap plastic drain snake (like a Zip-It). Most clogs are just physical. For slow drains, enzymatic cleaners are much safer for your pipes than harsh chemicals.
Shower Curtain Liner: Don’t toss it! Throw it in the washing machine with a couple of towels (they act as scrubbers), add your regular detergent and a half-cup of baking soda. For the rinse cycle, add a half-cup of vinegar. Hang it back up to air dry. Never put it in the dryer.
When to Wave the White Flag and Call a Pro
Sometimes, a problem is beyond a DIY fix. It’s not giving up; it’s being smart. You should call for backup if:
- Mold is under the caulk or looks like it’s coming from the wall. If the black spots are behind that clear silicone bead, no amount of surface scrubbing will help. The old caulk needs to be removed, the area properly treated, and then re-caulked.
- Your natural stone is etched. If you have dull, rough patches on your marble or travertine from using the wrong cleaner, that’s damage to the stone itself. It requires professional honing and polishing to restore the finish.
- The job is just too big. If a shower has been neglected for years, has major grout issues, or the buildup is just overwhelming, a professional restoration cleaning can reset the clock and make future maintenance much easier for you.
At the end of the day, a deep clean is hard work. The real goal is to do it as little as possible. Squeegee daily, do a quick spray-and-wipe weekly, and you’ll find that your shower stays sparkling for so much longer. Taking a little time to understand what you’re working with will save you hours of scrubbing and keep your bathroom looking great for years to come.
Inspirational Gallery
The secret to a shower that stays cleaner, longer?
It’s all about daily prevention, and the humble squeegee is your best friend. After every shower, take 30 seconds to squeegee water off the walls and glass door. This simple act removes the majority of the water and soap residue before it can evaporate and turn into stubborn limescale or soap scum. For best results, use a quality silicone squeegee like the OXO Good Grips All-Purpose Squeegee, starting from the top and working your way down in overlapping strokes. It feels like a chore for the first week, then becomes a satisfying habit.