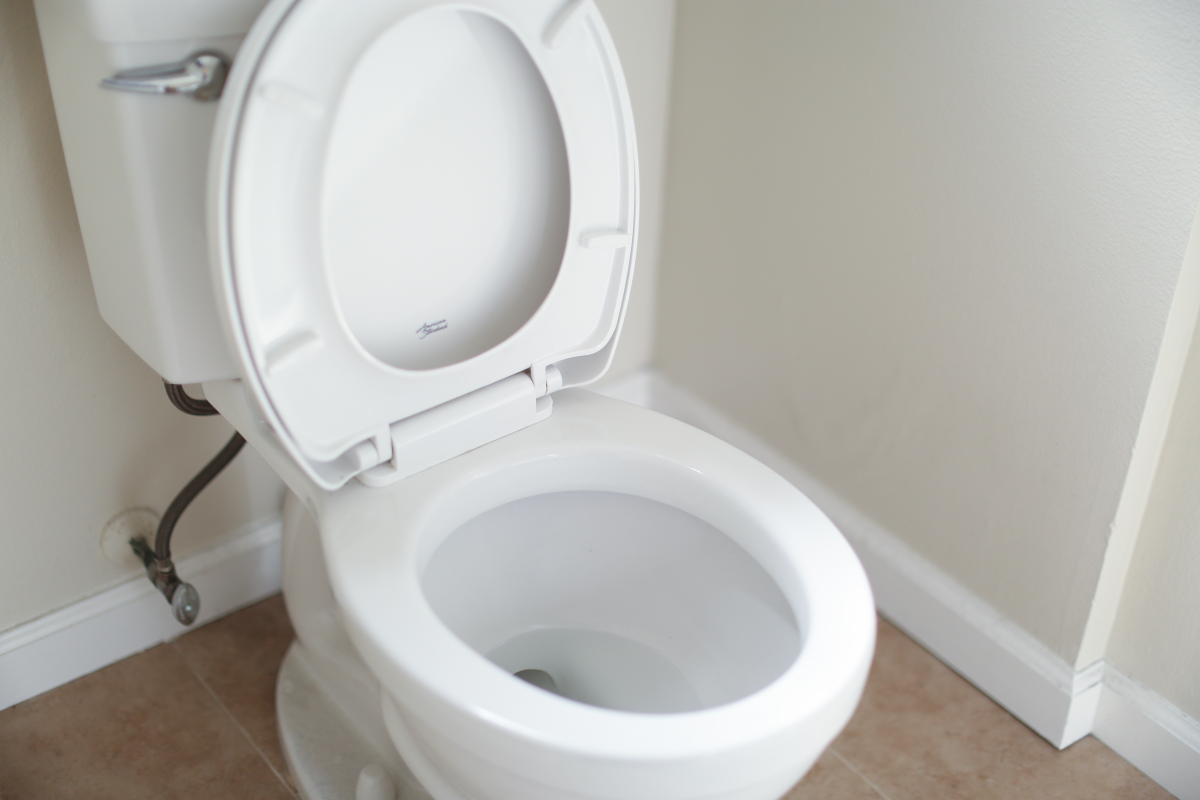
Forget Store-Bought: My Pro Secrets for DIY Toilet Cleaners That Actually Work
Alright, let’s talk toilets. I’ve spent more than two decades in the professional cleaning and building maintenance world, and honestly, I’ve probably cleaned more toilets than most people have seen in their lifetime. Back in the day, the only option we thought we had was a bottle of fuming, hazardous chemicals that could probably dissolve a wrench. They worked, sure, but the stinging fumes were brutal, and I saw firsthand how they could slowly ruin a beautiful porcelain finish over time.
In this article
- First, Know Your Enemy: What’s Actually in Your Bowl?
- Your Simple (But Powerful) Cleaning Arsenal
- Pro-Level Techniques for a Flawless Finish
- Tackling Seriously Stubborn Problems
- Bonus Round: A Couple of Quick Wins
- Knowing When to Call for Backup
- The Secret to a Permanently Clean Toilet
- Galerie d’inspiration
But then, things changed. Clients started asking for “greener” options. At first, I was skeptical. I figured “natural” was just code for “doesn’t work.” But my job is to solve problems, so I started digging in and experimenting. And what I learned completely changed my approach. Powerful cleaning isn’t about brute force; it’s about using the right tool for the right job. You wouldn’t use a sledgehammer to hang a picture, right? Same idea here.
This is my guide, born from all that trial and error. These homemade solutions are incredibly effective, way safer for your family, and much kinder to your pipes and septic system. But let’s be real, they have rules. Let’s get into how to do this like a pro.
First, Know Your Enemy: What’s Actually in Your Bowl?
Before you start mixing, you’ve got to know what you’re up against. Most toilet troubles fall into one of three camps. Figuring out which one you have is half the battle.
1. The Everyday Grime (Organic Stains & Biofilm)
This is the most common one—that light yellow or brownish ring at the waterline or the faint streaks down the sides. It’s basically a community of bacteria that have built themselves a cozy, slimy home. This “biofilm” is also what causes most odors. Luckily, it’s the easiest to deal with.
2. The Stubborn Chalky Ring (Mineral Deposits)
If you’ve got a hard, crusty, greyish ring that laughs at your regular toilet brush, you’re dealing with mineral deposits. This is a classic sign of hard water, which is loaded with minerals like calcium and magnesium. When the water evaporates, it leaves these minerals behind, building up layer by layer. It can even clog the little jets under the rim, making your flush weaker. These are alkaline, so you need an acid to break them down.
3. The Nasty Orange Streaks (Rust Stains)
Those ugly reddish-brown streaks? That’s almost always rust. It could be from high iron levels in your water (especially common with well water) or from older, corroding pipes somewhere in your house. Rust stains can be really tough because they essentially dye the porcelain, so they need a special approach.
Your Simple (But Powerful) Cleaning Arsenal
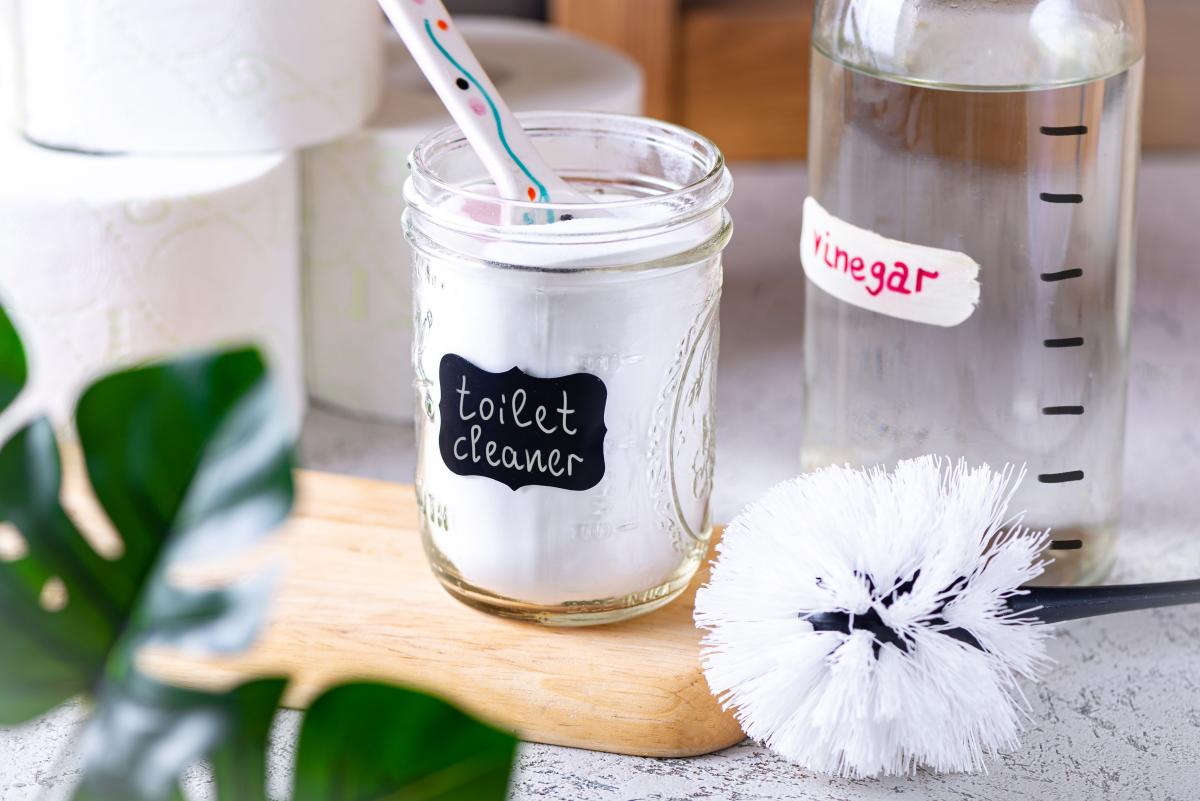
Forget the complex chemical cocktails. Our toolkit is made of simple, cheap ingredients. Here’s a quick rundown of what they do, where to find them, and what they’ll cost you.
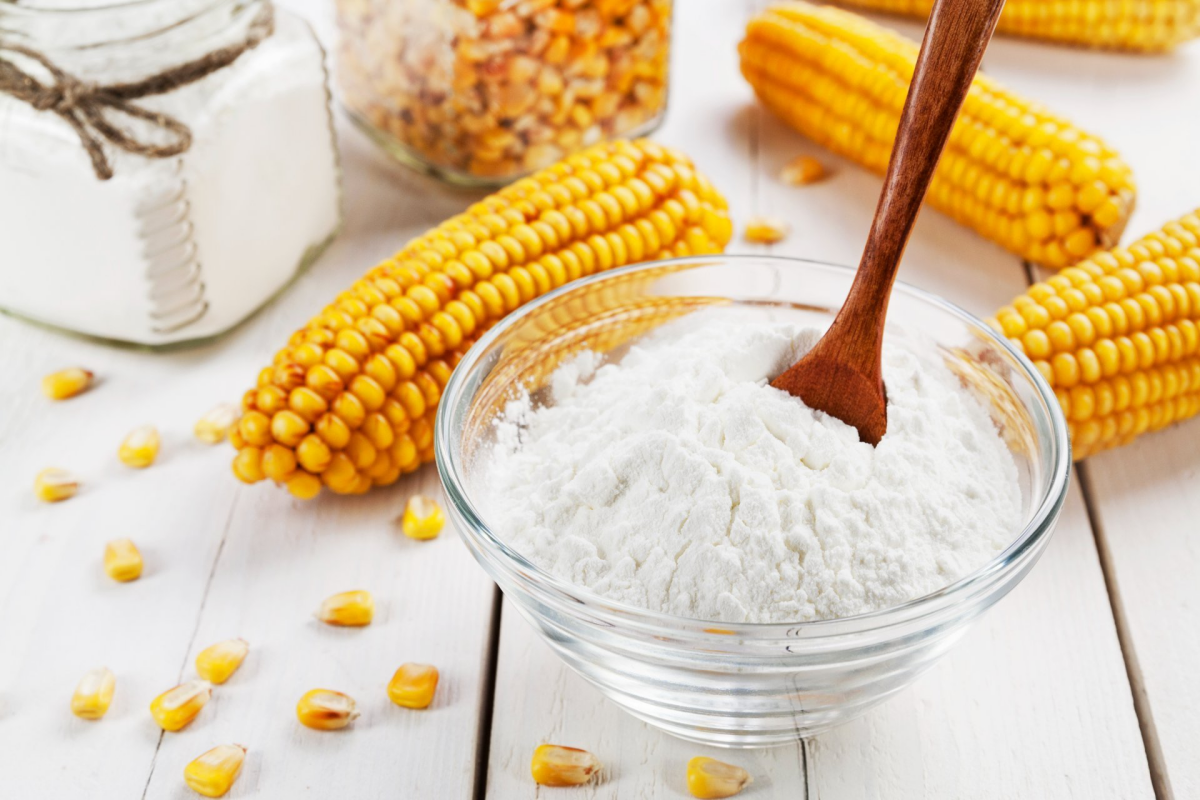
- Baking Soda (The Gentle Scrubber): Think of this as your gentle workhorse. It’s a mild abrasive that can scrub away gunk without a single scratch on your porcelain. It’s also a fantastic deodorizer. You can find it in any grocery store baking aisle for about $2 a box, which will last you ages.
- White Vinegar (The Mineral Buster): This is your go-to acid for dissolving those chalky hard water rings. The standard 5% acetic acid stuff is perfect. It needs time to work, though—what we in the biz call “dwell time.” You can grab a huge jug at the grocery store for $3-$4.
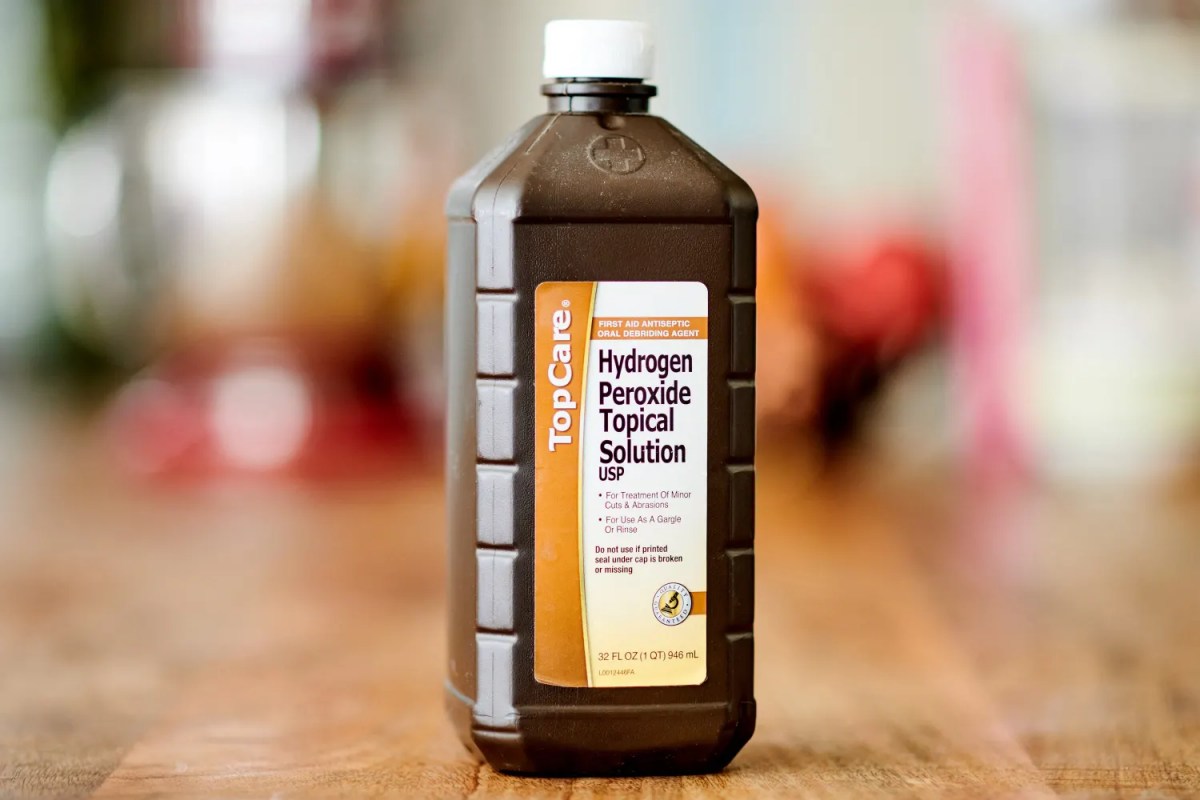
- Hydrogen Peroxide (The Whitener & Disinfectant): The 3% solution in the brown bottle is an amazing, non-toxic disinfectant. It lifts stains and kills germs through oxidation, then breaks down into just water and oxygen. Find it in the pharmacy aisle of any store for about a dollar. Heads up: Keep it in its original dark bottle, as light makes it lose its power fast.
- Borax (The Heavy-Duty Helper): This naturally occurring mineral is a step up from baking soda in both alkalinity and scrubbing power. It’s a great stain remover and disinfectant. Look for it in the laundry aisle, usually a box costs around $5-$7. Just be sure to keep it away from pets and kids.
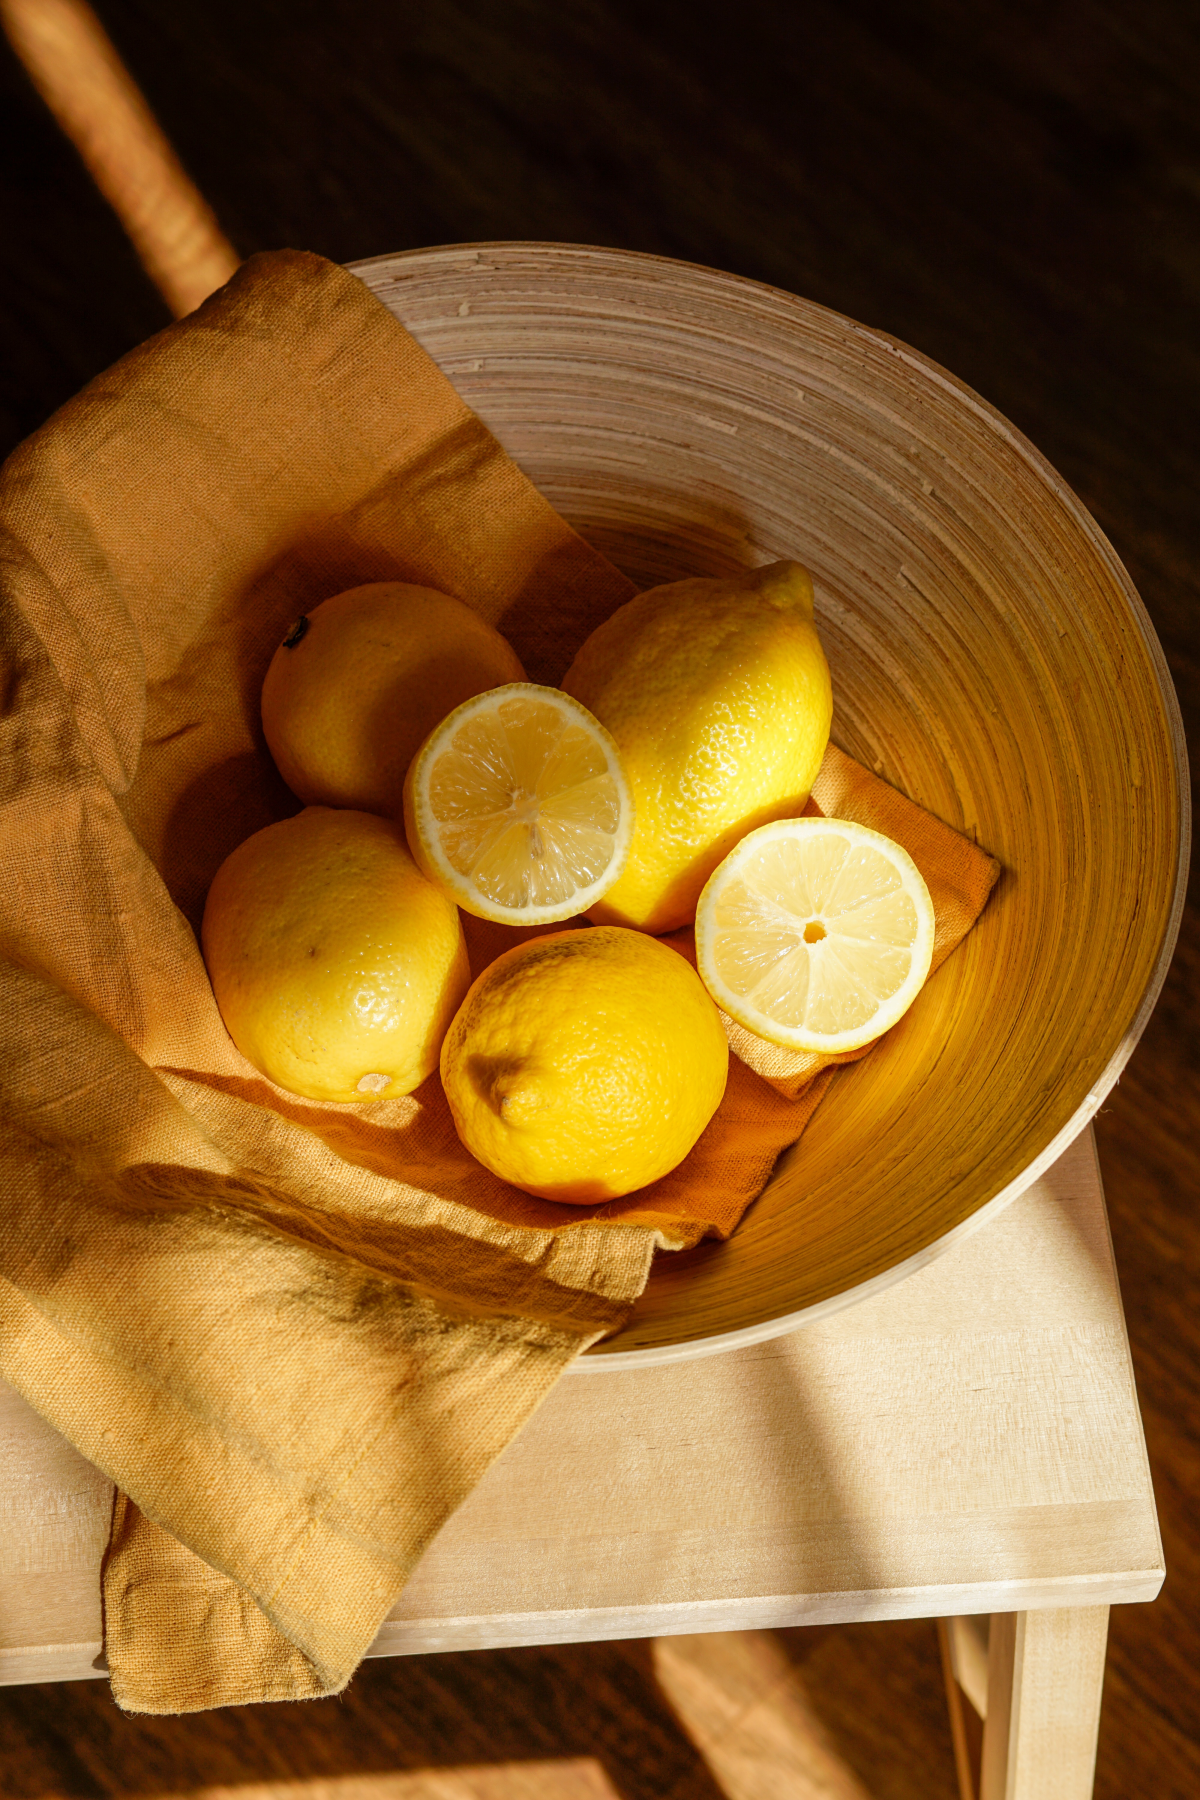
- Citric Acid (The Limescale Destroyer): This is the secret weapon against serious hard water and rust stains. It’s a powder that’s way more effective at dissolving minerals than vinegar. You can usually find it in the canning or spice aisle at the grocery store, or buy a bag online for $8-$10. A little goes a long way.
A Quick Note on That Fizzing Reaction: When you mix baking soda and vinegar, you get that satisfying fizz. It’s cool, and the bubbling action does help loosen surface grime a bit. But the real magic happens when you let the ingredients work on their own. Once the fizzing stops, you’re mostly left with salty water. So, don’t rely on the fizz alone!

Pro-Level Techniques for a Flawless Finish
Okay, you’ve got your supplies. Now for the method. And trust me, the technique matters just as much as the ingredients. First things first: put on a pair of rubber gloves and maybe some safety glasses. I once saw a trainee get a small splash of vinegar in his eye, and it taught me to never skip this step. It’s just smart.
The Pro Trick: Empty the Bowl First
For any serious stain below the waterline, you’re just wasting your cleaner by pouring it into a bowl full of water. You need to get that water out. It’s easy:
- Turn off the water supply using the little valve on the wall behind the toilet.
- Flush once to empty the tank.
- Now, take your toilet brush and vigorously plunge it in the hole at the bottom of the bowl. A few good pumps will push most of the remaining water down the drain.
Boom. Now you can apply your cleaner directly to the stains for maximum impact.
Method 1: The Weekly All-Purpose Scrub
This is your go-to for regular maintenance to keep things fresh and clean.
- What you’ll need: 1/2 cup baking soda, 1 cup white vinegar.
- The Method: Sprinkle the baking soda all over the inside of the bowl. Pour the vinegar slowly over the baking soda, starting from the rim. Let it sit for about 15 minutes. Give the bowl a thorough scrub, especially under the rim and at the waterline. Turn the water back on and flush.
- What if it doesn’t work? If you’ve done this and things still seem a little funky, the problem might be hiding under the rim. We’ll get to that in the advanced section.
Method 2: The Hard Water & Limescale Annihilator
For those crusty, impossible rings, you need to bring out the big guns.
- What you’ll need: 1/2 cup citric acid powder OR a paste of 1 cup borax and 1/2 cup lemon juice.
- The Method: Empty the toilet bowl first! Sprinkle the citric acid powder (or smear the borax paste) directly onto the stains. You can use a spray bottle with a little water to make the powder stick. Now, walk away. Let it sit for at least one hour. For really bad cases, I’ve left it overnight. After it’s had time to work, scrub vigorously with a stiff brush. You should see the scale start to break away. Turn the water on and flush.
- What if it doesn’t work? Don’t give up! That mineral buildup might be years old. It’s tough stuff. Just repeat the process—a second application left overnight can often break through what the first one couldn’t.
Method 3: The Disinfecting & Whitening Spray
This is for sanitizing the whole toilet—seat, handle, and all.
- What you’ll need: 3% hydrogen peroxide in a spray bottle.
- The Method: Spray the peroxide everywhere inside the bowl, on the seat (top and bottom), the lid, and the handle. Let it sit and bubble for about 10-15 minutes to do its germ-killing work. Swish the bowl with a brush and flush. Wipe all the other surfaces with a clean cloth.
- CRUCIAL SAFETY WARNING: Never, ever mix hydrogen peroxide and vinegar in the same bottle. It creates peracetic acid, which is seriously nasty stuff for your lungs, eyes, and skin. If you want the benefits of both, use them one after the other. Spray with vinegar, scrub/flush, and then spray with peroxide. My rule is: vinegar for minerals, peroxide for germs, on different days.
Tackling Seriously Stubborn Problems
Sometimes you face a stain that just won’t quit. Here are my last-resort tricks.
For Deep Rust Stains: If a citric acid paste doesn’t cut it, it’s time for a pumice stick. You can find a pumice scouring stick, often with a handle, at most hardware or home improvement stores for about $5-$10. The golden rule is to ALWAYS USE IT WET. Soak the stone and the surface you’re cleaning. Rub the wet stone gently on the wet stain. The pumice is harder than the rust but softer than the porcelain, so it grinds away the stain without scratching the finish. Use this as a final option.
For Clogged Rim Jets: Look under the rim of your toilet—see those little holes? They can get clogged with gunk and minerals, weakening your flush. To clear them, I use an old toothbrush to scrub a thick paste of baking soda and vinegar up under the rim. Then, I gently poke a piece of a wire coat hanger into each jet to break up any hardened bits. Be gentle!
Bonus Round: A Couple of Quick Wins
While we’re at it, here are two of my favorite little recipes.
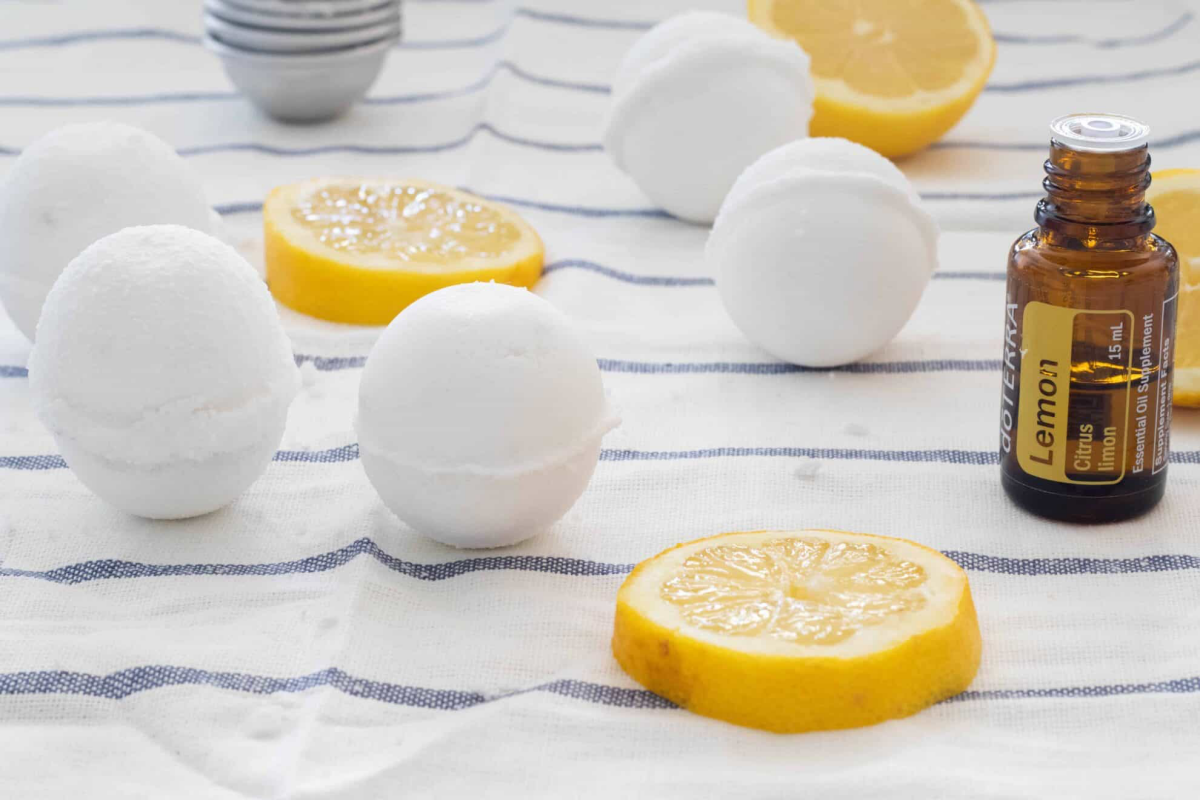
- DIY Deodorizing Toilet Bombs: Mix 1 cup of baking soda, 1/4 cup of citric acid, and about 15-20 drops of your favorite essential oil (like lemon or peppermint) in a bowl. Slowly spritz with a tiny bit of water until it just holds its shape when squeezed. Press the mixture firmly into an ice cube tray and let it dry overnight. Pop one in the bowl whenever it needs a quick refresh!
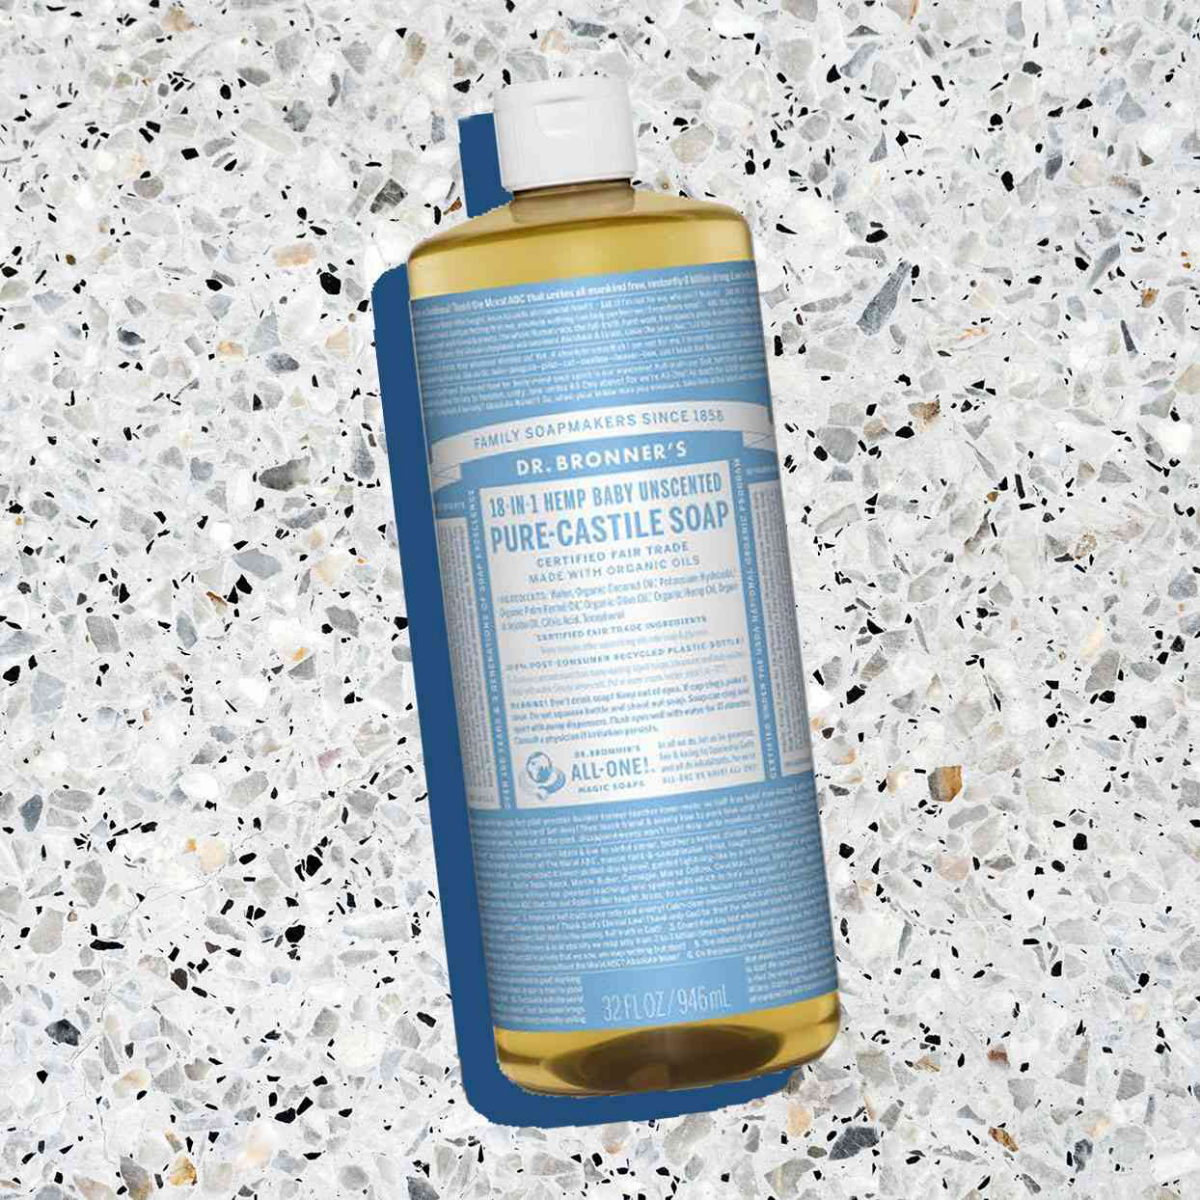
- The Ultimate All-Purpose Bathroom Spray: Want a great cleaner for the toilet exterior, counters, and floors? Put a teaspoon of liquid Castile soap (like Dr. Bronner’s) into a half-gallon of warm water. That’s it. It’s a gentle but effective surface cleaner that costs pennies to make.
Knowing When to Call for Backup
I’m a huge believer in these methods, but I’m also a realist. If a toilet is constantly running, it’s going to build up mineral stains faster than you can clean them. If the rust is from a pipe that’s about to fail, no cleaner will fix that. True expertise is knowing when your job is done and it’s time to call a plumber.
Oh, and by the way, all the ingredients I’ve listed are perfectly safe for standard porcelain toilets (yes, even those colorful vintage ones!) and common plumbing materials like PVC and copper. No worries there.
The Secret to a Permanently Clean Toilet
The real secret isn’t one heroic, all-day scrubbing session. It’s small, consistent habits. A quick 10-second swish with the brush every day prevents almost all biofilm from ever starting. Do the all-purpose scrub once a week. If you have hard water, tackle it with the acid method once a month to keep rings from ever forming.
And if you have a septic system, you have even more reason to love this approach. Harsh chemical cleaners can kill the beneficial bacteria your septic tank needs to function. These ingredients are completely septic-safe. You’re not just cleaning; you’re maintaining a healthy home ecosystem. It’s a total shift in mindset, and it’s a skill worth learning.

Galerie d’inspiration
My DIY cleaner works, but my bathroom smells like a salad. How can I fix it?
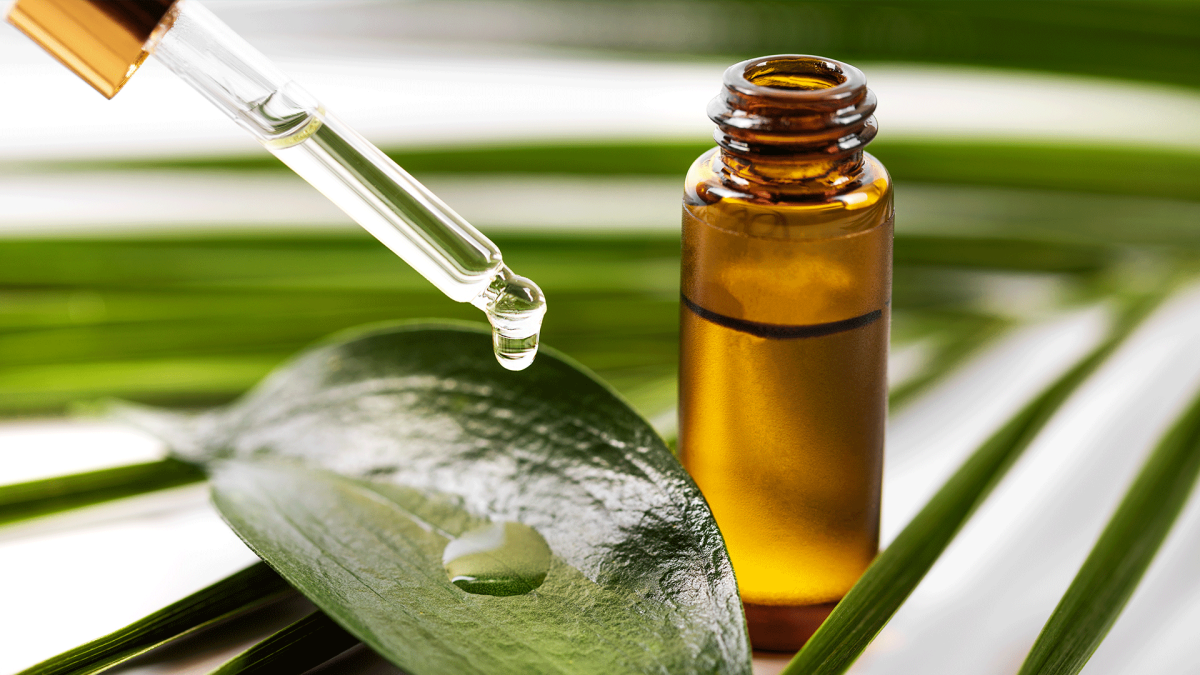
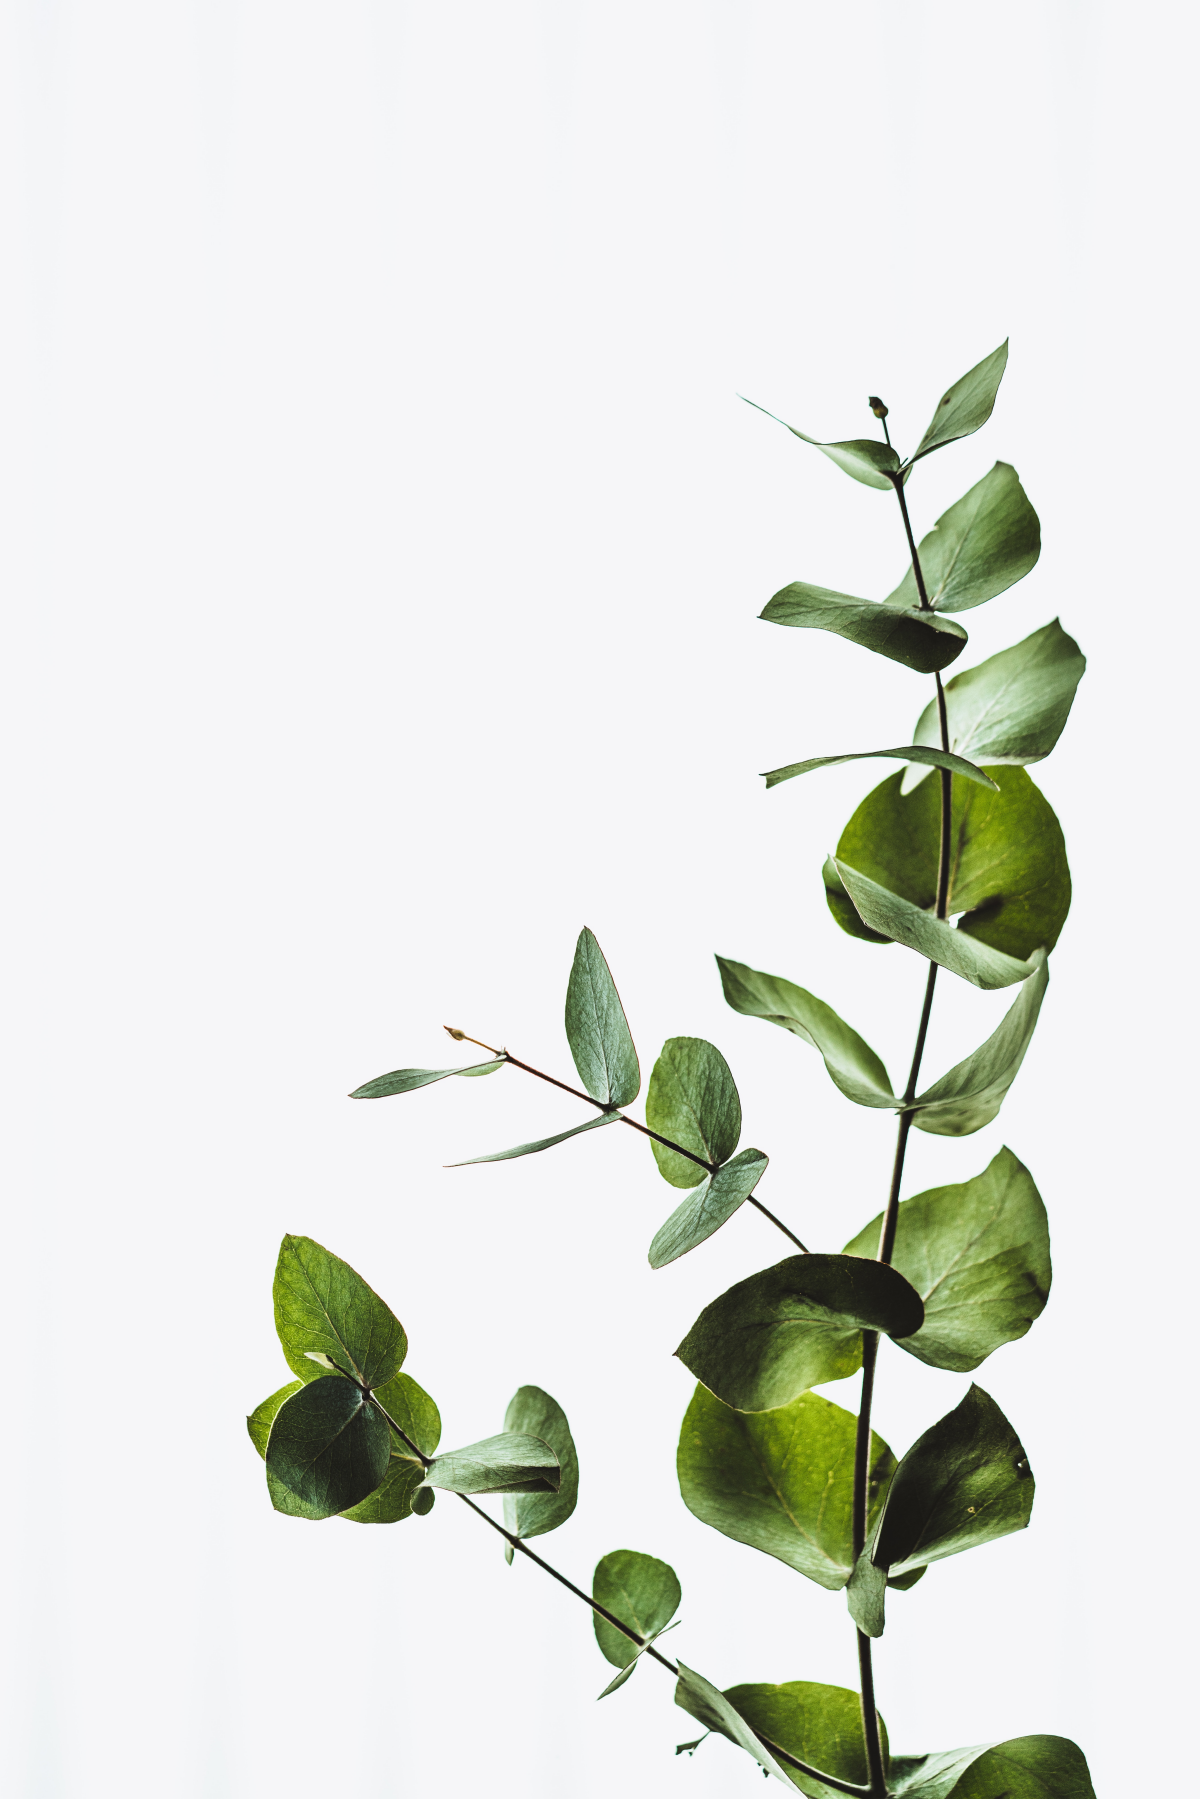
The secret is moving beyond the basic cleaning ingredients. While vinegar is a powerhouse, its scent is… functional. Elevate your blend with a ‘power trio’ of essential oils. Combine 10 drops of Tea Tree oil (a natural disinfectant), 10 drops of Lemon oil (a great degreaser and classic clean scent), and 5 drops of Eucalyptus or Peppermint oil (for that fresh, spa-like finish). High-quality, pure oils from brands like Aura Cacia or Plant Therapy make a noticeable difference and add antibacterial properties to your mix.
According to the EPA, phosphates once common in cleaning products can lead to algal blooms in lakes and rivers, starving the water of oxygen and harming aquatic life.
Every time you opt for a simple vinegar and baking soda solution, you’re using a phosphate-free alternative. It’s a small change in your home that makes a real, positive impact on local waterways, breaking the cycle of pollution right at the source.
The Standard Brush: Its stiff nylon bristles are great for aggressive scrubbing on tough mineral rings, but they can wear down, splay out, and trap nasty gunk over time, reintroducing bacteria with every clean.
The Silicone Brush: Modern silicone brushes, like those from Joseph Joseph, have flexible, non-porous bristles that rinse completely clean and are less likely to scratch the porcelain. They excel at reaching under the rim for a truly hygienic finish.
A critical safety rule: Never, ever mix your vinegar-based cleaner with chlorine bleach. The combination creates toxic chlorine gas, which is extremely hazardous to inhale and can cause severe respiratory damage. Stick to one recipe at a time and always work in a well-ventilated space.