Don’t Even Think About Painting Your Bathroom Until You Read This
I’ve been painting homes for a long, long time. And let me tell you, I’ve seen the aftermath of just about every bathroom painting mistake you can imagine. One of the most memorable calls I ever got was from a homeowner who was practically in tears. They’d just finished a gorgeous, expensive remodel, but a few months later, the paint was literally peeling off the walls in big, sad sheets.
In this article
What went wrong? It was painfully simple. Their contractor had used a standard matte paint, the kind you’d put in a bedroom or hallway. In the super steamy, humid world of a bathroom, it stood no chance. This kind of thing happens all the time. Choosing paint for your bathroom is so much more than picking a color you like. It’s about selecting a tough, protective coating that can handle moisture, heat, and frequent wipe-downs.
So many people get fixated on the color chip and forget that paint is a high-tech product. Its job in a bathroom is to fight off moisture, stop mold and mildew in their tracks, and be scrubbable. This guide is basically everything I teach my new apprentices—the stuff that makes the difference between a paint job you’ll love for years and one you’ll be redoing next summer.
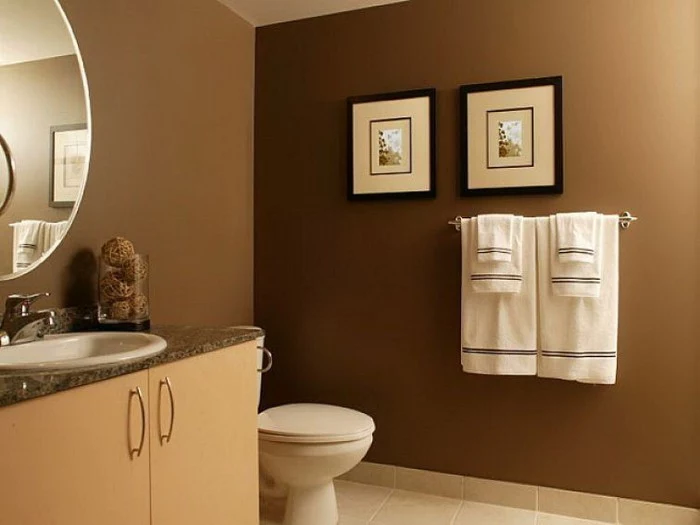
Why Your Paint Sheen is Everything
Okay, let’s get into the most important decision you’ll make: the paint’s finish, or sheen. Think of it as the paint’s armor. The shinier the finish, the tighter and less porous the surface, which is exactly what you want to repel water and make cleaning a breeze.
Here’s the breakdown, from what you should absolutely avoid to the professional’s choice:
- Flat or Matte: I’m just going to say it—never use flat paint in a bathroom. Ever. It might look sophisticated and velvety, but its surface is like a sponge. It soaks up every bit of moisture, making it a nightmare to clean and a perfect breeding ground for mildew. Not even in a powder room, please.
- Eggshell: This one is a step up, with a tiny bit of luster, kind of like its namesake. It’s more durable than flat, but honestly, it can still struggle in a primary bathroom that sees daily, steamy showers. It’s a borderline choice, maybe okay for a guest bath that’s rarely used.
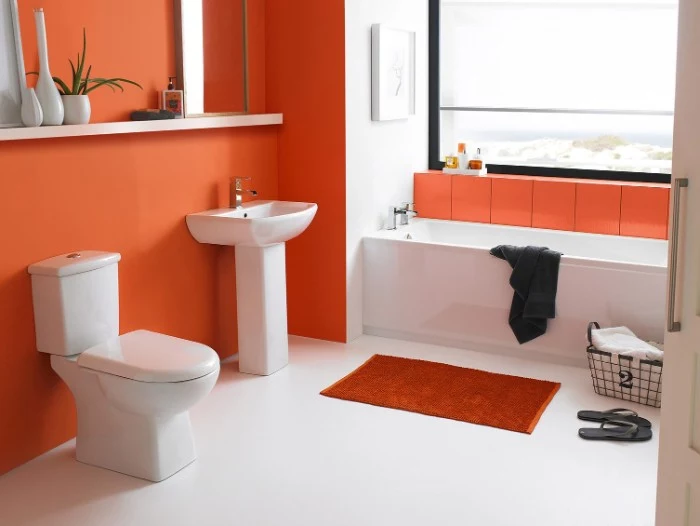
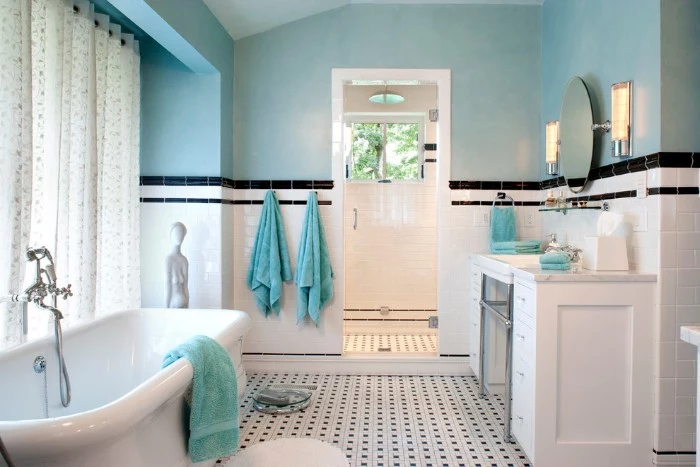
- Satin: And here we have the winner for most bathroom walls. Satin has this beautiful, soft glow that isn’t overly shiny. Its surface is smooth and tight enough to repel moisture beautifully, and you can easily wipe off toothpaste splatters. Most major brands have a special “Kitchen & Bath” paint, and it almost always comes in a satin finish because it’s the perfect balance. These formulas also have mildew-killing additives, which is a huge plus.
- Semi-Gloss: Now we’re getting shiny. Semi-gloss offers fantastic moisture resistance and is incredibly easy to clean. This makes it my top pick for trim, doors, and cabinets in a bathroom. Some people use it on walls, but a heads-up is in order: the high shine will broadcast every single bump, nail pop, or imperfection on your wall for the world to see. It’s not very forgiving.
- High-Gloss: This finish is almost like a mirror. It’s the toughest and most waterproof of them all, but it’s way too much for walls. It can look harsh and clinical. Save this one for furniture or trim where you want a super-durable, lacquer-like effect.
Prep Work: The 90% of the Job That Guarantees Success
I tell every person I train the same thing: A great paint job is 90% preparation and only 10% actually painting. You could buy the most expensive paint in the world, but if you slap it on a dirty, unprepared surface, it will fail. This is a thousand times more true in a bathroom.
First, Let’s Talk Tools and Budget
Before you start, you need a plan. This isn’t a project that costs a fortune, but you need to budget for the right stuff. Don’t cheap out on your materials!
Here’s a rough shopping list to get you started:
- The Paint: A gallon of top-quality bathroom paint (the kind with mildew resistance) will run you between $50 and $80. Yes, it’s more than standard paint, but it’s worth every single penny.
- The Primer: A gallon of quality, stain-blocking, mold-resistant primer is about $30-$40. This is non-negotiable.
- The Tools: Budget around $40-$60 for other supplies. You’ll need an angled brush for cutting in edges, a roller frame, and roller covers (a 3/8-inch nap is perfect for smooth walls), a paint tray, painter’s tape, spackling paste, a putty knife, and some sandpaper (grab both 120-grit for patches and 180-grit for general scuffing).
A Realistic Timeline: You can totally do this over a weekend. Plan it out like this: Friday night for cleaning (1 hour), Saturday for patching, sanding, and priming (about 3-4 hours), and then Sunday for your two coats of paint (another 3-4 hours, including drying time between coats).
Step 1: The Deep Clean (And What to Do About Existing Mold)
Bathroom walls are gross. They’re covered in a fine film of soap scum, hairspray, and who knows what else. Paint won’t stick to that. You need to wash the walls first.
I recommend a TSP substitute cleaner, which you can find at any hardware store. Mix it with warm water and use a sponge to scrub the walls from the bottom up. Why bottom-up? It prevents clean streaks from running down and staining the dirty areas below. After scrubbing, rinse well with a clean sponge and plain water.
Heads up! If you see any black or gray spots of existing mold or mildew, you have to deal with that before you prime. Don’t just paint over it! Mix a solution of one part bleach to three parts water. Wearing gloves and eye protection, scrub the moldy spots with the solution and let it sit for about 10-15 minutes to kill everything. Then, rinse the area thoroughly with clean water. Let the walls dry completely—give it a full 24 hours with a fan going if you can.
Step 2: Sanding and Repairs
Once the walls are clean and bone-dry, it’s time to make them smooth. Fill any nail holes or dings with spackling compound, overfilling just a little. When it’s dry, sand it perfectly flush with the wall using 120-grit sandpaper.
Even if your walls look perfect, give them a quick “scuff sand” with 180-grit sandpaper. This is especially important if the old paint was glossy. It dulls the surface and creates tiny little grooves for the new primer to grip onto, drastically improving adhesion. After sanding, wipe away all the dust with a damp cloth.
Step 3: The Magic of a Good Primer
Skipping primer is the most common and costly mistake I see. Primer seals the surface, stops stains from bleeding through, and gives your topcoat a uniform base to stick to. For a bathroom, you absolutely must use a stain-blocking, mold-resistant primer. This stuff is formulated for high-humidity areas. Apply one even coat and let it dry completely according to the can’s instructions. Don’t rush it!
Choosing Your Color (The Smart Way)
Okay, now for the fun part: color. But let’s think about it like a pro. The light in your bathroom is unique, and you have to test colors in that specific environment.
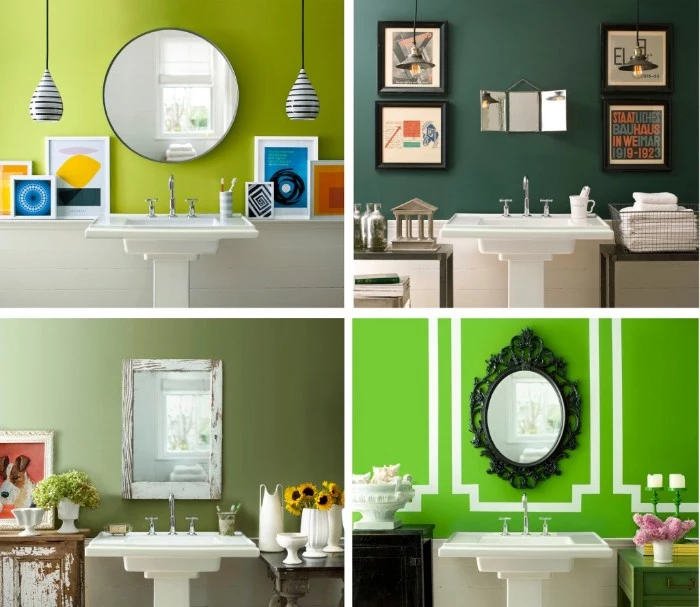
Don’t trust those tiny paper swatches. Please. Spend the $5-$10 on a few sample pots of your top choices. Paint a big 2-foot by 2-foot square of each color right on the wall. Look at it in the morning, in the afternoon, and at night with the lights on. You’ll be amazed at how a color can change. A warm lightbulb can make a cool gray look muddy, while a cool LED can make a cozy beige look sterile. Live with the samples for a day or two before committing to a gallon.
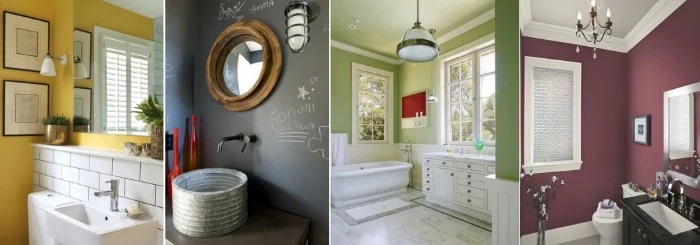
Color Tricks for Bathrooms Big and Small
The old rule about only using light colors in small bathrooms is… well, it’s outdated. You can absolutely use color to manipulate the feel of the space.
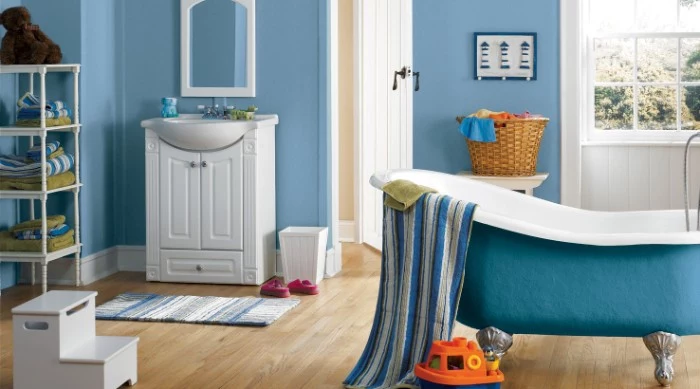
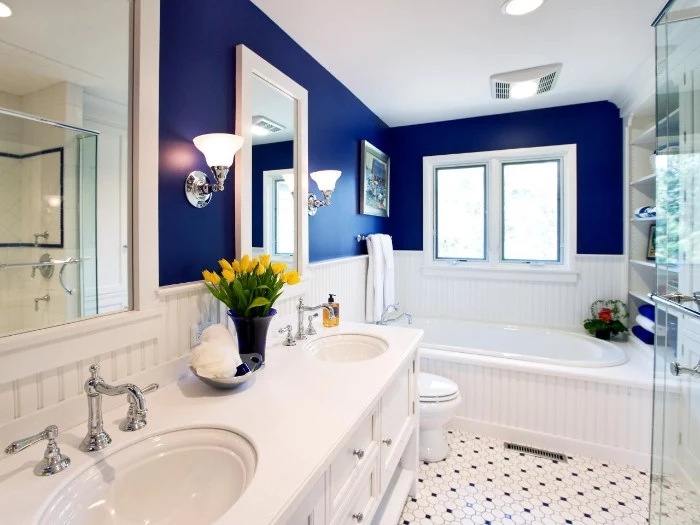
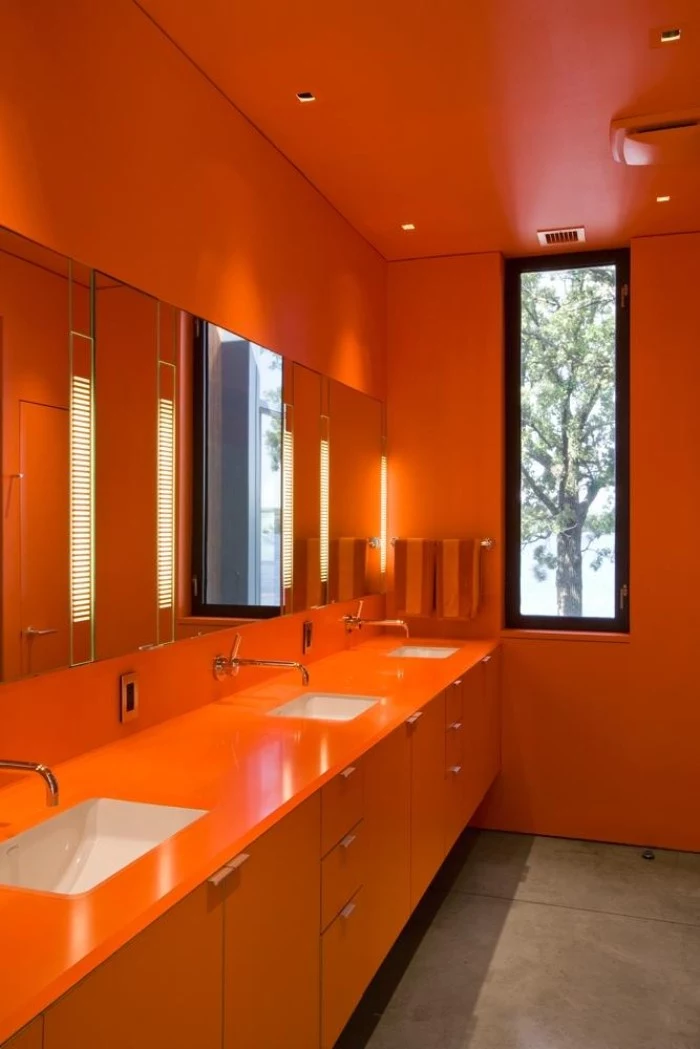
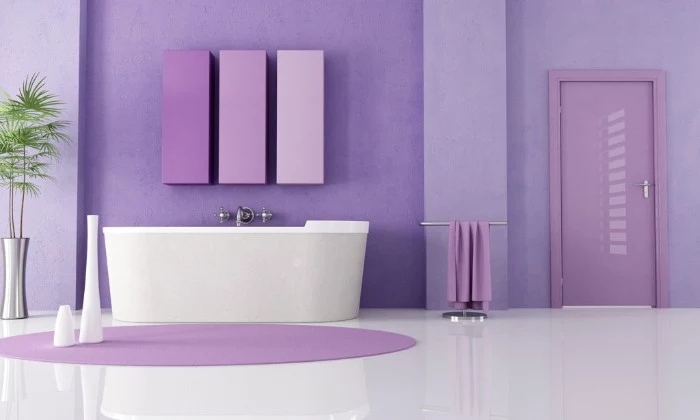
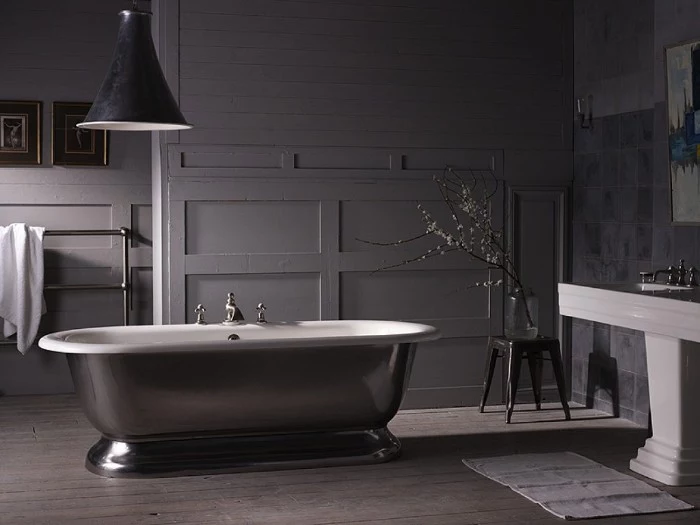
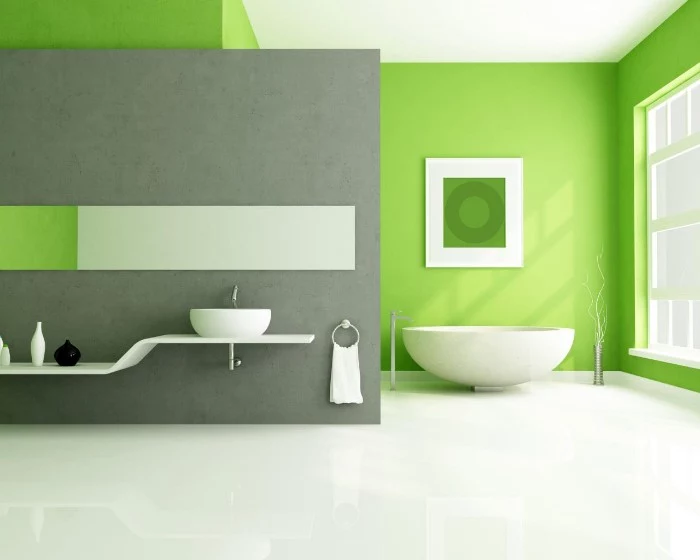
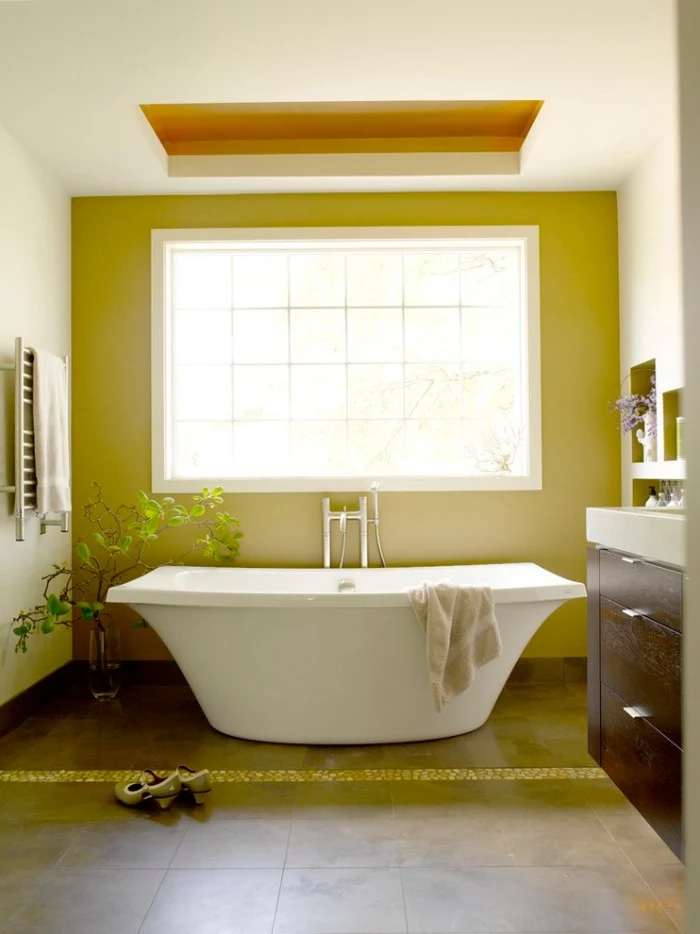
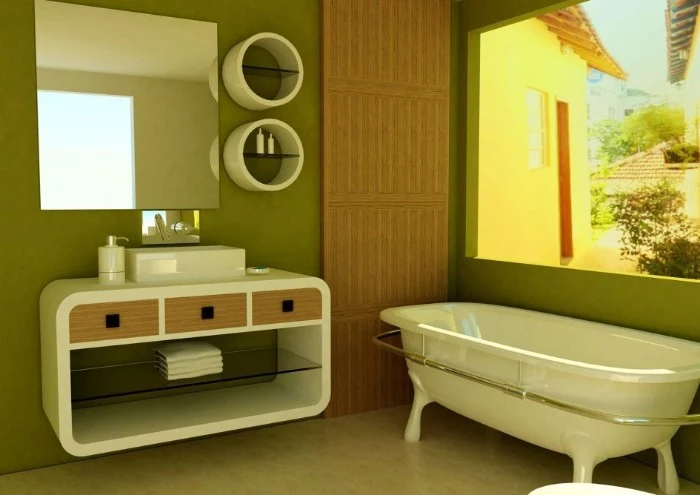
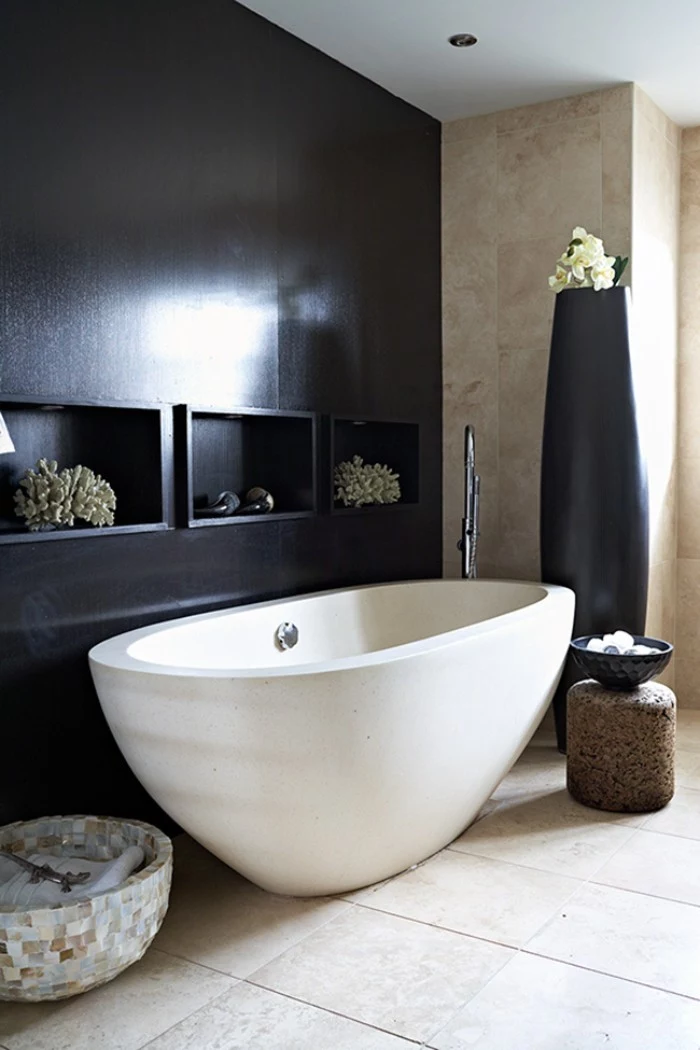
For small, windowless bathrooms, a light color with a high Light Reflectance Value (LRV)—a number you can find on the back of the paint chip—will bounce light around and make the space feel bigger. But here’s another bold strategy: the “jewel box” effect. You can go the opposite direction and paint the walls (and maybe even the ceiling!) a deep, dramatic, and moody color like a dark navy or charcoal. When you embrace the coziness, it can make a small space feel incredibly sophisticated and intentional, rather than just small.
By the way, what about the ceiling? People always ask. For most bathroom ceilings, I just stick with a high-quality flat white ceiling paint. It’s great at hiding imperfections, and you don’t really need the same level of washability up there.
After all that prep, when you finally roll on that perfect color, you’ll feel like a total pro. And a quick tip for when you’re done: when you remove your painter’s tape, pull it off while the paint is still slightly damp, pulling back at a 45-degree angle. You’ll get a perfectly crisp line every time. Your reward will be a beautiful, durable finish that makes you proud every time you walk into the room.
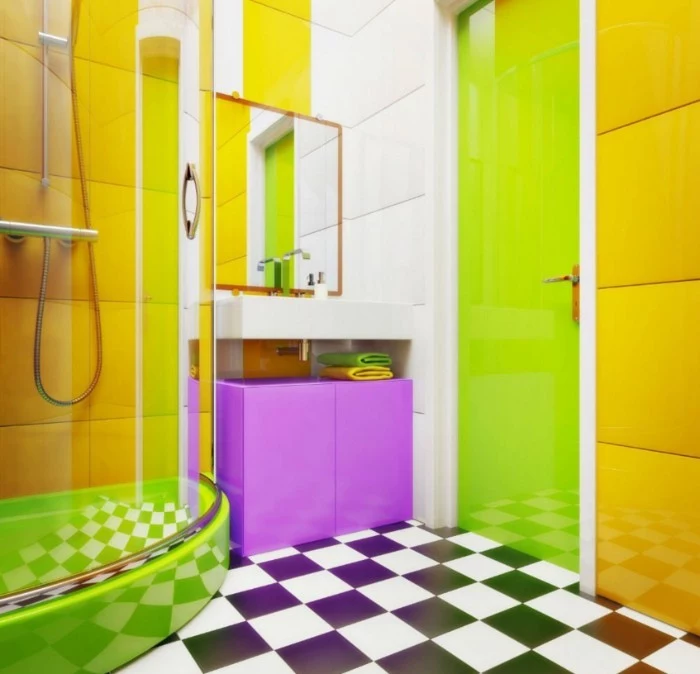
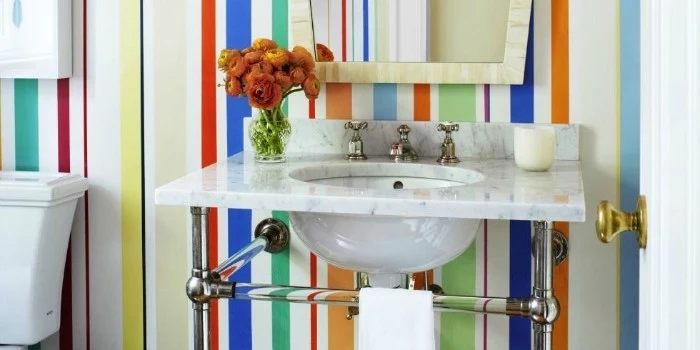
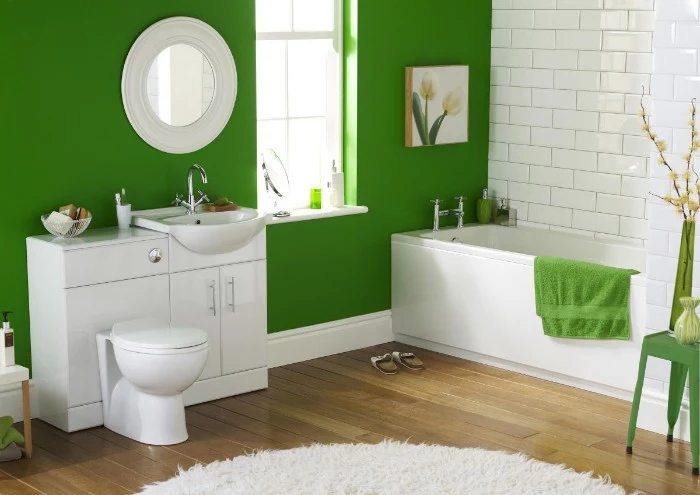
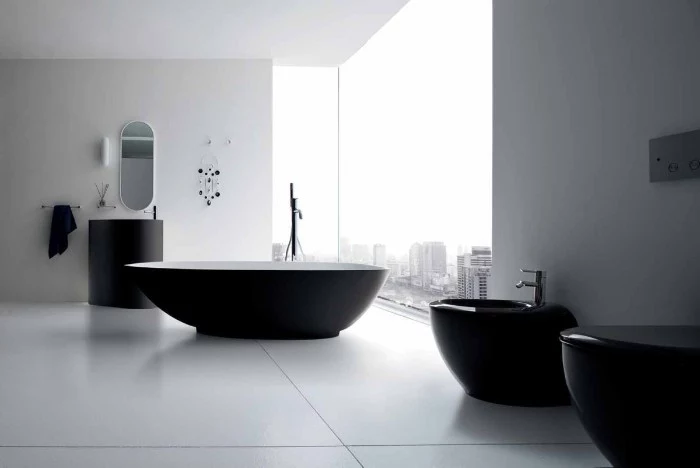
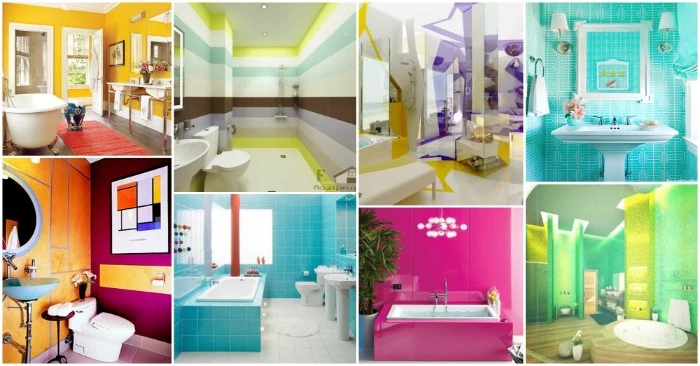
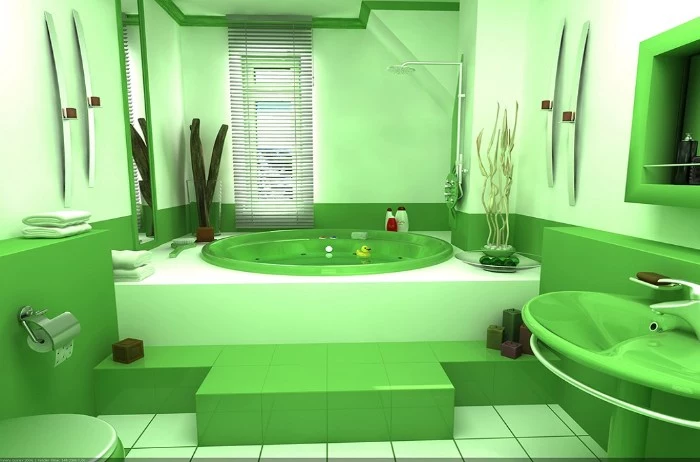
Inspiration Gallery

Don’t skip the primer! A high-quality, stain-blocking, moisture-resistant primer is non-negotiable in a bathroom. It ensures the topcoat adheres properly, prevents old stains or water marks from bleeding through, and provides an essential extra layer of defense against mildew. Products like Kilz Mold & Mildew or Zinsser Bulls Eye 1-2-3 are designed for exactly this challenge.
- Creates a cozy, enveloping atmosphere, perfect for a spa-like retreat.
- Makes metallic fixtures like brass or chrome pop dramatically.
- Expertly hides architectural imperfections or uneven walls.
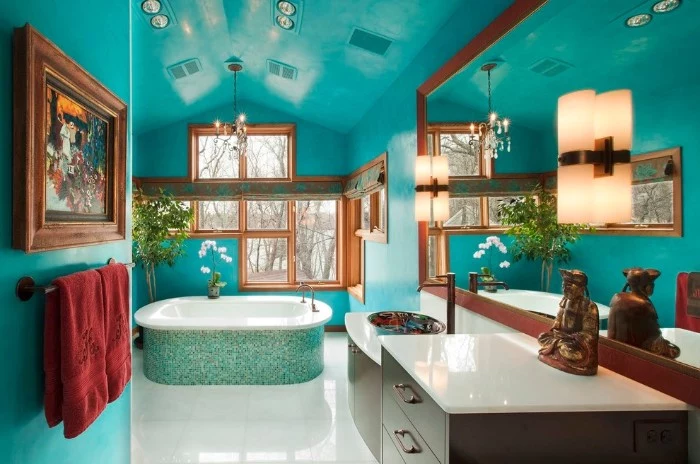
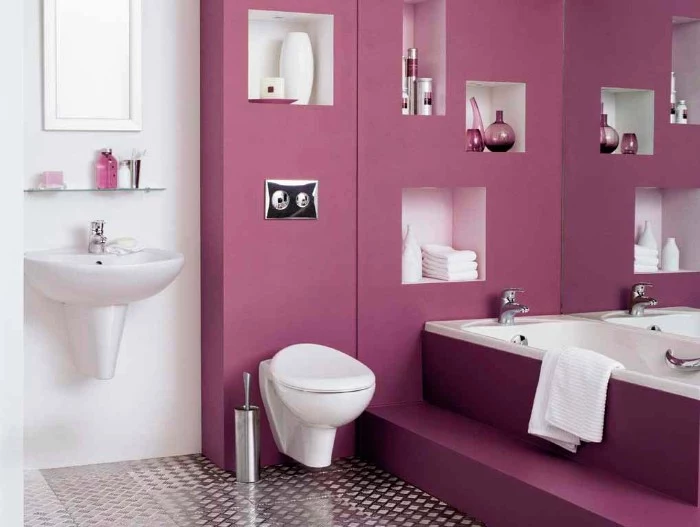
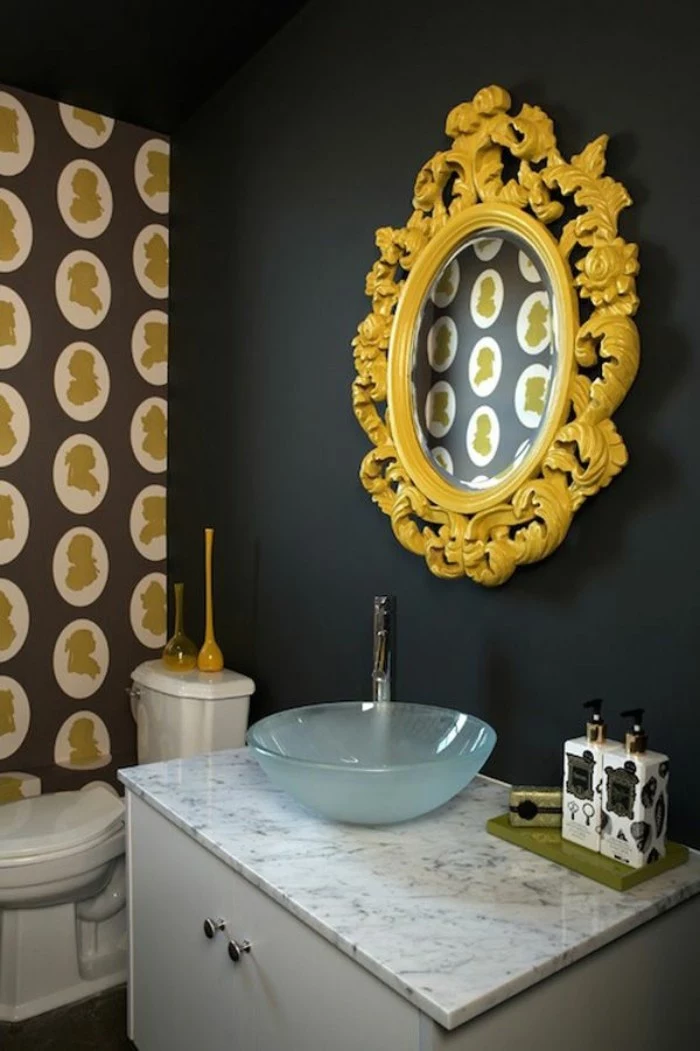
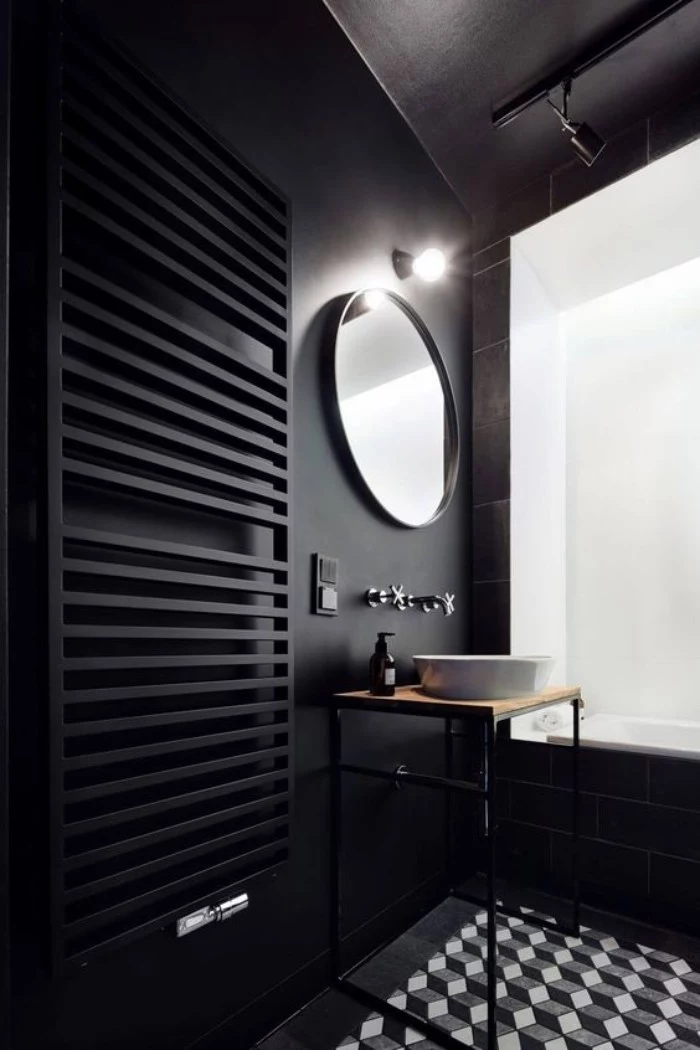
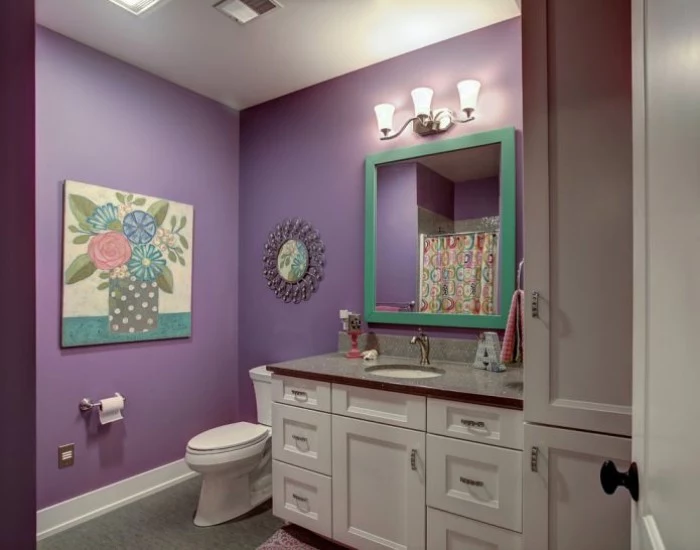
The secret? Embracing a dark, moody color palette. Don’t be afraid of deep charcoals, rich navy blues like Benjamin Moore’s ‘Hale Navy’, or forest greens. In a small powder room or even a primary bath, it can be unexpectedly sophisticated and chic.

Did you know the average person spends nearly 1.5 years of their life in the bathroom?
That’s a significant amount of time to spend in a space that feels purely functional. Choosing a color you genuinely love, one that promotes calm after a long day or energy for the morning ahead, transforms the room into a personal sanctuary. It’s not just paint; it’s an investment in your daily mood.
What about the ceiling?
It’s the ‘fifth wall’ and a huge missed opportunity in most bathrooms. Painting the ceiling a crisp, clean white is classic, but for a designer touch, try a different approach. A ceiling painted a few shades lighter than the walls creates an illusion of height. For a bold statement, especially in a room with high ceilings, a dark or vibrant color like a glossy black or a sky blue can be a breathtaking feature.
Even the world’s best bathroom paint needs help. Always run your exhaust fan during a hot shower and for at least 20-30 minutes afterward. This simple habit drastically reduces the overall humidity, lessening the constant moisture assault on your walls and giving your new paint job the best possible chance to last for years without peeling or mildewing.
Benjamin Moore Aura® Bath & Spa: This is the professional’s choice for a reason. Its matte finish defies the rules because it’s engineered with color-lock technology and is just as scrubbable and mildew-resistant as shinier paints, offering a luxurious, high-end look without compromising on durability.
Behr Marquee® Interior Satin: A fantastic option for budget-conscious DIYers. It offers a one-coat color guarantee, excellent stain resistance, and a mildew-resistant finish, providing great value and performance for family bathrooms.
Both are top-tier choices, with the decision often coming down to brand preference and specific color availability.
According to the American Society of Interior Designers, 63% of homeowners feel that the color of their walls significantly impacts their mood.
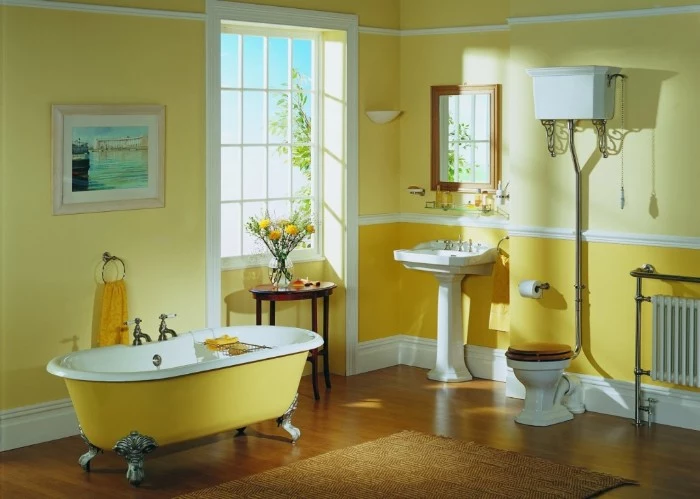
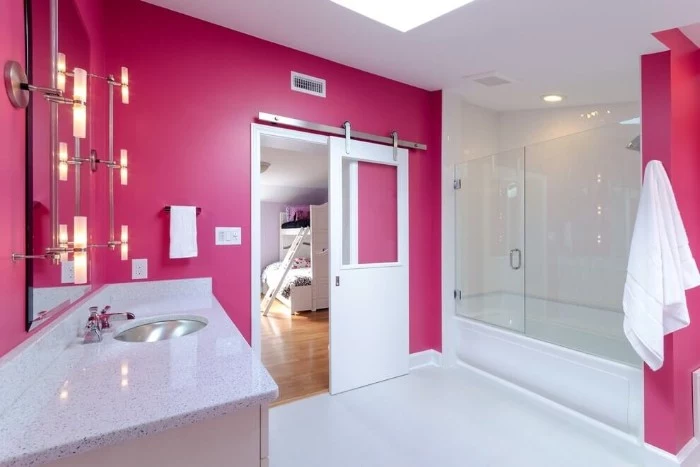
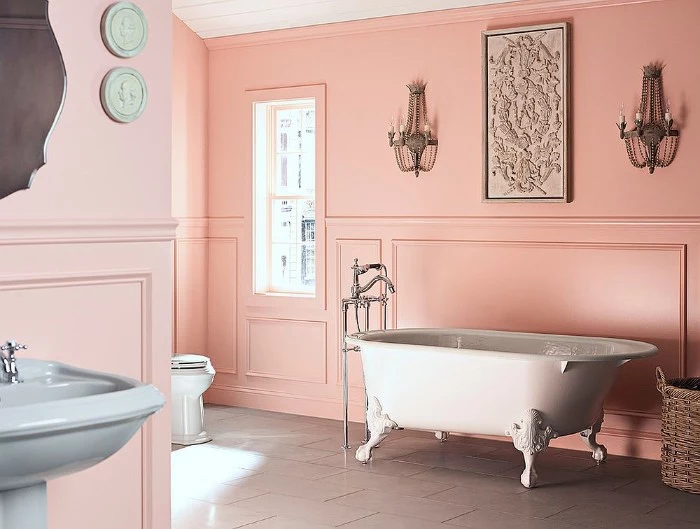
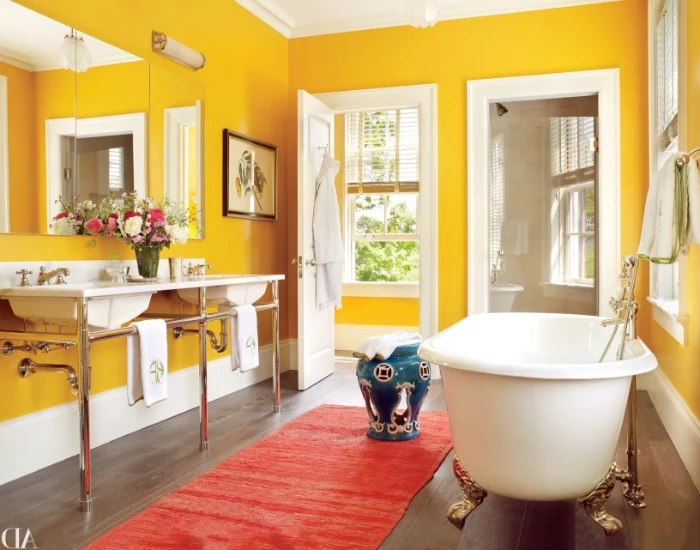
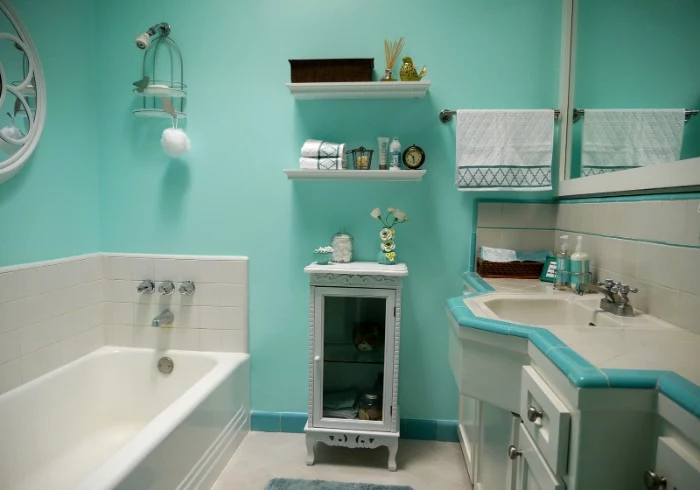
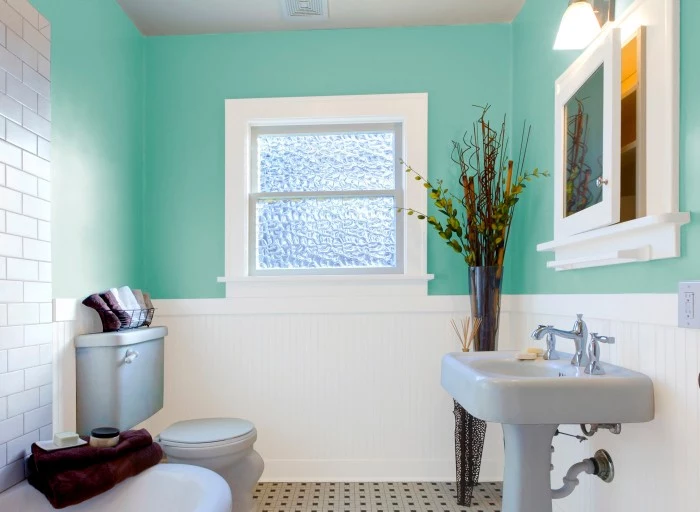
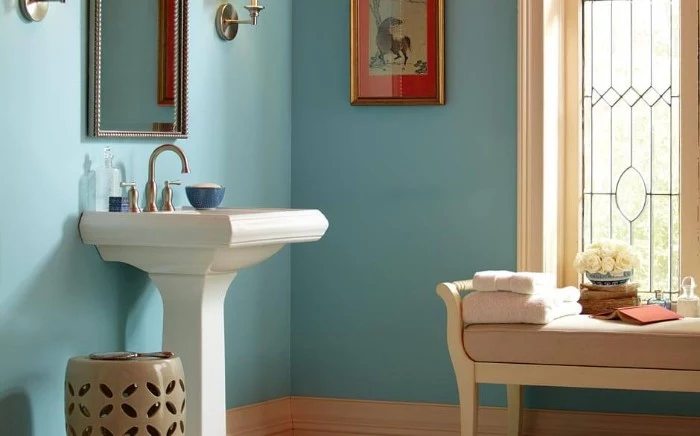
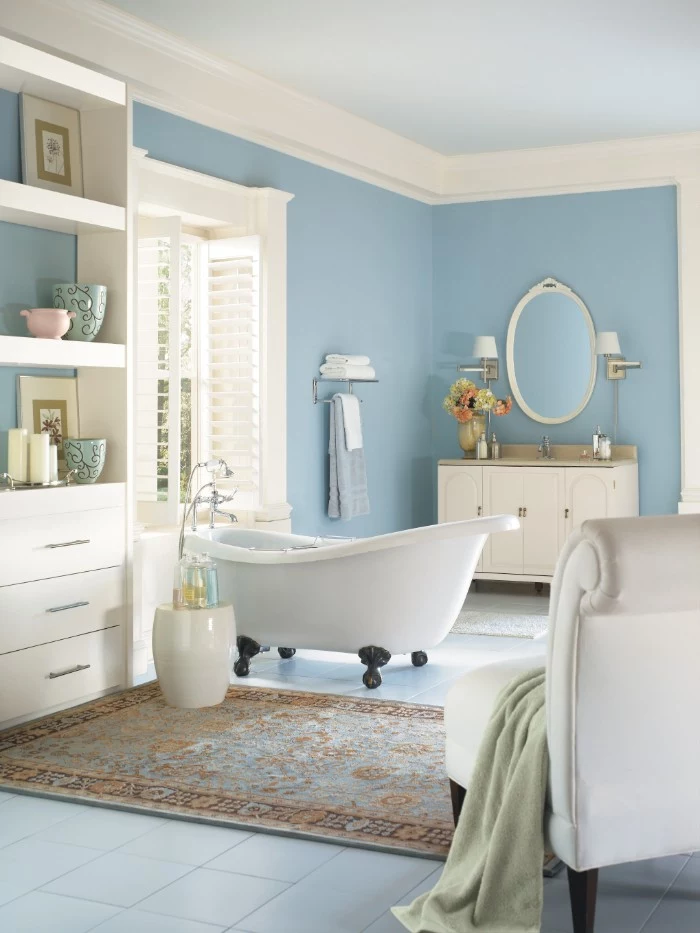
In a bathroom, this is your chance to set a tone. Soft blues and greens can evoke a calm, spa-like feeling. Sunny yellows or corals can be energizing for your morning routine. Think about the atmosphere you want to create before you even look at paint chips.
For a truly flawless, professional-looking finish, pay attention to your prep work. These steps are non-negotiable.
- Clean the walls thoroughly with a TSP substitute to remove any invisible soap scum, hairspray, or grime. Paint can’t adhere properly to a dirty surface.
- Fill any cracks, dents, or holes with spackle. Once dry, sand it perfectly smooth so it’s invisible under the new paint.
- Tape meticulously. Use a high-quality painter’s tape, like FrogTape, to get clean, sharp lines around tile, trim, and fixtures.
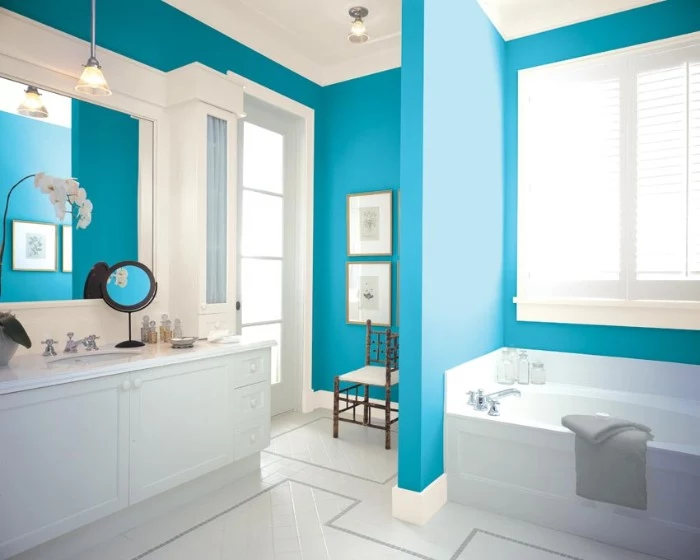
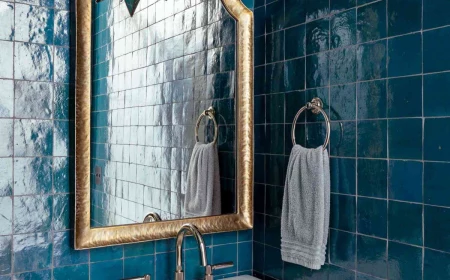
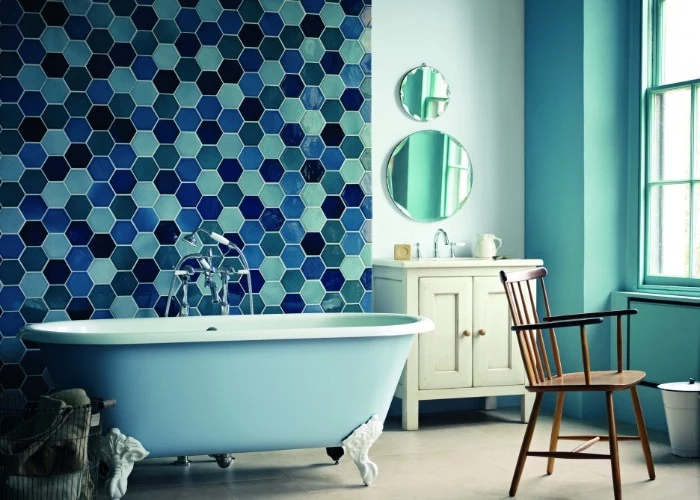
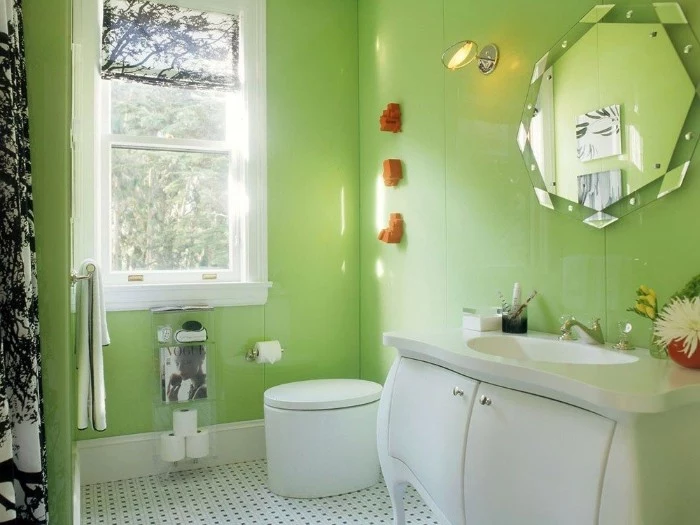
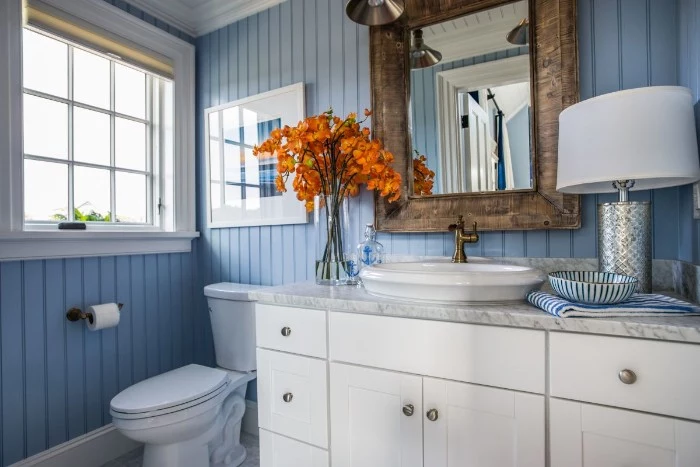
The finish on your fixtures should influence your paint color. The cool, silvery tones of chrome or brushed nickel look stunning against deep blues, crisp grays, or even a dramatic black. Conversely, the warmth of brass, gold, or copper hardware is beautifully complemented by rich greens, warm off-whites, and even soft blush tones. This coordination creates a cohesive, intentional design.
A word on VOCs: Volatile Organic Compounds are chemicals released from paint as it dries. For a healthier home environment, especially in a small, enclosed space like a bathroom, consider a low-VOC or zero-VOC paint. Brands like Sherwin-Williams (Harmony line) and Clare Paint offer excellent options that are specifically formulated for bathrooms, so you don’t have to sacrifice air quality for mildew resistance.
Can I paint over old bathroom wallpaper?
While it might seem like a tempting shortcut, it’s a recipe for disaster. Wallpaper seams will almost always show through the paint, and the moisture from the paint can cause the paper to bubble or peel away from the wall, taking your new paint job with it. Taking the time to properly strip the old wallpaper and prep the wall is the only way to guarantee a beautiful, long-lasting result.


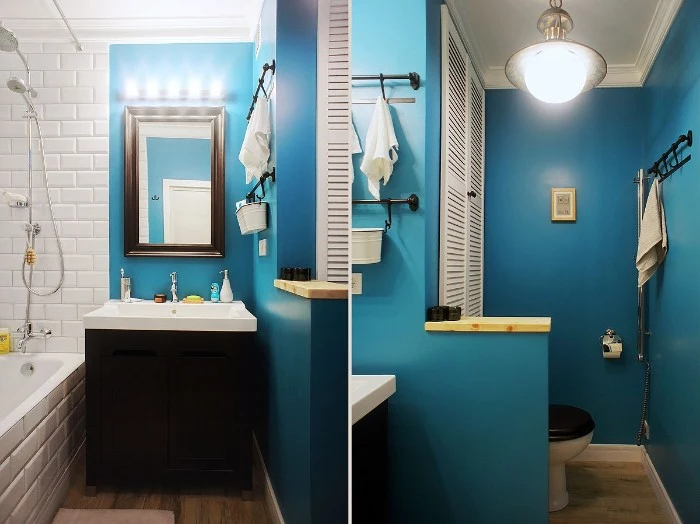
Don’t be afraid to use two different colors or finishes in one bathroom. Painting the area around the vanity and toilet in a durable satin finish while using a beautiful (but less durable) matte or eggshell on a feature wall far from the shower can give you the best of both worlds: style and practicality. This technique, known as color blocking, also adds immense visual interest.
If your bathroom has little to no natural light, choosing the right color is critical to avoid a dreary, cave-like feel.
- Steer clear of colors with strong gray or cool undertones, which can look dingy in artificial light.
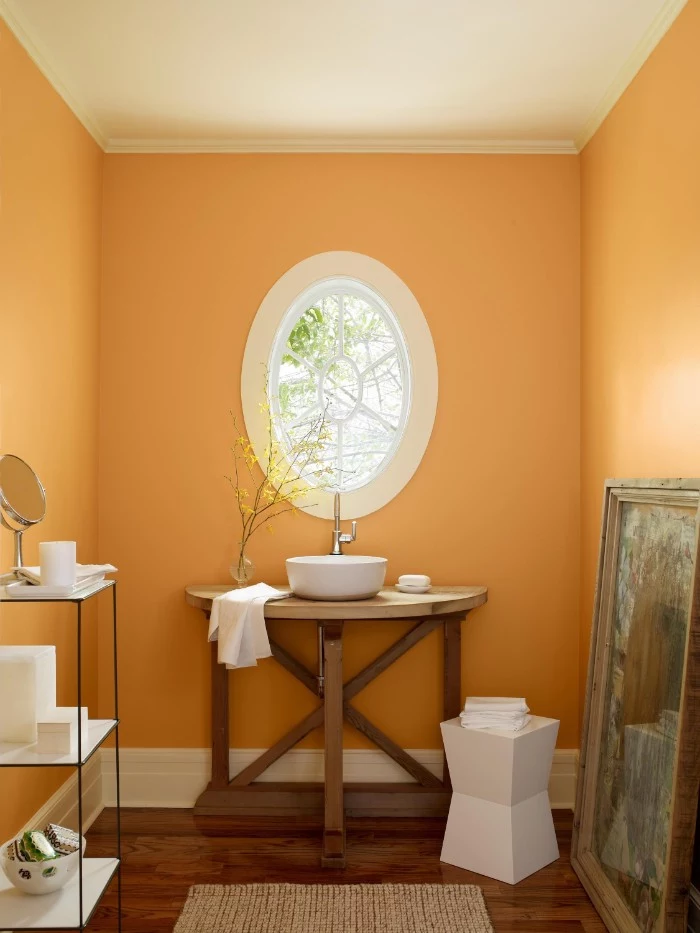
- Embrace warm whites, soft buttery yellows, or even a pale peach to reflect light and create a welcoming glow.
- Amplify your lighting! Ensure your vanity lights are bright and consider adding a fixture with multiple bulbs.
The waiting game: Patience is crucial after the last coat is applied. While paint might feel dry to the touch in just a few hours, it needs to cure fully to form its hard, protective, moisture-blocking shell. Check the manufacturer’s instructions, but most bathroom-specific paints, like Valspar’s Kitchen & Bath Enamel, recommend waiting at least 24 to 72 hours before you turn on the shower and steam up the room.
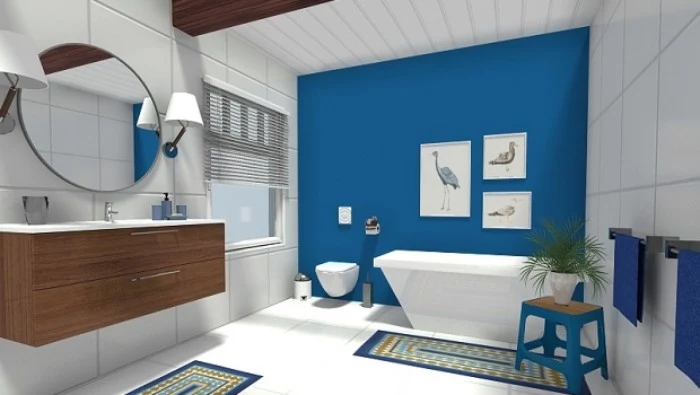
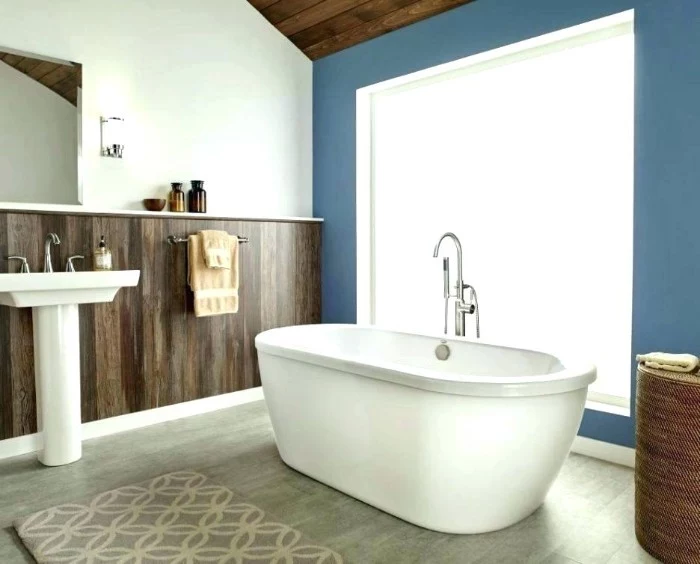
- It adds an immediate, bold design statement without a major renovation.
- It can define a specific zone, such as the area behind a freestanding tub or vanity.
- It’s the perfect place to experiment with a color you love but are afraid to use on all four walls.
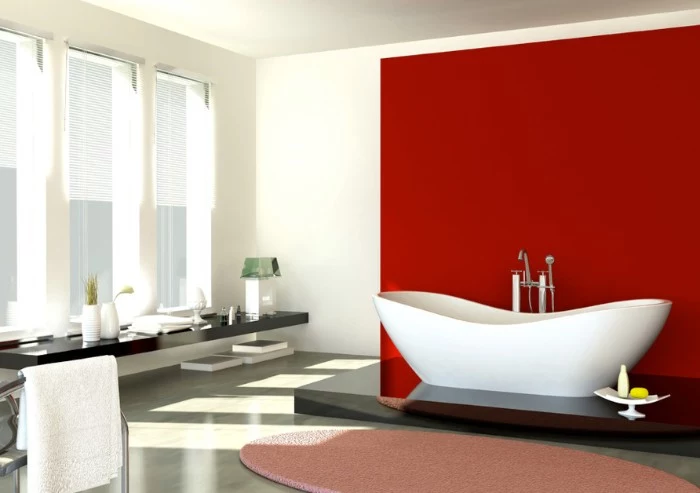
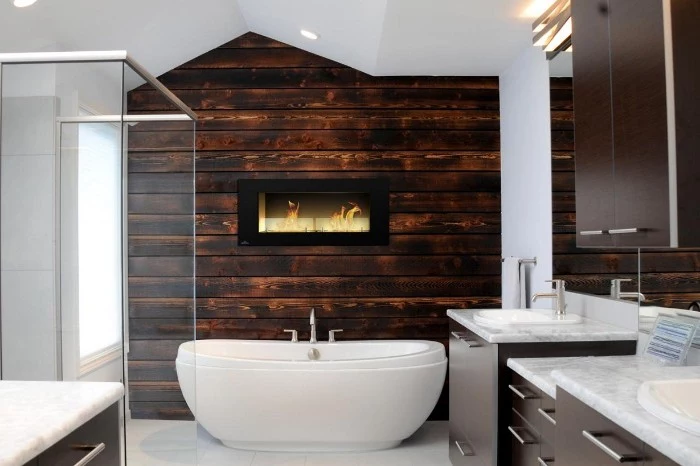
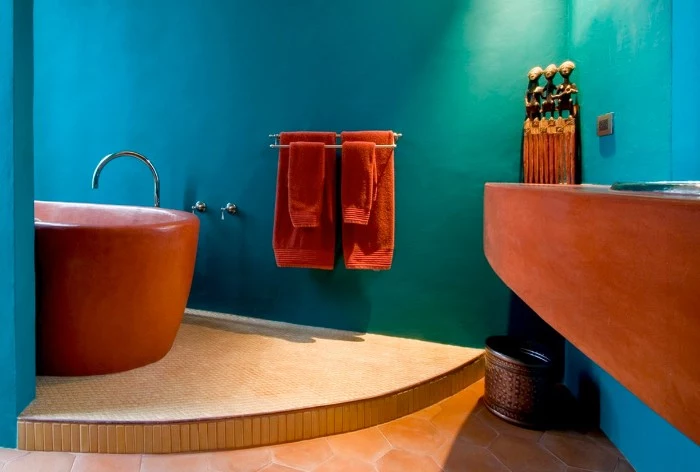
The idea? A painted accent wall. A deep teal, a fiery terracotta, or a dramatic black can provide a stunning backdrop and completely change the room’s character for the cost of just one quart of paint.

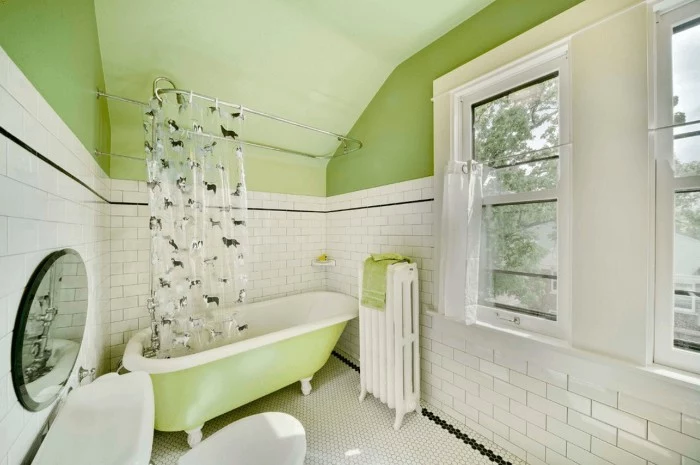
Glossy Trim: Always use a semi-gloss or high-gloss finish for your bathroom’s baseboards, window trim, and door. Its hard, non-porous surface is the ultimate shield against moisture, scuffs, and dirt, and it’s incredibly easy to wipe clean. The subtle contrast in sheen between satin walls and semi-gloss trim also adds a crisp, polished, and professional dimension to the room.

Can you paint ceramic tile?
Yes, but it requires meticulous prep. You can’t use regular wall paint. You’ll need to thoroughly clean and scuff the tile with sandpaper to remove the slick glaze, then apply a specialized, high-adhesion primer. Finish with a durable epoxy paint, like Rust-Oleum’s Tub & Tile Refinishing Kit, for a surface that can withstand moisture. It’s a great budget solution for updating dated tile colors.
Test your colors correctly: Never choose a color based on the small paint chip at the store. Buy sample pots and paint large swatches (at least 2×2 feet) on different walls in the bathroom. Observe how the color changes with the natural light during the day and with your artificial vanity lighting at night. The color that looked like a soft gray at the store might look lavender or baby blue in your specific space.
A 2018 Zillow analysis found that homes with black or charcoal-gray front doors sold for an average of $6,271 more than expected.
While that’s for an exterior door, the principle of a bold, dark choice applies indoors too. Painting your bathroom door a deep, unexpected color like black, navy, or even a rich raspberry can add a surprisingly high-end and custom touch that elevates the entire space.
The right tools are a small investment for a much better result. A high-quality 2-inch angled brush is essential for ‘cutting in’ clean lines around ceilings, tile, and vanities. For the main walls, a 3/8-inch nap microfiber roller will give you a smooth, lint-free finish. Don’t skimp here—a cheap roller can leave a fuzzy texture on your beautiful new walls.
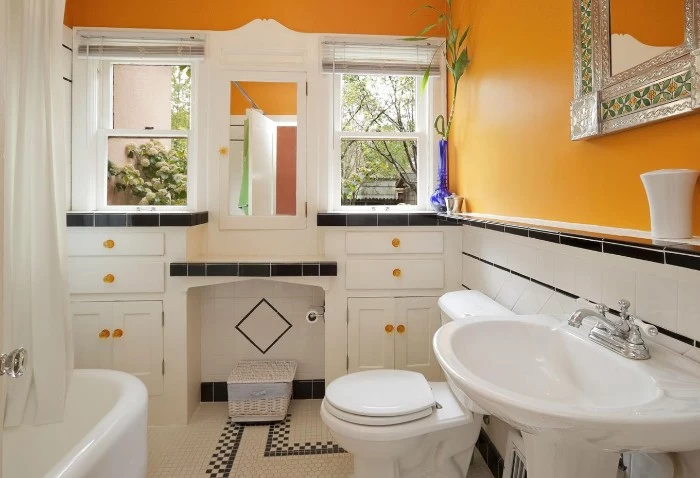
Look to history for inspiration. The classic Art Deco bathrooms of the 1920s paired mint green or pale pink with bold black accents. Victorian-era design often featured deep, rich colors like burgundy and forest green. Drawing from a historical palette can give your bathroom a timeless and unique character that stands out from current trends.

Don’t forget the small details that complete the job. Replacing old, discolored, or paint-splattered light switch and outlet covers with new ones is an inexpensive trick (often just a few dollars each) that instantly makes the entire paint job look cleaner, fresher, and more professional.
- Better humidity and steam control.
- An extra layer of waterproofing.
- Adds architectural interest and texture.
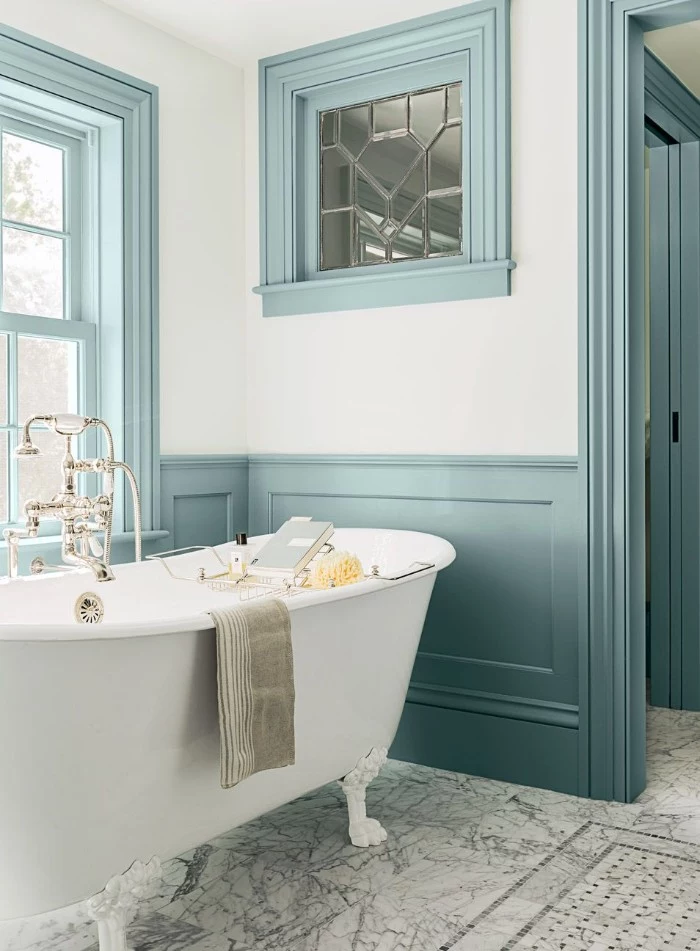
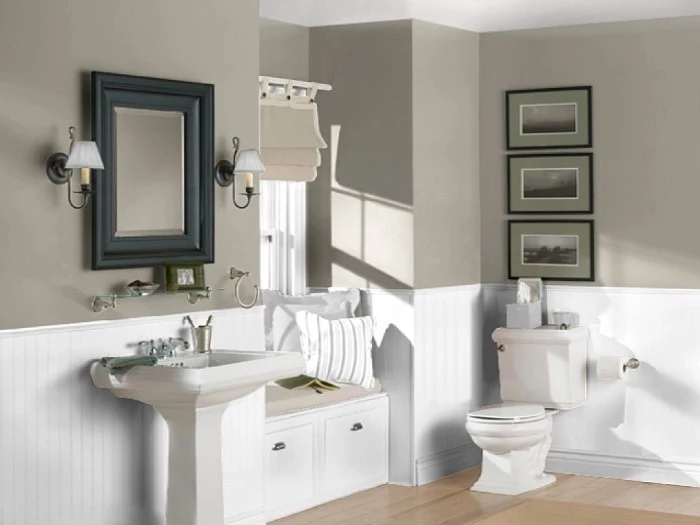
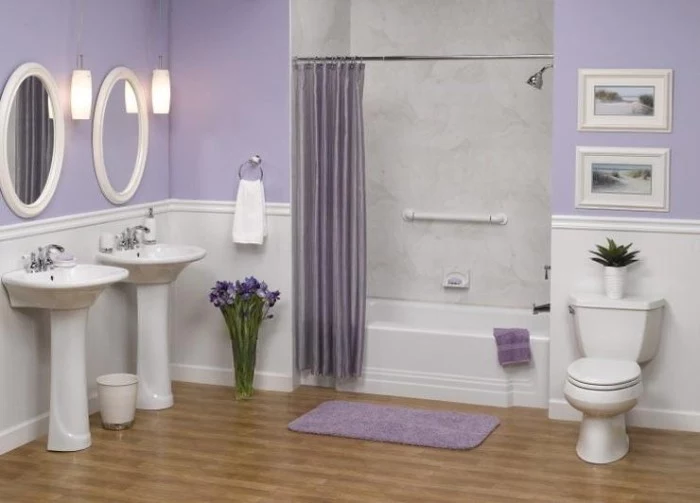
The solution? Consider wainscoting or beadboard on the lower half of the walls. Painted with a durable semi-gloss, it provides a robust, easy-to-clean surface for the areas most prone to splashes, while allowing you to use a different color or finish on the upper walls.
Color Psychology in a small space: Want a calming retreat? Choose soft blues or greens. Need an energizing space to start your day? A cheerful yellow or soft coral can work wonders. Want a dramatic, cozy powder room? A deep jewel tone like emerald or sapphire can feel luxurious and intimate. The color you choose actively sets the mood for the room.