Thinking of Painting Your Shower Tile? Read This Brutally Honest Guide First
I’ve been swinging a paintbrush for a long time, and in this line of work, you see every home improvement trend imaginable. One that pops up constantly is painting shower tile. I get it. You look at your dated, maybe even avocado-green, tile and think, “There has to be a way to fix this without a sledgehammer and a mountain of debt.”
In this article
So let’s get straight to it. Yes, you can paint shower tile. I’ve done it for clients who knew exactly what they were getting into. But honestly, the real question isn’t if you can, but if you should. And more importantly, do you have the superhuman patience required to do it right? Because this isn’t a fun weekend project; it’s one of the most demanding and unforgiving painting jobs you can do.
Get it right, and it can look surprisingly great for years. Get it wrong, and you’ll have peeling paint within months, creating a nightmare far worse than the ugly tile you started with. I’ve been called in to fix those jobs, and it’s a painful, expensive mess. This guide is my brain dump of everything I’ve learned—no fluff, just the real process, so you can make a smart choice.
First, Understand Your Enemy
Before you even sniff a paint can, you need to respect your opponent. And in this fight, your opponent is water. Relentless, sneaky water. A shower is a torture chamber for any surface: direct water spray, constant humidity, wild temperature swings from hot to cold, and harsh cleaning chemicals. Your standard wall paint would wave the white flag in less than a week.
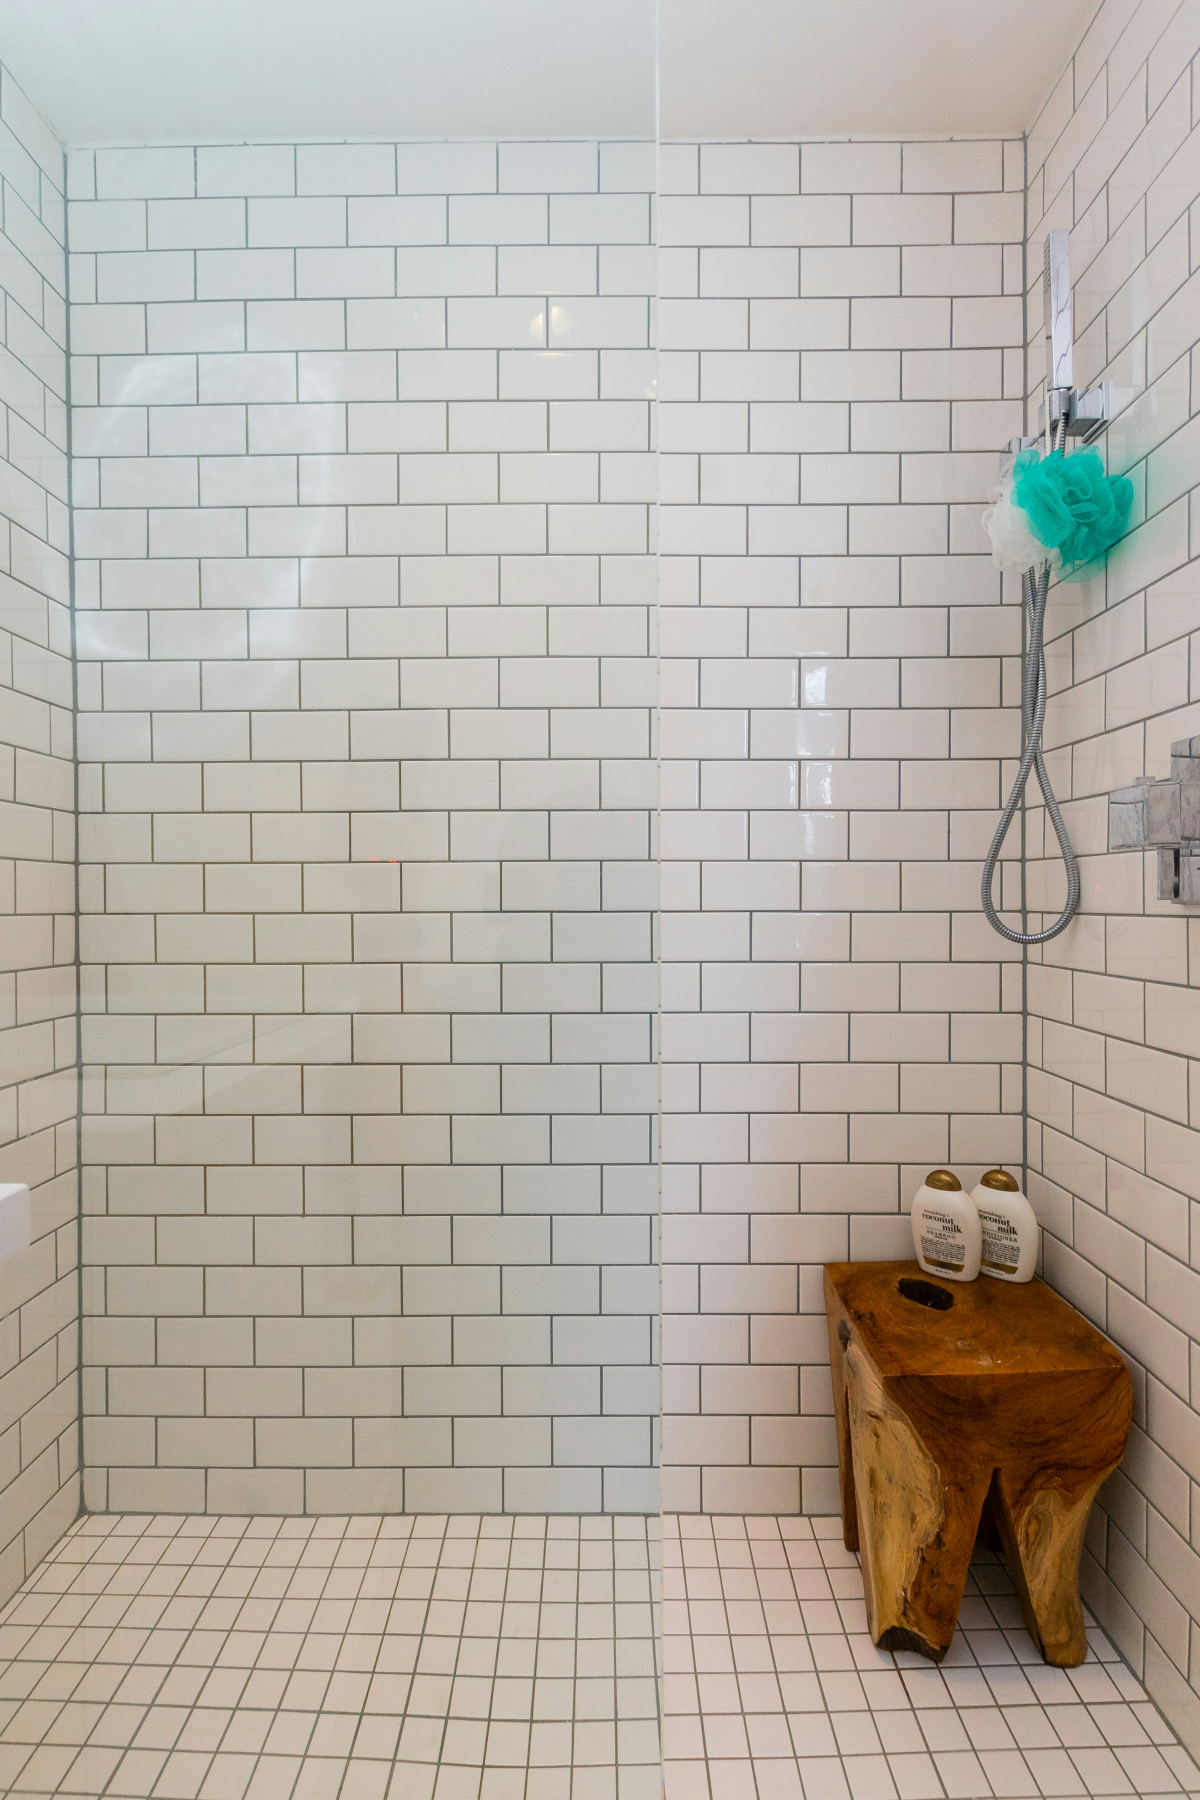
The first hurdle is the tile itself. Most ceramic or porcelain tile has a hard, glassy glaze. That finish is specifically designed to be waterproof and non-porous, which also means it’s designed to repel anything trying to stick to it—including your paint. For this to work, the paint needs a death grip on the surface. Without that bond, water will wiggle its way underneath, and the whole thing will peel off like a bad sunburn.
The second weak spot? Grout. Grout is like a sponge; it’s porous and loves to soak up moisture. Even sealed grout can let water vapor pass through from the wall behind it. If you trap that moisture under a waterproof paint film, you’ll get bubbles that pop and peel. This is why cleaning and sealing the grout before you start is absolutely non-negotiable.
An Honest Gut-Check: Is This Really for You?
I always have a very frank conversation with clients about this. You deserve to know the real pros and cons before you commit. So, let’s lay it all out.
First, a full tile replacement is, without a doubt, the best long-term solution. Nothing beats new tile installed with modern waterproofing. That’s a fix that will last for decades. Painting is a cosmetic, surface-level solution. A perfectly done paint job might get you 5-7 years of good looks in a daily-use shower. A rushed job might not even last a year. You’re trading longevity for a much lower cost and way less disruption.
So what are we talking about, cost-wise? Let’s break it down:
- DIY Painting: You’re looking at about $150 – $200 for all the specialty materials. The trade-off is your time and a high demand for precision.
- Professional Reglazing: This is a step up. A pro will use heavy-duty chemicals and spray equipment to apply a super tough coating. This often comes with a warranty. Expect to pay somewhere between $500 and $900 for an average-sized shower.
- Full Remodel: This is the nuclear option. Tearing out old tile and installing new can easily cost $5,000 or more, depending on your tile choice and labor costs in your area.
Before you even think about that shopping list, you need to play detective in your own shower. Are any tiles loose or cracked? Is the grout crumbling? Do you see deep, persistent mildew that always comes back? You absolutely cannot paint over these issues. Any instability or moisture problems will guarantee failure. All repairs have to be done first, and the surface must be solid, clean, and bone-dry.
Oh, and here’s a little sanity check for you…
Your 5-Minute Sanity Check: Before buying a single thing, grab some abrasive cleaner (like Comet) and a stiff nylon brush. Pick a small, hidden 6×6 inch spot and scrub it for five solid minutes. Now, look at it. Is the shine gone? Is it dull and hazy? If so, you can probably sand the rest of the shower with reasonable effort. If it’s still slick and shiny… you are in for a world of sanding misery and might want to start saving for a professional.
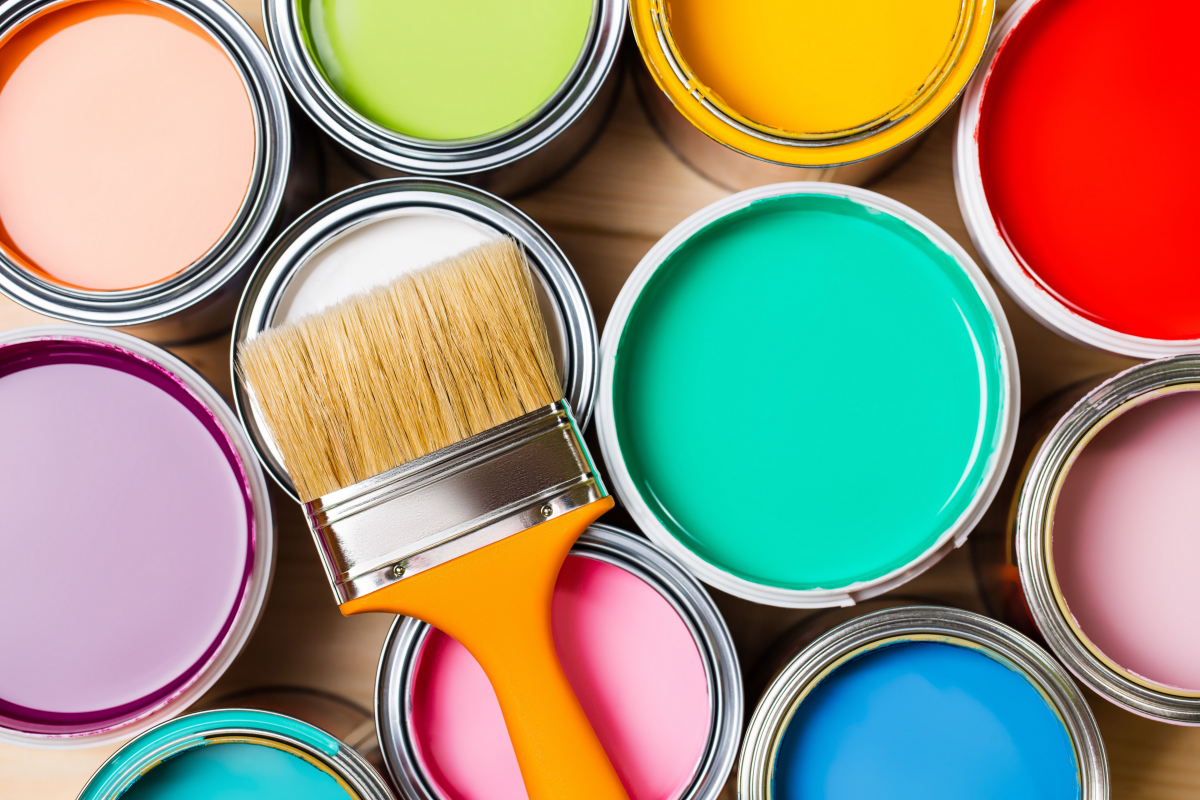
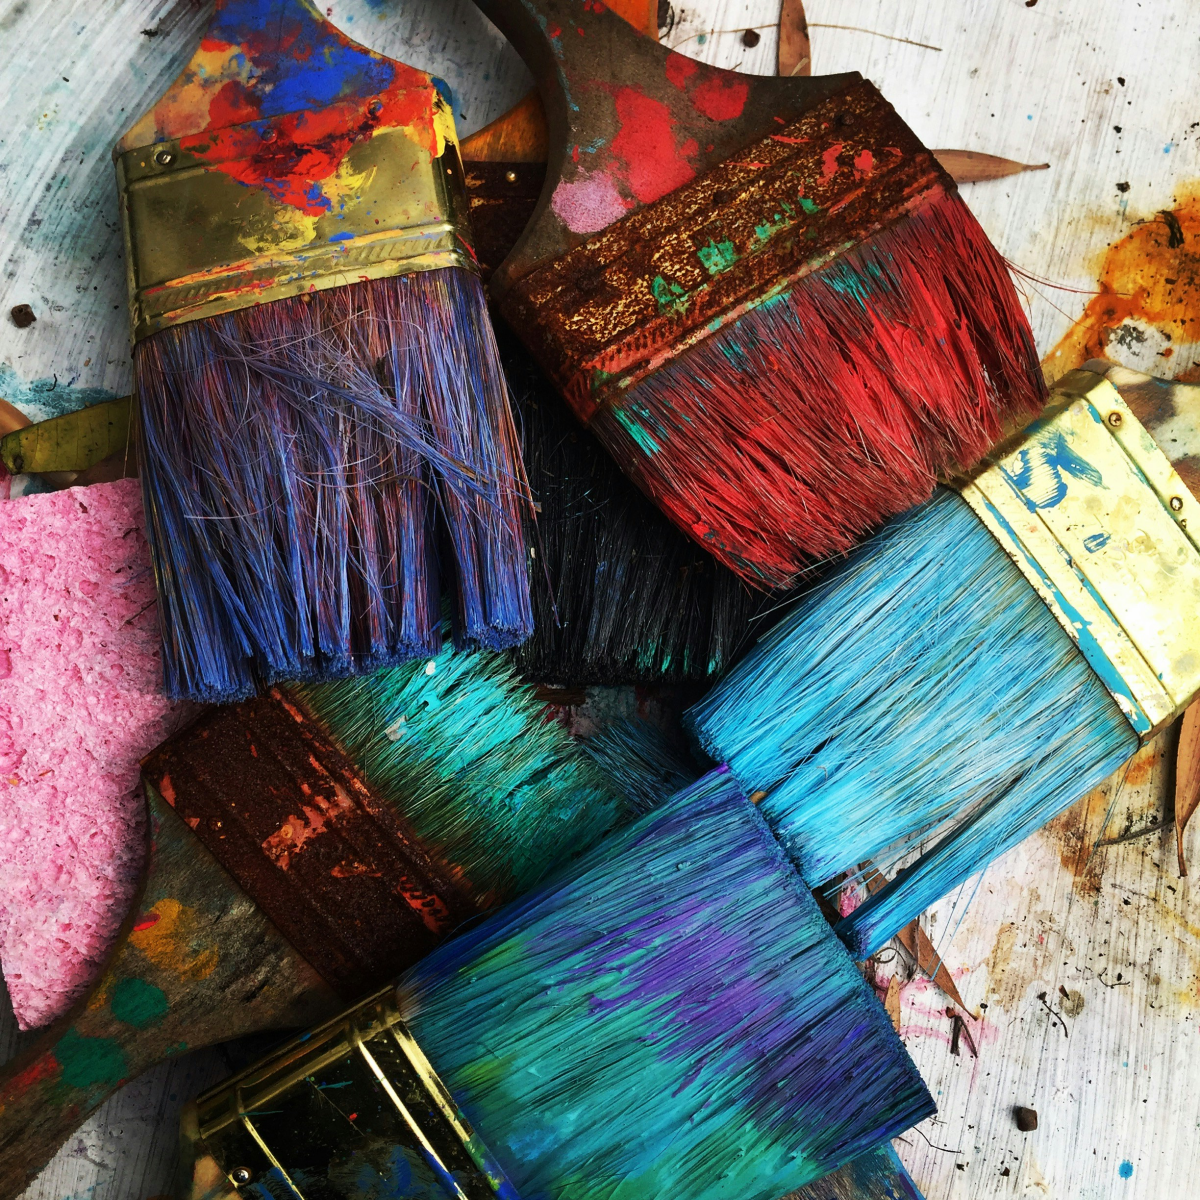
Your Shopping List: The Right Tools for the Job
Using the wrong products is the #1 reason these jobs fail. You can’t just grab any old primer and paint. You need an industrial-strength system. Don’t skimp here; the materials are doing all the heavy lifting.
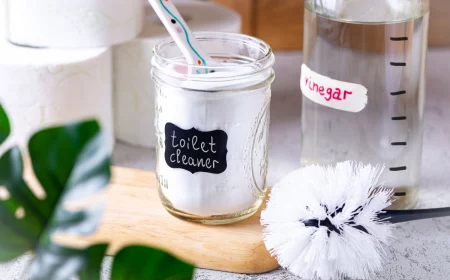
- Aggressive Cleaner: An abrasive powder cleaner is a must. A can of Comet will do the trick. You’ll also need a strong degreaser. Old-school painters swear by Trisodium Phosphate (TSP), but a TSP substitute from the hardware store is safer and works great. Cost: ~$15.
- High-Adhesion Bonding Primer: This is the most important purchase. You need a primer made for slick surfaces. Look for names like INSL-X Stix or Kilz Adhesion. A quart is plenty. Cost: ~$25.
- Tub & Tile Epoxy Paint: This is your topcoat. The most common DIY solution is a two-part epoxy acrylic kit, often sold specifically for tubs and tiles. These kits are tough and reliable. Cost: ~$50-$60.
- Tools of the Trade: Get a good 2-inch angled brush for cutting in, a 4-inch roller handle, and a pack of high-density foam roller covers (foam gives you a super smooth finish). You’ll also need 180-grit waterproof sandpaper. Cost: ~$30.
- Safety Gear (Non-Negotiable!): A respirator with organic vapor cartridges (NOT a simple dust mask), chemical-resistant gloves, and safety glasses. The fumes from epoxy are no joke. Cost: ~$40.
Total DIY Cost: Around $160 – $170. A pretty big savings over a remodel, if you’re up for the challenge.
Heads up! That epoxy paint kit is a “two-part” system. That means you’ll mix a resin and a hardener together right before you use it. Once mixed, you’re on the clock. You have a limited “pot life”—usually just an hour or two—before the paint starts to harden in the tray. So, only mix what you can use in that timeframe!
The Method: A Step-by-Step Guide to Not Messing It Up
Patience is everything. I tell my apprentices to block off a full week for this. Not because you’ll be working the whole time, but because most of that time is spent waiting for things to dry and cure properly. Rushing is a one-way ticket to Peel City.
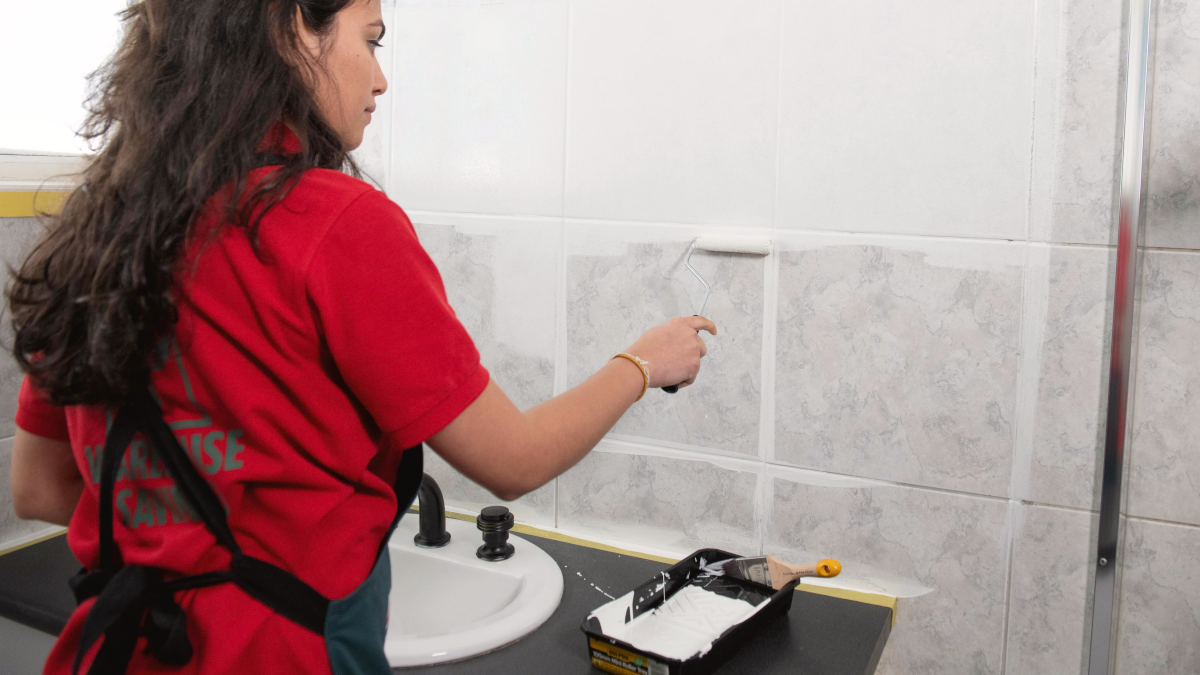
Day 1: The Scrub-Down. Remove the shower head, faucet handles, and any soap dishes. Now, scrub everything with your abrasive cleaner and a stiff brush. Focus on the corners and floor. Rinse it like you mean it. Then, wash it all again with the TSP substitute to remove any leftover soap scum or oils. Rinse. Rinse again. And for good measure, rinse a third time. Any residue left behind will ruin your paint job. Use a fan to help it dry for a full 24 hours.
Day 2: Repair, Caulk Removal, and Sanding. With everything clean, inspect it again. Patch any grout issues or tile chips with a two-part epoxy filler and let it cure. Next, take a utility knife and cut out every last bit of old silicone caulk from the corners and seams. Paint will NOT stick to silicone. You’ll re-caulk at the very end. Now for the fun part: sanding. Using 180-grit sandpaper, you need to dull every single shiny tile surface. Your goal is a matte, hazy finish. Wipe all the dust with a damp cloth, then a tack cloth.
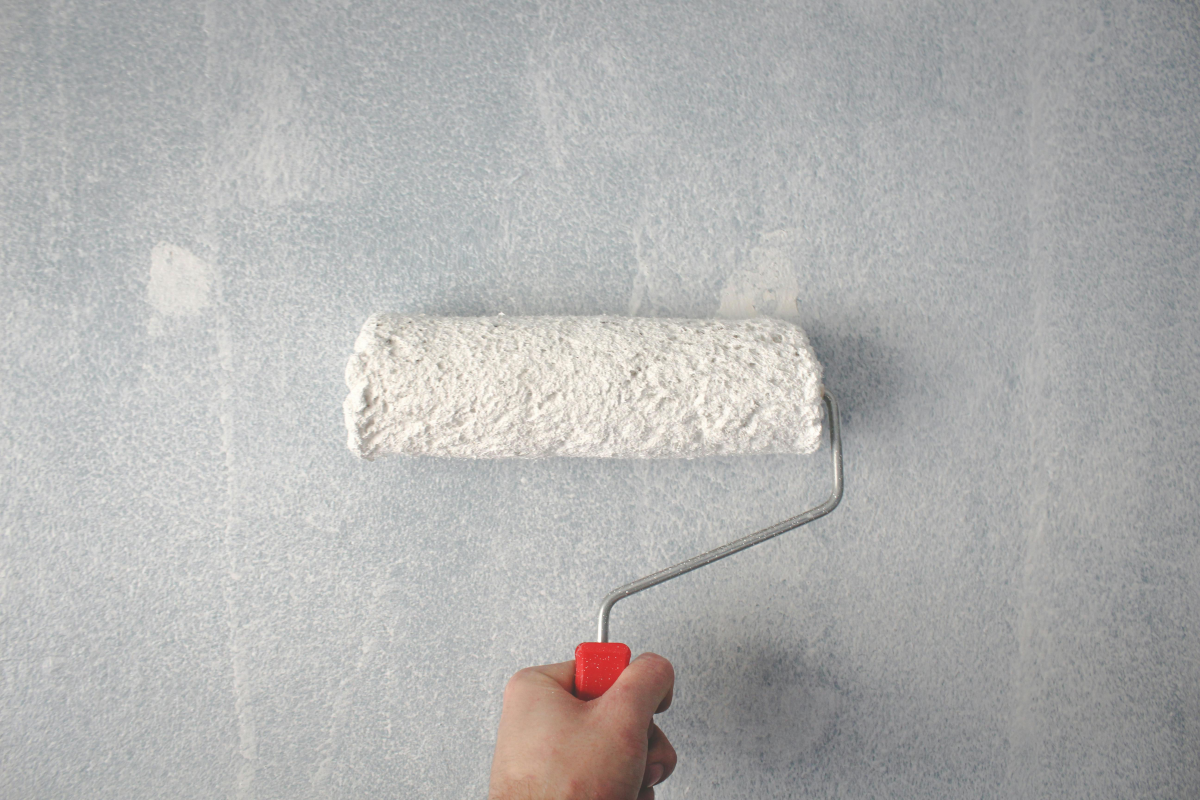
Day 3: Masking, Ventilation, and Primer. Tape off everything you don’t want paint on. Cover the shower floor or tub completely. Now, set up your ventilation. Open a window and put a box fan in it, pointing out. Turn on the bathroom exhaust fan. Put on your respirator and gloves. Mix your primer and, using your brush, paint the grout lines first. Then, use your foam roller to apply a thin, even coat to the tiles. Don’t go too thick! Let it dry completely according to the can’s instructions.
Day 4: The Topcoat. Once the primer is fully dry, give it a quick, super-light scuff with 220-grit sandpaper and wipe the dust. This gives the topcoat extra grip. Now, mix your two-part epoxy paint. Using the same brush-then-roll technique, apply a thin, even topcoat. Let it dry for the recommended time (often 12-24 hours), then apply your second coat for maximum durability.
Days 5-10: The Long, Painful Wait. This is where most people fail. The paint might feel dry in a day, but it is not cured. Curing is the chemical process where it reaches maximum hardness. Do not let a single drop of water touch it for a minimum of 7 days. If you live in a humid place, I’d honestly wait 10 days. Using the shower too soon will soften the paint and cause it to fail. Once it’s fully cured, you can remove the tape and apply a fresh bead of 100% silicone caulk to the seams.
Oops! Common Problems and Quick Fixes
Even pros run into issues. Here’s what to do if it happens to you.
- Help, I got a drip! If you see a run or drip while the paint is still wet, immediately (and gently) smooth it out with your foam roller or the tip of your brush. If it’s already started to dry, leave it alone! Let it cure completely, then you can carefully sand it smooth and touch up the spot with a small artist’s brush.
- I can see roller marks or texture! This usually means you’re either applying the paint too heavily or pressing too hard on the roller. The key is thin coats and a light touch. Let the foam do the work. Two thin coats are always, always better than one thick, bumpy one.
- What about future chips? It happens. If you get a small chip down the road, you can fix it. Lightly sand the damaged spot, clean it with denatured alcohol, then carefully dab on a bit of the primer and topcoat with a tiny brush.
The Final Word: My Professional Advice
So, after all that, should you paint your shower tile? My honest-to-goodness answer is: it depends on your personality.
If you’re a patient person, someone who finds satisfaction in meticulous, step-by-step work, then yes. You can absolutely get a fantastic result that transforms your bathroom for a tiny fraction of the cost of a remodel. It can be a really rewarding project.
But if you’re someone who likes to get things done fast and tends to think “good enough” when it comes to prep work… I’m begging you, please don’t do it. This project will punish haste like no other. The failure is ugly, demoralizing, and a pain to fix. In that case, you’re far better off hiring a professional reglazer or just saving up for the real thing. Be honest with yourself about who you are. That’s the most important first step.
Galerie d’inspiration
So you’ve painted the tile… but now your shower looks like a solid, flat block of color. What happened to the grout lines?
Painting directly over tile and grout creates a monolithic surface, erasing the grid that gives tile its character. To bring back that definition, wait until the paint is fully cured (check the manufacturer’s instructions—this can take days!). Then, carefully trace the original grout lines with a grout pen. A contrasting color like charcoal grey or black on white tile adds a sharp, professional look that elevates the entire project from
Epoxy Kits: Think Rust-Oleum Tub & Tile Refinishing. It’s a two-part acrylic epoxy that creates an incredibly hard, durable, porcelain-like finish. The downside? The fumes are intense, and the working time is short once the two parts are mixed. This is the heavy-duty option.
Urethane-Acrylic Enamels: Products like INSL-X Tile-Clad or Benjamin Moore’s INSL-X Tough Shield are single-component and more user-friendly. They offer excellent adhesion and flexibility with lower odor. The finish might be slightly less bomb-proof than true epoxy over the long haul, but the application is far more forgiving for a DIYer.